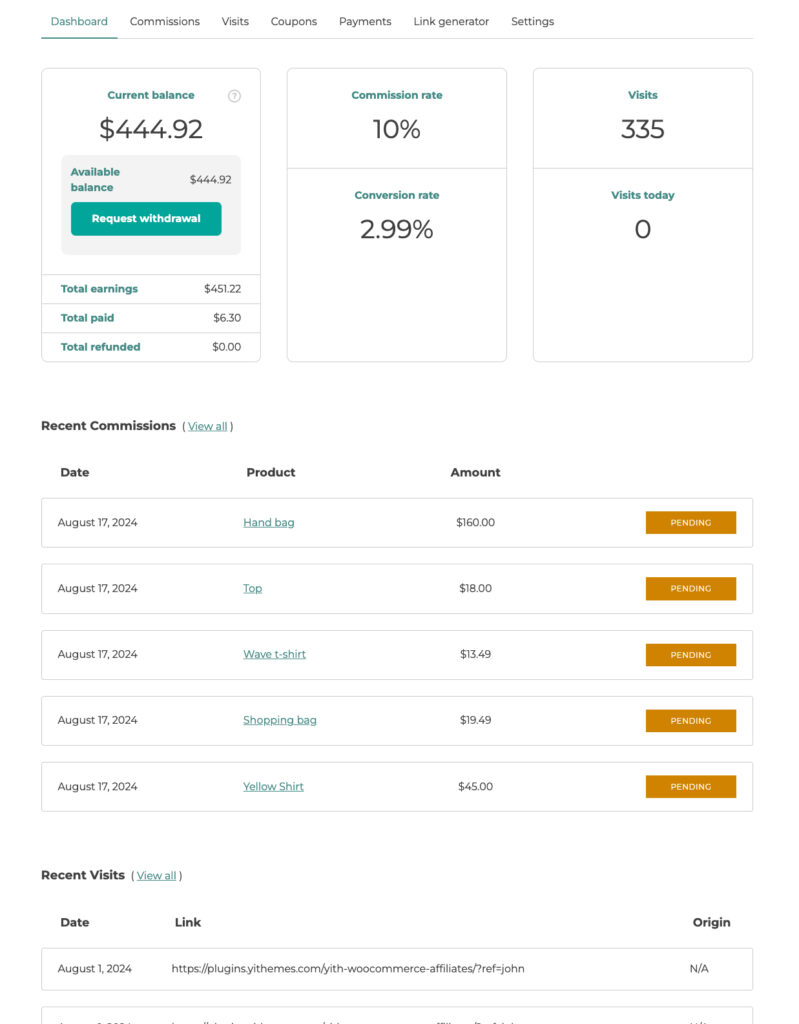
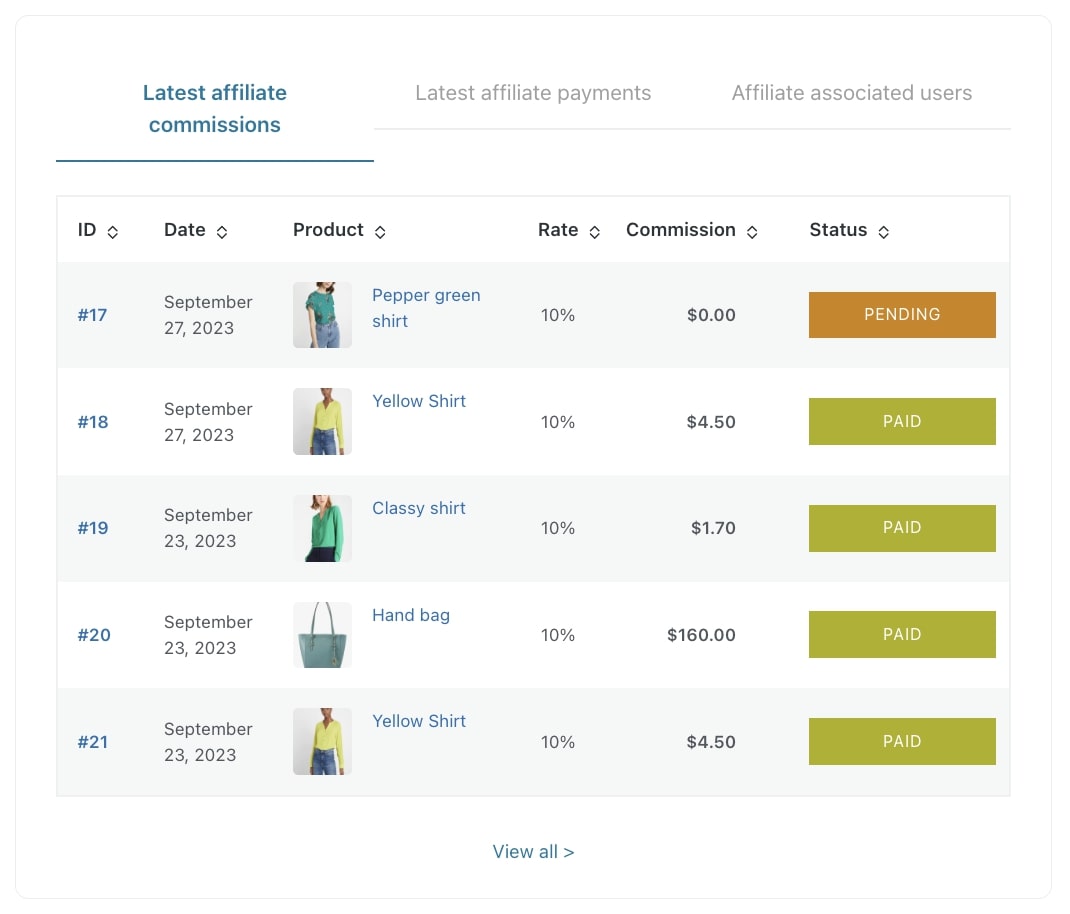
The commission status is strictly linked to the order status.
When the order is submitted, the commissions are generated with the Not confirmed status. Then, when the order is paid and completed, the commission automatically gets the Pending status, which means that the commission is ready to be paid.
Here is a more detailed list with all the statuses that a commission can get and which order status can trigger it:
pending: if the order status goes to completed or processingpending-payment: this status is not triggered by any order, it can only be triggered by automatic or manual payment and will be like this until the payment is confirmed by the gateway or set to completed by the admin manually.paid: this is the status that the commission takes when the associated payment is set to completed status.not-confirmed: this is the commission status when the order status goes to pending or on-hold.cancelled: if the order status goes to cancelled or failed.refunded: if the order status goes to refunded.
Please, note: when the commission is on pending payment or paid status, it can only be changed to Trashed. No other status change is allowed to prevent a commission is erroneously paid twice.
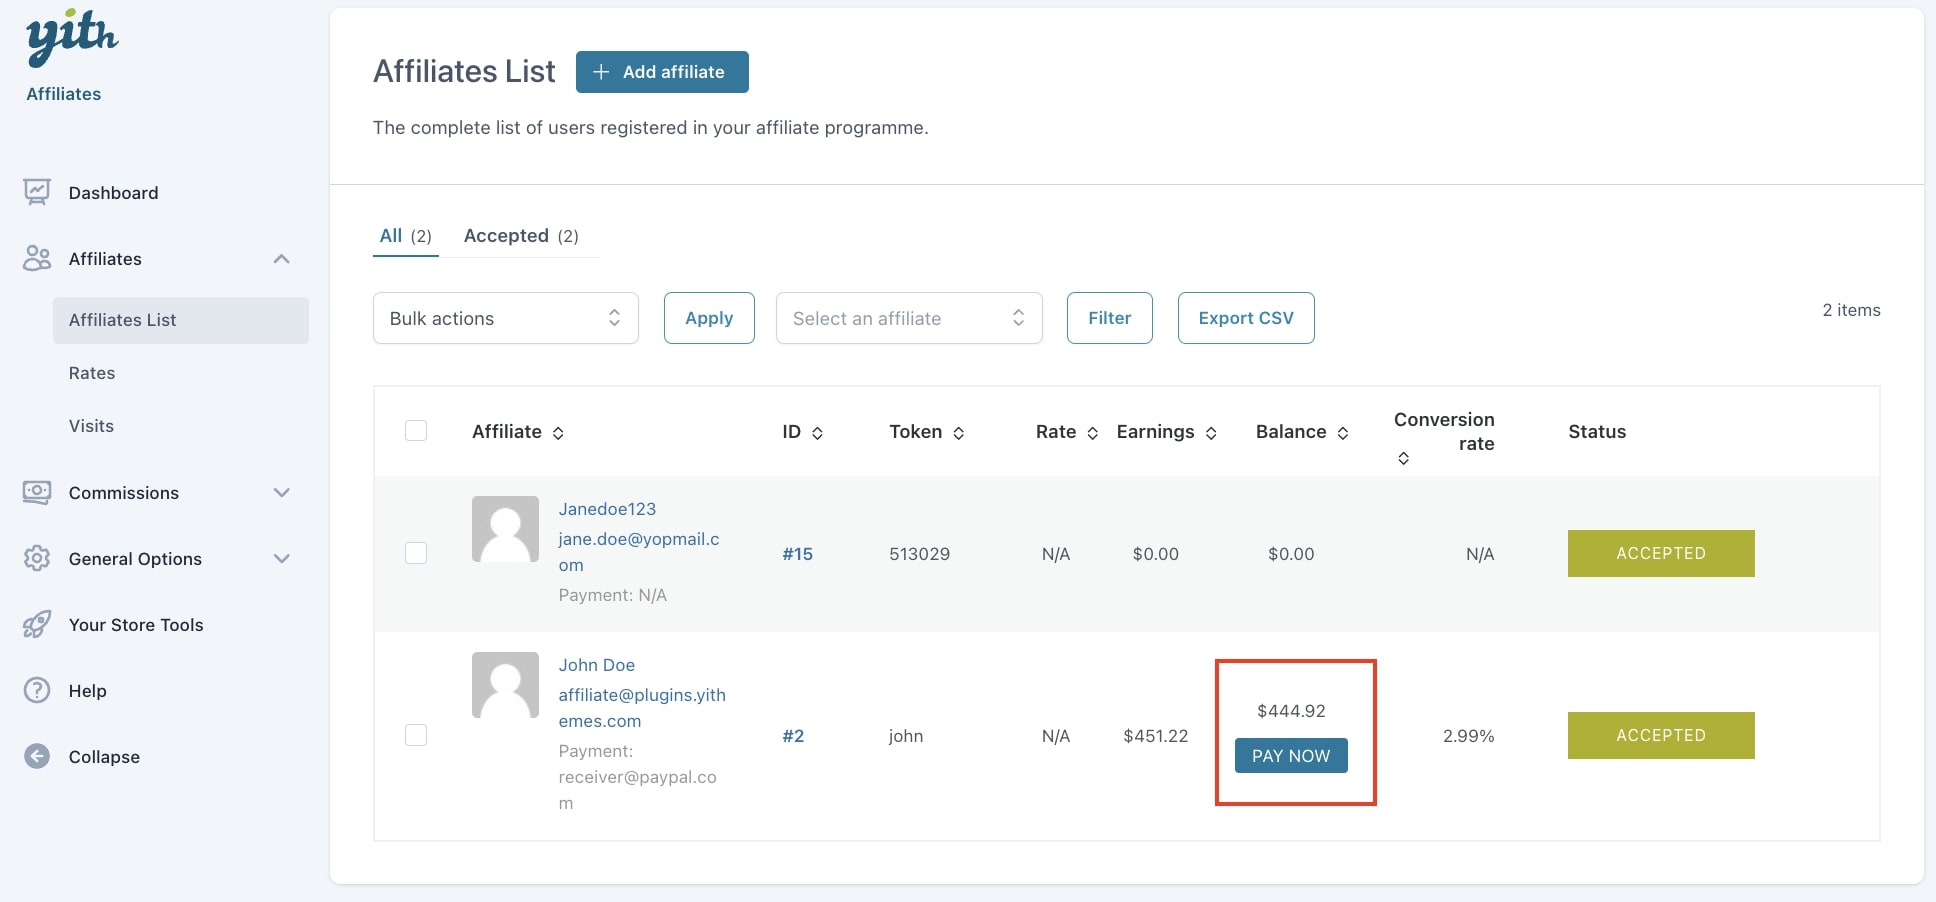
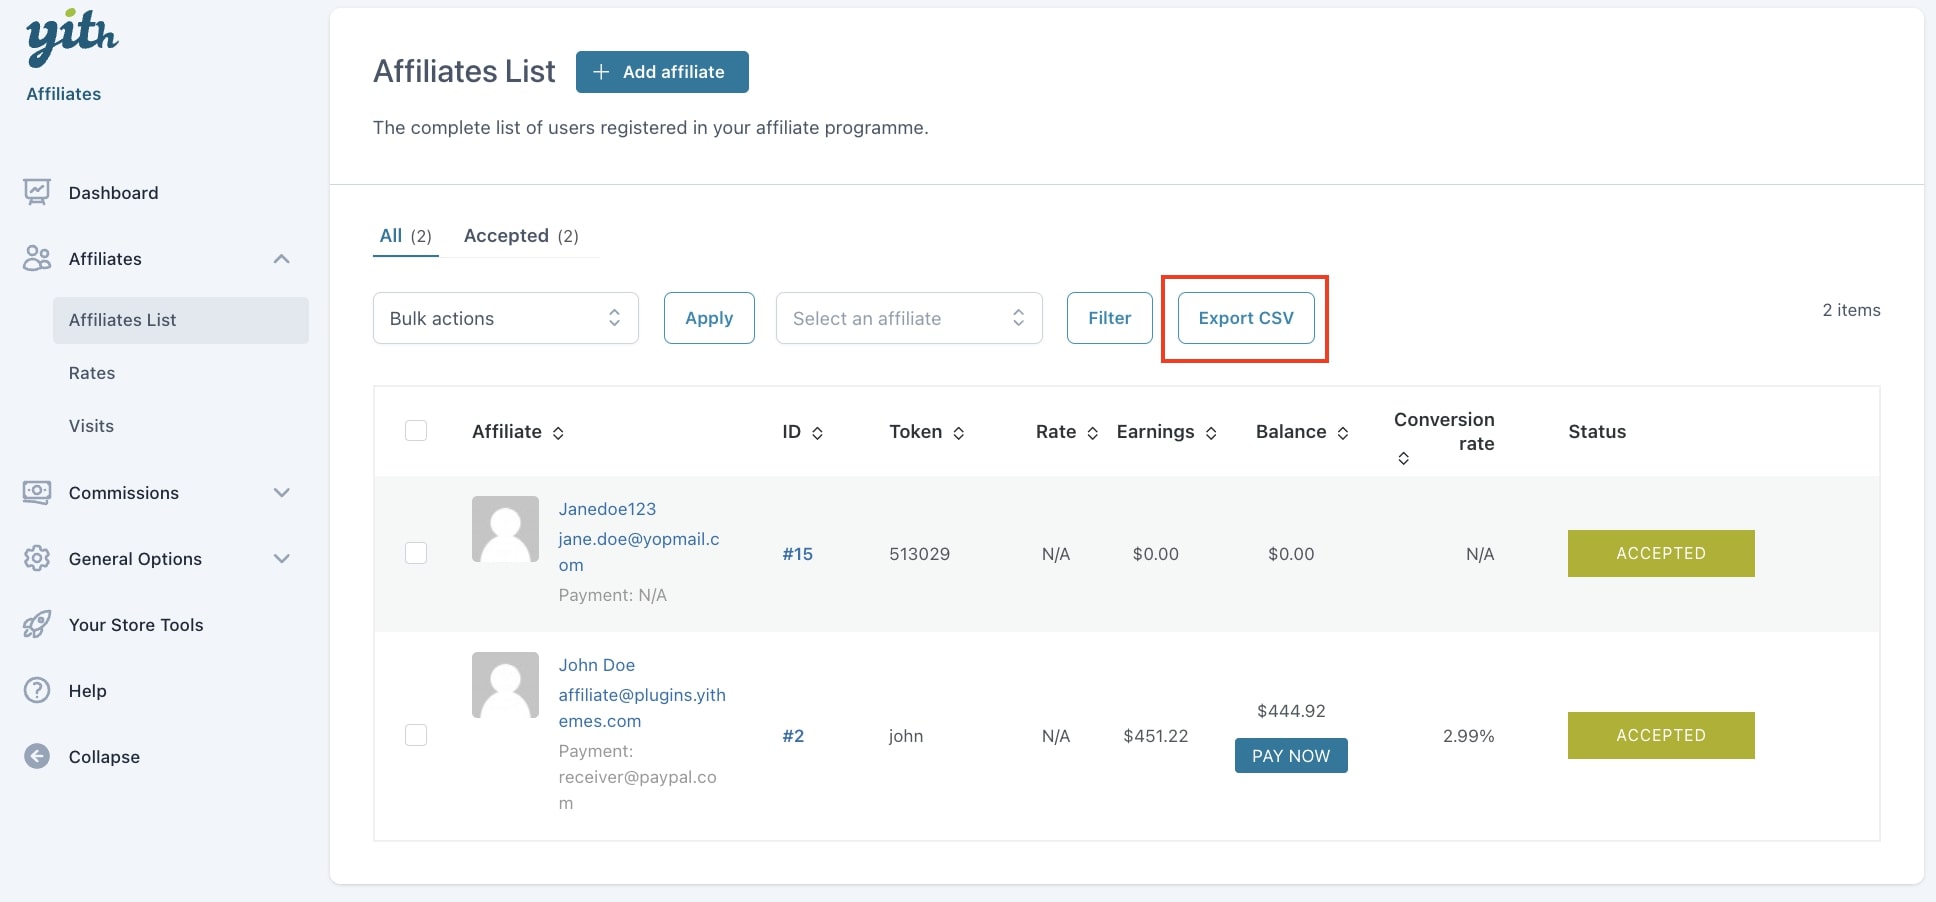
The commission can be paid only when it’s on Pending status.
Example: a commission standard life cycle
This is the default life cycle of a commission, and the statuses it takes on:
- order created > commission
not confirmed - order completed > commission
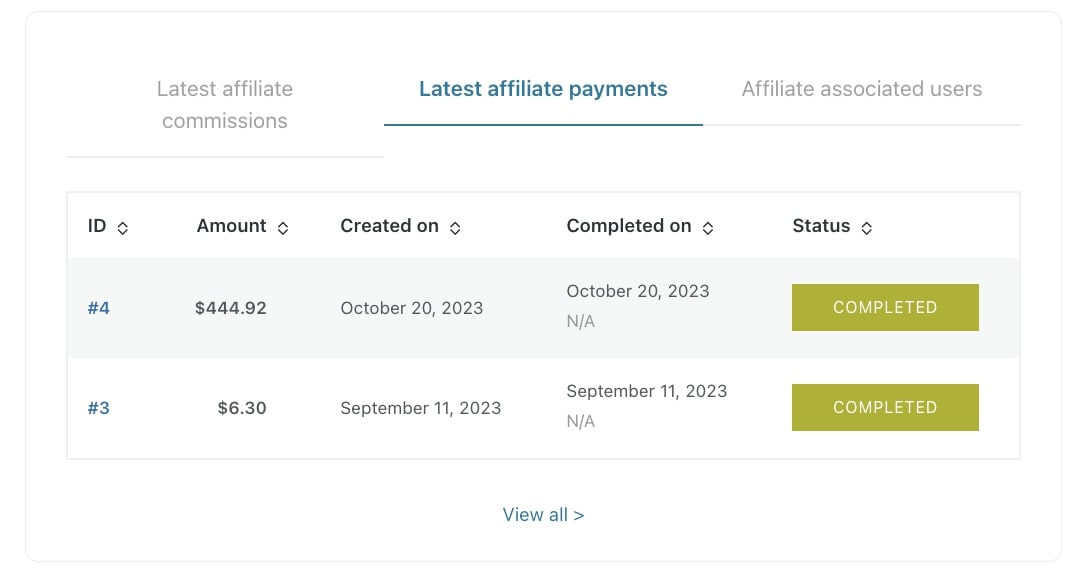
pending - commission payment created > commission
pending payment - commission payment completed > commission
paid
The admin can anyway manually change the commission status regardless of the order status, so for example, a pending commission can be changed to not confirmed even if the order is completed.
For more details about how to create commissions payments, please, refer to the following page:
→ Commissions payments for the free version
→ Commissions payments for the premium version