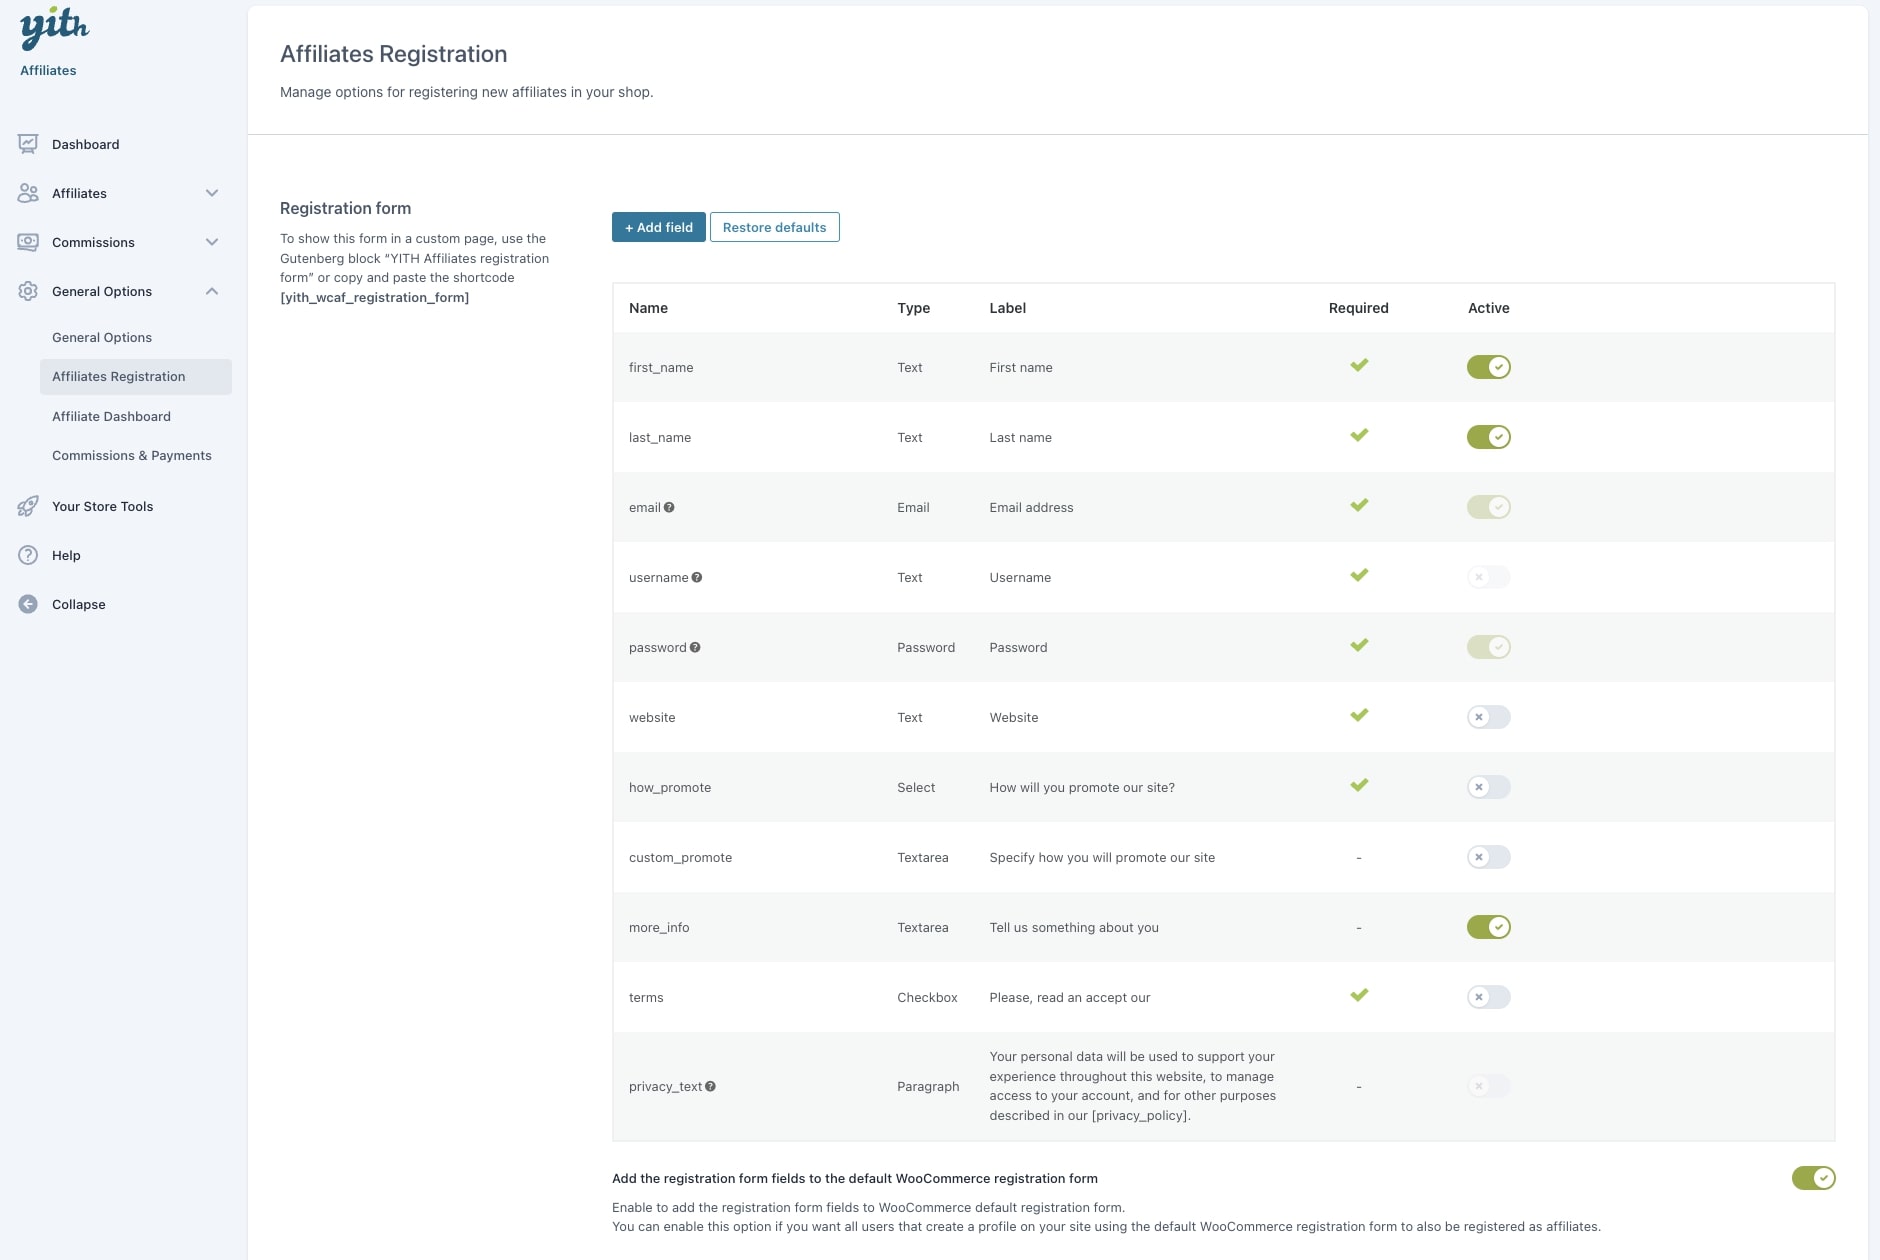
From the General options > Affiliates Registration tab, you will be able to configure the fields of the affiliate registration form and its options. Let’s see how you can customize it.
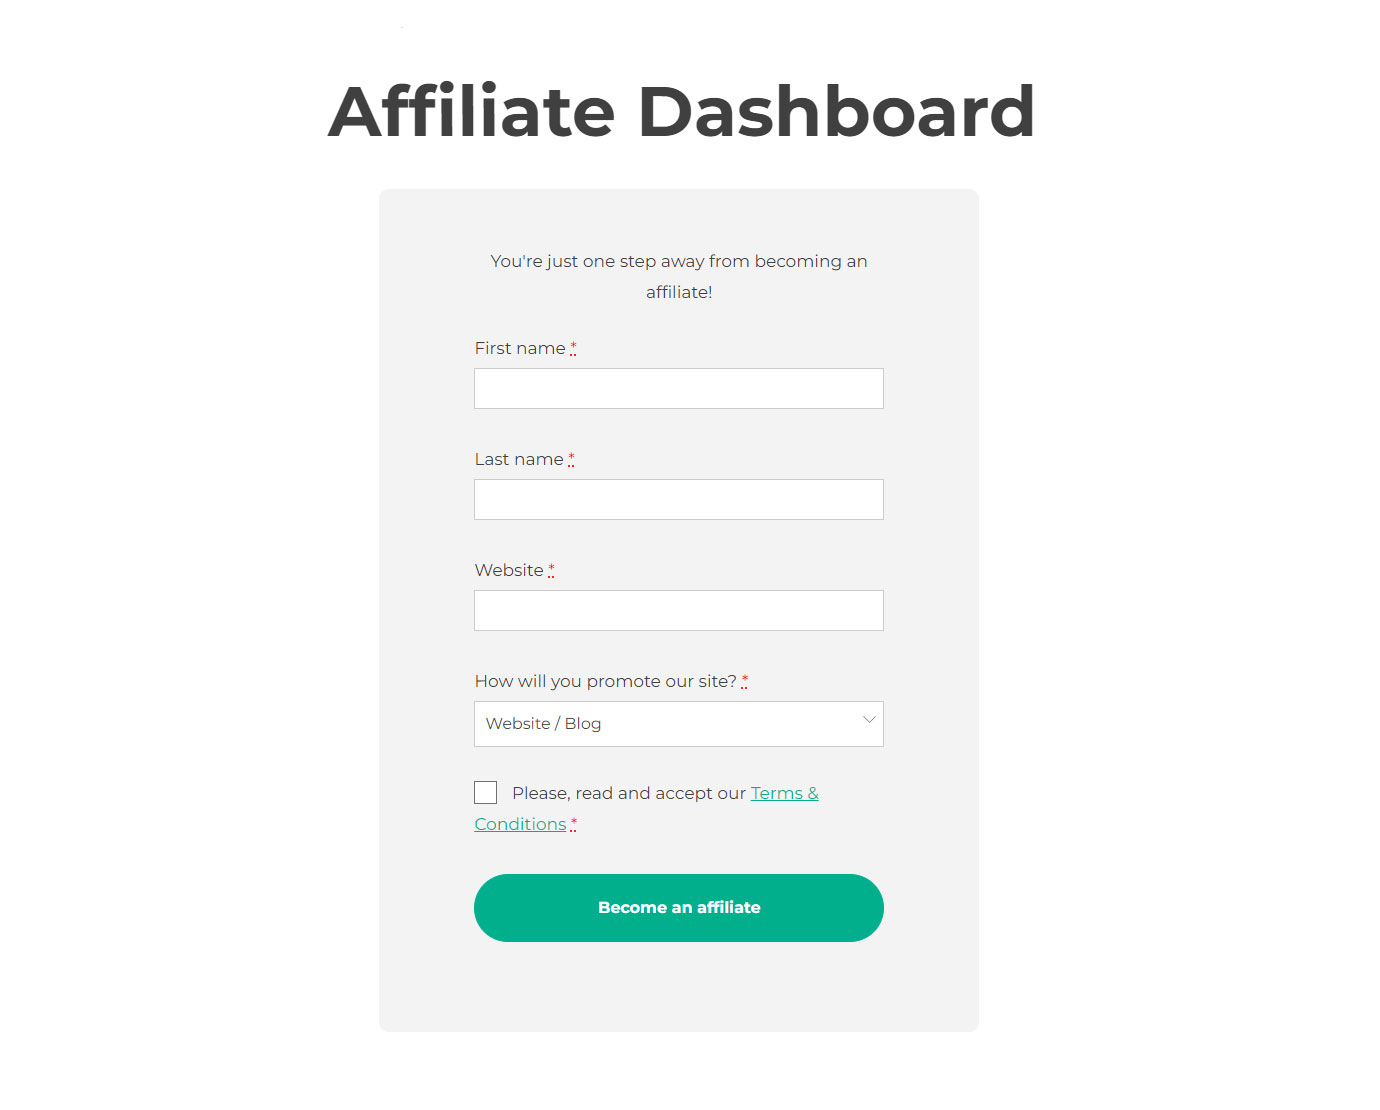
Registration form
In the first section, you will find the Registration form fields. There are some default fields and you can add as many as you wish, enable and disable them, duplicate them, set them as required.
How to add a new field
Just click on the + Add field button on top of the table to create a new field.
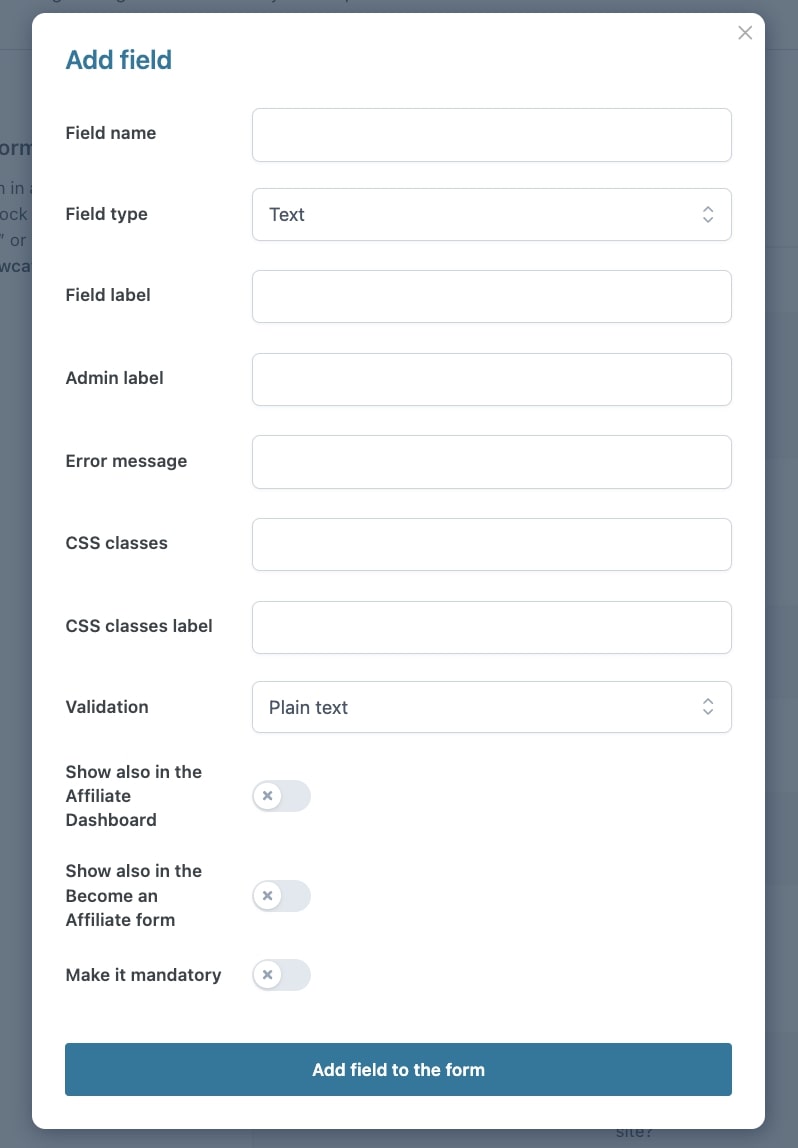
You will find the following options to configure the field.
- Field name: this is the field name that should not contain any spaces
- Field type: you can choose among many supported types:
- Text
- Password
- Phone
- Textarea
- Radio button
- Checkbox
- Multi checkbox
- Select
- Country
- State
- Date
- Field label: this is the title of the field visible on the frontend
- Admin label: this is the title of the field visible on the backend
- Error message: enter here an error message to display in case the value entered by the customer here does not match the expected format or is left empty for a mandatory field
- CSS classes: add the CSS classes that you want to associate to this field
- CSS classes label: add the CSS class that you want to associate to the label of this field
- Validation: the text entered by the user will be validated according to your needs, you can choose among:
- plain text
- phone
- URL
- Options this option is only available for Radio buttons and Select types and allows you to create the available options from which the customer can choose.
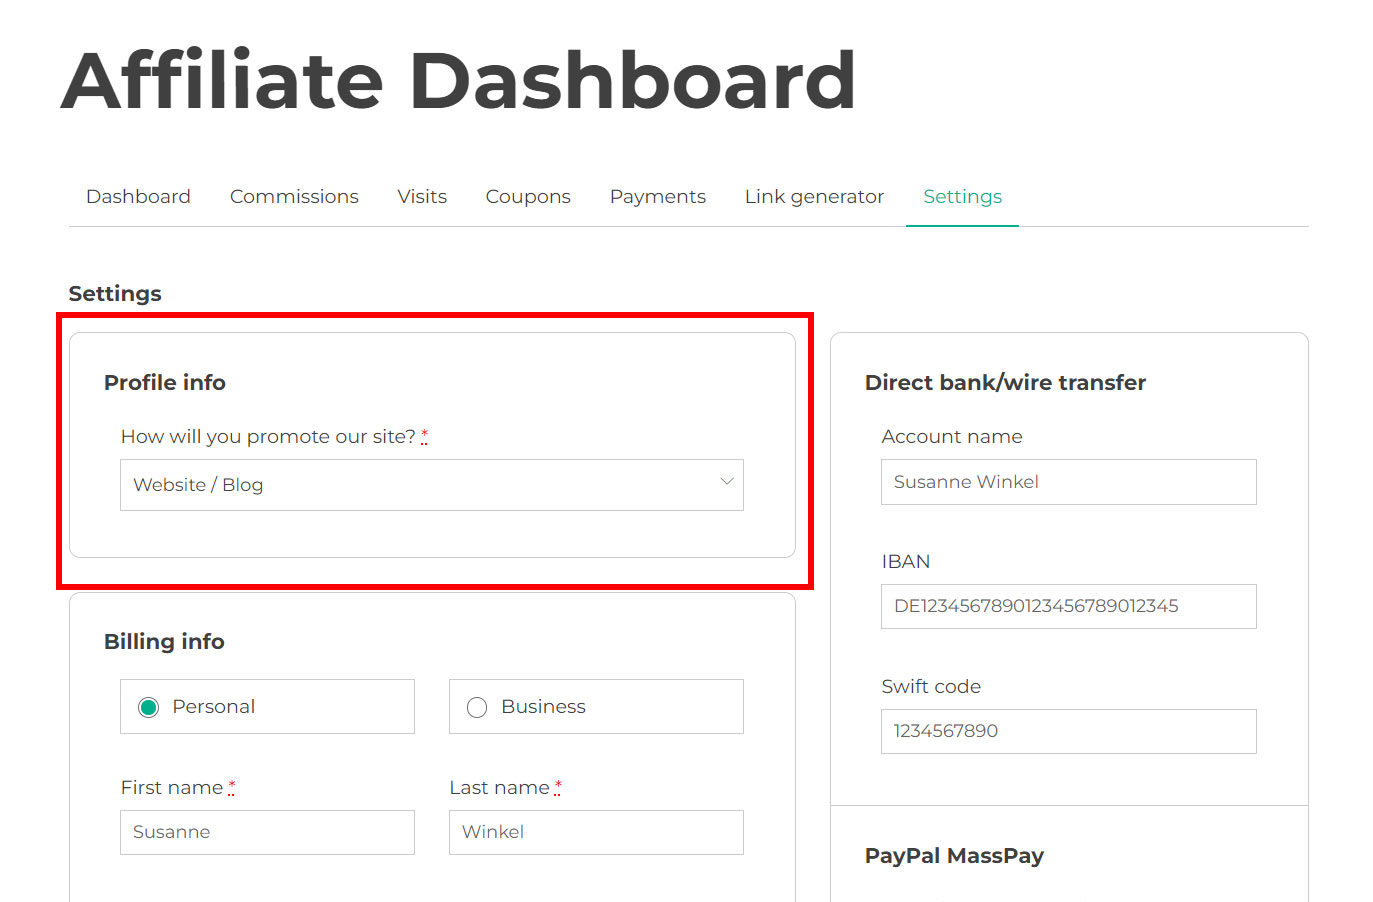
- Show also in the Affiliate Dashboard: enable this if you want to show this field also in the Affiliate Dashboard after the affiliate’s account approval. This can be useful for fields that the affiliate user can update at a later stage.
- Show also in the Become an Affiliate form: this option allows you to show the field in the form that is shown to registered and logged-in users who want to submit an affiliate application. The Affiliate registration form allows anyone to register as a user and as an affiliate, whereas the Become an Affiliate form is displayed to logged-in users when they visit the Affiliate Dashboard and will include only the affiliate-related forms.
- Make it mandatory: enable this option to make the field mandatory.
Below the fields, you will find an important option:
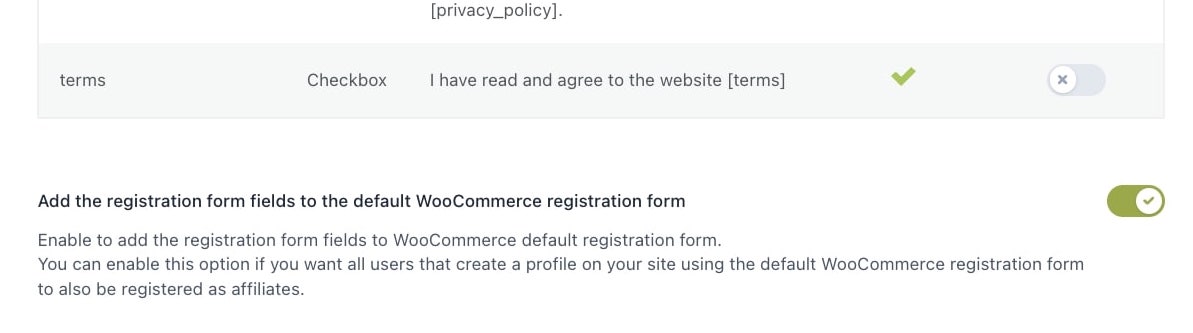
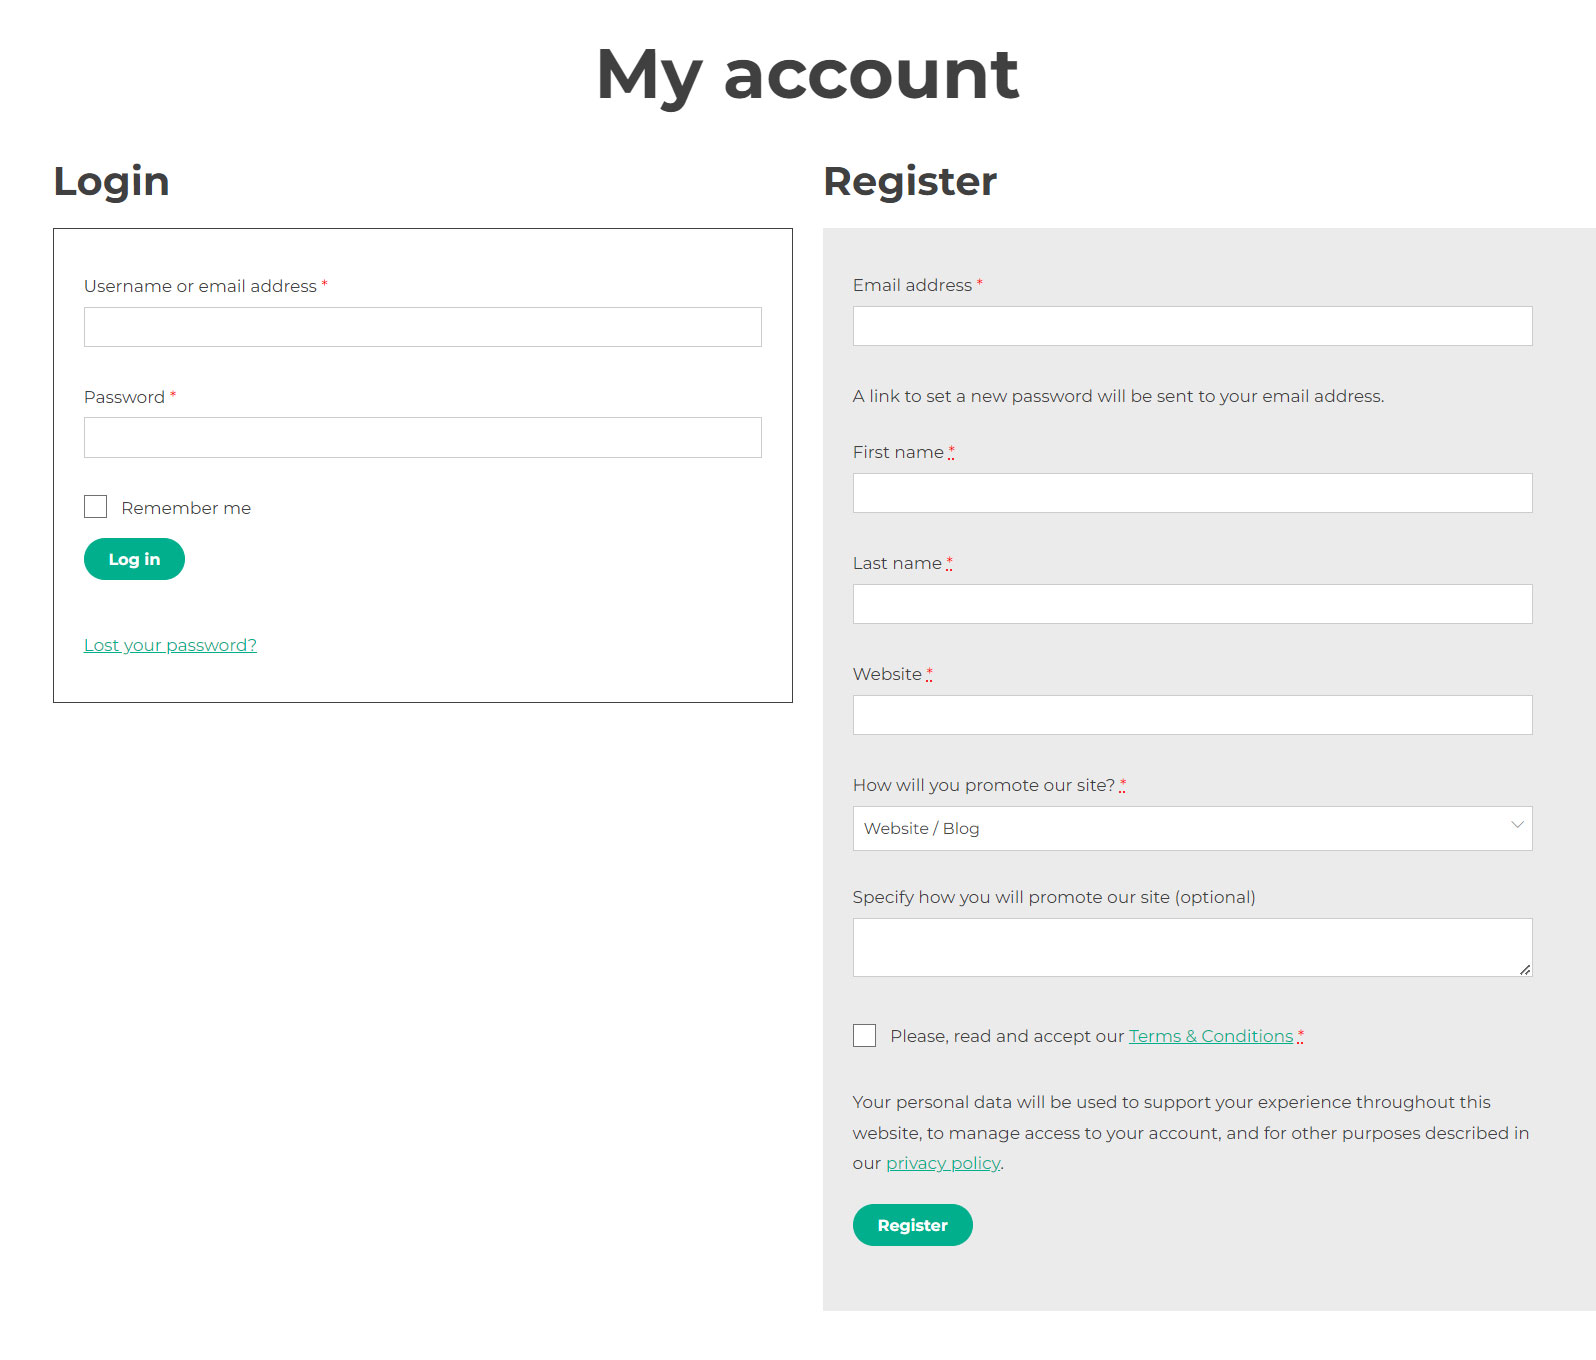
Add the registration form fields to the default WooCommerce registration form: enable this option to add the affiliates registration form fields in the WooCommerce default registration form. In this way, all users who register to your site will also automatically submit an application as affiliates at the same time.
Note: if this option is enabled, you will never be able to see the Become an affiliate form, because all new users are automatically applying as affiliates during the registration. The only exception would be in case the user registered before the option was enabled.
Registration options
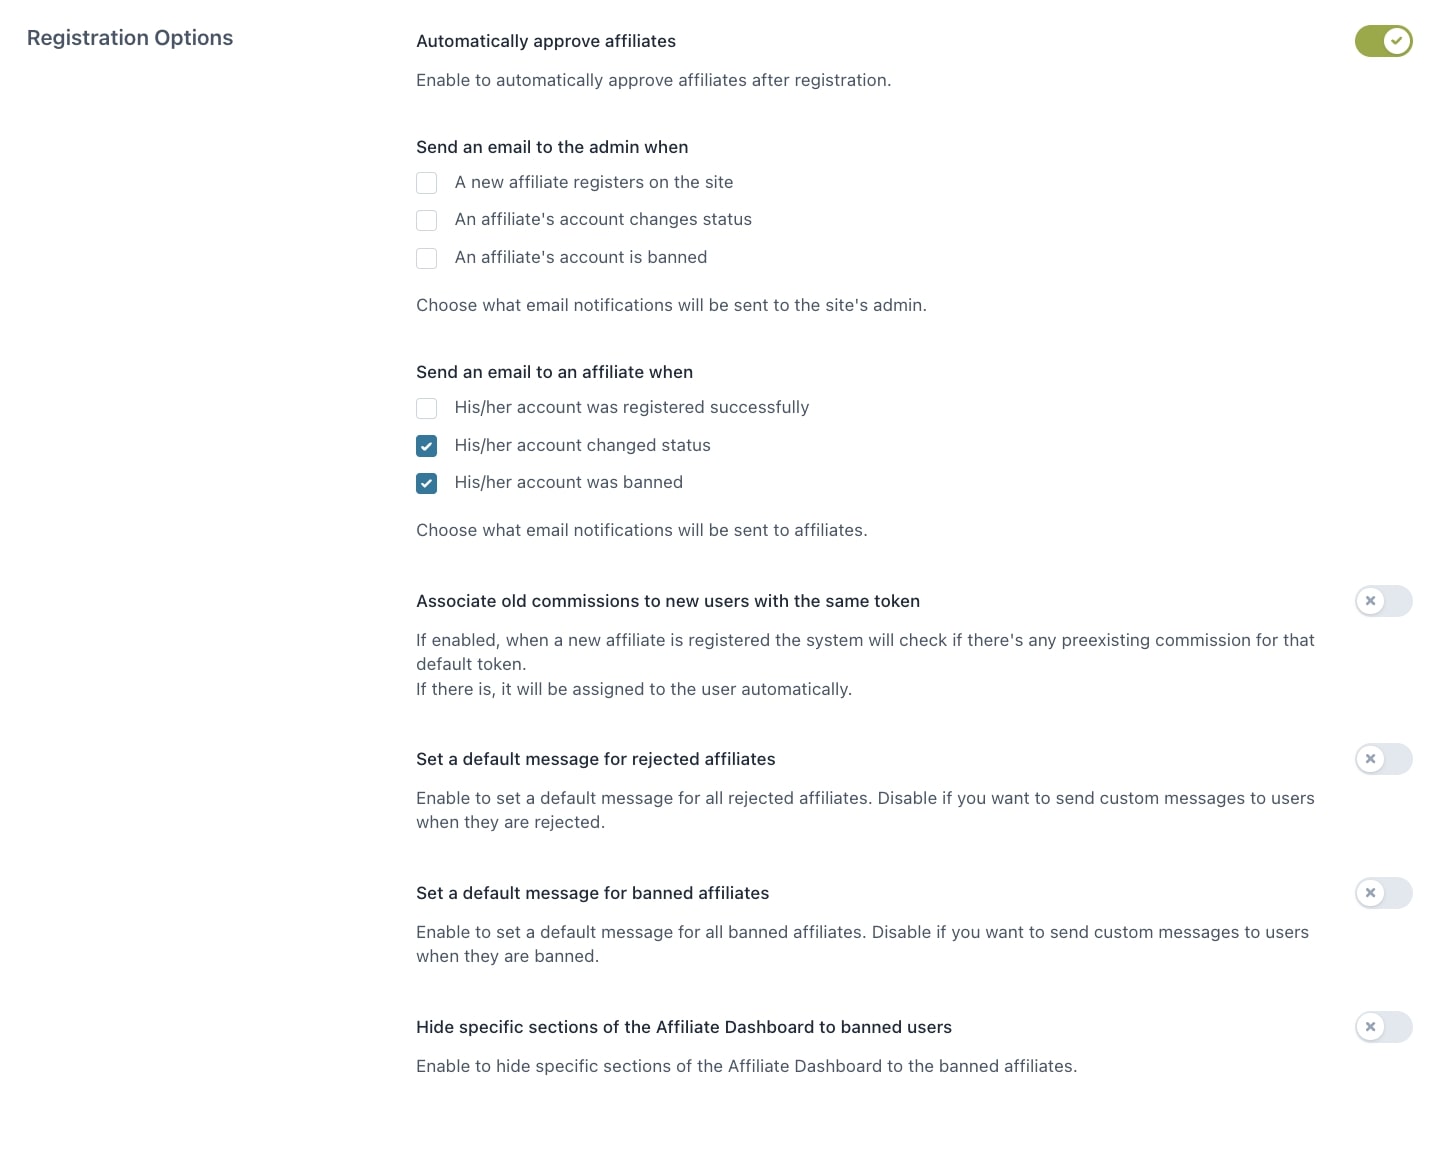
Automatically approve affiliates: enable to automatically approve affiliates after their registration.
Send an email to the admin when:
- a new affiliate registers on the site
- an affiliate’s account changes status
- an affiliate’s account is banned
Send an email to an affiliate when:
- his/her account was registered successfully
- his/her account changed status
- his/her account was banned
You can edit these email notifications from WooCommerce > Settings > Emails.
Associate old commissions to new users with the same token: if enabled, when a new affiliate is registered, the system will check if there’s any preexisting commission for that default token. If there is any, it will be assigned to the user automatically.
Set a default message for rejected affiliates: enable to set a default message for all rejected affiliates. Disable if you want to send custom messages to users when they are rejected.
Set a default message for banned affiliates: enable to set a default message for all banned affiliates. Disable if you want to send custom messages to users when they are banned.
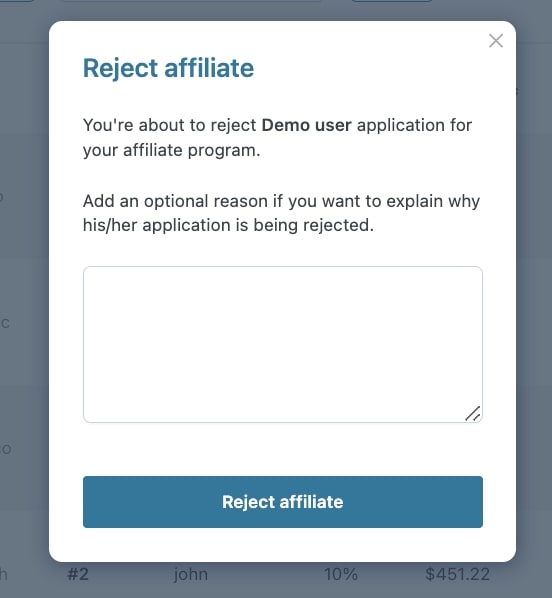
You will be able to set a custom reject or ban message in the affiliate’s profile or from the popup when you reject the affiliate from the actions menu:

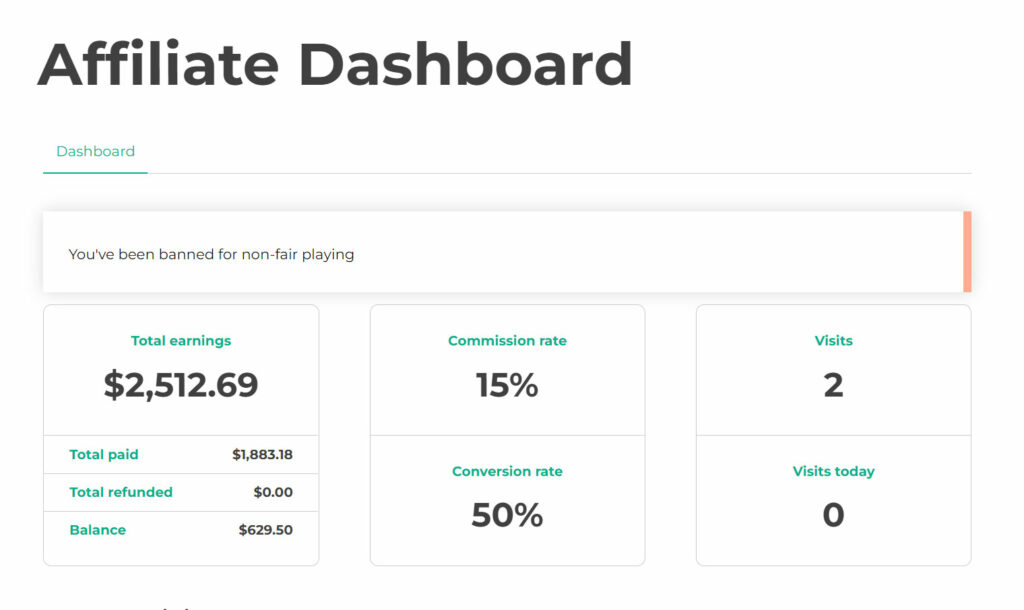
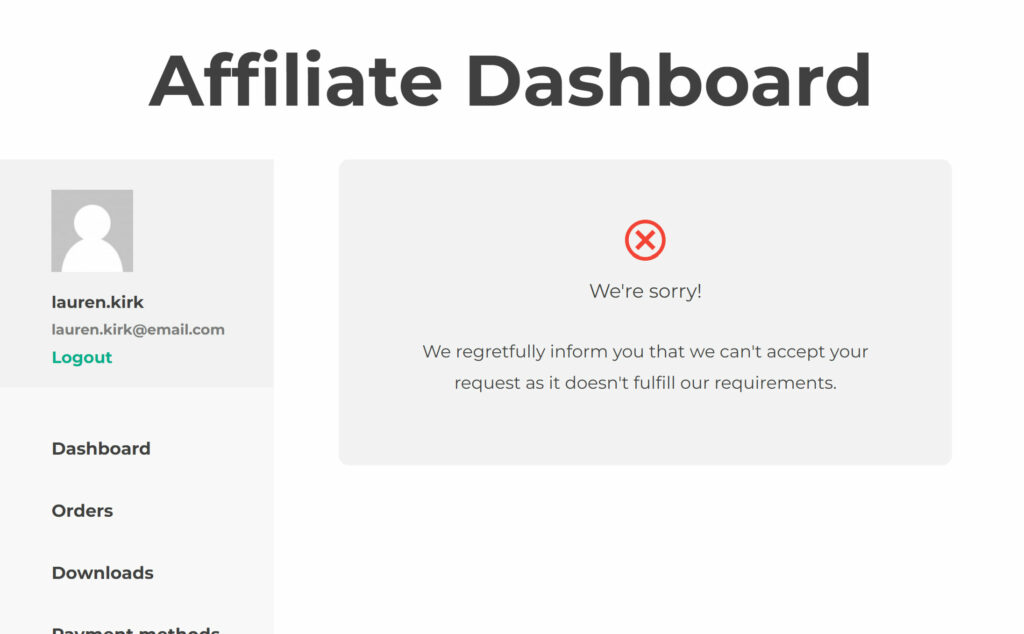
Hide specific sections of the Affiliate Dashboard to banned users: choose to hide one or more sections of the Affiliate Dashboard from banned users. Available sections are:
- Dashboard
- Commissions
- Visits
- Coupons
- Payments
- Link generator
- Settings