At the same time, within the Quote options tab, you’ll find three set of options:
Quote options
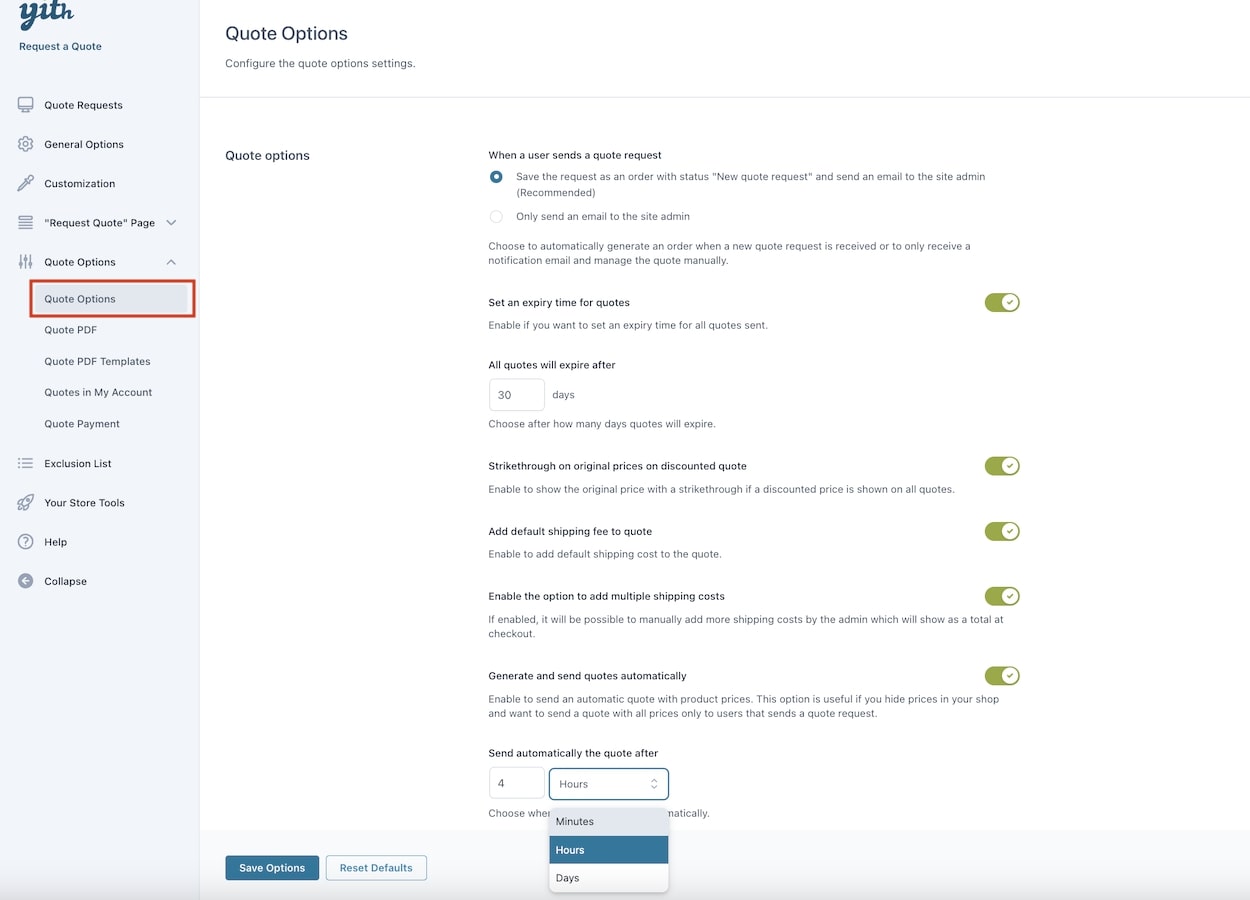
When a user sends a quote request: either automatically generate an order (recommended) or only receive a notification email and manage the quote manually.
Set an expiry time for quote: enable to set an expiry time for all quotes sent.
All quotes will expire after: xx days
It is possible to override the expiry date for the quote inside each quote (WooCommerce > Orders > Quote request.
Strikethrough on original prices on discounted quote: to show the original prices with strikethrough on quotes if they have been discounted by the admin.
Add default shipping fee to quote: to apply the general shipping fee, set up for your shop.
Enable the option to add multiple shipping costs: possibility to manually apply more than one shipping fee to the quote. The total will show in the quote offer.
Generate and send quotes automatically: send an automatic quote with product prices. This option is useful if you hide prices in your shop and want to send a quote with all prices only to users that send a quote request.
Send automatically the quote after: xx minutes, hours, days
Accept/Reject options
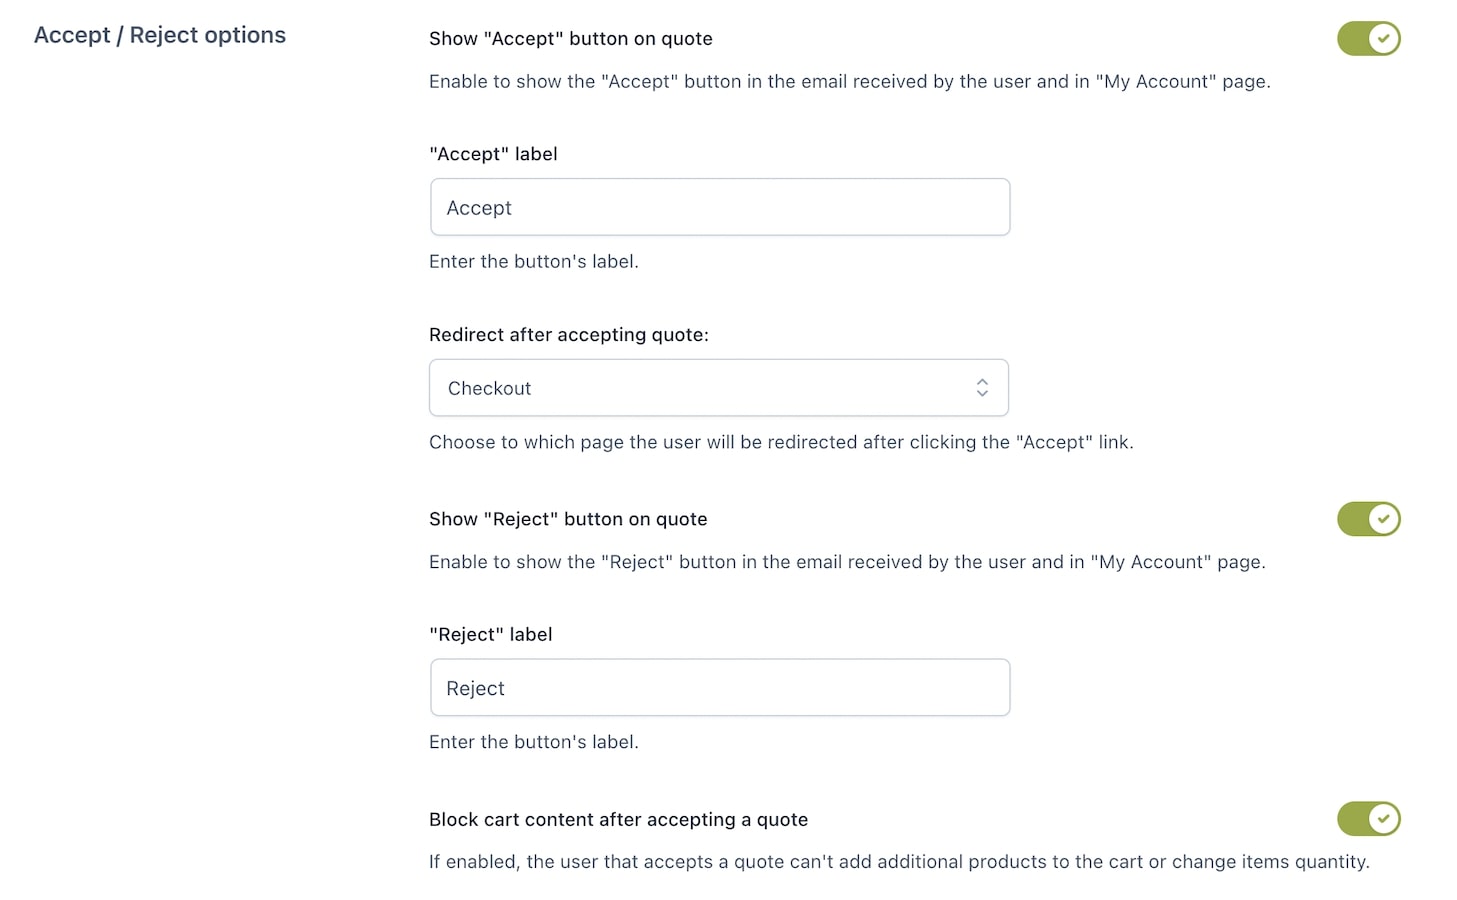
Show “Accept” button on quote: the “Accept” button is visible in the email received by the user and on “My Account” page.
“Accept” label: enter a text to rename the button.
Redirect after accepting quote: after clicking on the “Accept” link, choose to which page the user will be redirected.
Show “Reject” button on quote: the “Reject” button is visible in the email received by the user and on “My Account” page.
“Reject” label: enter a text to rename the button.
Block cart content after accepting a quote: prevent users from adding additional products to the cart after accepting the quote.
Quote payment options
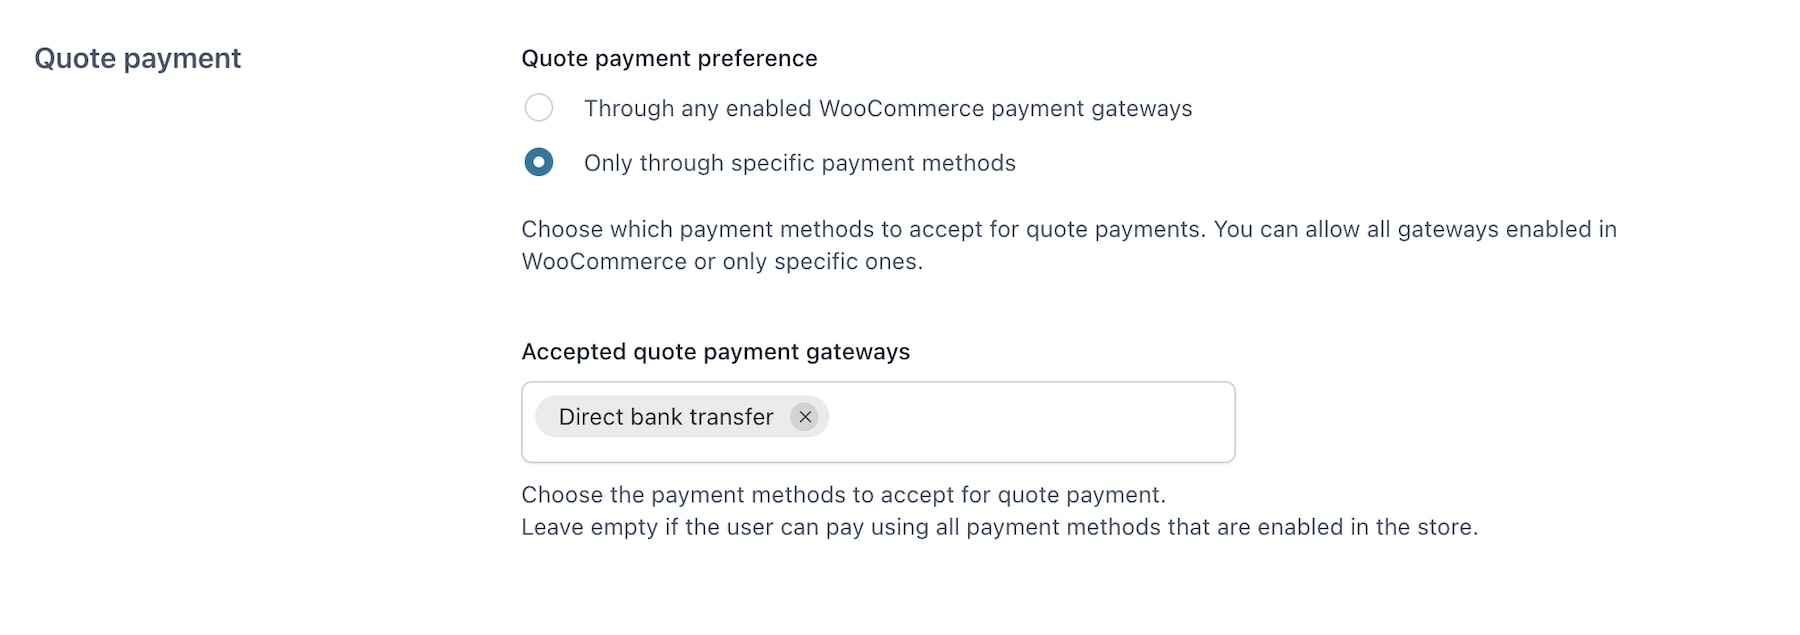
Quote payment preference: choose which payment method to accept for quote payments. Allow all gateways enabled in WooCommerce or only a specific one.
Accepted quote payment gateways: choose the payment method(s) to accept for the payment of quotes.
Create a store with automatic quote generation. Your users can send quote requests and will receive an automatic quote with the total price calculated. This option is useful if you do not want to show prices, but you want to share them only if users get in touch with you.
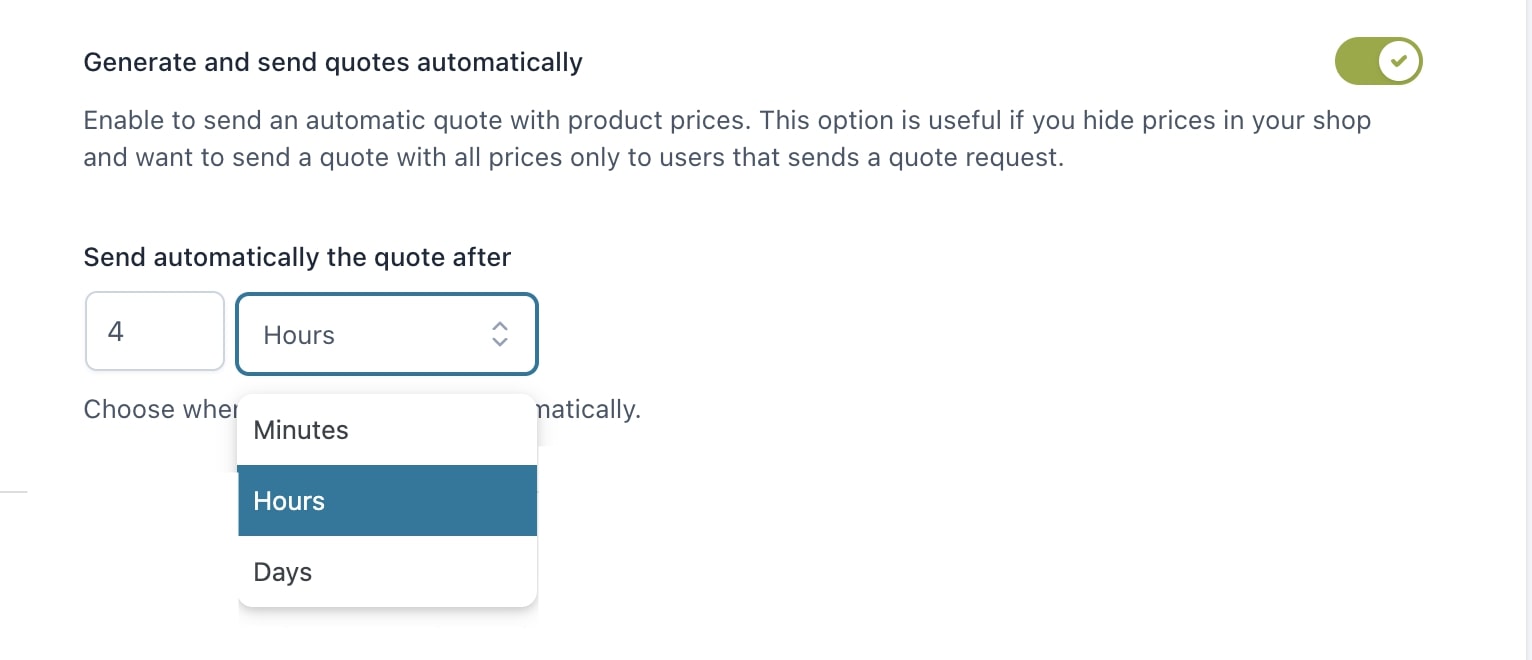
Generate and send quotes automatically: enable this option to let the plugin automatically send an email with the quote to customers who send a request.
Send automatically the quote after: with this option, you can decide when the automatic quote email will be sent to your users. This can either be minutes, hours, or days. Set 0 if you want to send the quote immediately.
We suggest setting it to 4 or 5 hours to make the quote look more realistic as if there is a person behind it. You can set it to “0” but please consider that this will make your users immediately understand that there’s a robot (and not a person who cares about them) behind the quote. This could make the quote and added discount lose part of its marketing efficacy.
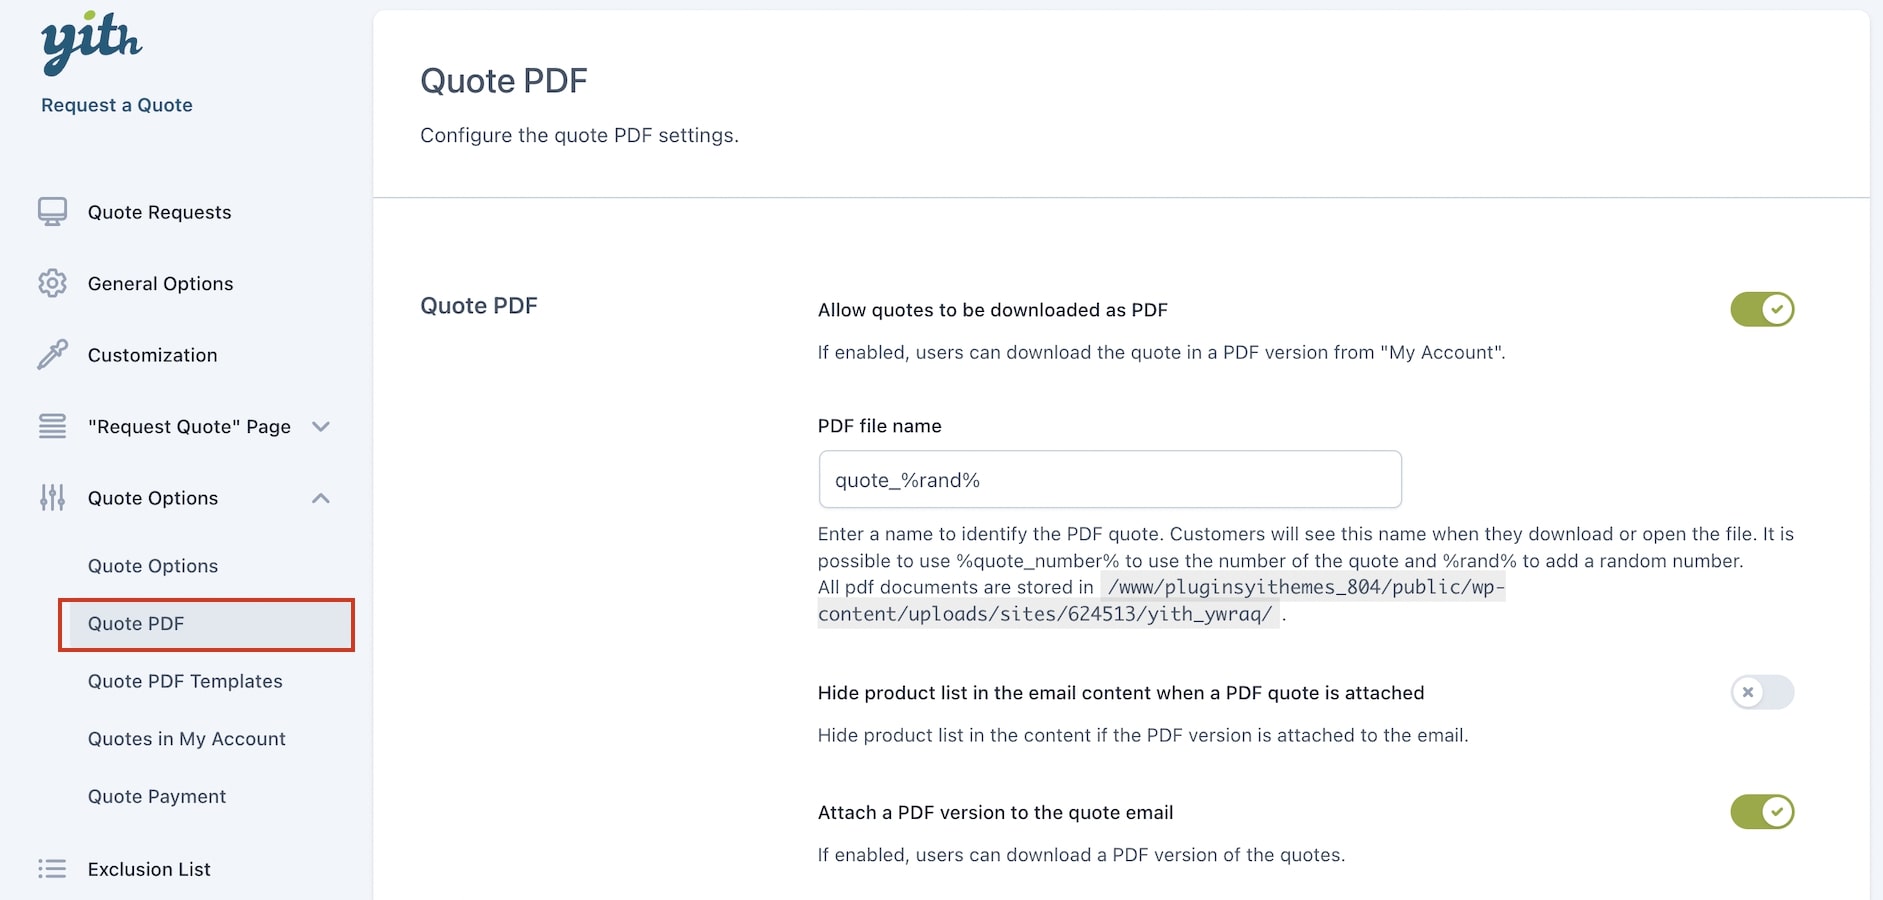
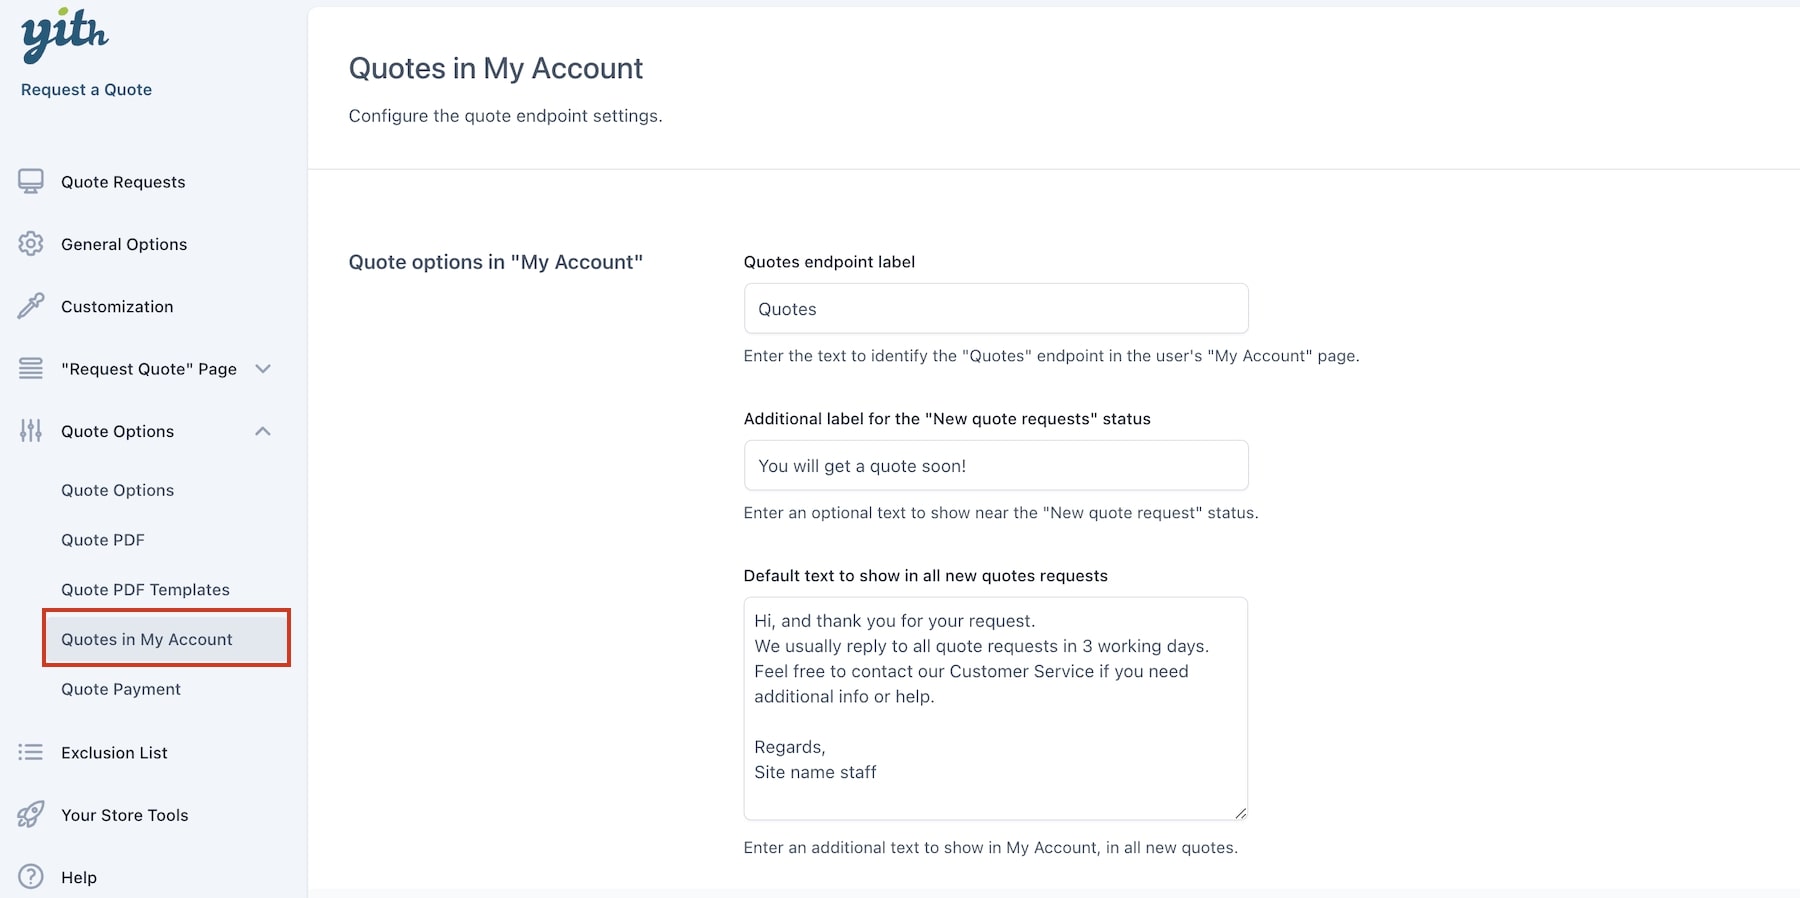
You will find two sections, the “Quote PDF” settings and the “PDF Layout” settings. In the first section you can enable the following options:
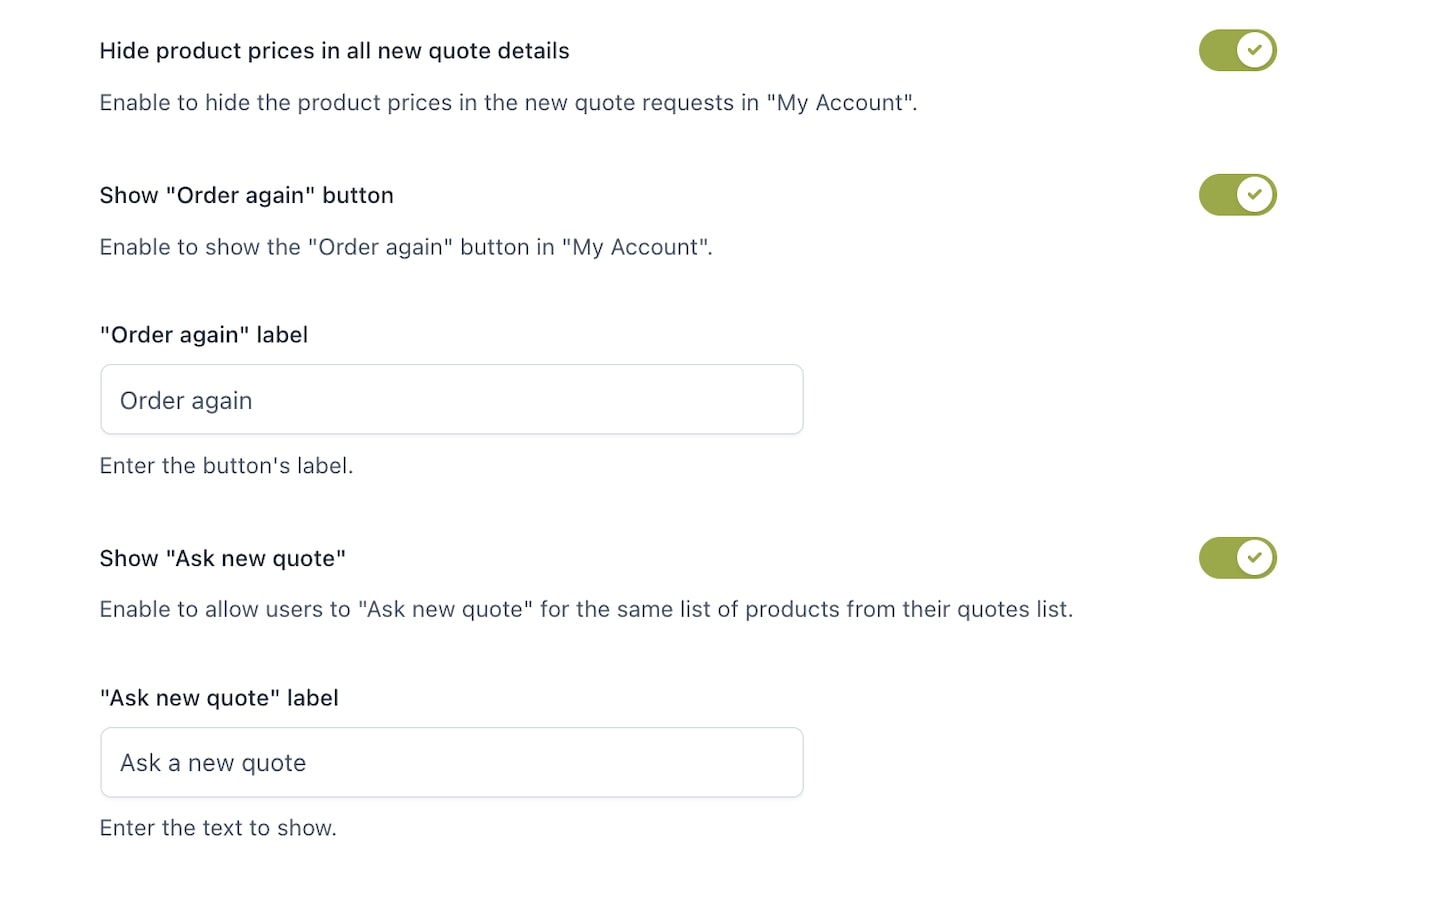
Allow quotes to be downloaded as PDF: download the quote in a PDF version from the “My Account” page
PDF file name: enter a name to identify the PDF quote. Customers see this name when they download or open the file. It is possible to use %quote_number% to use the number of the quote and %rand% to add a random number.
Hide product list in the email content when a PDF quote is attached: hide product list in the content if the PDF version is attached to the email.
Attach a PDF version to the quote email: download a PDF version of the quotes.
PDF Quote Templates
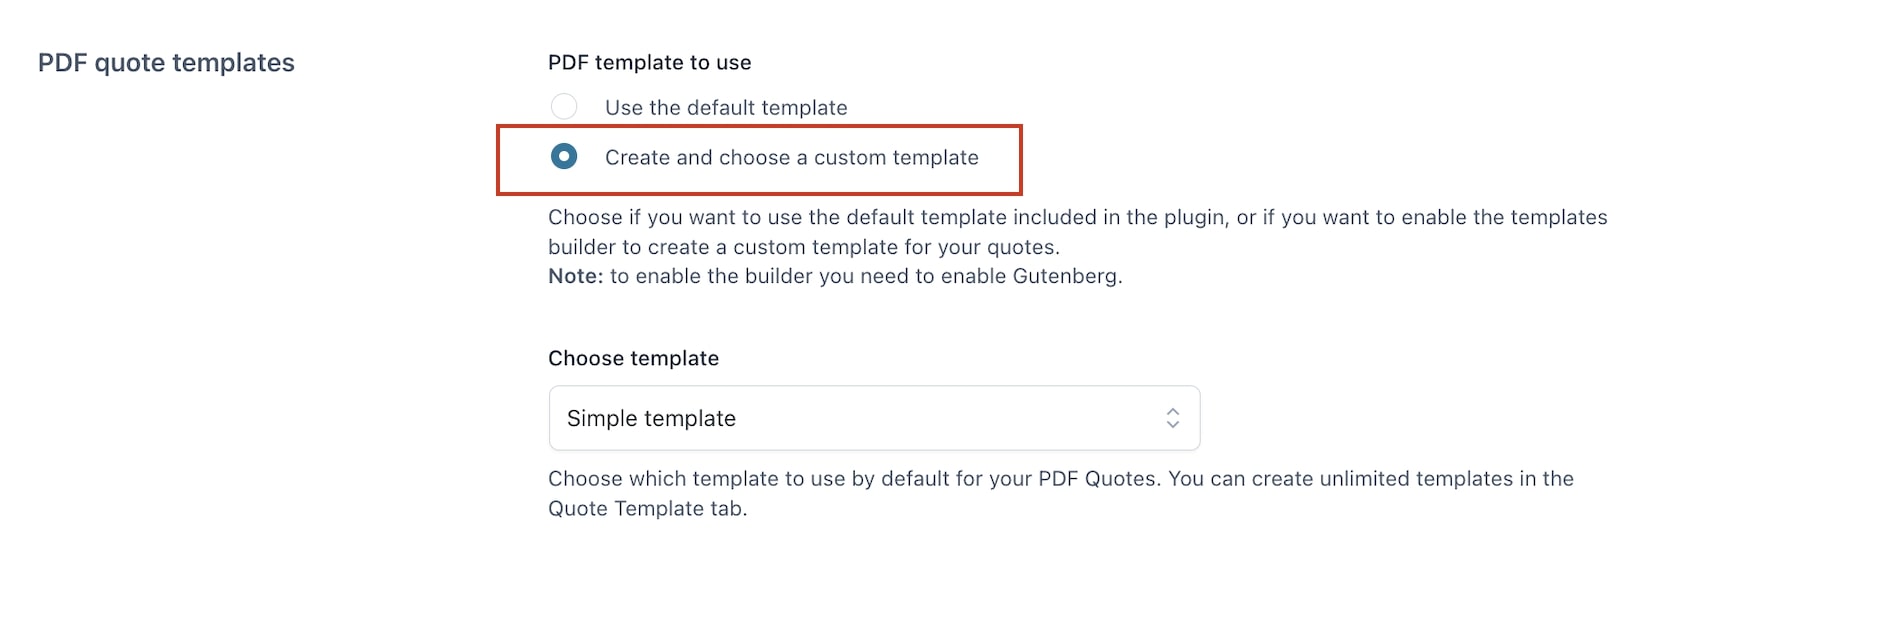
In the section PDF Quote Templates, you will be able to choose whether to use the default template or a custom one.
Default template
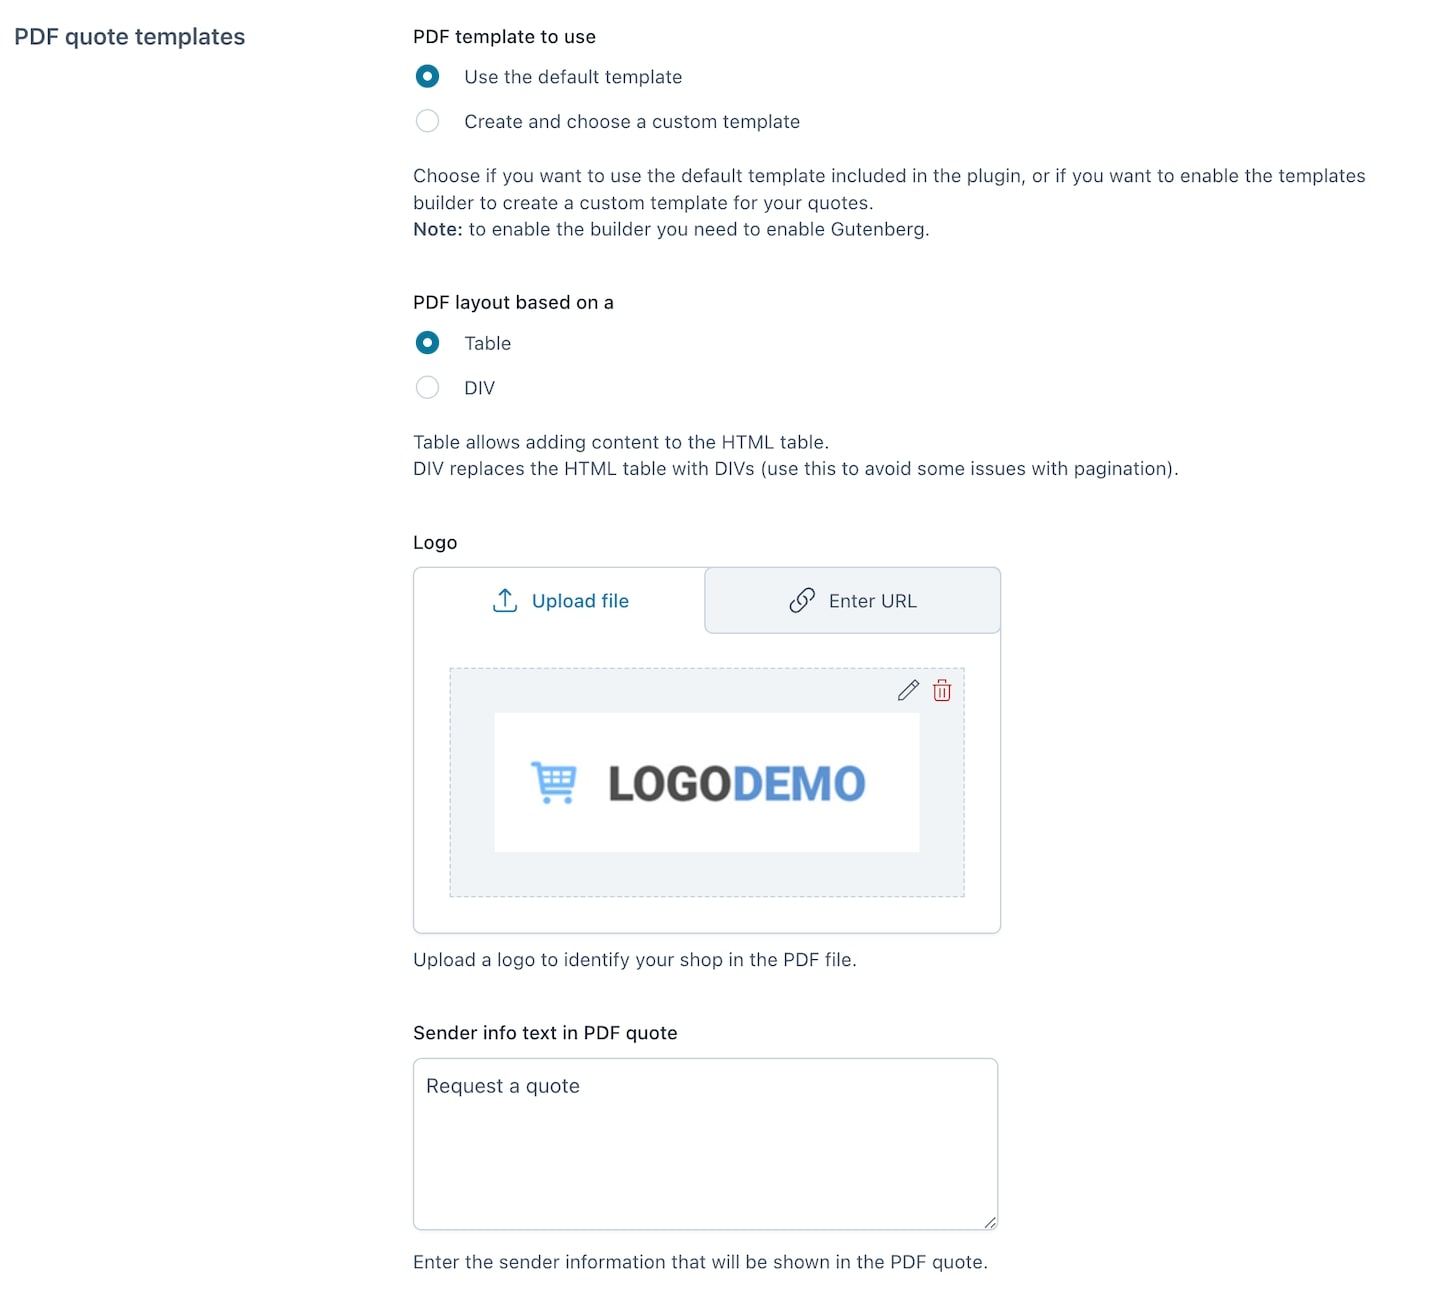
By choosing to use the default template, you will need to set the following options:
PDF layout based on a: choose from Table (this allows adding content to the HTML table) or DIV (this replaces the HTML table with DIVs. Recommended to avoid some issues with pagination.
Logo: choose the image that you want to use as a logo. Pick it from your media library or upload one.
Sender info text in PDF quote: your company/shop information that will show on top of the quote document as sender information.
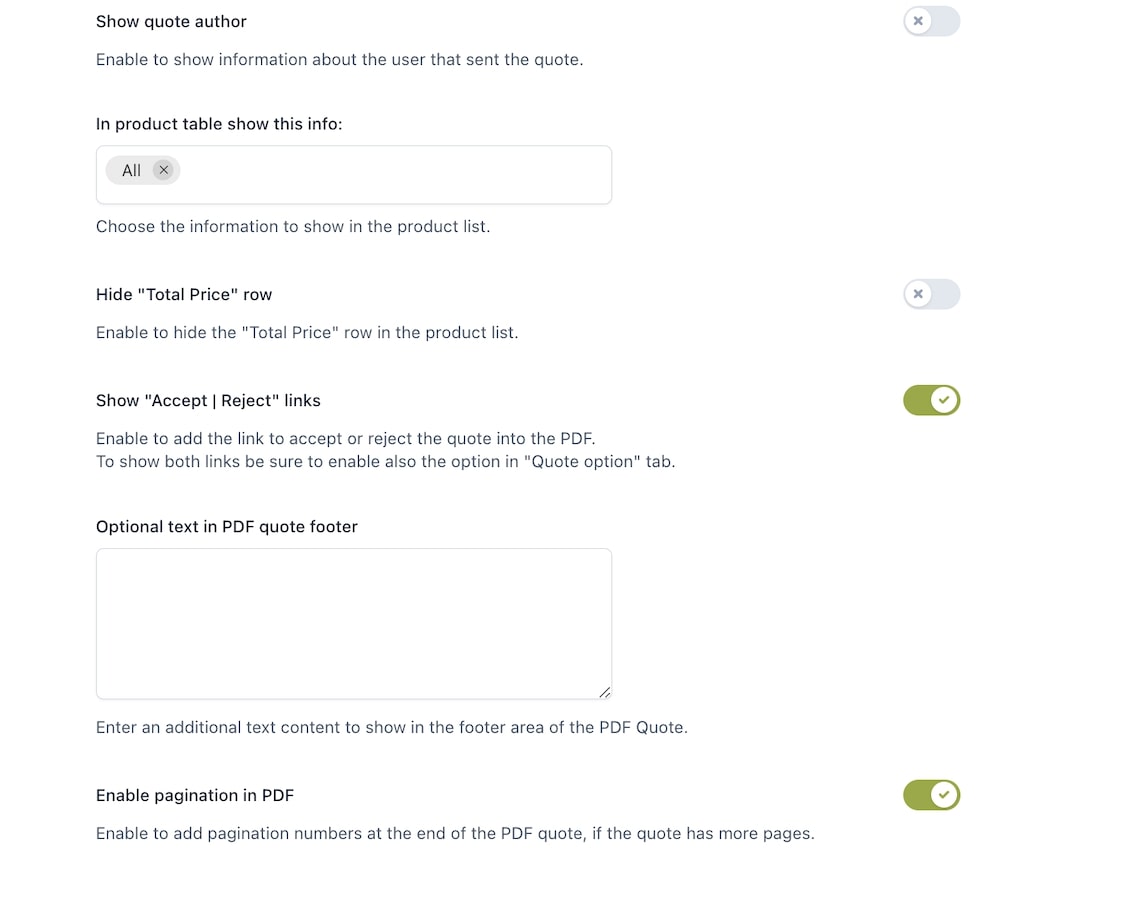
Show quote author: information of the person who sent the quote will show in the PDF header (make sure the user profile is filled).
In product table show this info: info shown in the product list:
All
Product thumbnail
Product name
Unit price
Quantity
Product subtotal
Hide “Total price row”: hide the “Total Price Row” in the product list.
Show “Accept | Reject” links: adds a link to accept or reject the quote in the PDF. To show both links make sure to also enable the option in the “Quote options” tab.
Optional text in PDF quote footer: additional text content to show in the footer area of the PDF Quote.
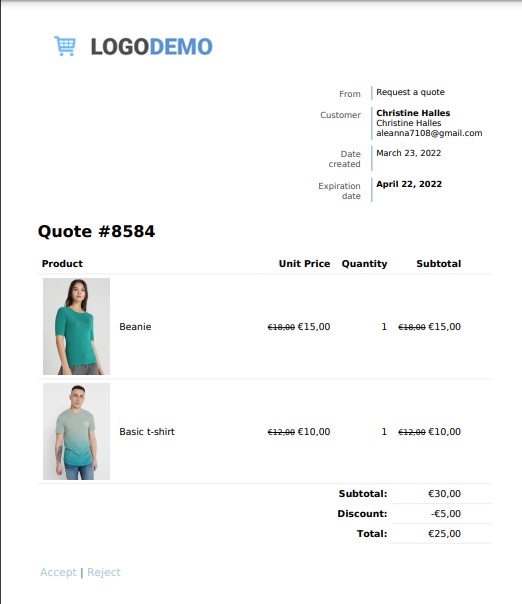
PDF example
As you can see, the company logo is visible, the sender info text (from) and the accept/reject links.
Enable pagination in PDF: add pagination numbers at the end of the PDF quote, if the quote has more than 1 page.
Custom template
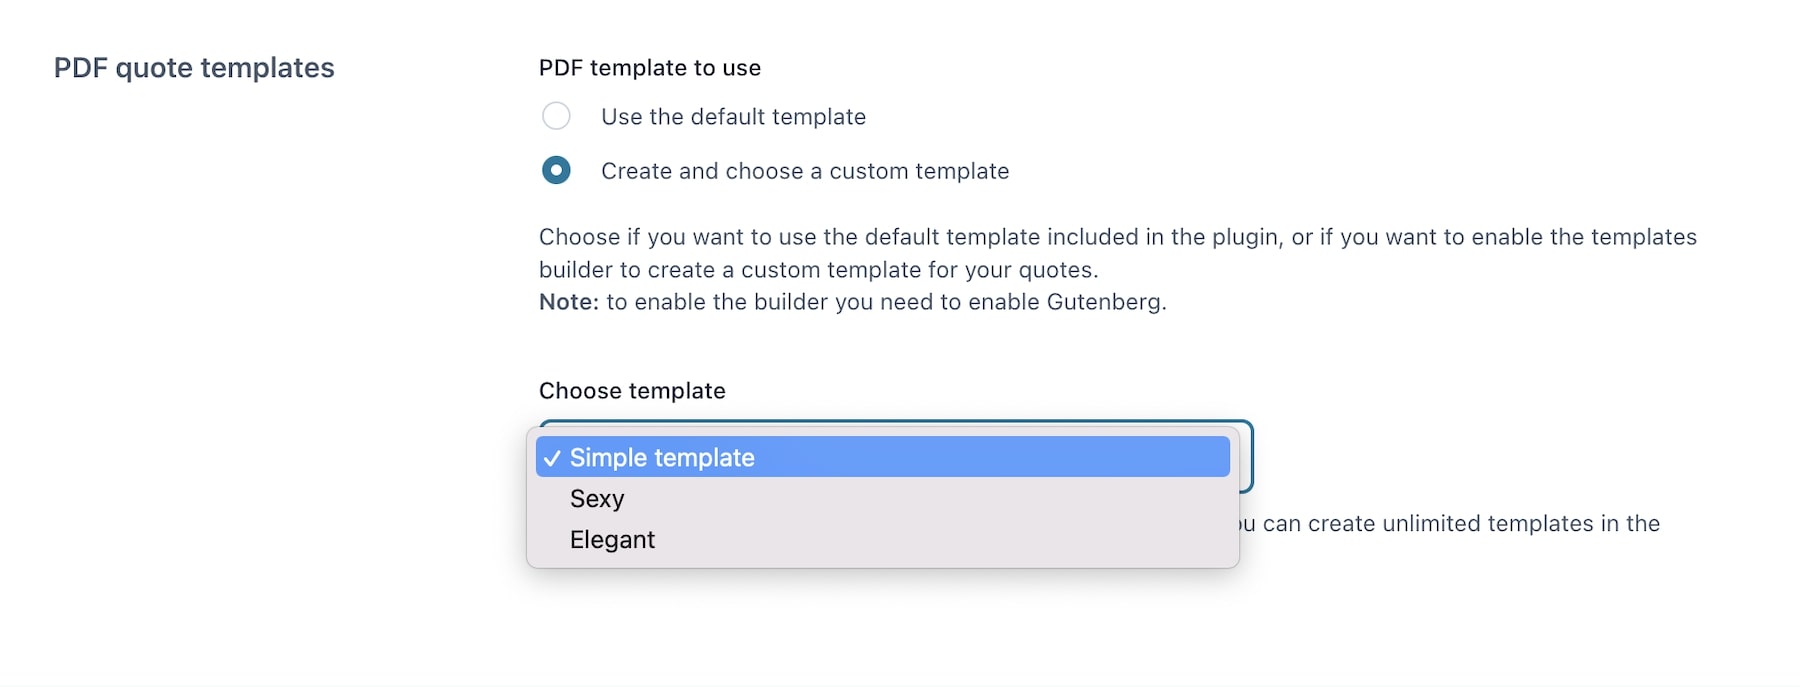
By choosing to use a custom template, you will be able to select the default one (Simple template) or one of those you can create in the tab Quote PDF Templates.
Please note –The Quote PDF Templates tab shows only when selecting the option Create and choose a custom template and will be hidden if choosing Use the default template
To learn about how to create and edit custom templates, please go to this page.
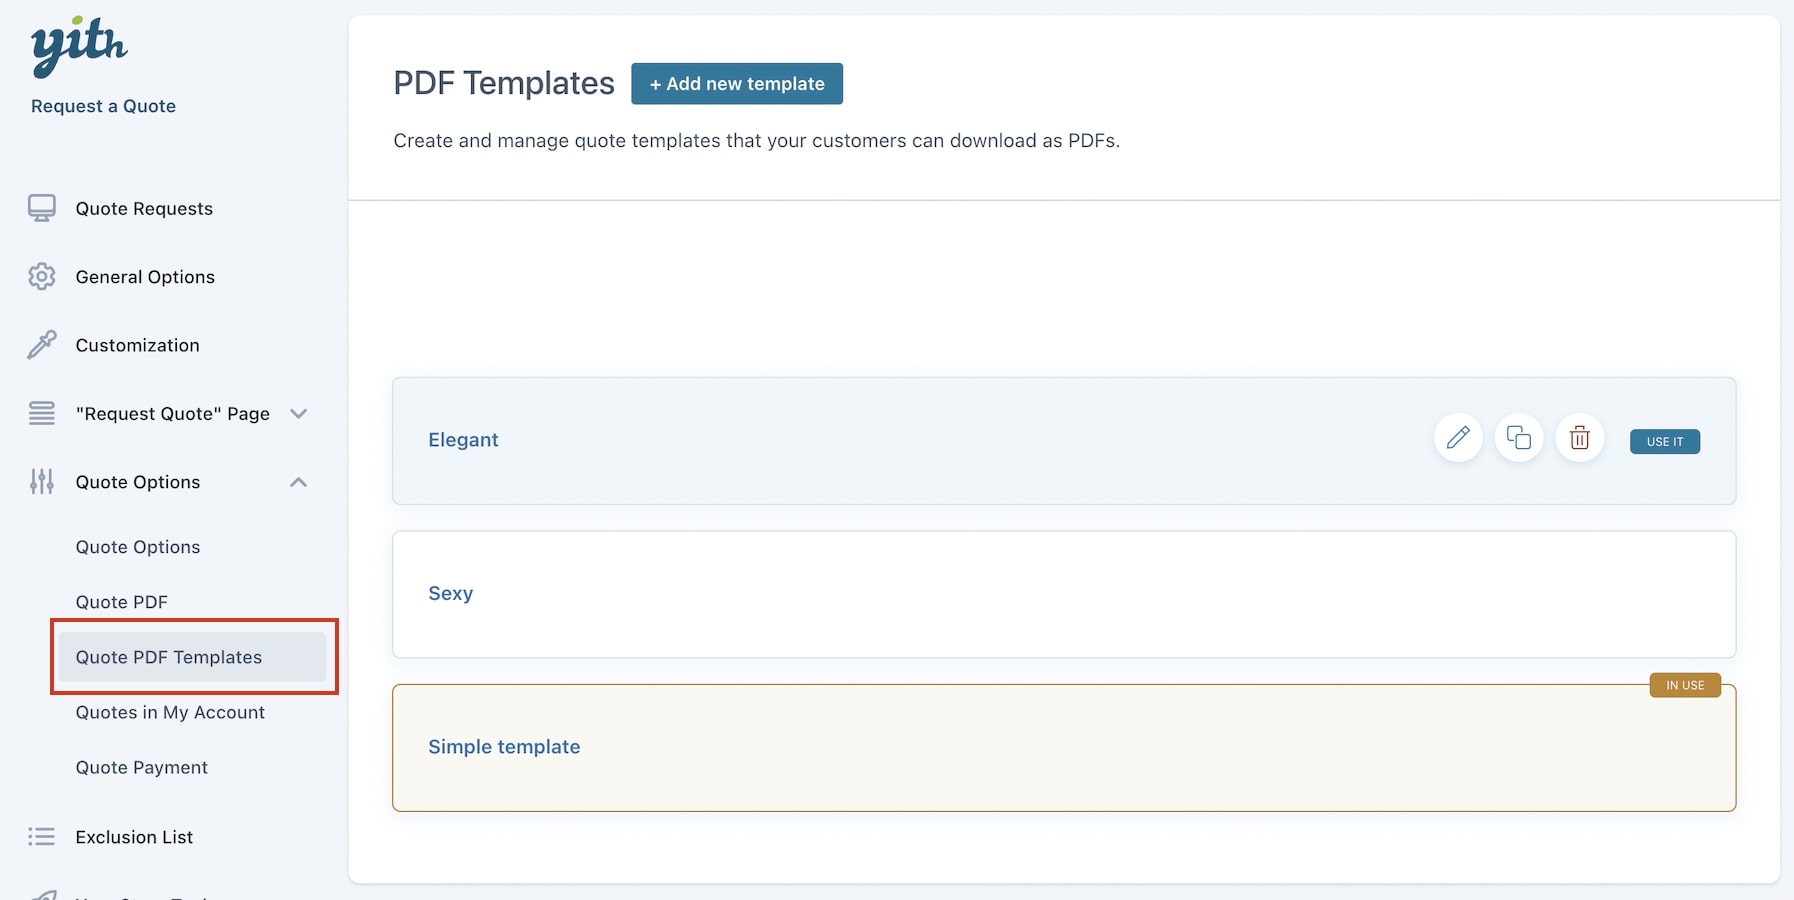
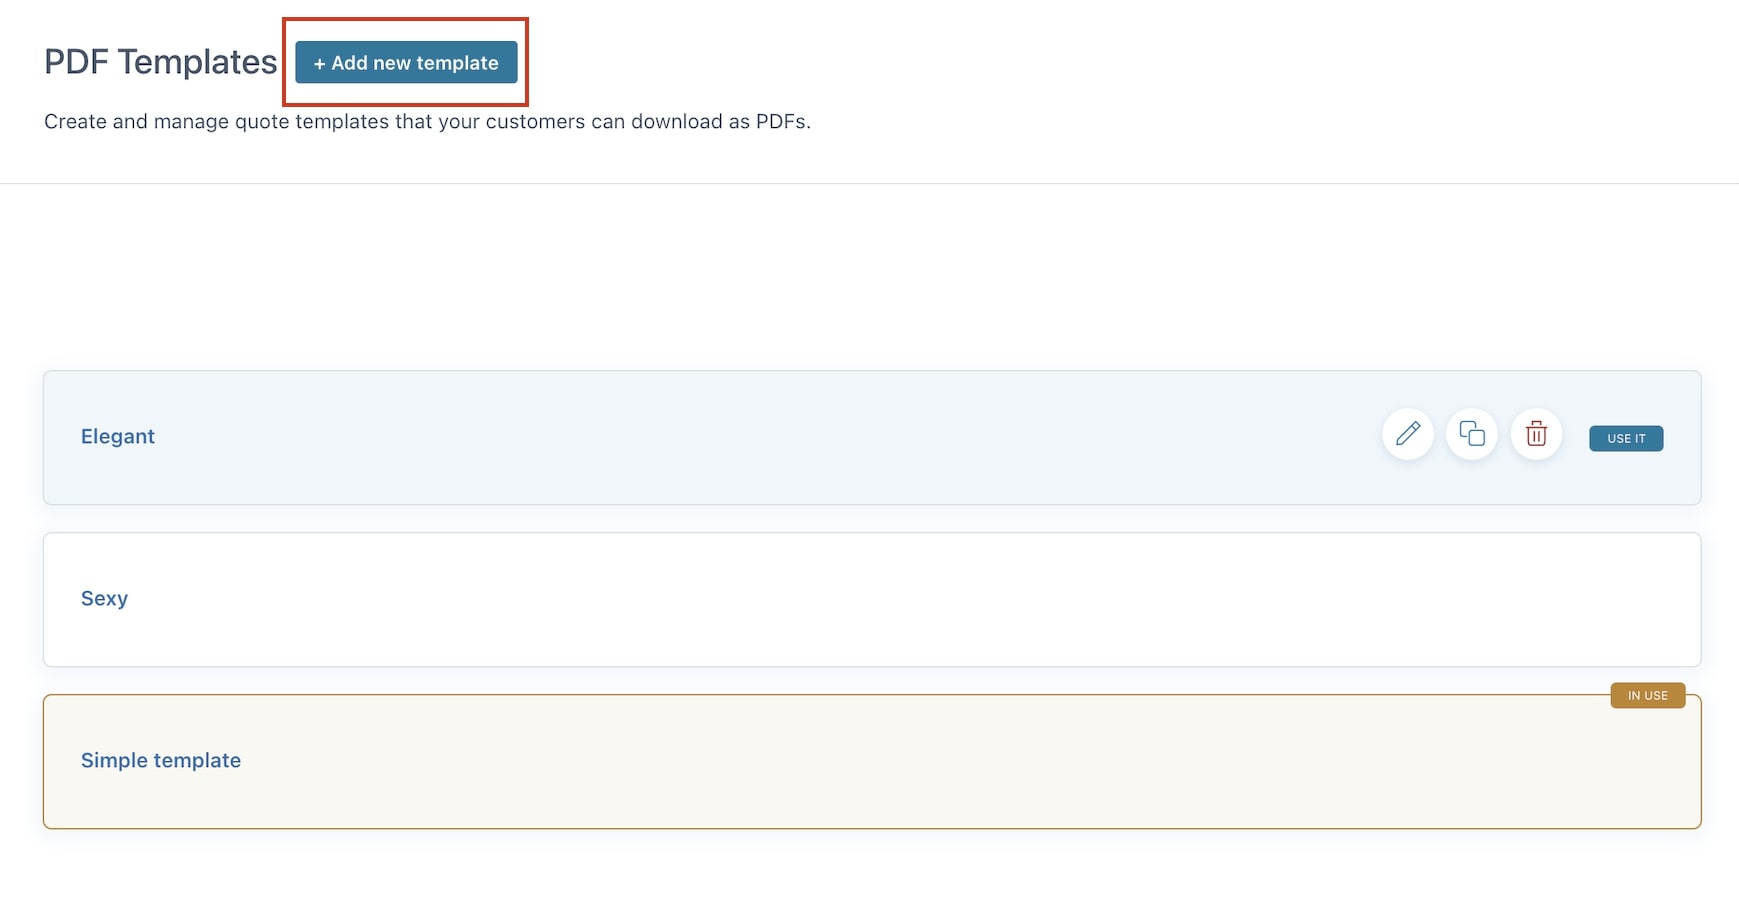
When selecting the option to use a custom template in Quote PDF > PDF Quote Templates, a new tab, Quote PDF Templates, will show.
Here, you will find the default PDF template included in the plugin: Simple template.
Please note – to use the other 8 templates available in the plugin library, you need to have a valid and active license.
To edit the default PDF template and create new ones, make sure to enable Gutenberg first.
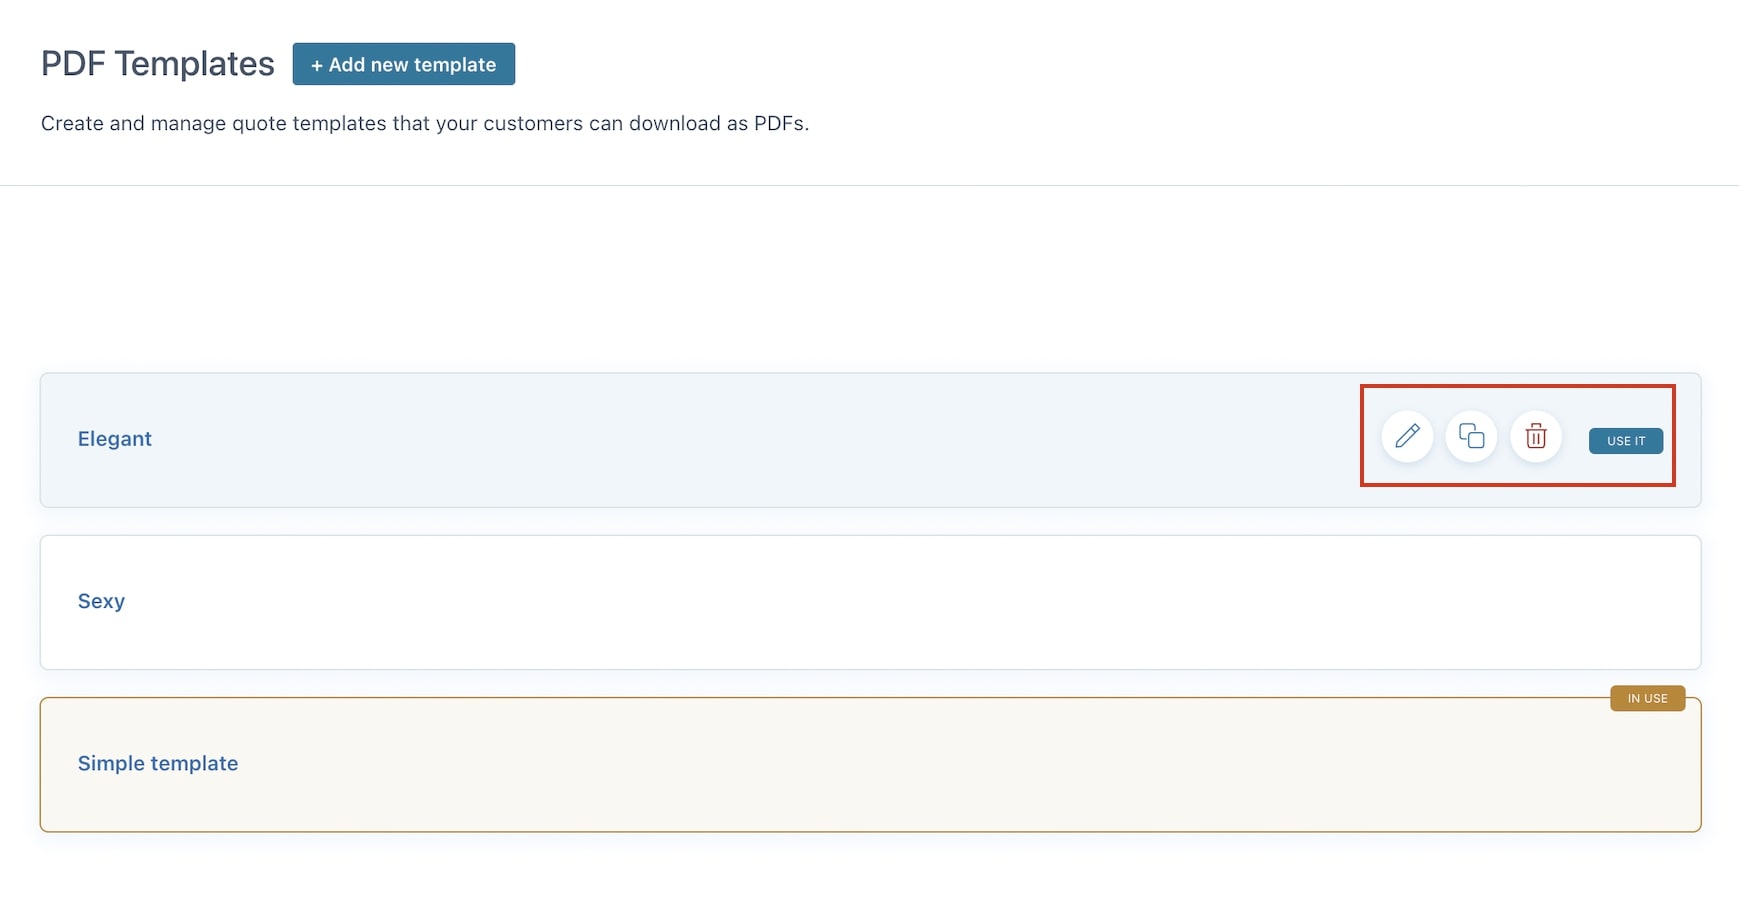
If you hover the mouse over each template, you will be able to see the following actions:
Edit
Duplicate
Delete
“Use it” button: Click on it to instantly change the current template
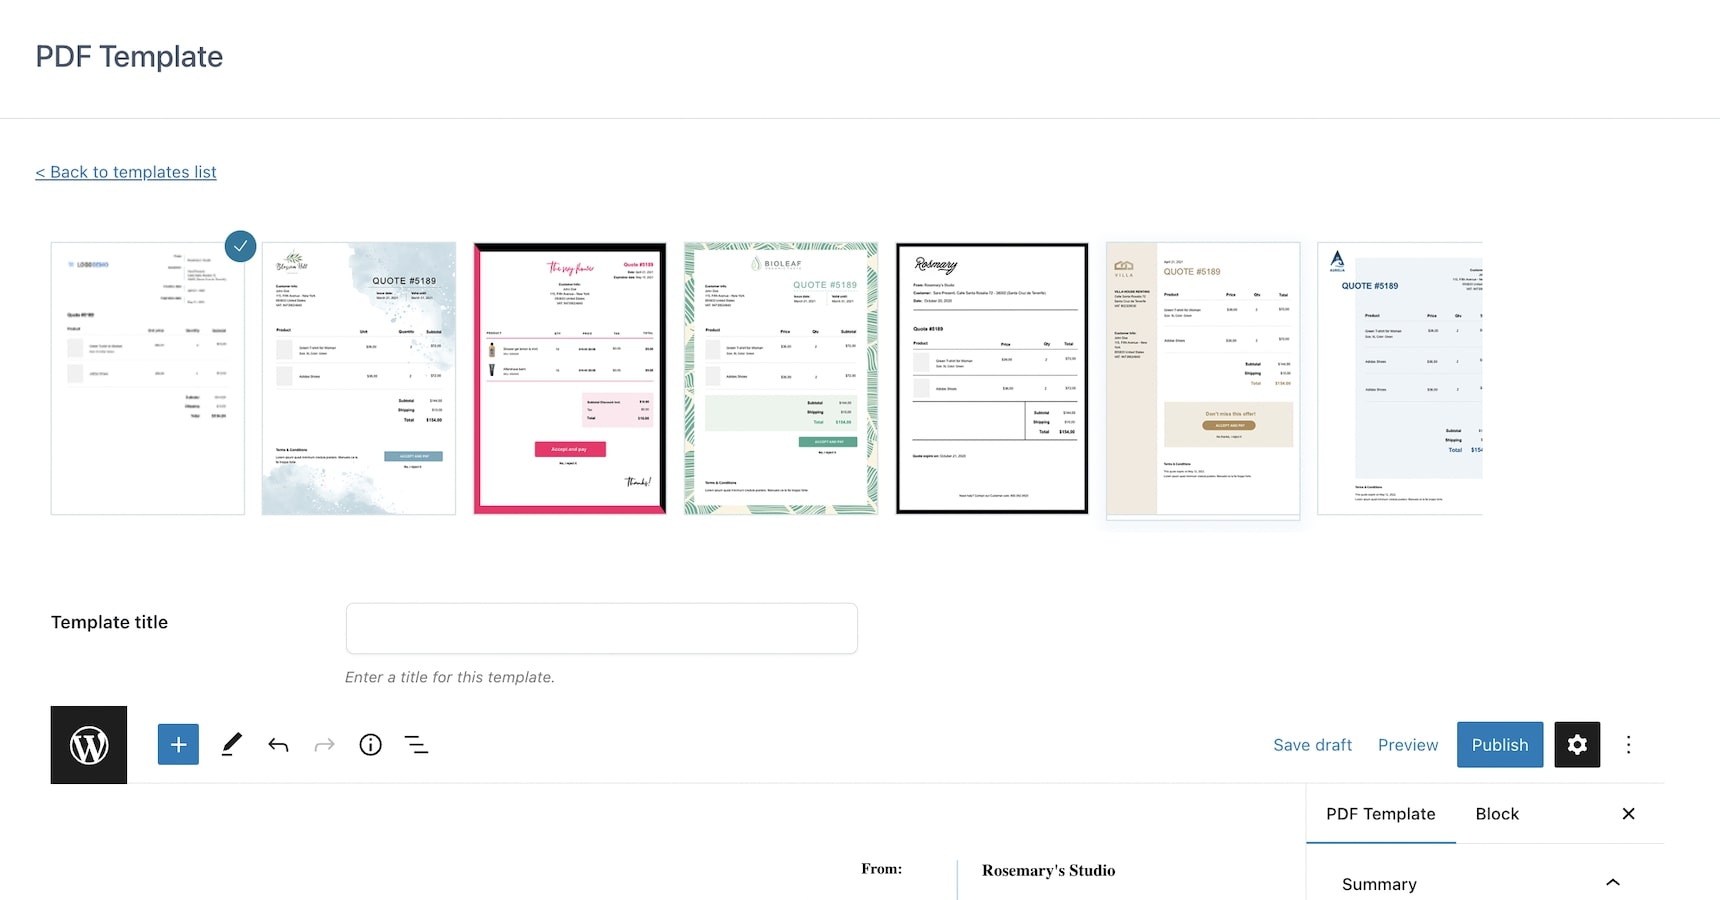
How to create a new template
Click on the button +Add new template then select one of the available templates and enter a title to identify it.
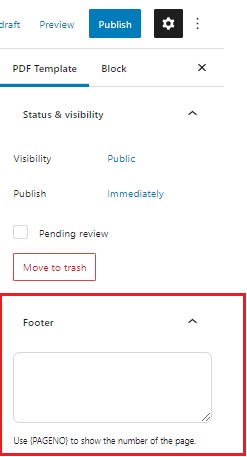
In the Footer, you can enter your company name and, if the template will have more than one page, use the placeholder {PAGENO} to show the number of the page in the PDF.
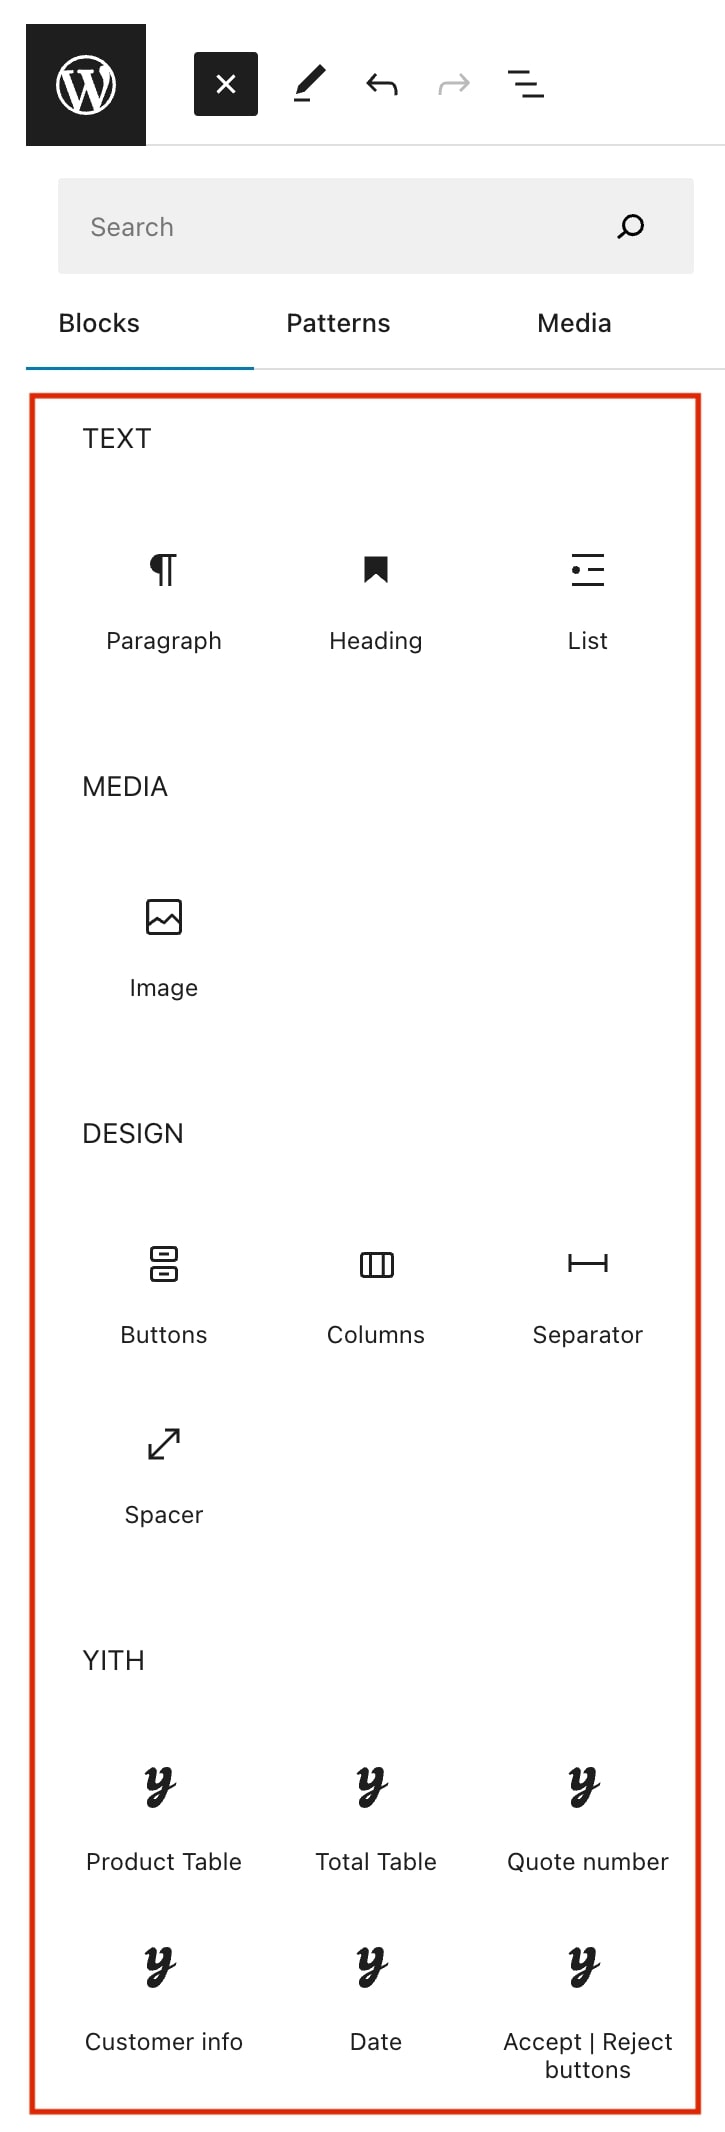
The options and blocks that you will be able to use to create the template as you prefer are the following:
Text: build your texts by using a paragraph, heading, and list style;
Media: you can add images to your blocks;
Design: choose the layout from buttons, columns, separator, and spacer;
YITH: ready-to-use Request a Quote plugin blocks to quickly add the
Product table
Total table
Quote number
Customer info
Date
Accept and Reject buttons.
Plugin block options
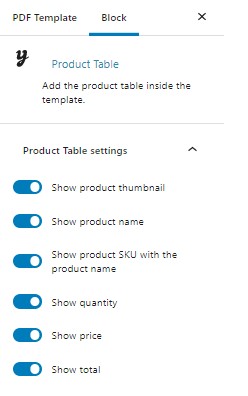
Product table
If you want to add the product table to the PDF template, you can take advantage of the Product table block. When adding this block, you will find a set of options.
Enable/disable what you want to show among:
product thumbnail
product name
product SKU with the product name
quantity
price
total
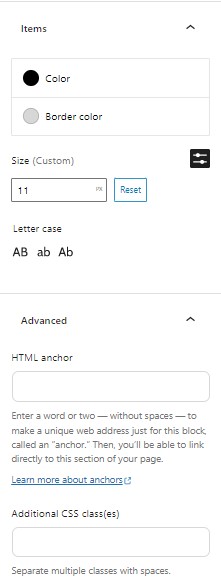
You can also change the titles of the product table items as you prefer.
Titles: customize titles by setting the color and border color, size, and letter case;
Items: customize items by setting the color and border color, size, and letter case;
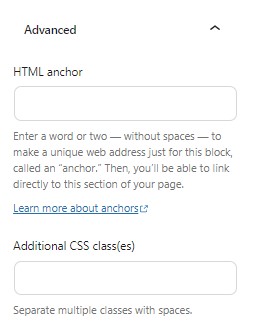
Advanced: here, you can enter HTML anchor and additional CSS classes.
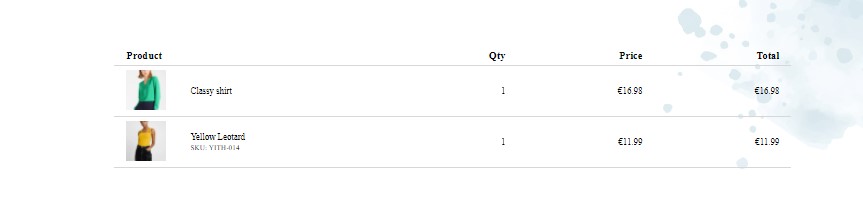
Example
Total table
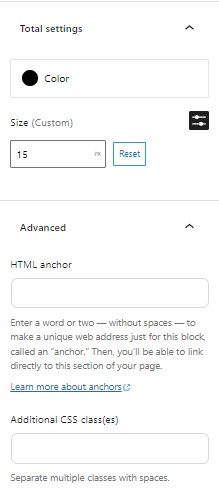
If you want to add the total table to the PDF template, you can take advantage of the Total table block. When adding this block, you will find a set of options.
Table settings: customize the color and background color, and size of the table;
Subtotal labels: set color and size of the subtotal text;
Total settings: customize the color and size of the total;
Advanced: here, you can enter HTML anchor and additional CSS classes.
Example
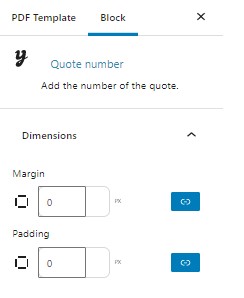
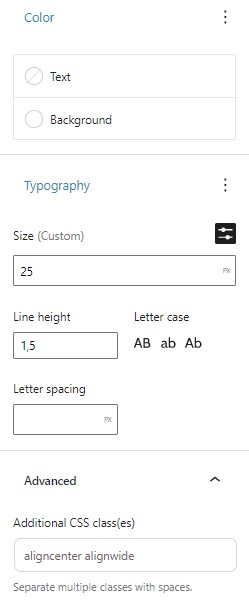
Quote number
If you want to show the quote number in the PDF template, you can take advantage of the Quote number block. When adding this block, you will find a set of options and you will be able to rename “quote” as you prefer.
Dimensions: set the margin (right, top, bottom, left) and padding
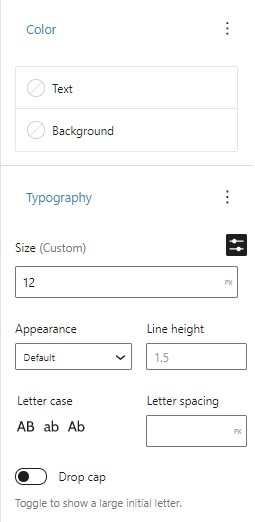
Color: set the color for the text and/or background;
Typography: set the font size, line height, letter case, and letter spacing;
Advanced: here, you can enter additional CSS classes.
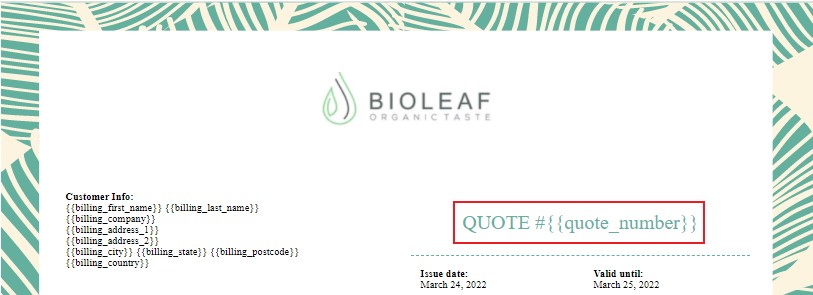
Example
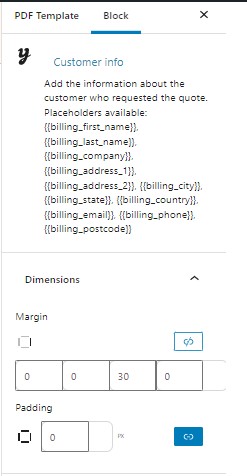
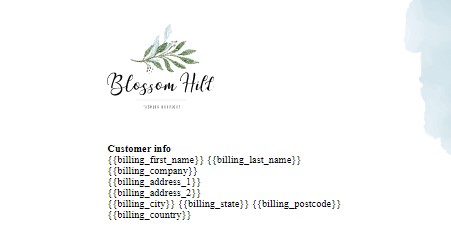
Customer info
If you want to show the customer details in the PDF template, you can take advantage of the Customer info block. When adding this block, you will find a set of options and you will be able to rename “customer info” as you prefer..
Customer’s data will be added through the following placeholders:
{{billing_first_name}}
{{billing_last_name}}
{{billing_company}}
{{billing_address_1}}
{{billing_address_2}}
{{billing_city}}
{{billing_state}}
{{billing_country}}
{{billing_email}}
{{billing_phone}}
{{billing_postcode}}
Dimensions: set the margin (right, top, bottom, left) and padding;
Color: set the color for the text and/or background;
Typography: set the size, appearance, line height, letter case, letter spacing, and enable/disable the drop cap option;
Advanced: here, you can enter HTML anchor and additional CSS classes.
Example
Date
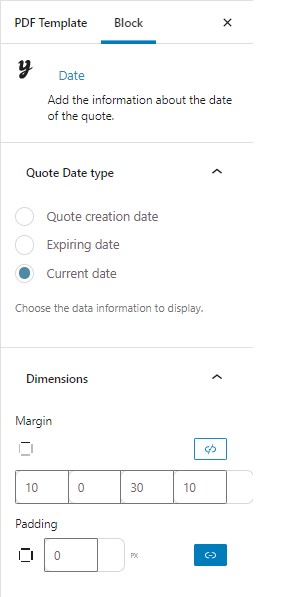
If you want to show the quote date info in the PDF template, you can take advantage of the Date block. When adding this block, you will find a set of options and you will be able to rename the “dates” as you prefer.
Quote date type: select the date between the date when the quote was created, the quote expiration date, and the current date;
Dimensions: set the margin (right, top, bottom, left) and padding;
Color: set the color for the text and/or background;
Typography: set the font size, line height, letter case, and letter spacing;
Advanced: here, you can enter additional CSS classes.
Example
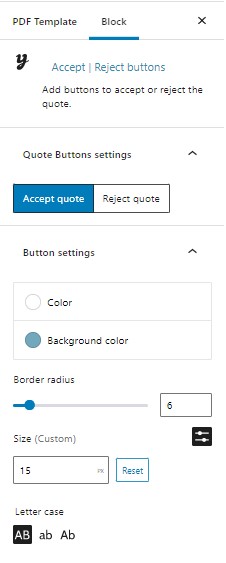
Accept|Reject buttons
If you want to show the buttons to accept and/or reject the quote in the PDF template, you can take advantage of the Accept|Reject buttons block. When adding this block, you will find a set of options and you will be able to rename the buttons labels as you prefer.
Quote button settings: select the button you want to customize by clicking on Accept quote or Reject quote;
Button settings: customize the color and background color, border radius, size, and letter case of the button;
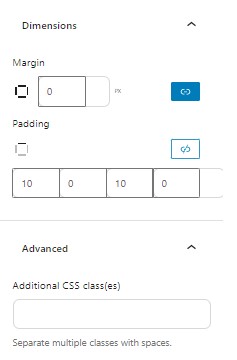
Dimensions: set the margin and padding sizes (right, top, bottom, left);
Advanced: here, you can enter additional CSS classes.
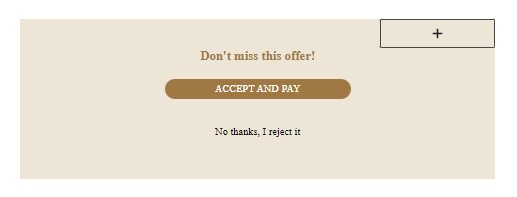
Example
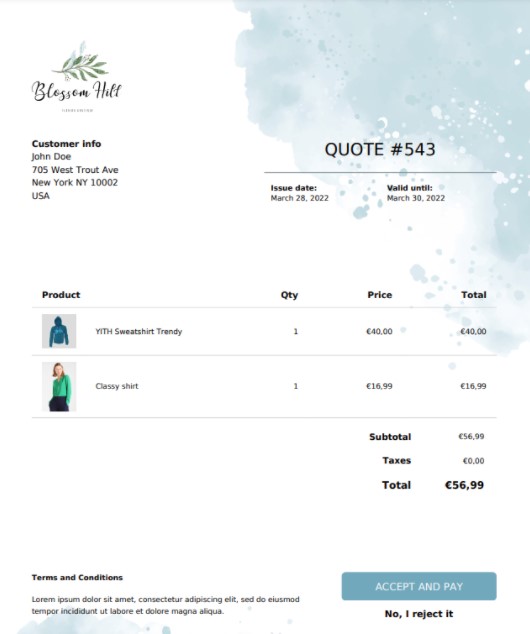
Through the plugin and the use of Gutenberg and your creativity, you can build as many custom PDF templates as you want. Below, you can see one of the unlimited results you can achieve.
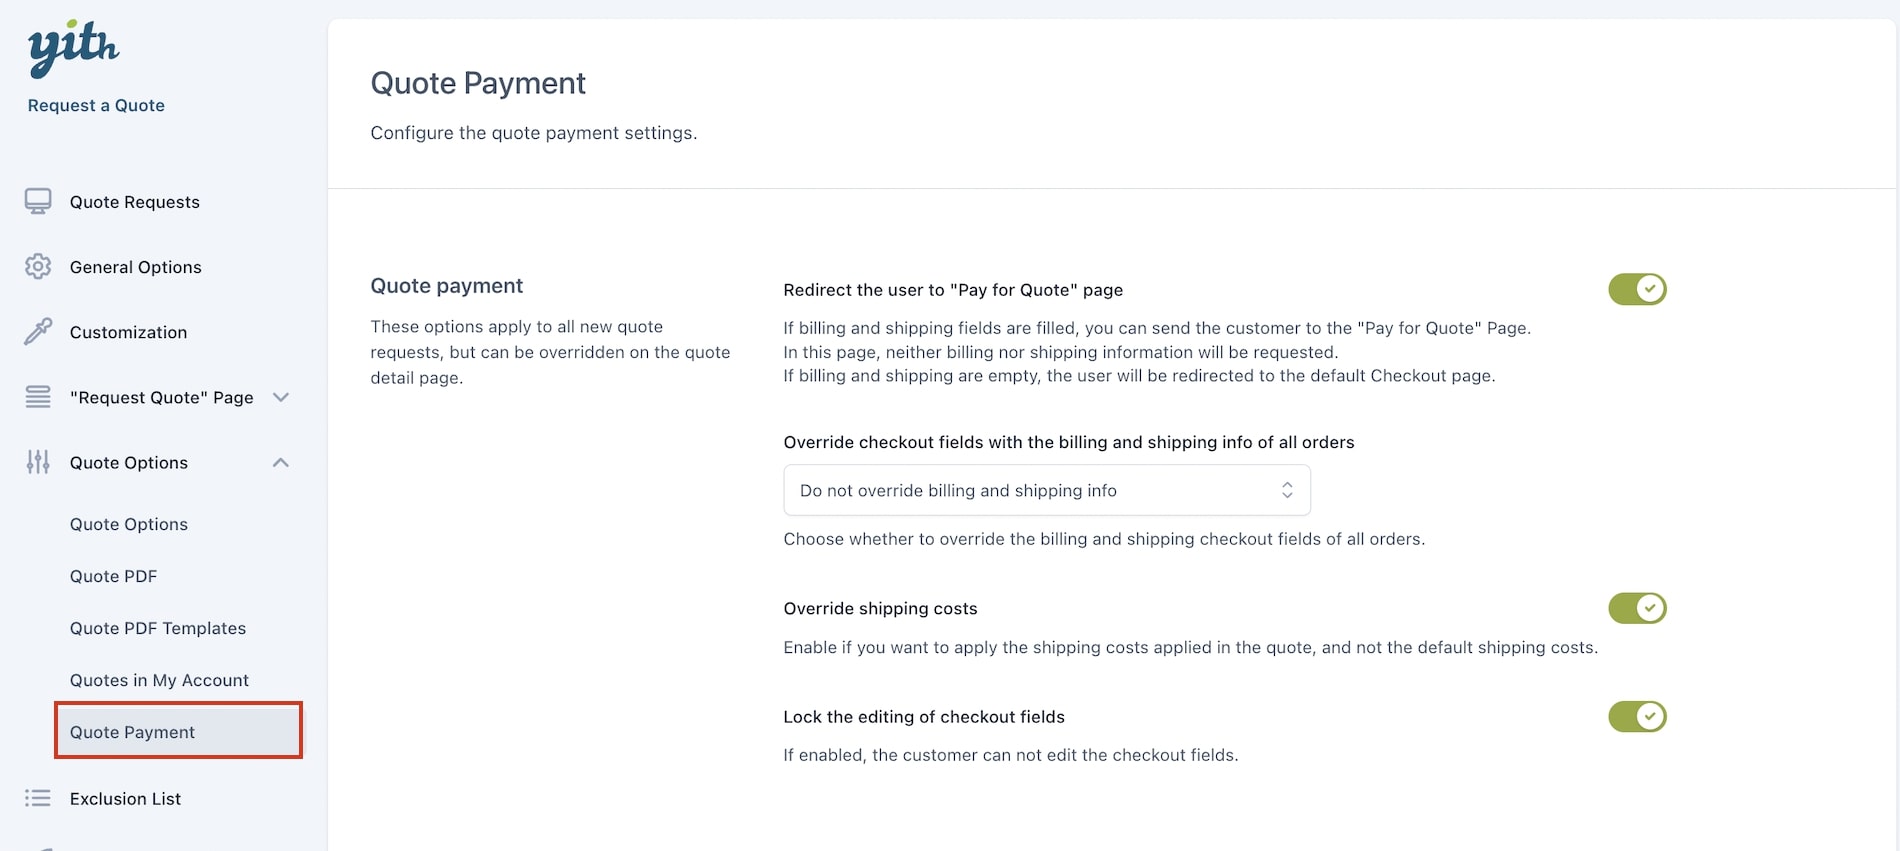
Within the ‘Quote payment’ tab you can choose to let the customer pay directly for the order, override checkout fields, shipping costs, or lock editing of checkout fields.
The admin can set the default values of these settings from this page, so when a new quote is created they are already set inside the quote detail. If you want to change them for a particular quote you can override them easily inside the quote (as explained here).
Redirect the user to “Pay for Quote” page
If billing and shipping fields are filled > you can send the customer directly to the “Pay for Quote” Page. On this page, neither billing nor shipping information will be requested (because it is already known).
If billing and shipping are empty > the user will be redirected to the default Checkout page.
Override checkout fields with the billing and shipping info of all orders
Pick one of the following options:
Override Billing and Shipping info: both billing and shipping information will be loaded on checkout.
Override Billing info: if you have edited only the billing data.
Override Shipping info: if you have edited only the shipping data.
Do not override Billing and Shipping info: if you haven’t made any changes to them.
Override shipping costs
Do you want to prevent the user from using a different shipping method, rather than the one you suggest in the quote?
Enable Override Shipping: if you want users to be charged only the shipping fee added to the quote.
Disable Override Shipping: if you want to charge both costs, the shipping costs in the quote and the general ones set up for your shop.
On the checkout page, after accepting the quote, the user will view the shipping cost details without the possibility to select any other shipping method enabled on the store.
Lock the editing of checkout fields
Before sending the quote, choose whether to give the user the possibility to edit the data you have entered on the checkout page or not.