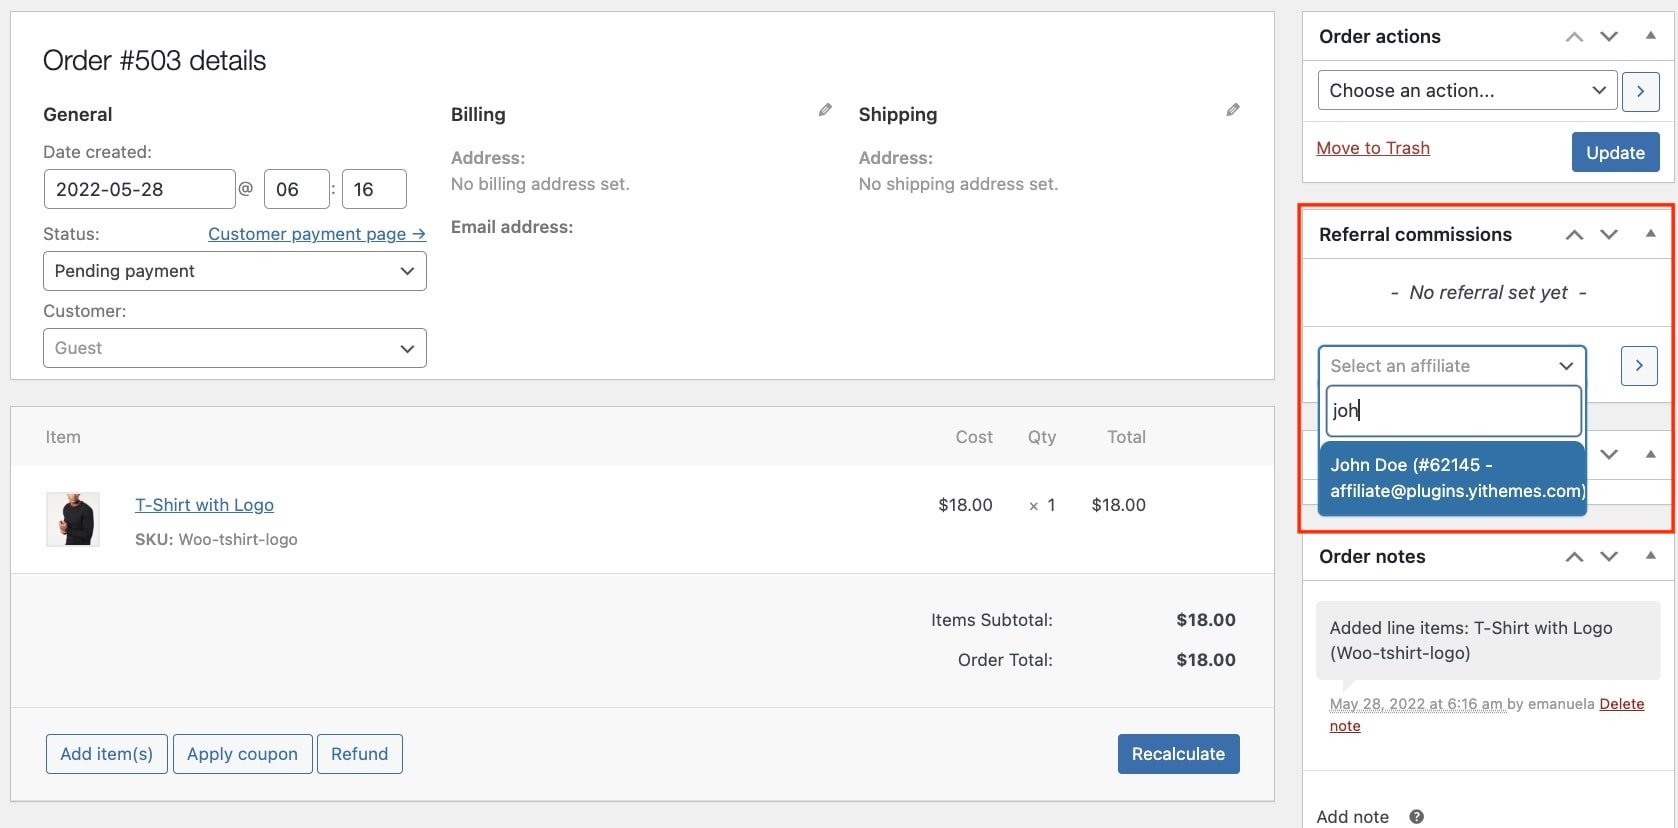
The administrator can manually associate an affiliate with one of the orders where no referrals are set or edit the affiliate who is linked to the current order. This can be easily done from the Referral commissions box in the order details.
If no affiliate is set, you can just type in the affiliate’s name or ID and update the order: commissions will be automatically generated.
You can also remove an affiliate from an order and the associated commissions will be removed too.
Just click on the X button as shown in the screenshot below.
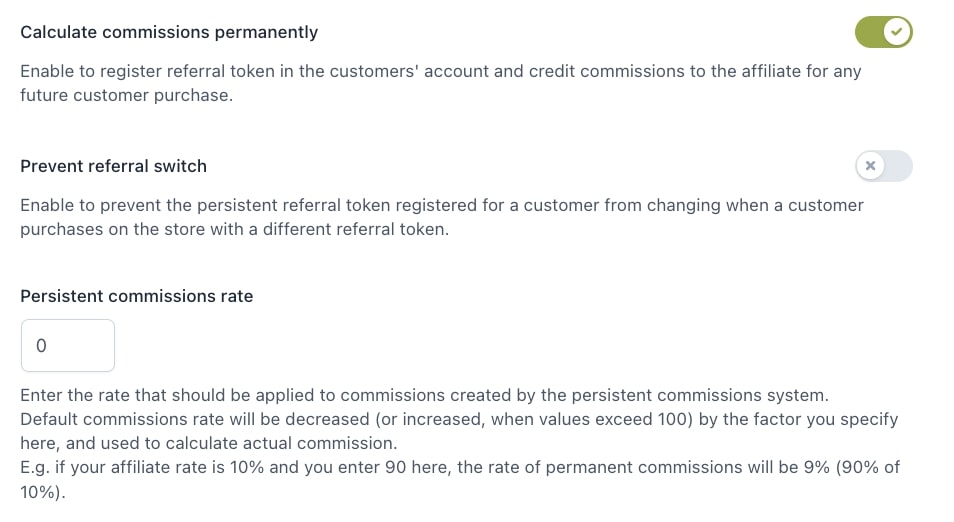
In this scenario, the user keeps being associated with the very first affiliate, whether the user comes back through another affiliate link or not, it doesn’t matter.
In order to set a permanent affiliation system, you’ll have to enable the option “Calculate commissions permanently” in the Commissions options. For more details, please, see this section.
Affiliation for unlogged users
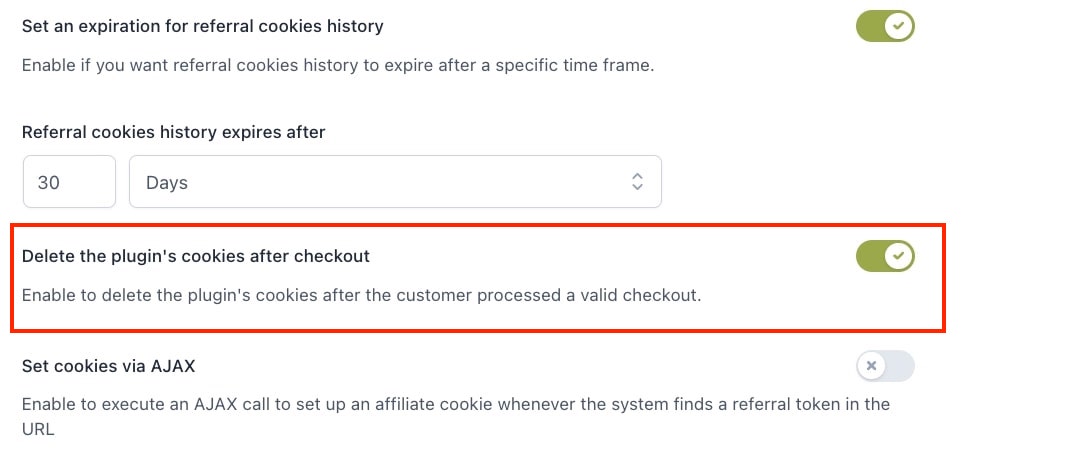
The only way to track affiliate purchases coming from unlogged users is to check if there is a specific cookie in the browser they are using.
Thanks to this cookie, you’ll be able to backtrack the affiliate number and generate commissions for any possible purchases.
The cookie is automatically removed if any of the following conditions occur:
A typical use of the affiliate programme is when an affiliate shares the site link or a product link through their social networks. In this case, the affiliate can generate the referral link from the Link generator tab in the Affiliate dashboard, shorten using a service like bit.ly and share it through the social profiles. Every visit coming through the social networks will be recorded.
Affiliate/External products
Another typical use case is the affiliate who creates a WooCommerce External/Affiliate product on his own site. For every external product, the affiliate can generate the link through the Link generator in the affiliate dashboard and add it to the external product settings.
Promoter/influencer
The affiliate creates a guide or reviews the product (through a blog post or video) and shares a special 20% discount code with his/her followers. The code can be copied from the Coupons tab in the Affiliate dashboard and shared in the blog post or video description.
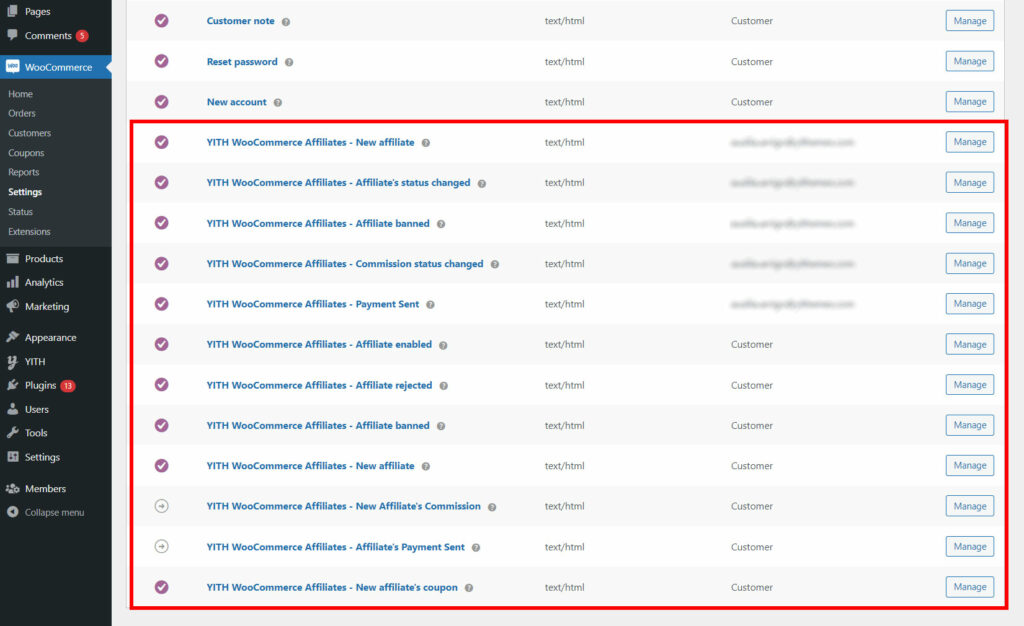
In WooCommerce > Settings > Emails you will be able to find all the email notifications added by the plugin YITH Affiliates and manage the content and sender options.
To enable or disable each of these email notifications, please, refer to the related option in the plugin settings that will be linked below.
Available notifications and links to the settings where they can be enabled/disabled.
If you want to edit the default email template, click on the button Copy file to theme.
Now, a copy of the template file has been added to the specified path, so that you can make all changes you wish, without having to edit the original code.
You can override from your theme all the templates that you can find in the plugin “templates” folder.
To override the template from your theme, copy the file you want to change and paste it into the theme woocommerce > yith-wcaf folder (create one if not already available).
If the file you want to override is in a sub-section of the plugin templates folder, make sure you recreate the same path structure in the theme woocommerce > yith-wcaf folder.
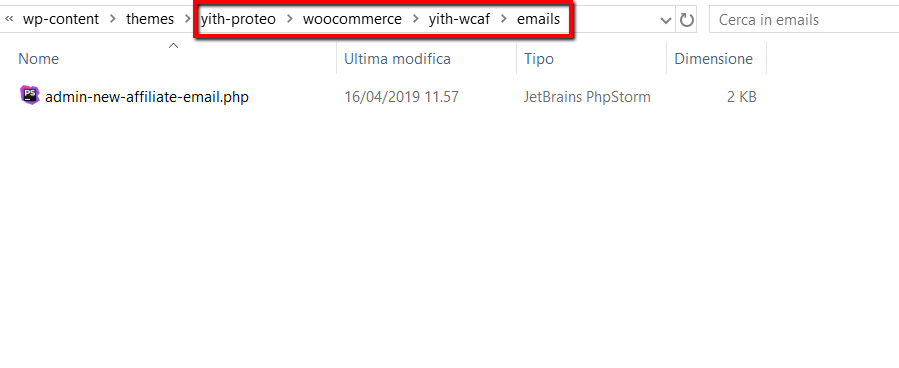
Let’s give an example. Suppose that we want to override the admin-new-affiliate-email.php template.
The file is within the plugin in templates > emails.
To override the file, you need to recreate the same structure within your theme and paste the file into the woocommerce > yith-wcaf > emails path.
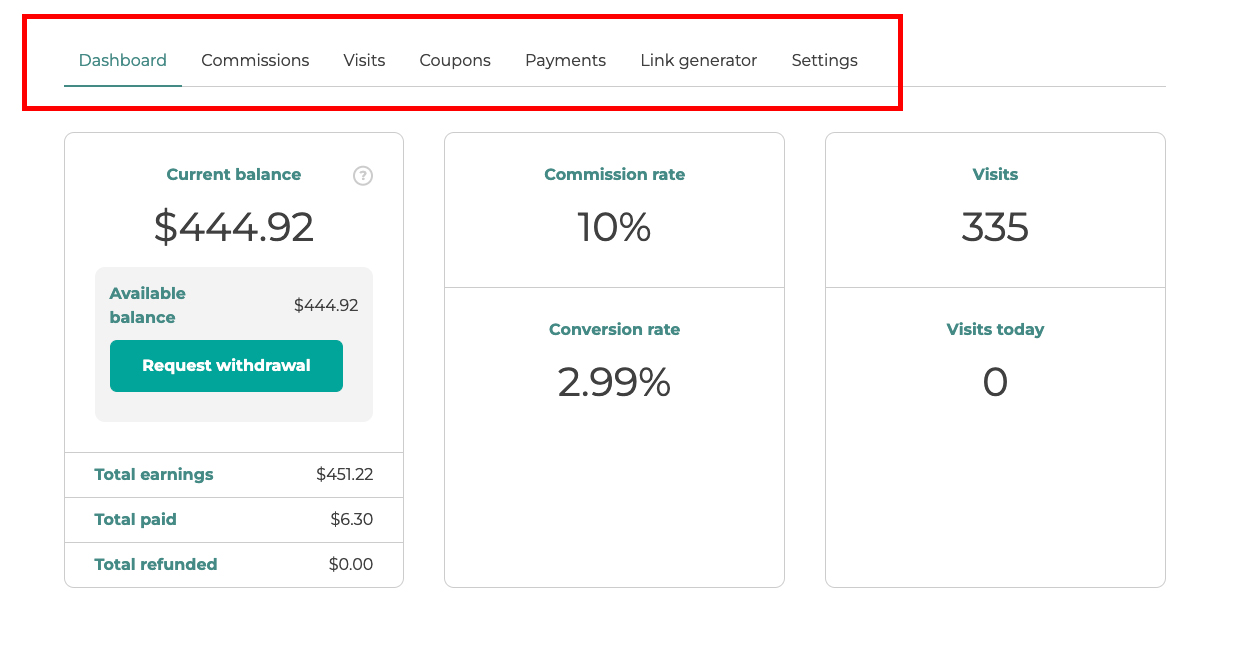
The [yith_wcaf_affiliate_dashboard] shortcode allows you to display the Affiliate dashboard on a custom page of your choice.
The dashboard is divided into different sections and for each of them there’s a specific shortcode available, so you can either display the entire dashboard with all tabs or the content of specific tabs as you wish.
Print specific sections of the affiliate dashboard
With a shortcode for each section, the admin will be able to print that specific affiliate dashboard section on any page of the site.
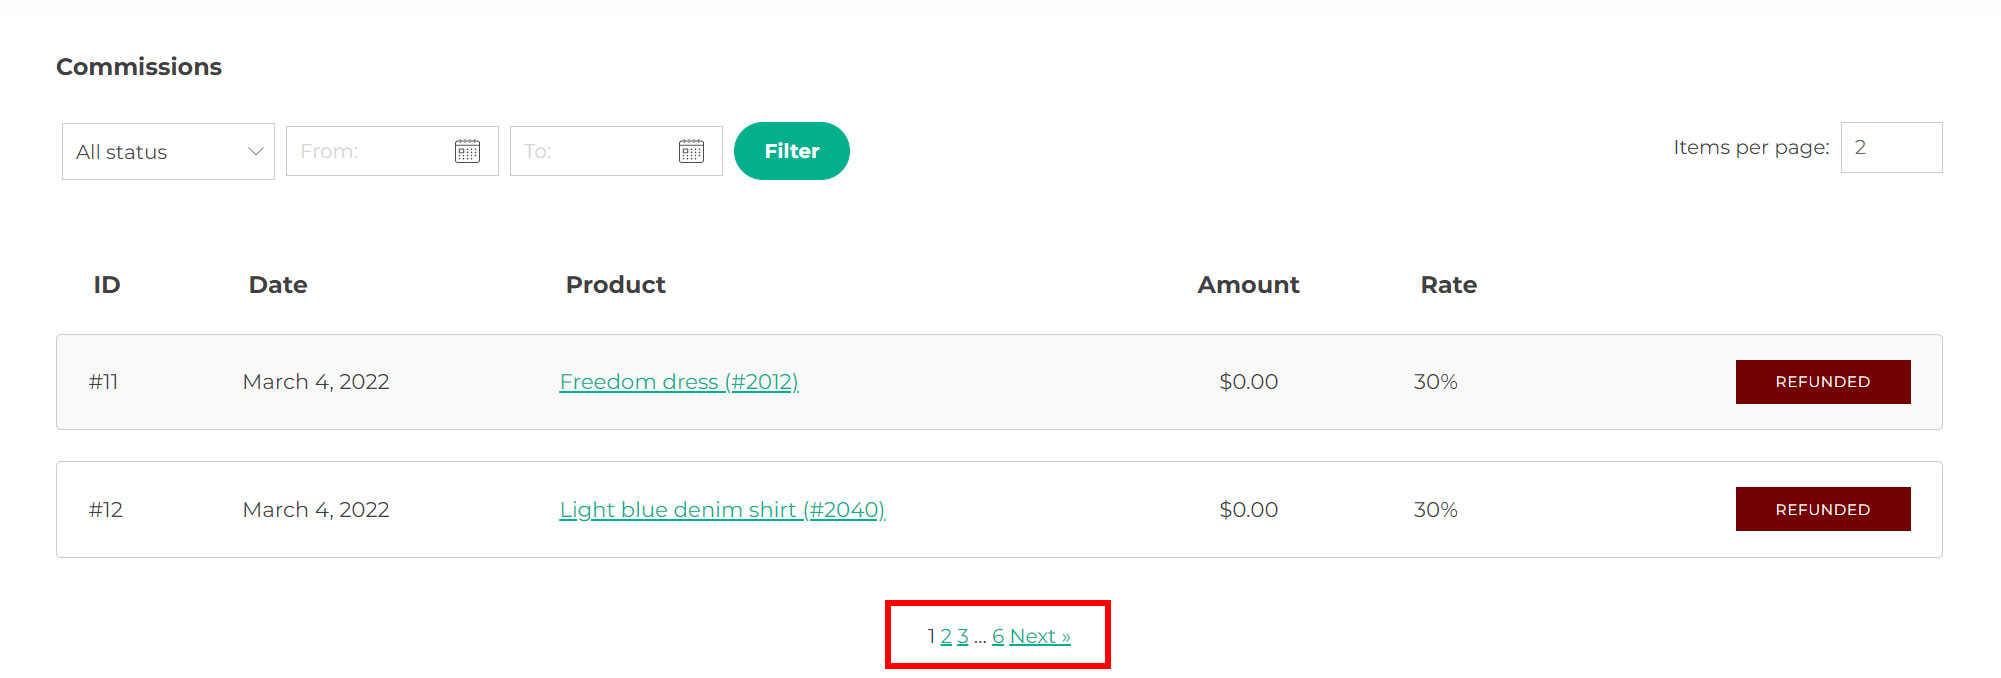
Commissions:[yith_wcaf_show_commissions]
Visits: [yith_wcaf_show_clicks]
Coupons: [yith_wcaf_show_coupons]
Link generator: [yith_wcaf_link_generator]
Payments: [yith_wcaf_show_payments]
Settings: [yith_wcaf_show_settings]
Each of these shortcodes can have custom settings for the pagination and the menu. You can use the following attributes to configure them:
pagination: (yes/no) enable/disable the pagination option for each section. It will show up only if the items are more than the value set in the following attribute per page.
per_page: a numeric value that shows the elements per page. Default value is 10.
current_page: page number shown in any section. Suppose that we have pagination for a list in the “Commissions” section, by specifying 2 as the parameter value, only page 2 will be shown in the section.
show_dashboard_links: (yes/no): this allows showing the menu to navigate among the various sections also.
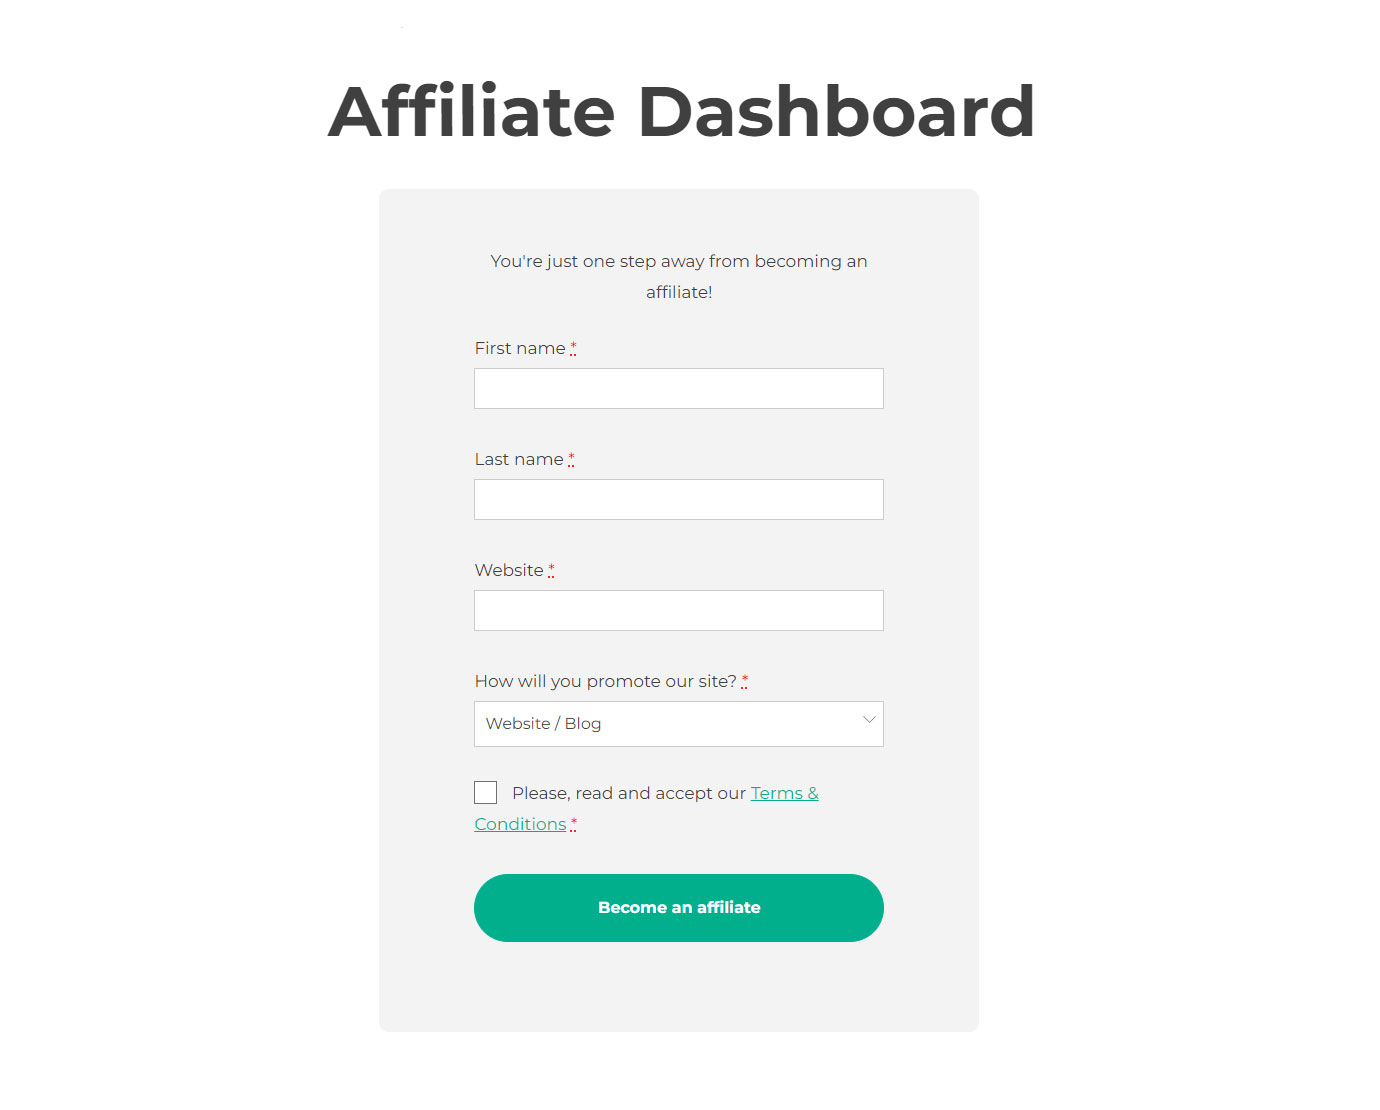
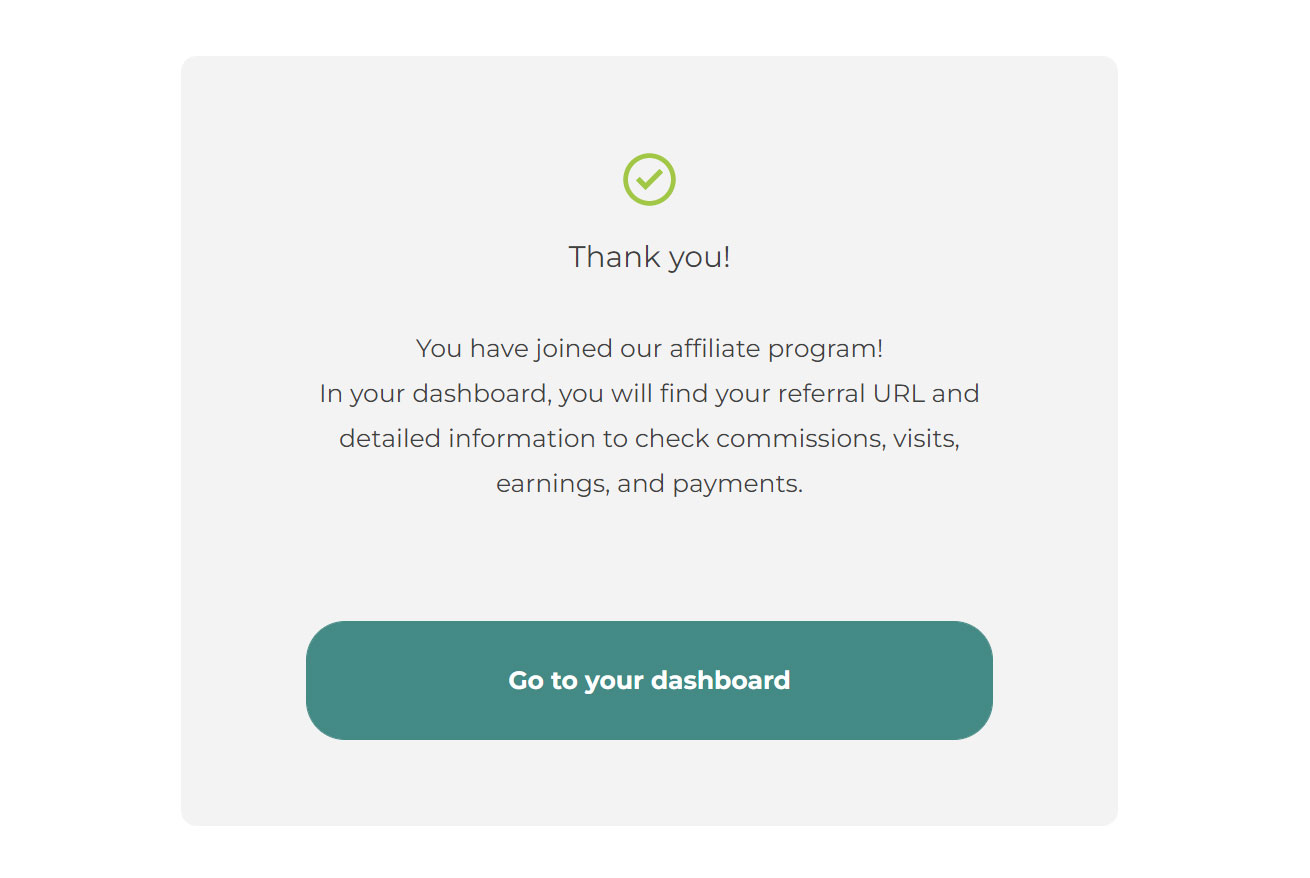
The [yith_wcaf_registration_form] shortcode shows the affiliate form, so your users can submit their affiliate application from any page of your website.
You can customize the fields of the registration form YITH > Affiliates > General Options > Affiliate Registration as explained here.
If the affiliate has already applied for the affiliate programme, a message will be displayed to inform about the submitted application.
The available attributes are:
show_login_form: (yes/no) show or hide the login form together with the registration form
login_title: you can set here the title of the login form, if displayed
register_title: you can set here the title of the register form
Example:
[yith_wcaf_registration_form show_login_form="yes" login_title="Log in here" register_title="Apply for our Affiliate Programme"]
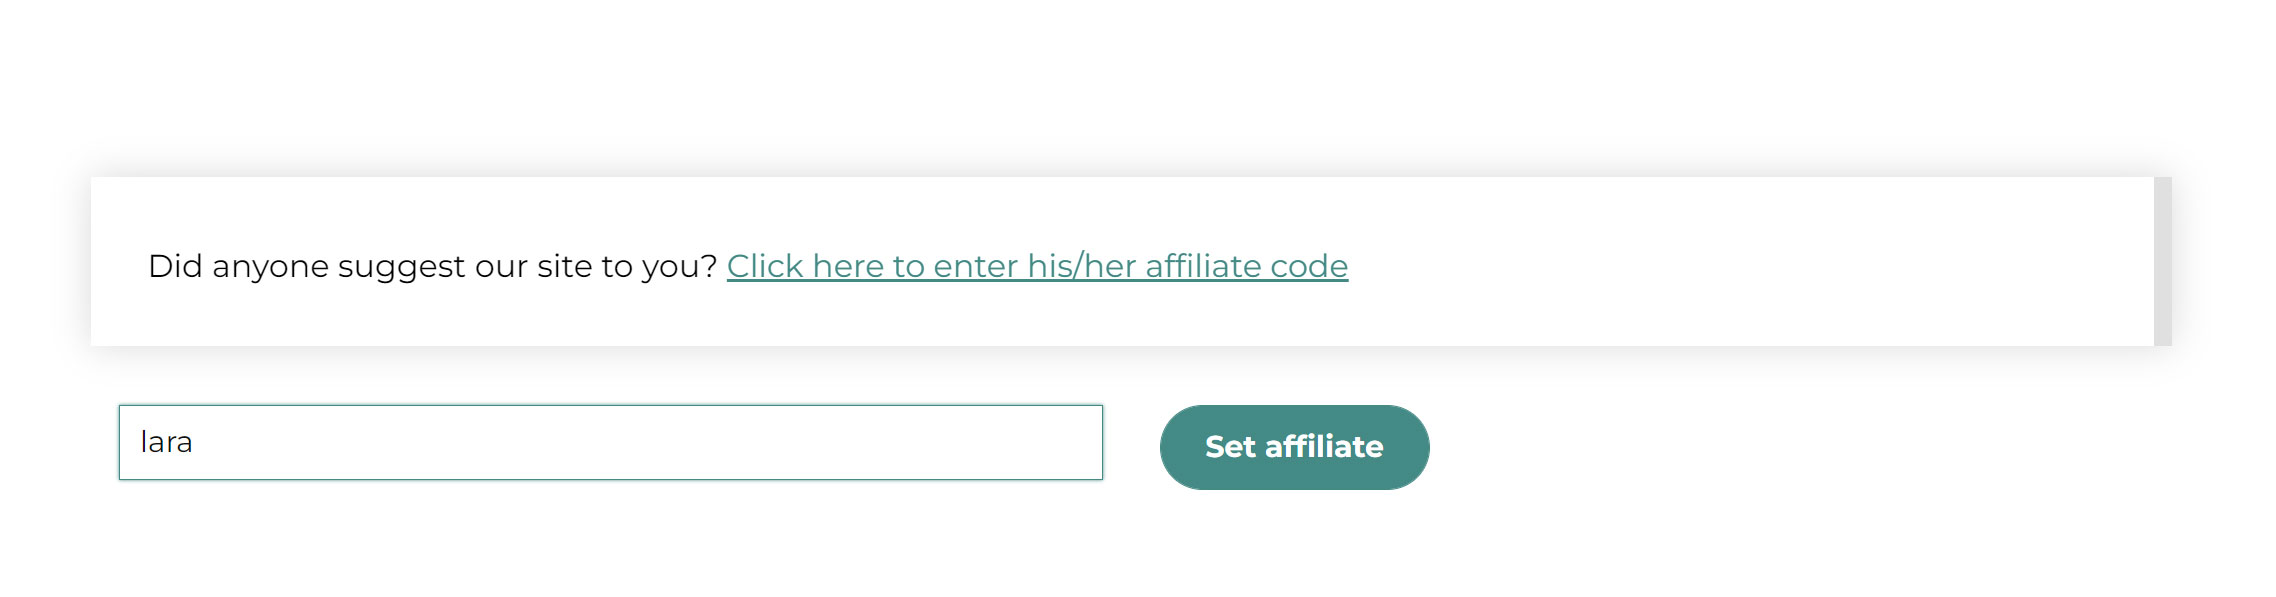
The [yith_wcaf_set_referrer] shortcode inserts a form that gives the user the possibility to enter the affiliate code to whom he/she wants to be associated.
The only shortcode attribute is affiliate_token which allows you to enter a default affiliation token that will be used in case the customer doesn’t set any referrer.
The plugin is fully integrated with Elementor, so you can add the following widget to your pages simply from the Elementor panel. Here you find one example of the widgets that are available:
YITH Affiliate Dashboard
The available widgets are, each with its available settings:
Please note: since PayPal MassPay is no longer supported it cannot be activated on new users’ accounts. Yet, users who had previously activated PayPal MassPay service can keep using it to manage payments automatically and can refer to the following information for the configuration.
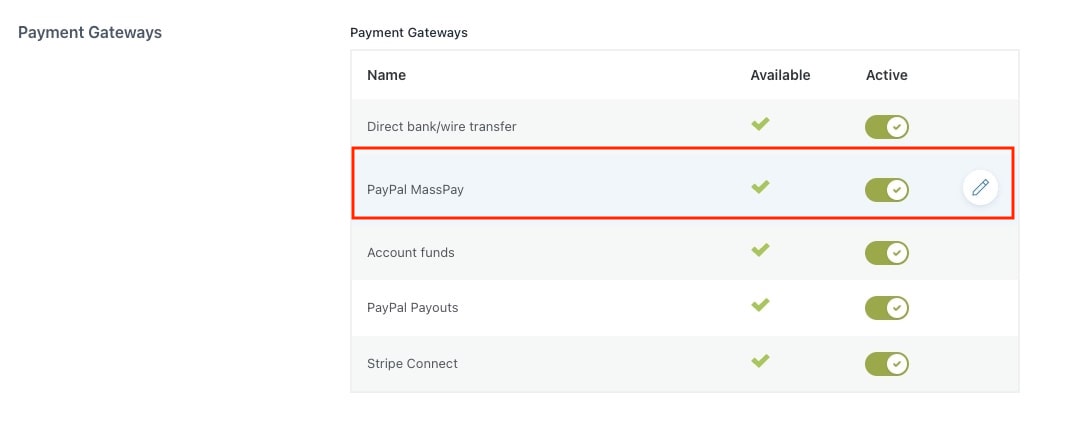
PayPal MassPay can be used to automate the payment of multiple commissions as one of the automatic gateways.
In order to work properly, you have to set the right credentials from YITH > Affiliates > Commissions & Payments > Payment gateways, by clicking on the pencil icon that appears as you hover it.
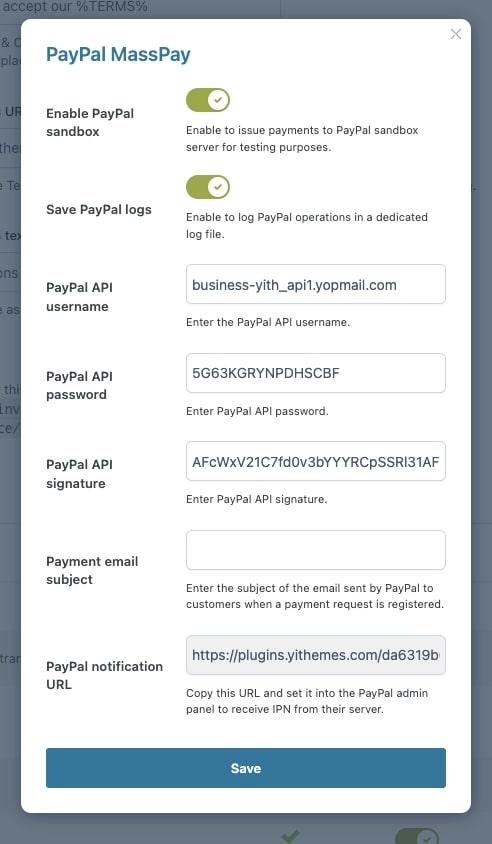
This will open a modal window, where you can set up the followiing options:
Enter “username”, “password” and “signature” of your PayPal account. Read more on this page if you are not able to find the credentials required.
To complete commission payments correctly by PayPal, your must necessarily have a “Premier” or “Business” account that has to be set up for “MassPay” service. To allow this, you need to make a request to PayPal customer service.
If you want to check if your plugin is working well with a PayPal test account, you can create a Business account: enter the credentials of the new account and tick the option Enable PayPal sandbox.
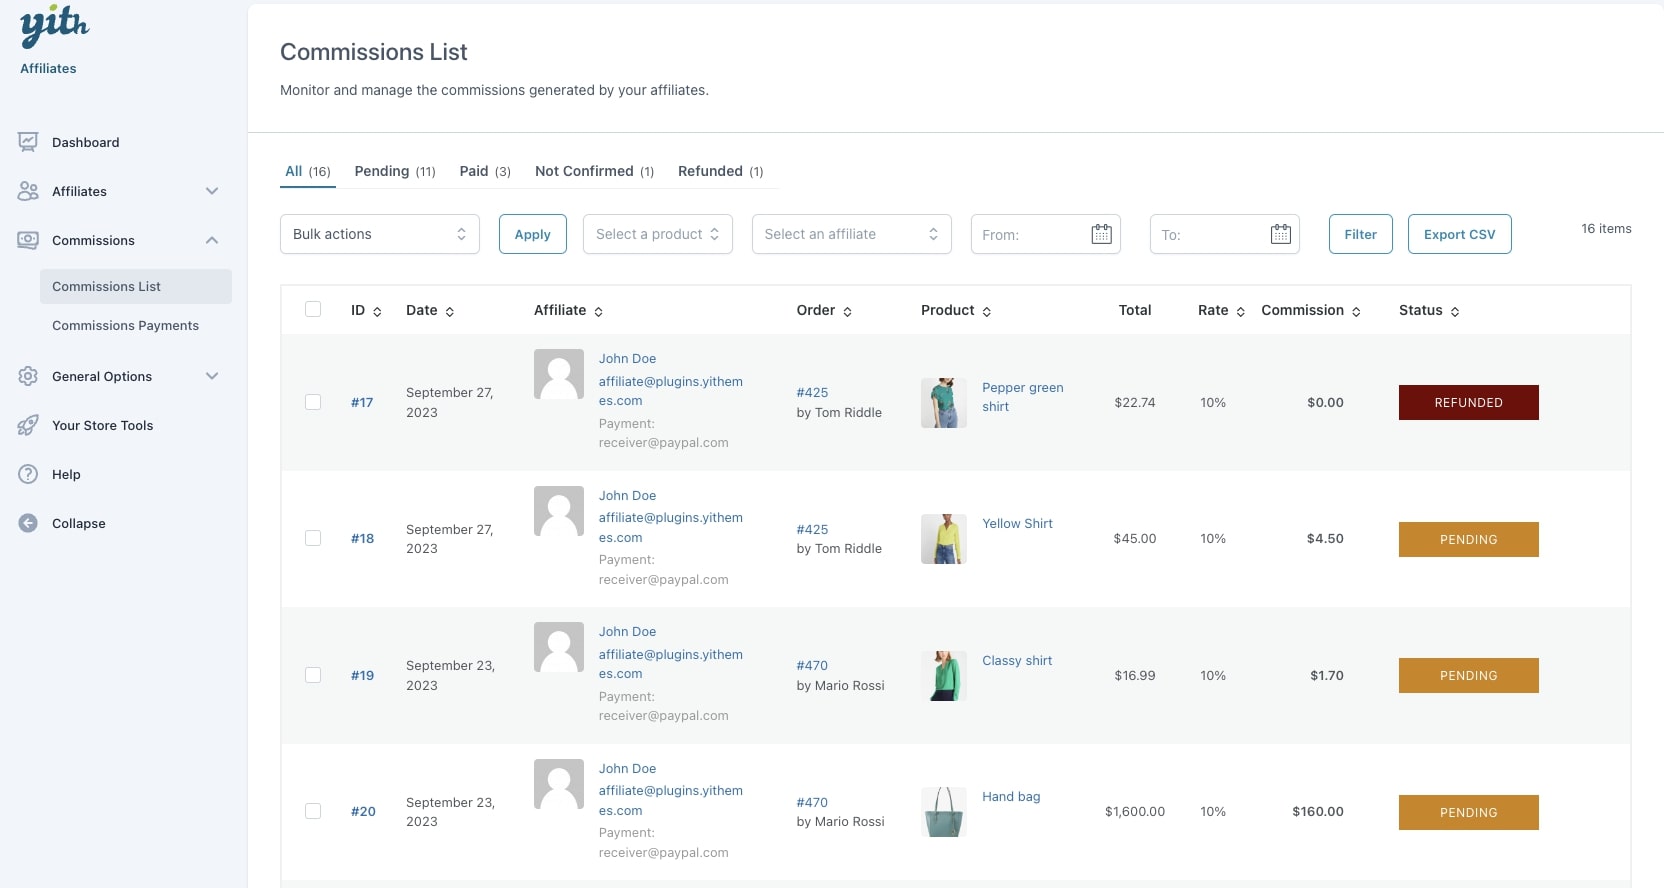
Whenever an affiliate drives a sale to your shop, you will see the list of commissions in YITH > Affiliates > Commissions > Commissions List.
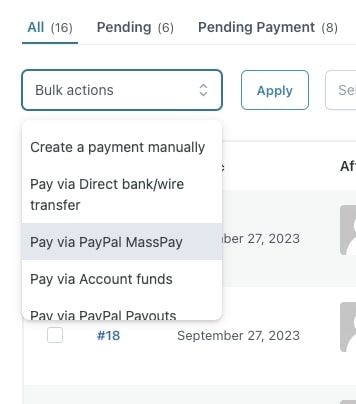
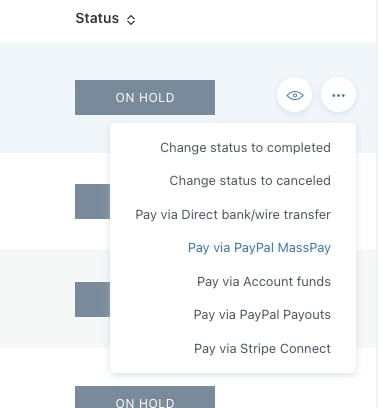
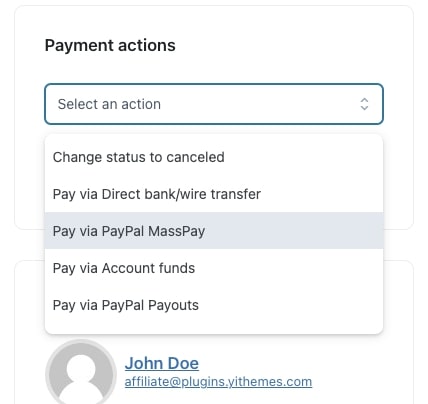
You will be able to see this payment gateway as a payment option for on the Commissions page, both in the bulk actions and in every single commission.
Based on the payment settings, the payment will be either processed automatically (please, see this page) or manually.
A payment record will be created in the Commissions Payments tab. The payment will be temporarily set as Pending and the commissions as Pending payment. Once PayPal completes and confirms the payment, it will be automatically set to Completed and the commissions as Paid.
The integration with the WooCommerce Subscriptions plugin allows the admin to enable commissions for affiliates also on renewal orders.
To enable this, make sure both plugins are activated, then, go to the General options page, you’ll see a new option called Enable commission handling for WC Subscriptions’ renews.