Your users will be able to join the affiliate programme from any page where the affiliate registration shortcode is displayed or from the Affiliate dashboard if they are not registered as affiliates yet.
In case you use the affiliate registration shortcode, they will see a button that redirects them to the Affiliate dashboard once their accounts are approved.
→ Registration shortcode – premium version
→ Registration shortcode – free version
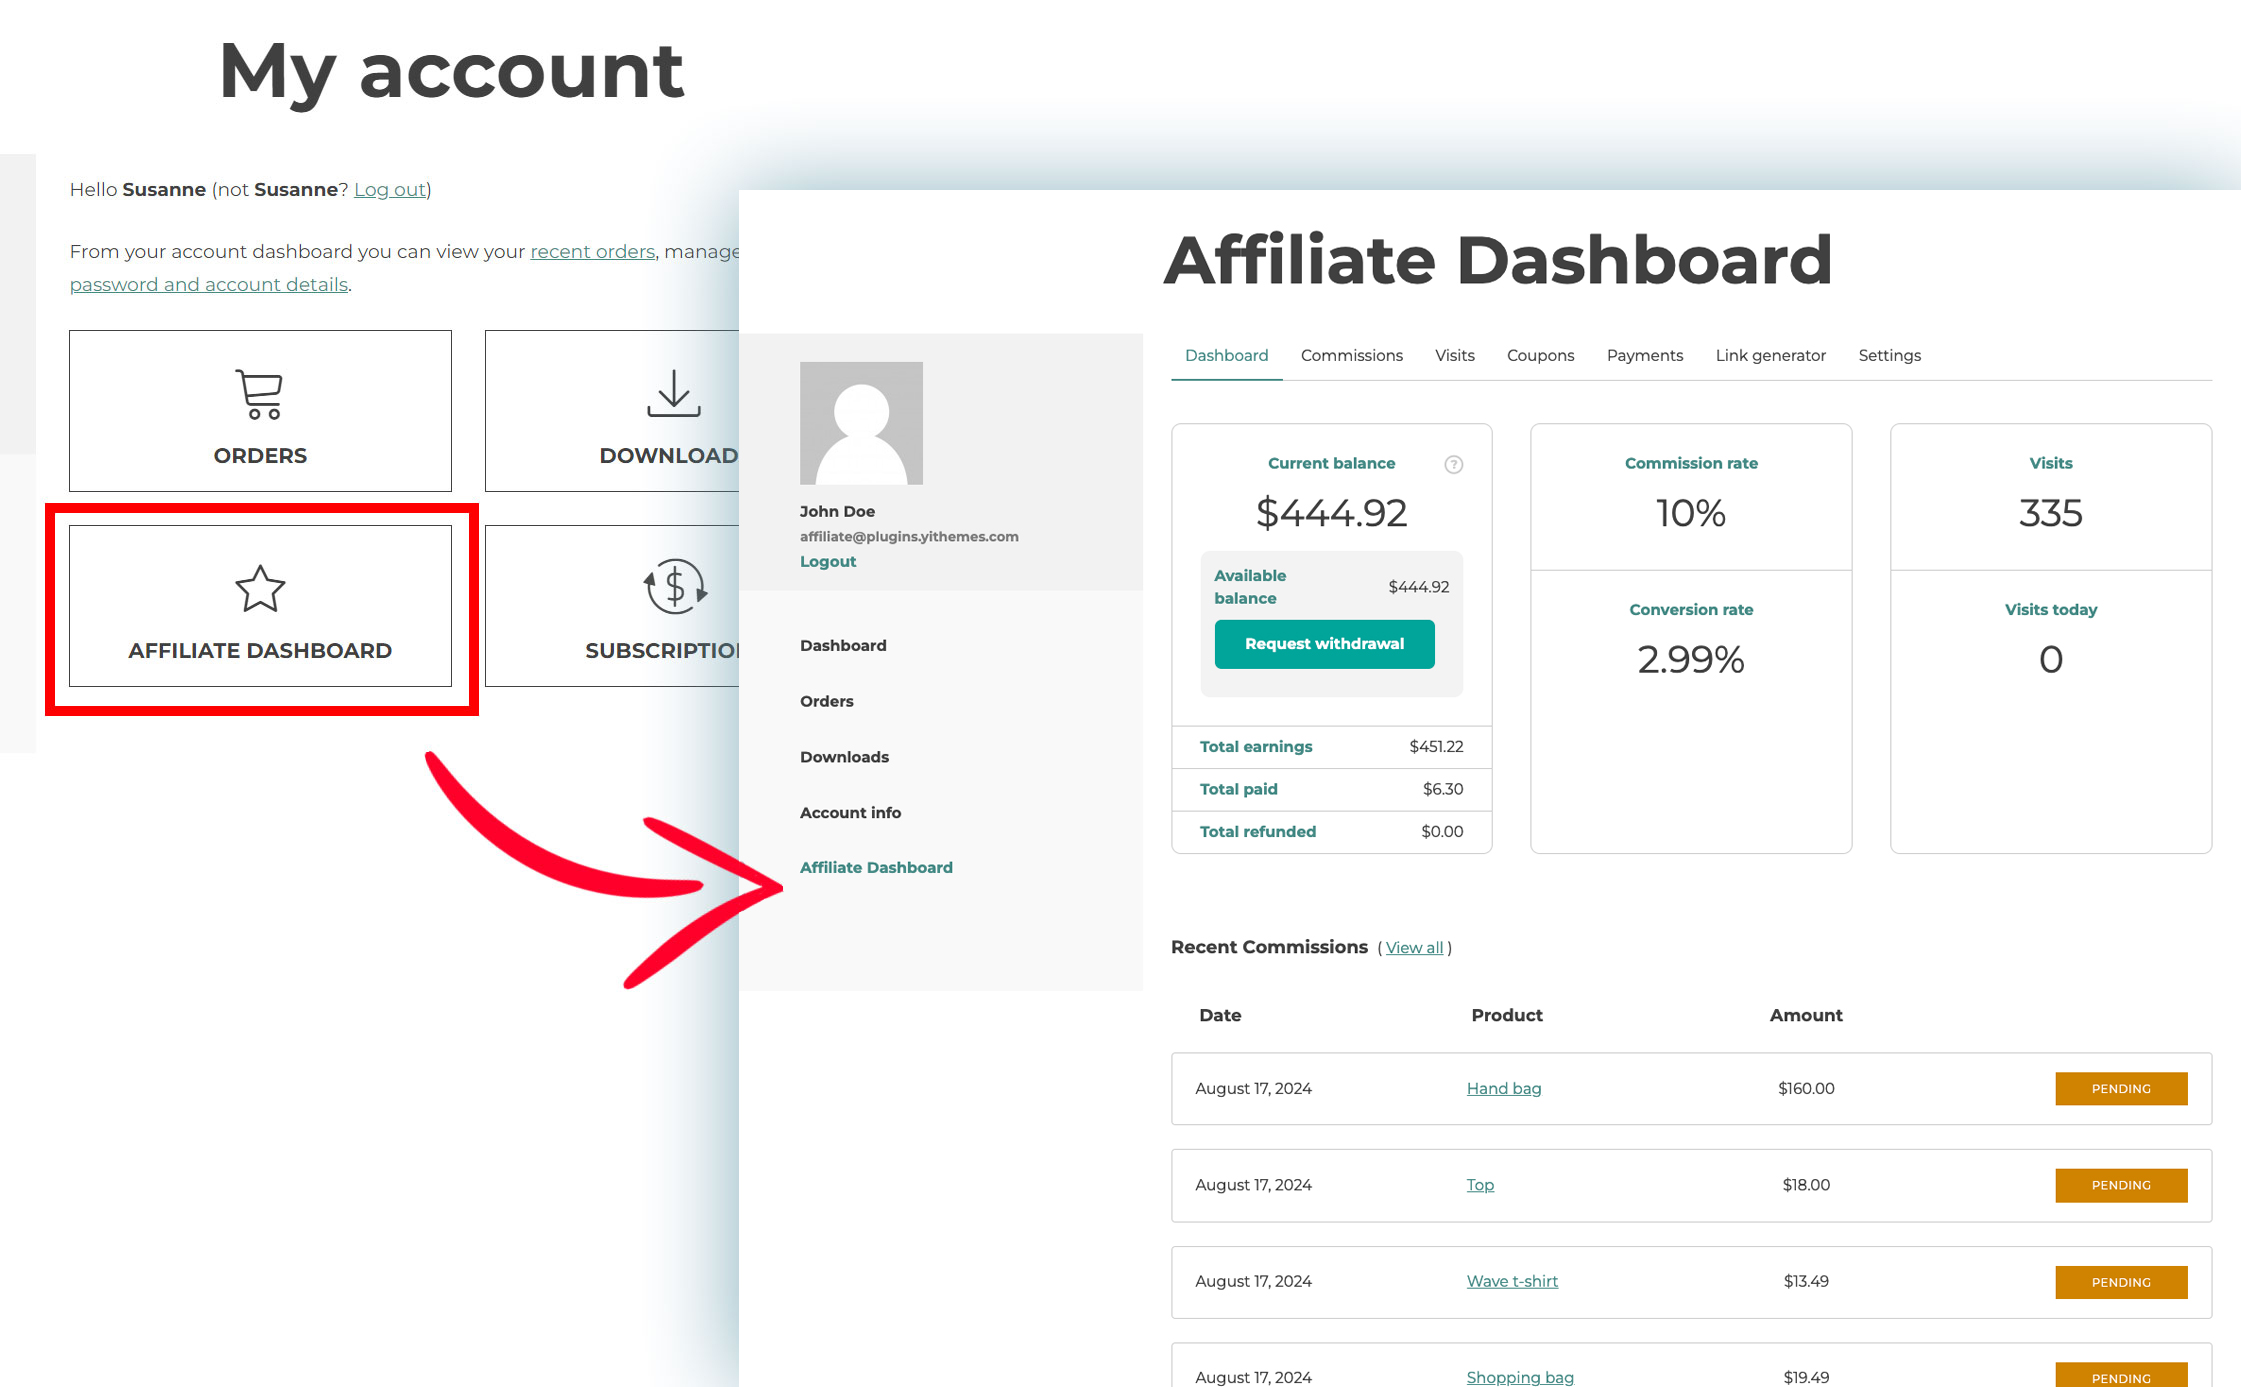
In case they land on the Affiliate dashboard page, they will see a dynamic content that will differ based on their profile.
→ Affiliate dashboard – premium version
→ Affiliate dashboard – free version
Let’s see some use cases.
1. guest user who wants to join
Based on how the admin decided to set up the affiliation programme, you have two options:
- Direct any user to a promotional page where the affiliate registration is printed

- direct users to the Affiliate dashboard page
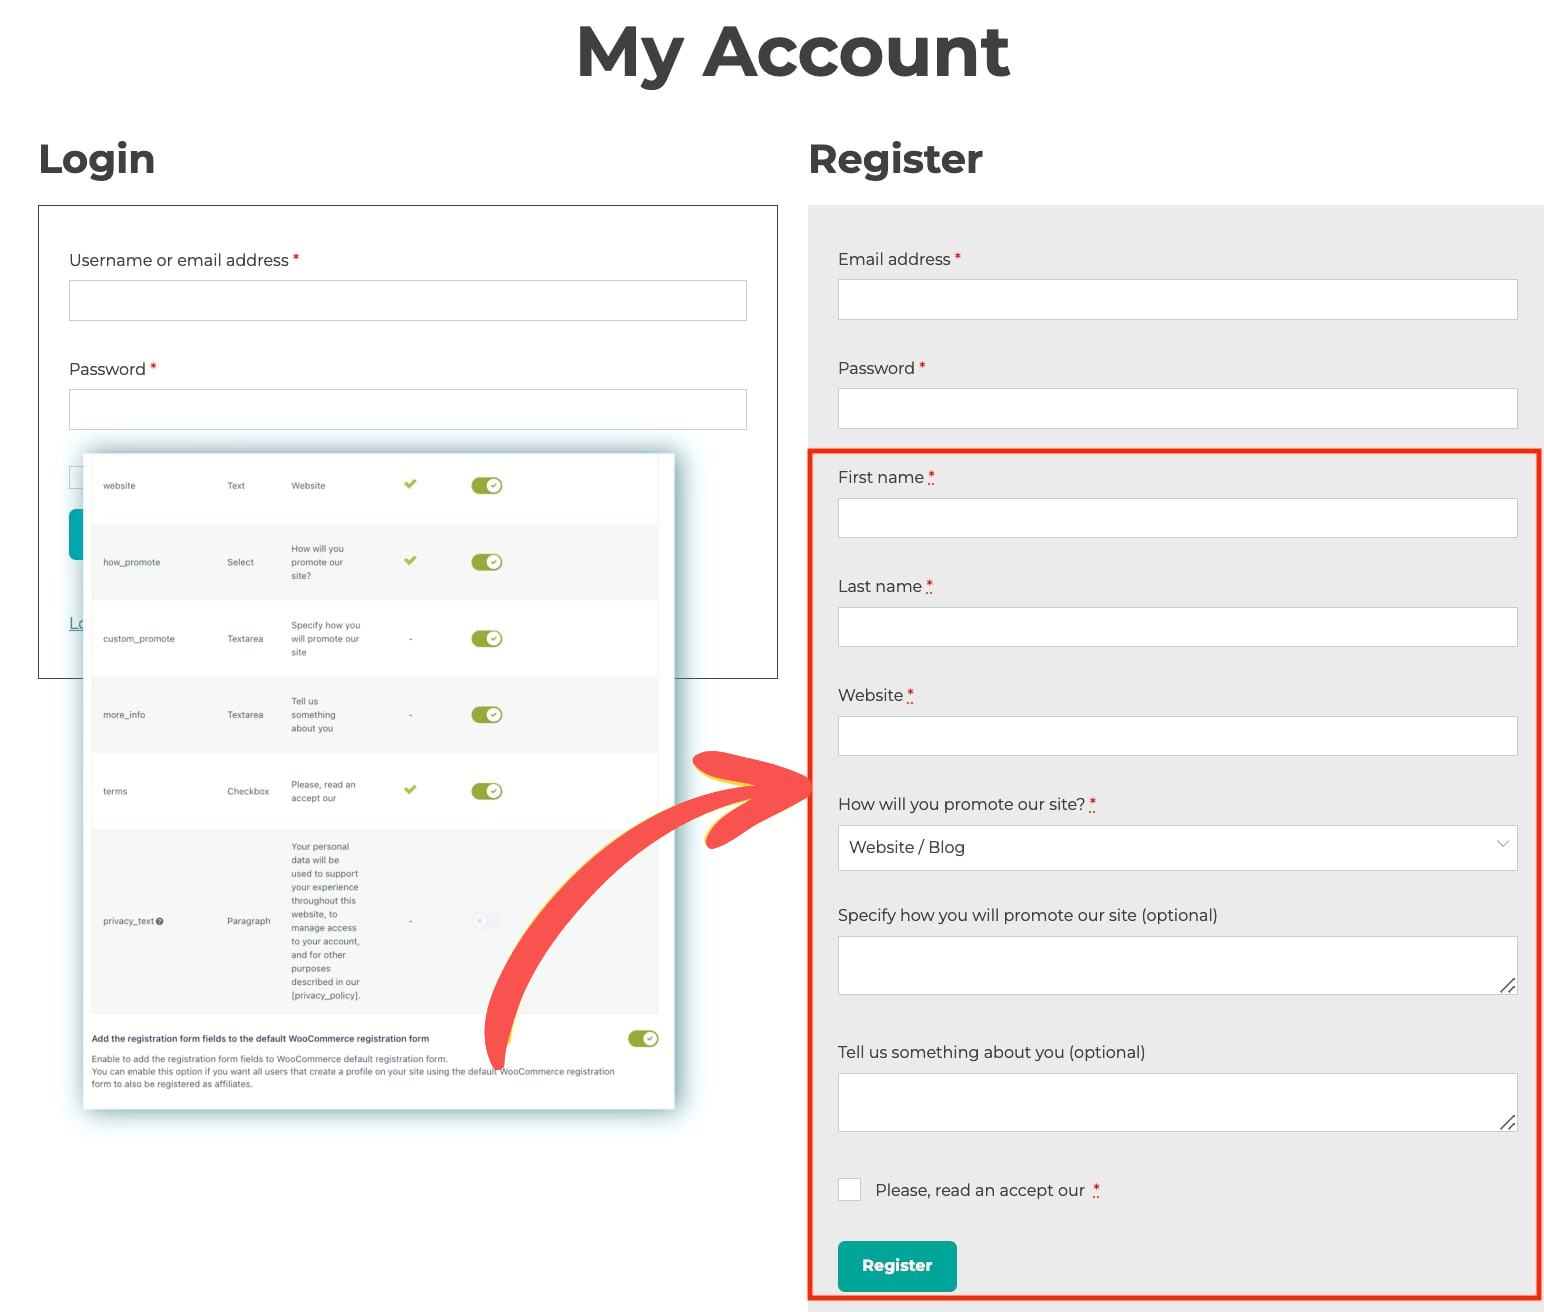
In both cases, the guest user will see the Affiliate registration form with the fields configured in the Registration settings and, optionally the login option.
→ Registration settings premium version
→ Registration settings free version
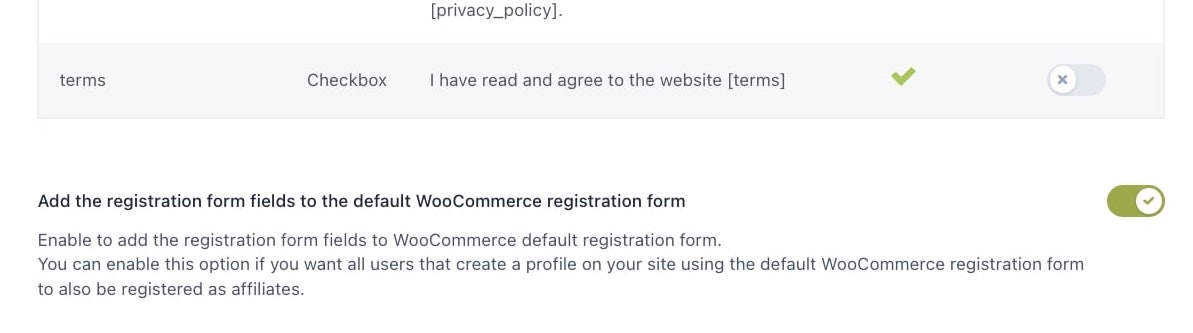
The admin can additionally choose to embed the affiliate registration options in the default WooCommerce registration form: in that case, whenever a new user registers, he/she will also apply for the affiliate programme.
To do that, you just have to enable the option displayed below. If this option is enabled, instead, whenever a person registers as a user will also send an application for the Affiliate Programme.
2. logged in user who wants to join
In case the user has already registered an account on your site and has logged in, both the affiliate registration shortcode [yith_wcaf_registration_form] and the Affiliate dashboard will show the Become an affiliate form, which will include only the affiliation related fields.
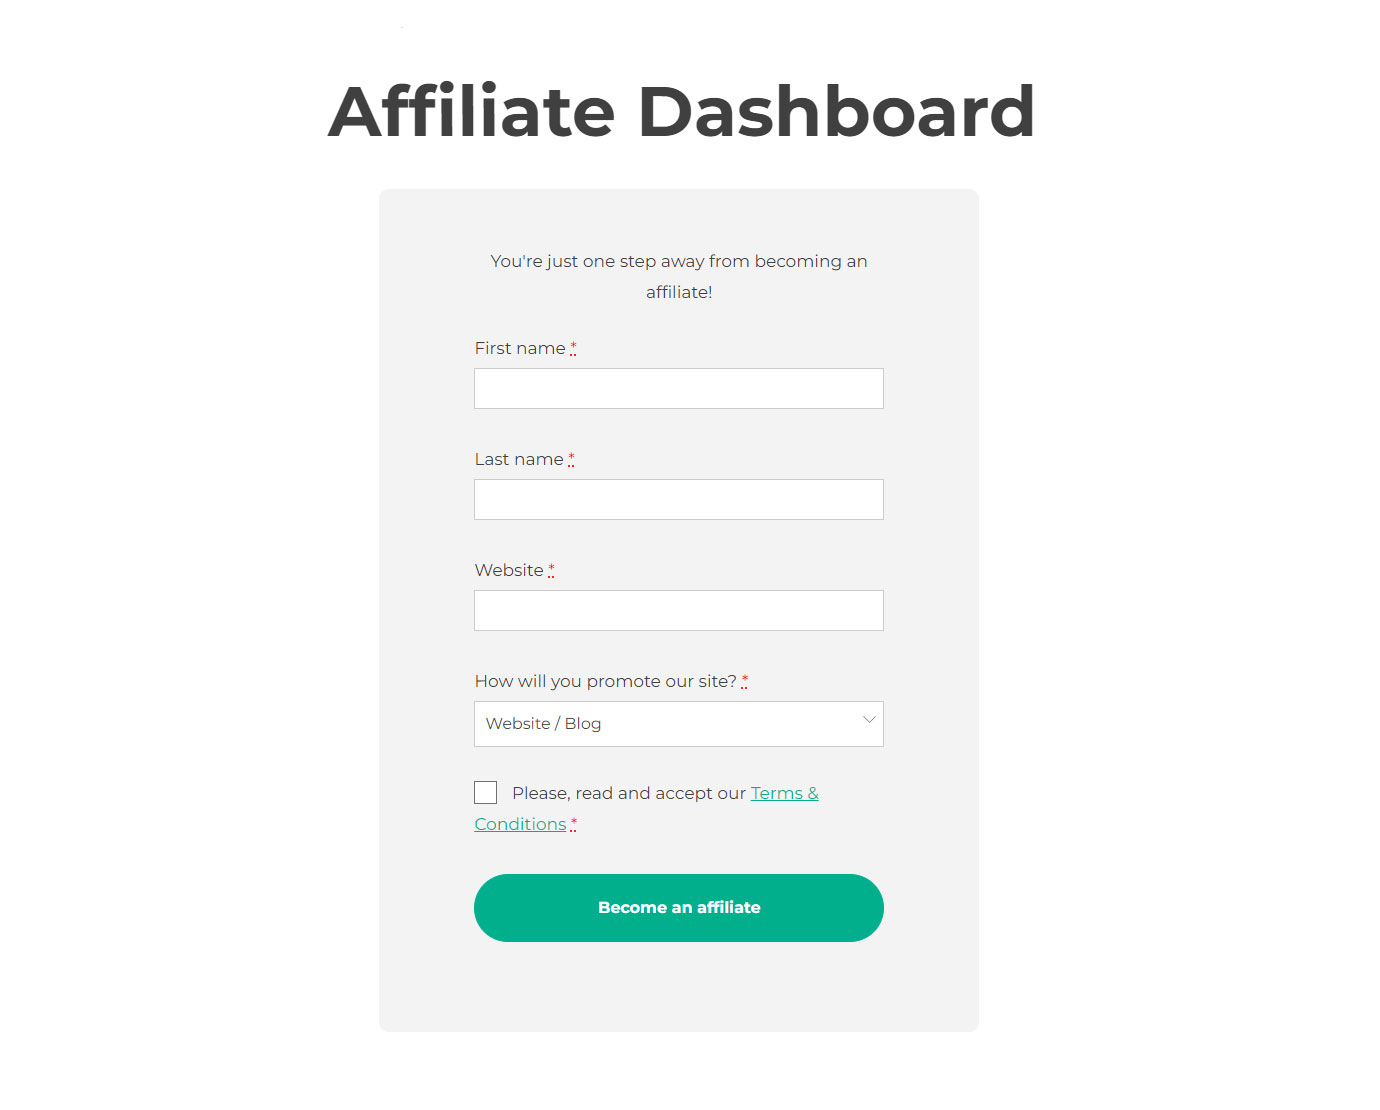
With the premium version, you can customize this form with custom fields, whereas with the free version you can only enable or disable the default fields. For more details, please, see the following pages:
→ Registration settings premium version
→ Registration settings free version
3. application sent
When the user submits his/her application request, there are two available options, based on the admin’s settings:
- Users will see a message that informs them that their application will be reviewed. They will receive an email confirmation based on whether the application is approved or rejected.
Note: this email confirmation is only available when using the premium version.
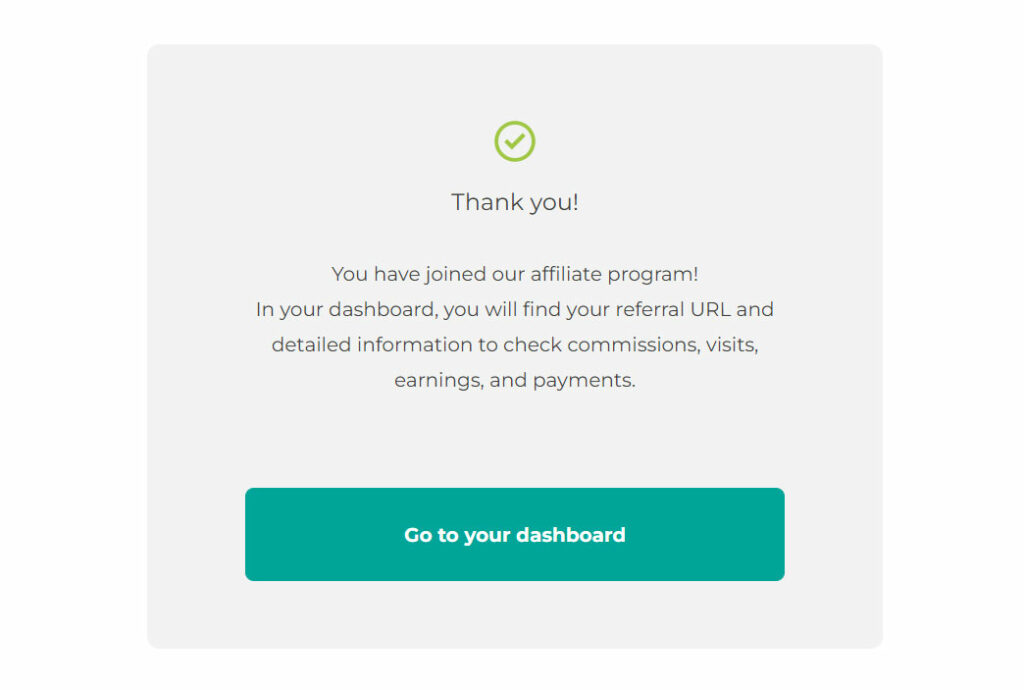
- Affiliate applications will be automatically approved and the affiliate will immediately see a button that redirects to the Affiliate dashboard. For this setting, just make sure you enable the “Automatically approve affiliates” option in the Registration options.
Note: this automatic approval option is only available when using the premium version.

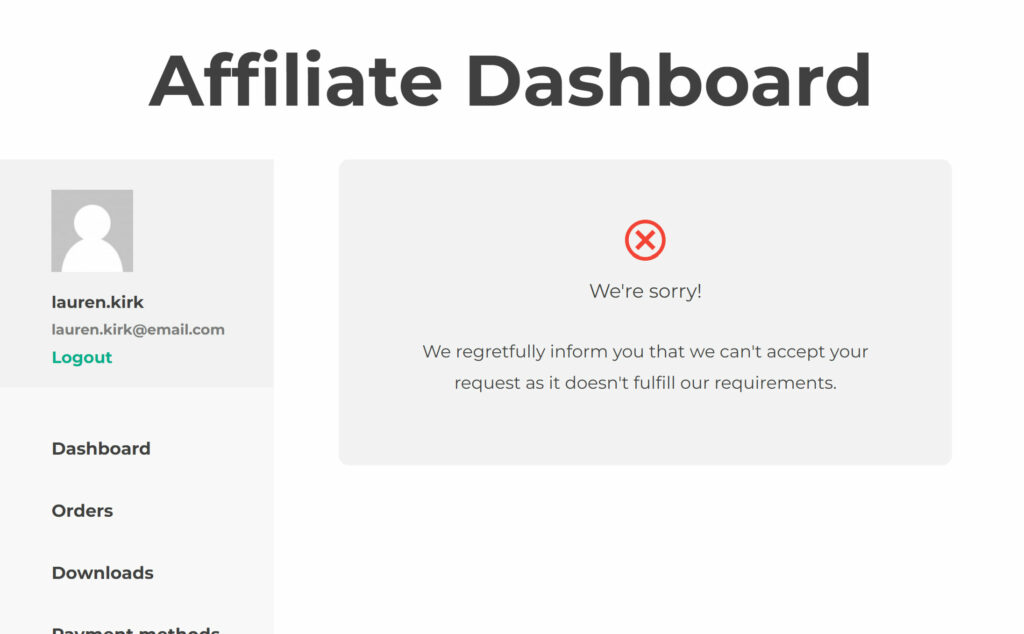
4. Affiliate rejected
In this case the affiliate will see a custom message that can either be set up globally for all rejected affiliates in the Registration settings or for each affiliate from the affiliate’s profile or the popup that shows when changing the affiliate’s status from the affiliates page.
5. Affiliate approved
If the affiliate request is approved and the user has applied through a custom page with the registration shortcode, this will be turned into a greeting message and a button that takes to the Affiliate Dashboard.
If the application has been sent through the Affiliate dashboard, it will automatically update and show the full content.
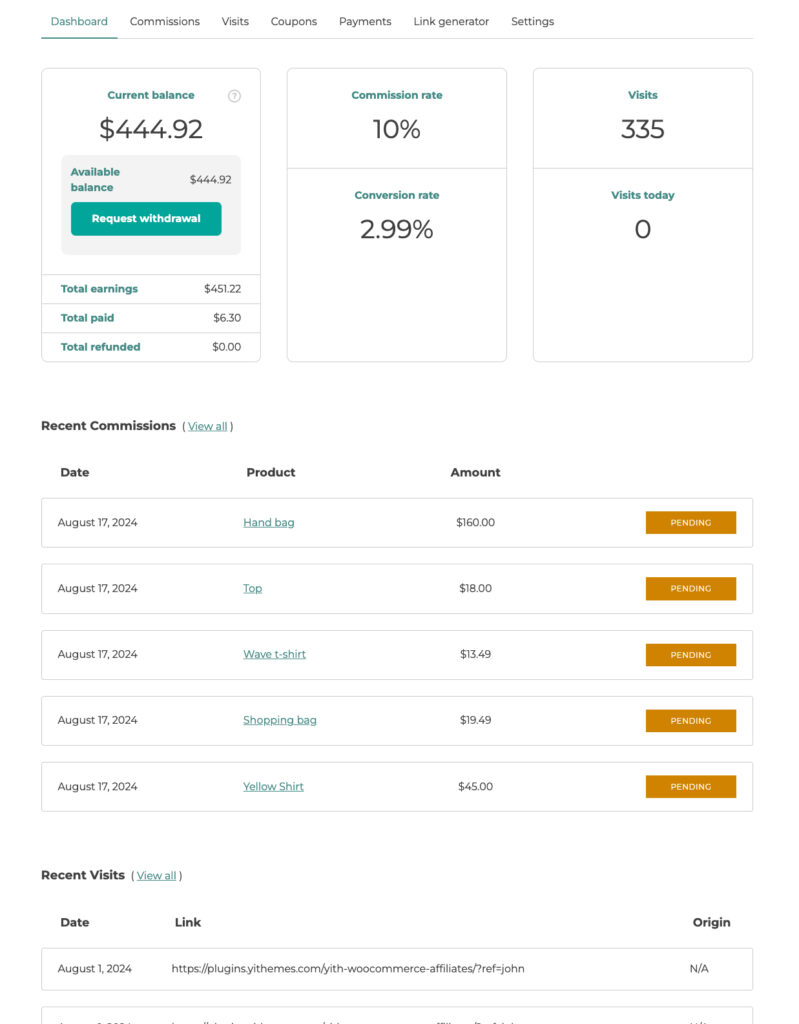
Let’s see what this looks like and what the user can do from the Affiliate Dashboard.
→ Affiliate dashboard – premium version
→ Affiliate dashboard – free version