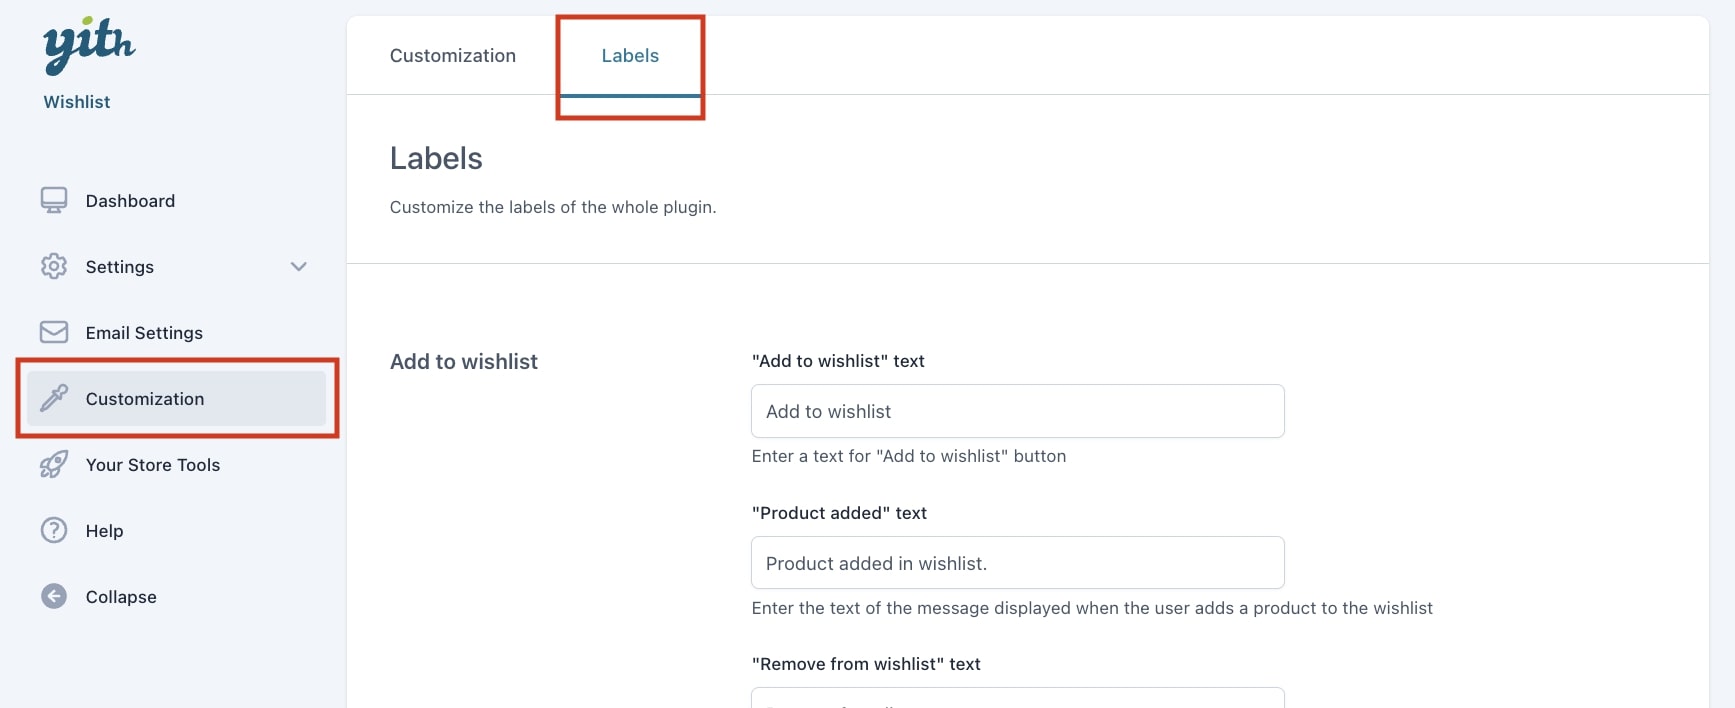
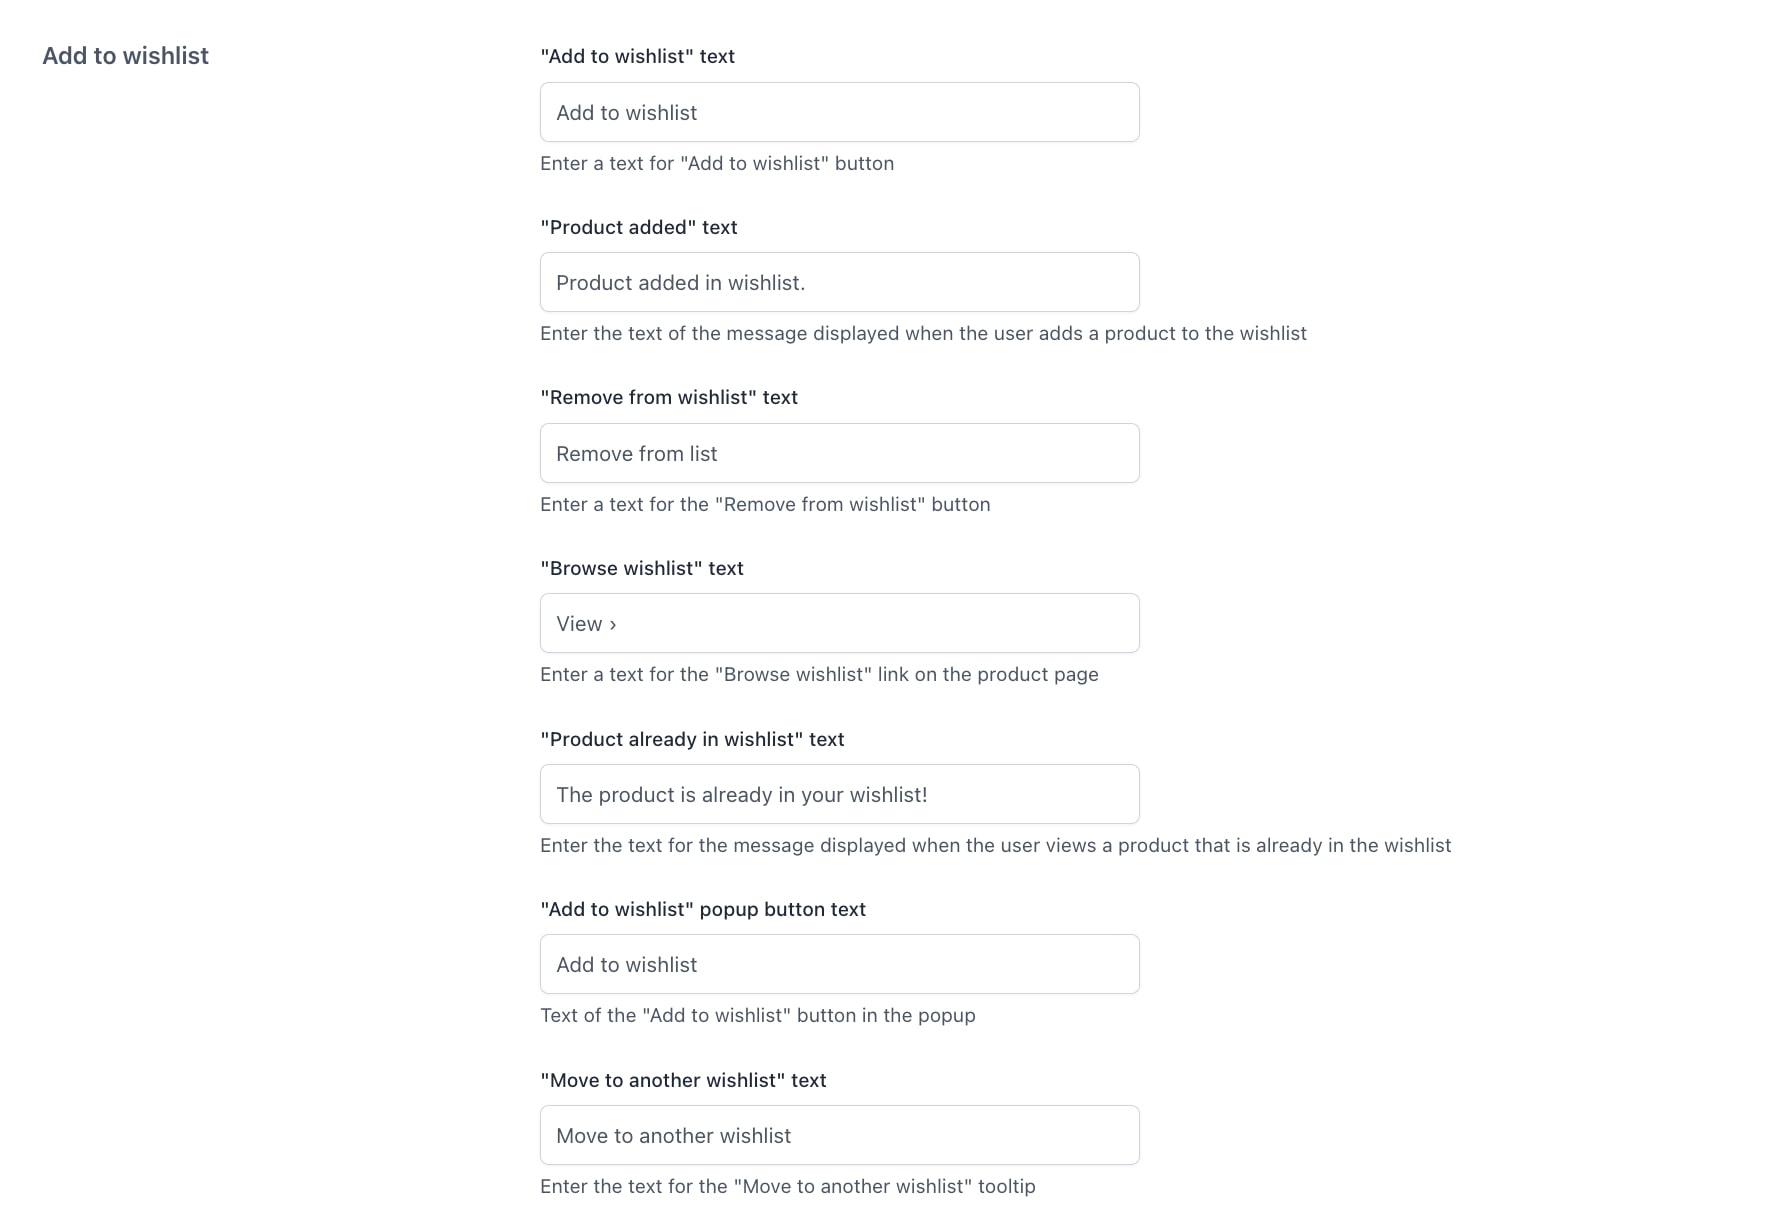
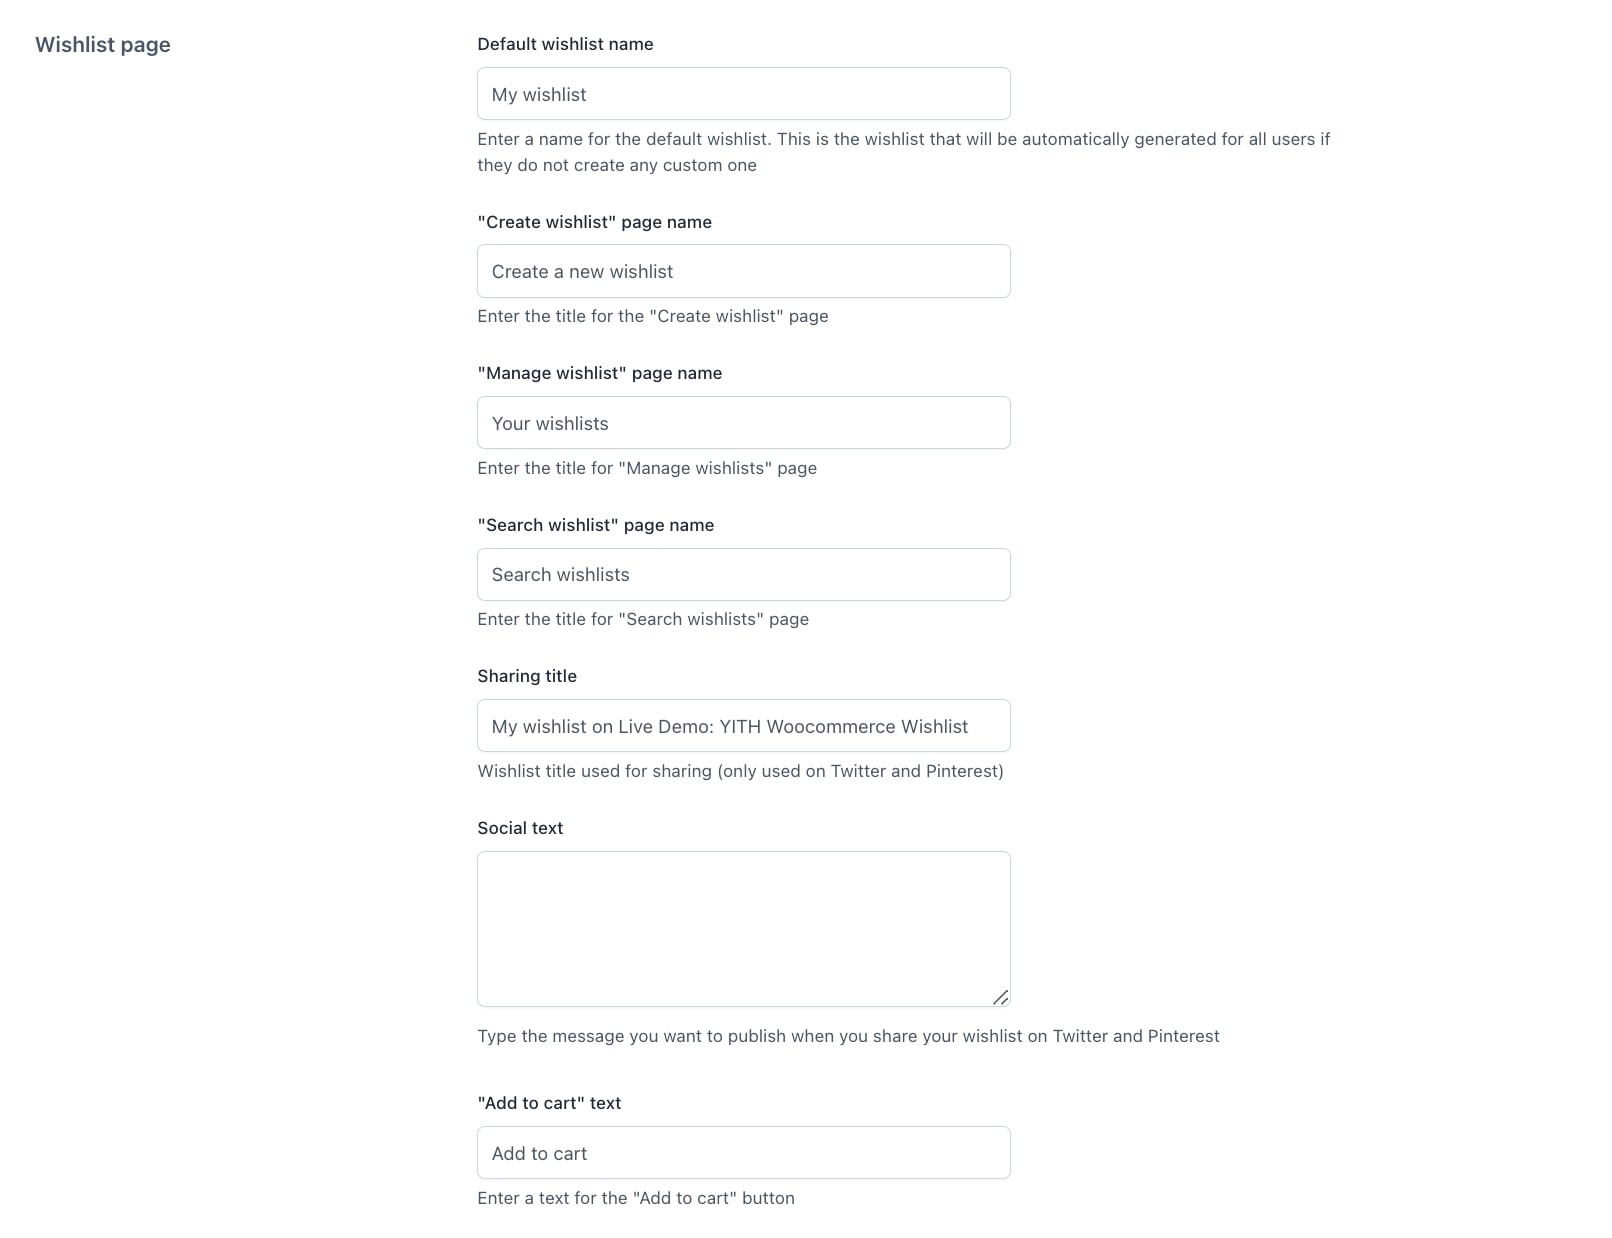
From the Customization tab you can configure the style and labels for the plugin options. In this post we’re going to see how to customize the style for:
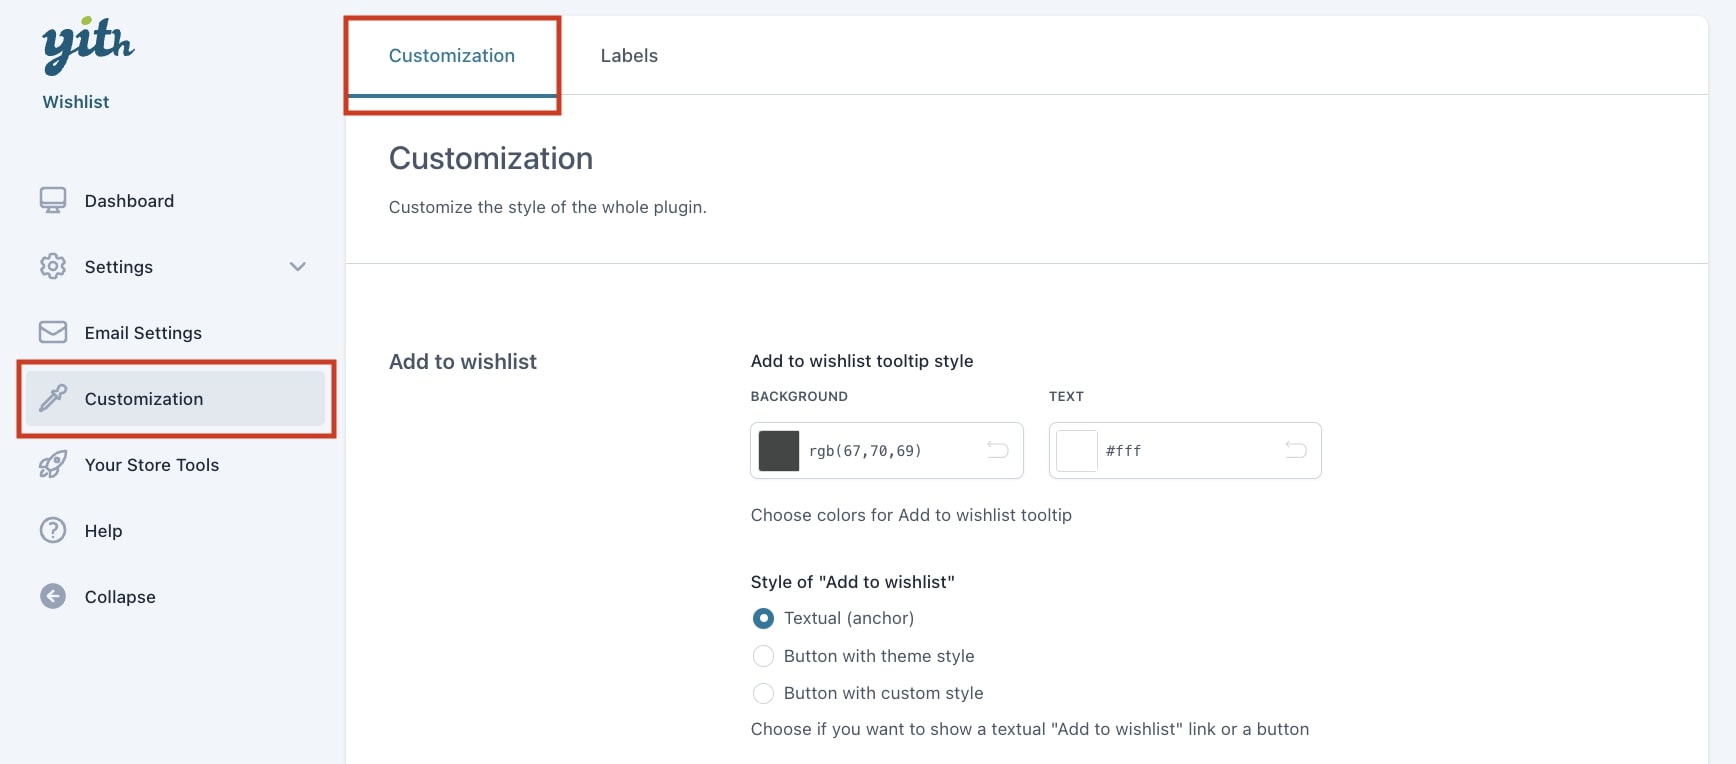
Add to wishlist
From this section you can customize the style of the options related to when a user adds, moves or removes a product from the wishlist.
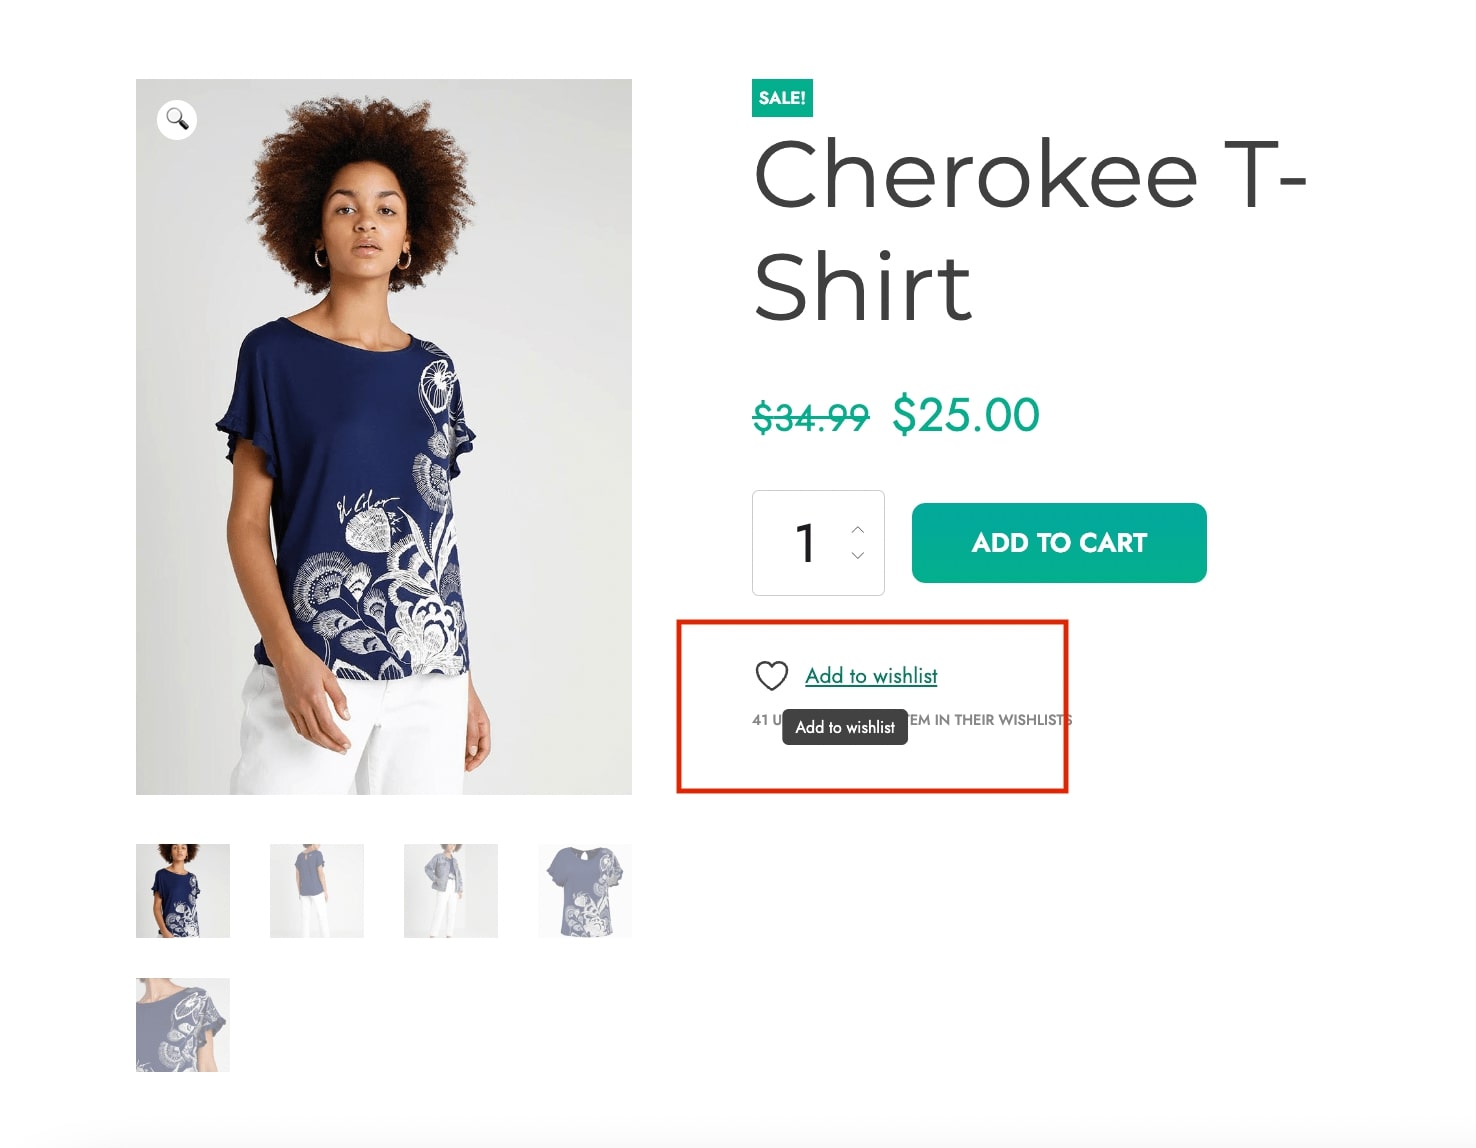
Let’s see how to configure them:
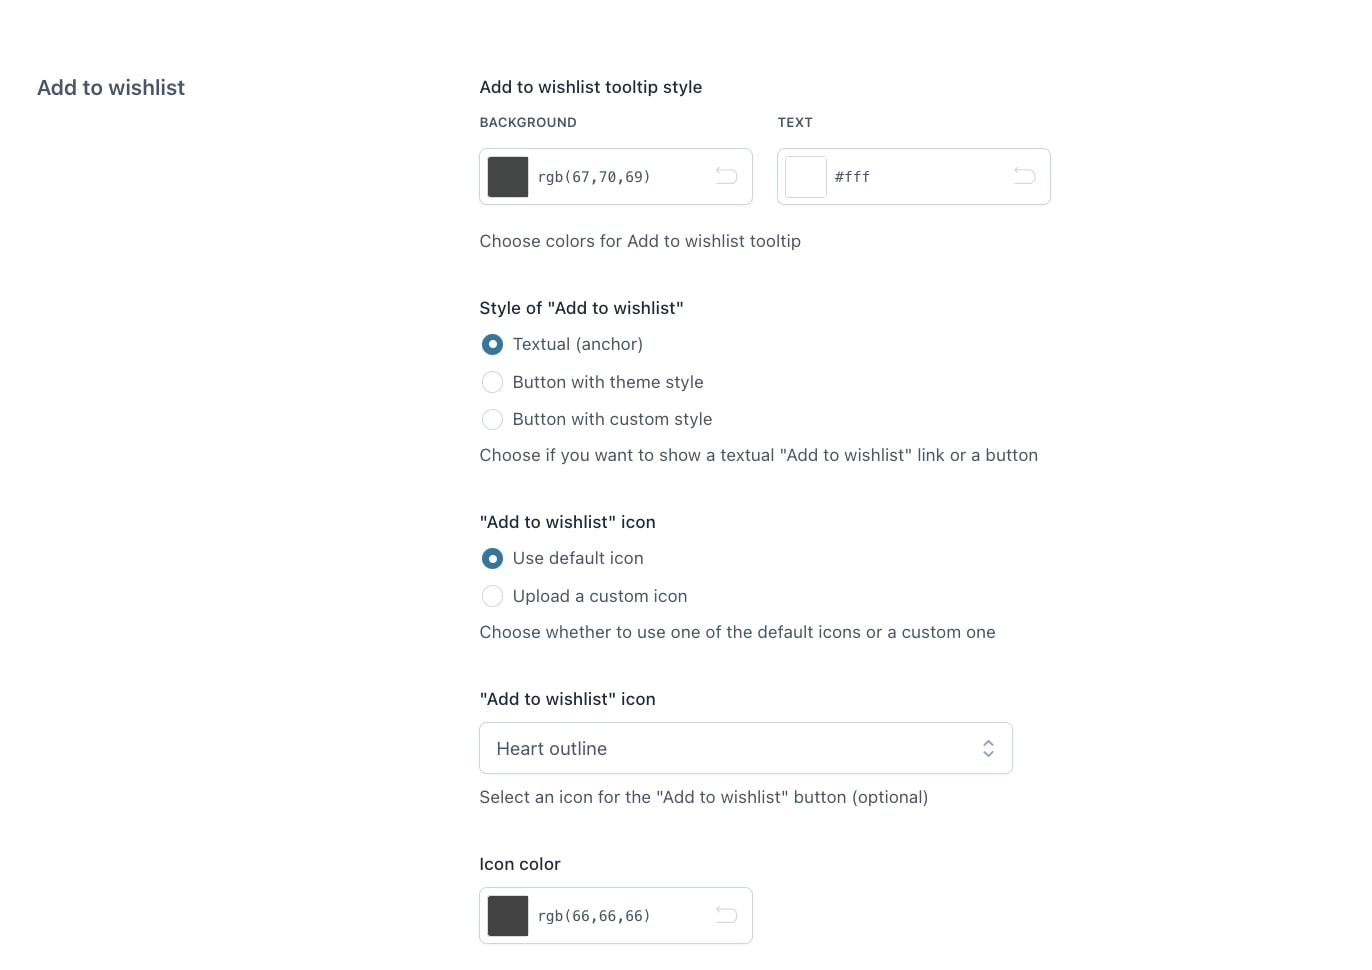
- Add to wishlist tooltip style: choose the colors for the add to wishlist tooltip.
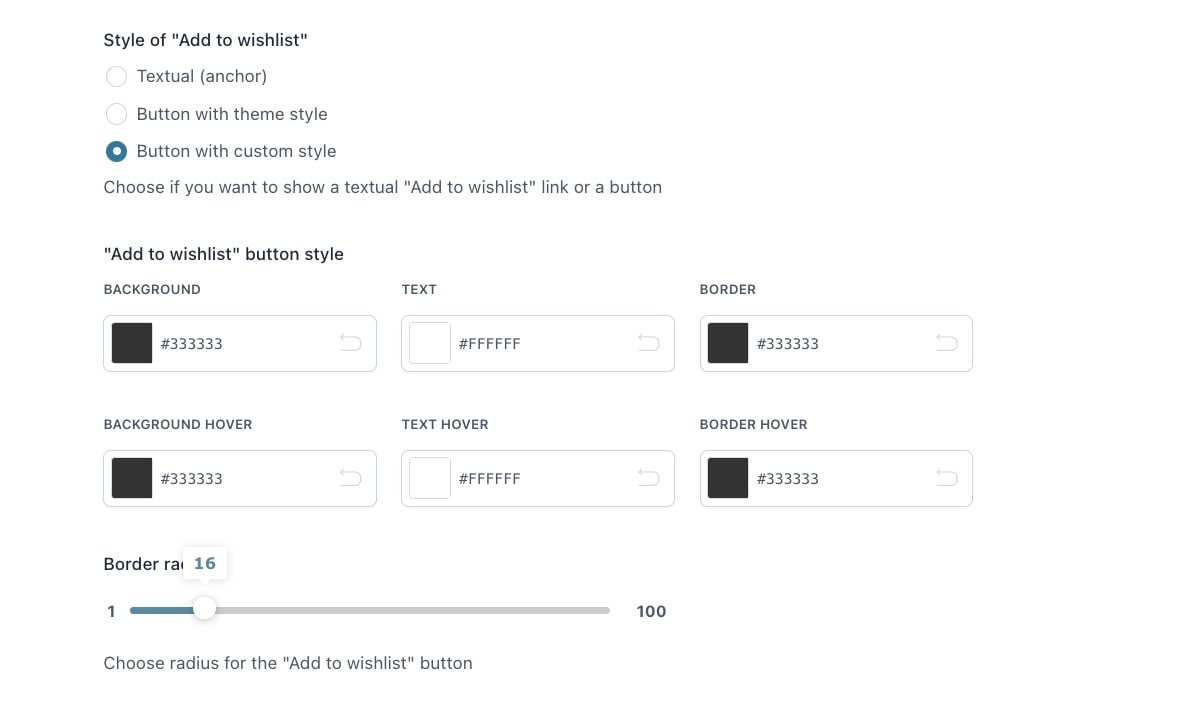
- Style of “Add to wishlist”: choose from Textual, Button with theme style or Button with custom style. If you select a Button with custom style, you’ll be able to configure the colors and border radius:
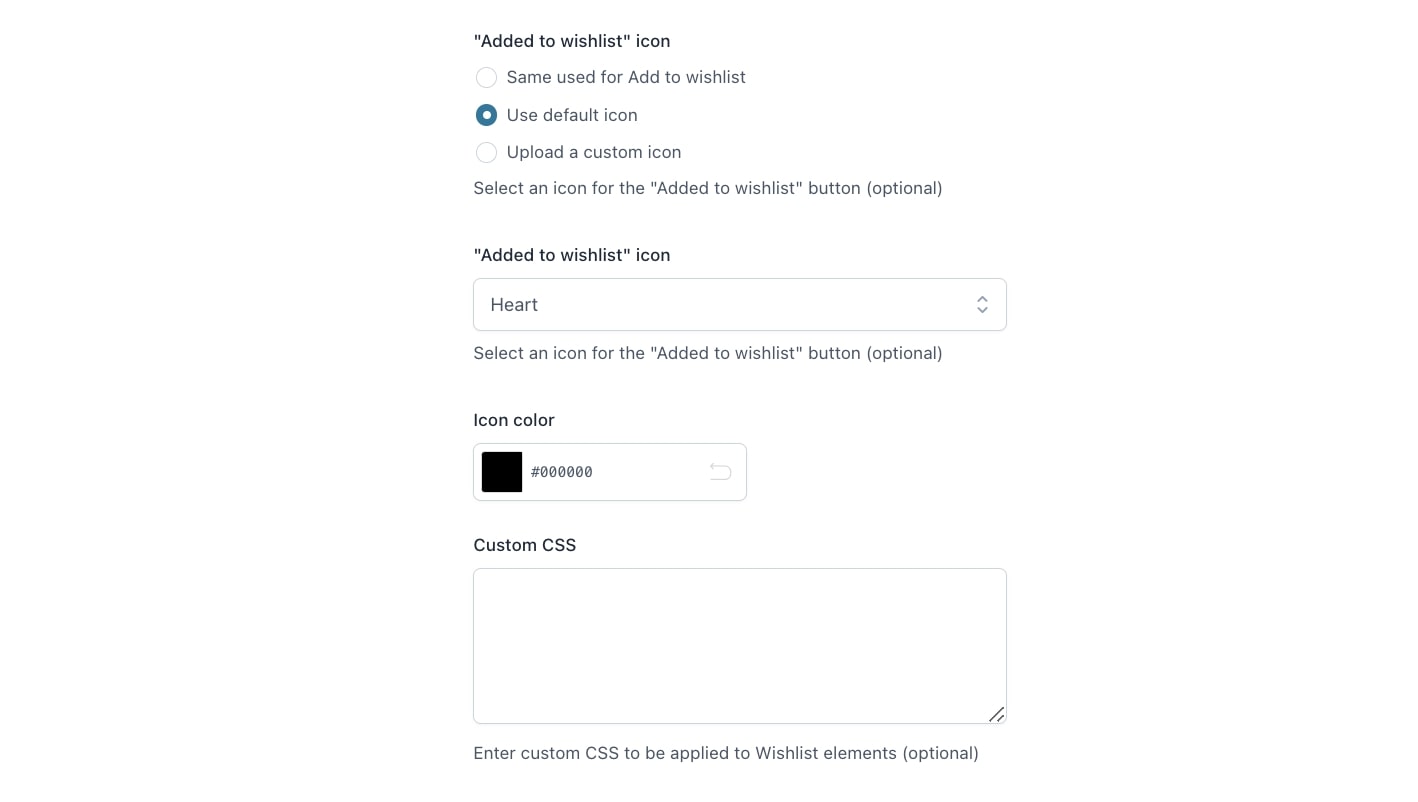
- Add to wishlist” icon: You can choose between the same used for “Add to wishlist”, use a default icon or upload a custom one. If you chose the default icon, you can also select:
- “Added to wishlist” icon: select an icon for the Added to wishlist button from the dropdown (optional)
- Icon color: choose the icon color (only if you selected the Default or the same icon in “Add to wishlist”).
- Custom CSS: enter custom CSS to be applied to Wishlist elements (optional).
Wishlist page
From this section you can customize the elements from the wishlist page. First, we can set the style of the “Add to cart”:
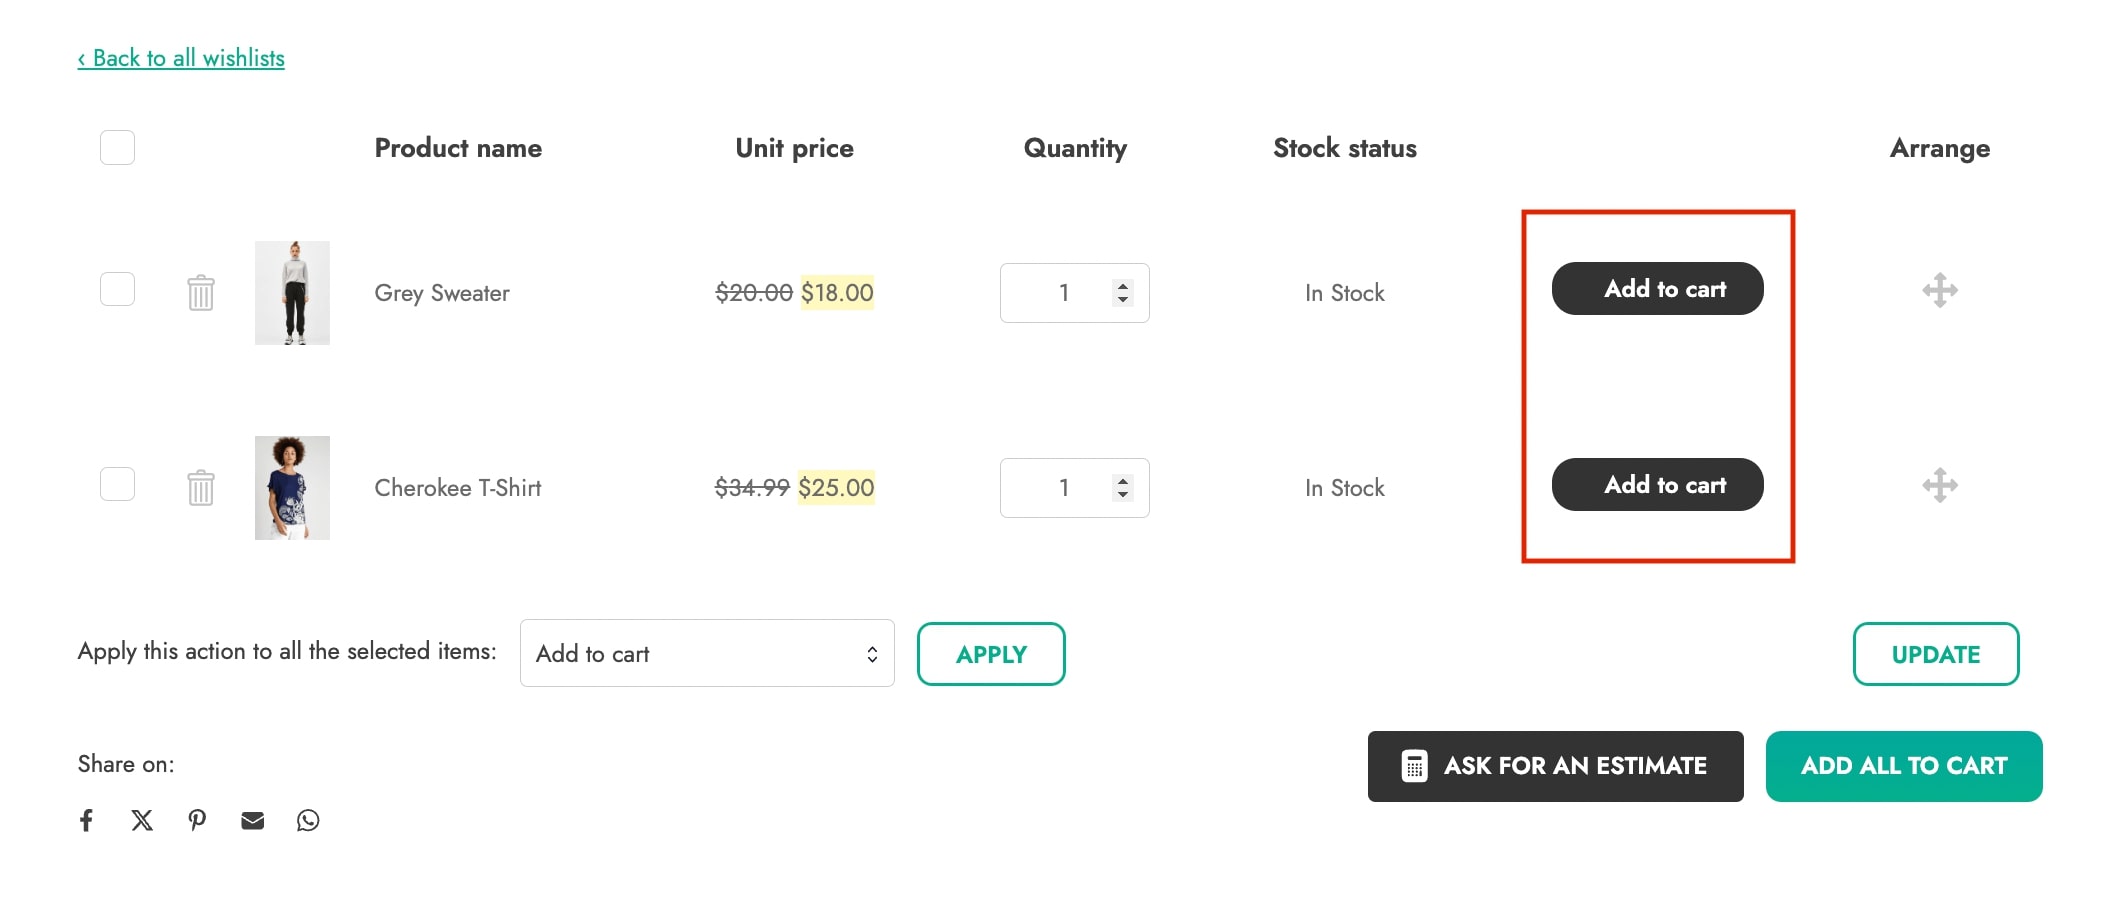
The available options are:

- Style of “Add to cart”: choose from Textual (uses anchor), Button with theme style (uses the style of the theme currently used), Button with custom style (uses the settings you configure).
By selecting Button with custom style, you will be able to configure the following options:
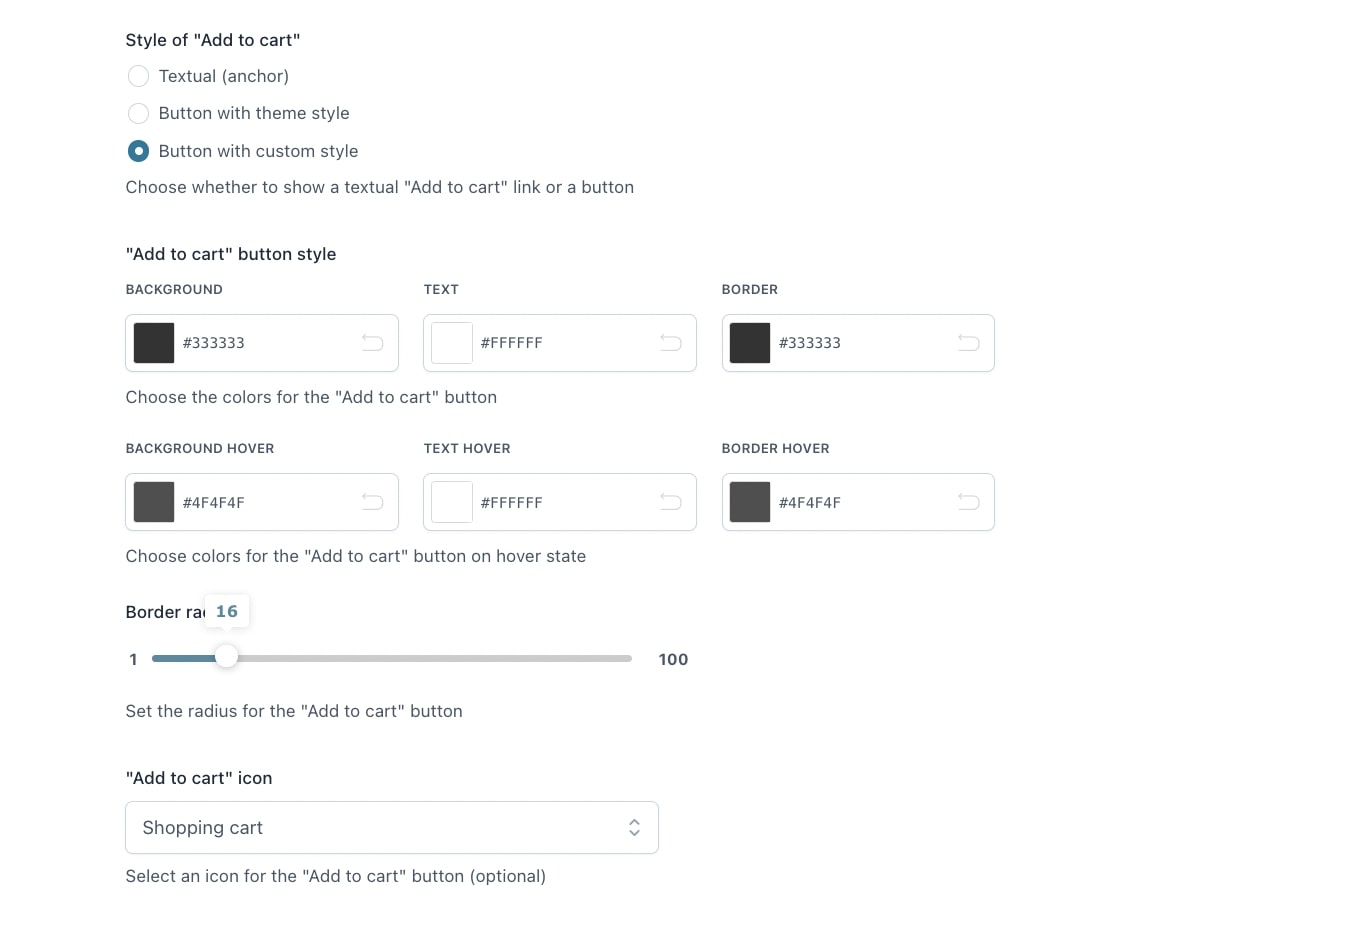
- “Add to cart” button style: choose the colors for the Add to cart button also on mouseover
- Border radius: set the radius for the Add to cart button
- “Add to cart” icon: select an icon for the Add to cart button from the dropdown (optional)
Now, let’s see the available custom color options for Primary and Secondary buttons:
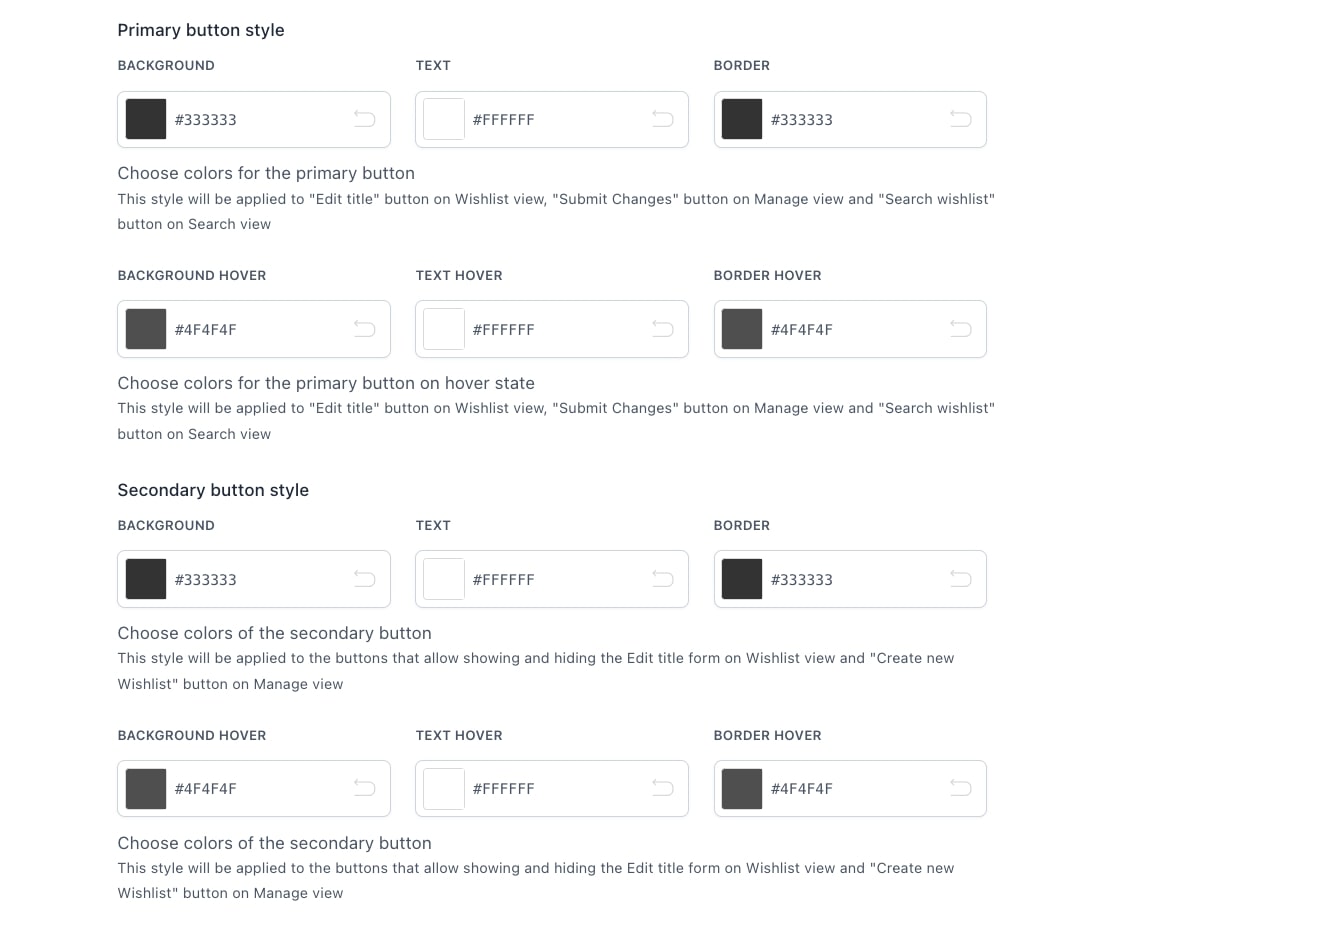
- Primary button style: through this option, you can customize the style and colors of the Edit title button on Wishlist view, Submit Changes button on Manage view and Search wishlist button on Search view also on mouseover.
- Secondary button style: this allows customizing style and color of Show title form and Hide title form buttons on Wishlist view and Create a new Wishlist button on Manage view also on mouseover.
To customize the wishlist table, you have two options:
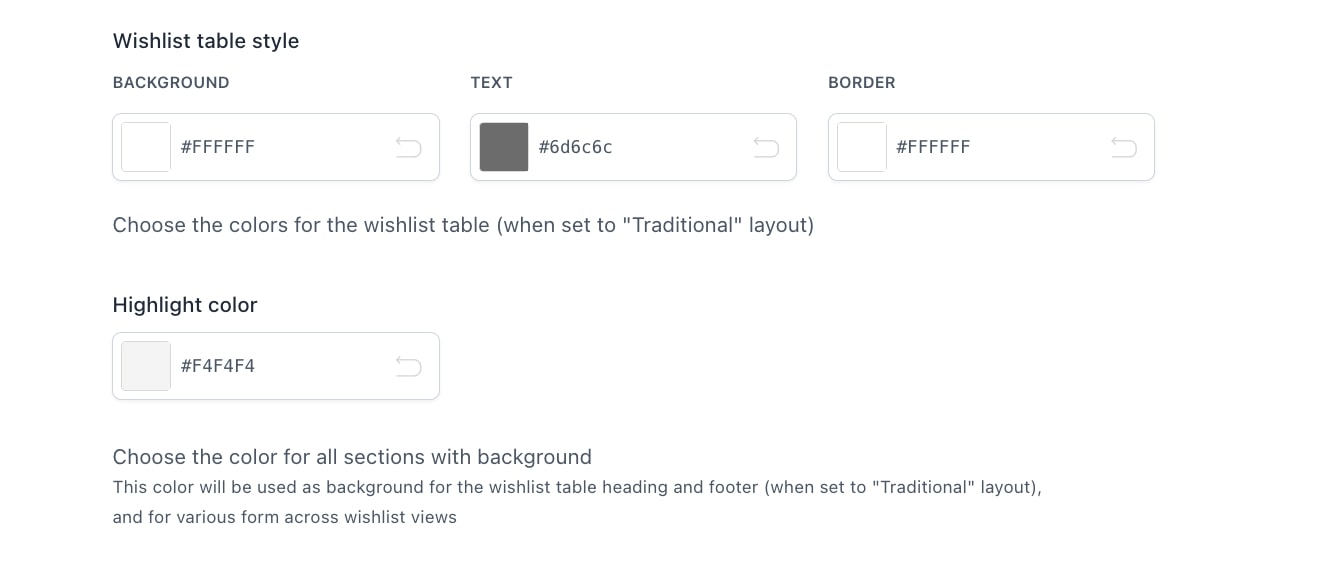
- Wishlist table style: this allows choosing the color of the wishlist table (when set to Traditional layout)
- Highlight color: this allows choosing the color that will be used as background for the wishlist table heading and footer (when set to Traditional layout), and for different forms in the wishlist views
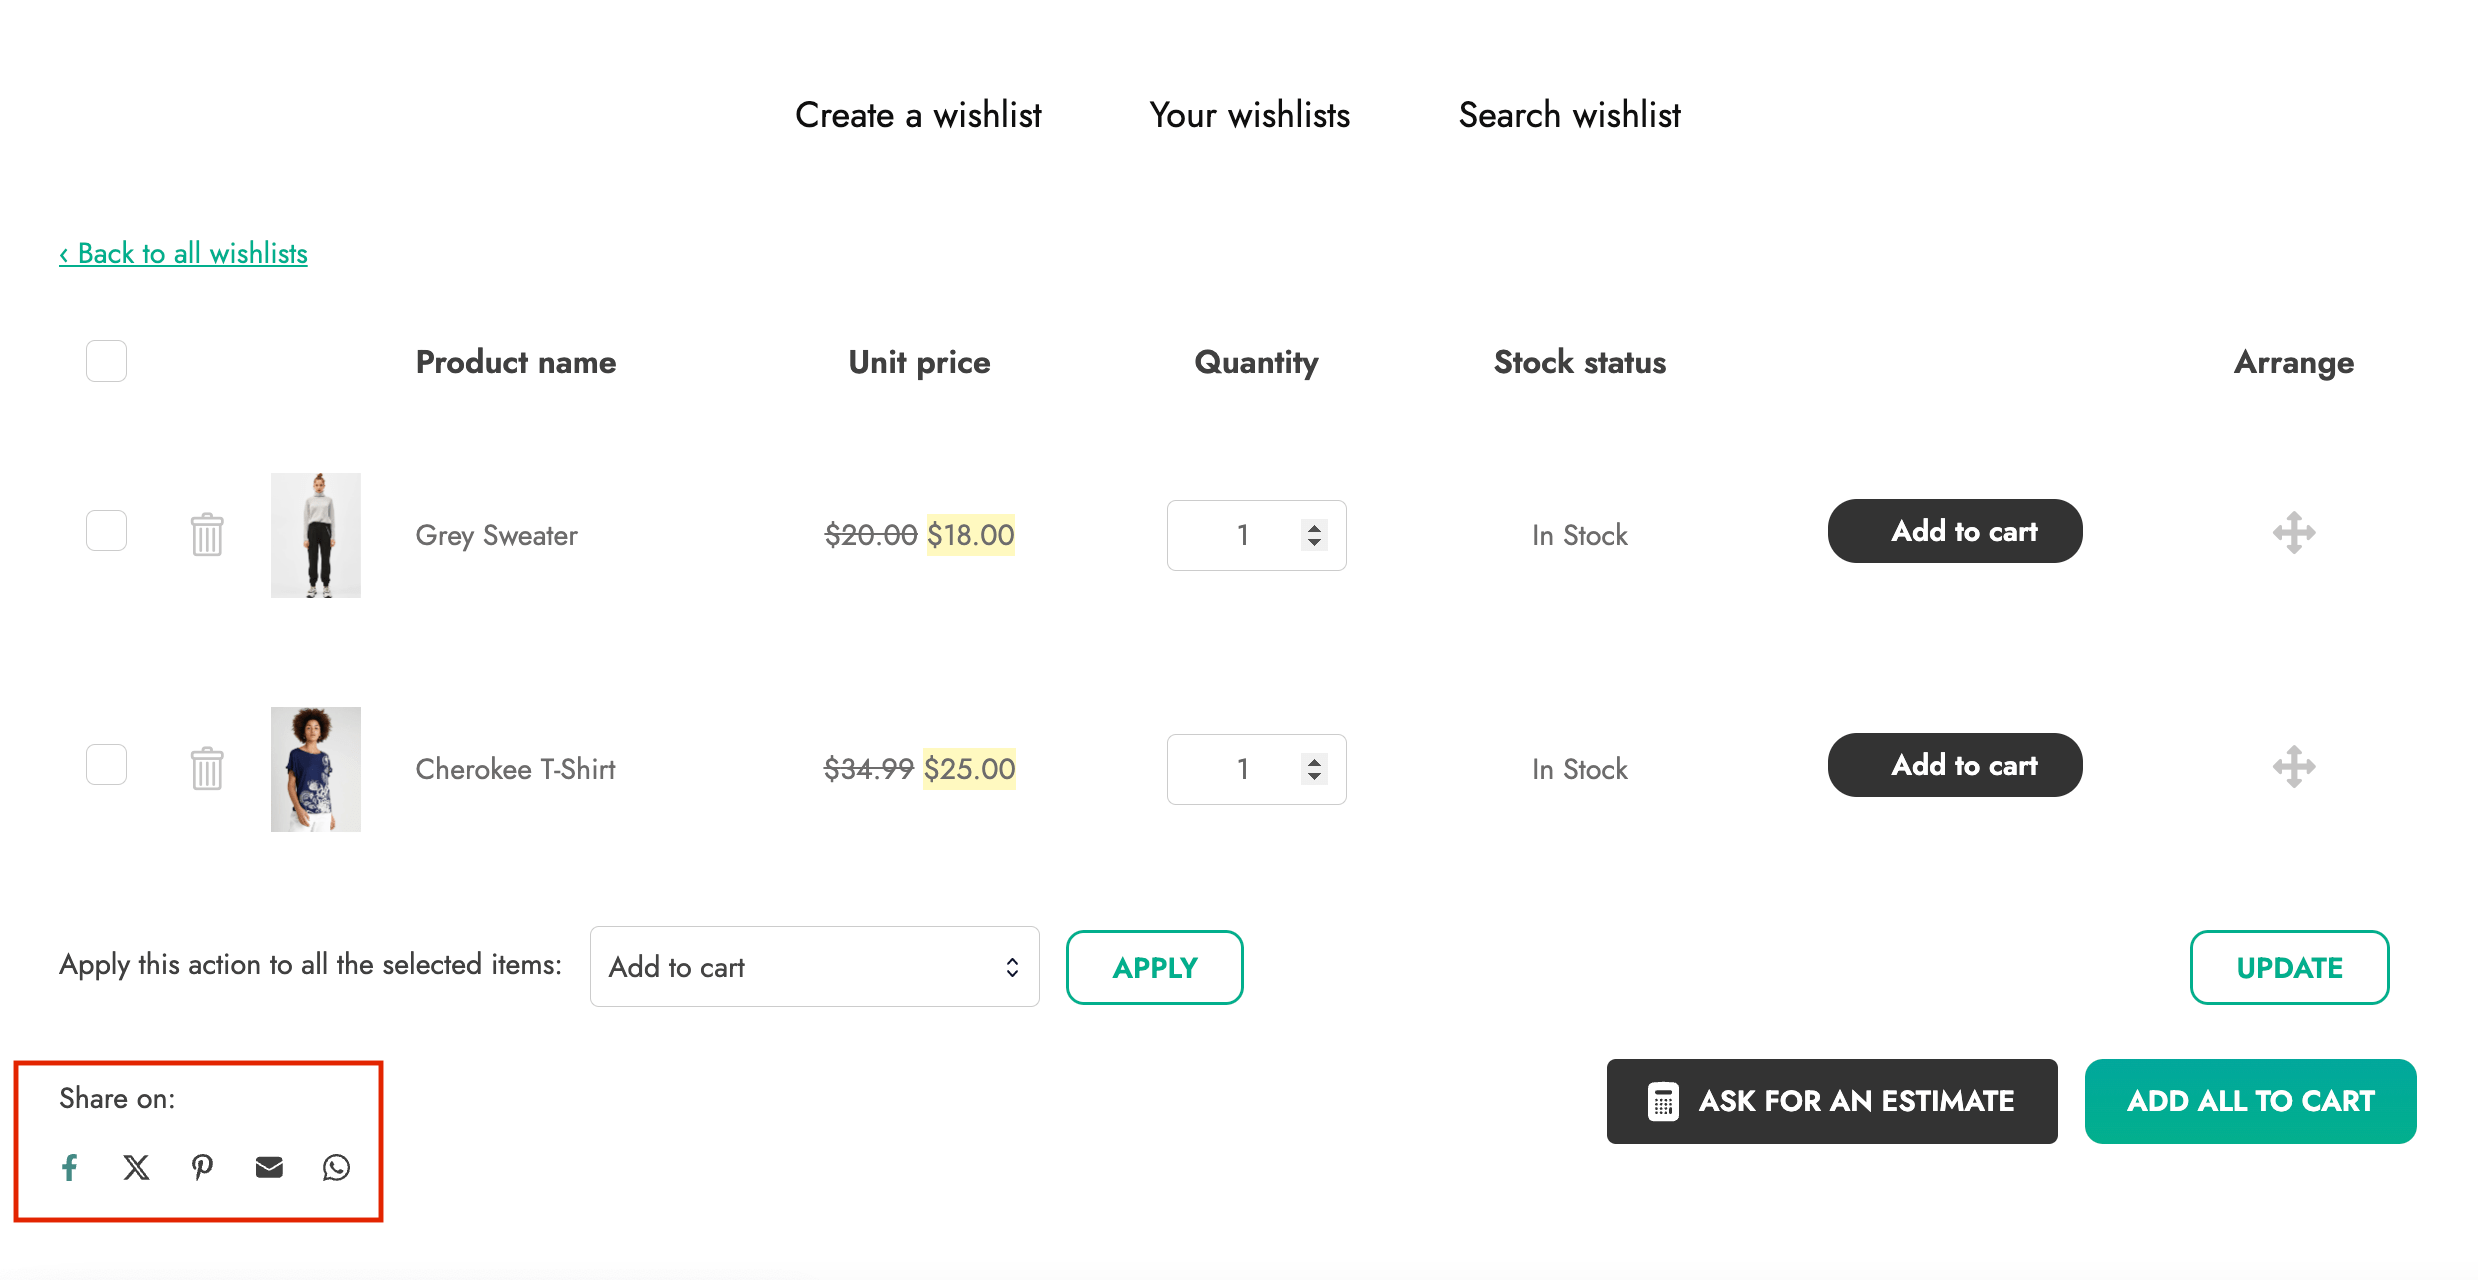
The last settings of this section are related to the customization of sharing buttons for social media
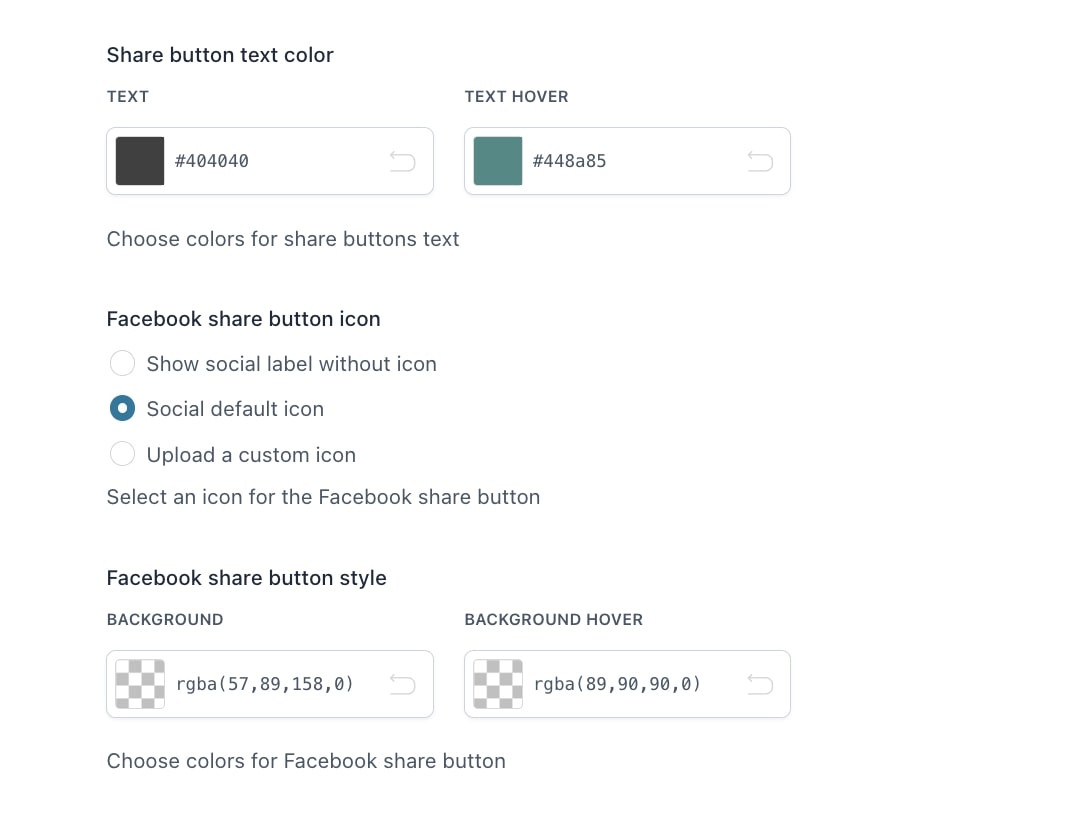
- Share button text color: the color of the text for the Share buttons
- Facebook share button icon: choose wether to Show social label without icon, use the Social default icon or Upload a custom icon.
- Facebook share button style: set the colors of the Facebook share button
The same style and icon options will be available for Twitter (X), Pinterest, Email, and WhatsApp.
Modals
In this section you can configure the icon and color options for the Modals available in the plugin.
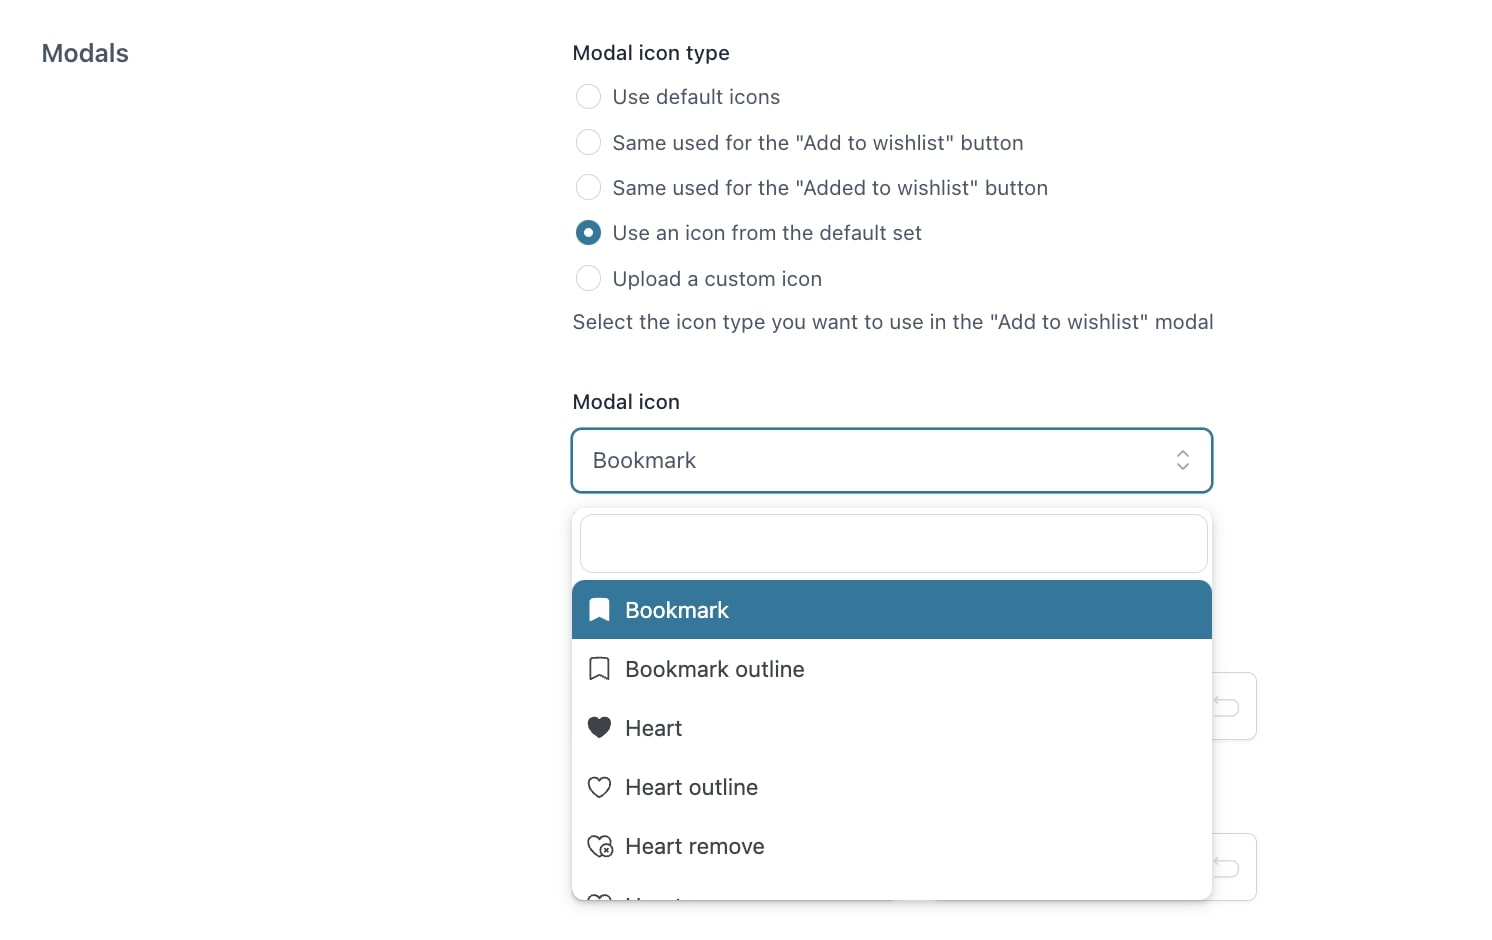
- Modal icon type: Select which icon type you want to use for the “Add to wishlist” modal
- Use default icons
- Same used for the “Add to wishlist” button
- Same user for the “Added to wishlist” button
- Use an icon from the default set: selecting this option will allow you to choose one from the plugin library
- Upload a custom icon
Then, you can set the color options for the elements inside the modal:
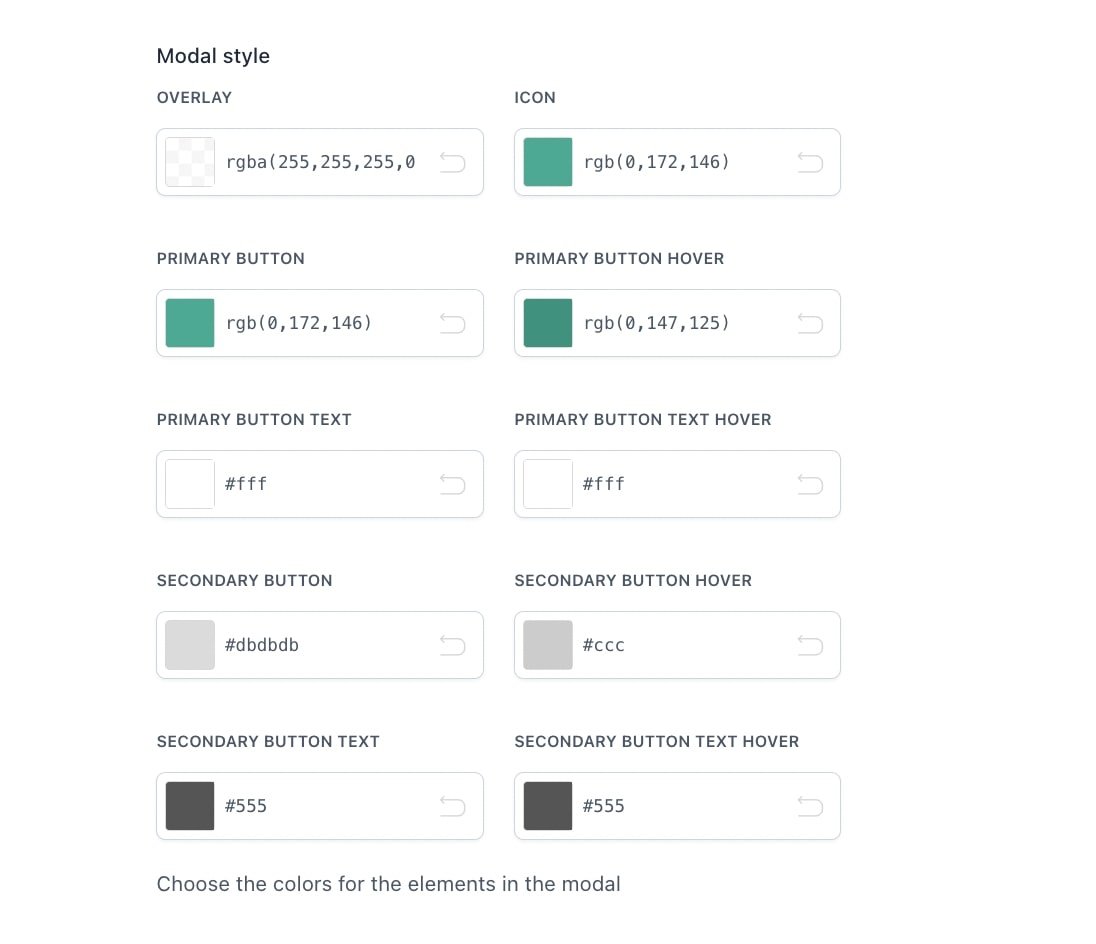
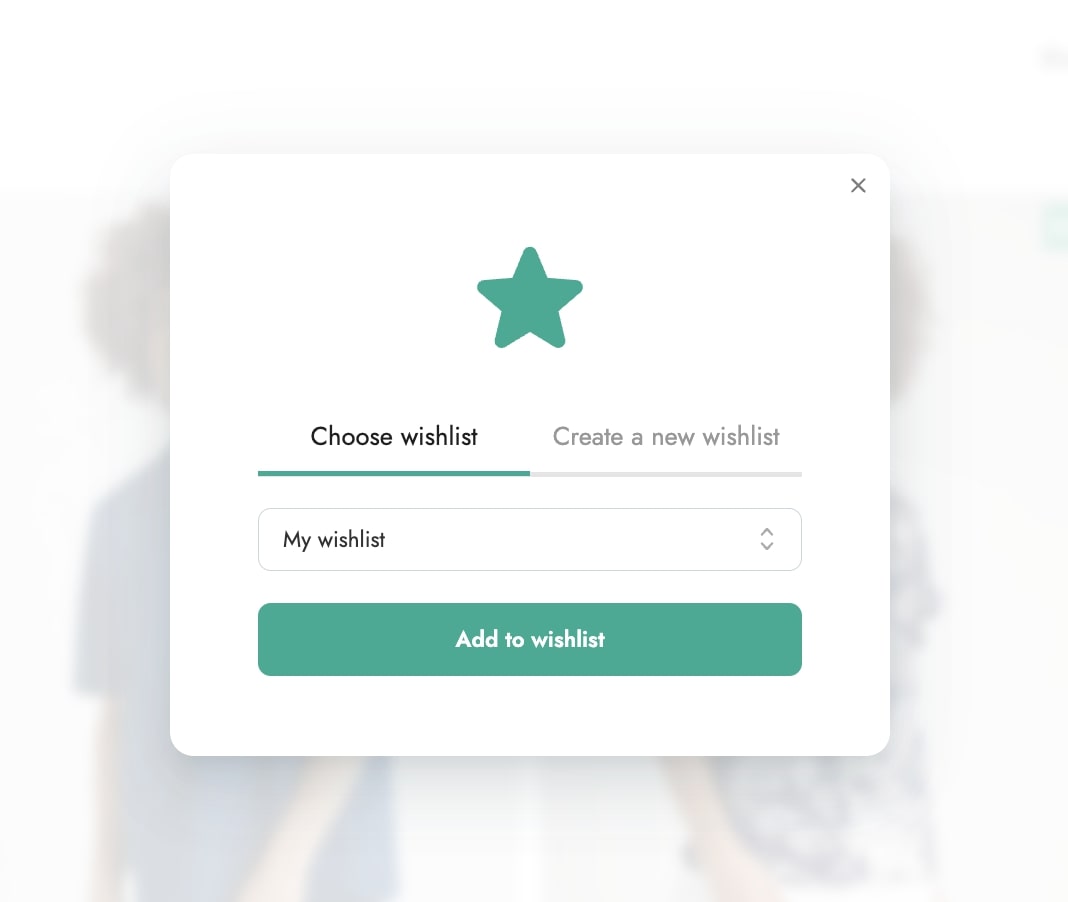
Here is an example of the modal window if we select a Star icon with the colors configured in the Modal style options:
Ask for an estimate
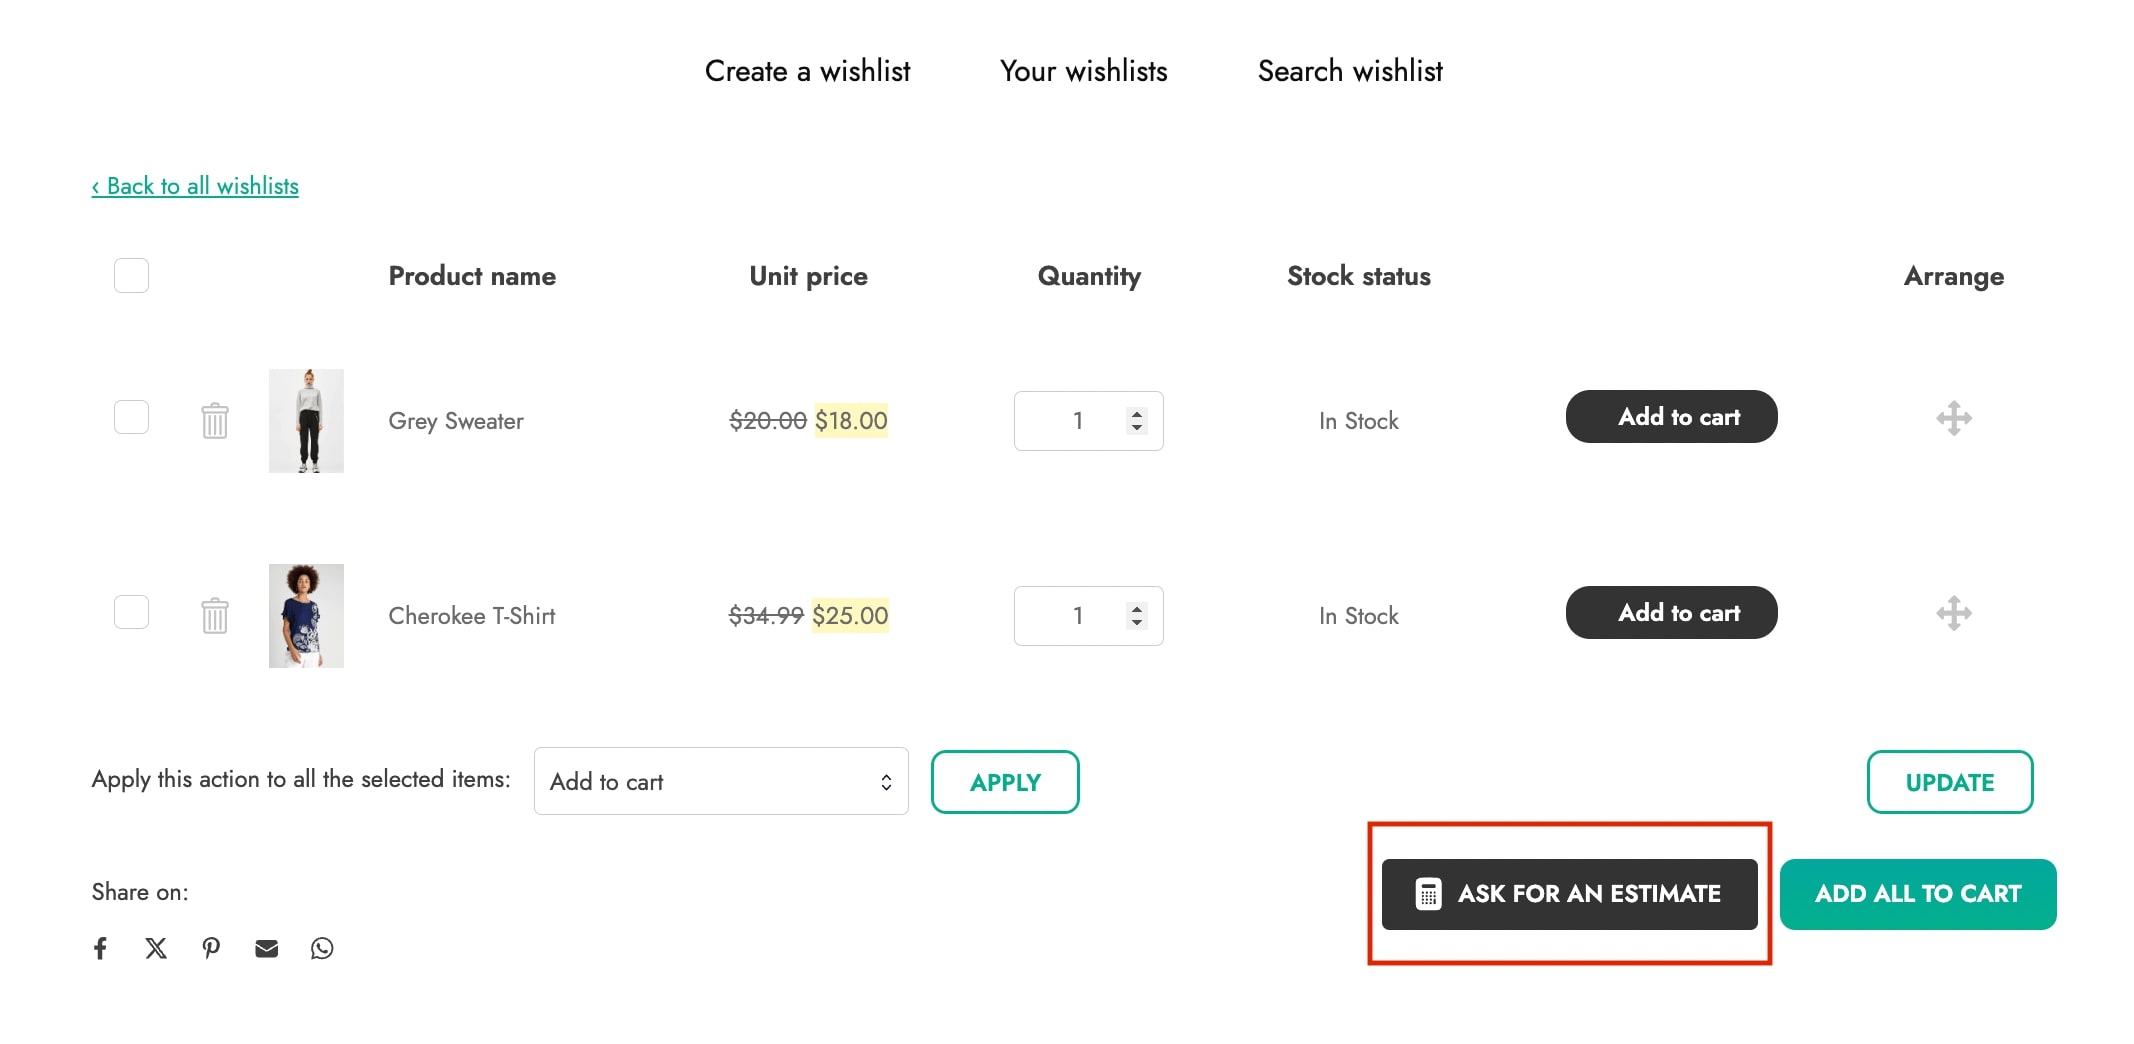
In this last section, you can configure everything related to the ask for an estimate button.
The available options are:
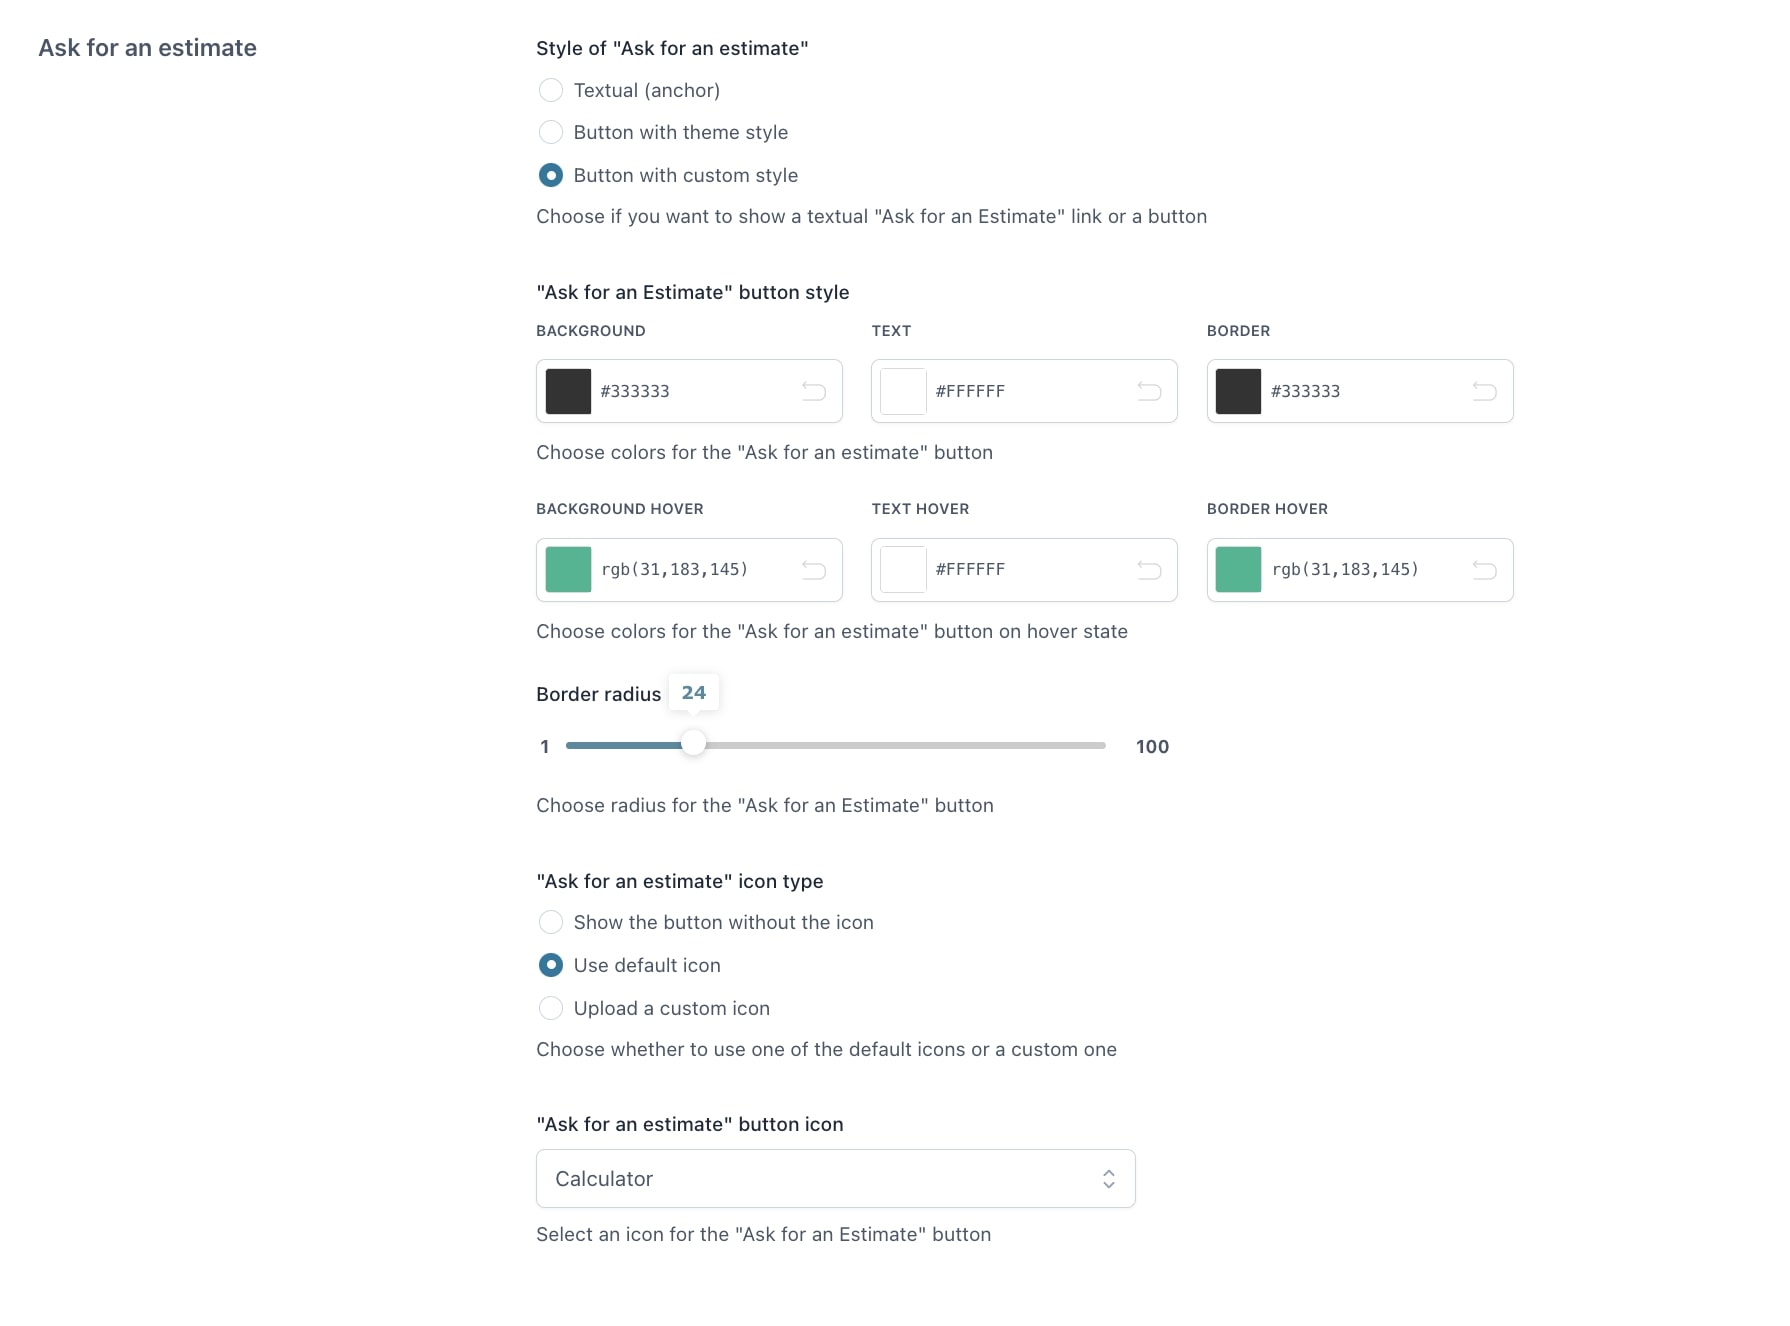
- Style of “Ask for an estimate”: choose from Textual (uses anchor), Button with theme style (uses the style of the theme currently used), Button with custom style (uses the settings you configure).
If you select Button with custom style, you can configure:
- “Ask for an estimate” button style: select the backgrounds, texts and borders colors.
- Border radius
- Ask for an estimate” icon type: choose to either show the button without icon, use a default icon or upload a custom icon. When you select the default icon option, you can choose one of the available from the selector.

