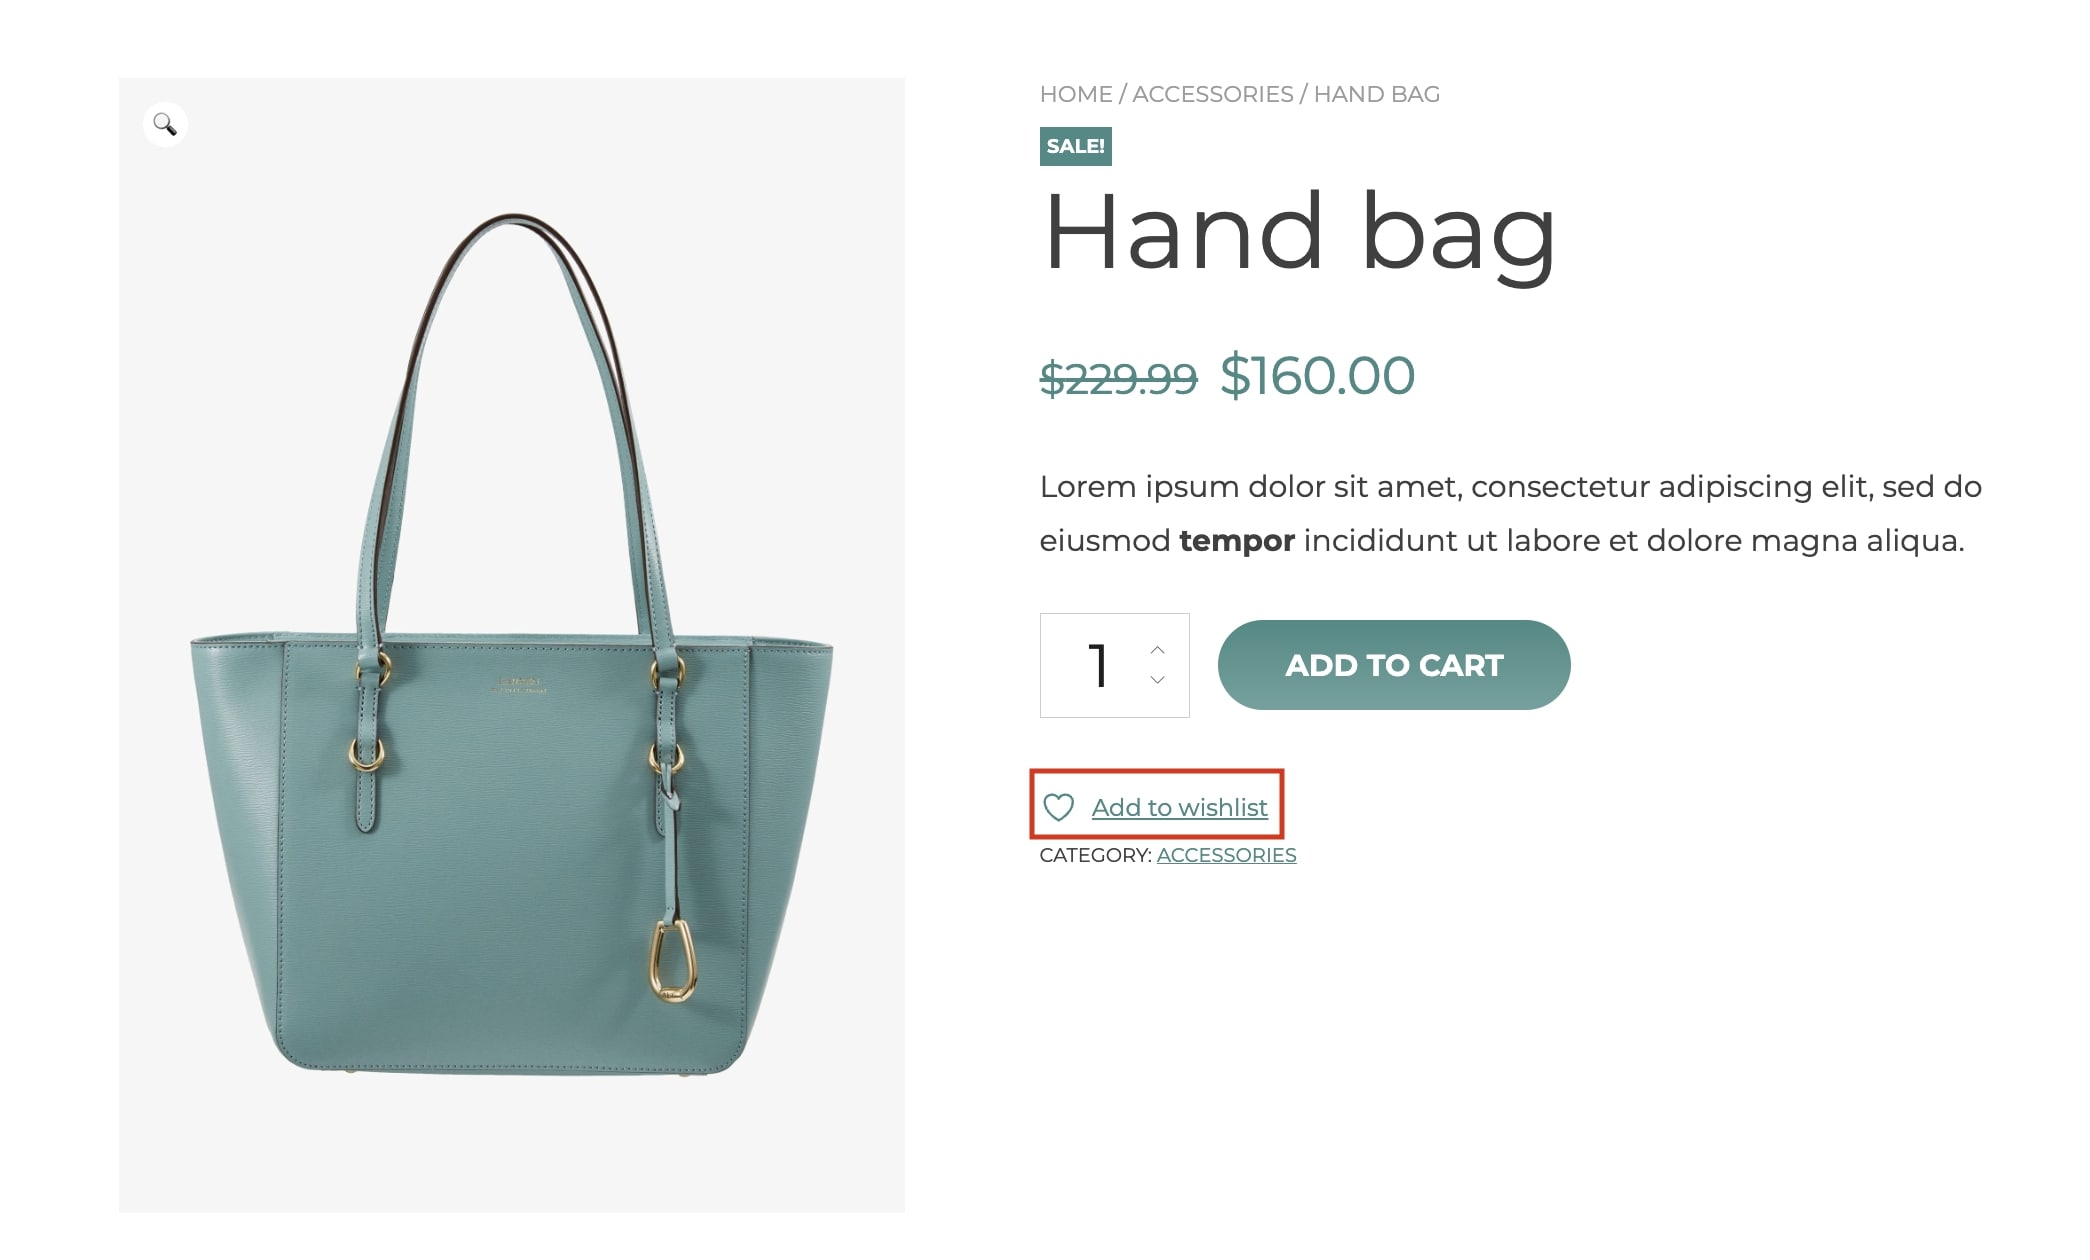
Once you enable it, the plugin adds an “Add to wishlist” button on all the products of your shop.
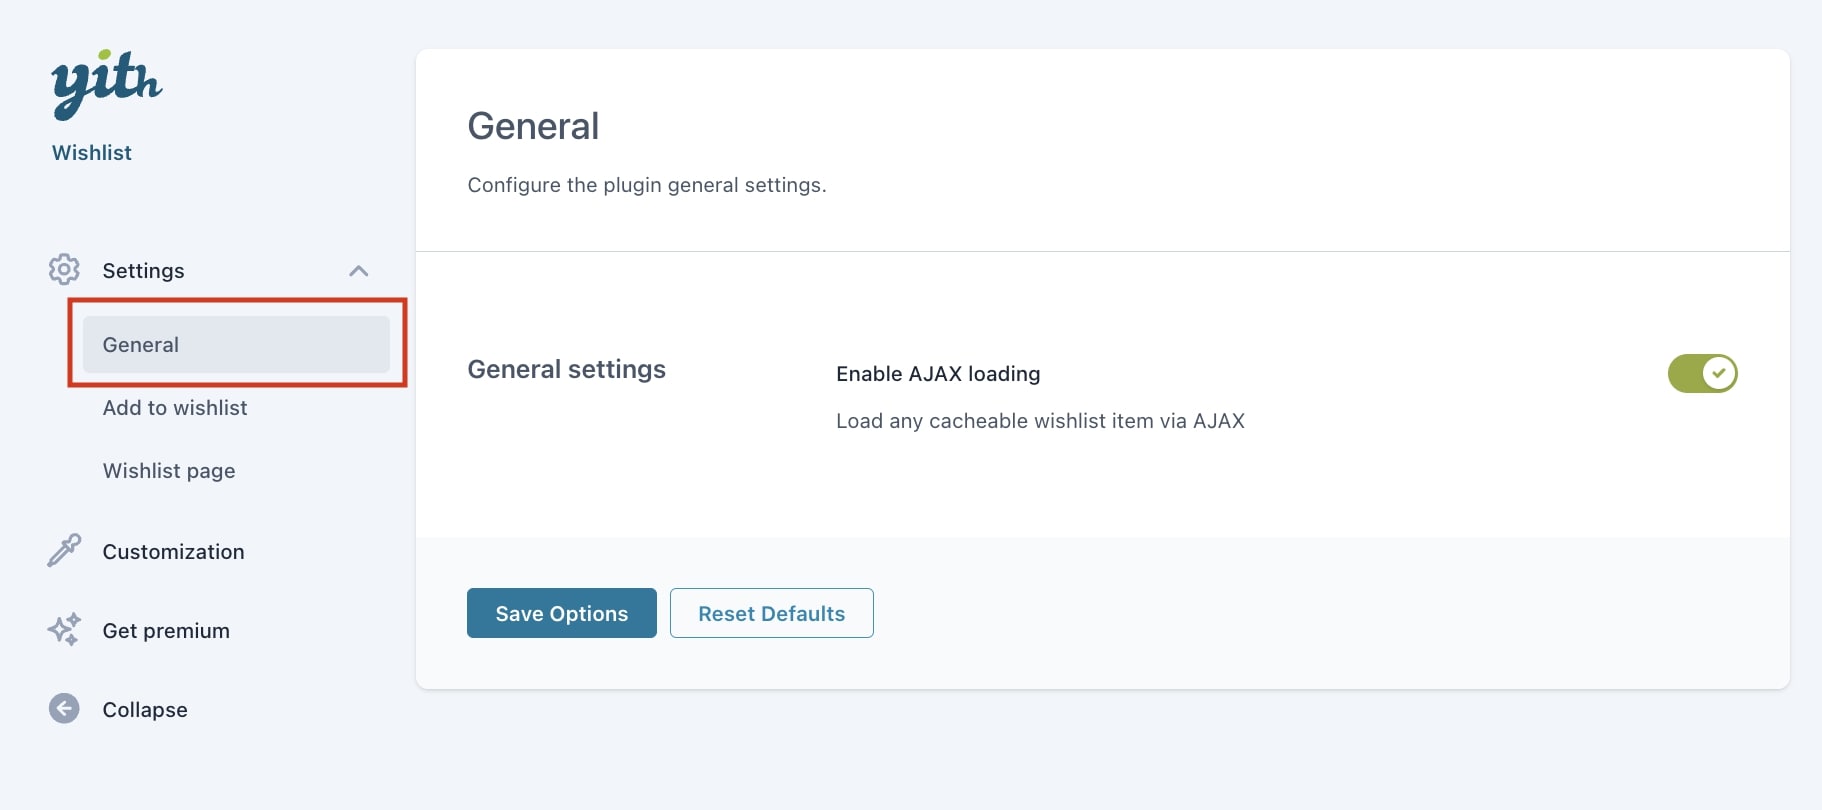
From the General Settings tab, you can enable AJAX loading to load Wishlist shortcodes and widgets that may be cached.
Once you enable it, the plugin adds an “Add to wishlist” button on all the products of your shop.
From the General Settings tab, you can enable AJAX loading to load Wishlist shortcodes and widgets that may be cached.
From the Add to wishlist Settings tab, you can configure all the options related to the add to wishlist button, including General settings, Loop settings and Product page settings.
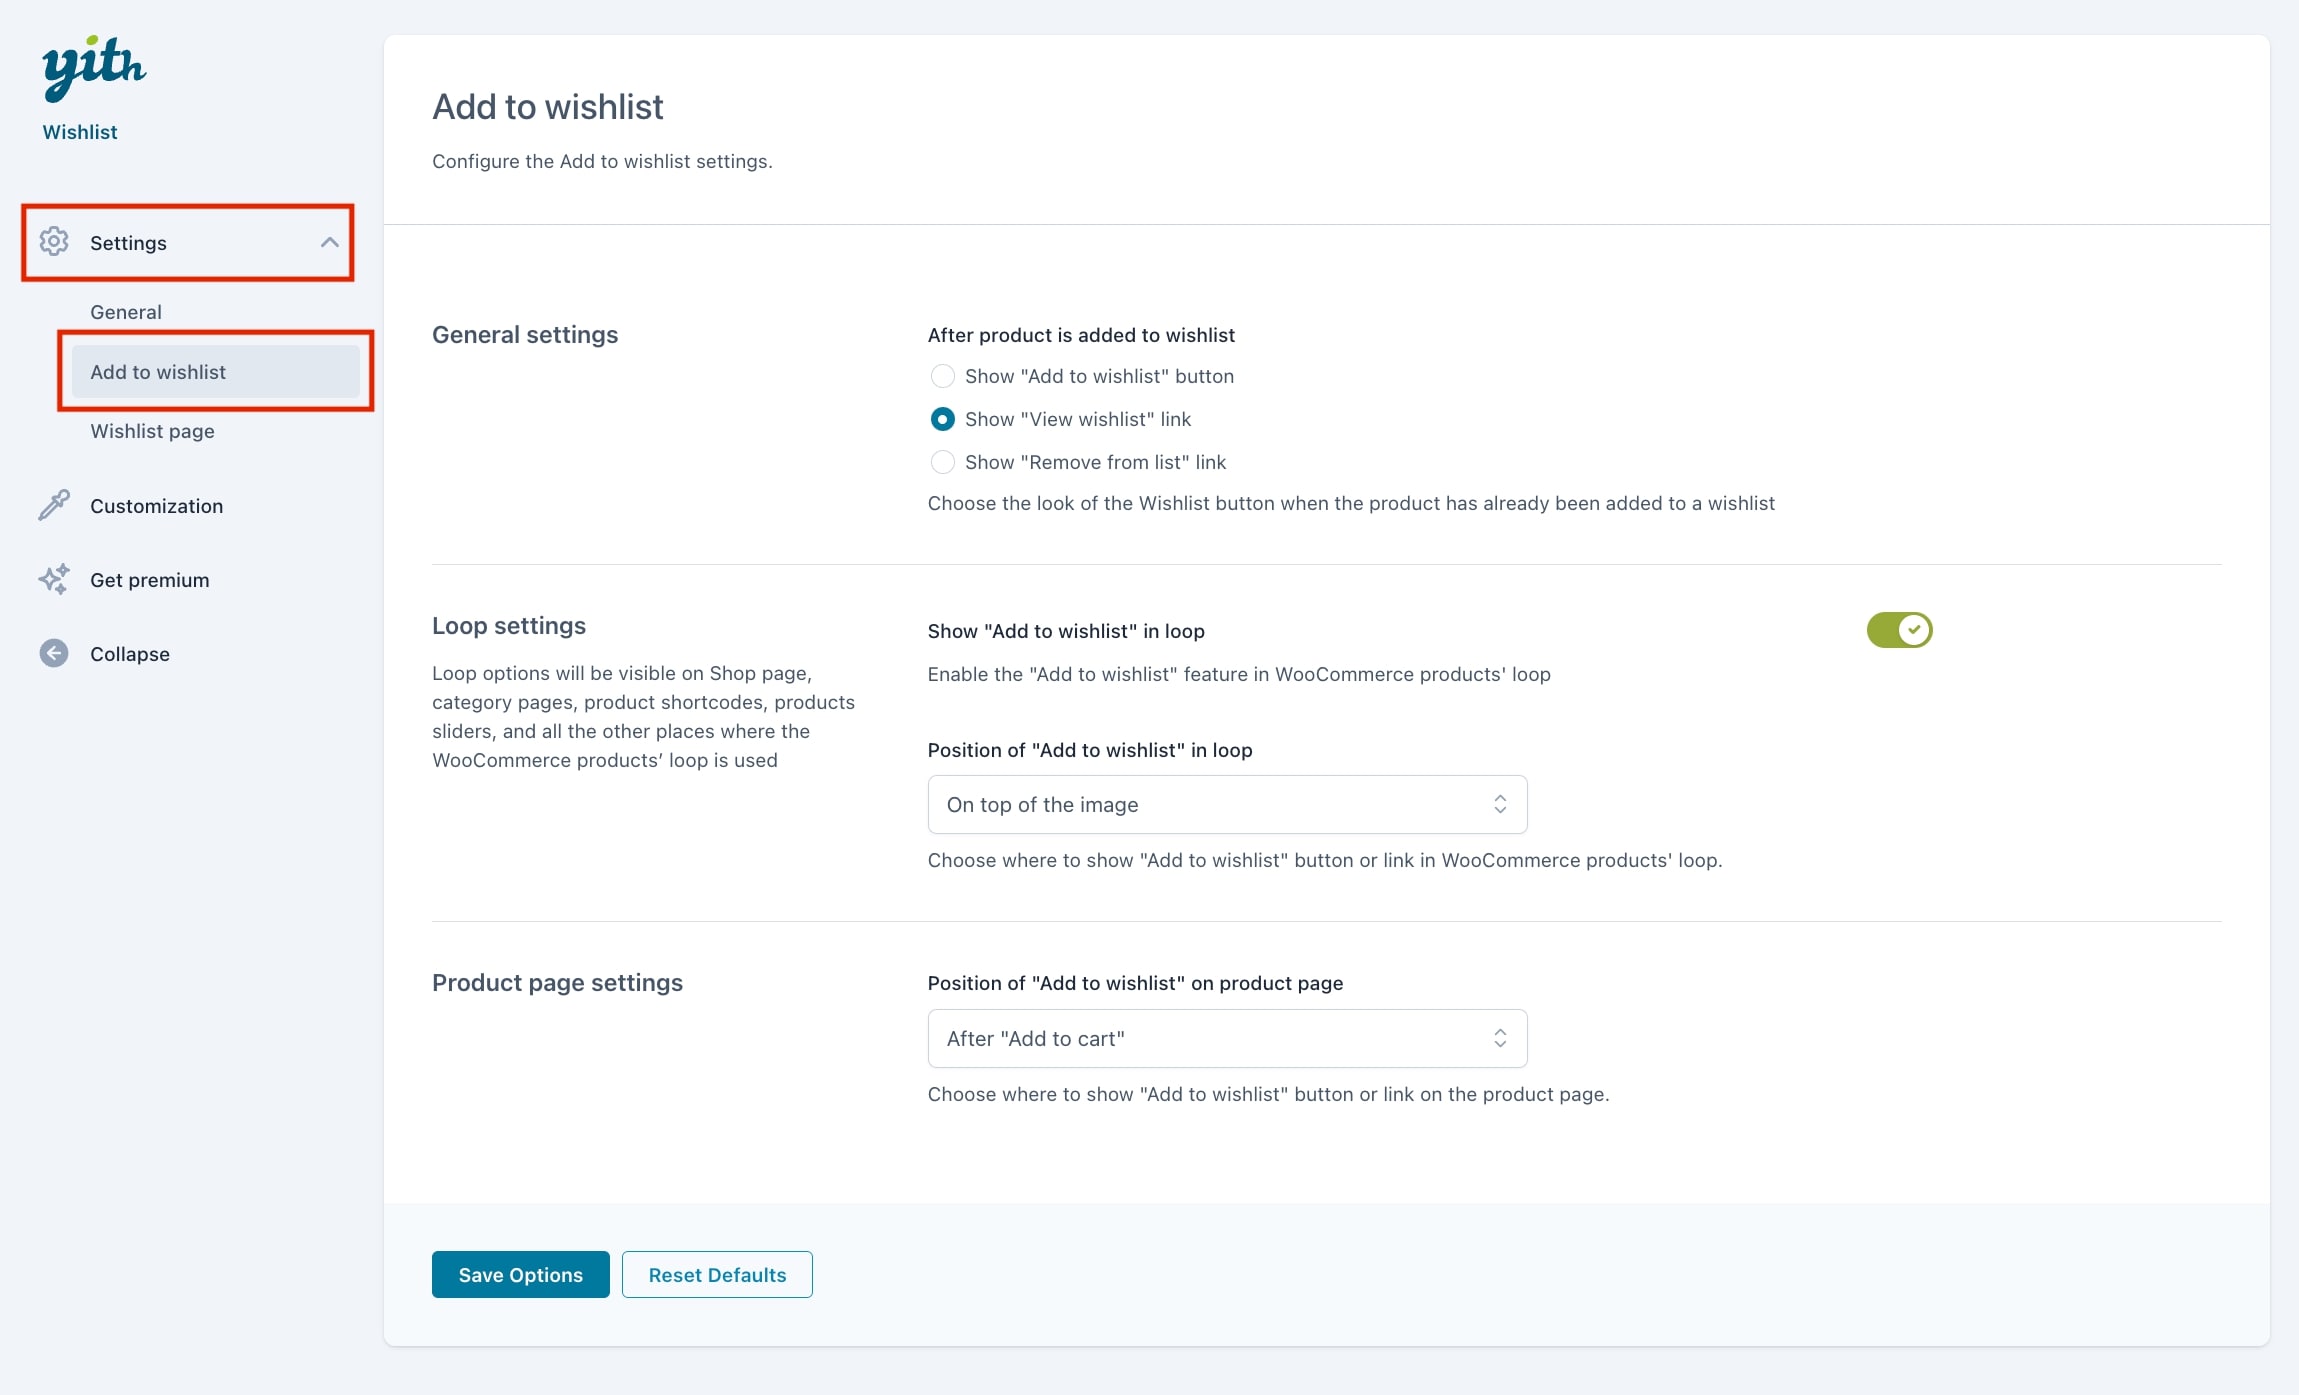
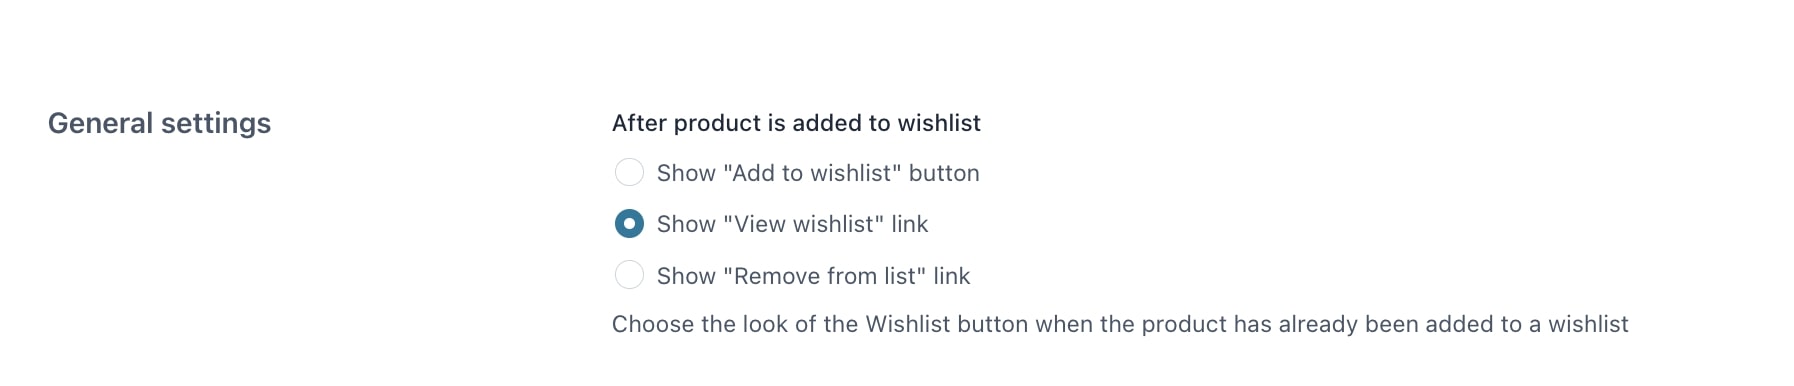
From the General settings section, you can decide what to show after a product is added to wishlist:
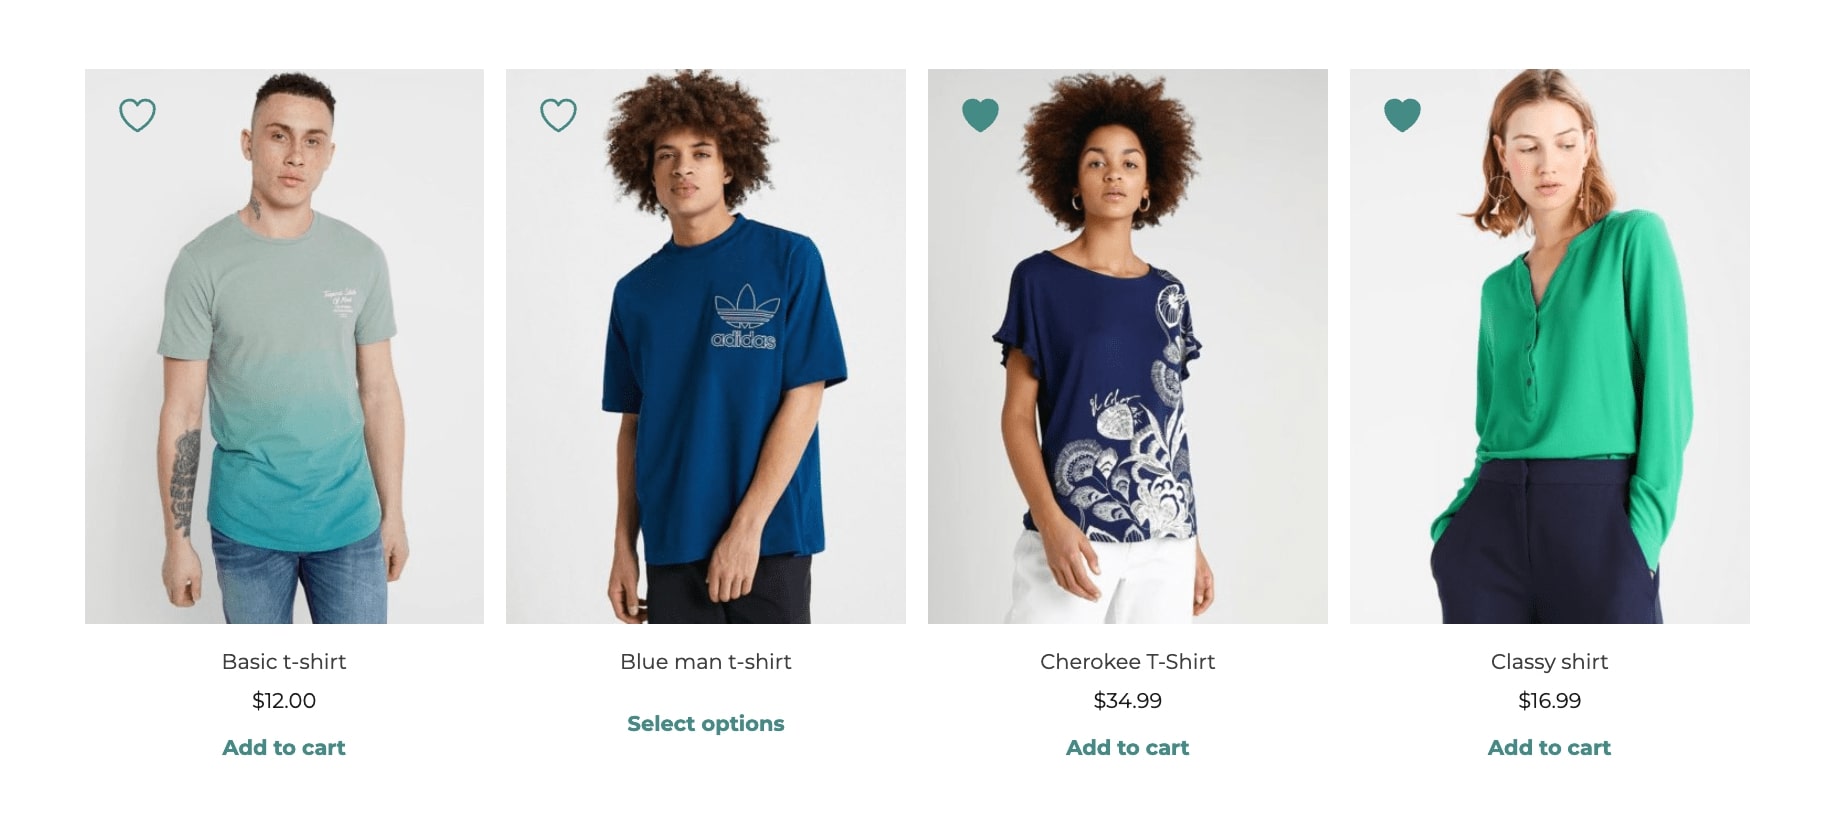
From the Loop settings you can you can configure how to display the “Add to wishlist” button on shop pages, category pages, product shortcodes, product slider and all the other places where the WooCommerce products’ loop is used.
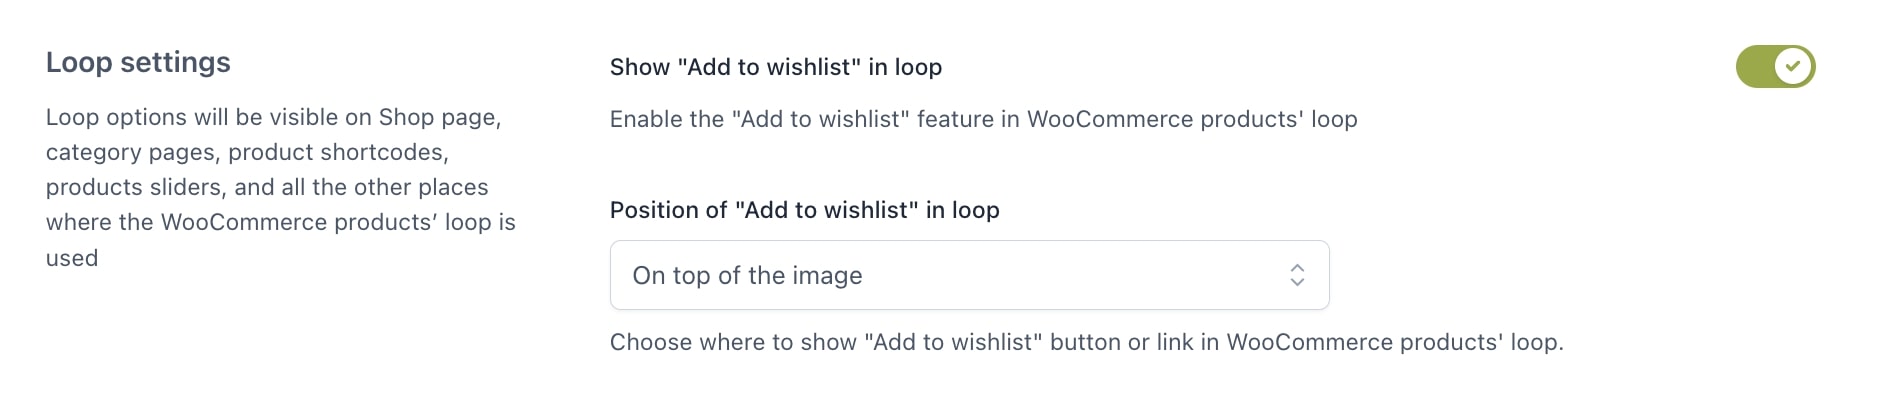
The available settings are:
Tip: If you want to give a special look to the Add to wishlist style, select the position On top of the image and you’ll get the following result.
In the Product page settings section, you can choose the position of the “Add to wishlist” button on the product page.

You can choose from after “add to cart” button, after thumbnails, after summary or use a shortcode.
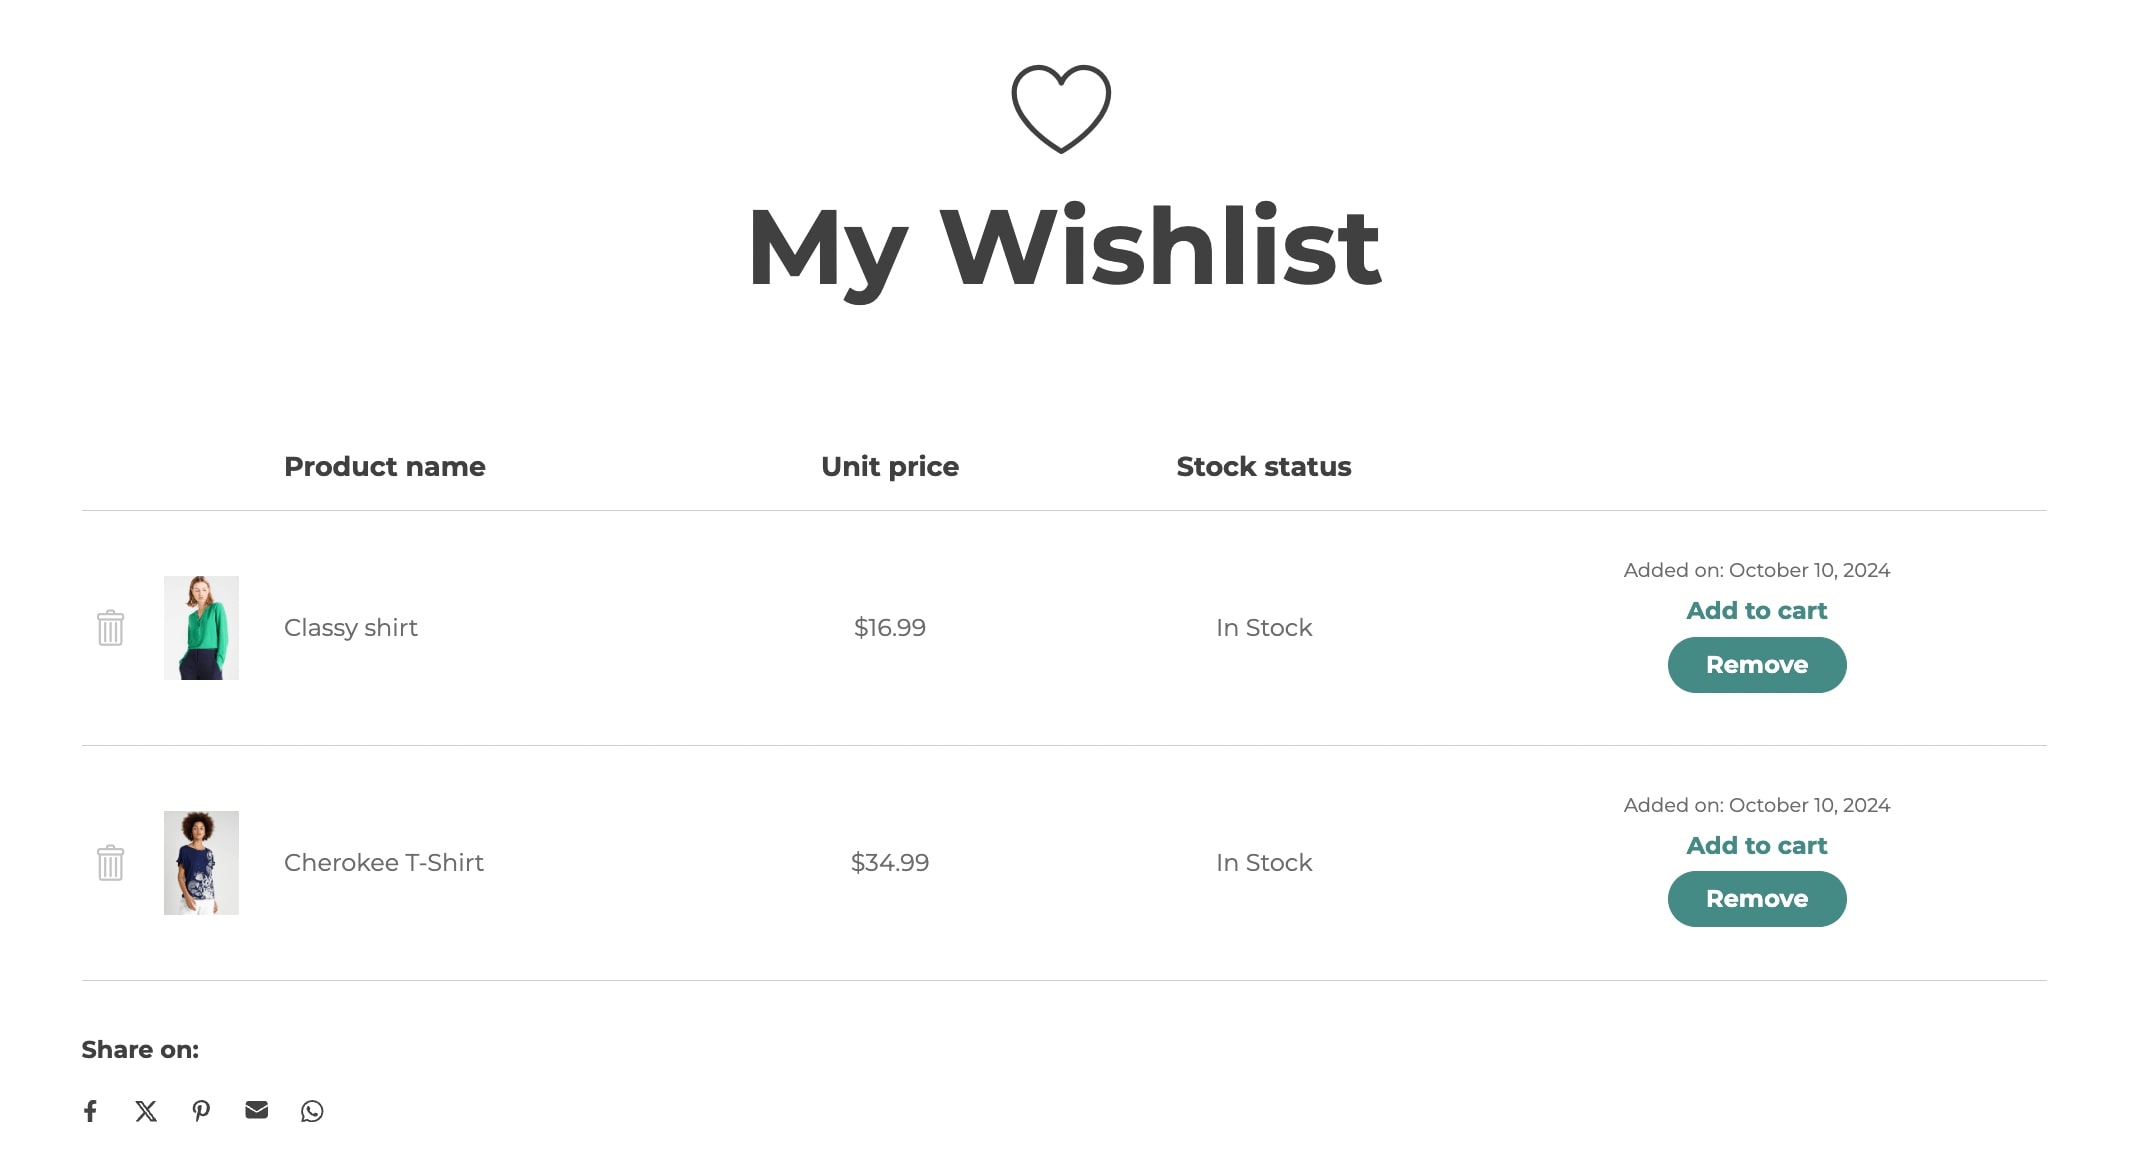
Once you enable the plugin, a “Wishlist” page is generated on WordPress: it includes the “[yith_wcwl_wishlist]” shortcode that provides the insertion of the table of all products added to the wishlist.
You can show the wishlist on any page of your site, different from the one selected by default. You can configure the wishlist page settings from Settings > Wishlist page.
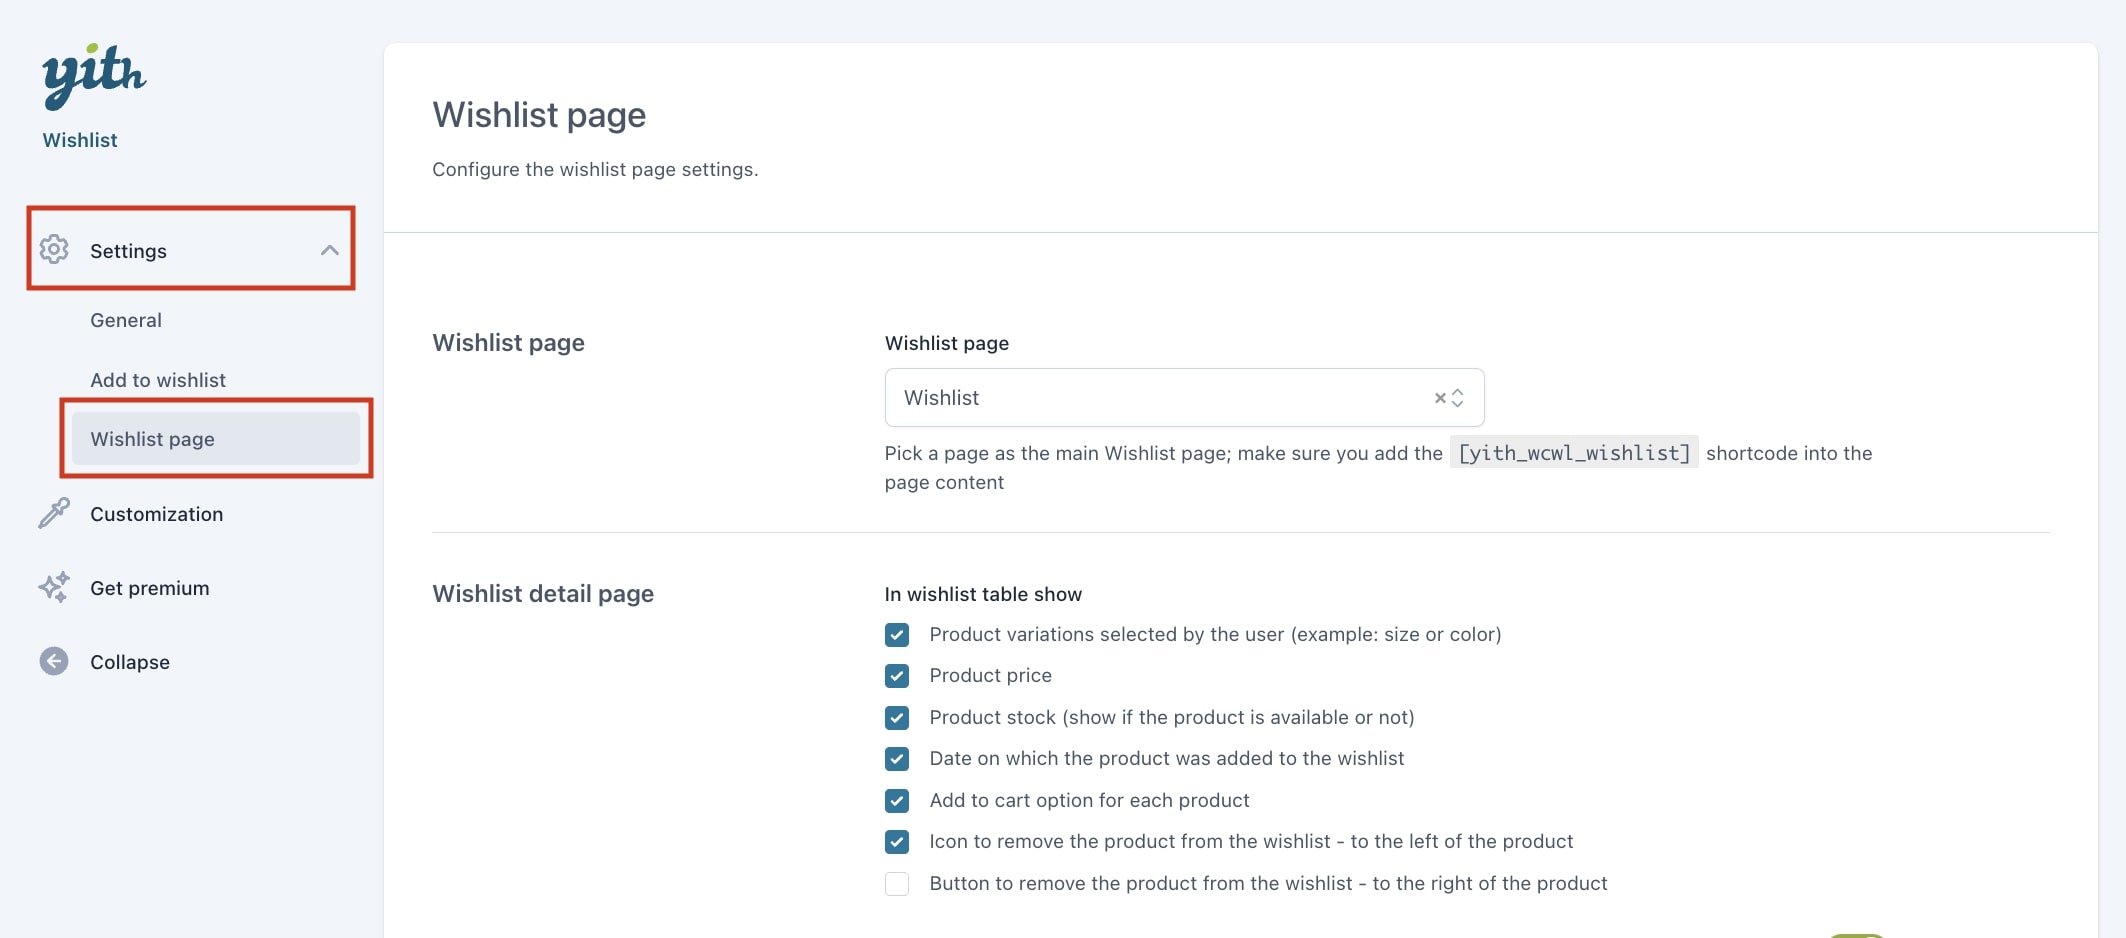
Please note: the page you choose to use as the “wishlist” page must necessarily include the “[yith_wcwl_wishlist]” shortcode.
In case you had issues to display the “wishlist” page, regenerate the permalinks.
After picking the main Wishlist page, you can move on to configure the Wishlist detail page settings on the next section. Click here to read more about it.
From the Wishlist detail page settings available in Wishlist page tab, you can:
Let’s go over each one:
The plugin makes available a list of options to let you decide what you want to show in the wishlist table. These options are:

The site admin can choose what happens after the user adds a product to the cart from the wishlist.

The options are:
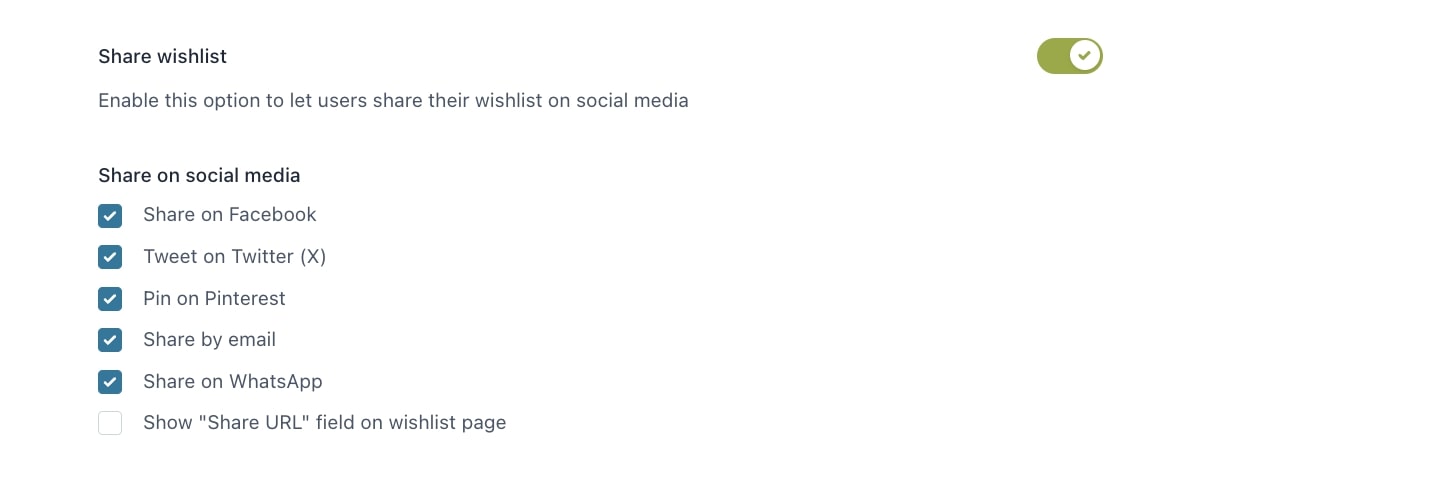
If you enable the Share wishlist option, you will be able to select the socials in which users can share their wishlist.
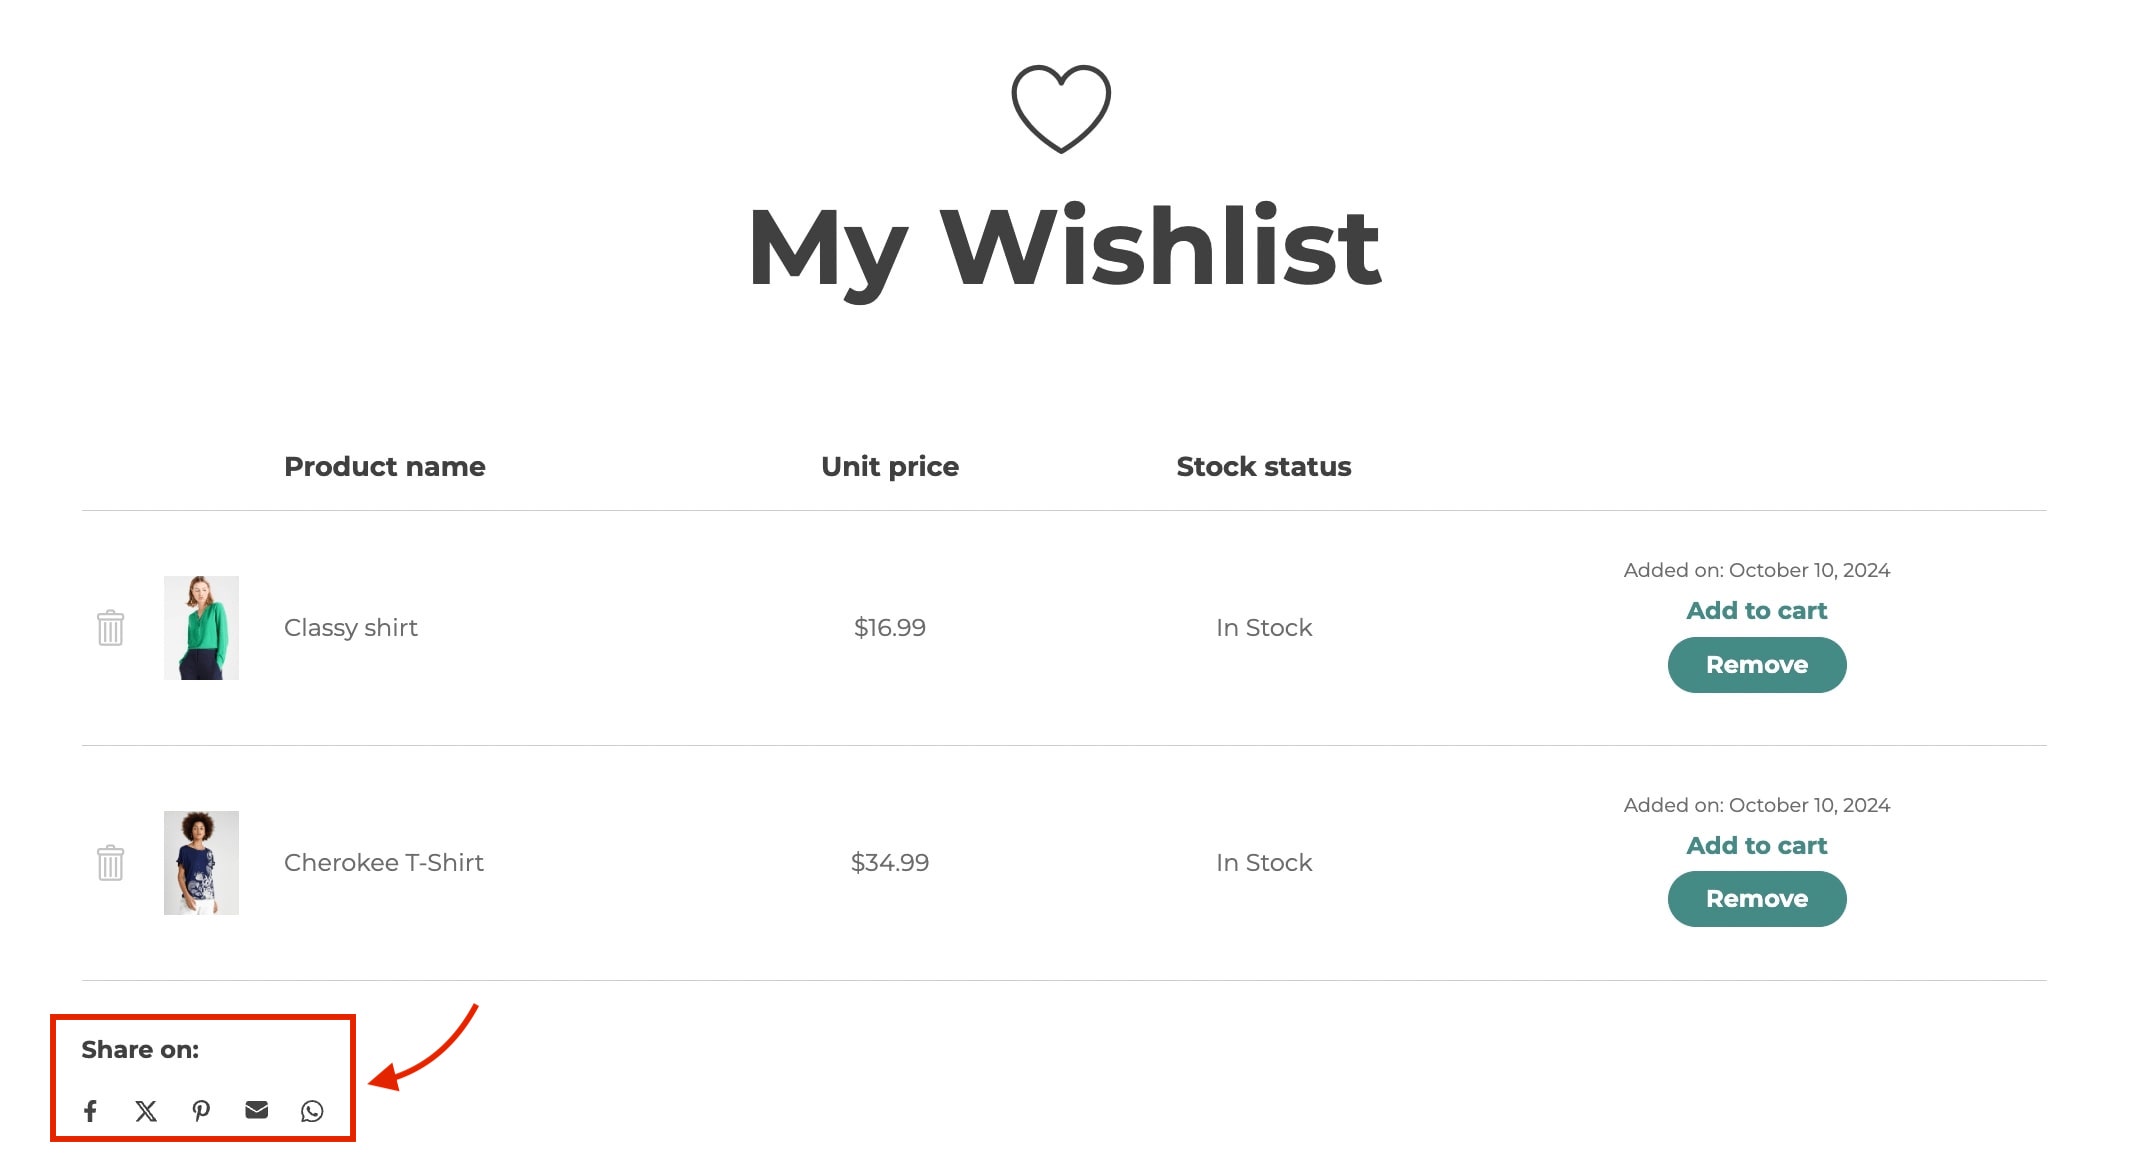
Depending on your selection, the socials will show in the wishlist page like in the example below:
From the Customization tab you can configure the style and labels for the plugin options. In this post we’re going to see how to customize the style for:
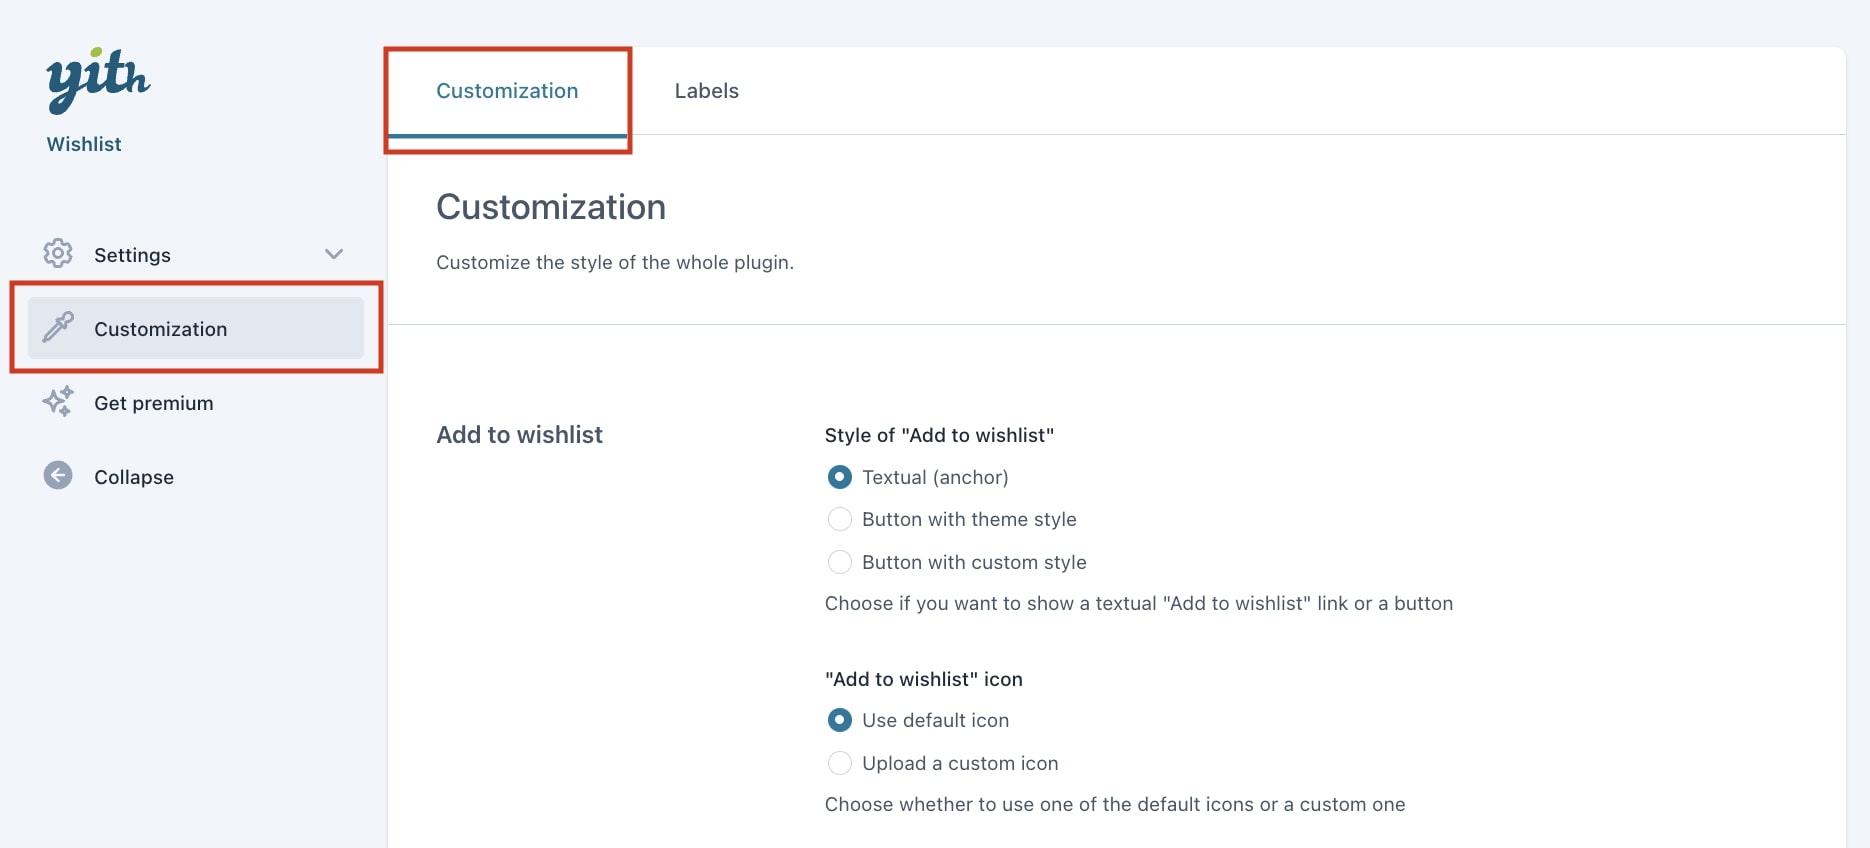
In this section you can configure everything related to customizing the style of the “Add to wishlist” button.

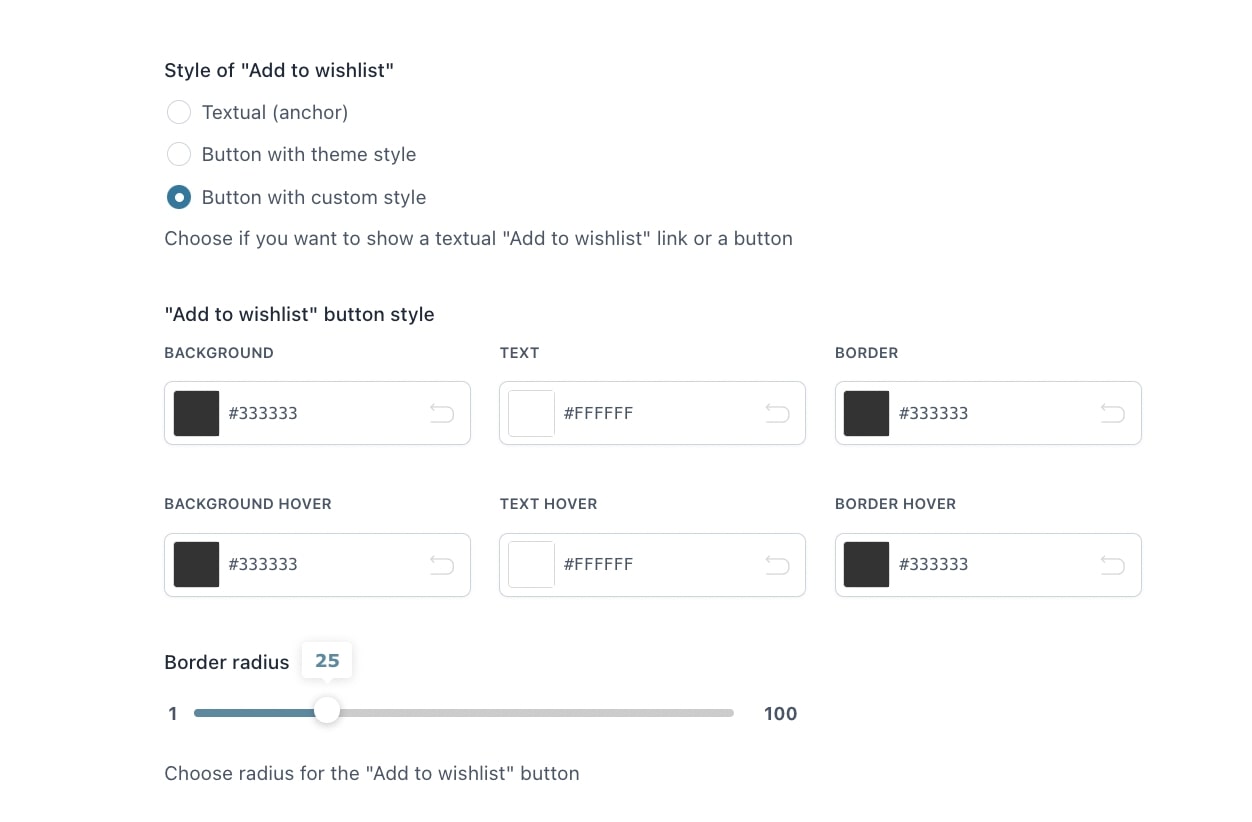
Let’s start with the style of “Add to wishlist”. You can choose between Textual (anchor), Button with theme style and Button with custom style. When selecting Button with custom style, you can configure additional options:
Then, we can customize the “Add to wishlist” icon. If we use the default icon, we can select the icon and its color:
If we choose to upload a custom icon, you can either upload a file or enter a URL
Next, you can configure the options for the “Added to wishlist” icon.
The options available are:
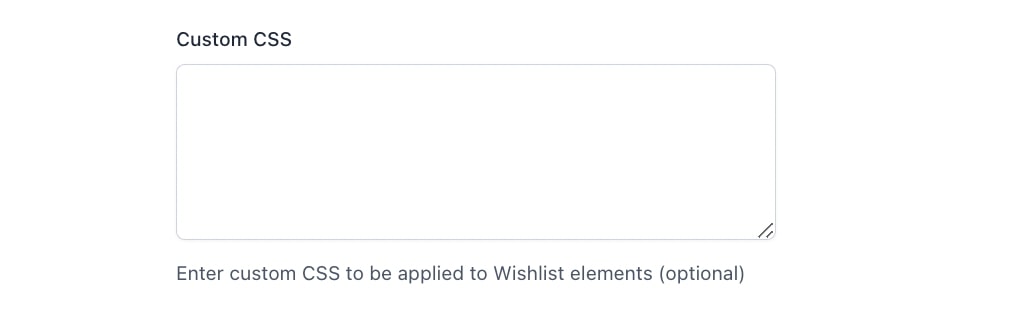
Lastly, you can optionally apply Custom CSS to the wishlist elements
From this section you can customize the style of the options in the Wishlist page.

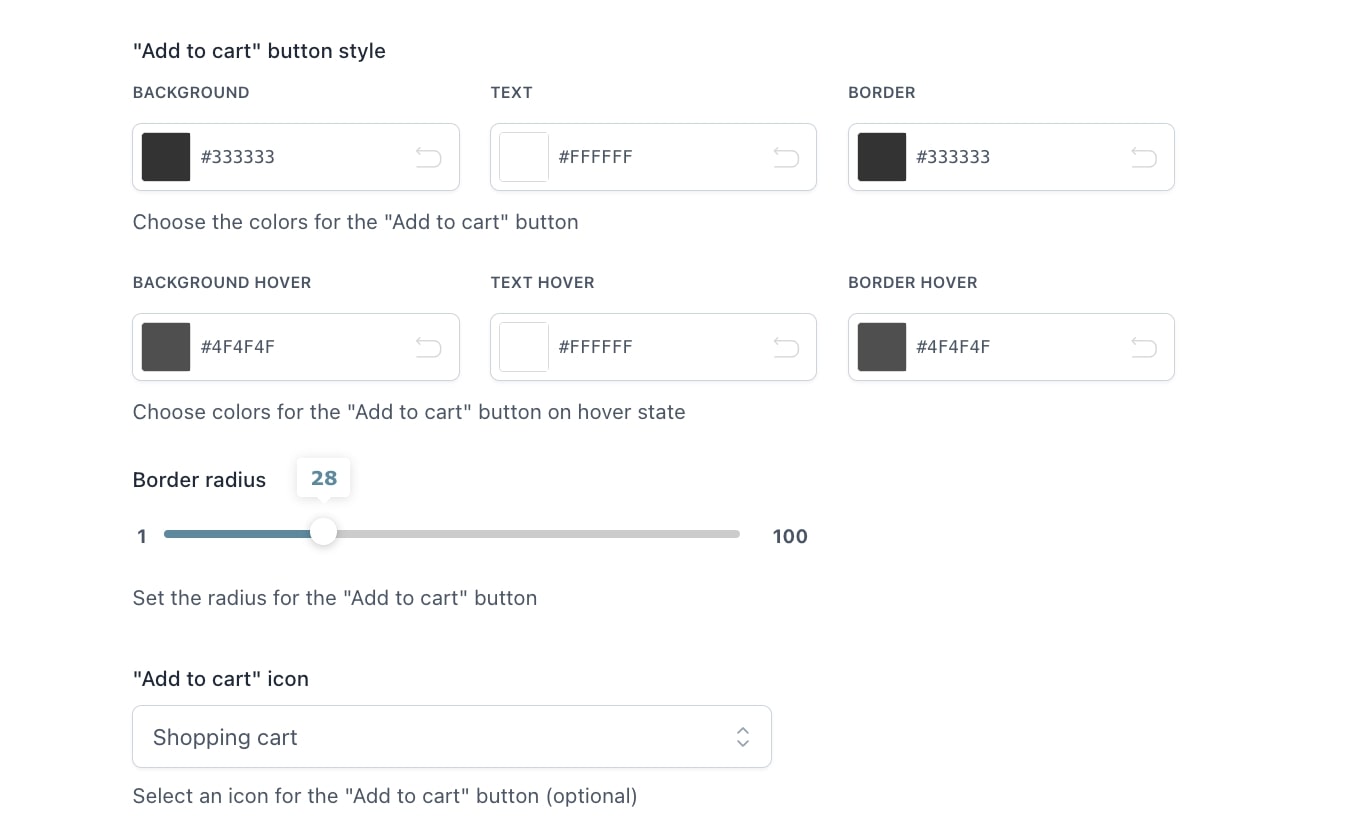
Let’s start with the style of “Add to cart”. You can choose between Textual (anchor), Button with theme style and Button with custom style. When selecting Button with custom style, you can configure additional options:
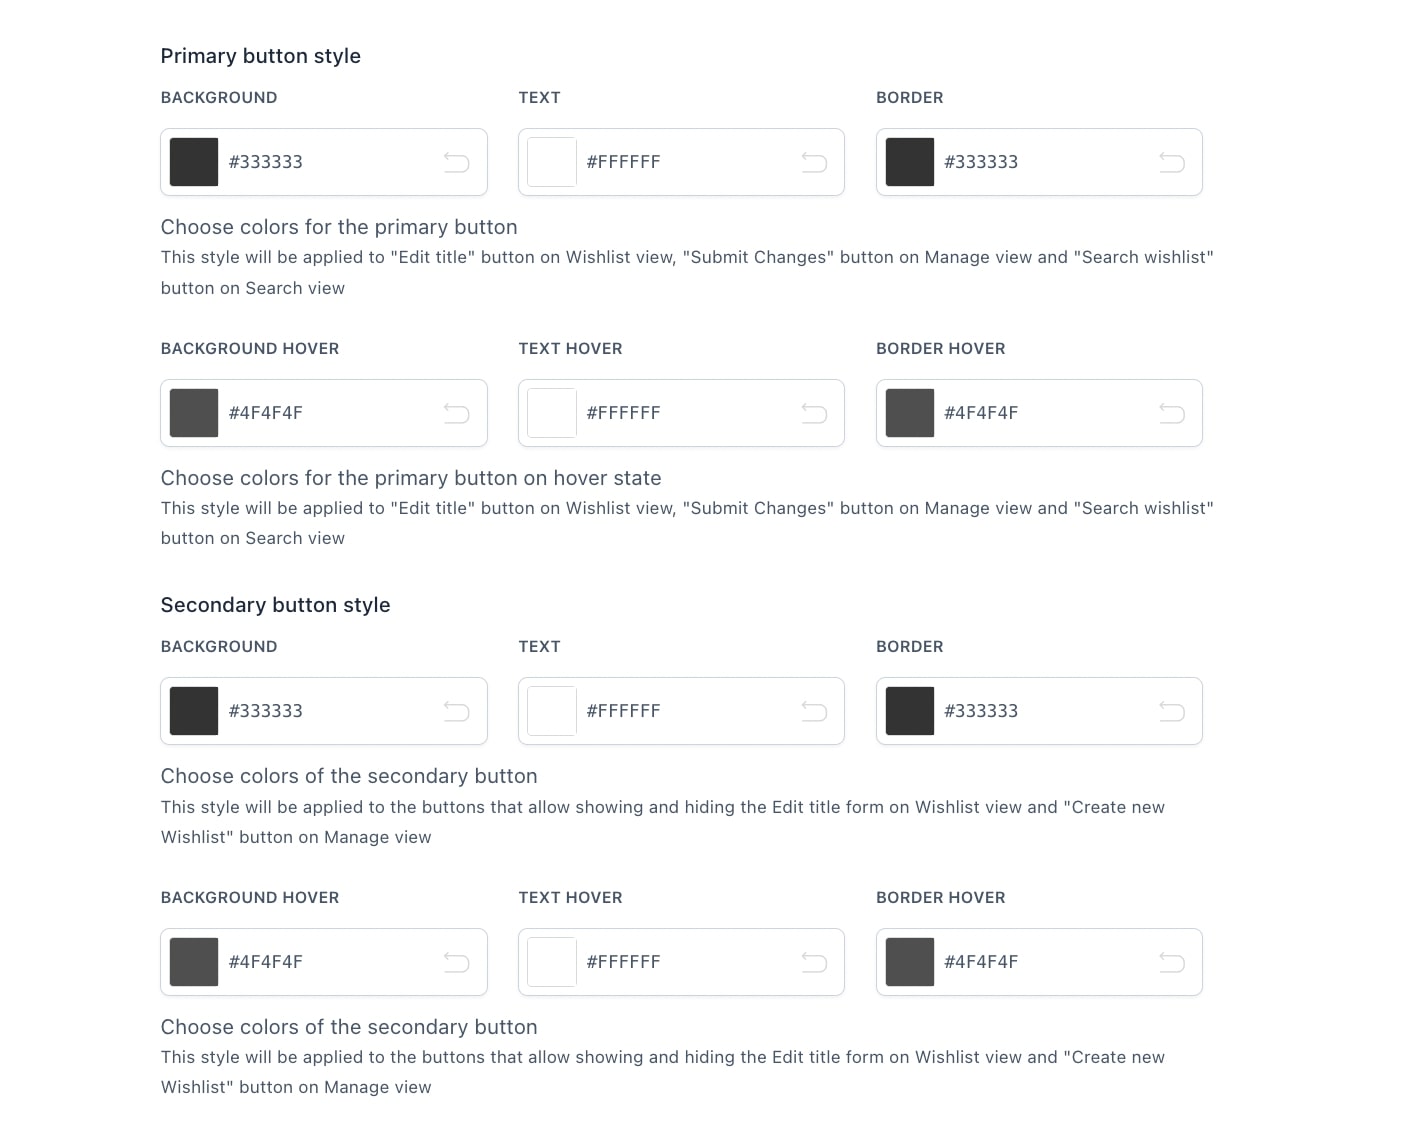
Continuing with the button custom style options, you can set the Primary and secondary button style colors for the background, text and border:
and you can also configure the wishlist table style colors:

Lastly, in this section you can also customize the style for the sharing options:
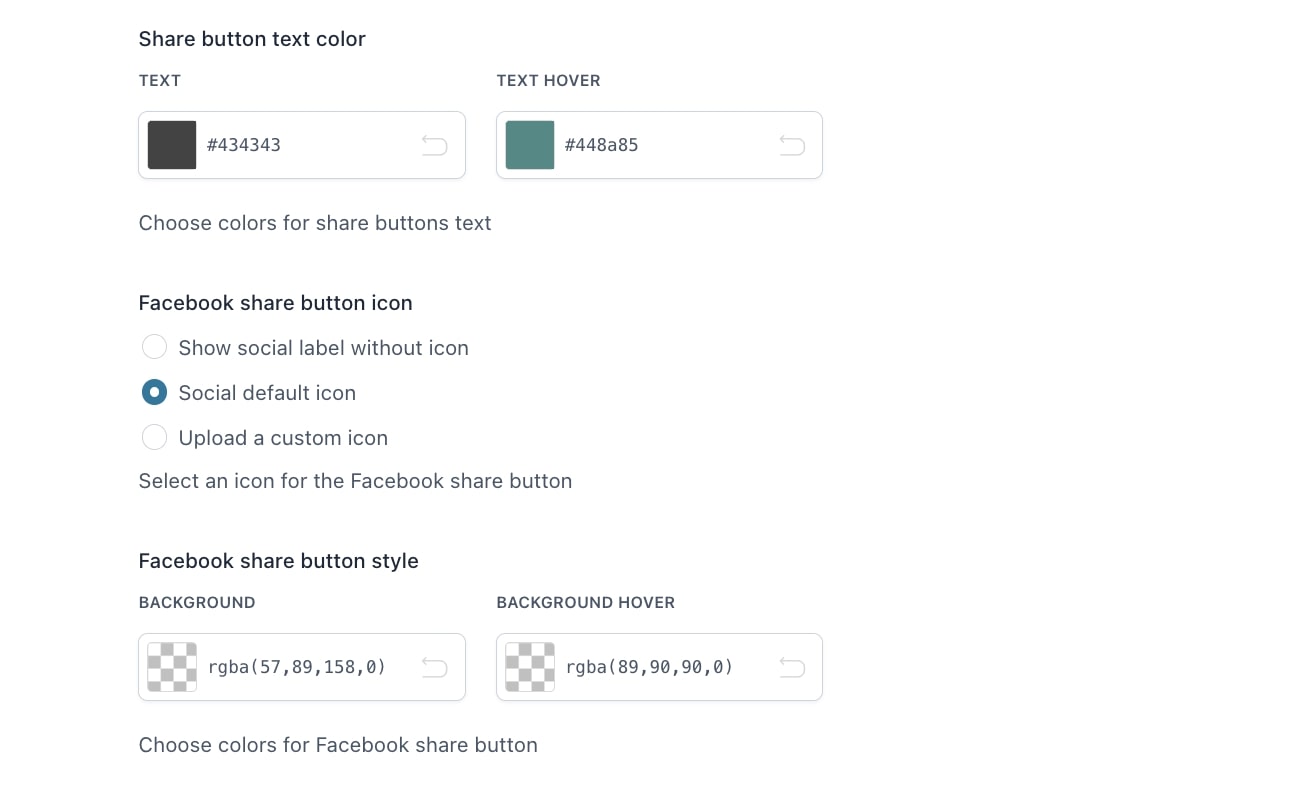
The same style and icon options will be available for Twitter (X), Pinterest, Email, and WhatsApp.
From the Customization tab you can configure the style and labels for the plugin options. In this post we’re going to see how to customize the labels for:


The shortcode [yith_wcwl_add_to_wishlist] loads the content of the “add-to-wishlist.php” template (the file is in the “templates” folder of the plugin), and prints the “Add To Wishlist” button in the front end.
Shortcode attributes are:
Shortcode [yith_wcwl_wishlist] loads the content of the “wishlist.php” template (the file is in the “templates” folder of the plugin), to make appear the wishlist in the page.
Shortcode parameters are:
YITH WooCommerce Frequently Bought Together allows you to suggest a group of selected products on the product page to encourage users to buy more products and offer them at a discounted price also.
Thanks to the integration between both plugins (premium of YITH Frequently Bought Together and premium + free of YITH Wishlist), it’s possible to add a slider to the wishlist page showing products that are frequently bought together with the items added to the wishlist.
Once you have activated both plugins, a new menu will appear within the Frequently Bought Together plugin settings > Slider in Wishlist.

On the wishlist page you will see the slider with linked products and the added options.

For all information about the functioning of YITH WooCommerce Frequently Bought Together, we suggest you read the official documentation of the plugin.
YITH Wishlist 4.0 includes new React components to improve the plugin performance, so if you would like to take advantage of them you will have to convert them:

When clicking in the related message, you will get a popup which will give you the possibility to either preview the React templates in your site, convert them directly, or not proceed until next update.

If you click on preview, a new tab will open where you can test how the components work on your site:

After testing, you can decide whether to proceed and convert the PHP Templates to React or close the preview and continue using the PHP version.