All the options to configure the “Add to wishlist” button actions can be found in the Settings > Add to wishlist tab. In the General settings section you can configure the general actions that are triggered when a user clicks the “Add to Wishlist” button.
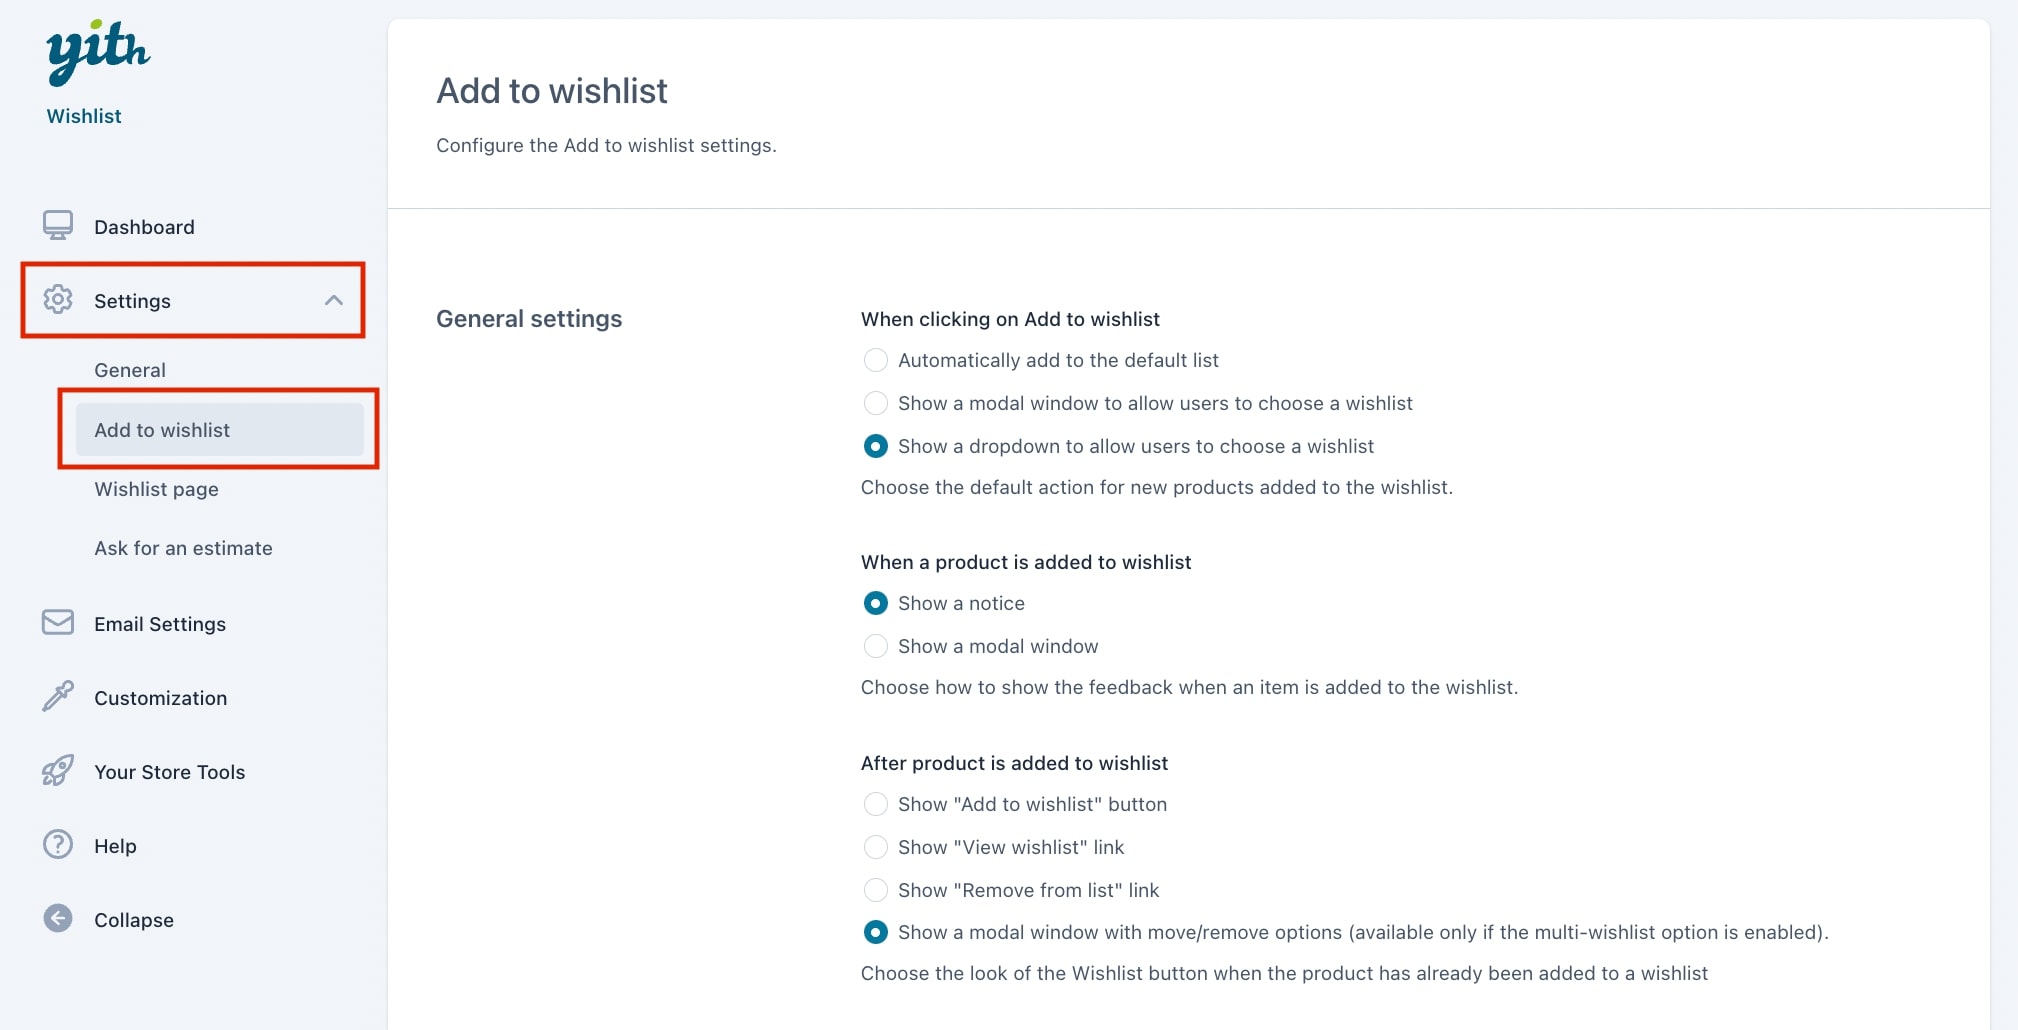
The option When clicking on Add to wishlist has three different options. Choose the action that will be the default one from:
- Automatically add to the default list: the product will be added to the default wishlist without any possibility to choose a different wishlist
- Show a modal window to allow users to choose a wishlist: this will give users the possibility to select the wishlist where they want to add the product from a popup
- Show a dropdown to allow users to choose a wishlist: this will give users the possibility to select the wishlist where they want to add the product from a dropdown.
The option When product is added to wishlist allows choosing the modal window behavior. Choose the action that will be the default one from:
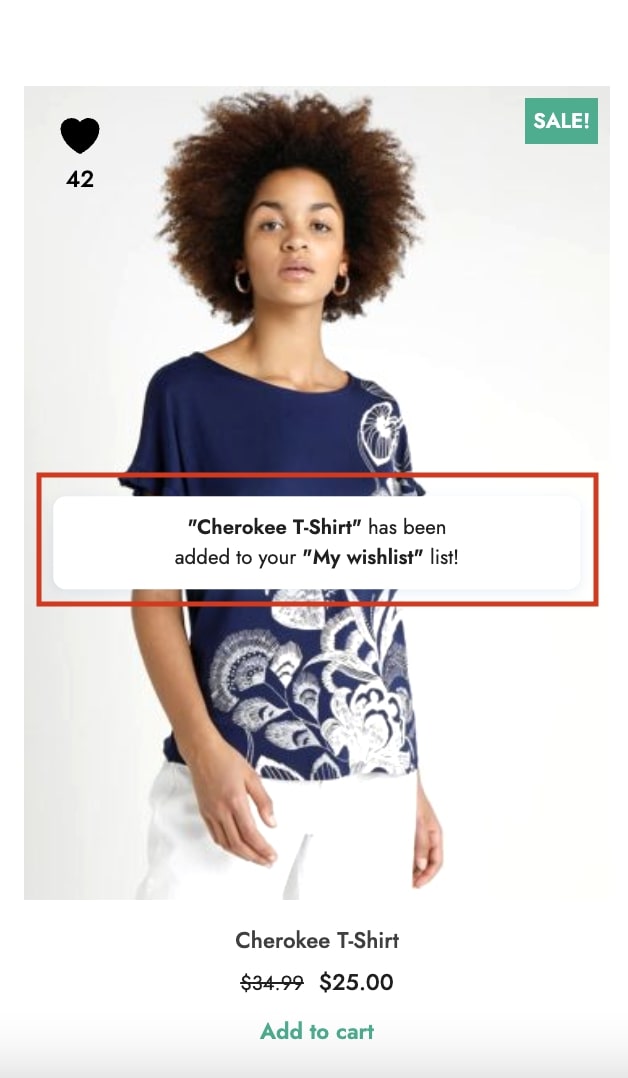
- Show a notice: select this option if you want to show a notification after a product is added to the wishlist.
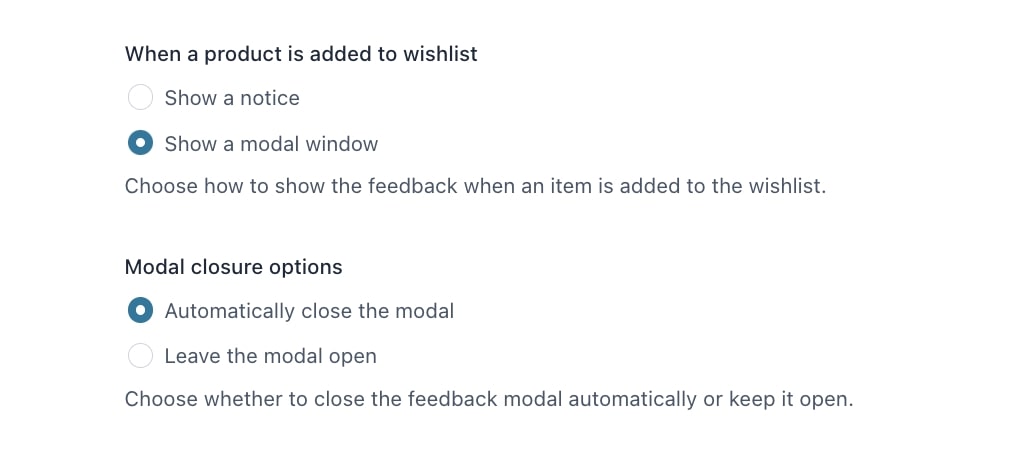
- Show a modal window: select this option if you would like to show a modal window when a product is added to the wishlist.

If you select this option, you will be able to choose the modal window behavior through the Modal closure options. You can decide whether to automatically close the modal or leave it open.
The option After product is added to wishlist allows choosing the look of the wishlist button when the product has already been added to a wishlist. Choose the action that will be the default one from:
- Show “Add to wishlist” button: this will show the button Add to wishlist, so your customers will be able to add the plugin to multiple wishlists if they want to
- Show “View wishlist” link: this will show the link to view the wishlist
- Show “Remove from list” link: this will show the link to remove the product from the wishlist
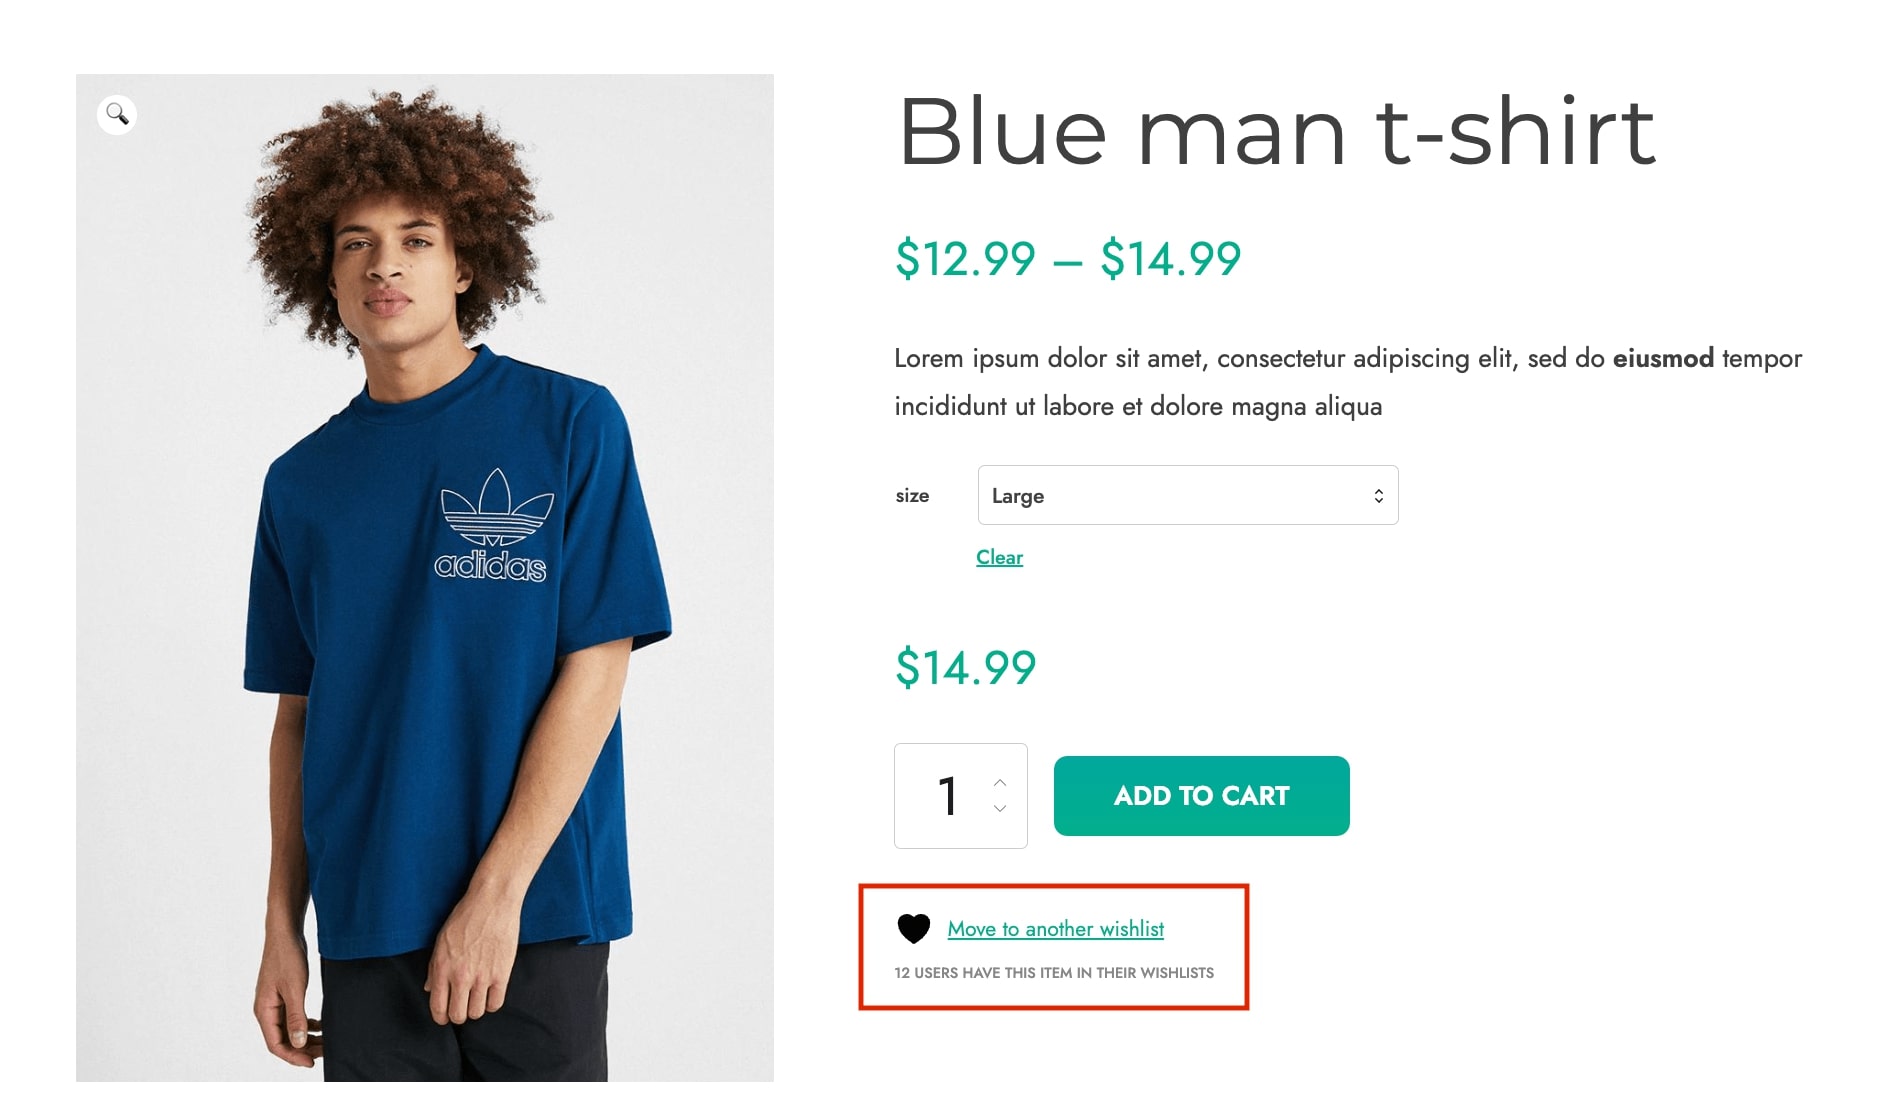
- Show a modal window to move or remove items (available only with multi-wishlist option enabled): this allows showing a modal window to remove the product or move it to another wishlist.