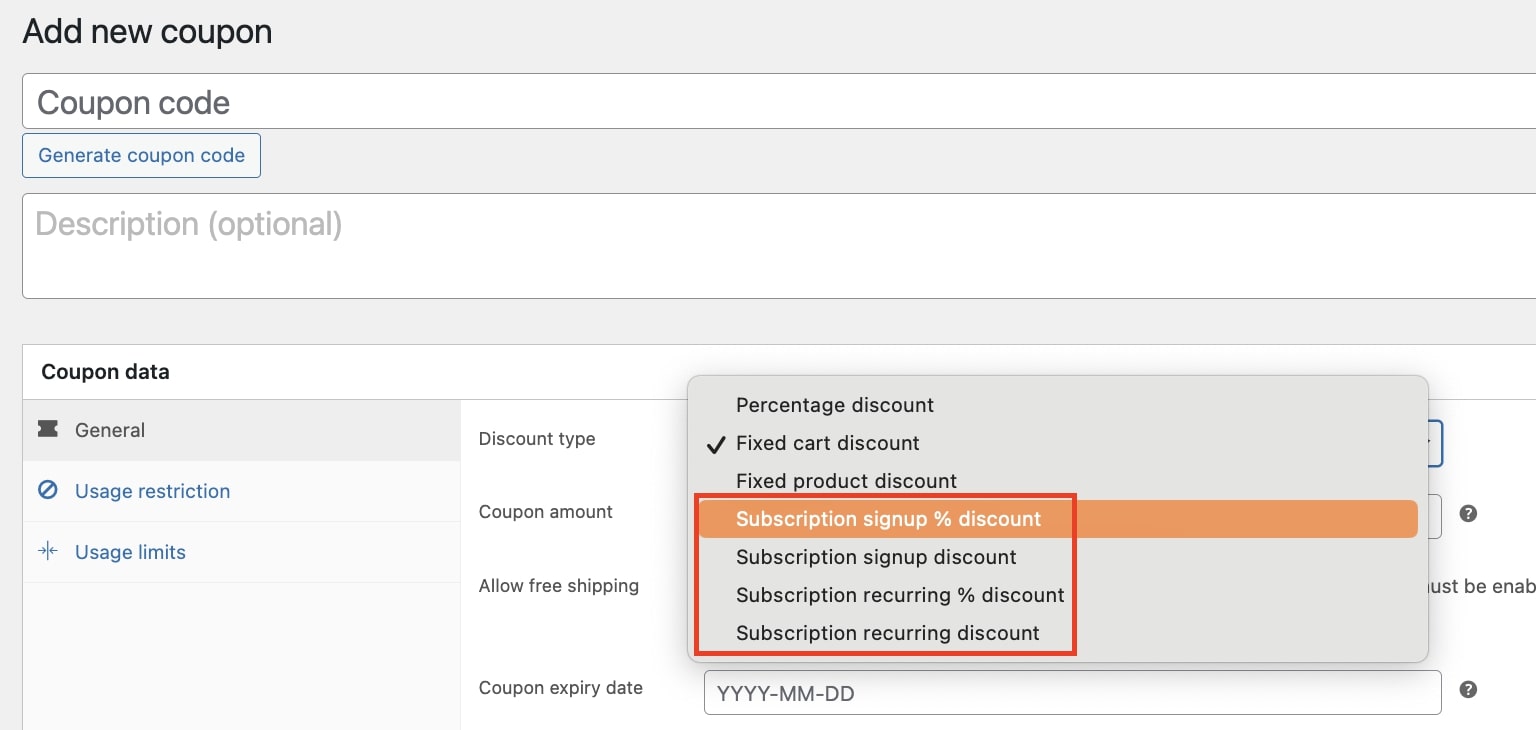
The plugin allows you to create new types of coupons:
- Subscription sign-up discount: discount on sign-up fee (if any). The coupon can either remove a fixed price or a percentage of the sign-up fee.
- Subscription recurring discount: discount on the subscription periodic fee. The coupon can either remove a fixed price or a percentage of each periodic fee.
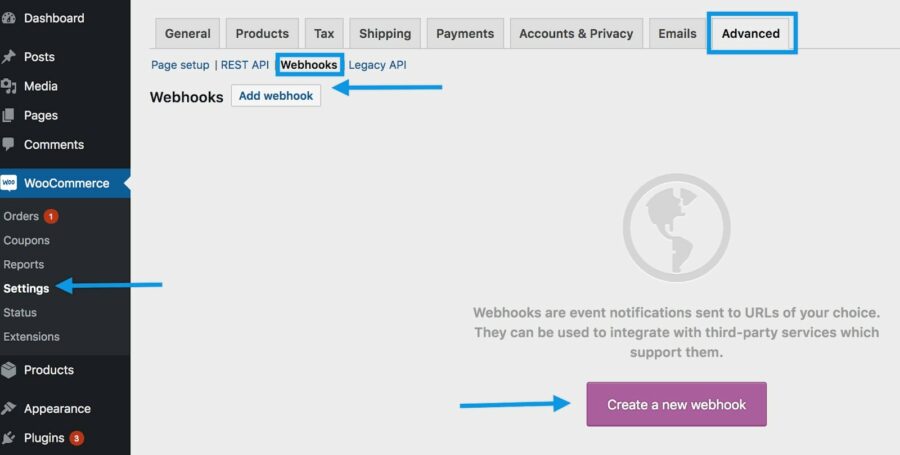
Coupons can be configured in Marketing > Coupons, as well as for any WooCommerce default coupon.
When creating a coupon for the periodic fee, a new field will show in which you can choose whether to apply the discount on All recurring payments or only the first x payments. When selecting the second option, you must enter a value to specify the number of recurring payments to which the discount will apply.
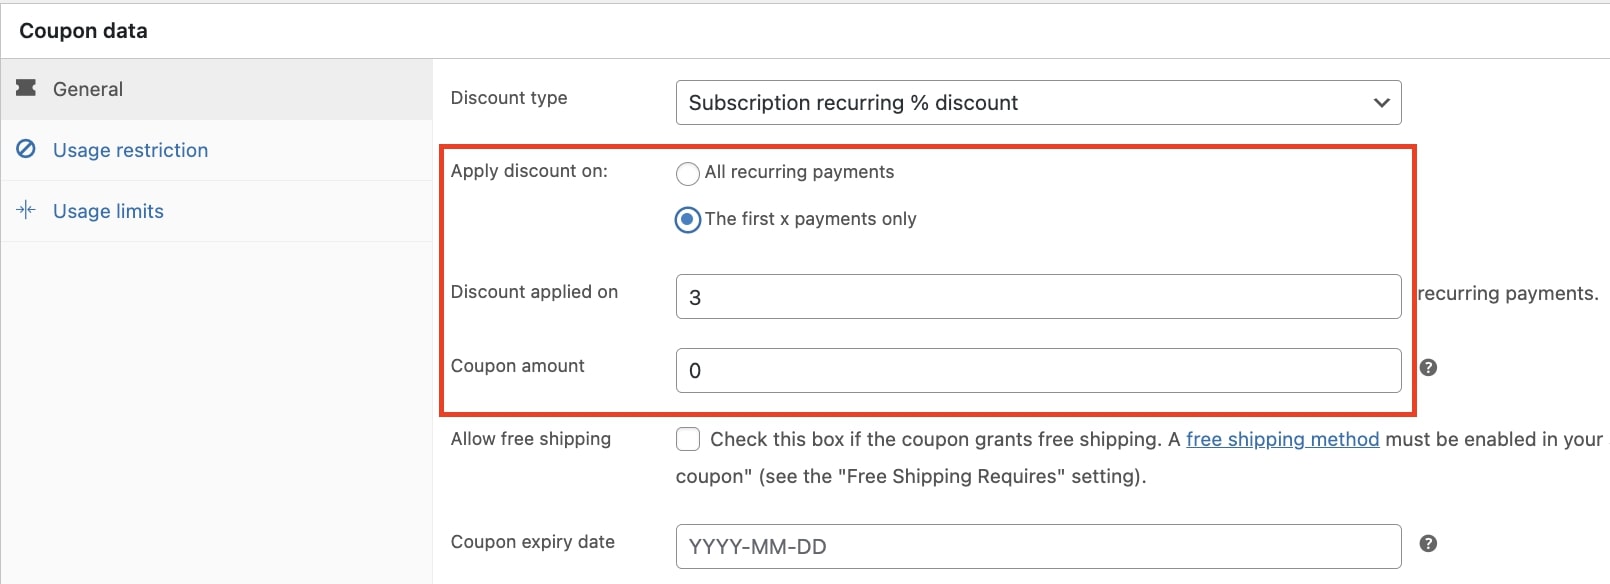
This option can be useful also in case you want to offer special pricing on your subscriptions.
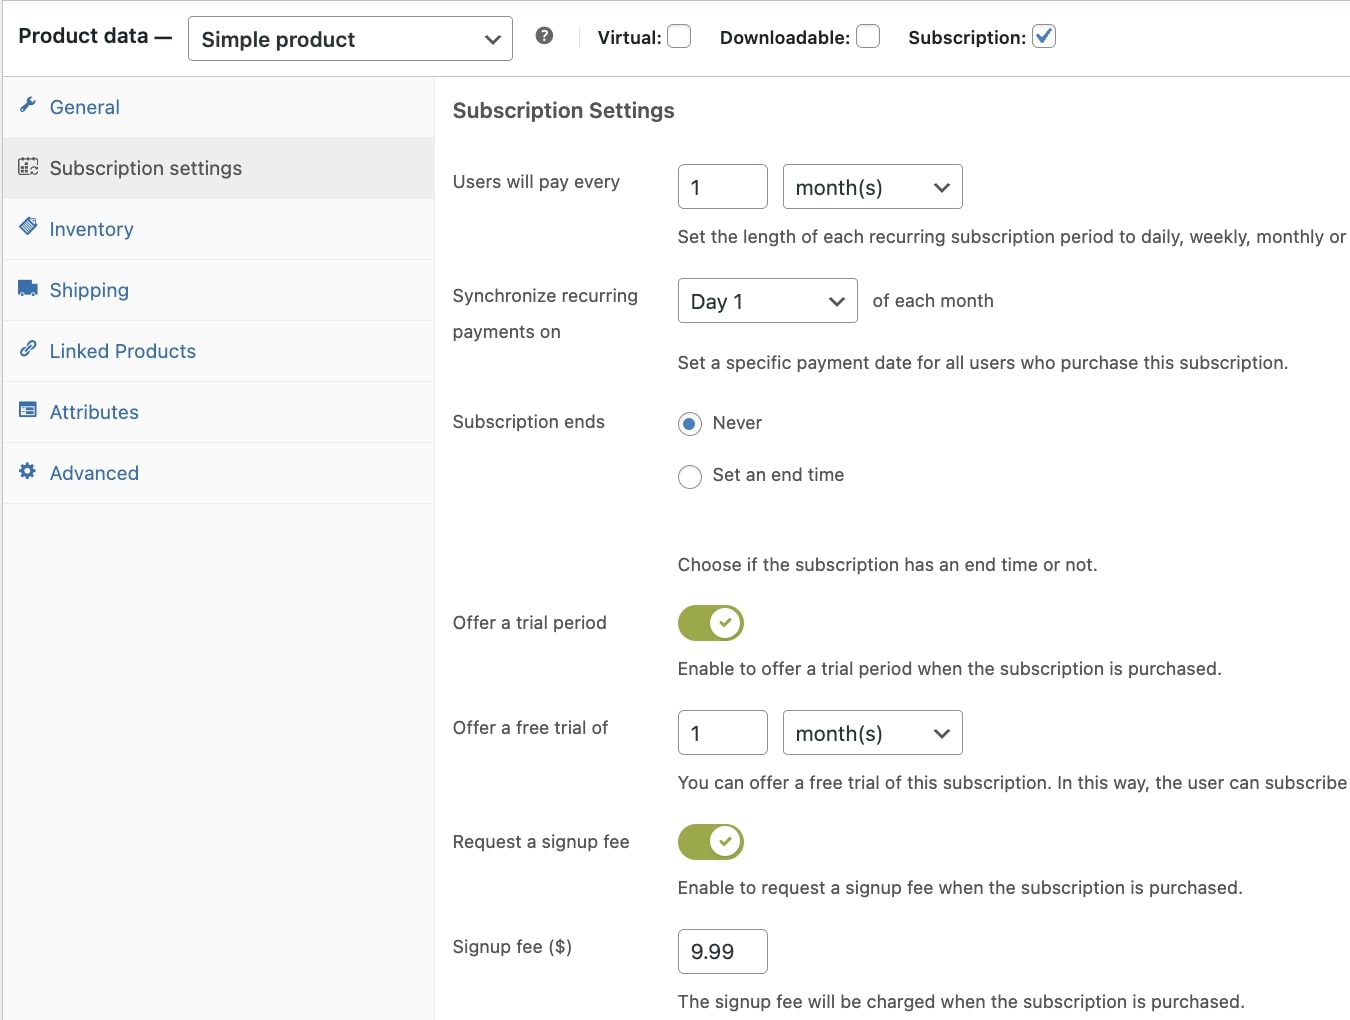
Let’s make an example. We want to offer the user three levels of payments for a subscription until reaching the regular price:
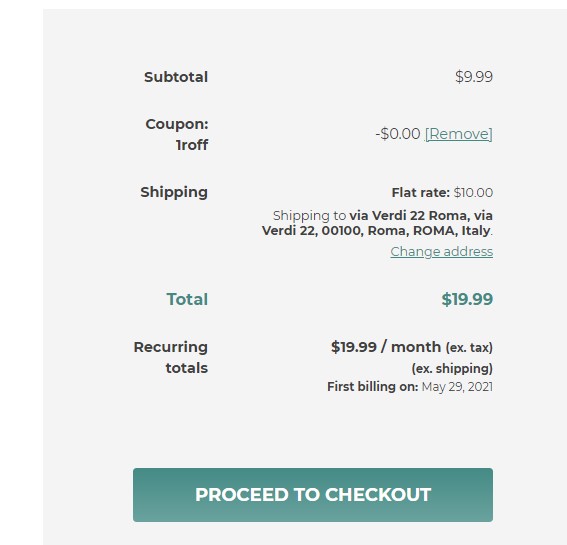
- €9,99 at the order creation
- €19,99 for the first recurring payment
- €29,99 for the following recurring fees
We have created a monthly subscription at €29,99/month, with a one-month trial and a sign-up fee of €9,99.
Then we have created a recurring fixed coupon (€10) that will apply to one recurring payment.
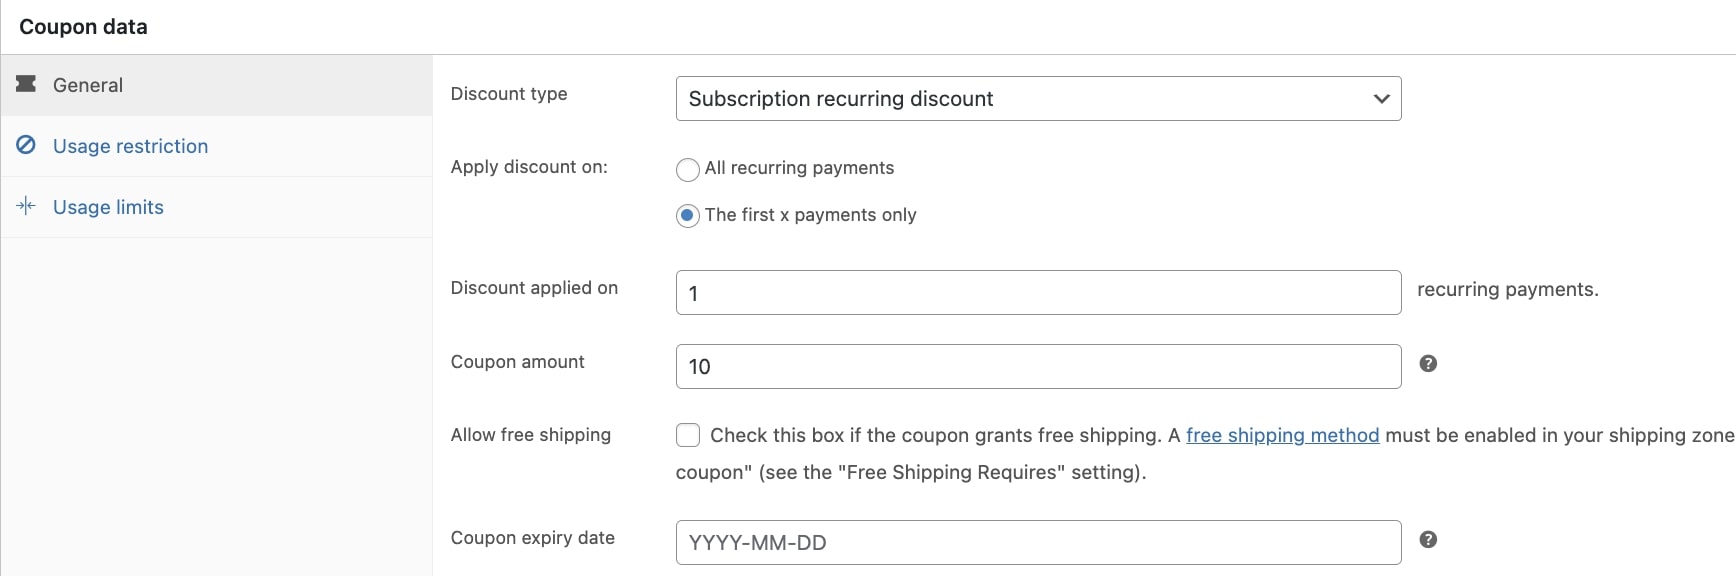
When the user purchases the subscription, only the sign-up fee will be paid. The first month will be free due to the trial period and the first renewal will be discounted by €10. The regular price of €29,99 will be paid starting from the second renewal.
The discount applies directly during the purchase process. On the contrary, if the subscription includes a trial period or provides a synchronized payment date, the coupon will apply to the first renewal.
Apply coupons to an active subscription
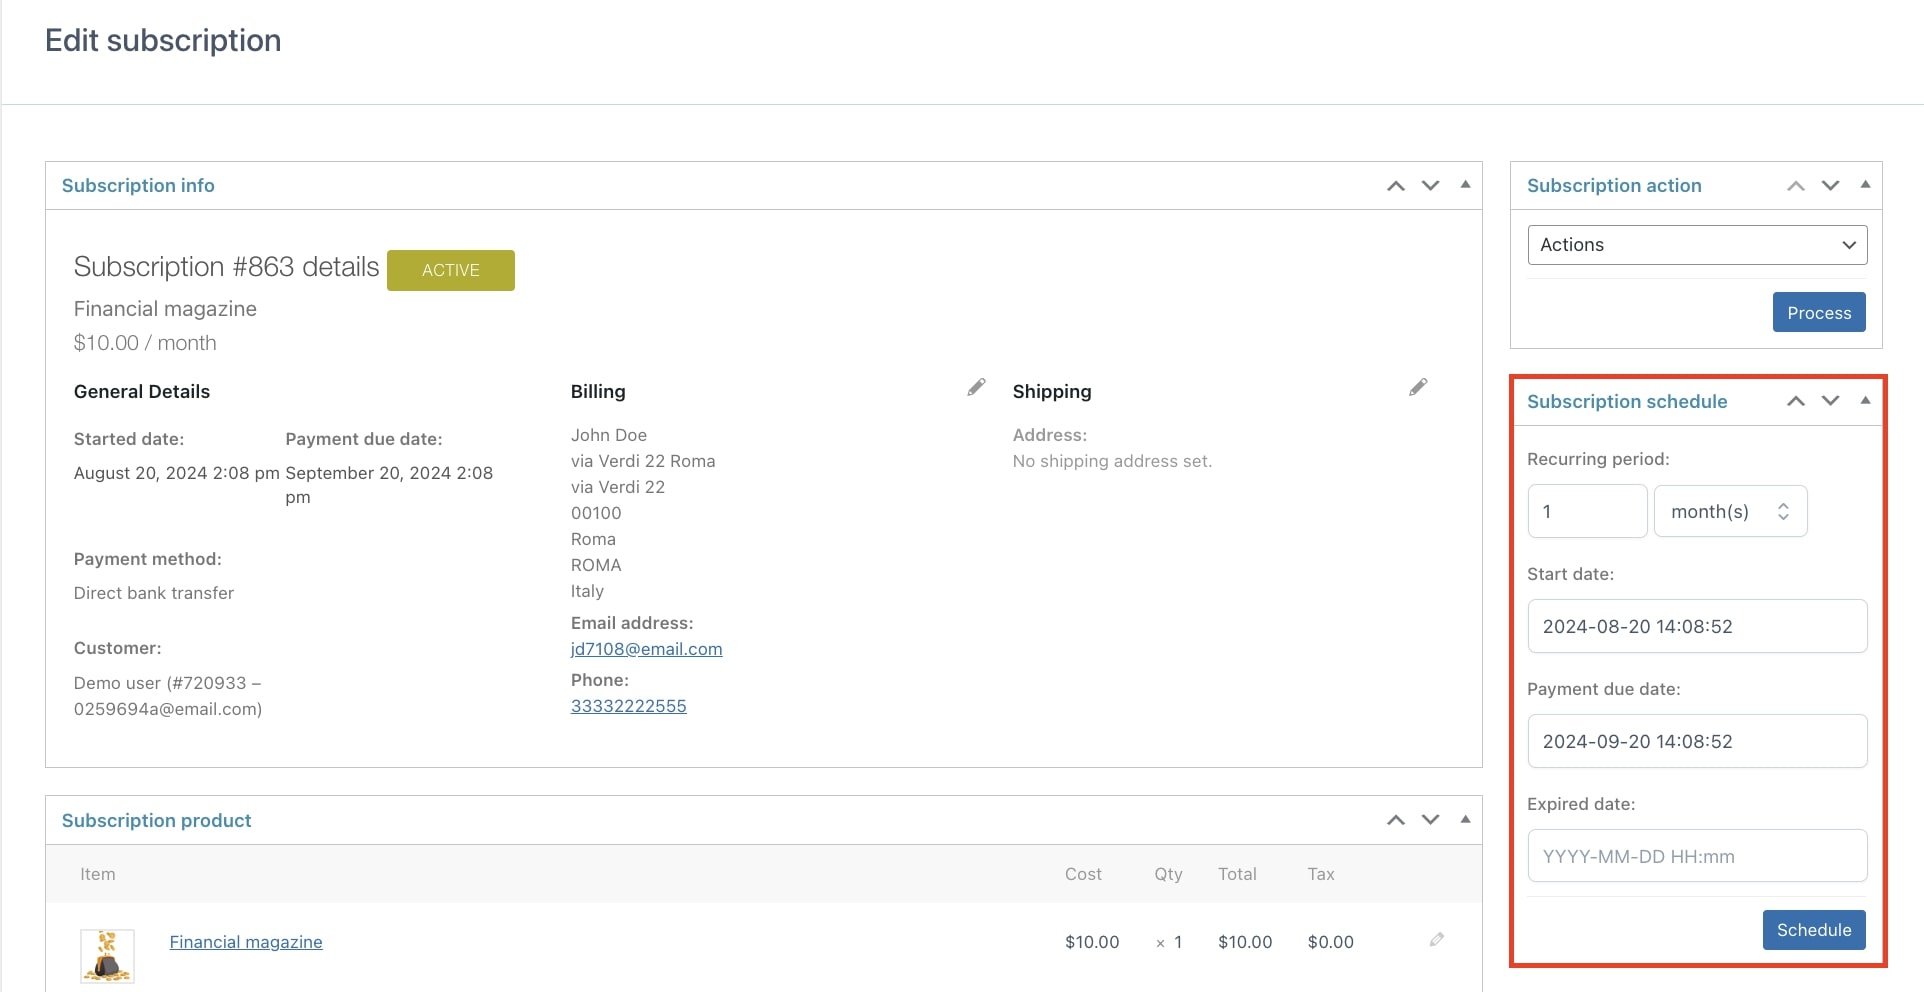
If you want to offer a coupon to your customers with an active subscription, go to the subscription edit page and click on Apply coupon.
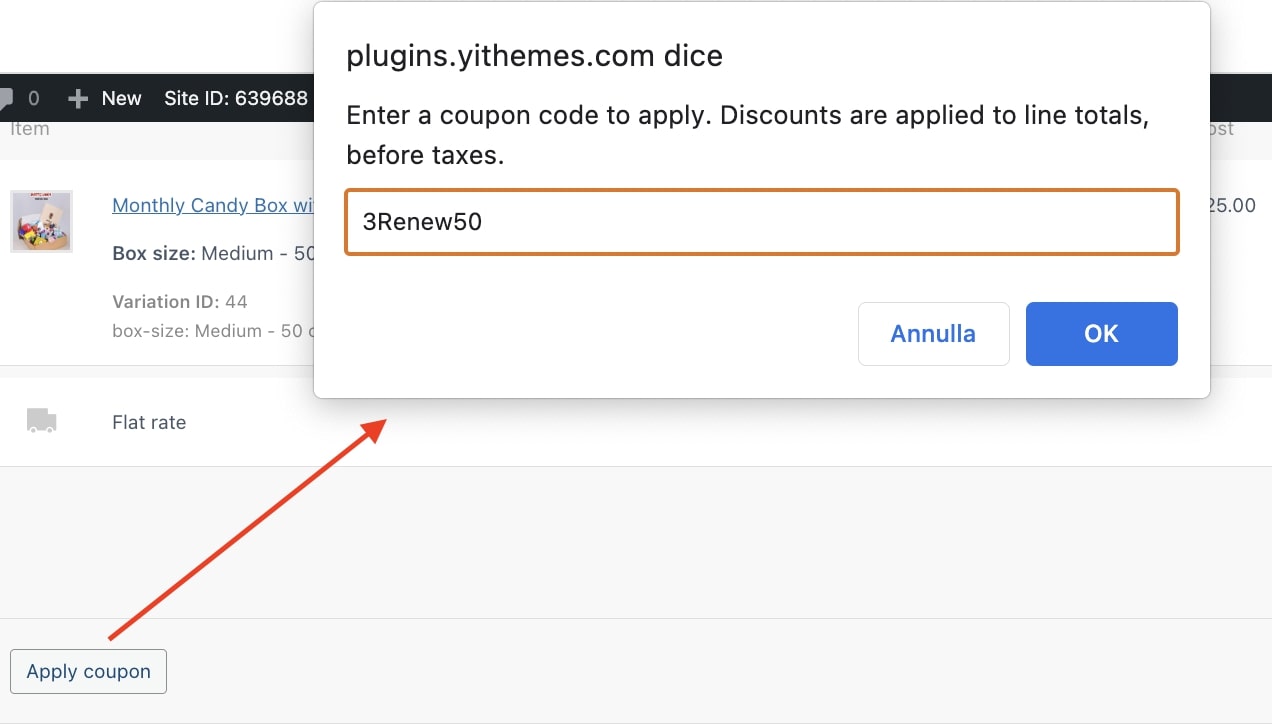
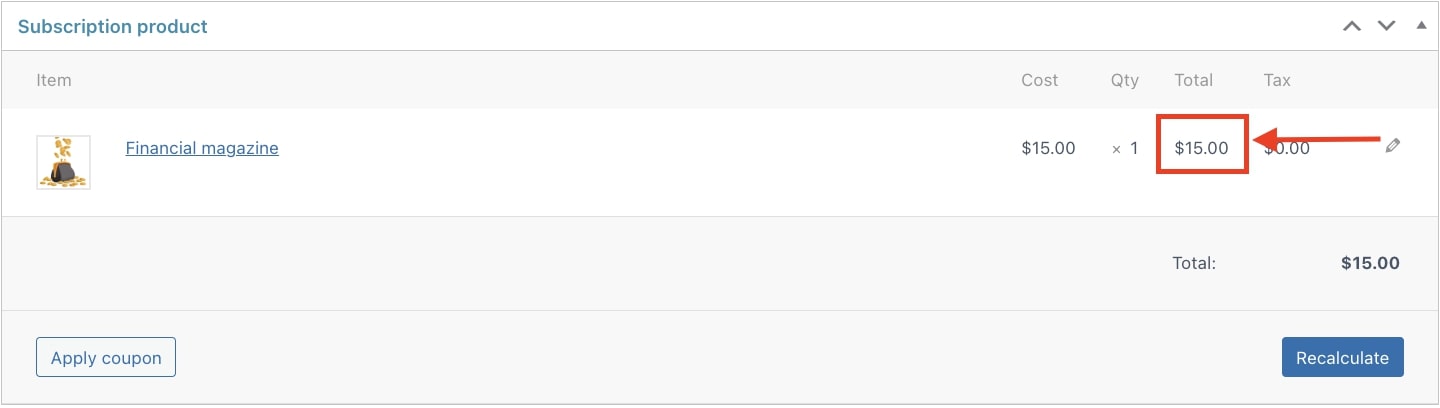
Enter the coupon code in the field as shown in the image above.
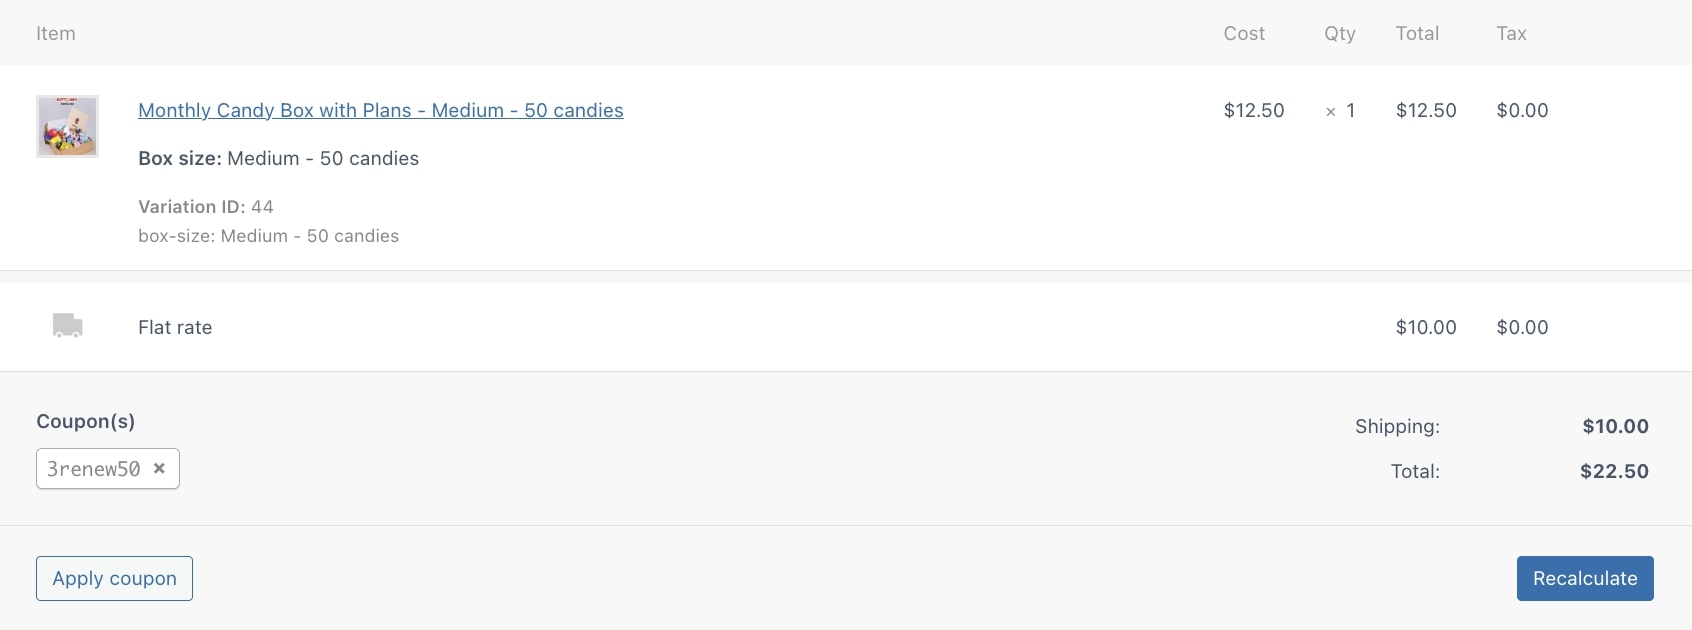
Click on OK and the discount will apply automatically to the next renewal(s), based on the coupon settings.
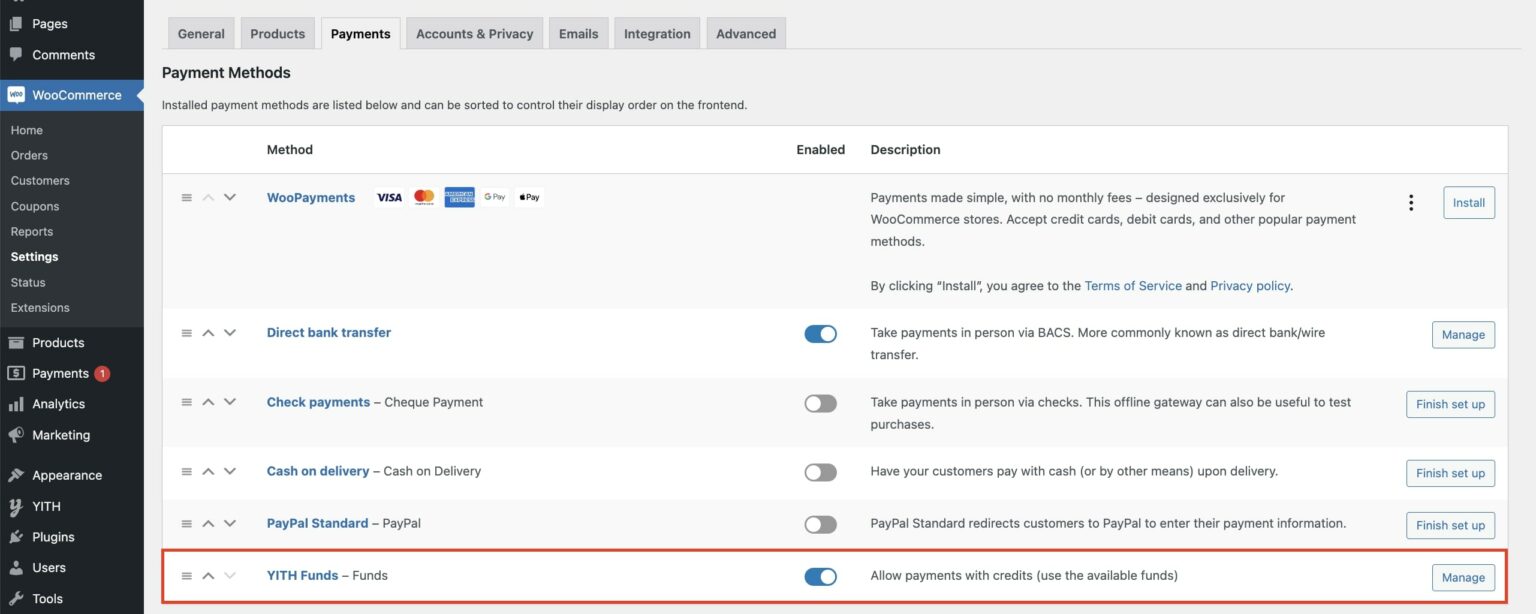
Please note – coupons can be applied to active subscriptions only if they are editable. For example, subscriptions paid with PayPal standard can’t be edited, hence, it isn’t possible to apply any coupon.