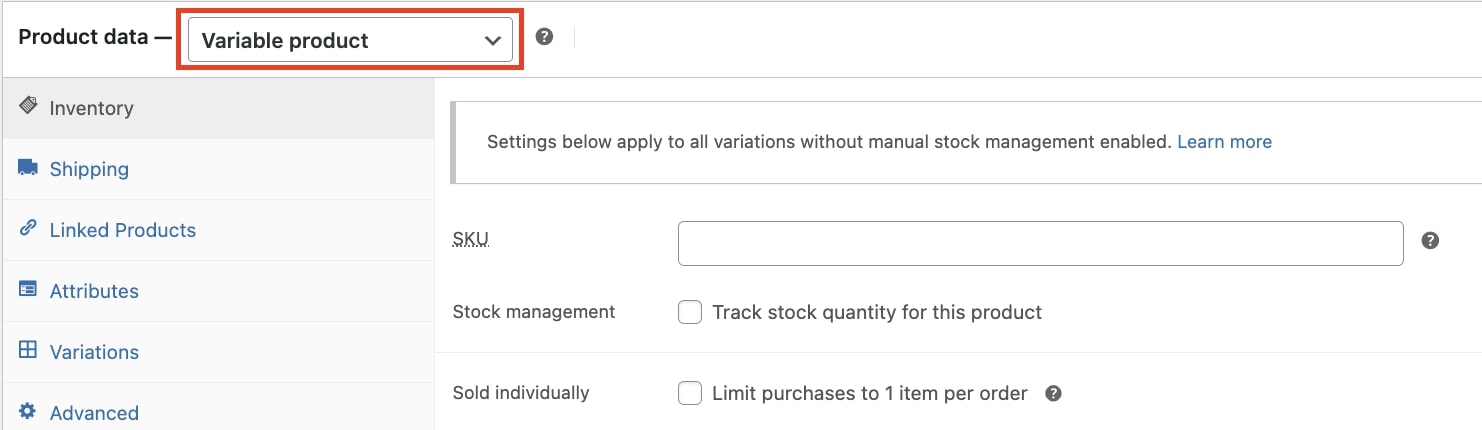
Step 1. Creating a subscription product
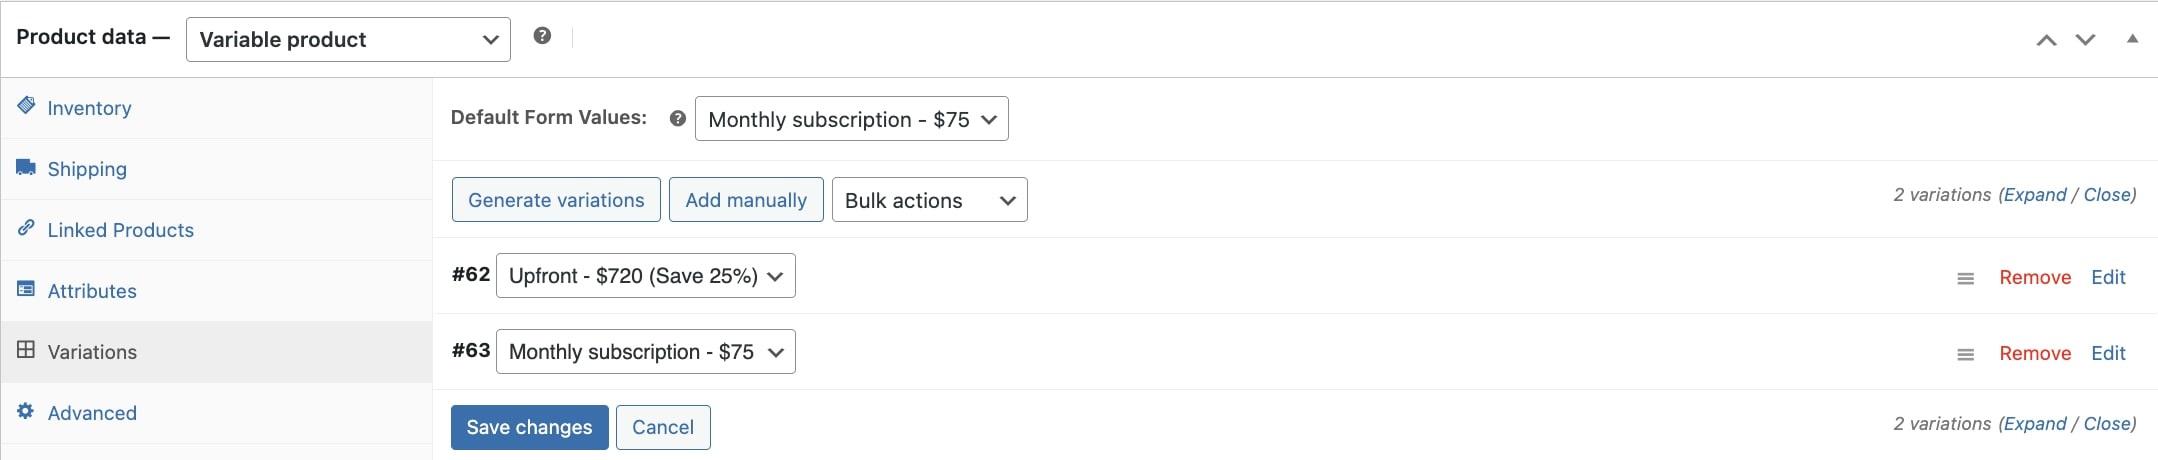
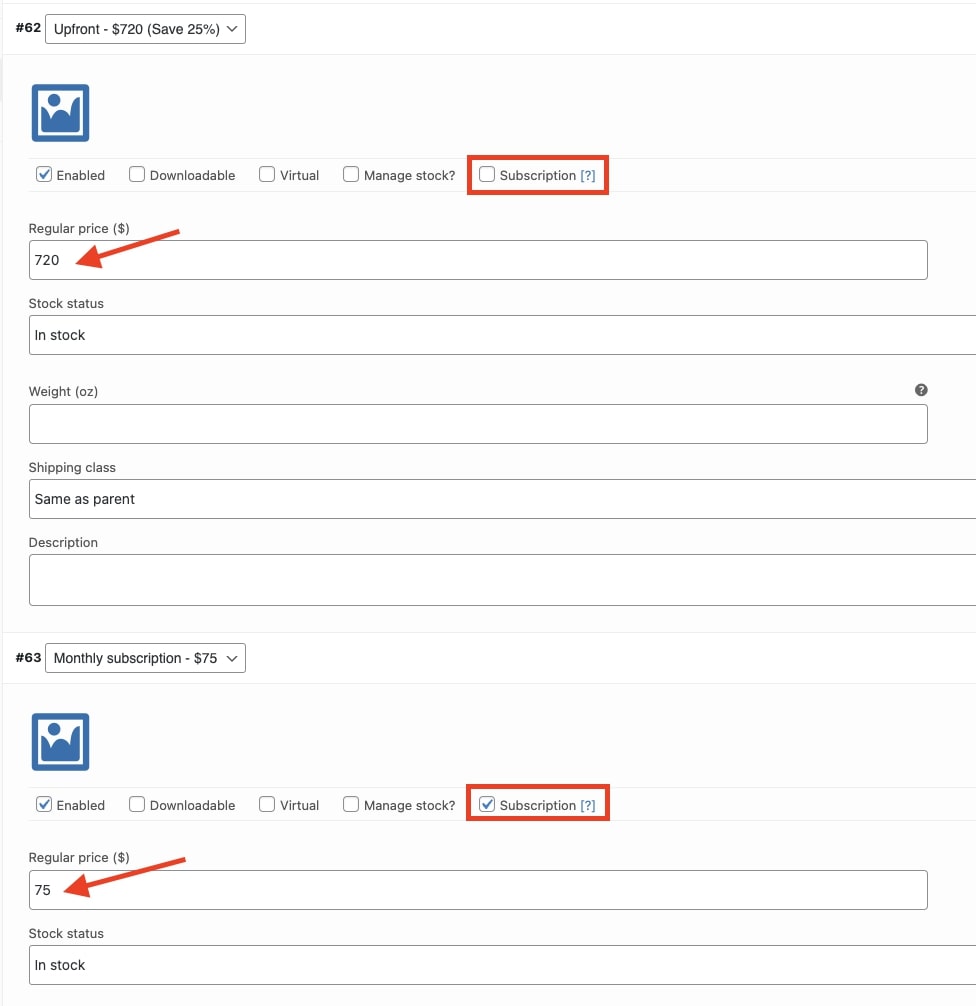
First step, we’ll go to the products page to create a new product, that we wish to sell as a subscription, by simply selecting the ‘subscription’ checkbox.
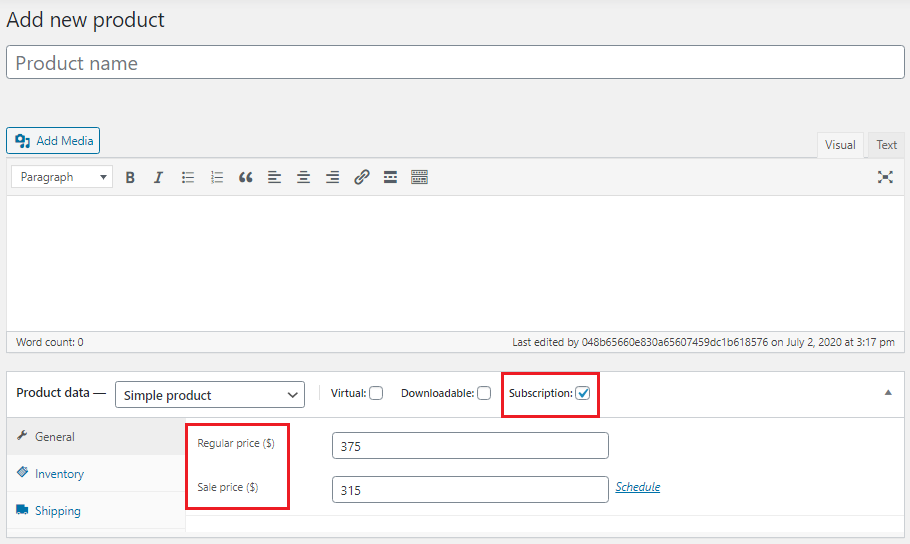
Here you set a price for the plan, enter the amount in Regular price (and sale price), the price entered here is the recurring fee.
For our example we put in a high price aiming for an annual subscription.
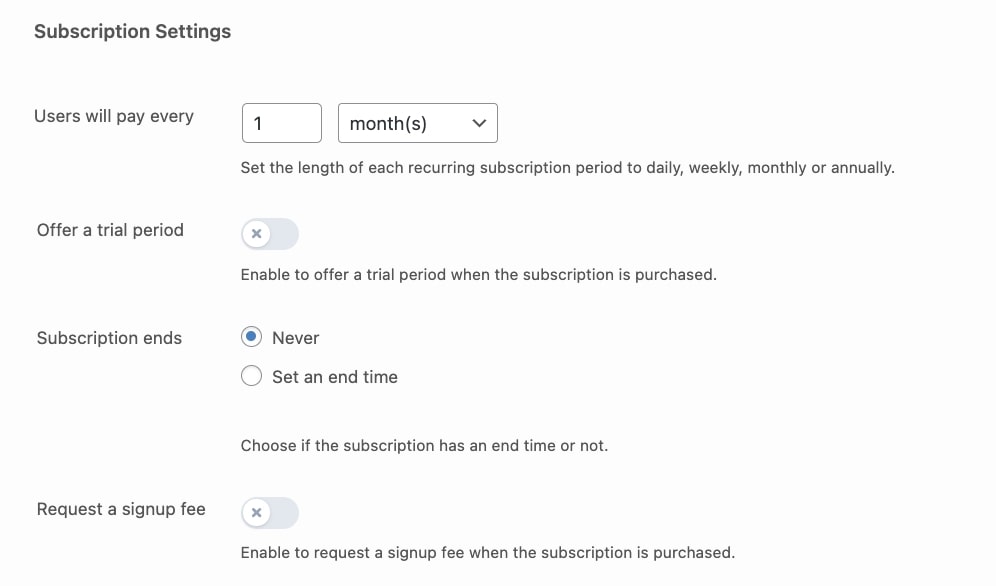
Step 2. Duration and end date
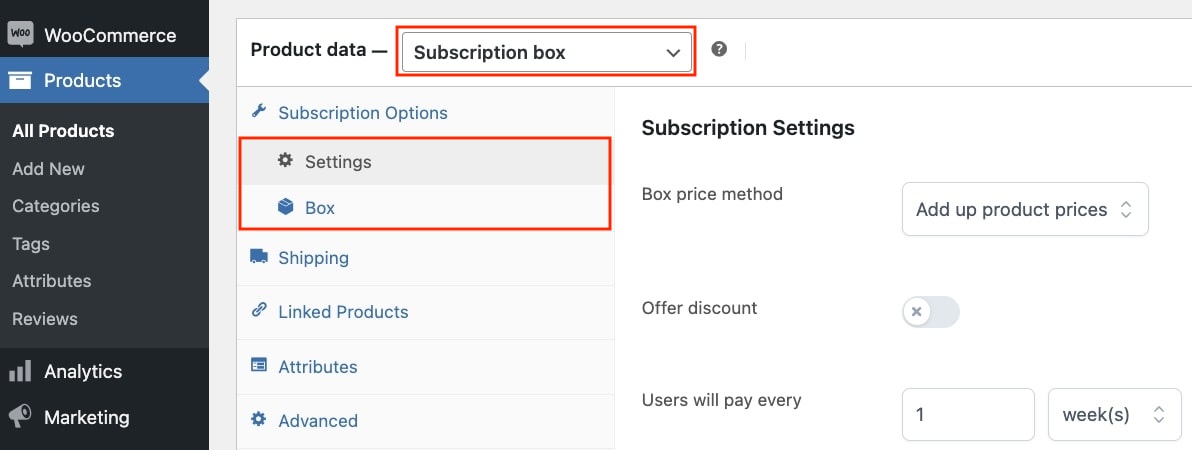
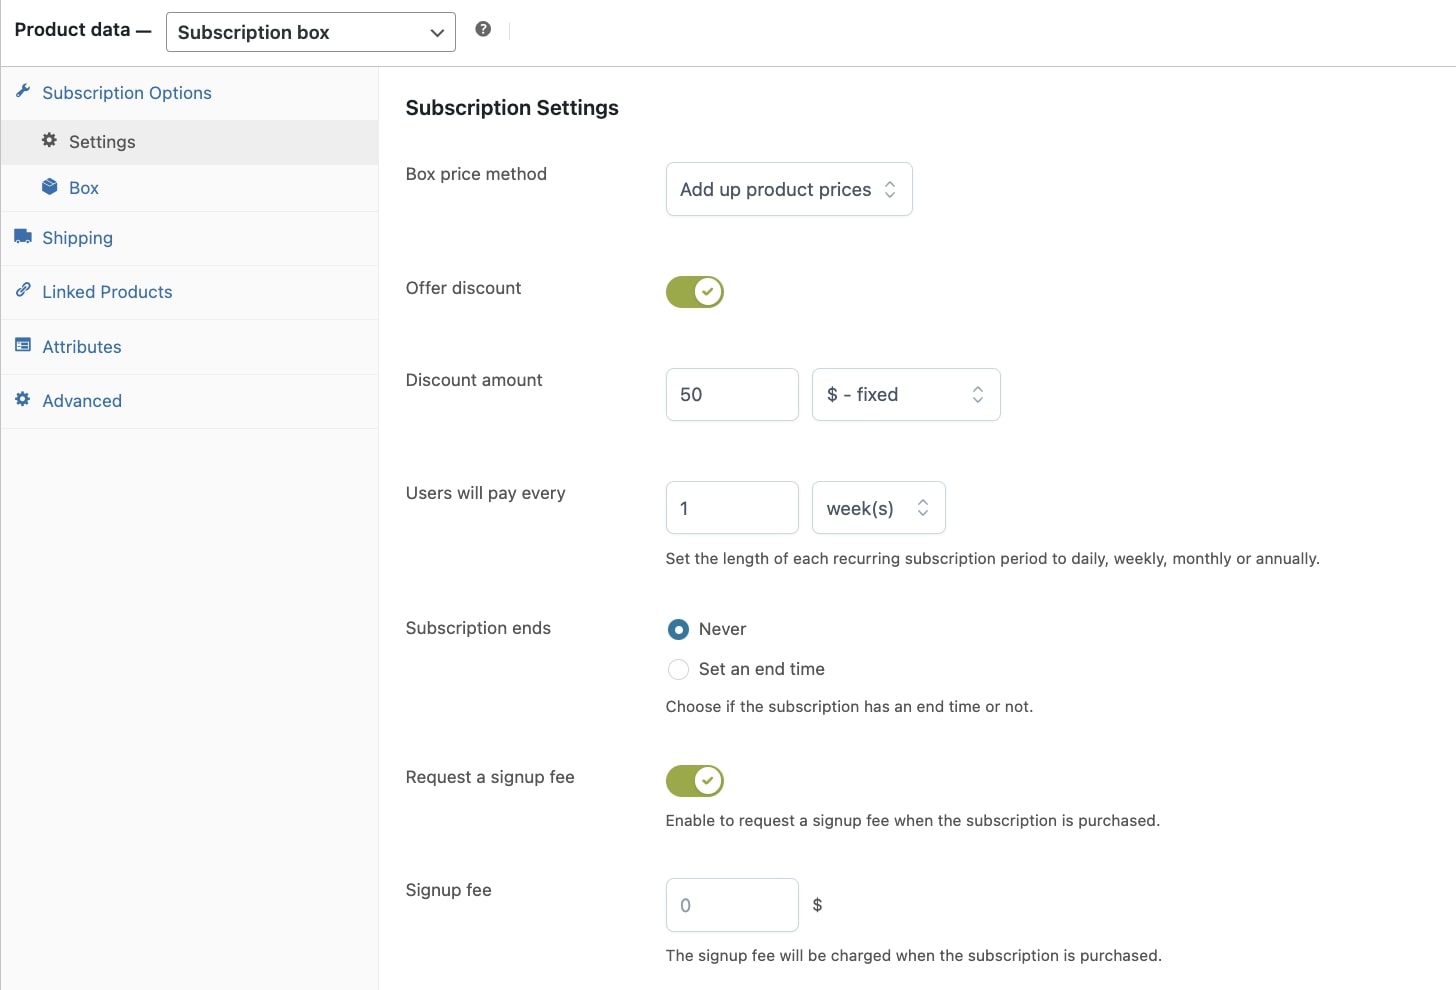
In the next step we will focus on the subscription settings of the product.
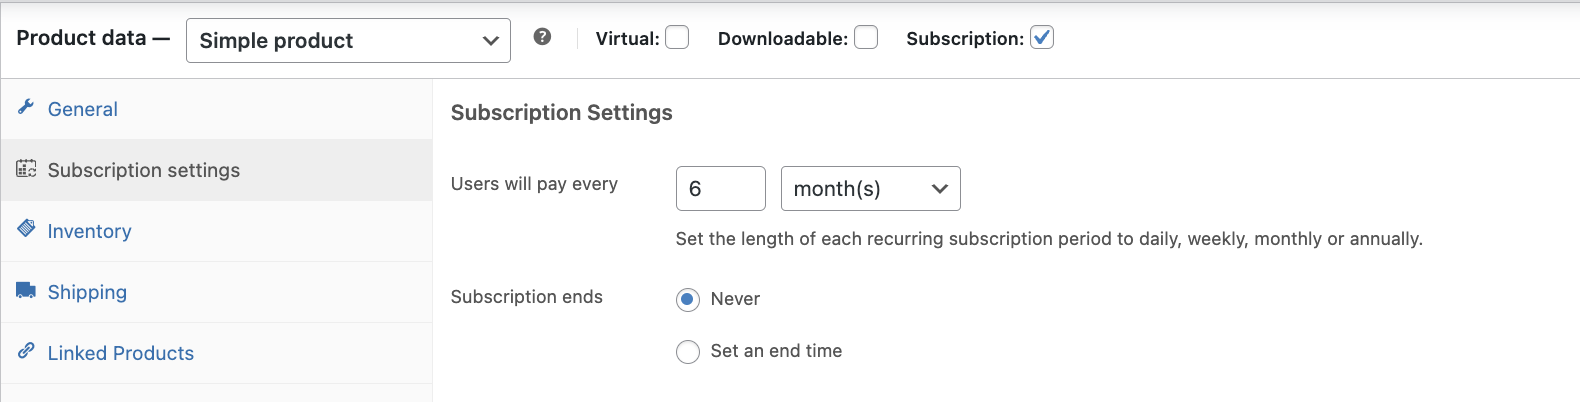
- Users will pay every: xx days, weeks, months, years.
- Subscription ends: decide if the subscription will have an end date or not
We have already set a price, now it is time to decide the period and if it has an end date or not, in our example we don’t want to set an end date.
3. Free trial and sign-up fee

- Offer a free trial of: xx days, weeks, months, years.
- Sign-up fee: Extra fee that user has to pay when purchasing the subscription.
For our example we choose a free trial of 10 days and a sign up fee of 9,99$.
4. Limit subscription

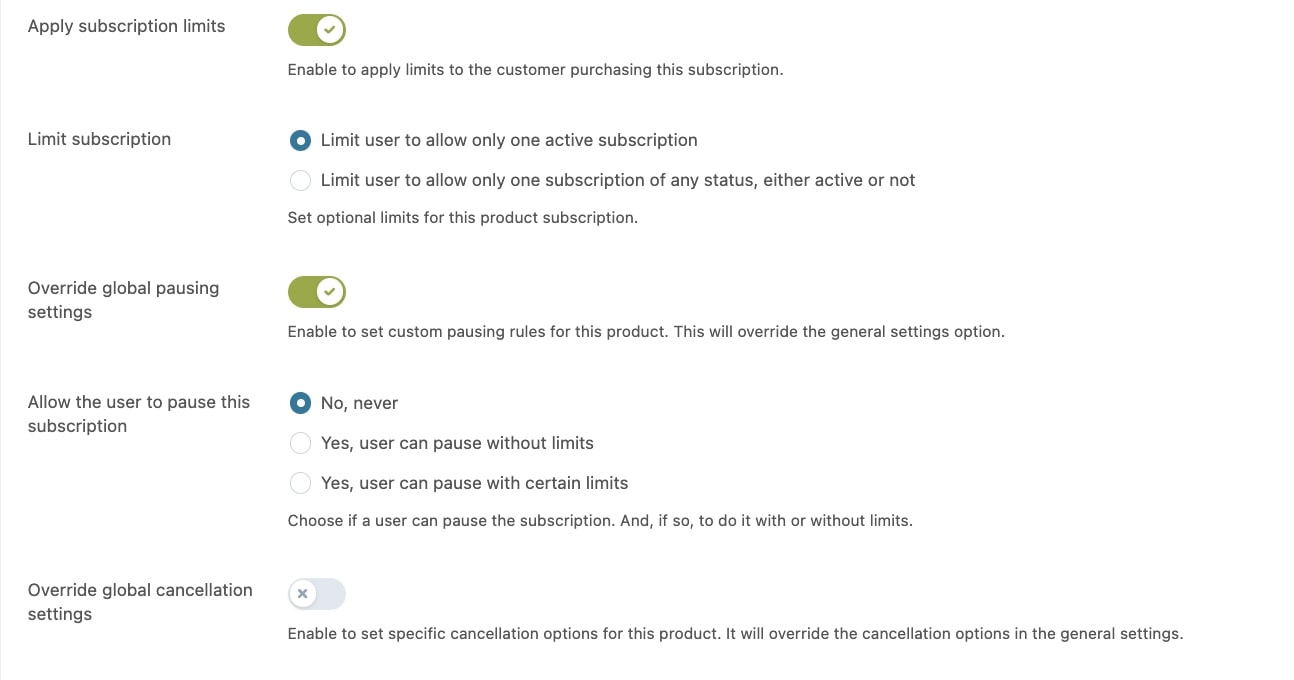
- Limit subscription: Decide if user can purchase multiple subscriptions for the same product or if there is a limit:
- Limit user to allow only one active subscription: While the subscription for this product is still active, the user cannot purchase the same subscription again. Once the subscription is cancelled/ended the user can purchase it again.
- Limit user to allow only one subscription of any status, either active or not: The user will never be able to purchase this subscription product again, regardless of the active/inactive status. If the user wishes to activate the subscription again, they can use the ‘resubscribe’ button in his My account page.
Since we have added a trial period in our example, we choose the last option. A good choice in our case, because a user can never abuse the free trial period; once he placed the order, he cannot purchase it again (and use the free trial period, cancel before payment, use free trial, cancel again etc.).
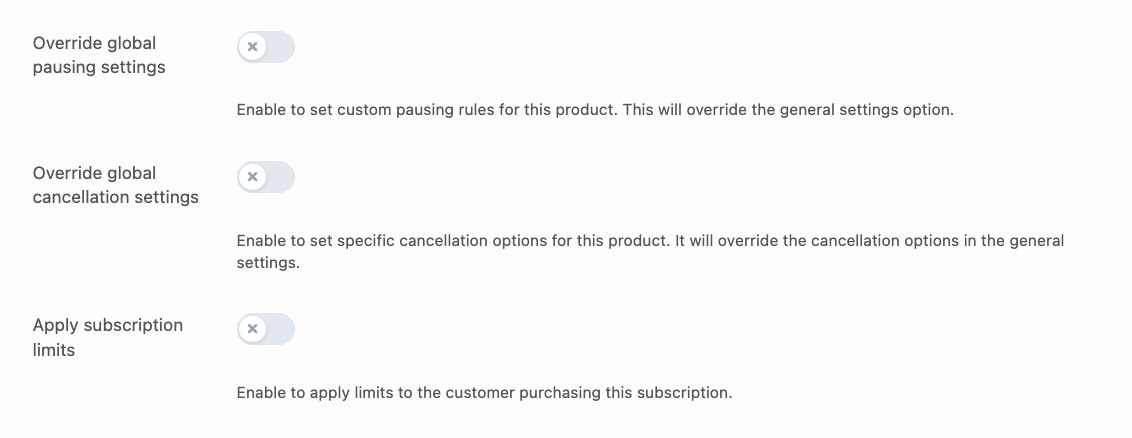
5. Custom pausing rules
By enabling the ‘Set custom pausing rules’ a new set of options appear. These settings will override the pausing rules set in the ‘General settings’.

- Allow users to pause this subscription set more specific pausing rules for this product:
- No never: No pausing option available for this product.
- Yes, user can pause without limits: The user can pause and reactivate the subscription without limitations.
- Yes, user can pause with certain limits: Decide how many times the user can pause, and the duration in days of pausing period.
For our example we choose to not have a pause period.
6. Cancellation settings
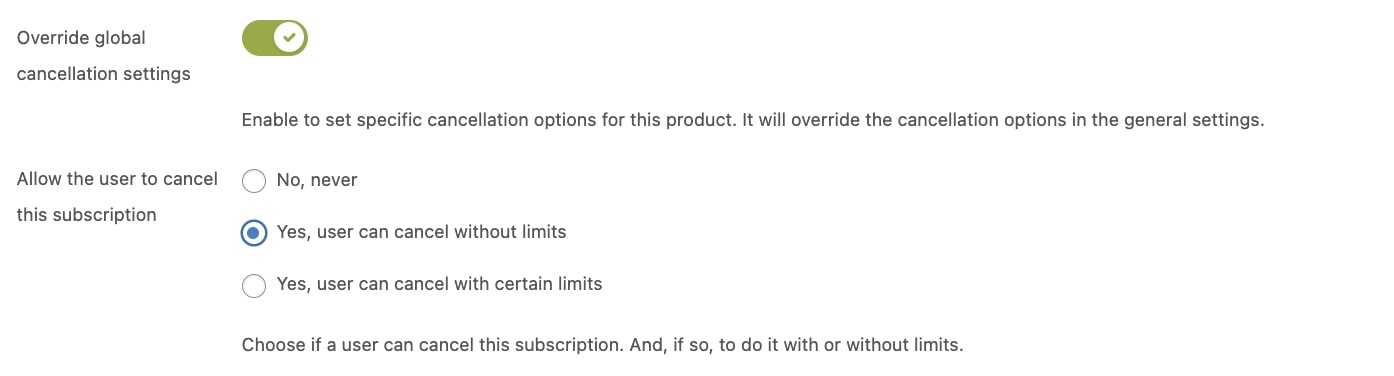
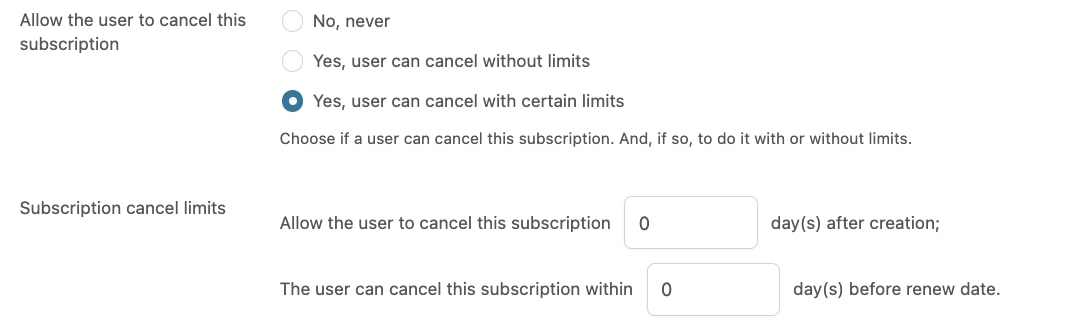
- Override the cancellation settings: Override the general cancellation settings, to make it more specific for this product > a new option will appear.
- Allow users to cancel this subscription: Users will be able to cancel this subscription.
For our example, we will allow cancellation by the user.
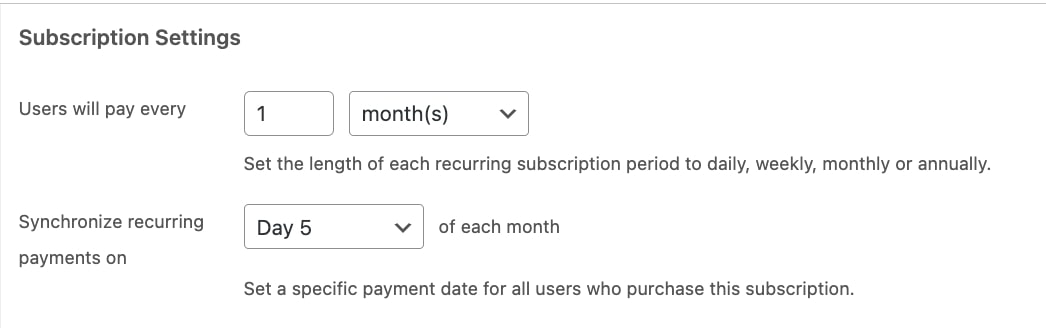
7. Synchronize payments
From the product settings you will be able to override the synchronization global options for recurring payments when it renews weekly, monthly or yearly.
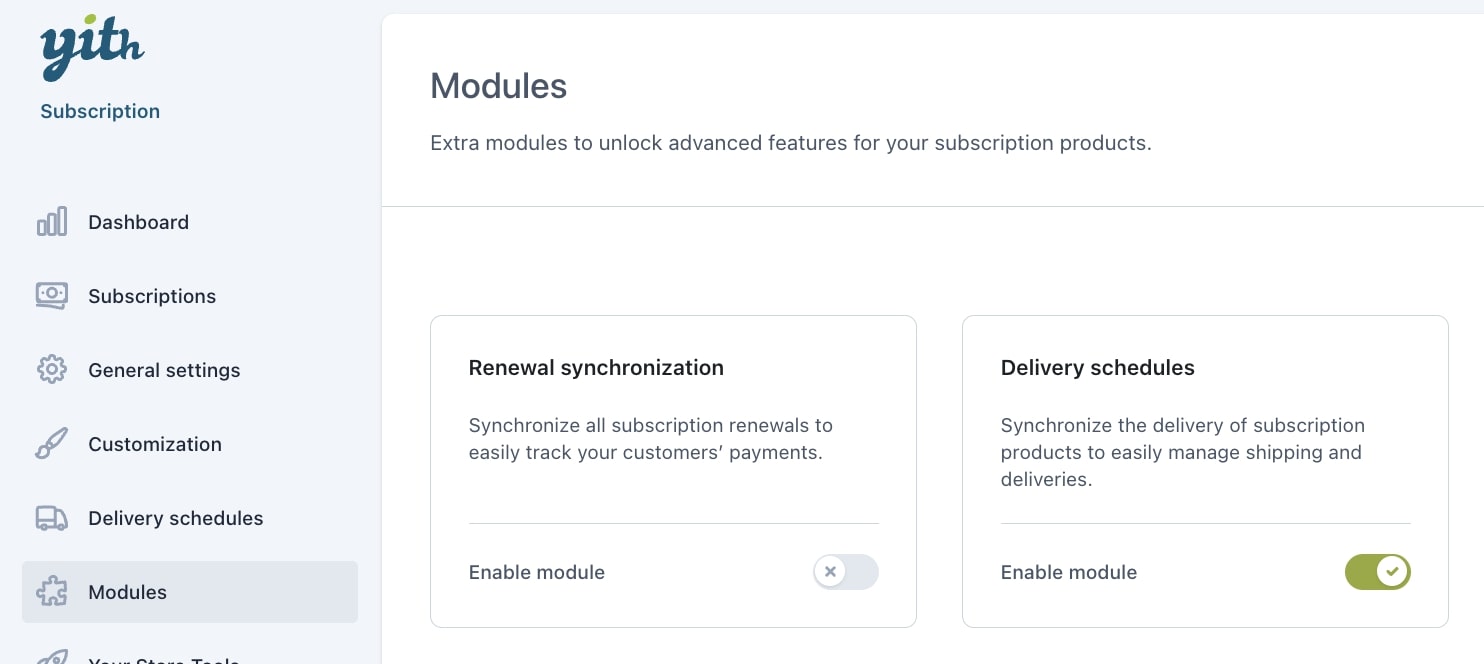
Just make sure you have first enabled the Renewal synchronization from the section Modules.

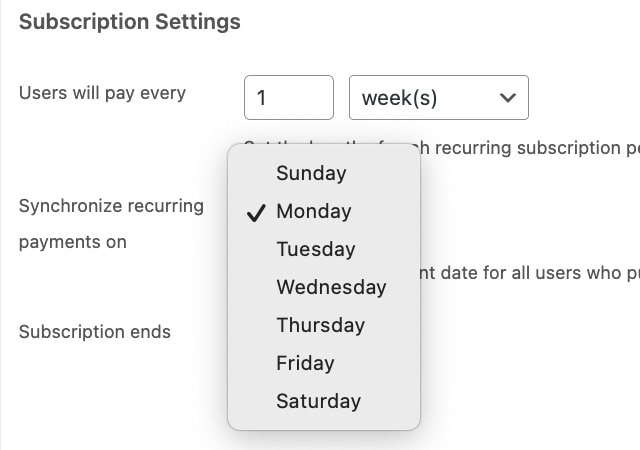
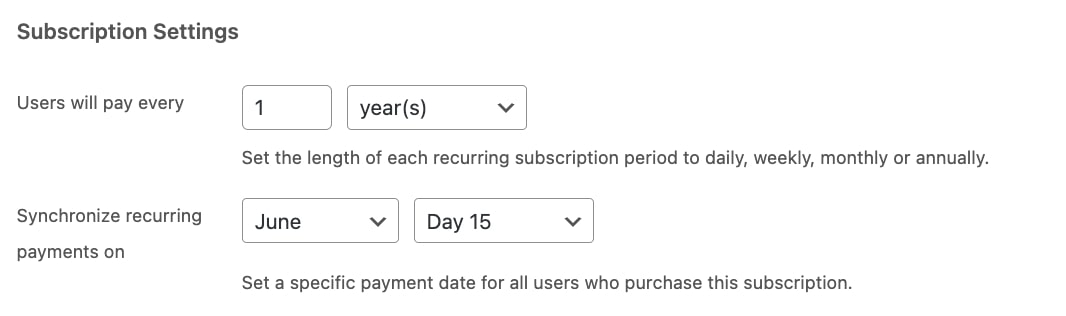
Then, you will be able to set a specific day for synchronizing payments.
Please note – The synchronization settings can only apply to new subscriptions (so subscriptions started after the settings are saved) and it does not apply to ongoing subscriptions.
If the product recurrence is set in days, you will not be able to set a synchronization day.
If the product recurrence is set in weeks, you will be able to choose the day of the week. Please, note that if the billing cycle is 2 weeks and Monday, it will always be the first Monday every two weeks.
If the product recurrence is set in months, you will be able to choose the day of the month, from day 1 to day 28, or end of month, which may vary from month to month. For some months, it can be the 28, others 30th or 31st.
If the product recurrence is set in years, you will be able to choose month and day, for example January 1st or June 30th every year.
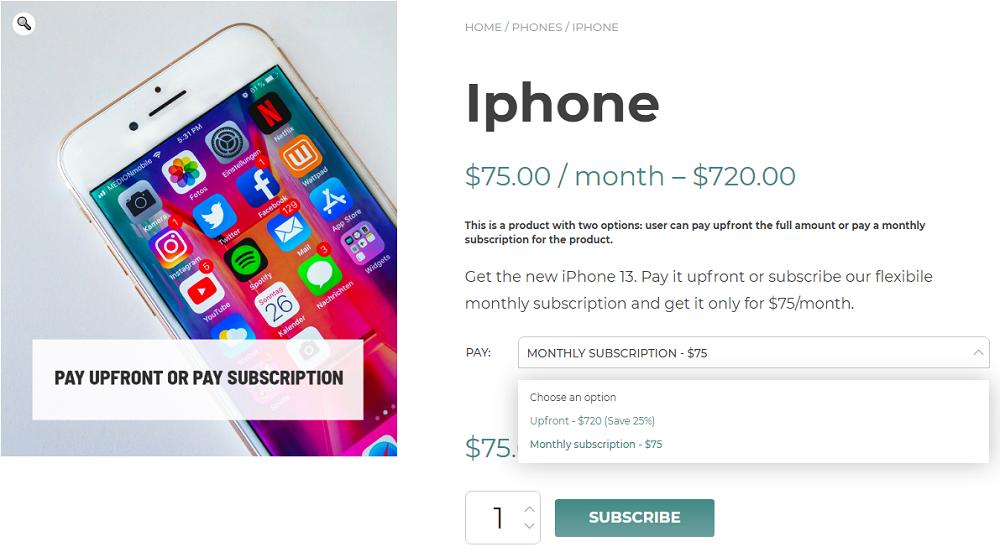
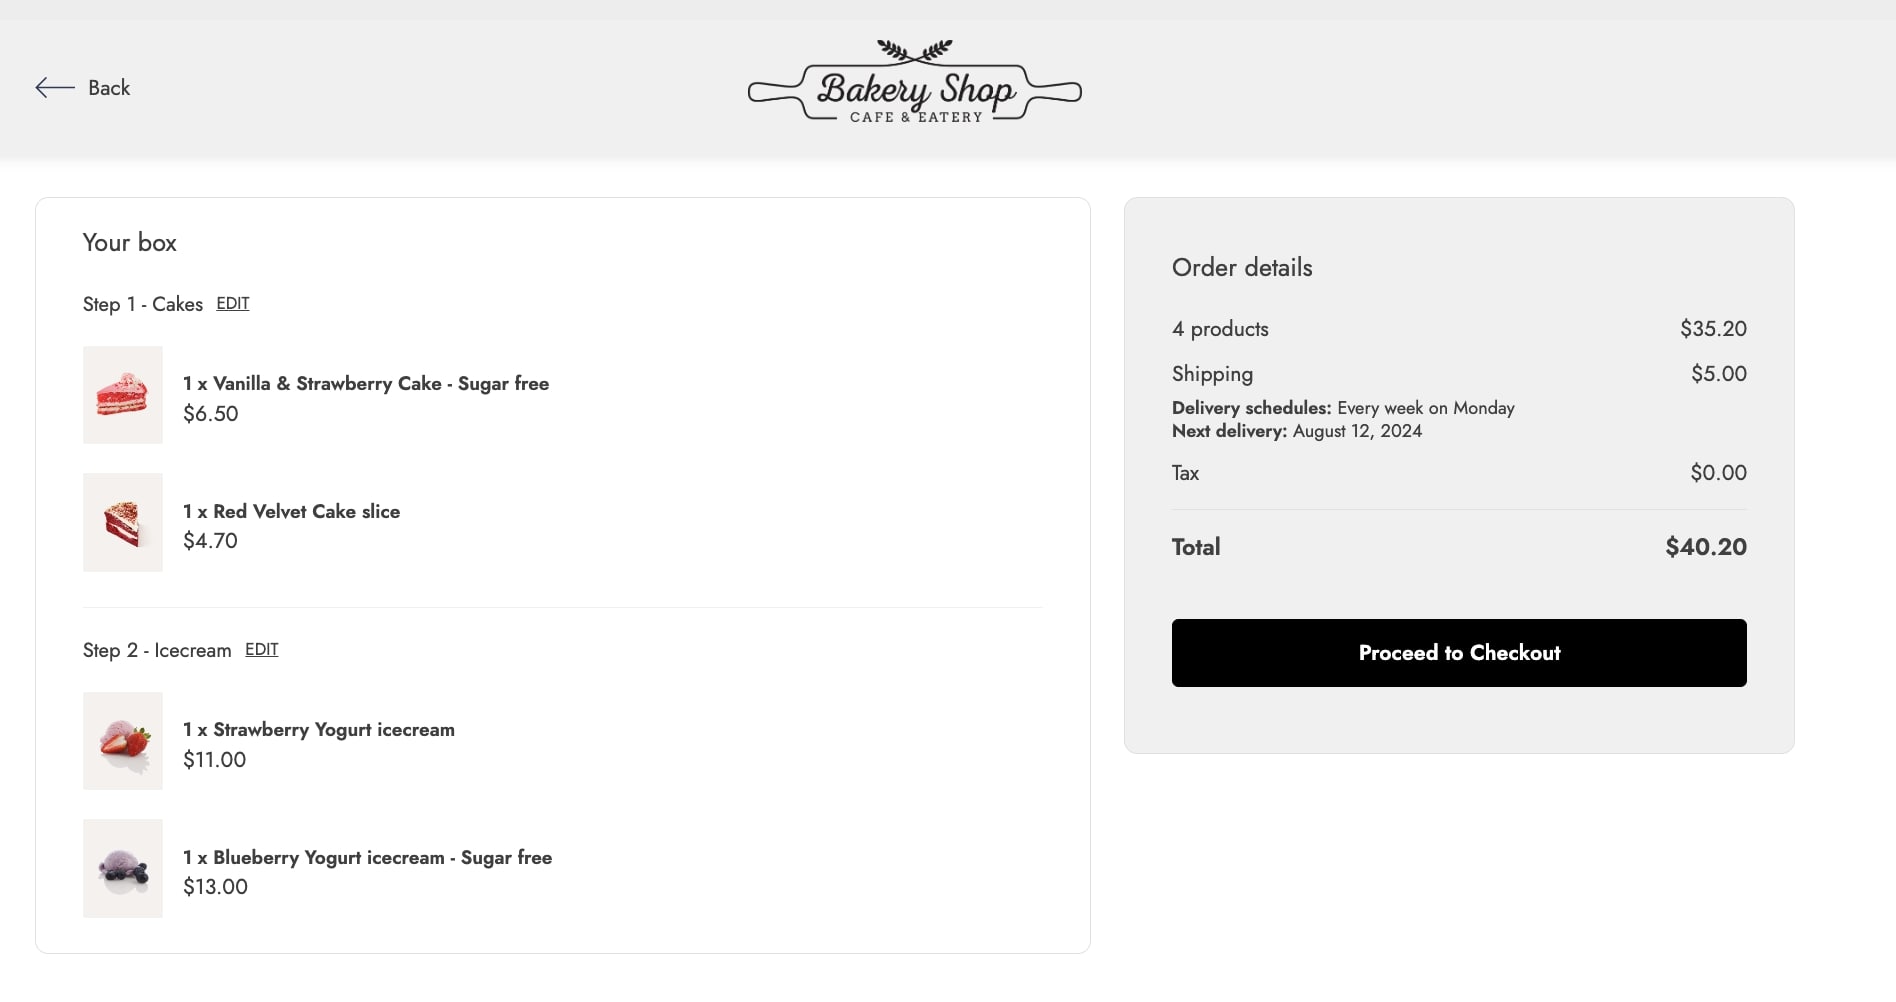
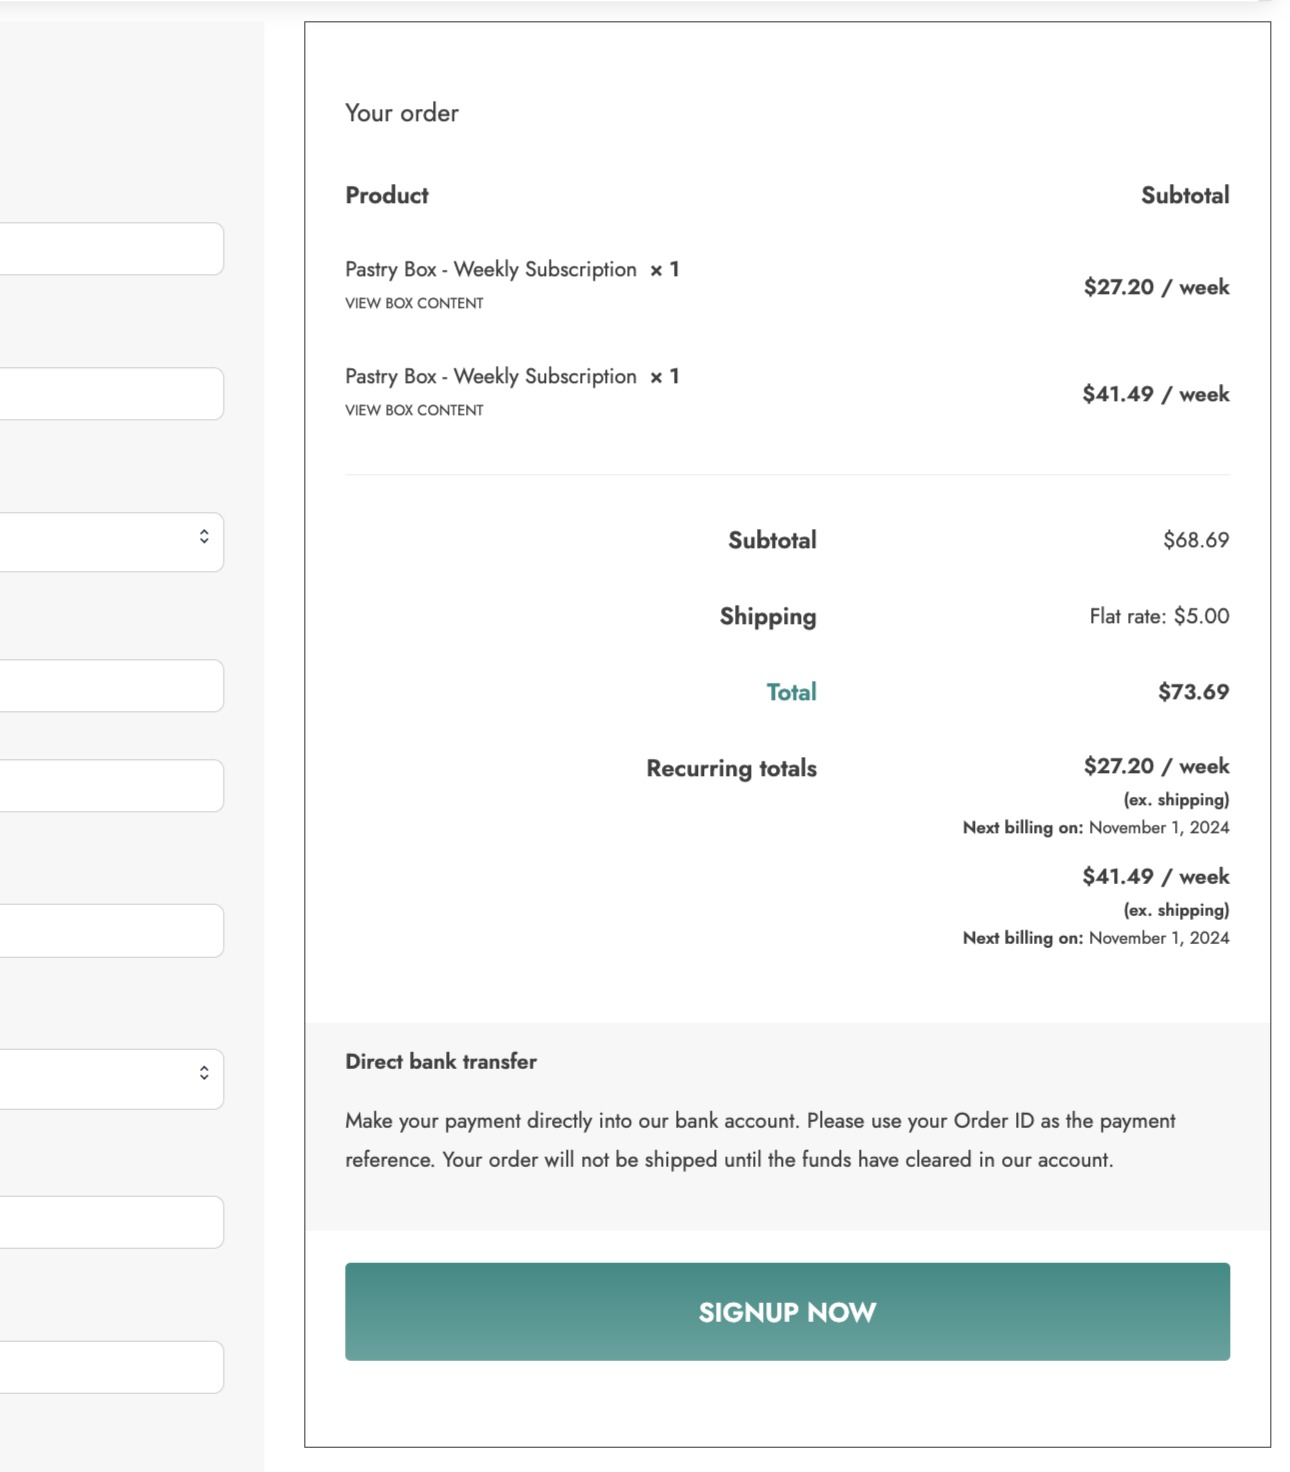
This information will be displayed accordingly on the frontend, so customers will be able to see when and how much the first and later payments will be. The first payment will include the cost of the sign-up fee, if set.
Please, note: if the product includes a trial period, no prorated amount will be charged, so the next payment date will be automatically set as the first renewal date.

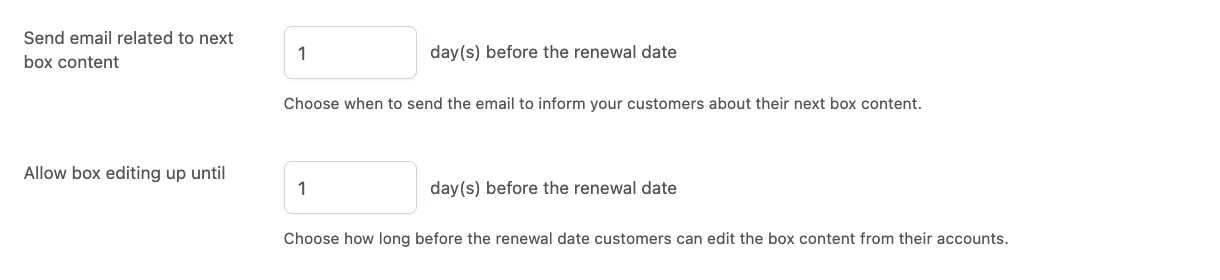
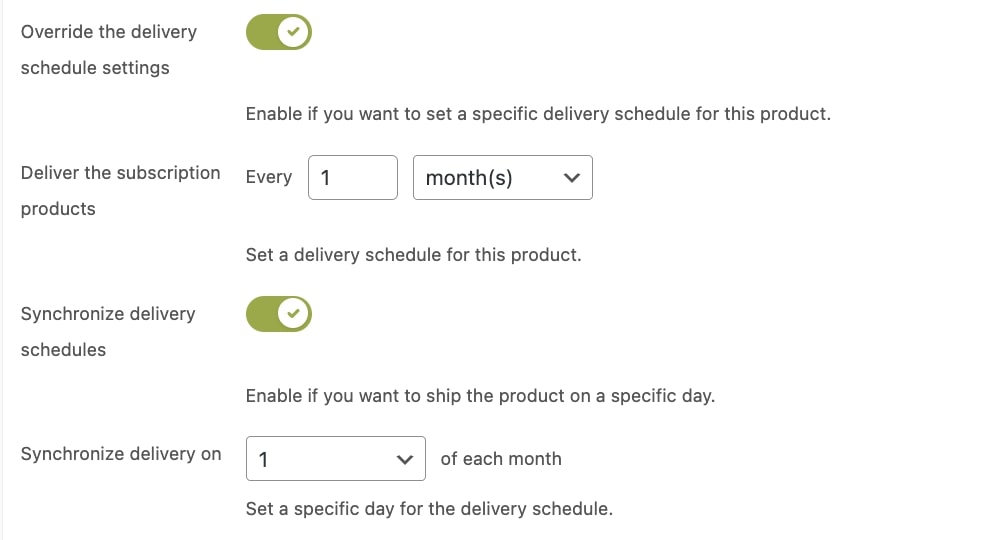
8. Delivery schedules
From the product settings you will be able to override also the delivery schedules options for this subscription and synchronize, if necessary, all deliveries on the same day.
Just make sure you have first enabled the Delivery schedules from the section Modules.
Click on Override the delivery schedule settings if you want this product to have a different configuration. Please, refer to the Delivery Schedules sections on this page for more information about the configuration.
Once your users start subscribing products with specific delivery schedule options, you will be able to manage the deliveries from the section Delivery Schedules in the plugin panel. Please, refer to this page for more information.