All vendors in the shop can create and manage their products right from their dashboard.
Vendors will be able to see the Products menu in their dashboard. It is very similar to the one of the admin, but they will only see their own products.
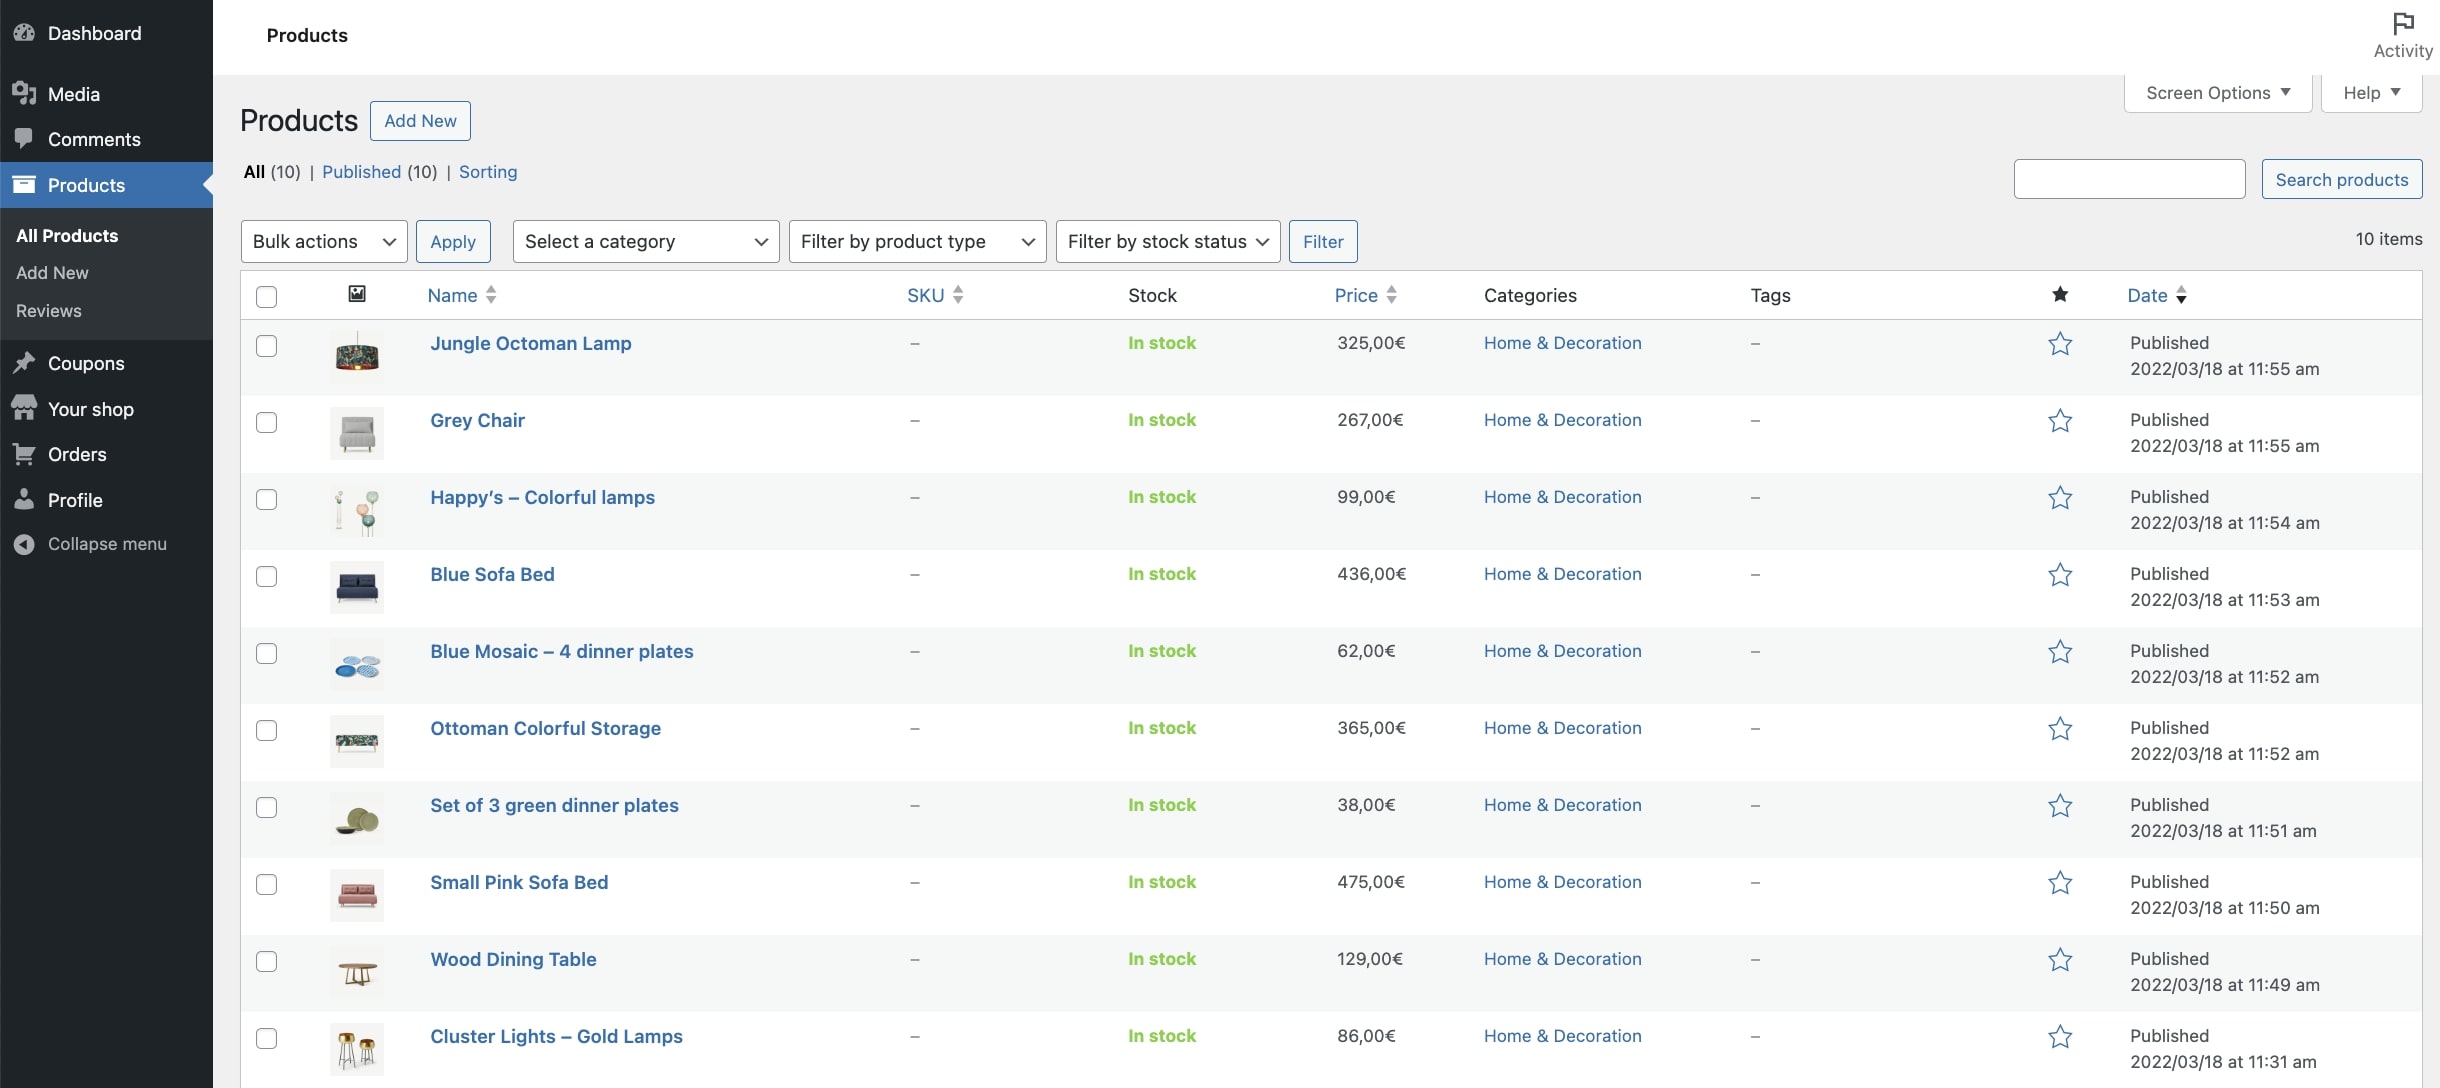
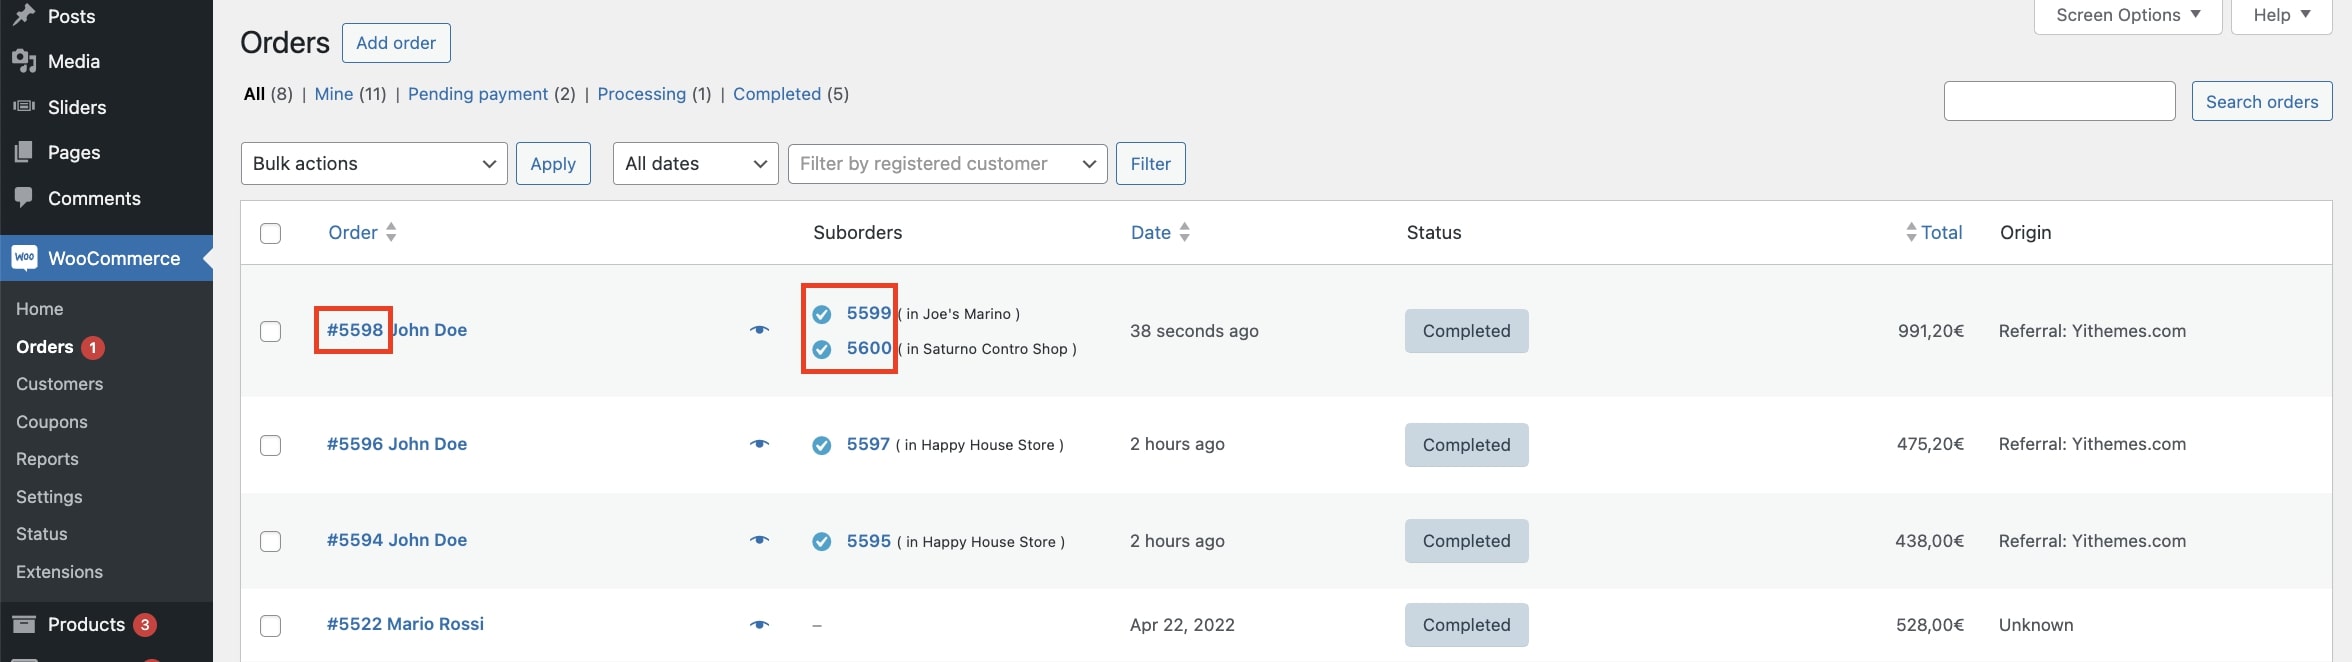
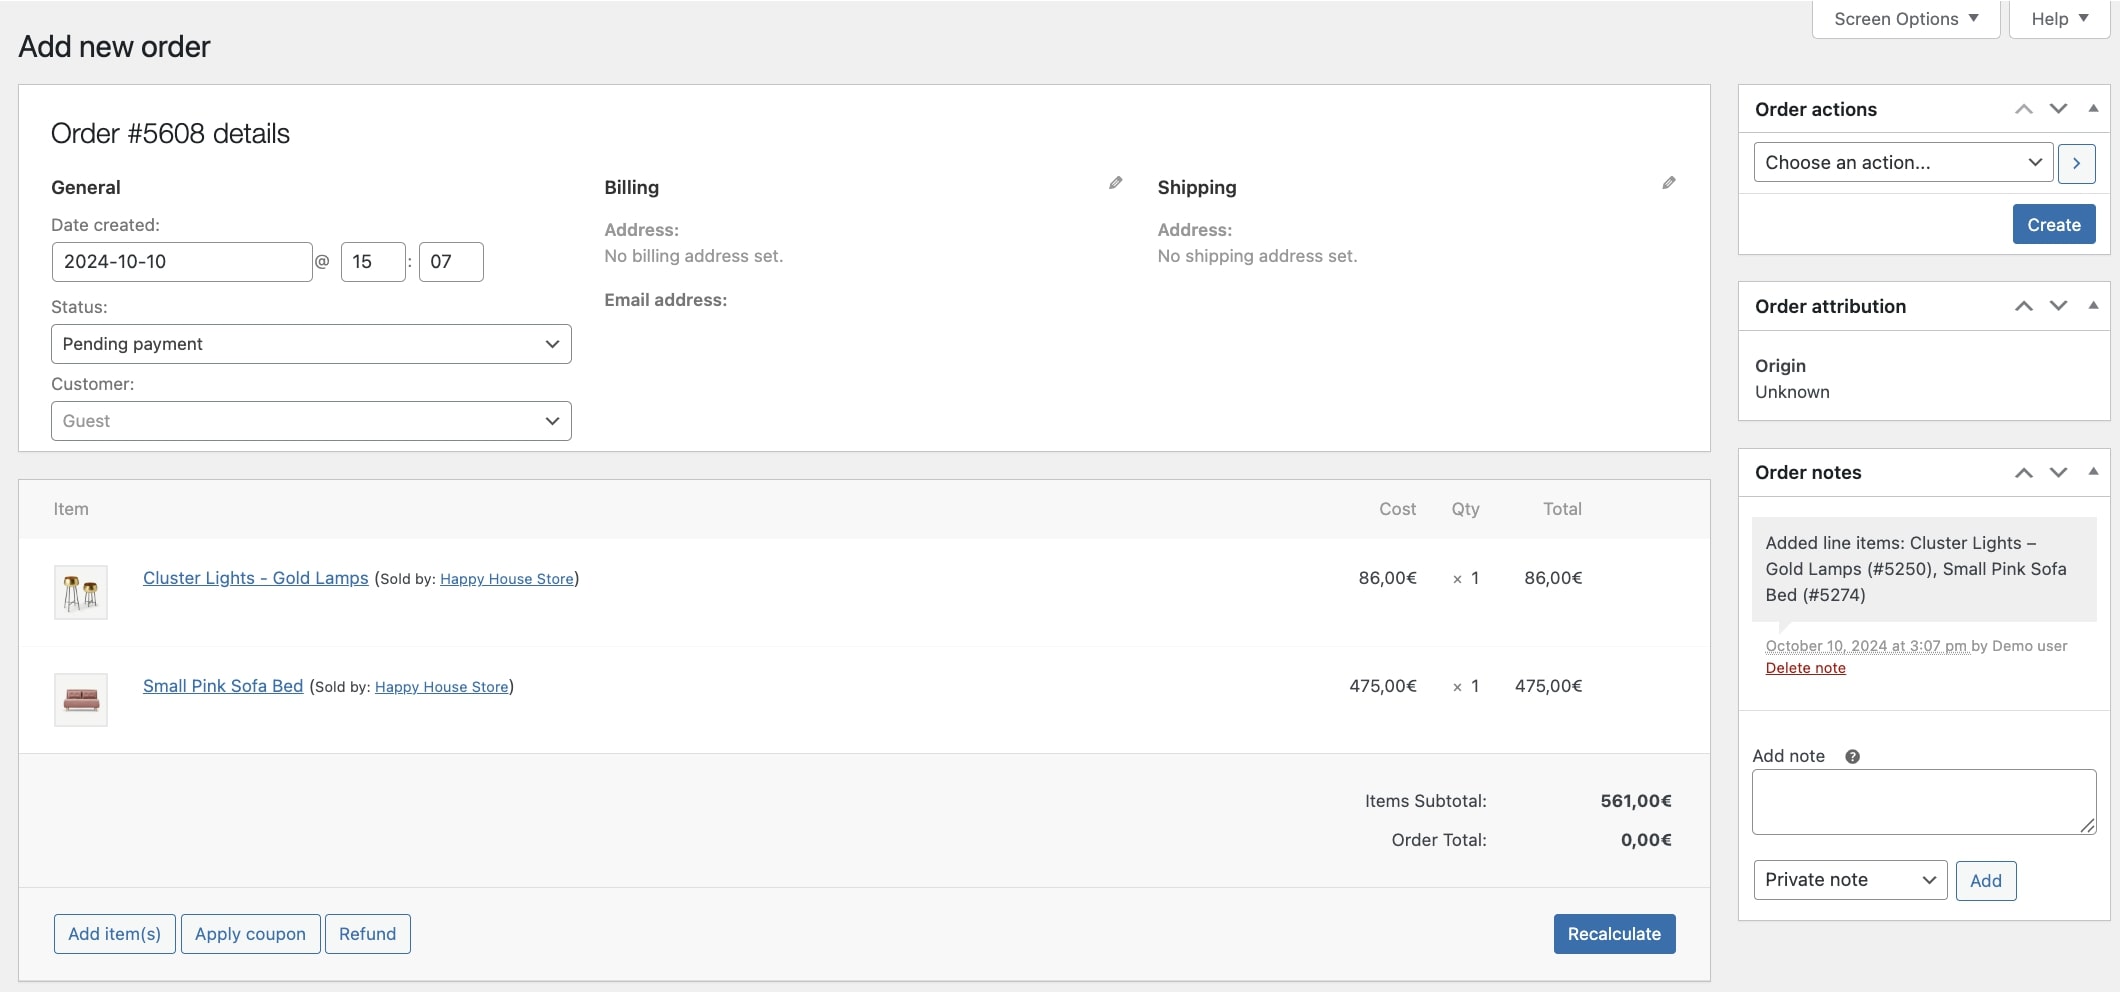
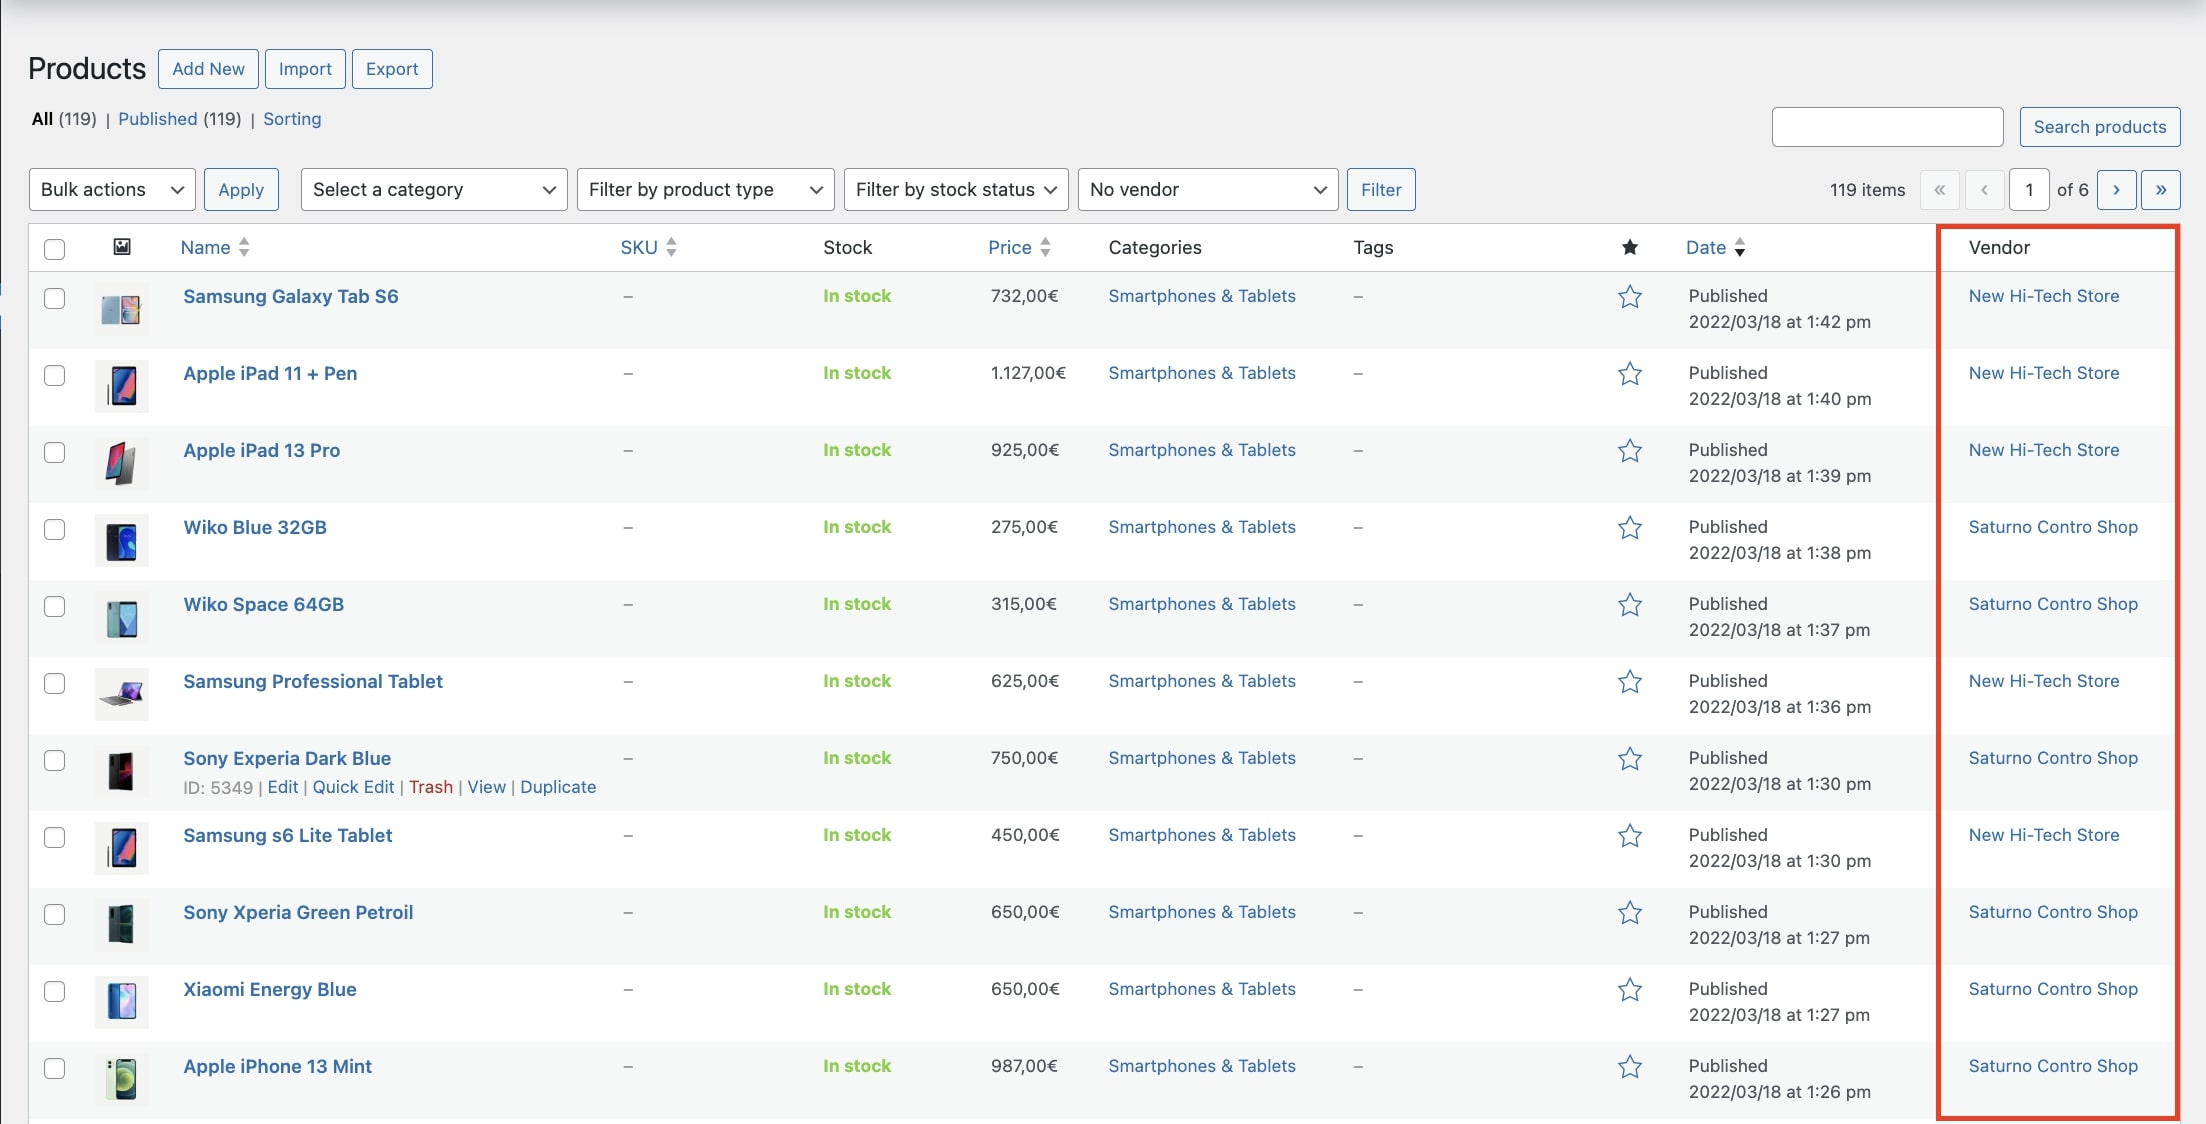
When a vendor creates a product from this page, it will be automatically associated to their store and will be visible to the admin in a dedicated column on the Products page…
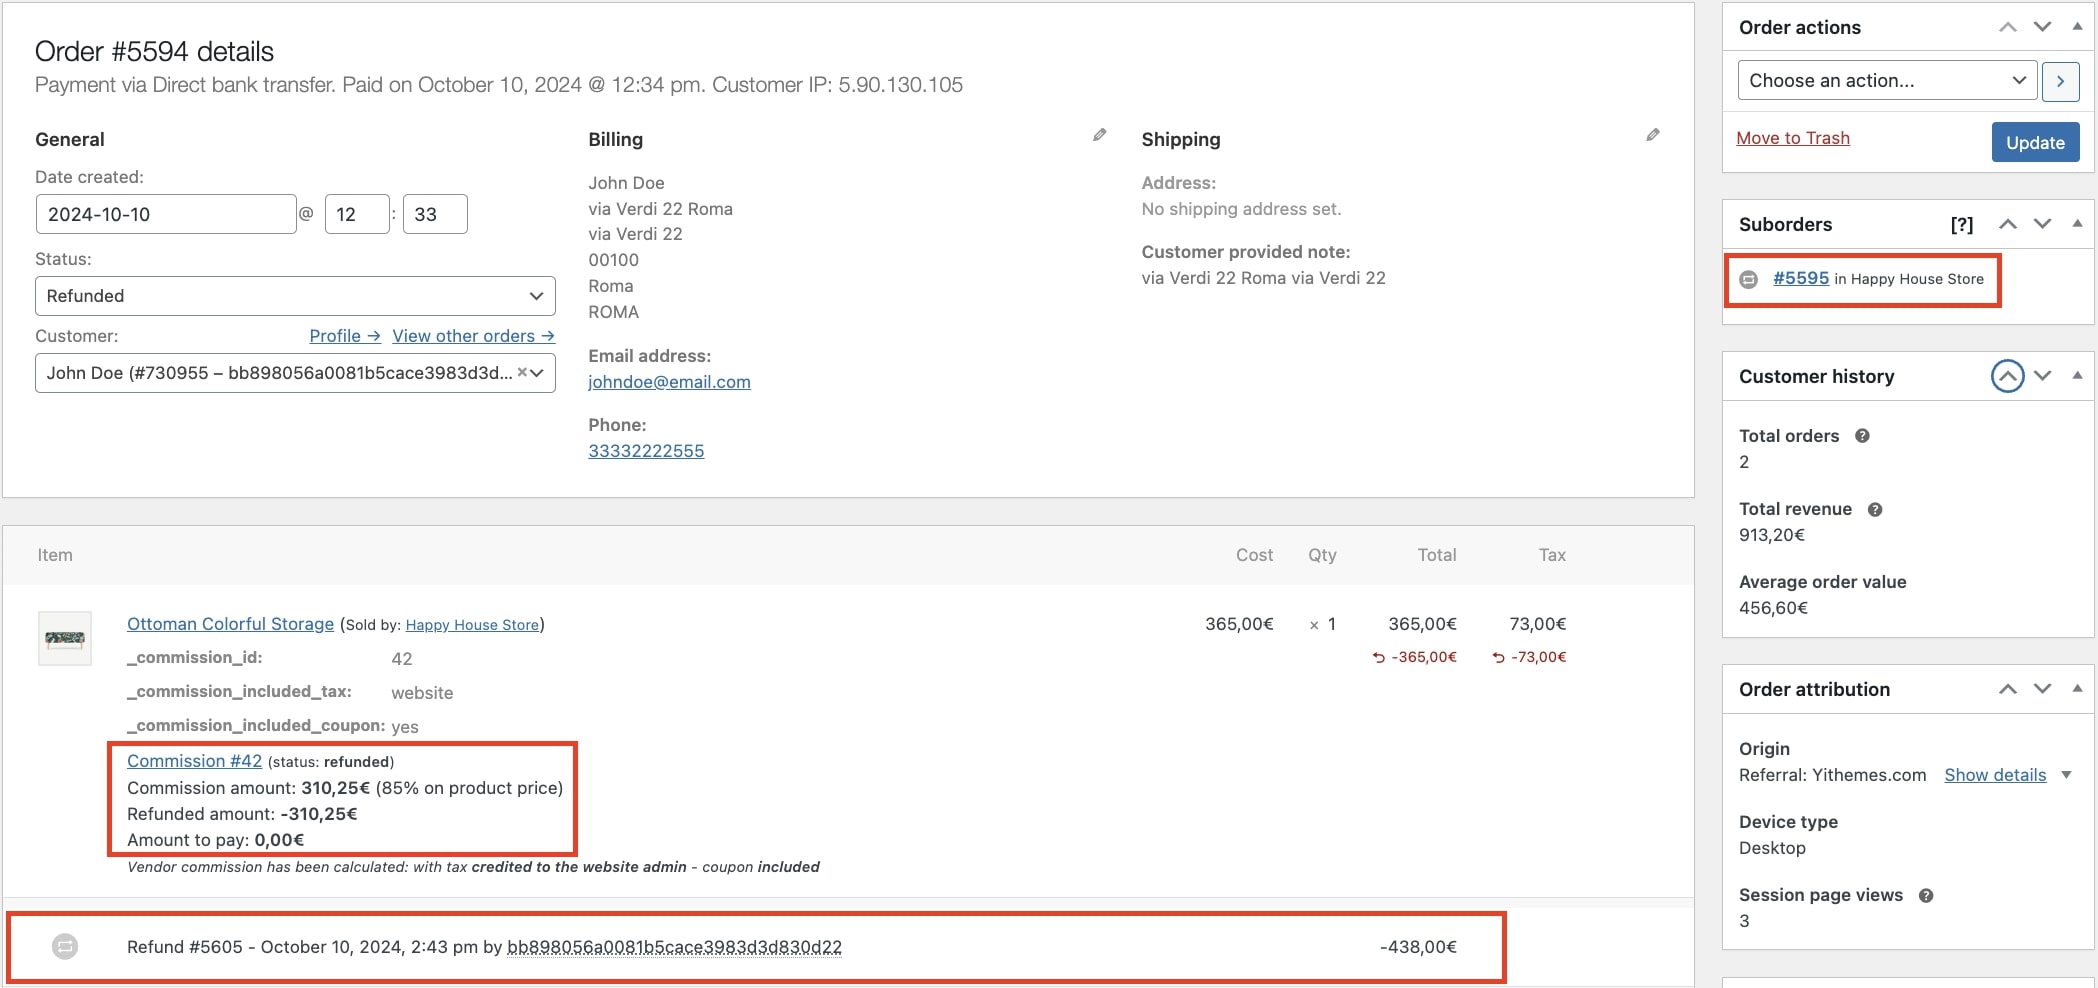
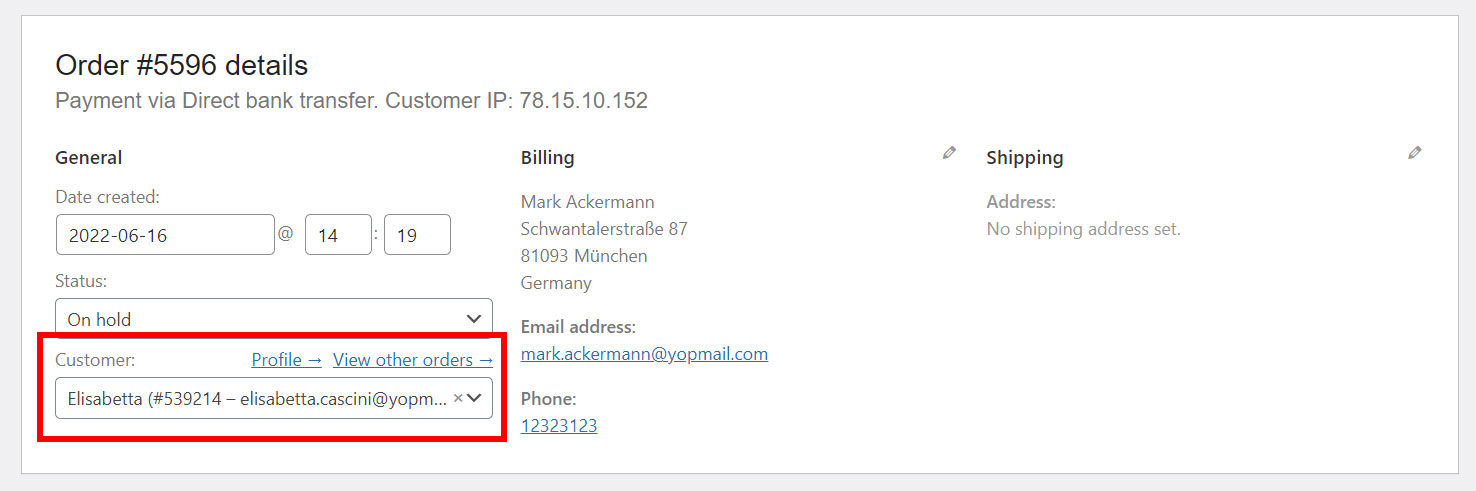
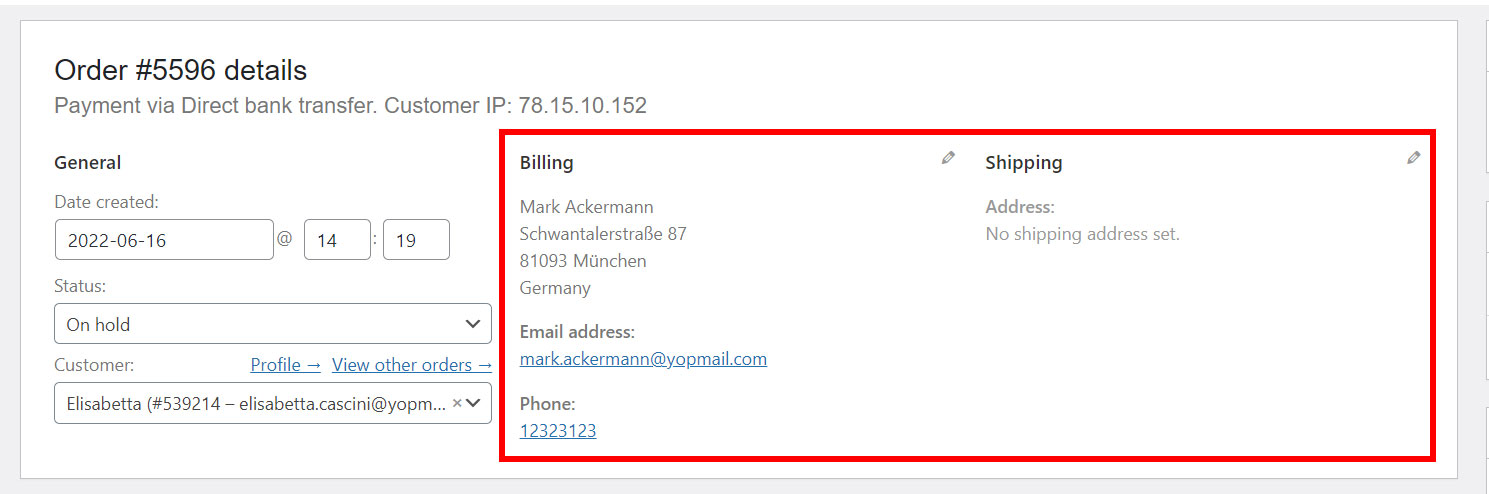
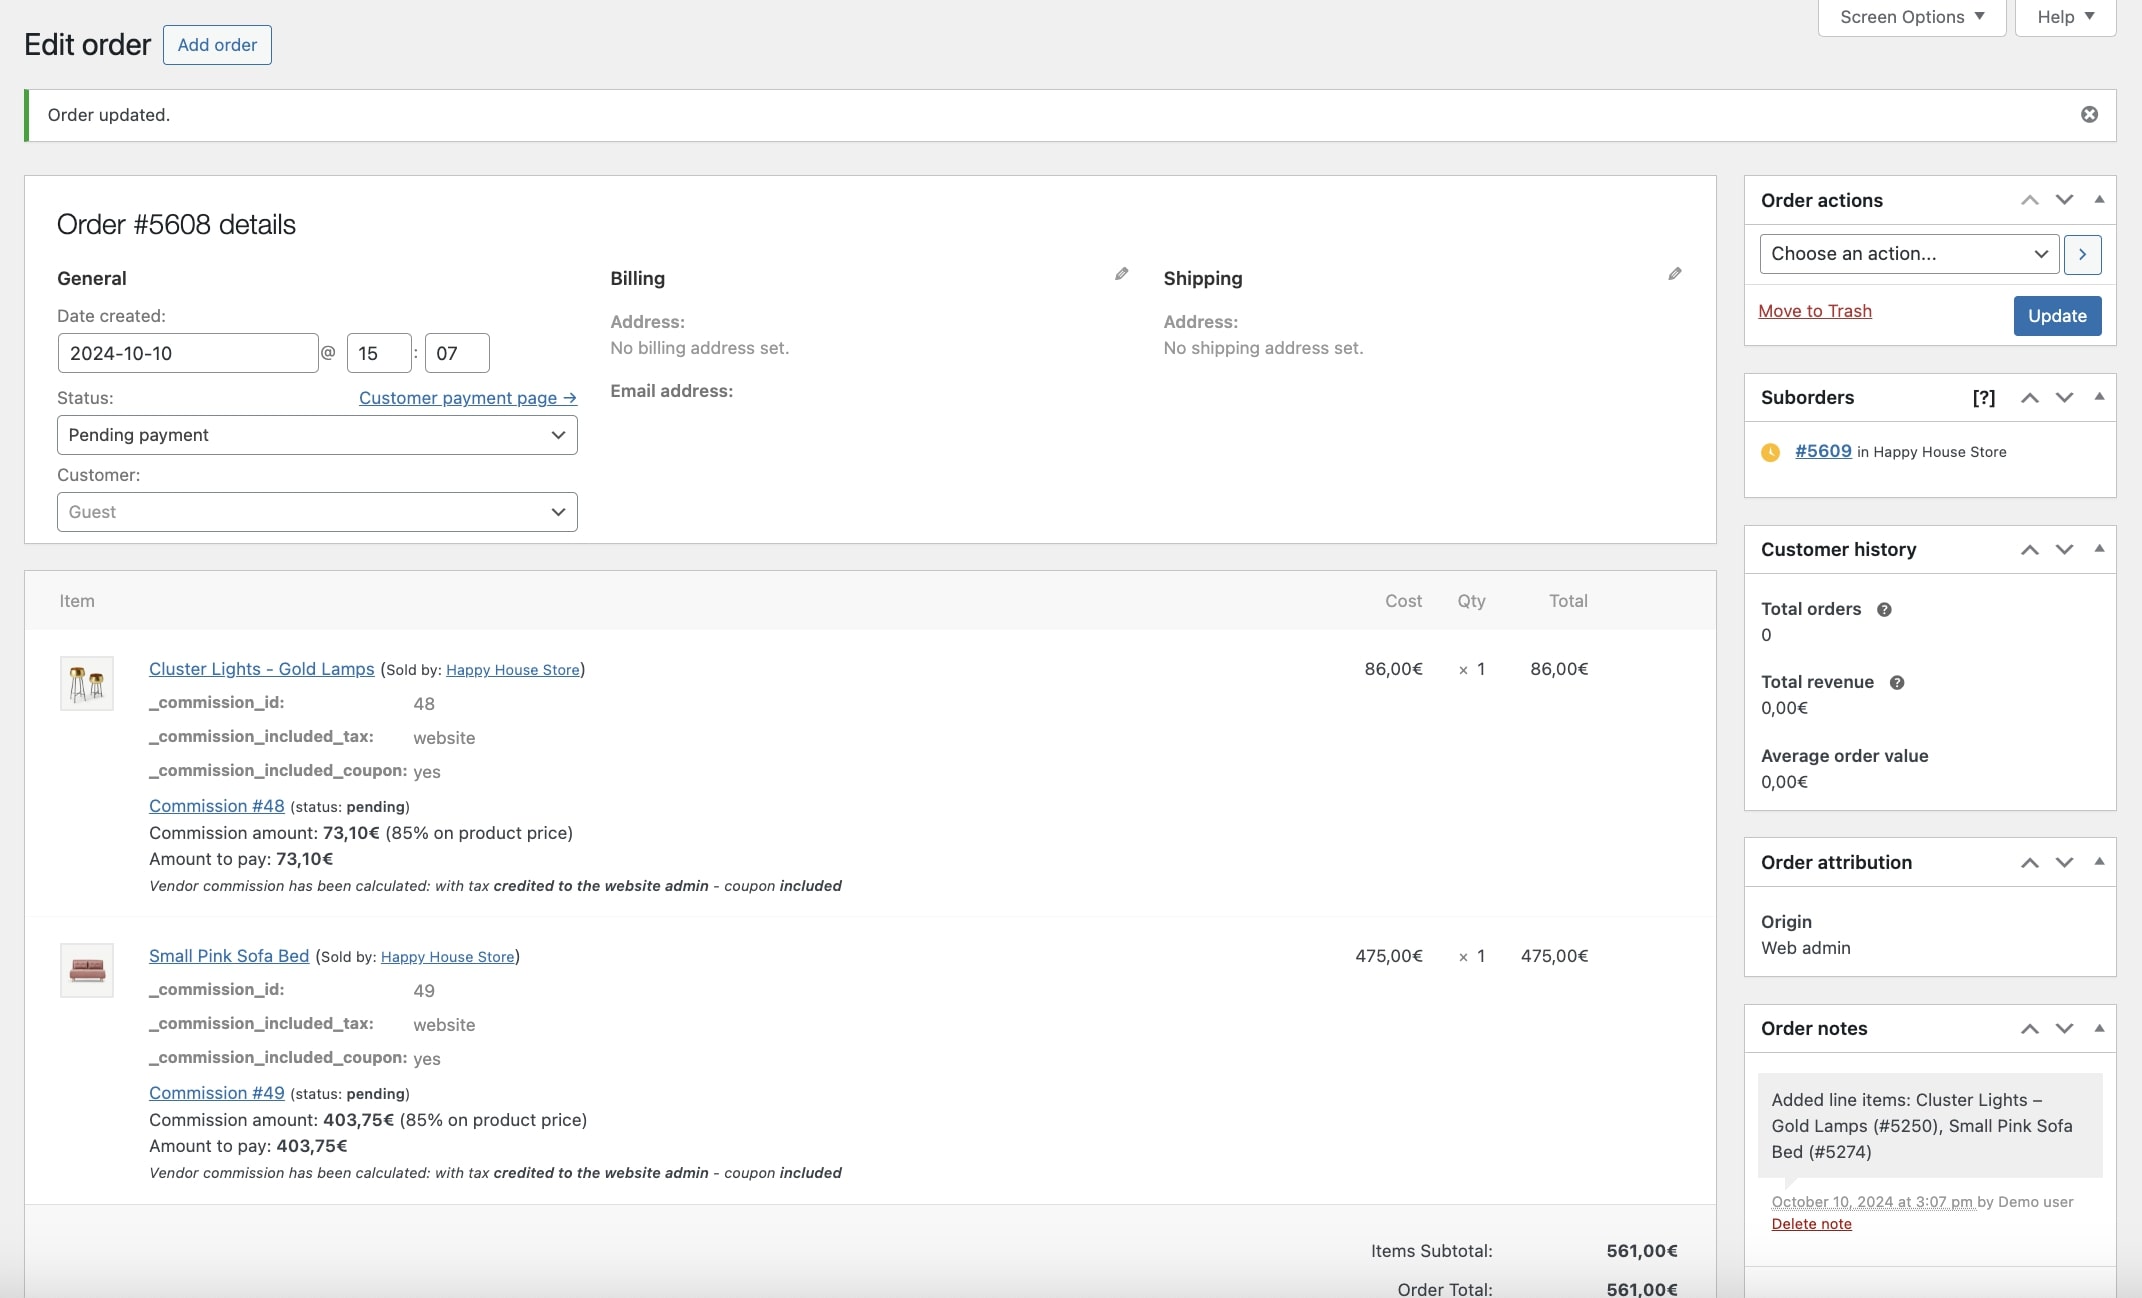
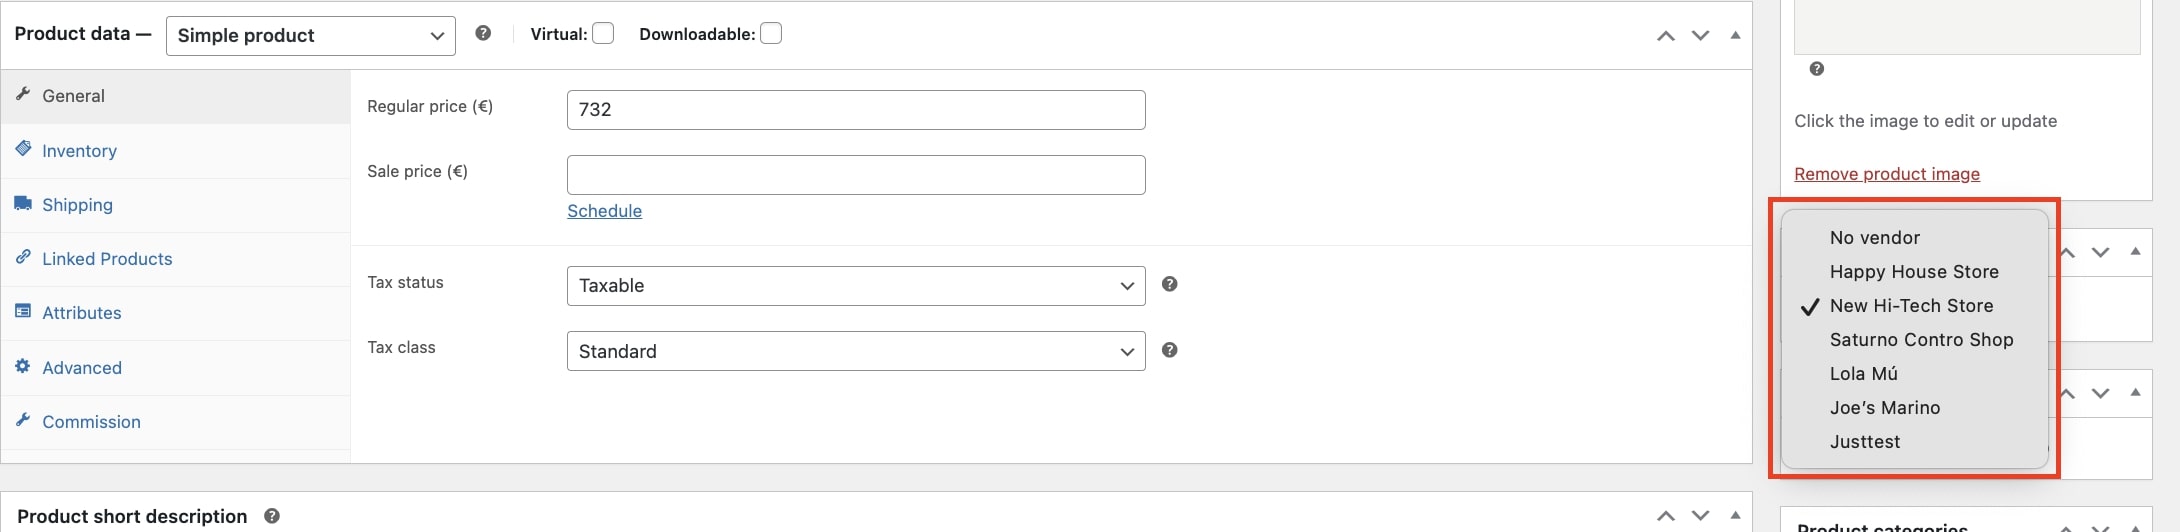
… and in the product details where it is also possible for the admin to change the vendor.
You can also assign products in bulk from the Bulk actions dropdown and select the vendor:


Please, note: one product can only be assigned to one vendor. Multiple vendor option for the same product is not supported.
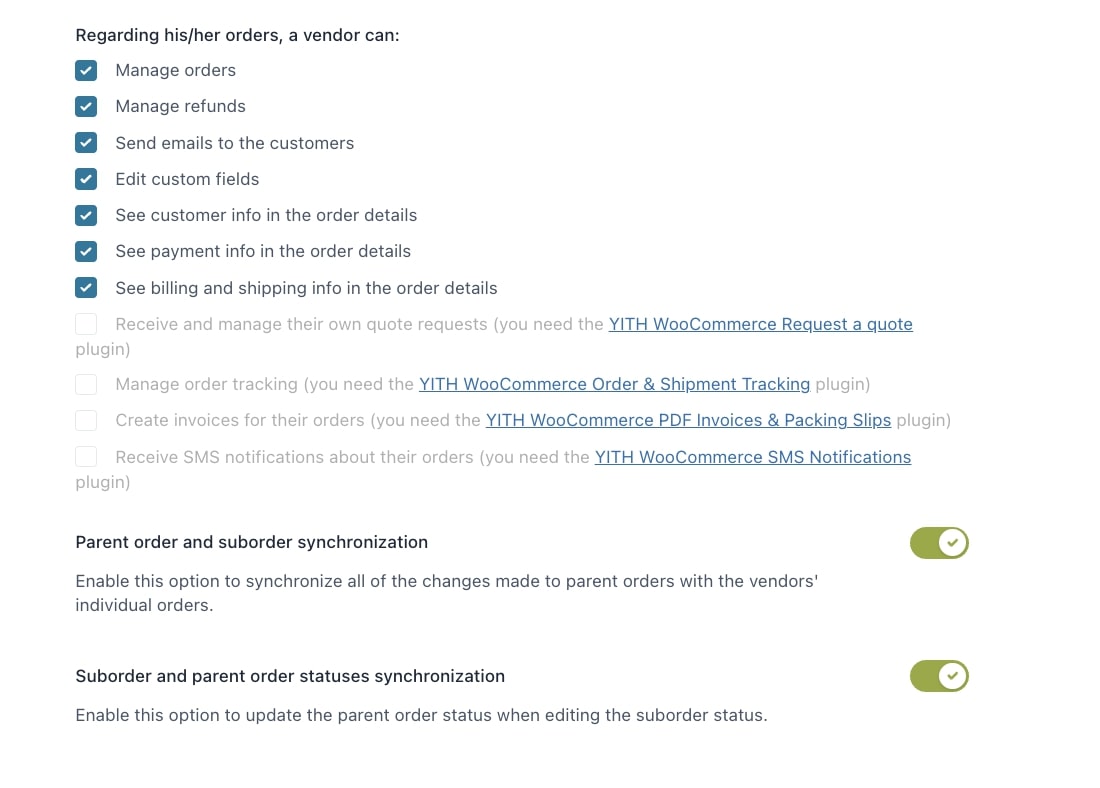
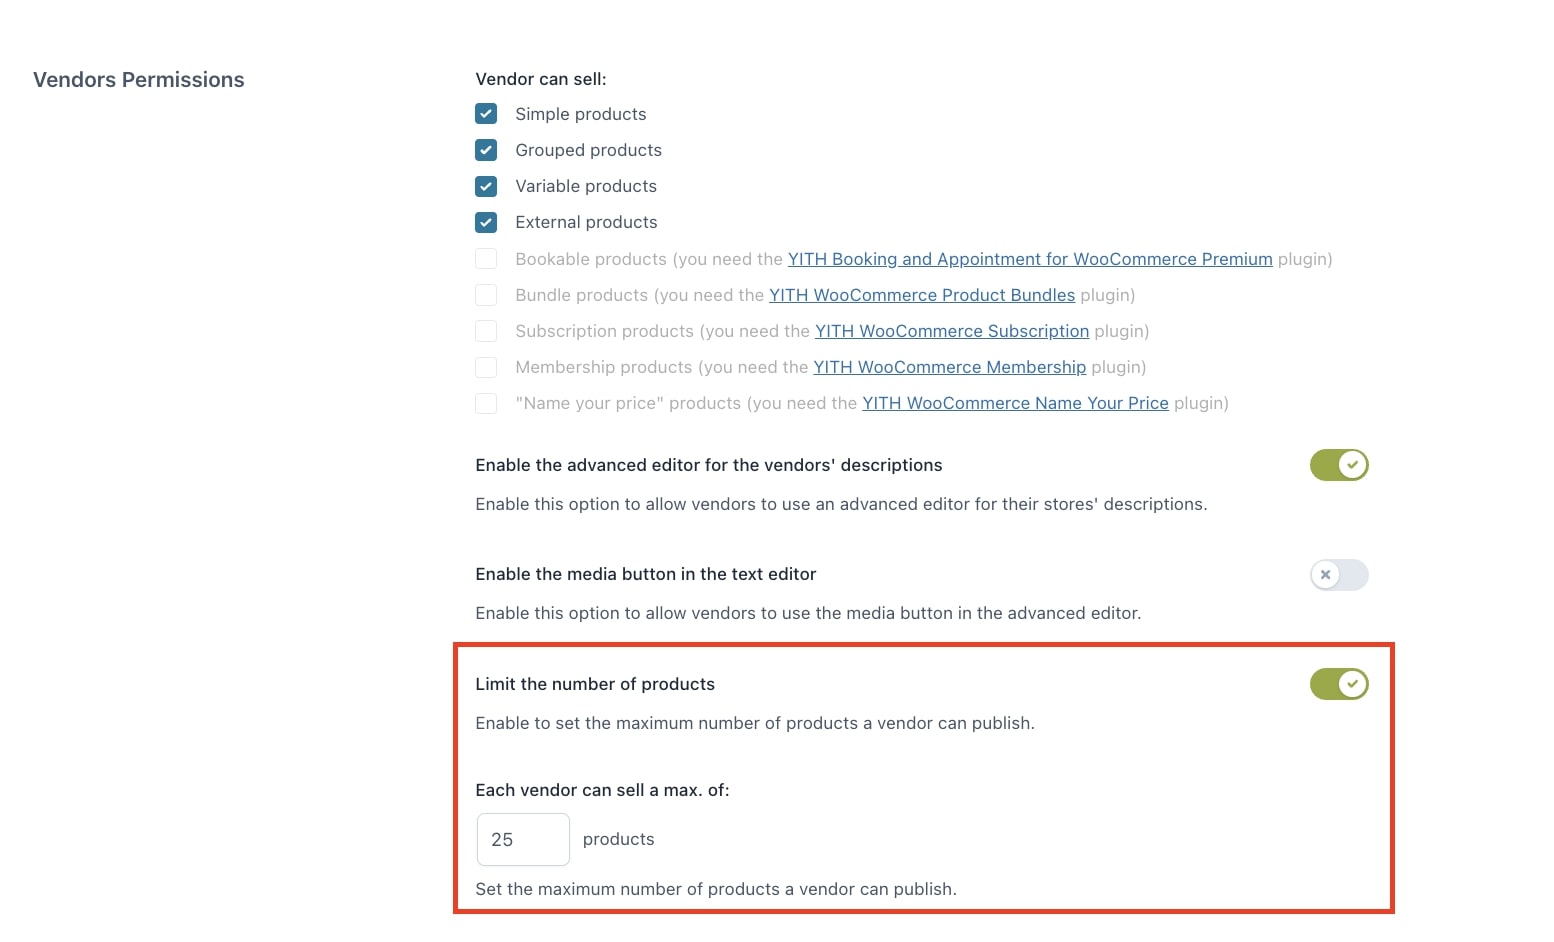
If you want to, you can limit the number of products every vendor can add from the specific option that you find in Vendors permissions.
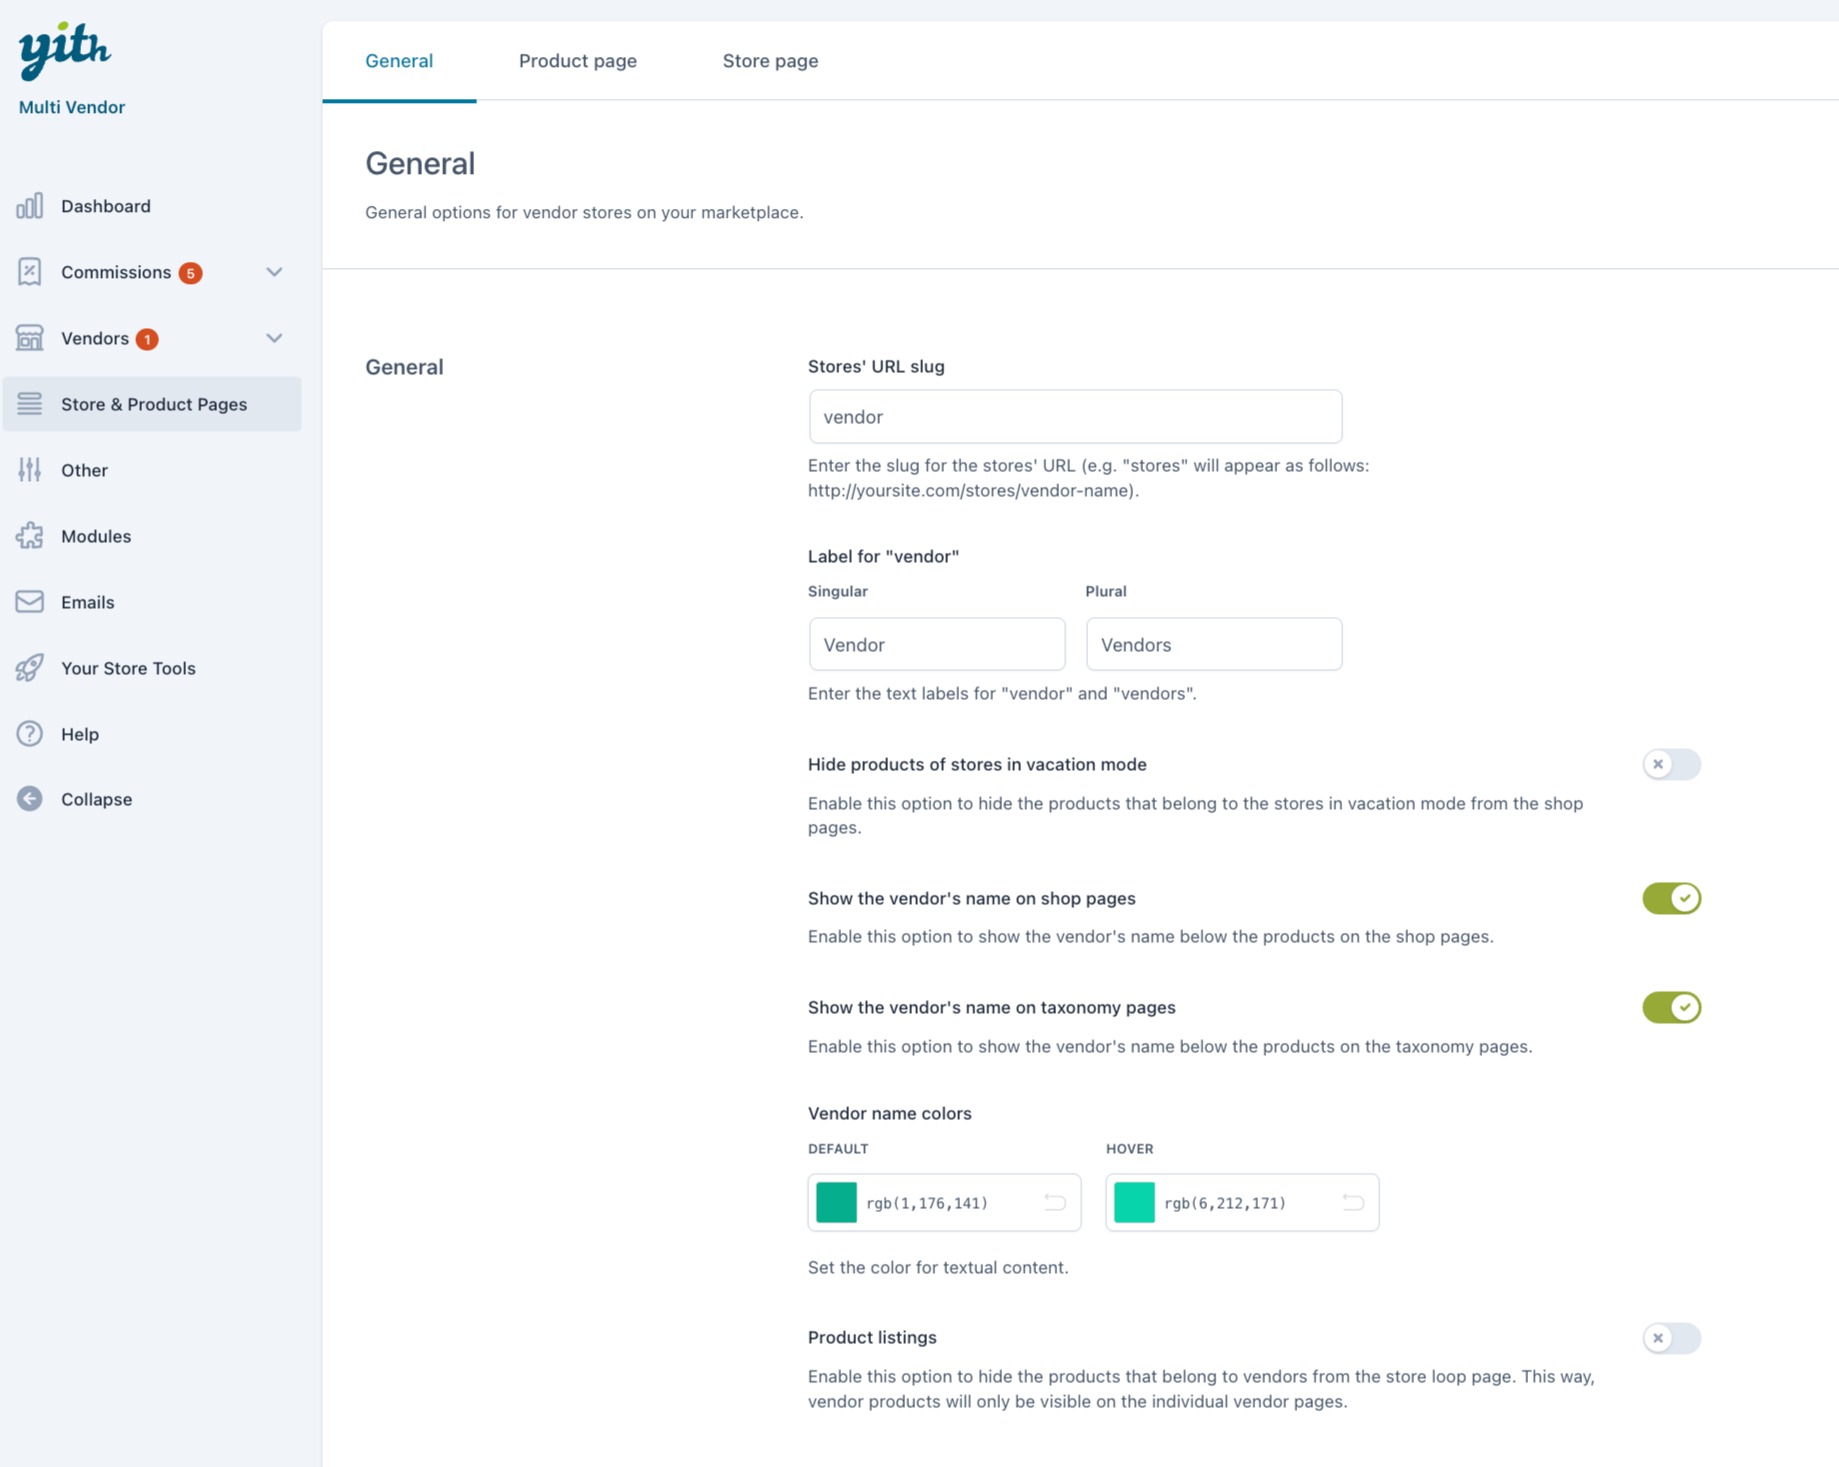
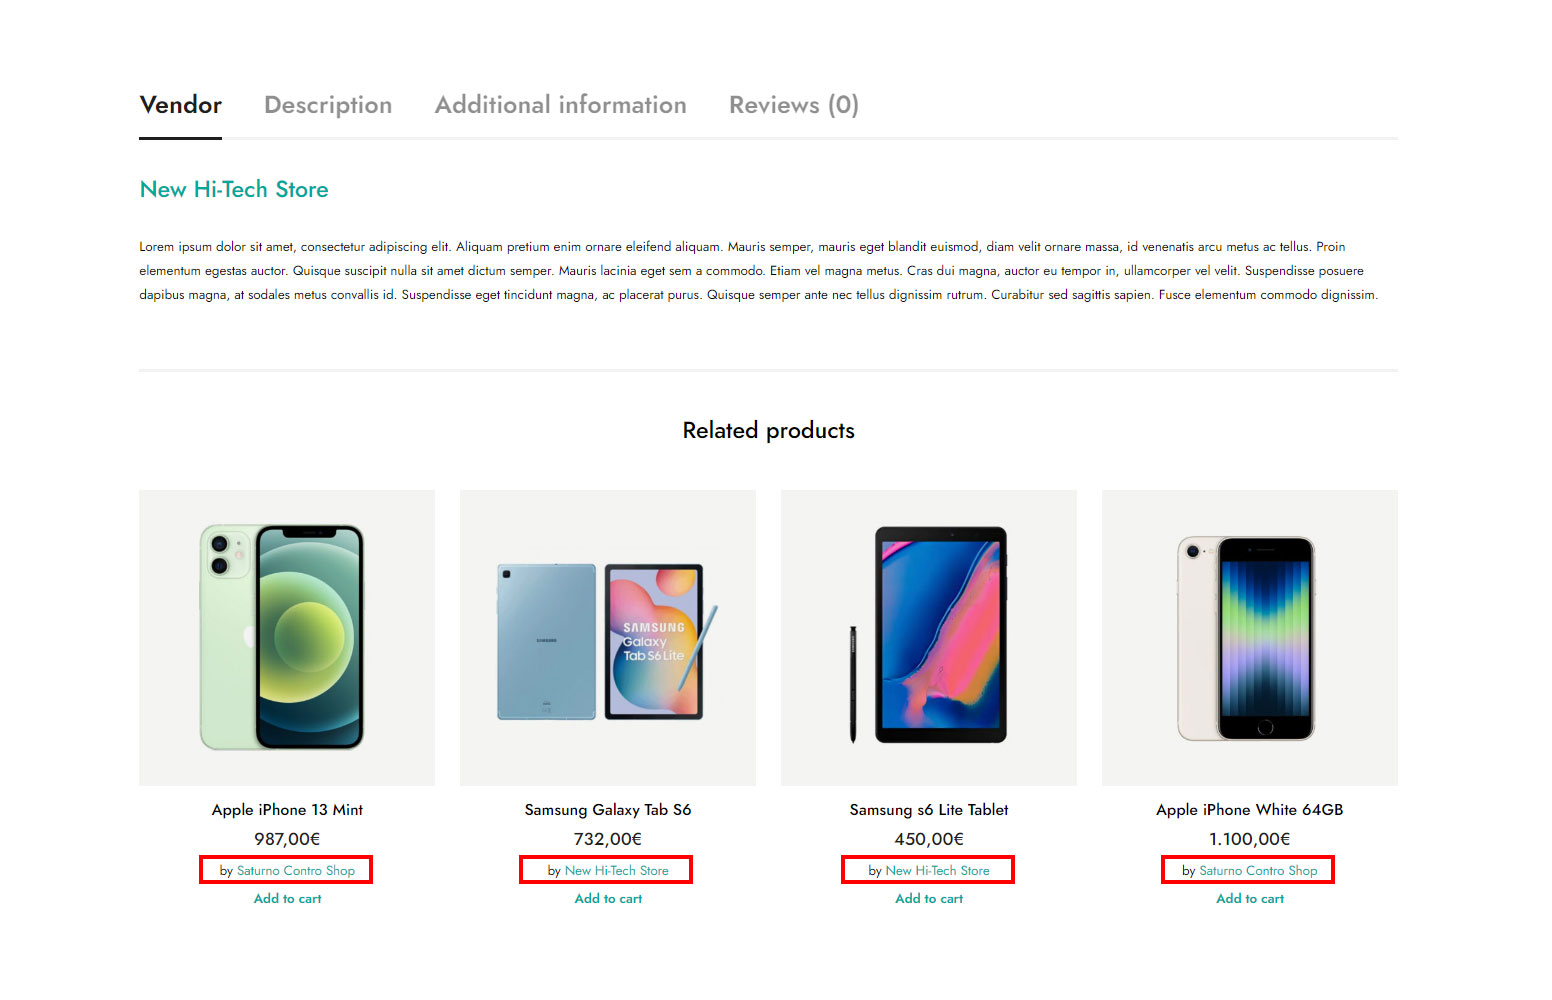
By default, the vendors products are visible in the main Shop page and listed on the vendor’s store page. If you want to hide the products from the main Shop page, the admin can simply enable the Product listings option from the → Store general options.
We also suggest you add YITH Vendor List widget to let your users simply switch from one vendor’s products to the other.
Skip admin review
Every new product can be directly published by the vendor or only after the administrator’s review and approval. If you prefer that vendors can publish new products and edit existing ones without the admin’s approval, you can edit these settings from the → Vendors permissions page.
These general settings apply to all vendors, but you can also override them from every single → vendor’s profile and make sure that for some vendors only you have to review products or changes.
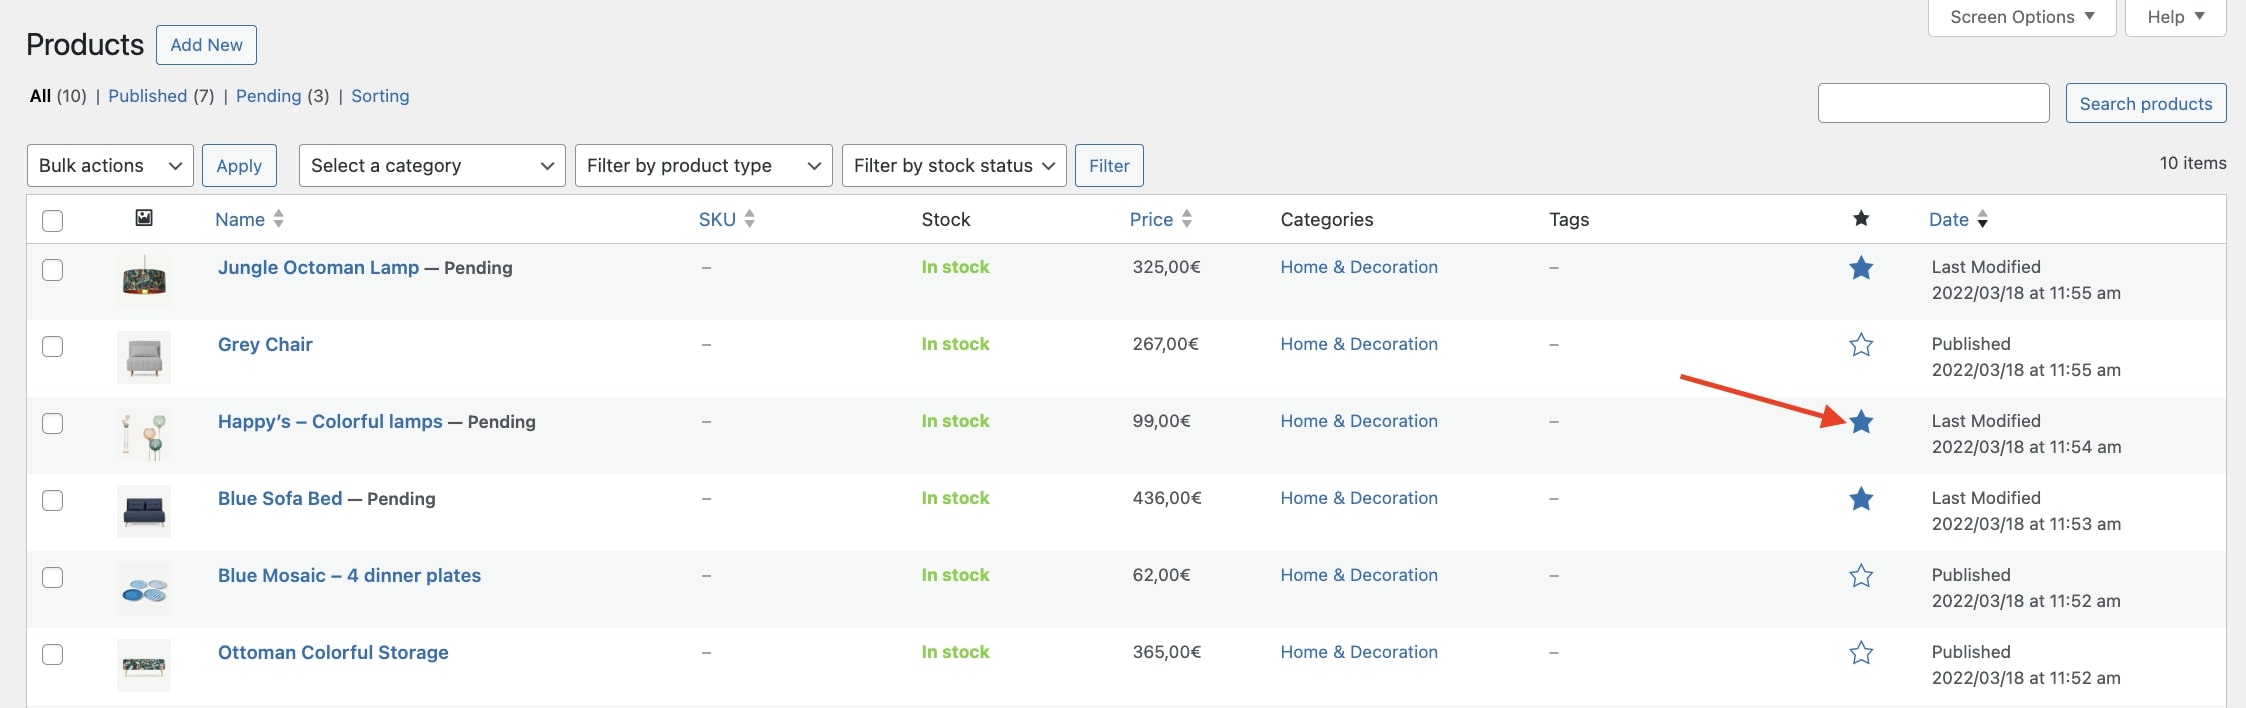
Featured products
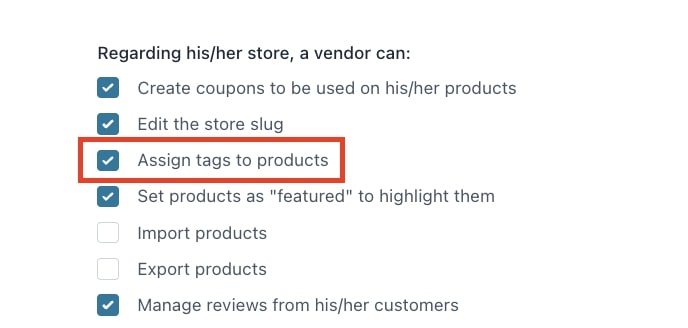
If enabled in the → Vendors permissions, both the administrator and the vendors will be able to set one or more products as “Featured”, so they will have more visibility.

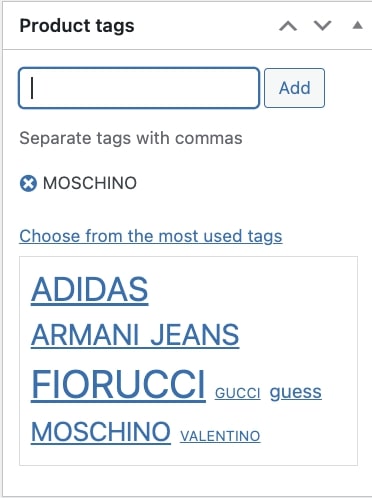
Product tags and categories
If enabled in the → Vendors permissions, your vendors can also assign tags to their products. They can both use tags created by the admin and also create new tags that will be visible to them only.
For what concerns categories, instead, the vendor will be able to choose among the available store categories, but is not allowed to create new categories.