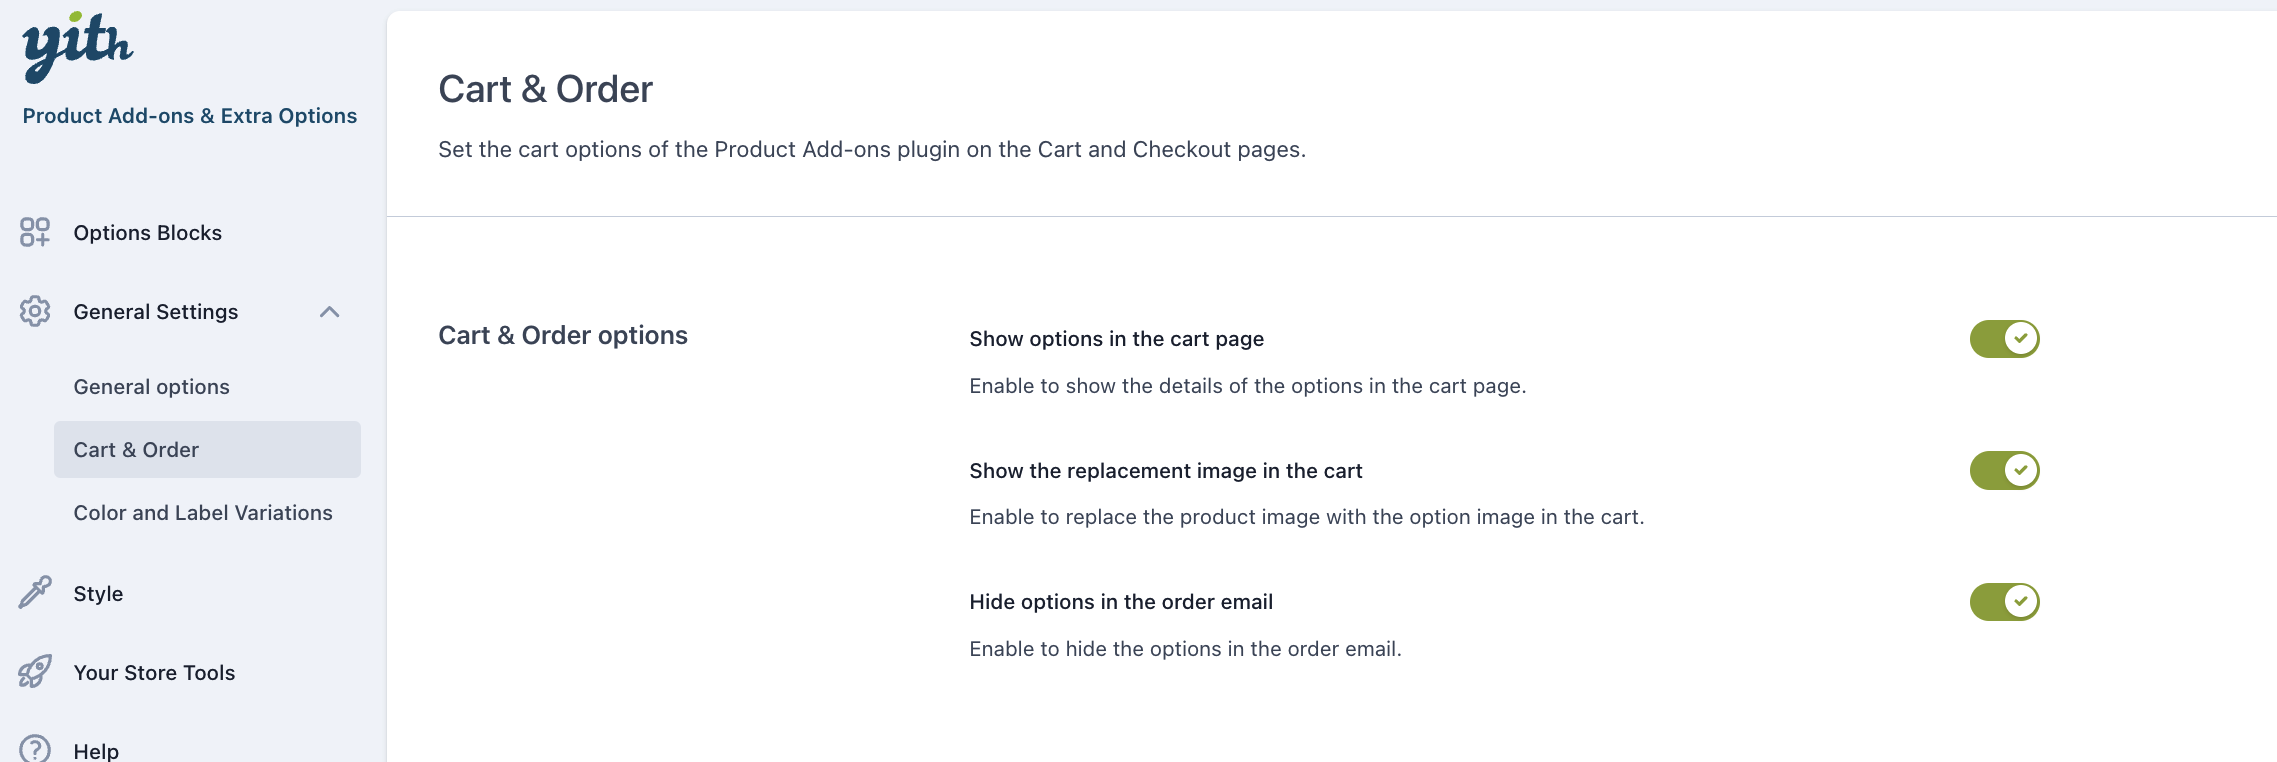
Still from the General settings tab, go to Cart & Order options to configure the following settings:
Show options in cart page: enable to show the details of the selected options in the Cart page.
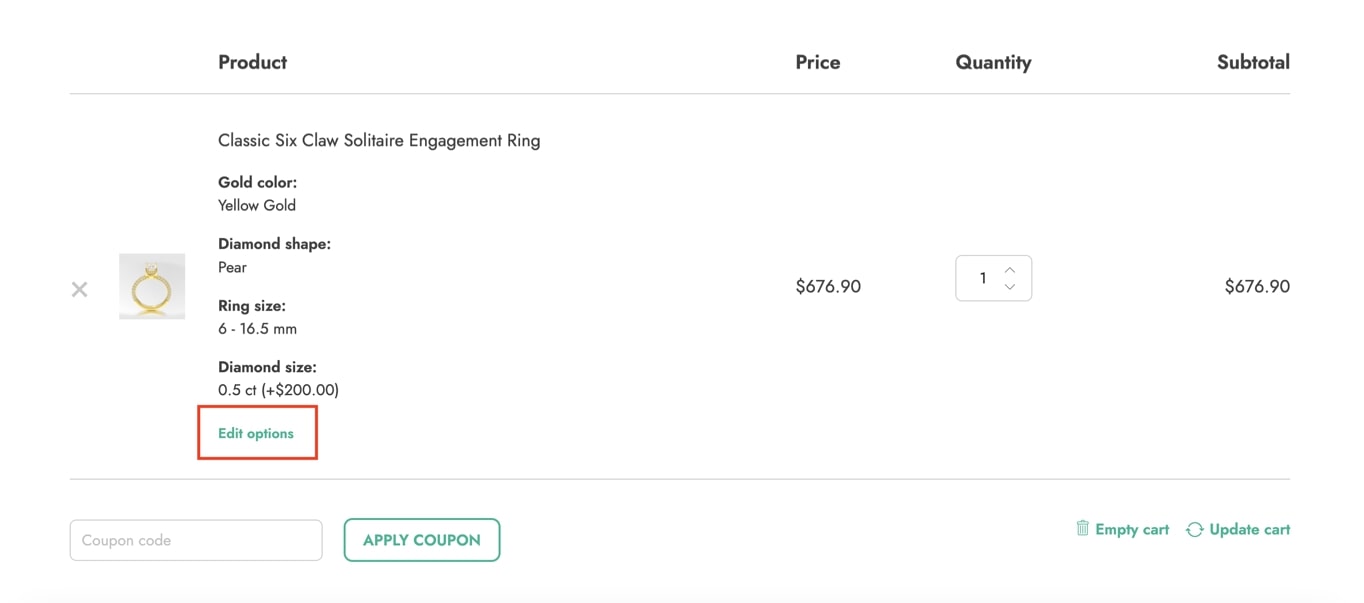
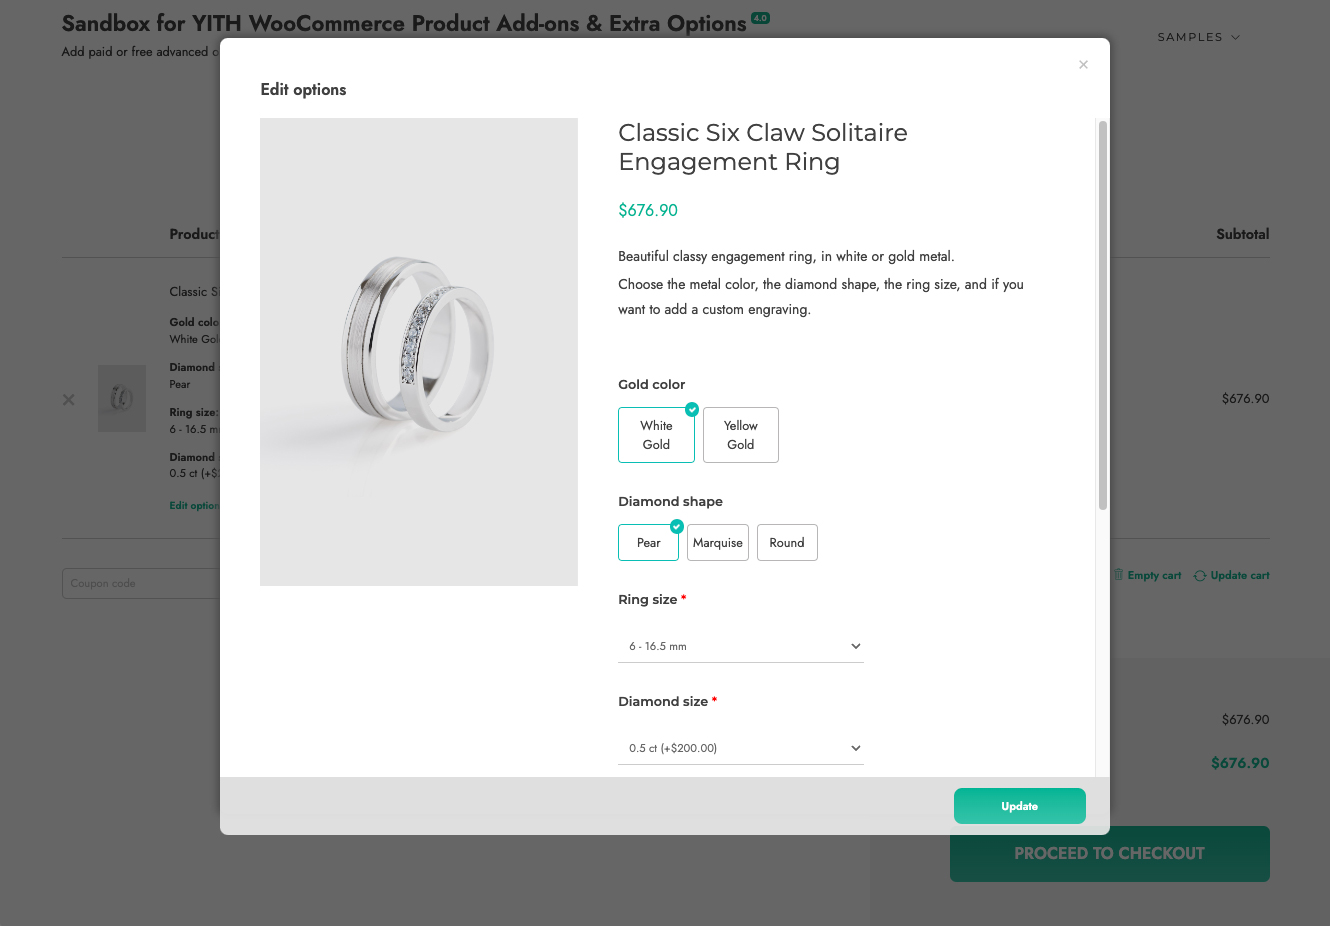
Allow options editing in the cart: Enable this option to allow users to edit options directly in the cart, a new button ”Edit options” will be available in the cart.
By clicking it a modal window will be available to let you edit and update the add-ons previously selected (product variations included).
Show the replacement image in the cart: enable to replace the product image with the option image in the cart.
Hide options in the order email: enable to hide the selected options in the order email.
By default, the plugin is integrated with YITH Color and Label Variations and adds a dedicated tab in the plugin settings panel.
From this tab, you will be able to set the following options:
Attribute behavior: choose attribute style after selection. You can either hide or blur the not-selected attributes.
Enable tooltip: by enabling this option, you can add a tooltip for each attribute created.
Tooltip position: show the tooltip either above or below the selected attribute variation.
Tooltip animation: animation of the tooltip (Fade in/Slide in)
Show attribute description: show/hide the description for each attribute on the product detail page.
Please note: if you are already using YITH WooCommerce Color and Label Variations, this tab won’t be shown in YITH WooCommerce Product Add-ons & Extra Options. You will need to configure these options from YITH WooCommerce Color and Label Variations settings.
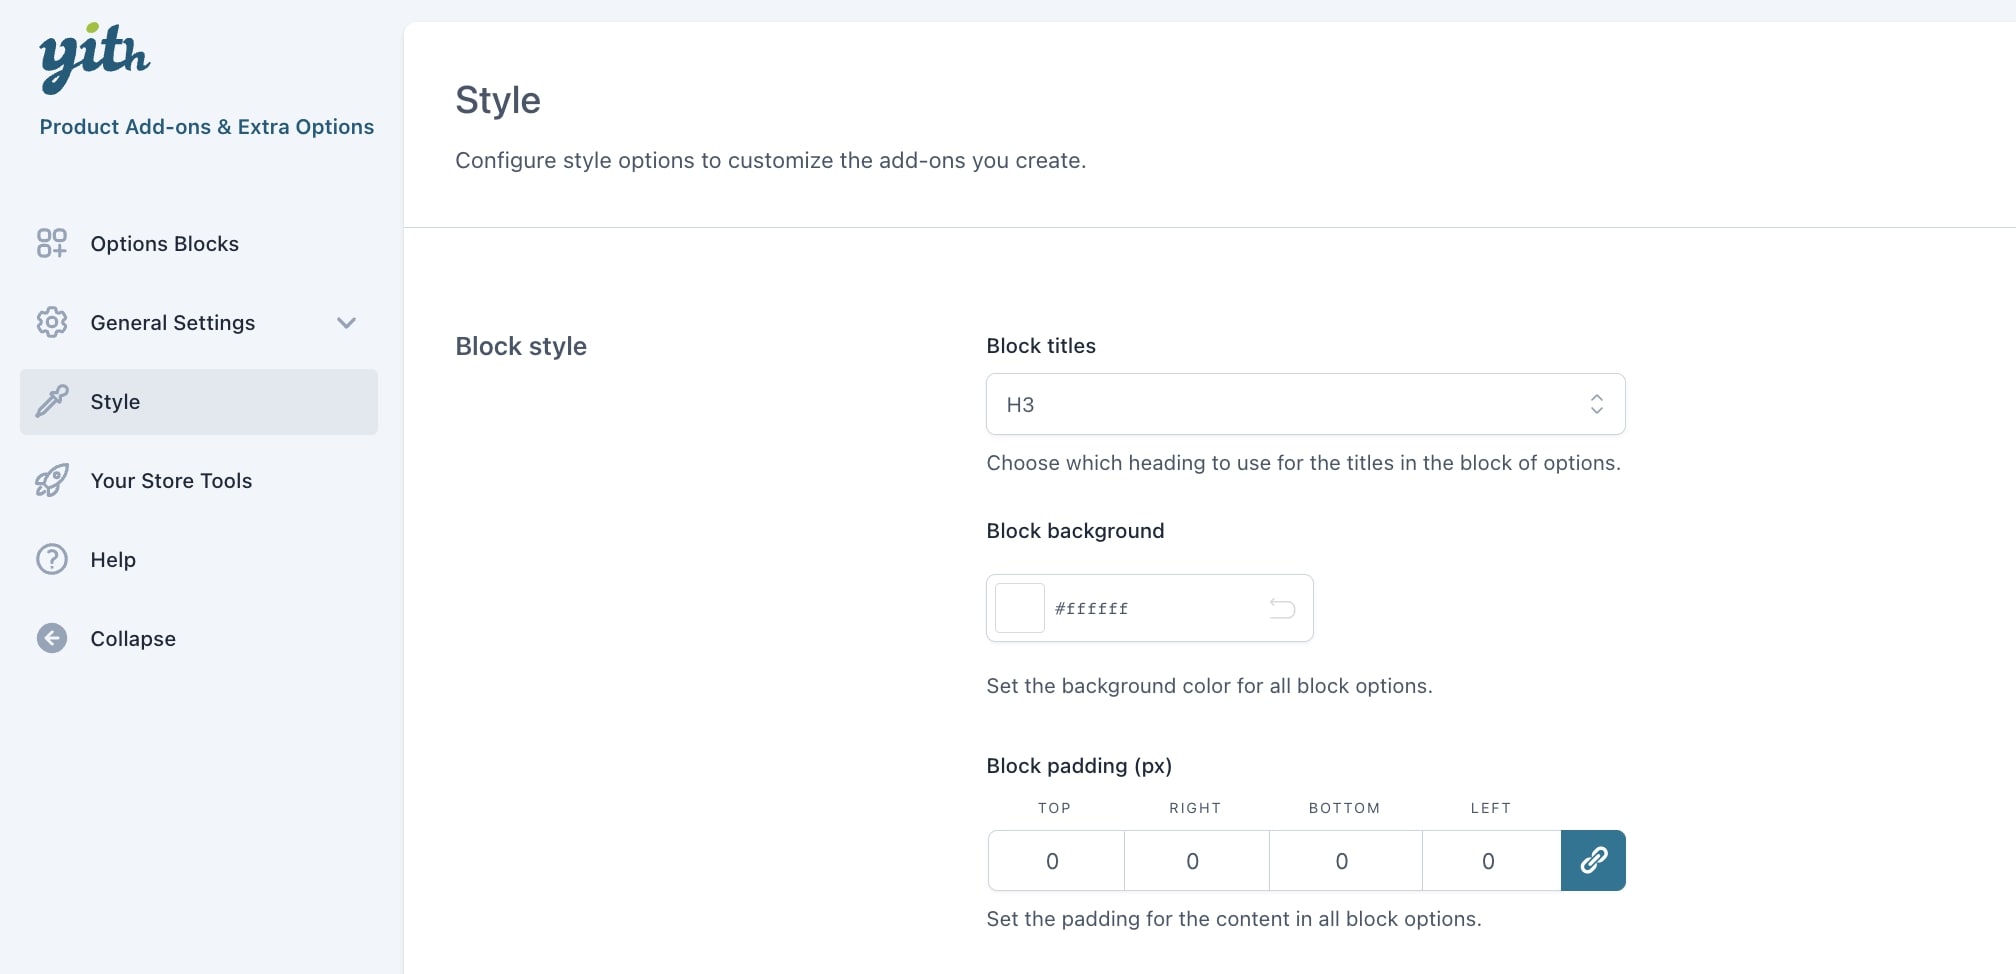
In the Style tab, you will be able to configure all the style-related options that apply to all add-ons globally.
Block style
Let’s start with the options of the first section: Block style.
Block titles: choose here the default heading for the title in the block of options. You can select any tag between H1 and H6, and it will apply to all your add-ons titles.
Block background: set the background color for all block options.
Block padding: set the padding for the content in all block options.
Toggle
Show options in toggle: enable to show the options blocks in toggle sections.
Show toggle opened by default: enable to show the toggle opened by default.
If you want to override these settings for one or more add-ons, you can do that from the “Display & Style” tab available for all add-ons types.
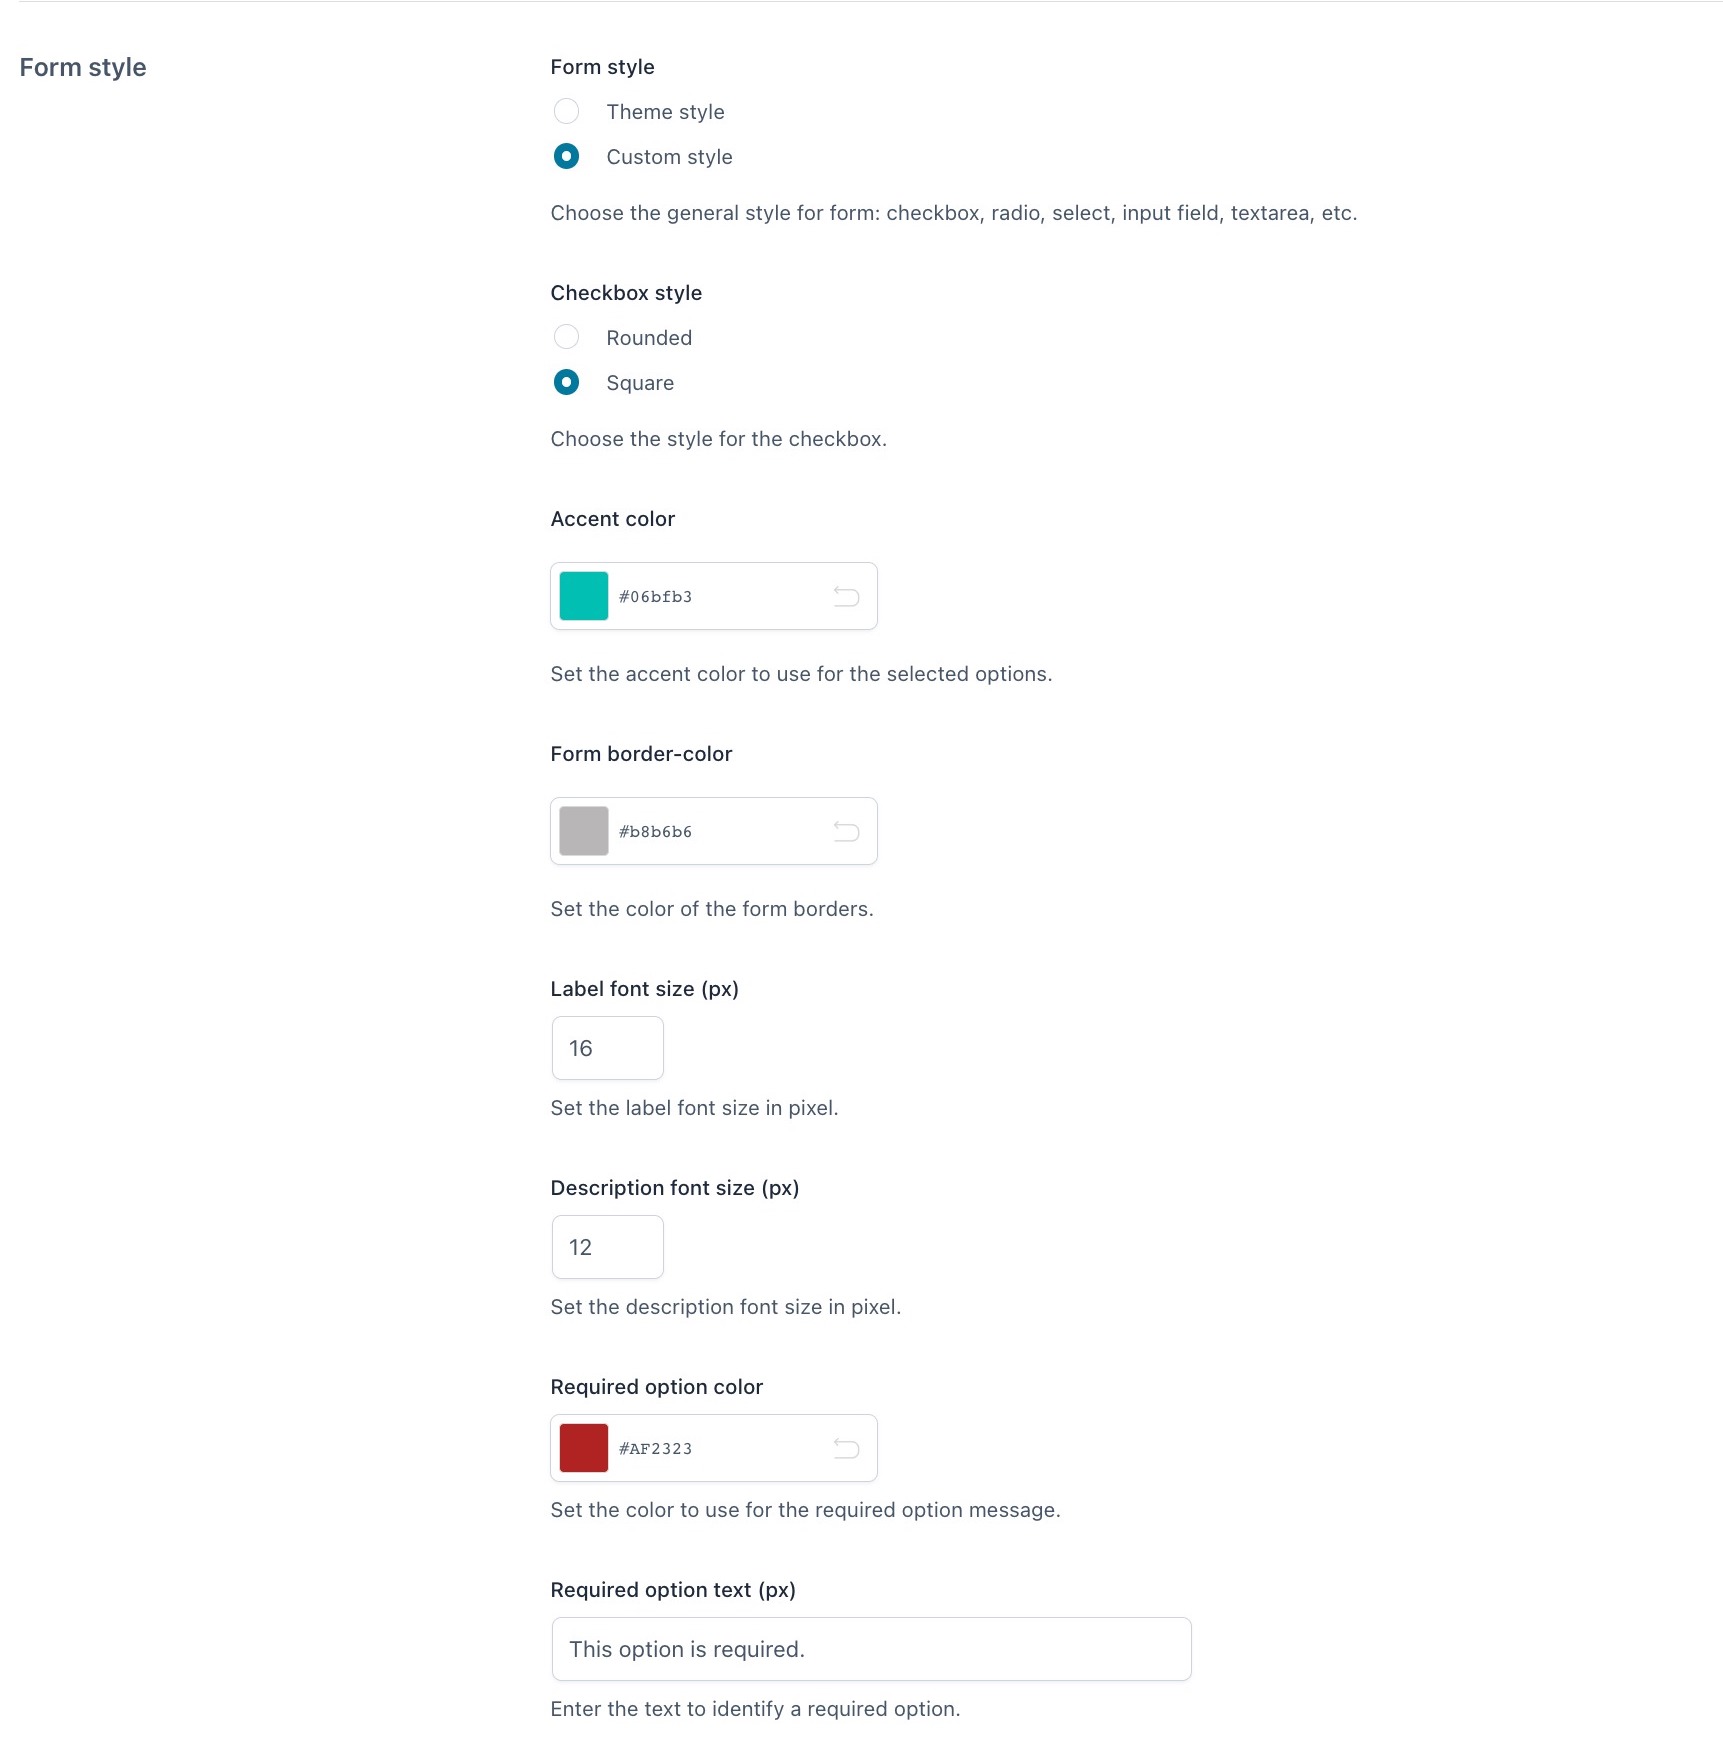
Form style
Form style: choose the general style for the form elements: (checkbox, radio, select, input, textarea, etc.):
theme style: select this if you want that all style elements are inherited from the theme style, or
custom style: set your custom style using the options that will appear below
Checkbox style: choose between rounded or square.
Accent color: set the accent color (e.g. green in the screenshot below).
Form border color: set the color of the borders in the form.
Label font size (px): set the font size of all options labels in pixels.
Description font size (px): set the font size of all options labels in pixels.
Required option color: set the color of the options set as required
Required option text (px): enter a custom text that identifies the required options
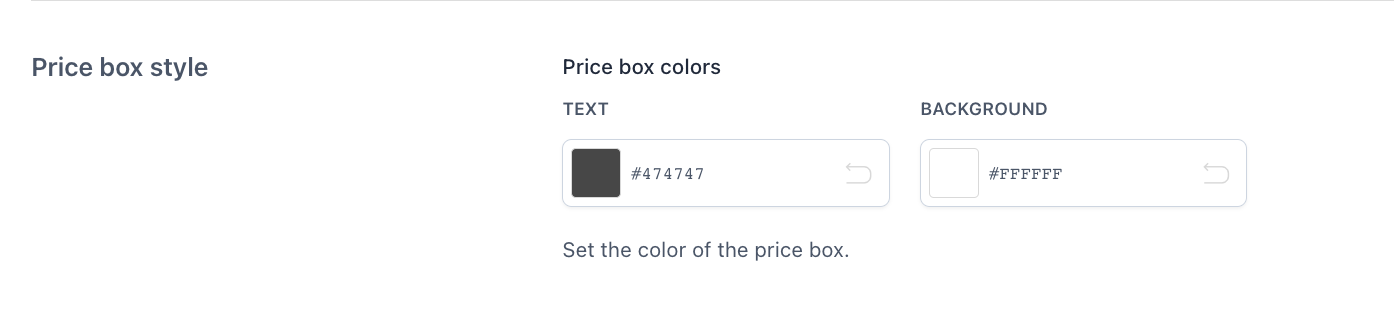
Price box style
Price box style: set the text and background colors for the price box.
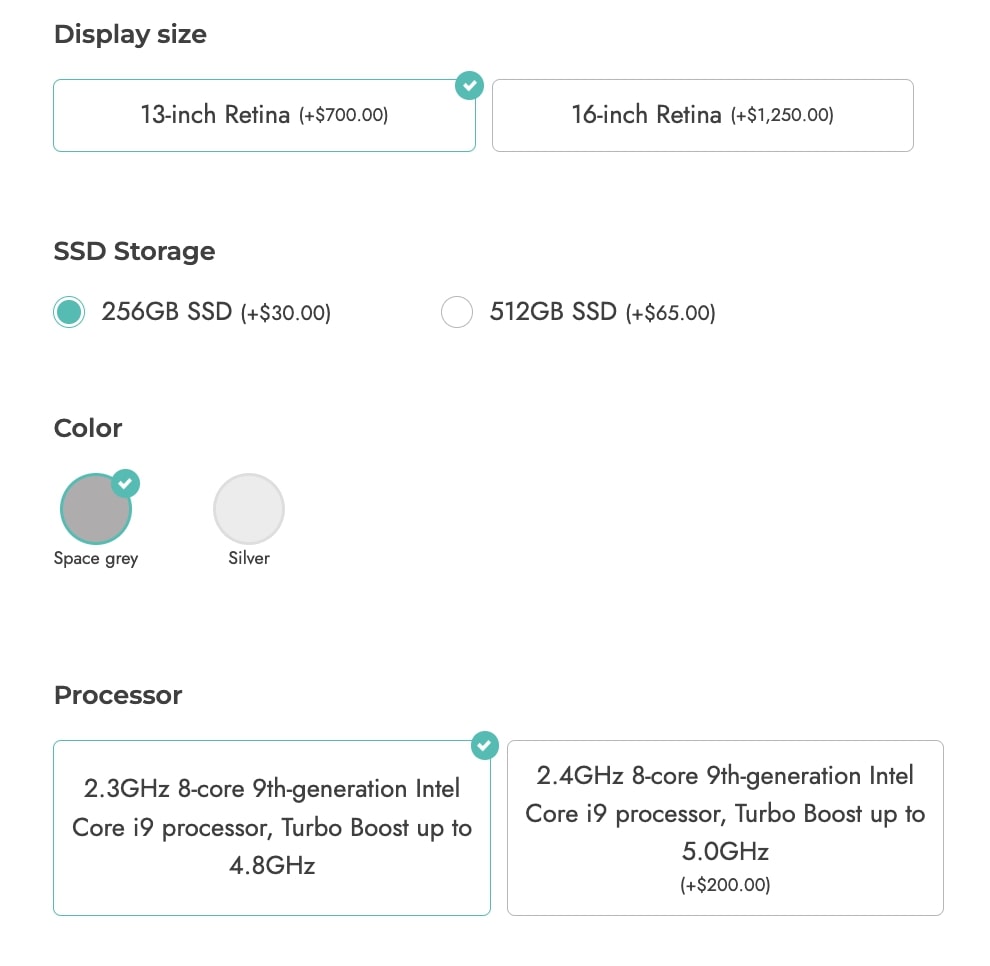
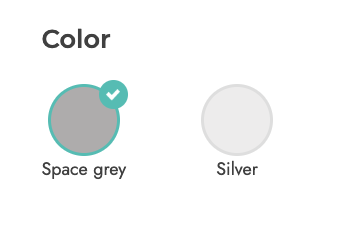
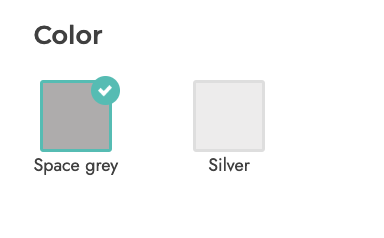
Color swatches
These settings apply to all color swatches across your site:
Color swatch style: choose between
rounded
square
Rounded
Square
Color swatch size (px): set the size of the color thumbnails.
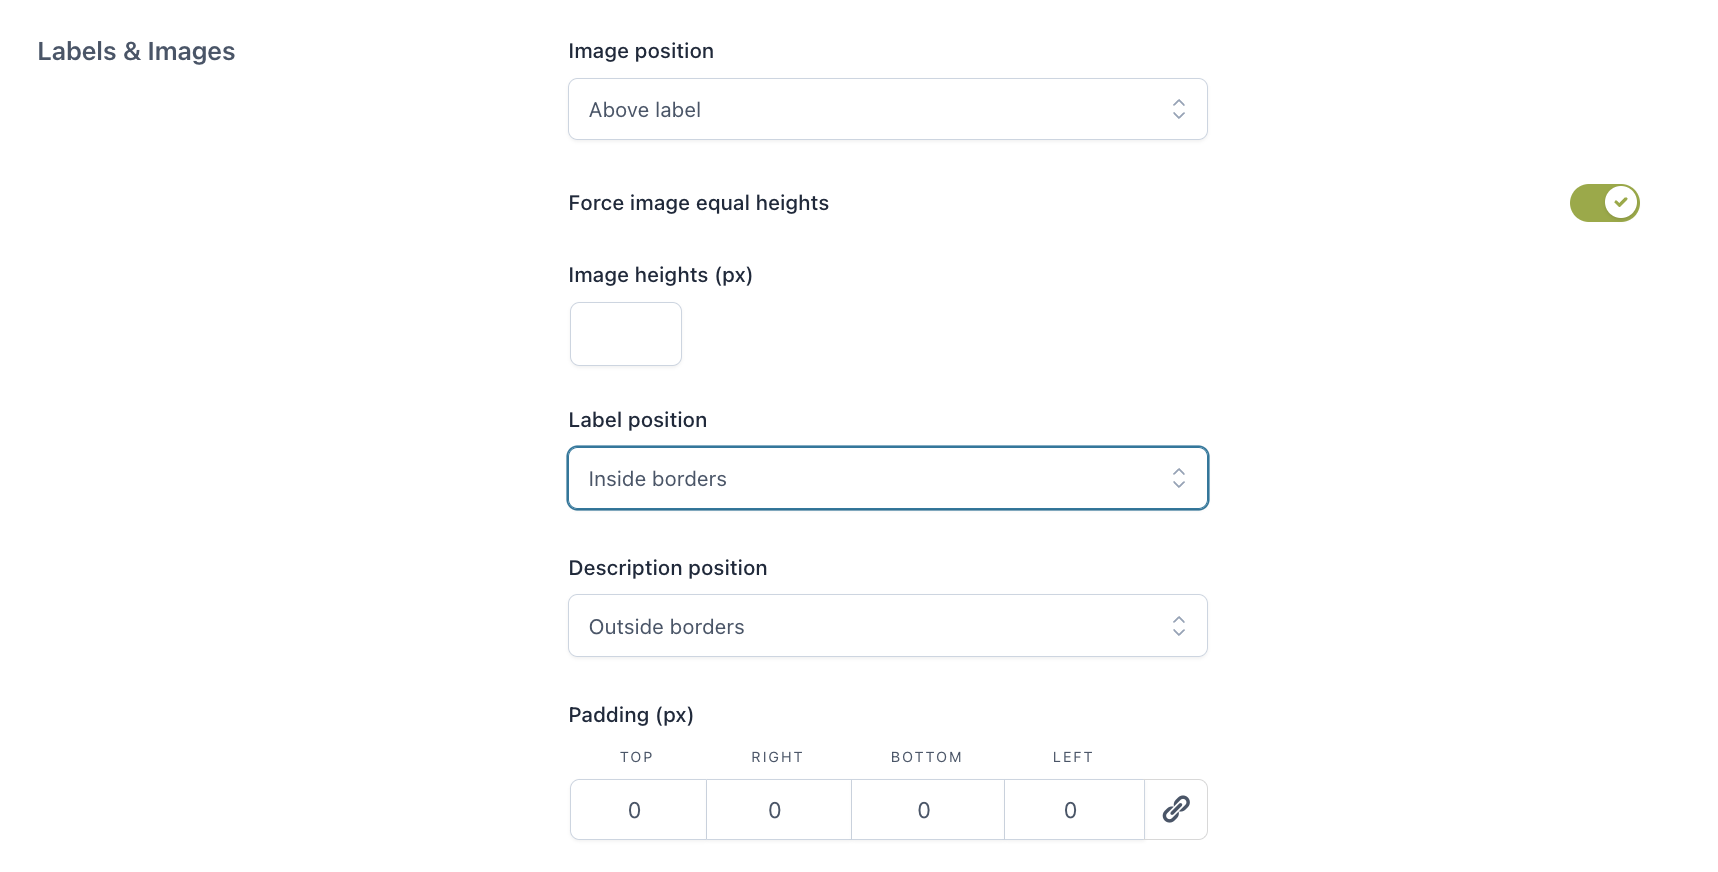
Labels/images
In the next section, you will be able to set up the options of all labels and images type of options globally. Yet, these settings can be overridden from every single label/image add-on.
Image position:
above label
below label
left side
right side
Force image equal heights: enable this to force the height of all options images to the same size. This is particularly useful if you use different sizes and ratios for your options images. If enabled, you will be able to set the exact size in pixels in the option Image heights (px).
Label position: choose here whether to show the label text inside or outside the borders.
Description position: choose here whether to show the description of a label/image option inside or outside the borders.
Padding (px): set the padding of all label options in pixels.
If you want to override these settings for one or more add-ons, you can do that from the “Display &Style” tab of label/image options.
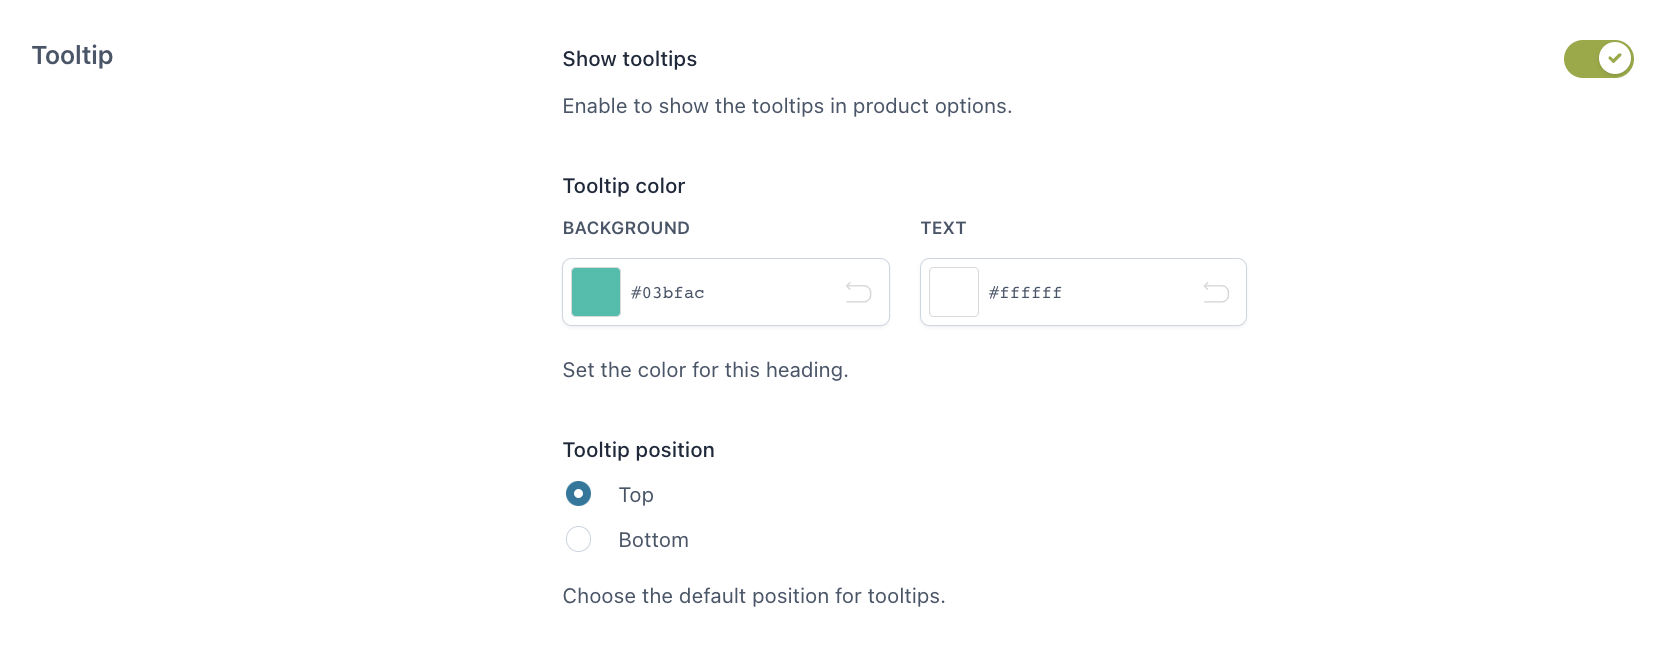
Tooltip
Here you can set the tooltip options for all the add-ons across your website.
Show tooltips: enable to show the tooltips of your product options. You will be able to set up a custom text from the options settings.
Tooltip color: choose here both the background and the text colors.
Tooltip position: choose the default position between top and bottom.
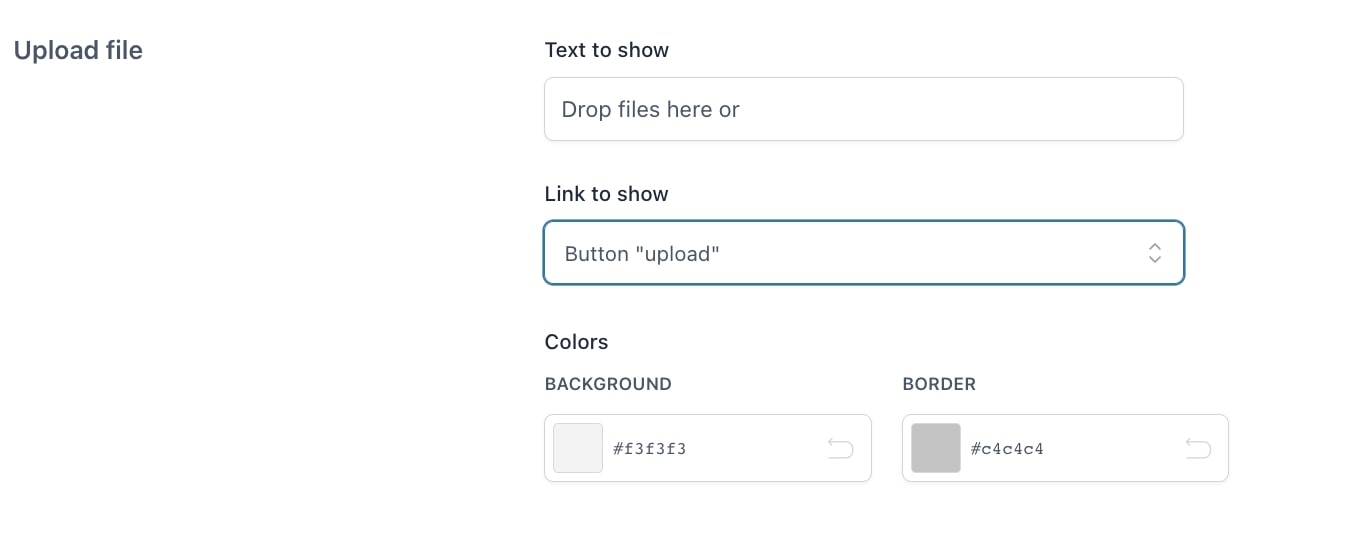
Upload file
Text to show: enter the text to show in the file uploader.
Link to show: show the upload option as an “upload” button or a textual “browse”.
Colors: set the background and border colors of the upload box.
The plugin works well with Elementor and the add-ons will automatically be printed in the “Add to cart” elementor widget, just like this example below:
With YITH WooCommerce Catalog Mode, you can show or hide the price and/or the “Add to cart” button for products of your shop. If hidden, you can show a contact form through which users can contact you and ask for more information, like the “Ask info” button that is replacing the “Add to cart” button in the following screenshot:
To make the two plugins work together, you will only have to activate them both. The integration between these two plugins allows you to hide the price and the “Add to cart” button also from products with extra options.
For further details about YITH WooCommerce Catalog Mode settings, please refer to the official documentation.
WithYITH Composite Products for WooCommerce, you can create products that are made of several components and allow your user to choose from the entire store or a category or a custom selection made by the admin.
If you want to add extra options to a composite product, you can activate also YITH Product Add-ons and set up the add-on to show on this composite product.
YITH WooCommerce Deposits / Down Payments offers your users the opportunity to leave a deposit for a specific order, and pay the balance at a later time. The deposit can either be a percentage of the product price or a fixed price and vary from product and variation as well, if you want to.
The integration with YITH WooCommerce Deposits / Down Payments allows you to enable a deposit service even for products with one or more add-ons. A deposit will be placed on the final price.
To start using these combined features, you just have to make sure you’ve installed and activated the premium version of both plugins from the Plugins page.
Then, configure the deposit general or product settings and the add-ons on your products.
The following is a sample product with more add-ons that add an extra price to the product. The deposit is calculated on the total price after the add-ons are selected and their price added to the base price.
Please refer to the official documentation for further details about YITH WooCommerce Deposits / Down Payments settings.
The integration with YITH WooCommerce Gift Cards allows setting up and displaying advanced options also in gift-card products and showing the “Gift this product” button on products with selected add-ons.
Showing add-ons on a gift card product
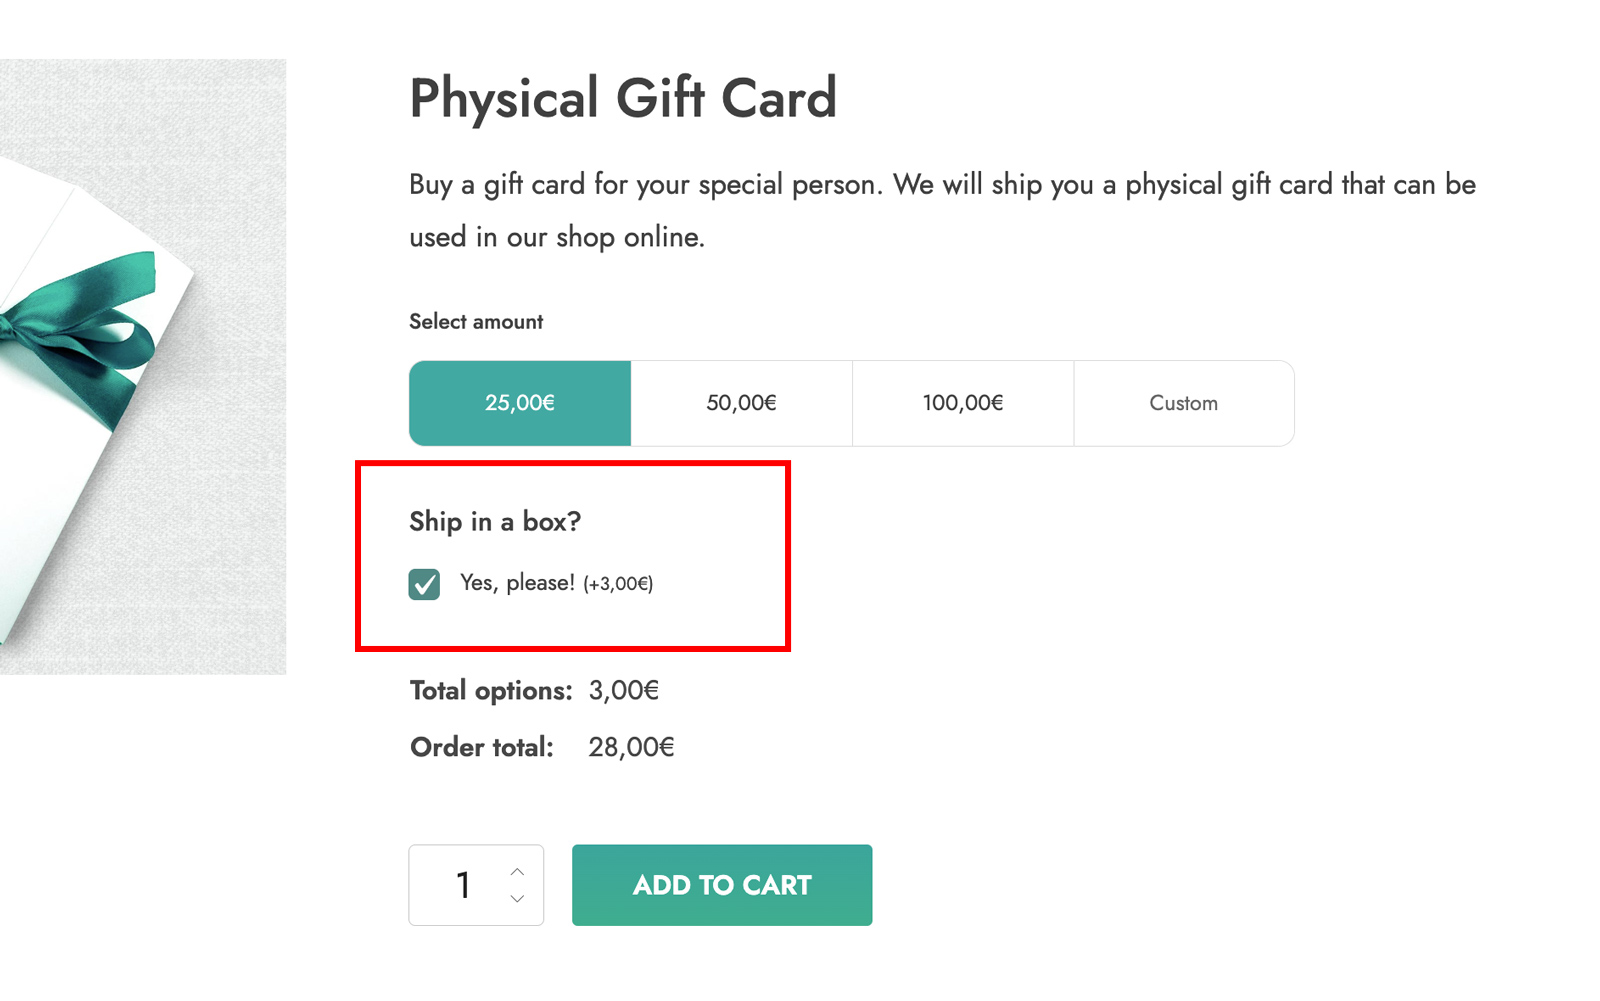
Feel free to add selectable options to your Gift card product: the plugin will correctly calculate the add-on additional cost. This option is also available if you’re using the free version of both plugins.
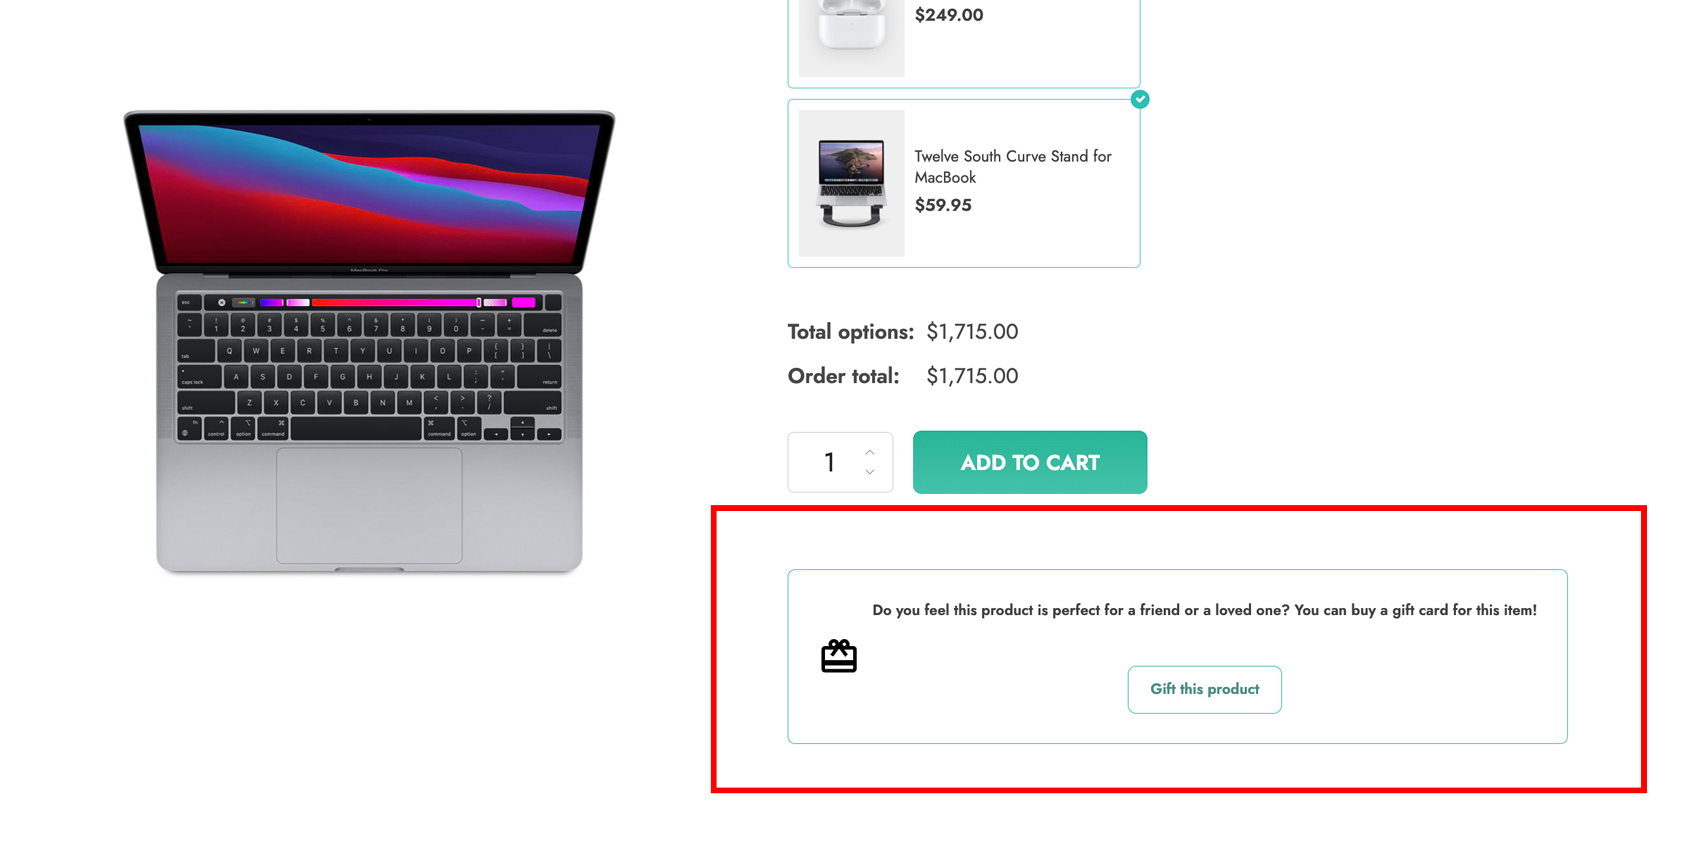
Using the gift this product option on products with selected add-ons
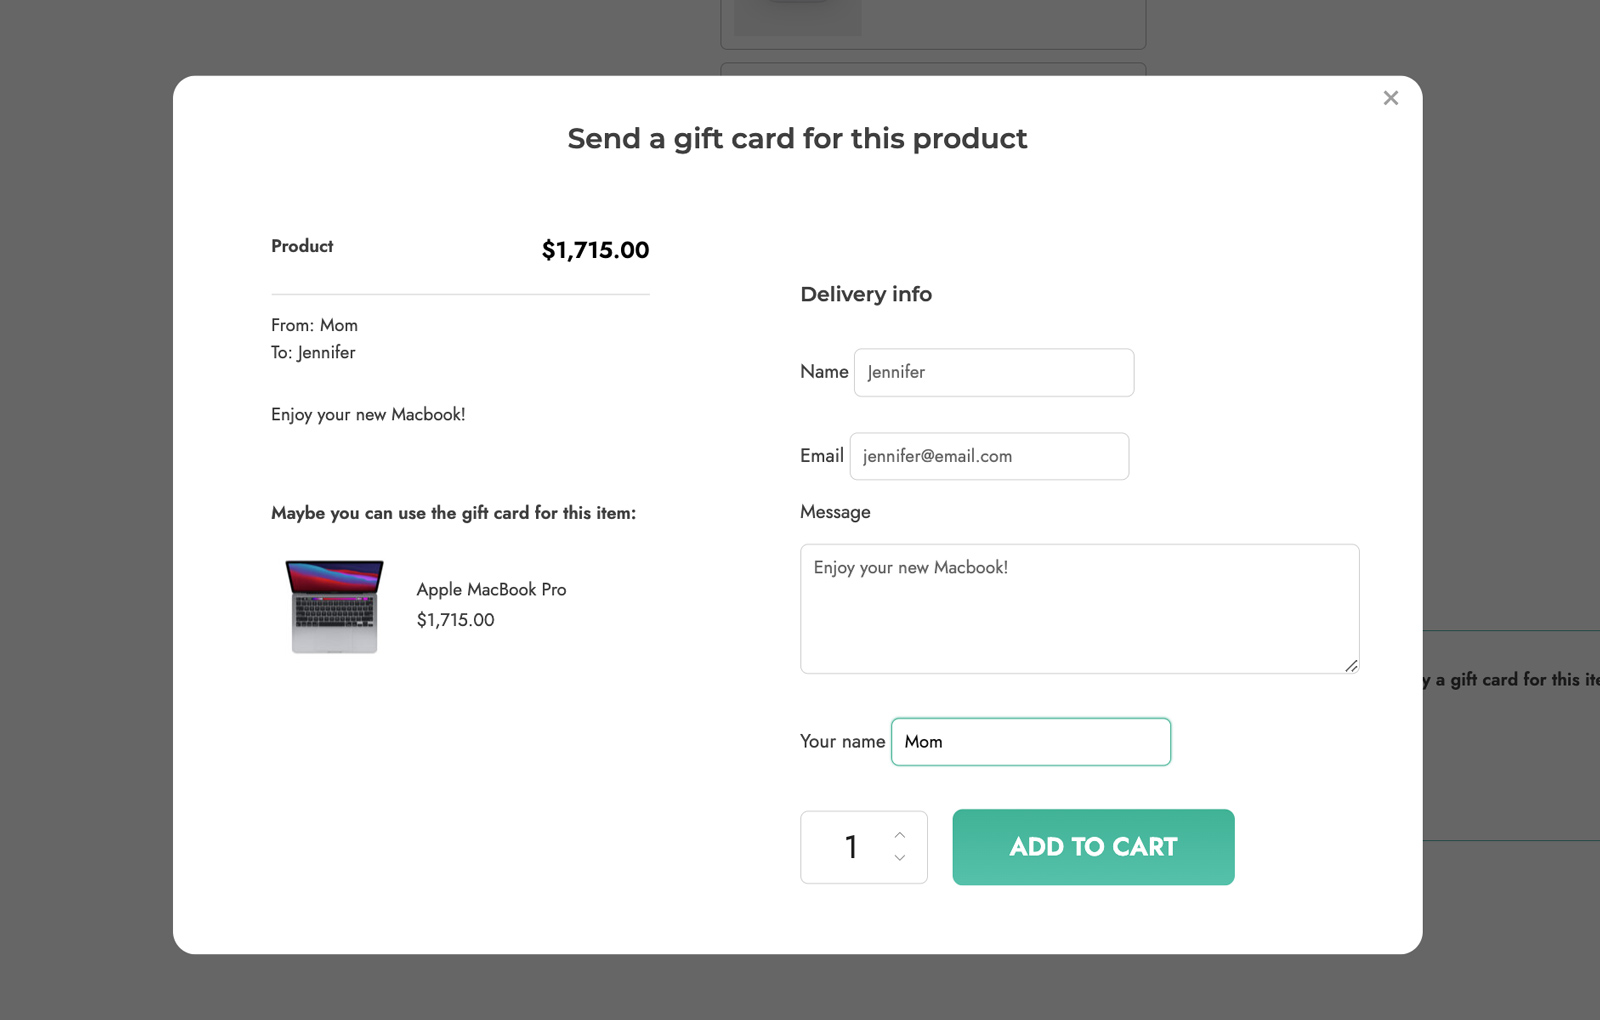
You will be able to configure your product with add-ons and click on the “Gift this product” button to create a gift card of the total amount, including selected add-ons.
For more details about the full configuration of YITH WooCommerce Gift Cards, please, refer to the official documentation.
YITH WooCommerce Membership is a plugin that allows you to organize the content of your site into plans and make it accessible only to users who have paid for it.
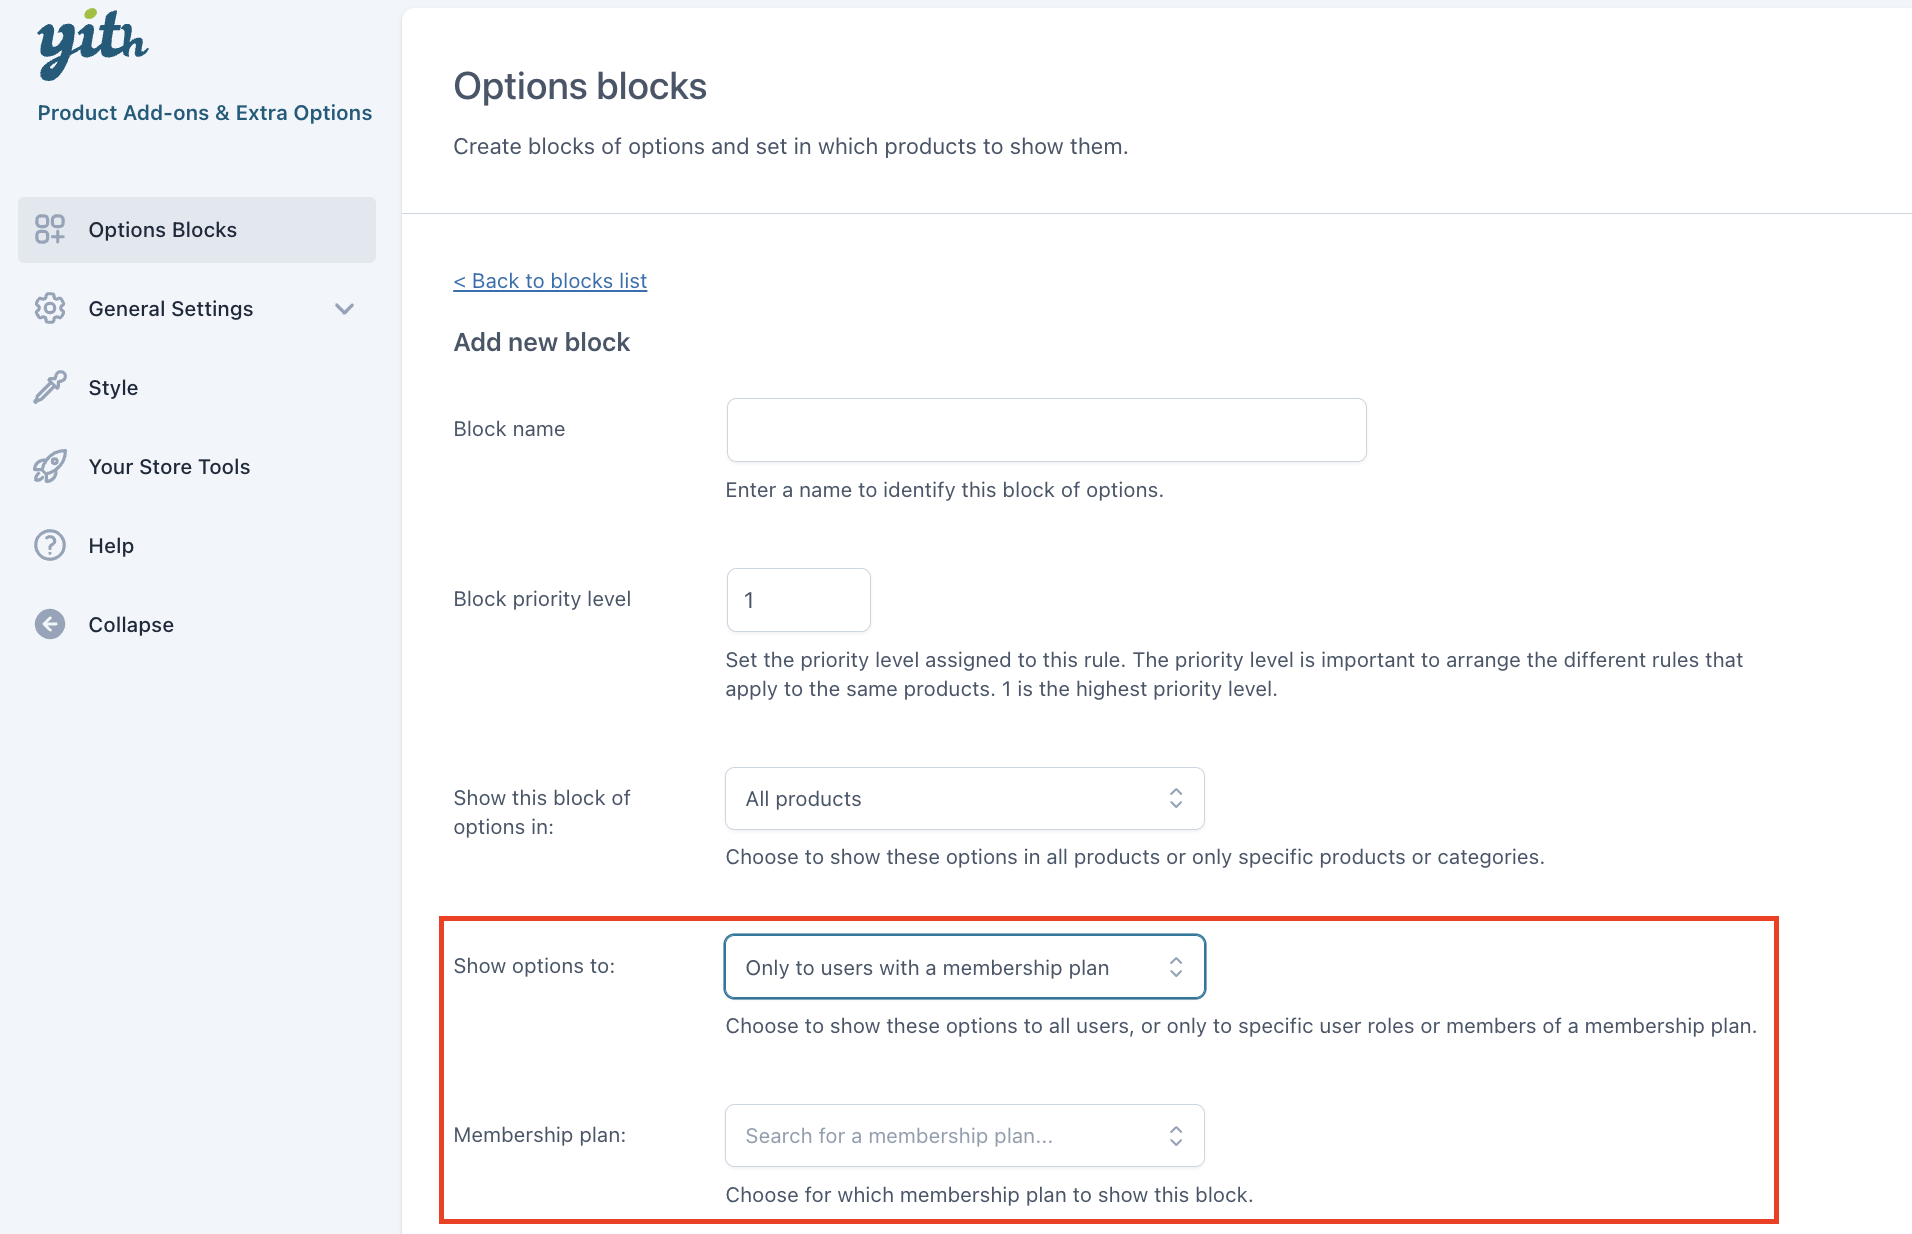
Thanks to the integration between these two plugins, you will be able to create blocks of options and show them only to users belonging to specific membership plans through the dedicated options.
For further details about the YITH Membership settings, please, refer to the official documentation.
With YITH Multi Currency Switcher for WooCommerce, you can enable a multi-currency system in your shop and let your users see and pay for products in their local currency.
The integration between these two plugins allows you to show the add-on prices in the currency selected by the user.
This integration is available in the free and premium versions; no action is required after installing and activating the plugin: the add-on prices will be automatically converted.
For further details about the settings of YITH Multi Currency Switcher for WooCommerce, please refer to the official documentation.