In the General settings tab, you will find two sections, the first of which is about General options, let’s check them one by one.
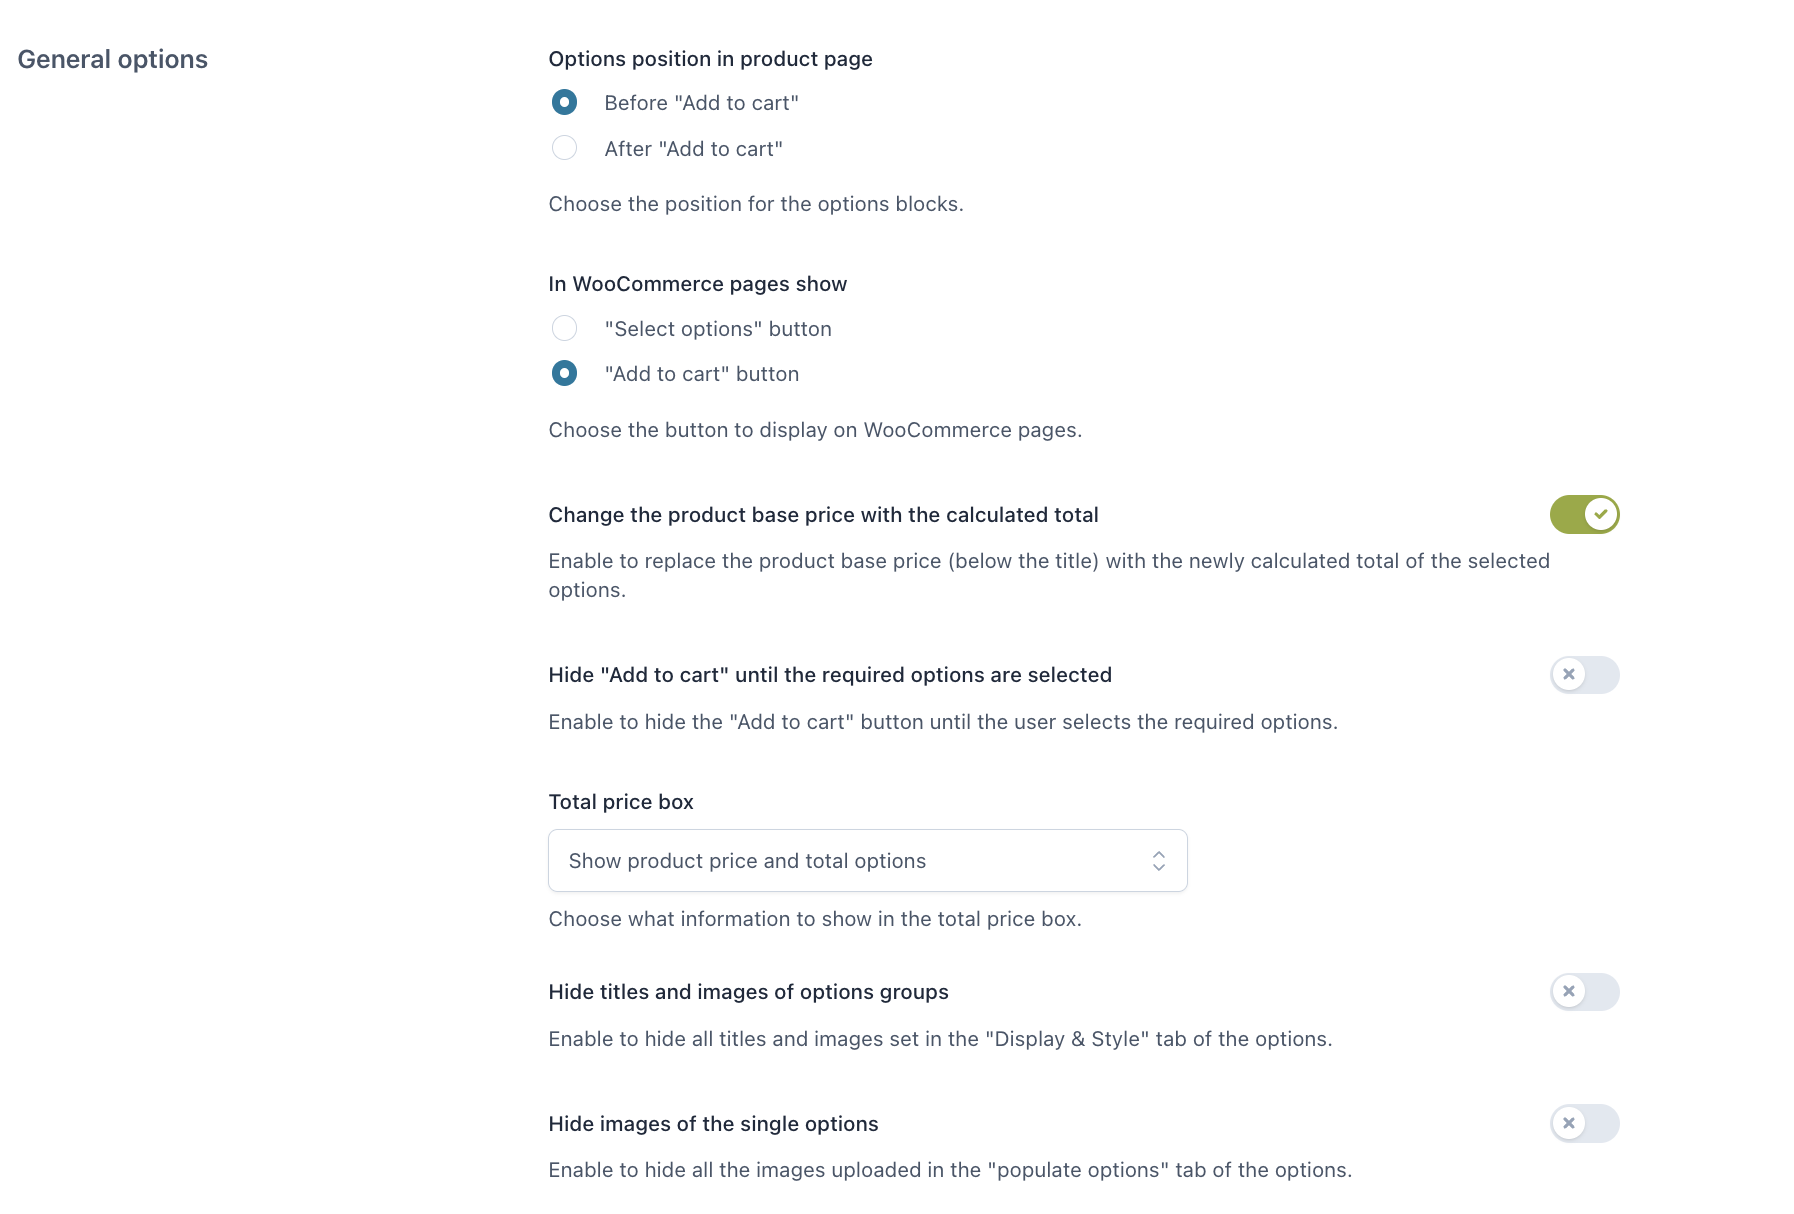
Options position in product page:
- Before “Add to cart”
- After “Add to cart”
In WooCommerce pages show:
- “Select options” button
- “Add to cart” button
Both of them will take the user to the product page, where the user can configure the add-ons.
Label for “Select options” button: customize here the text of the “Select options” button that shows on archive pages when a product has options to be selected.
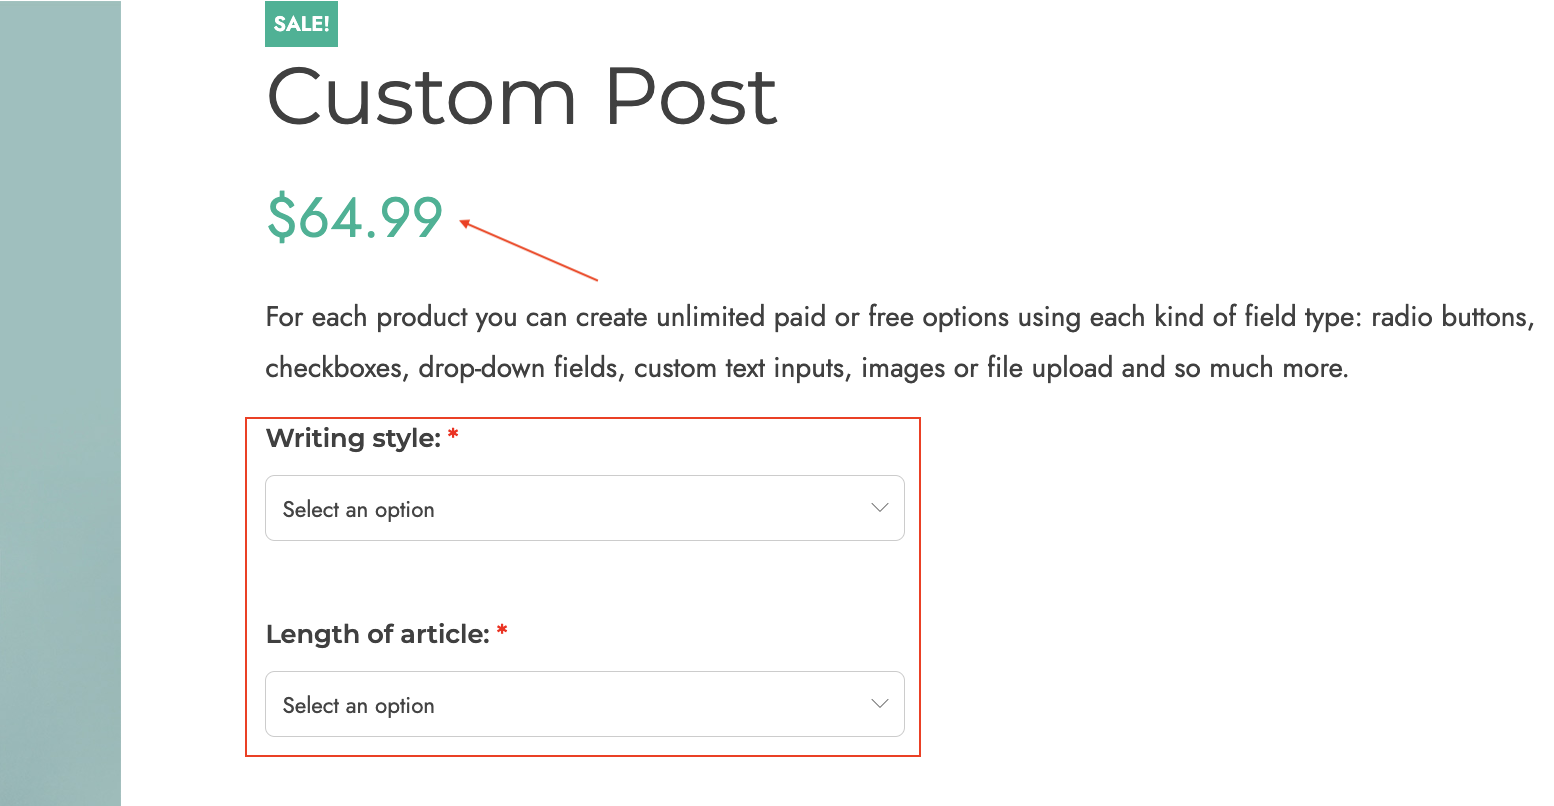
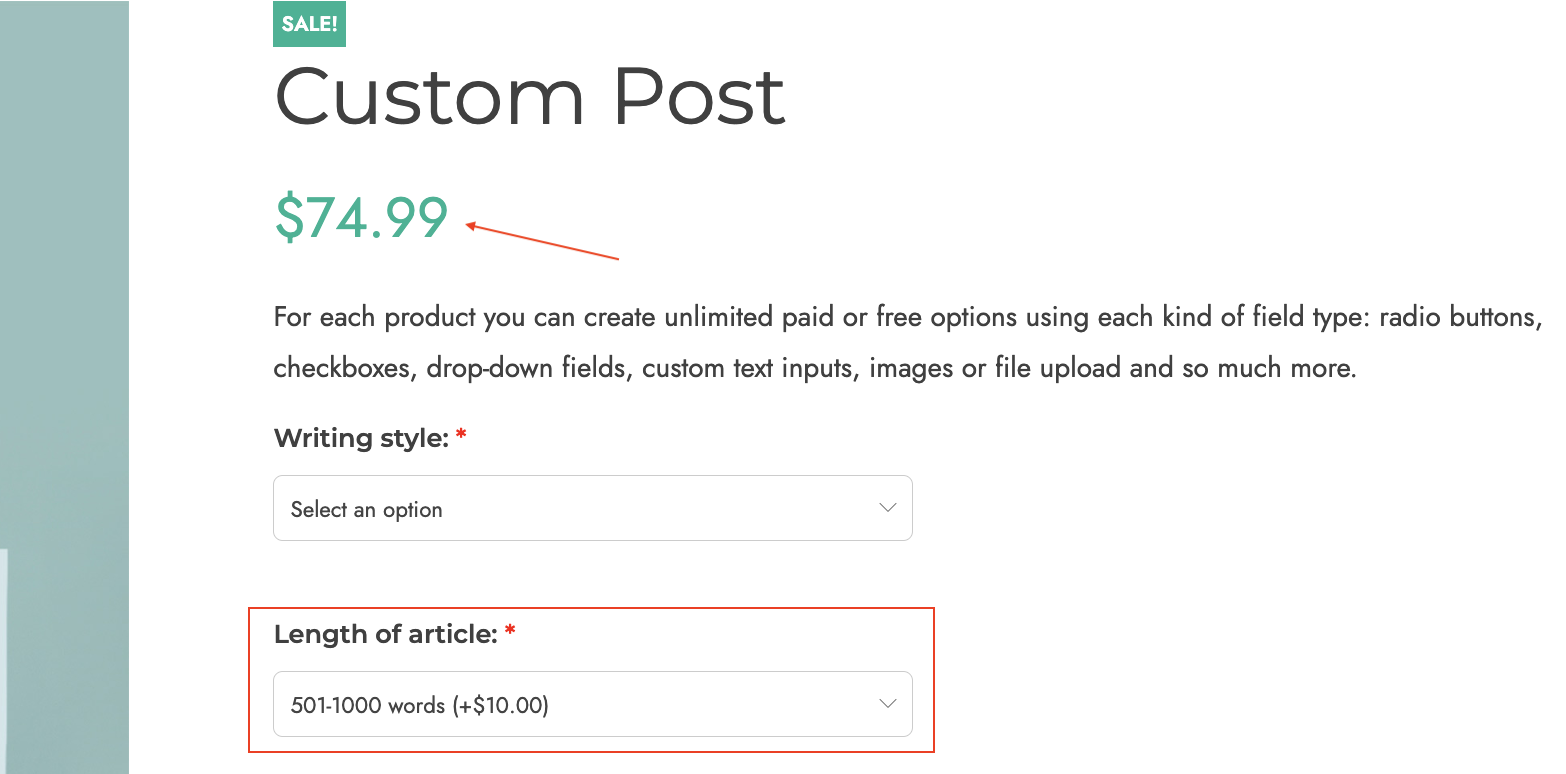
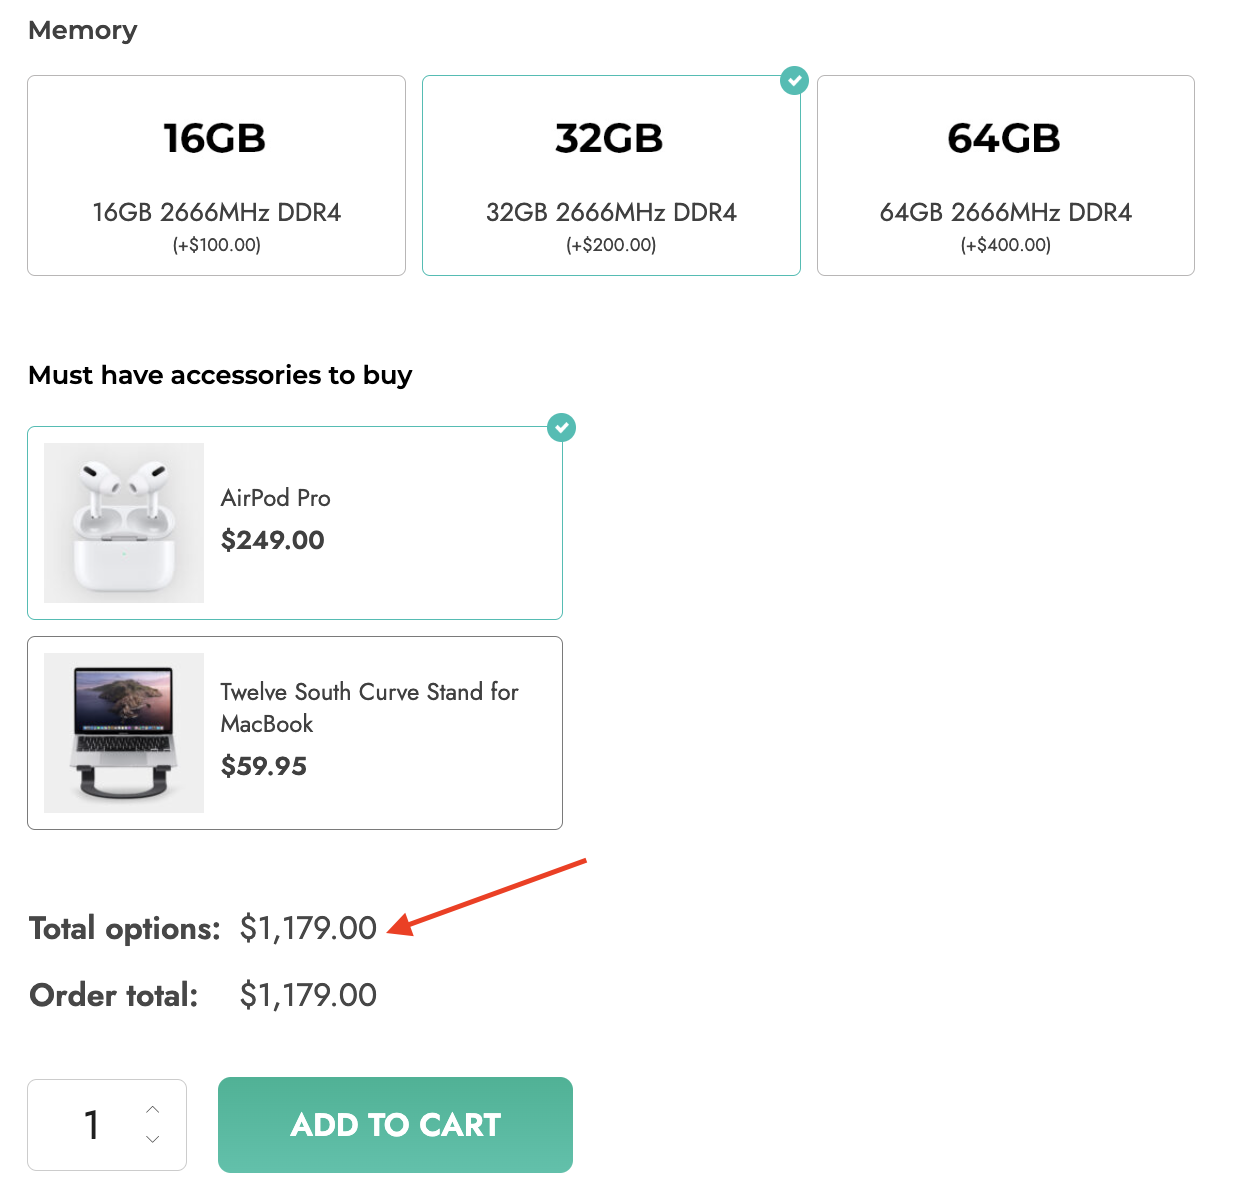
Change the product base price with the calculated total: enable to replace the product base price (below the title) with the newly calculated total of the selected options.
Hide “Add to cart” until the required options are selected: if your product includes required options to be selected, enable this to make sure the “Add to cart” button is hidden until they are selected. Leave it disabled, if you want to show the “Add to cart” button but keep it disabled until the required options are selected.
Total price box:

- Show product price and total options
- Show the final total but hide options total only if the value is 0
- Show only the final total
- Hide price box on the product page
Hide titles and images of options groups: enable to hide all titles and images set in the “display” tab of the options.
Hide images of all singular options: enable to hide all the images uploaded in the “populate options” tab of the options.
Upload options
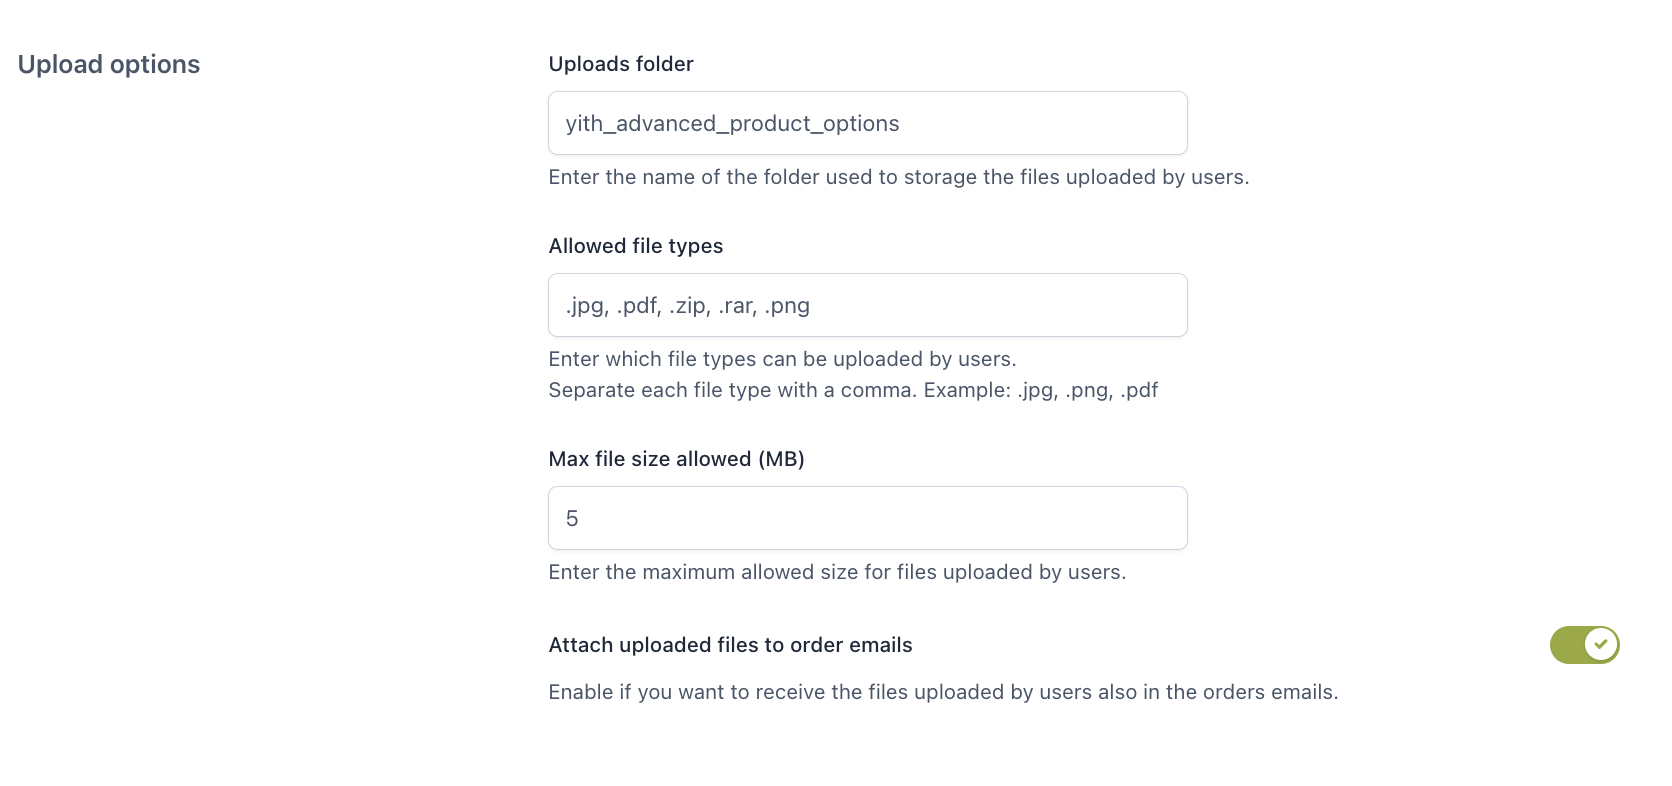
Uploads folder: enter the folder name where the files uploaded by the user will be stored.
Allowed file types: enter the file types (comma separated) that can be uploaded.
Max file size allowed: enter the maximum allowed size for files uploaded by the user.
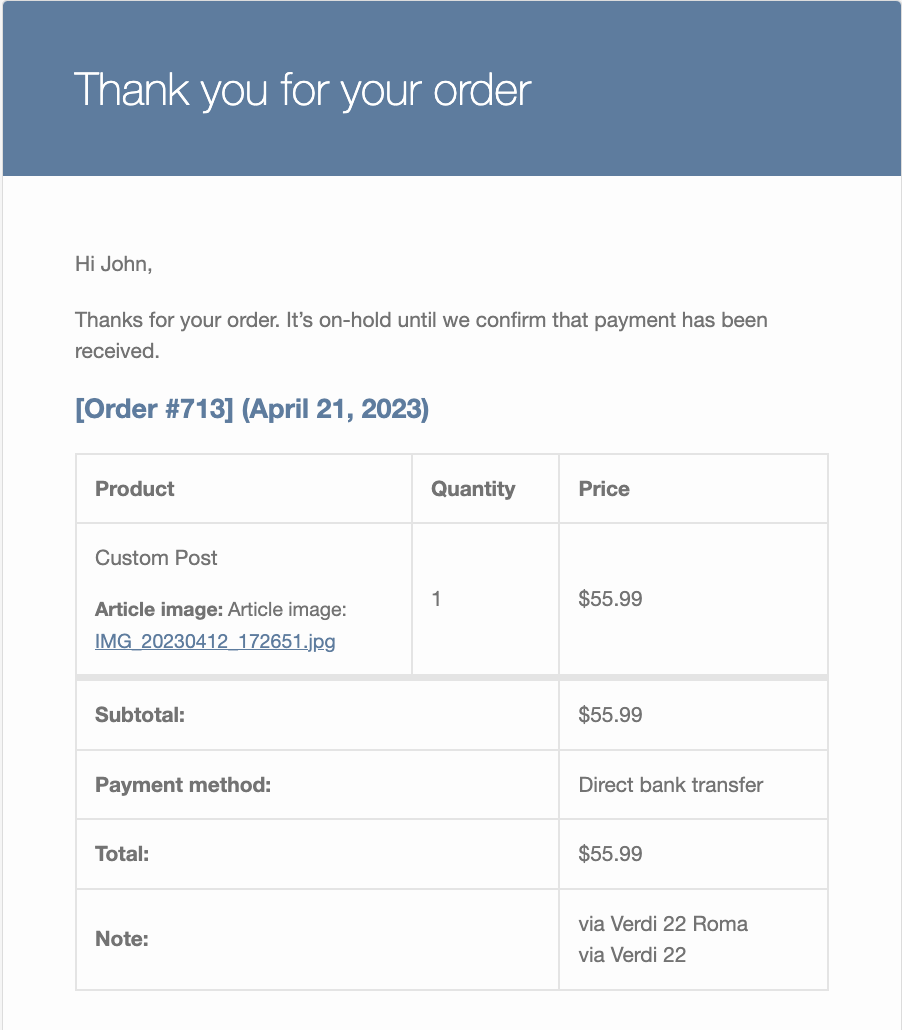
Attach uploaded files to order emails: enable to attach the files uploaded by users to the order emails.
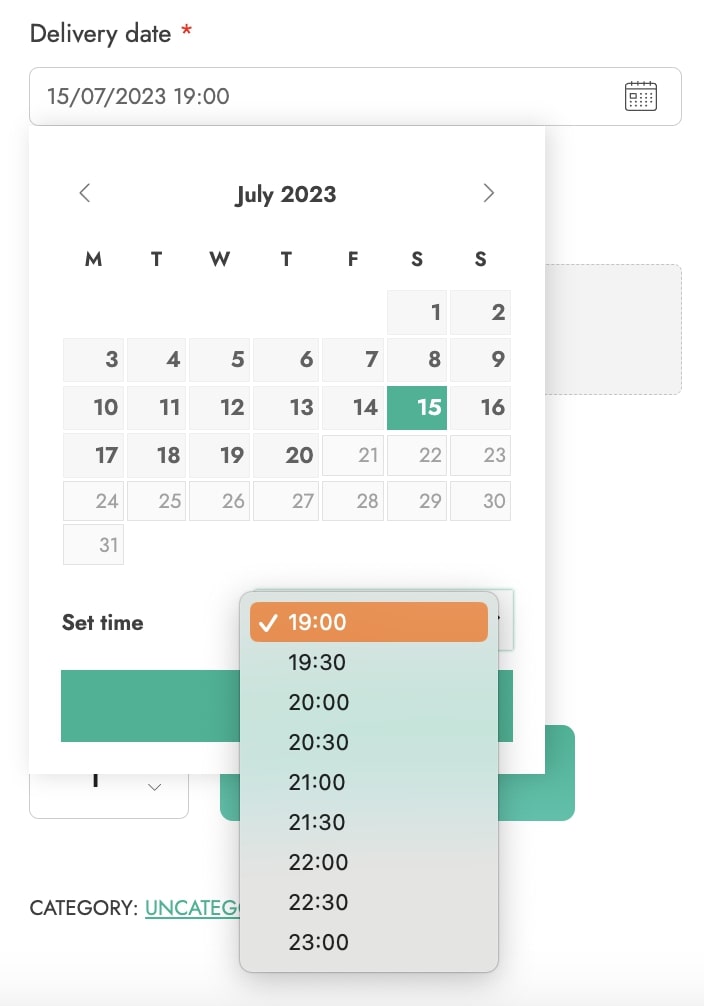
Date options

- 24-hour time format: enable this option if you want to show the time picker in the Date add-on type with a 24-hour format.