YITH Name Your Price allows your users to make donations by choosing themselves the price of your products or services.
When used with YITH Multi Vendor, also vendors will be able to enable this option on one or more of their products and let the user choose the price (also between a minimum and maximum values, if you want to).
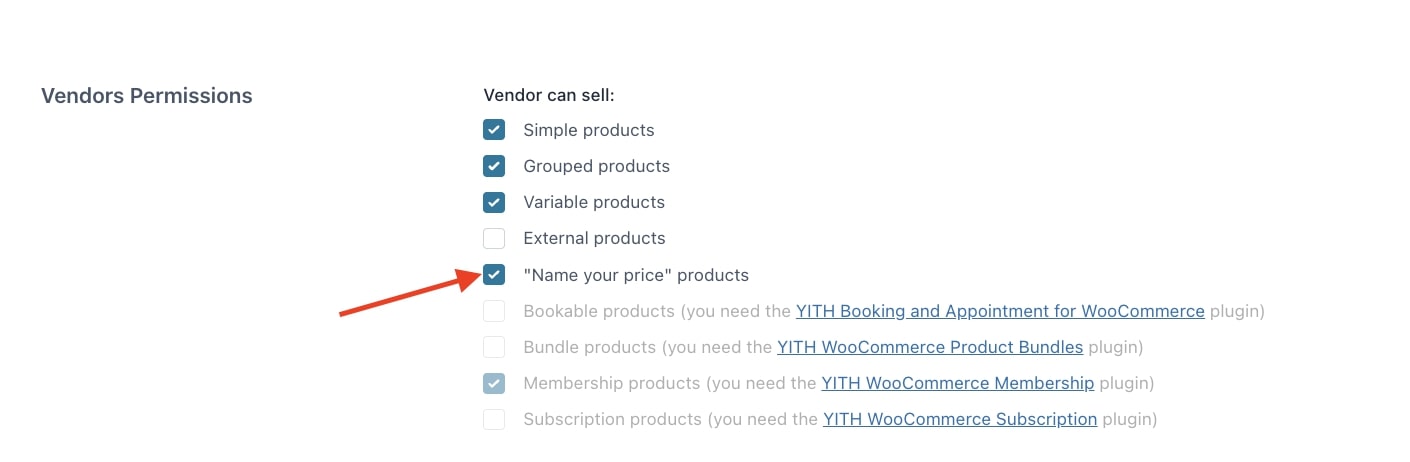
Make sure you have installed and activated both plugins. Then, select “Name Your Price”products in the option Vendor can sell available in YITH > Multi Vendor > Vendors > Vendors permissions.
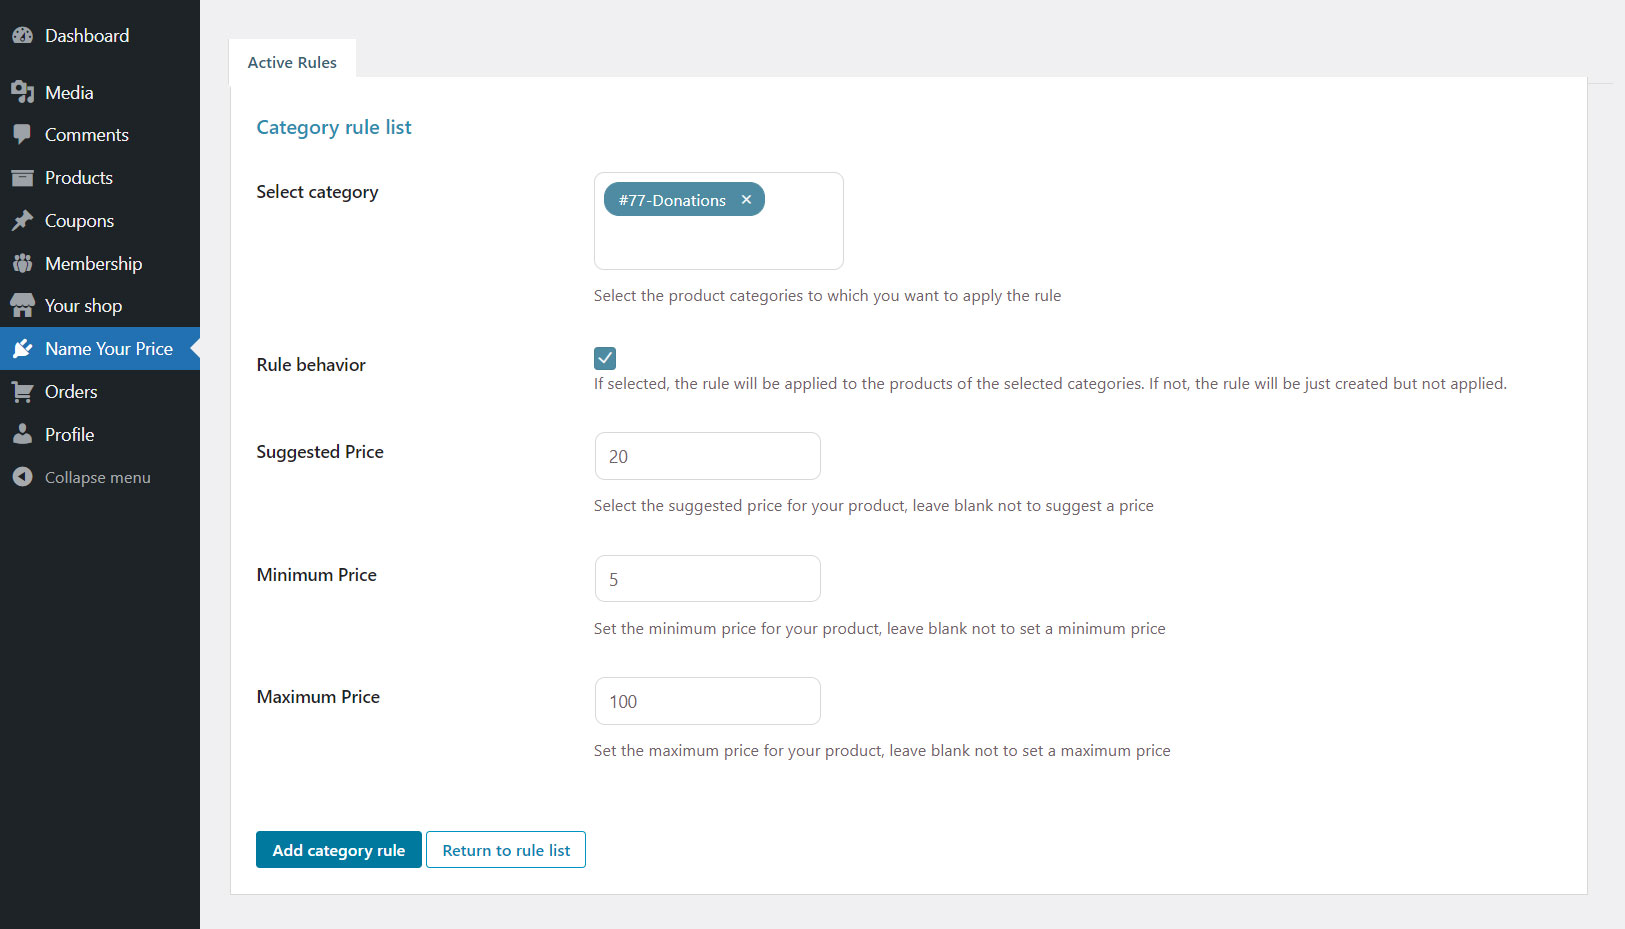
The vendor will be able to see a new Name Your Price menu where he/she can create customized price rules for product categories.
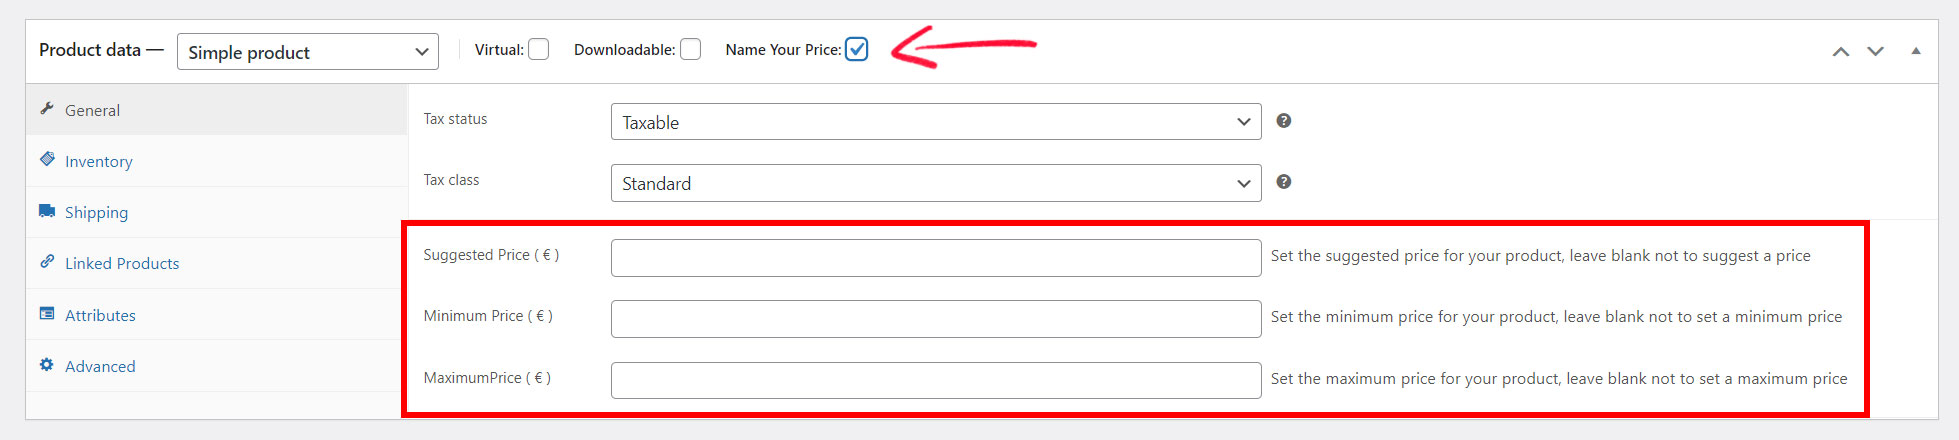
Moreover, just like the admin, they can enable the Name your price option from the single product settings to enable it on specific products only.
For more details about YITH WooCommerce Name Your Price plugin, please refer to the plugin documentation.
With YITH WooCommerce One-Click Checkout users can skip the checkout process once the billing info is added. If used with YITH Multi Vendor, vendors commissions are generated also when the customer purchases through the one-click checkout option.
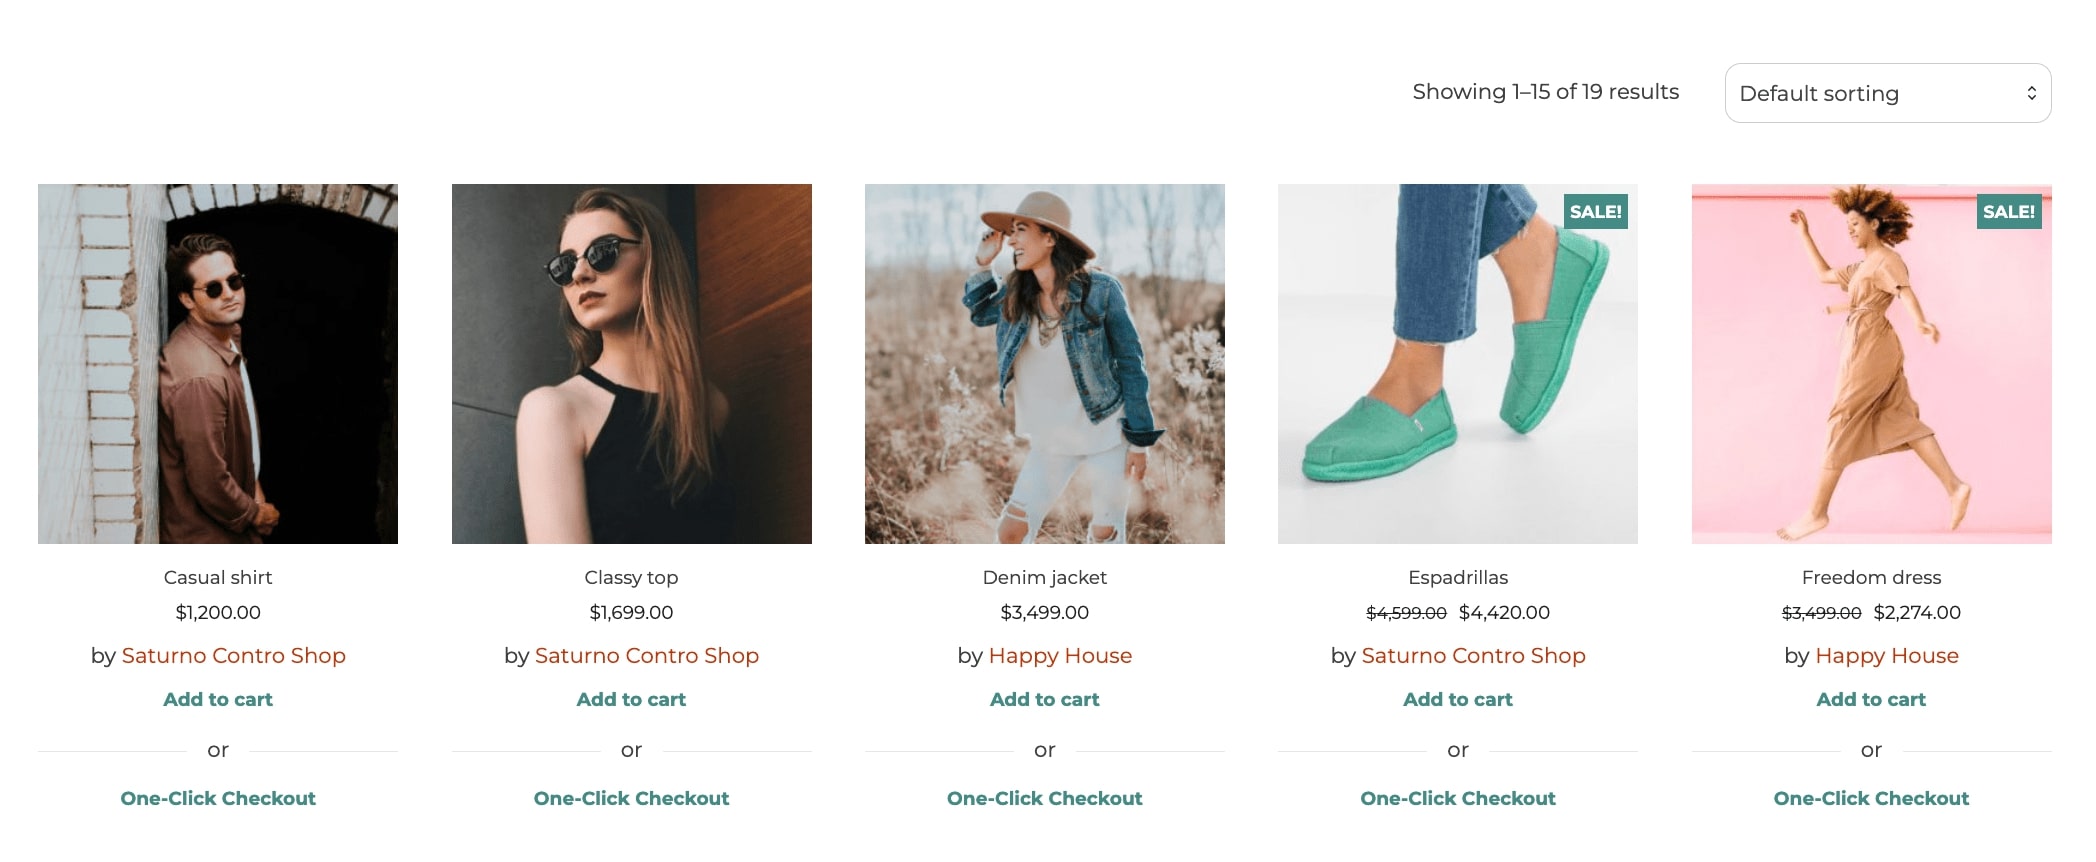
To enable this integration, just make sure both plugins are installed and activated, then, configure the One-click Checkout as explained on the plugin documentation and the button will appear on every product, vendors’ products included.
With YITH Order & Shipment Tracking plugin, you can let your your customers easily track the shipping of their orders in your e-commerce store.
If combined with YITH Multi Vendor, also vendors will be able to add the tracking details in their own suborders.
Just make sure you install and activate both plugins, then, select Manage order tracking in the option Regarding his/her orders, a vendor can available in YITH > Multi Vendor > Vendors > Vendors permissions.
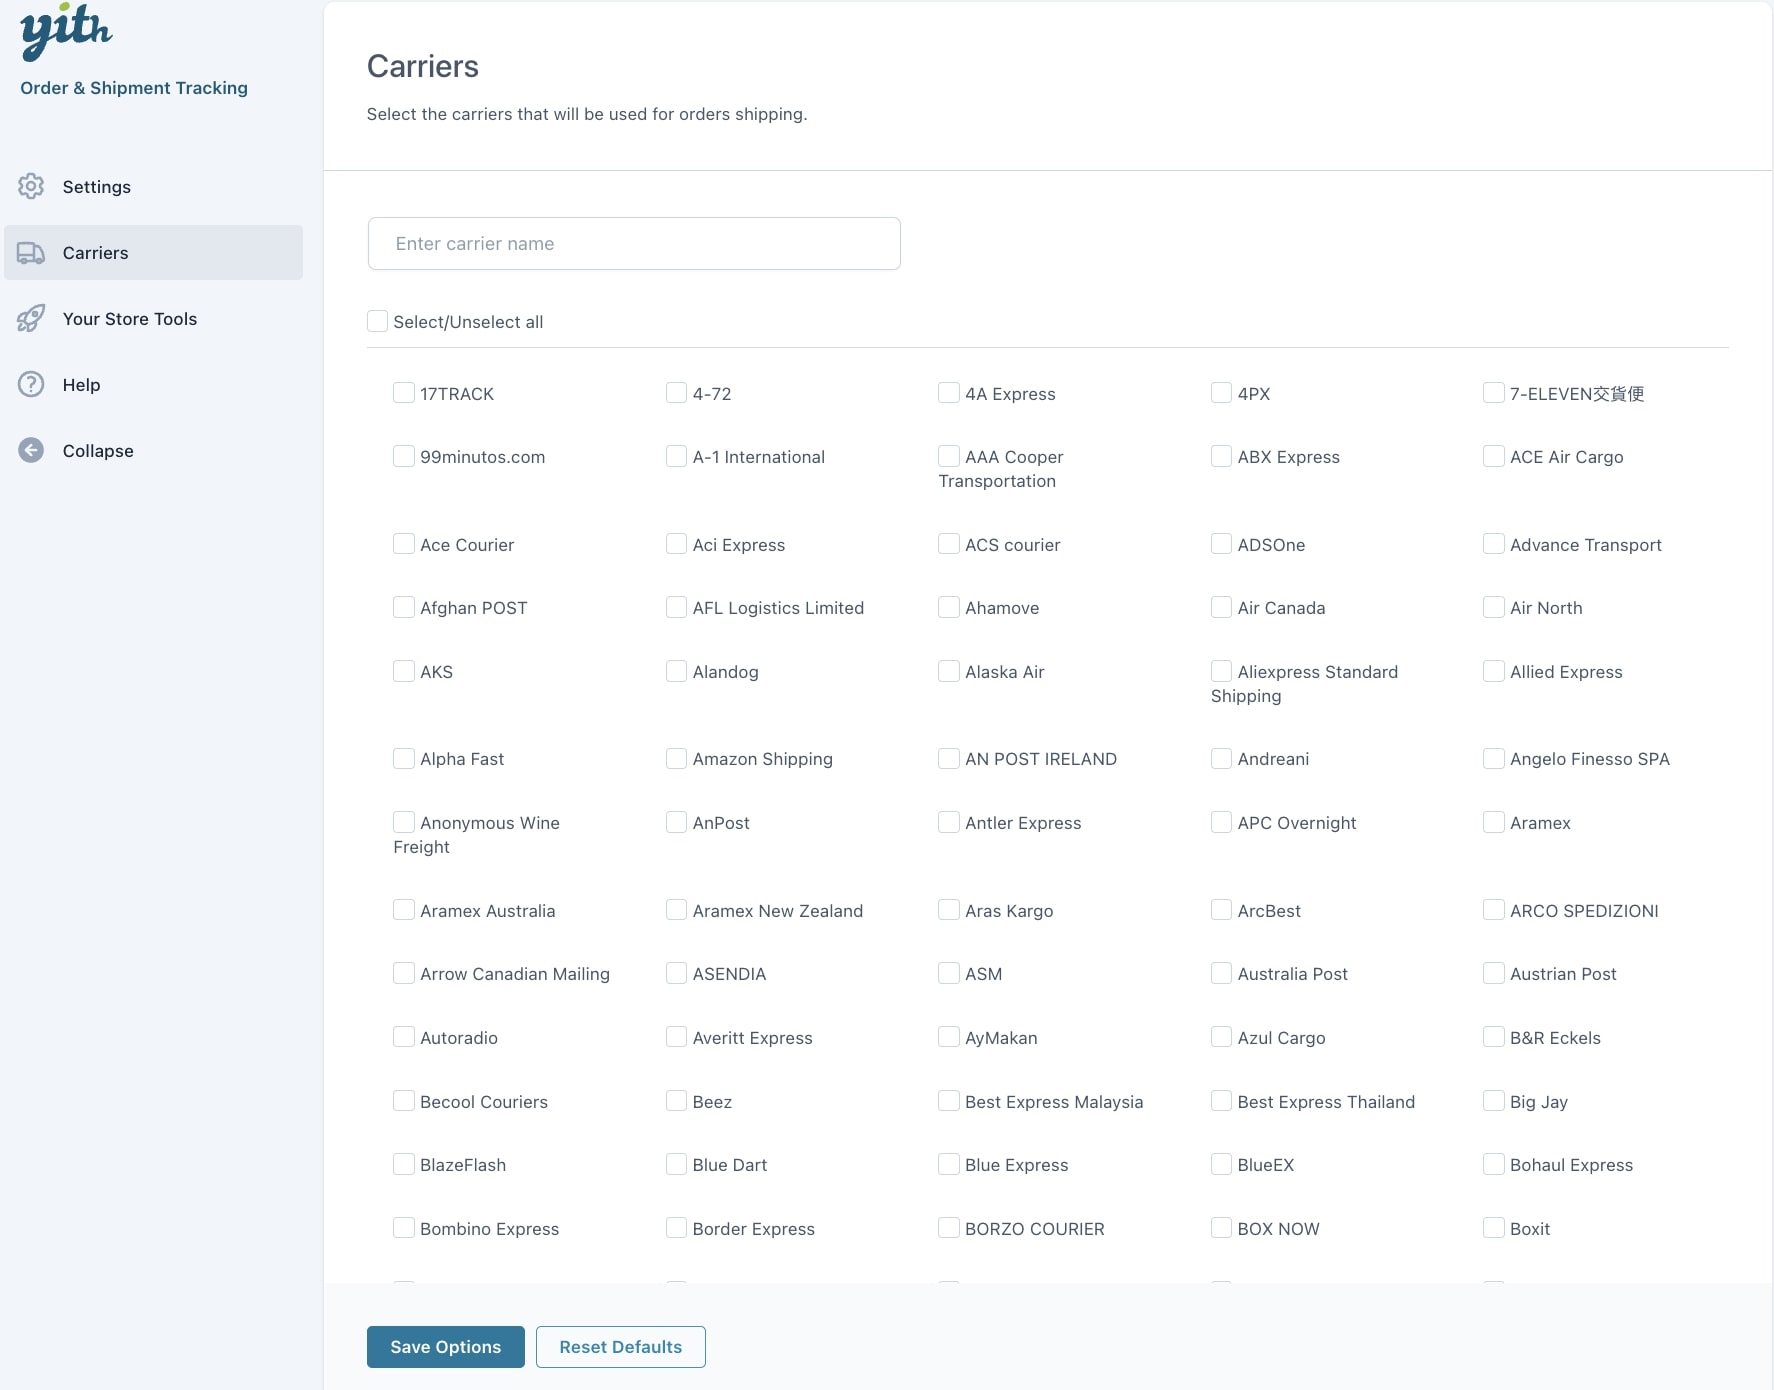
Now, you can enable the carriers from YITH > Order & Shipment Tracking > Carriers.
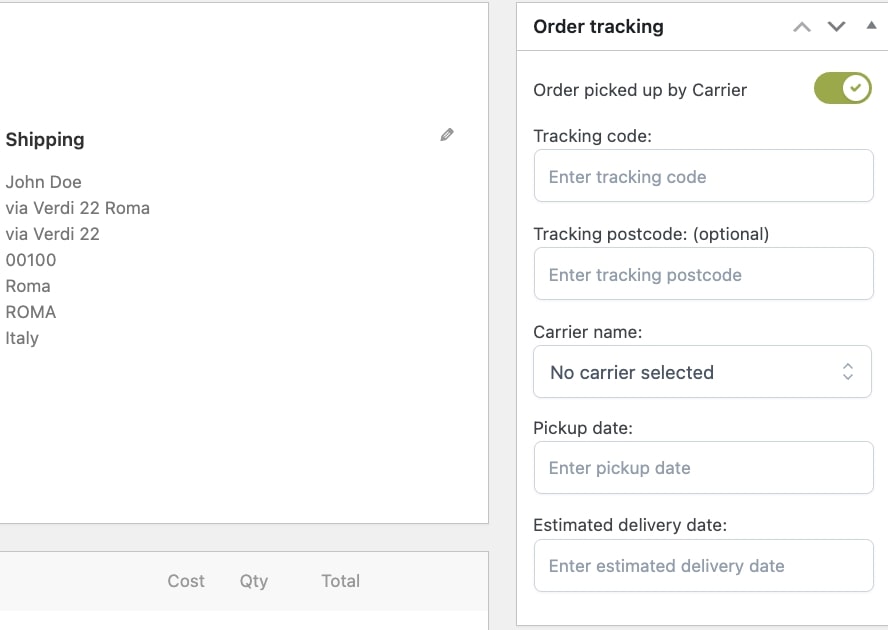
And now your vendors will be able to see a dedicated Order tracking box in the order details, add the tracking details and choose one of the carriers enabled by the admin.
Order tracking box in vendor’s suborder
This data will then only be about a specific order bound to the admin and not any other sub-orders bound to vendors.
This combination is also fully integrated with YITH Frontend Manager, so your vendors will be able to edit the tracking code and carrier also when checking the order details from the frontend.
To start using it, make sure that both plugins are installed and activated.
Then, go to the plugin settings under YITH > Multi Vendor > Commissions > Gateways, where you can find all the available gateways for your vendors’ payouts, and enable YITH PayPal Payouts after configuring it on your shop as explained on this page.
Now, if you want to pay vendors commissions automatically, go to the Commissions Settings section, and select PayPal Payouts as default payment gateway.
This is the gateway that will be used by default for automatic payments of vendors commissions. Yet, you can also pay the commissions manually through PayPal Payouts as explained here.
Exclude vendors’ products from Payouts commissions
If you want to avoid that vendors’ products are included in the total calculation of your store’s receivers commissions, we suggest you enable the following option from YITH > PayPal Payouts > General settings > Multi Vendor Settings.
Suppose you get an order with 2 products. Product A belongs to vendor A and costs €60, product B does not belong to any vendor and costs €40, so the total order is worth €100. In addition to this, you have set one receiver with a 50% commission.
If the option is disabled, your receiver will get €50.
If the option is enabled, product A is excluded, so the receiver will get €20, which is 50% of product B price only.
If you want to read more about PayPal Payouts configuration settings, please, refer to the official plugin documentation.
Notifications
When a payout is made, PayPal sends a notification to both the sender and the receiver. You can customize the email subject and content from YITH PayPal Payouts > Notifications. To show the vendor commission and order IDs in the content of the email, you can use the placeholder ´{commission_ids} and {order_id}.
When the plugin is used with YITH WooCommerce Multi Vendor, also vendors will be able to generate invoices for their orders with their own template and logo.
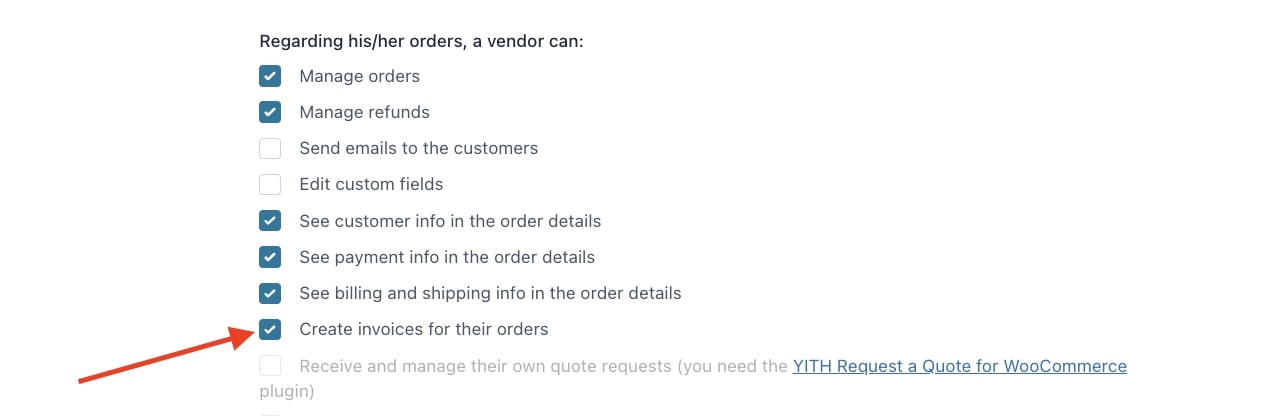
To enable the integration, make sure that both plugins are installed and activated, then, select Create invoices for theirorders in the option Regarding his/her orders, a vendor can available in YITH > Multi Vendor > Vendors > Vendors permissions.
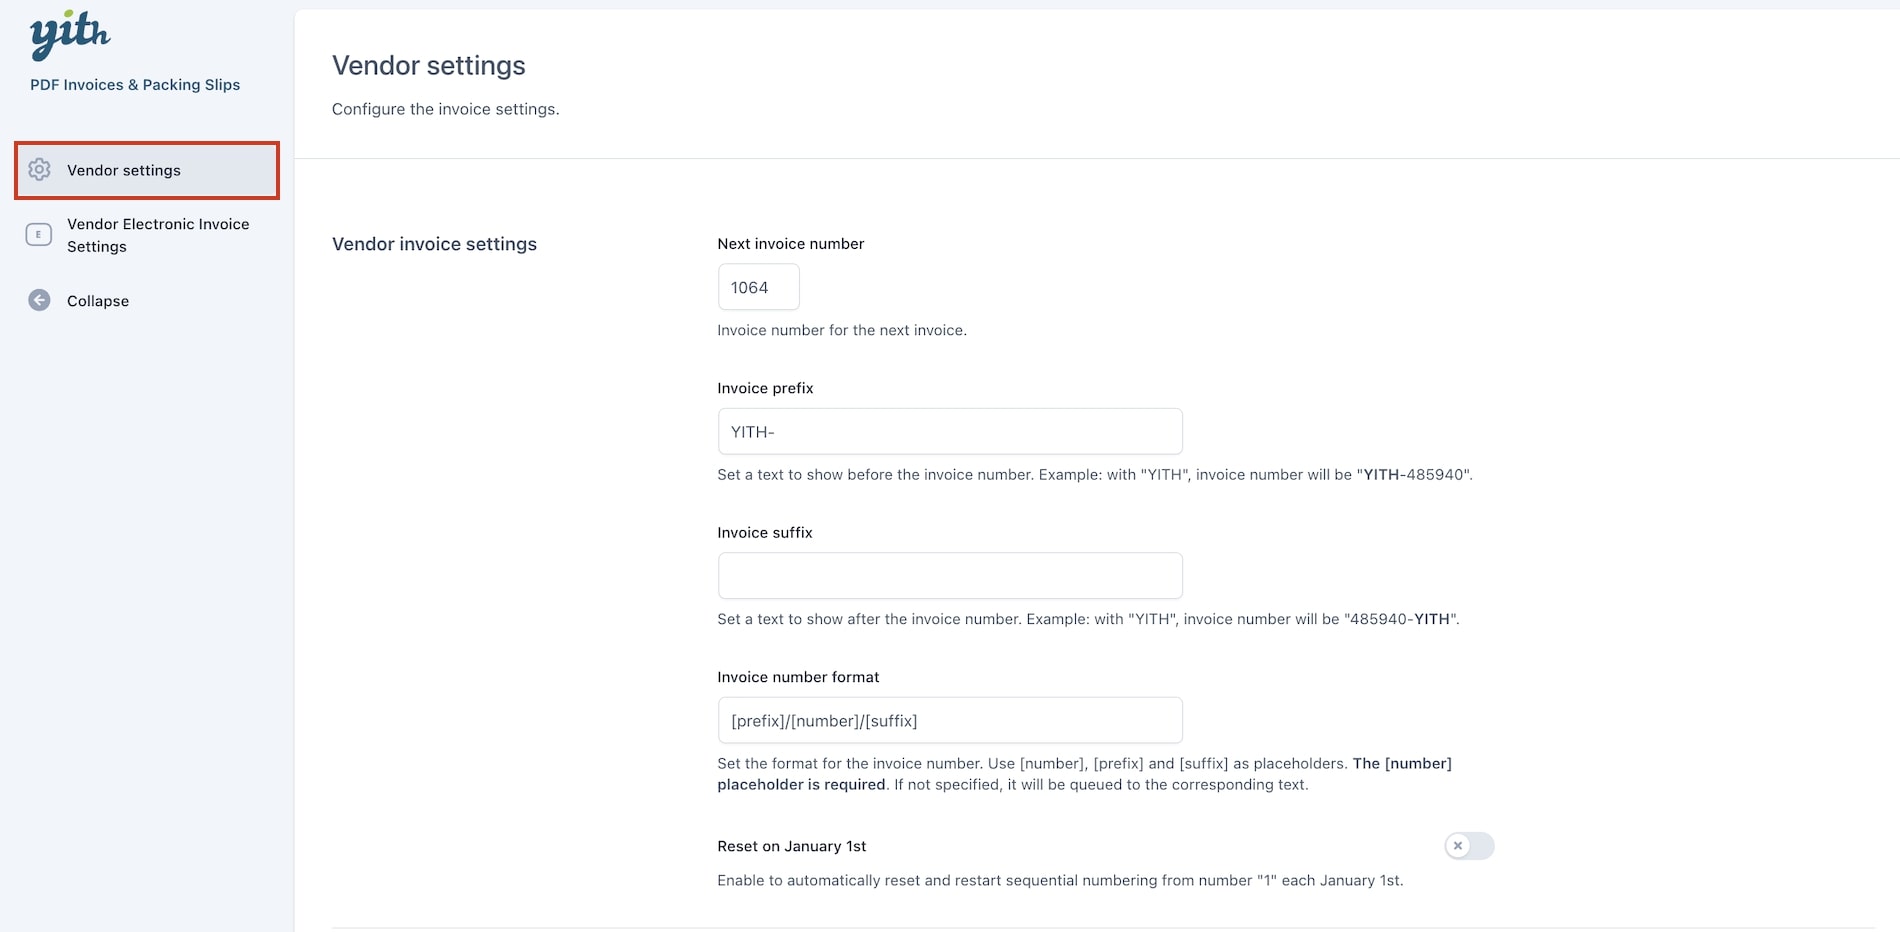
Vendor settings
From this tab, the vendor can configure the following invoice settings:
Vendor invoice settings:
Next invoice number: Choose the number for the next invoice.
Invoice prefix: Set a text to show before the invoice number. Example: with “YITH”, invoice number will be “YITH-485940″.
Invoice suffix: Set a text to show after the invoice number. Example: with “YITH”, invoice number will be “485940-YITH“.
Invoice number format: Set the format for the invoice number. Use [number], [prefix] and [suffix] as placeholders. The [number] placeholder is required. If not specified, it will be queued to the corresponding text.
Rest on January 1st: Enable to automatically reset and restart sequential numbering from number “1” each January 1st.
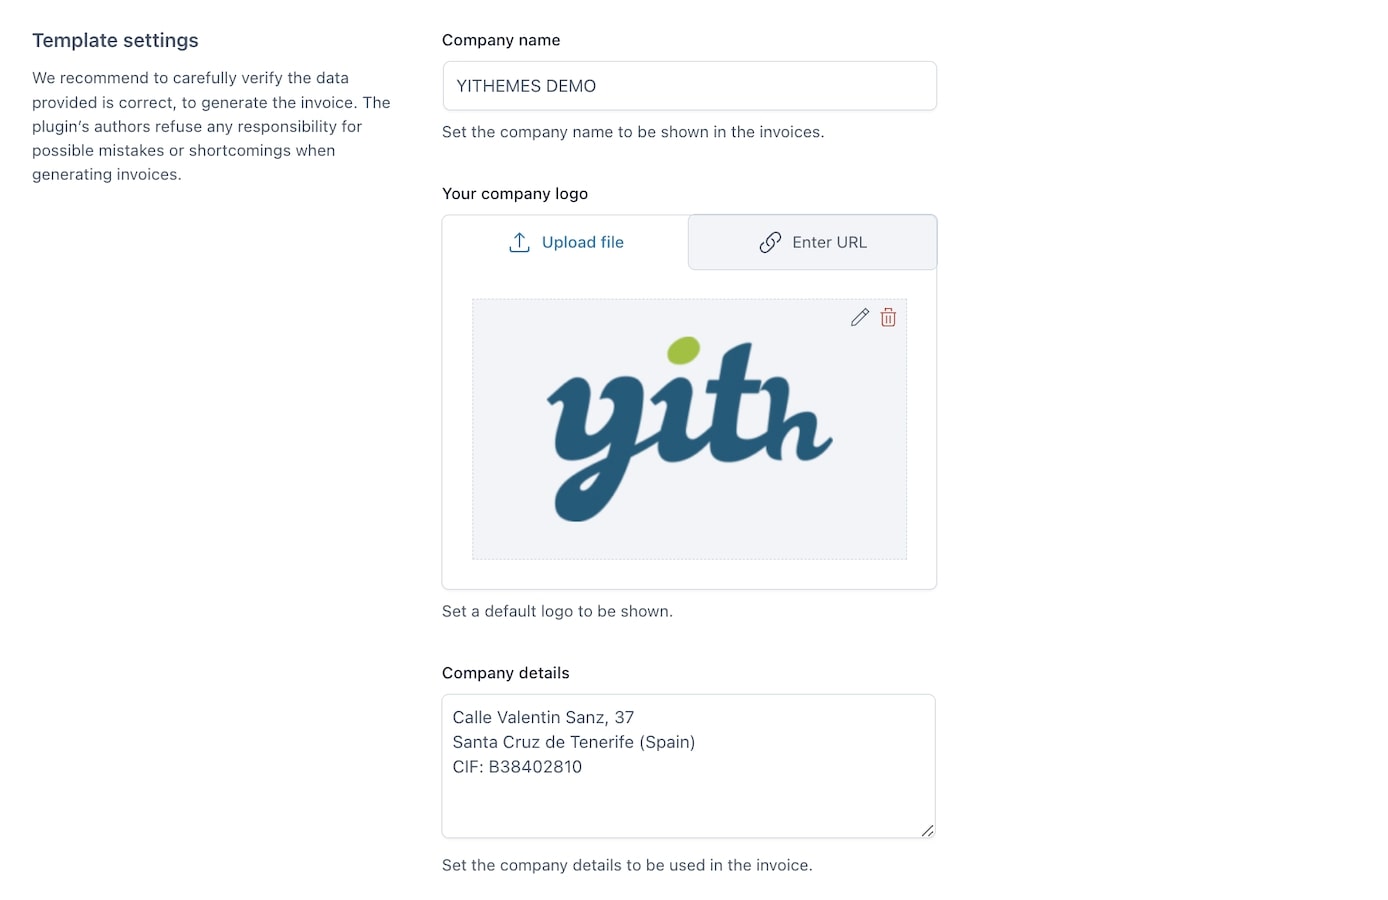
Template settings:
Company name: Set the company name to be shown in the invoices.
Your company logo: Set a default logo to be shown.
Company details: Set the company details to be used in the invoice.
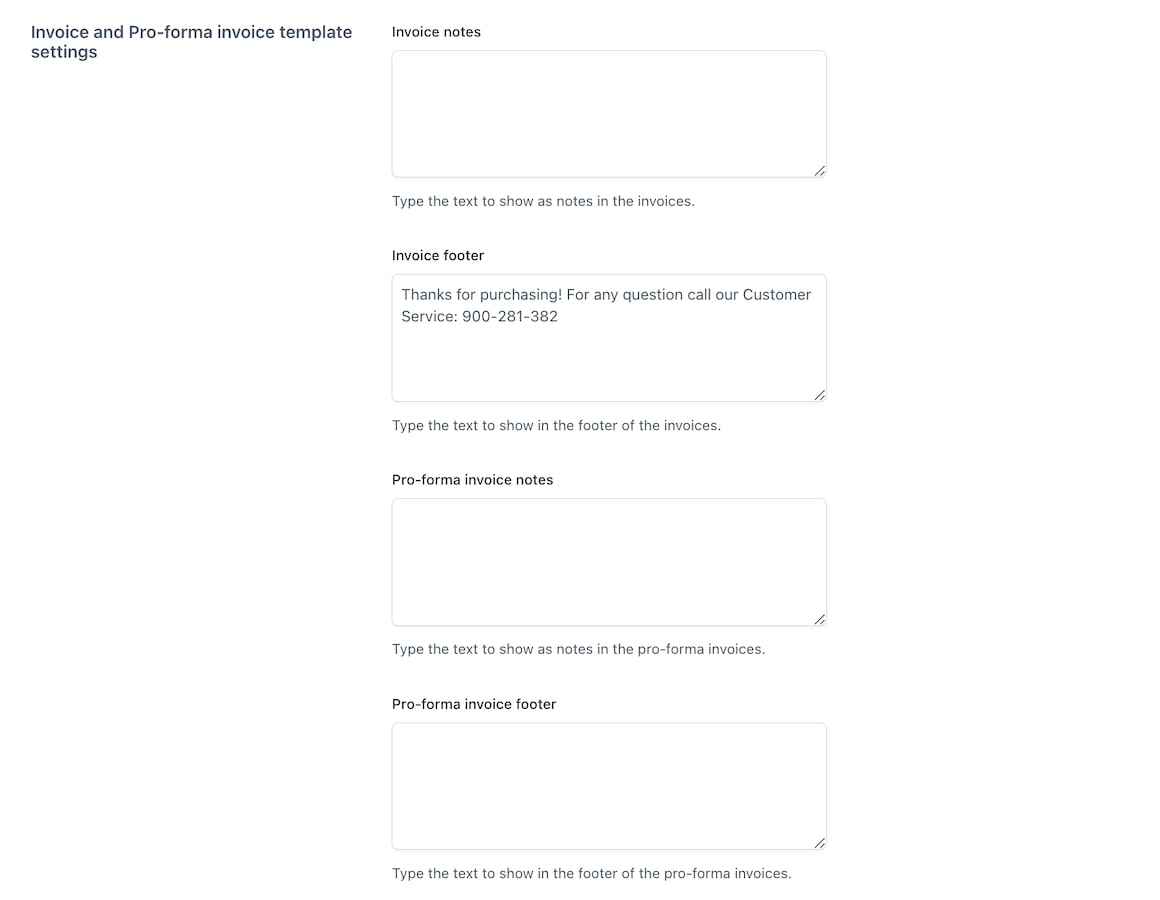
Invoice and Pro-forma invoice template settings:
Invoice notes: Type the text to show as notes in the invoices.
Invoice footer: Type the text to show in the footer of the invoices.
Pro-forma invoice notes: Type the text to show as notes in the pro-forma invoices.
Pro-forma invoice footer: Type the text to show in the footer of the pro-forma invoices.
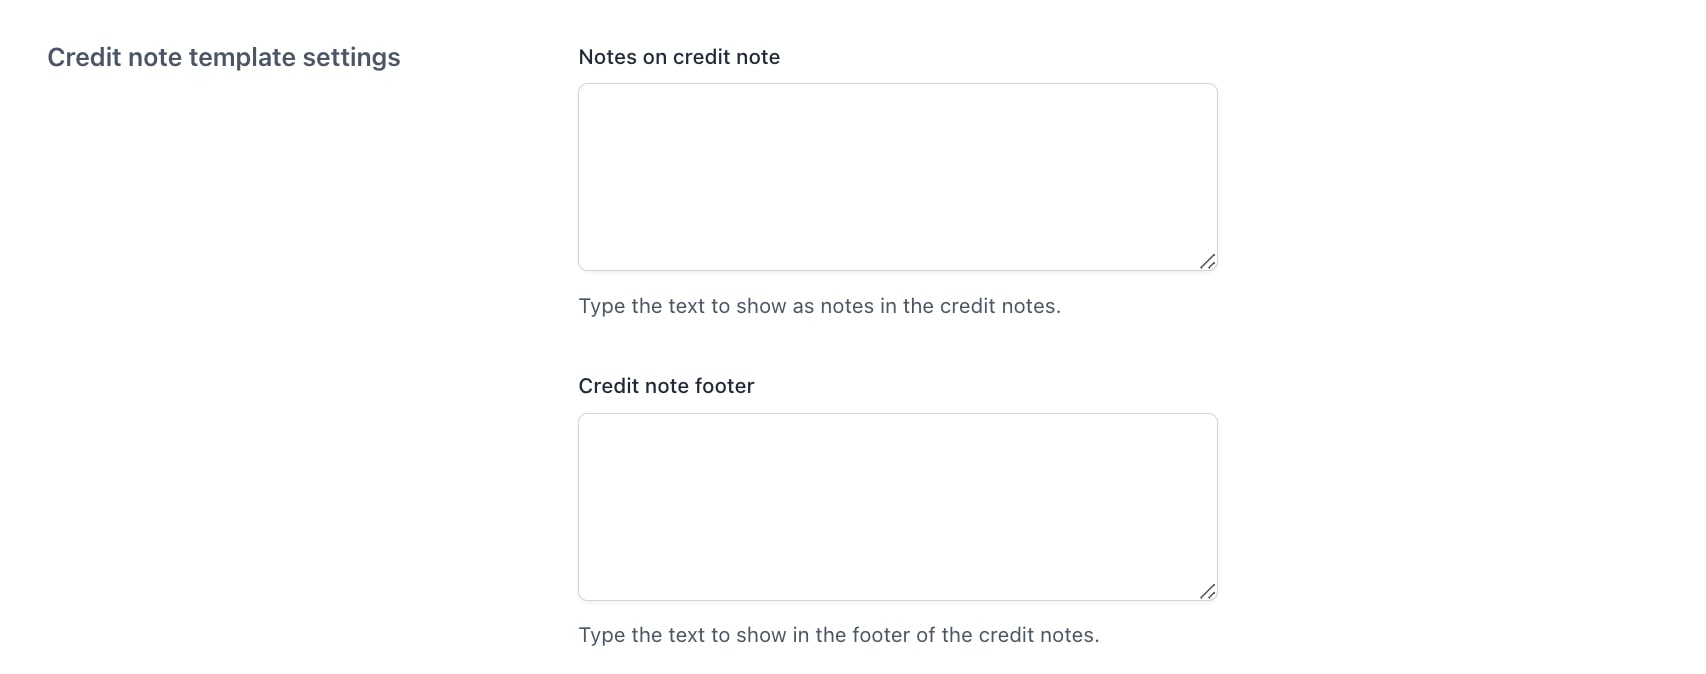
Credit note template settings:
Notes on credit note: Type the text to show as notes in the credit notes.
Credit note footer: Type the text to show in the footer of the credit notes.
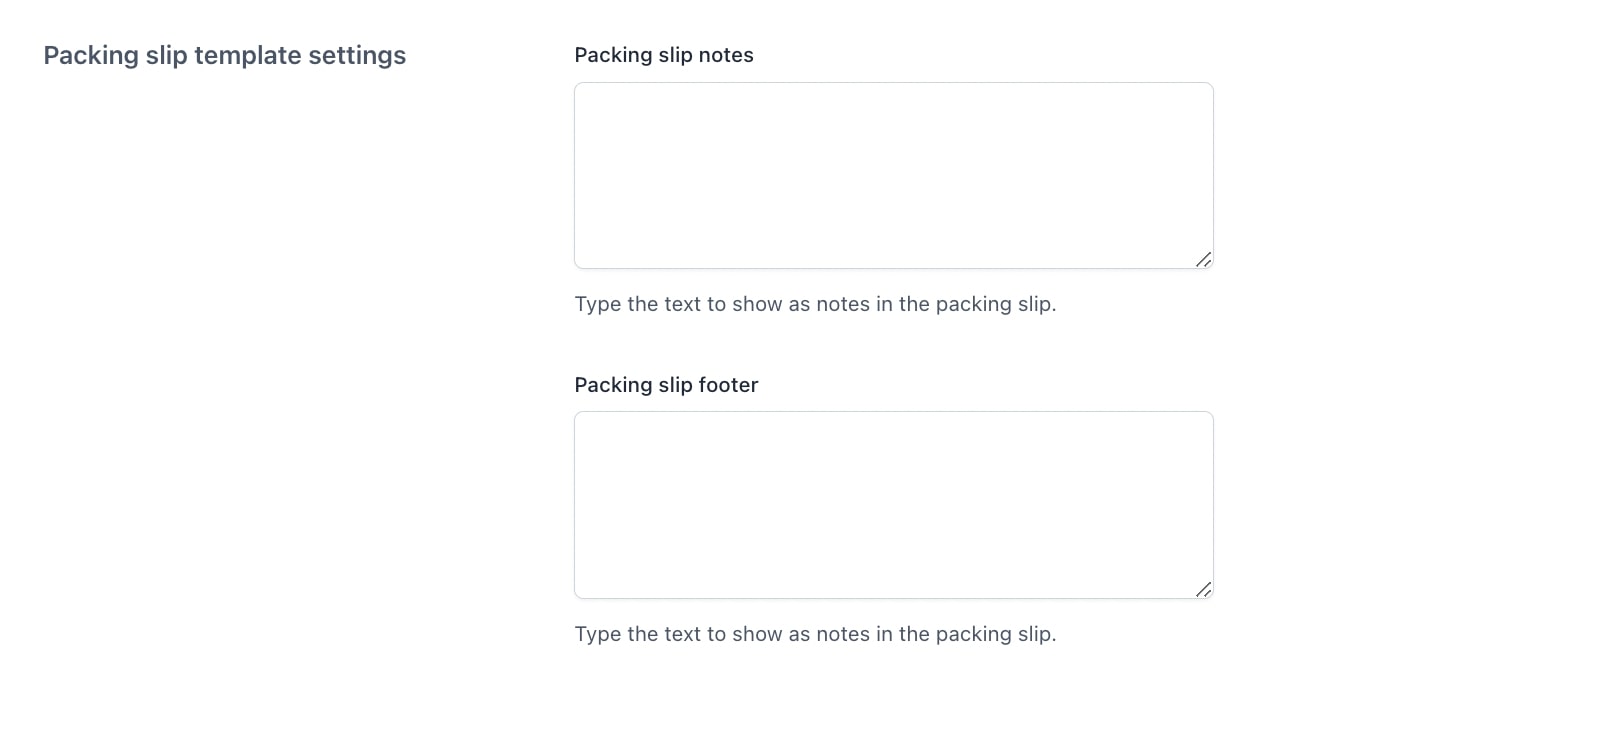
Packing slip template settings:
Packing slip notes: Type the text to show as notes in the credit notes.
Packing slip footer: Type the text to show in the footer of the credit notes.
The vendor’s company logo and details will be the same across all documents issued by the vendor (so for invoices, credit notes and shipping lists), but the vendor can customize notes and footer for each type of document.
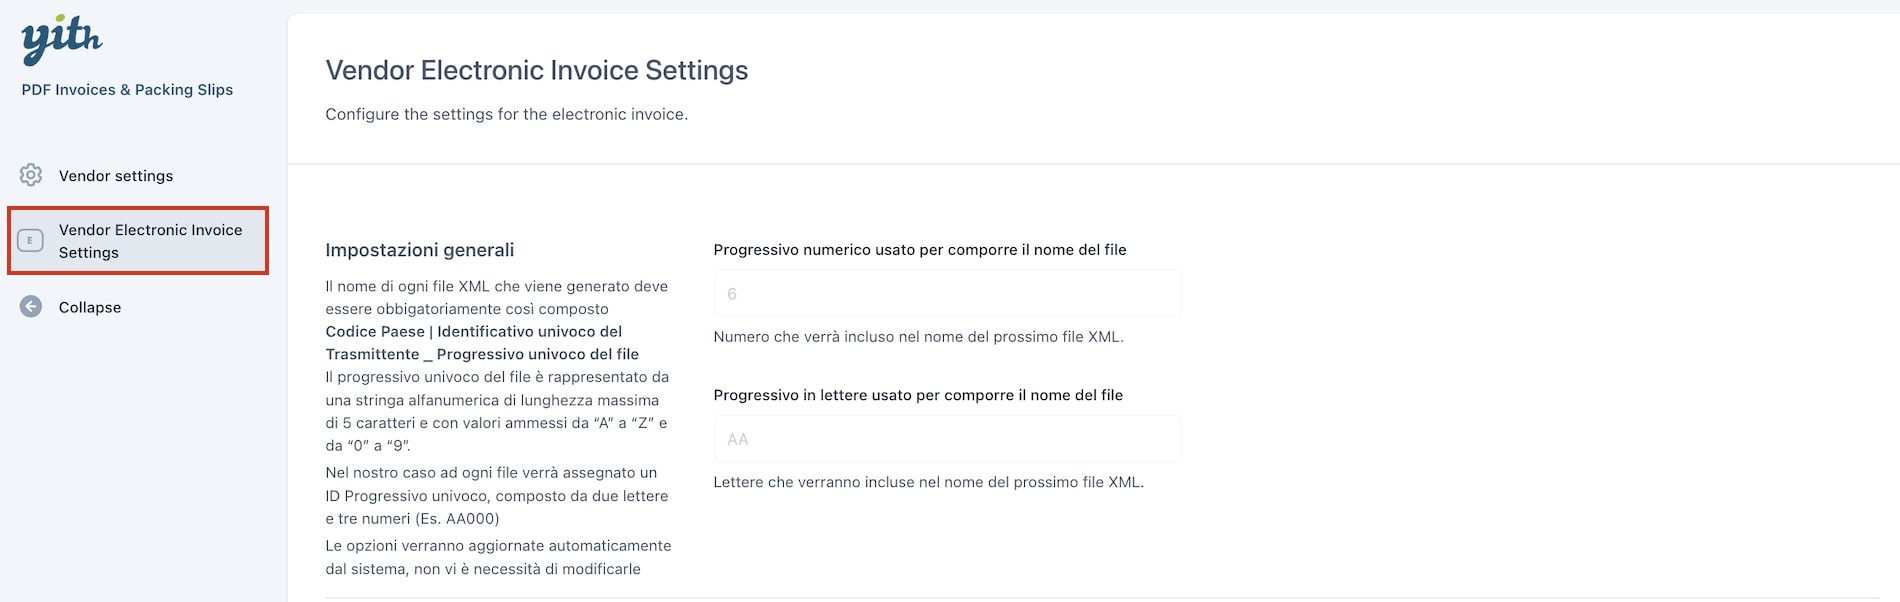
Vendor electronic invoice settings
Please, note: The Electronic Invoice Settings will be available only if you activate it from the main options by going to YITH > PDF Invoices & Packing Slips > General Options > Invoice options and enable the option “Enable electronic invoice (Italian Customers)”
In this tab, the vendor will be able to configure the settings for the Italian electronic invoice. The options are divided in the following sections:
Impostazioni generali:
The first section is about the file name format, which is made out of 5 characters, two letters and three numbers.
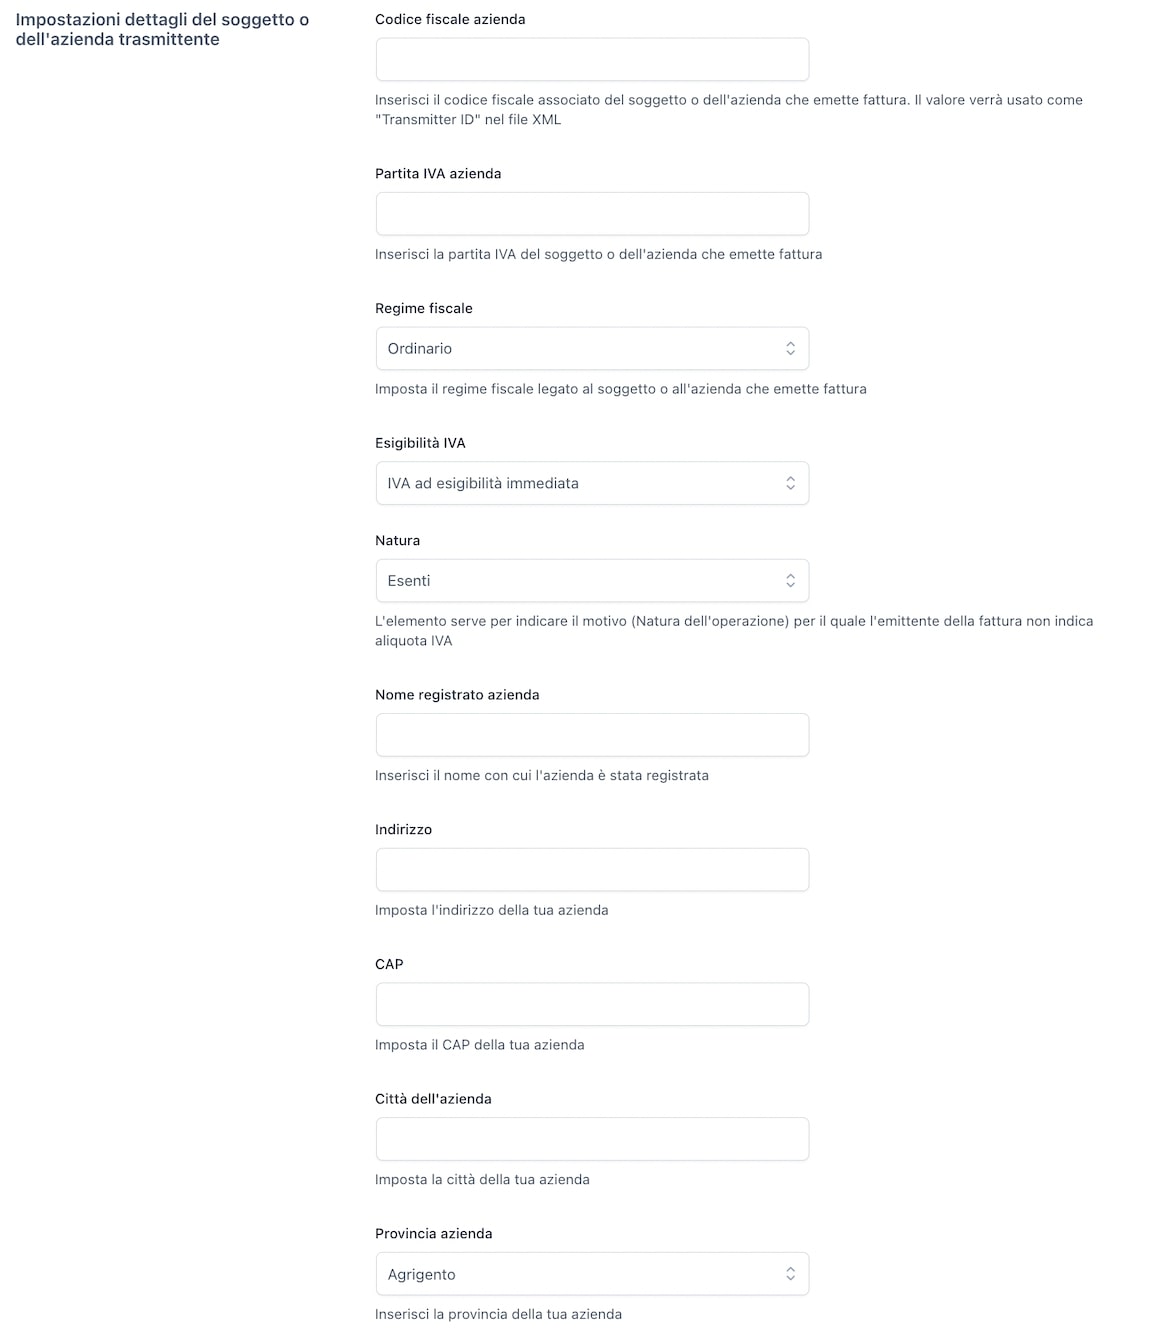
Impostazioni dettagli del soggetto o dell’azienda transmittente:
Next, you’ll find a section where the vendors can enter all their details.
Codice fiscale azienda
Partita IVA azienda
Regime Fiscale
Esigibilità IVA
Nome registrato azienda
Nome persona fisica
Cognome persona fisica
Contatto telefonico
Indirizzo email
Indirizzo
CAP
Città dell’azienda
Provincia azienda
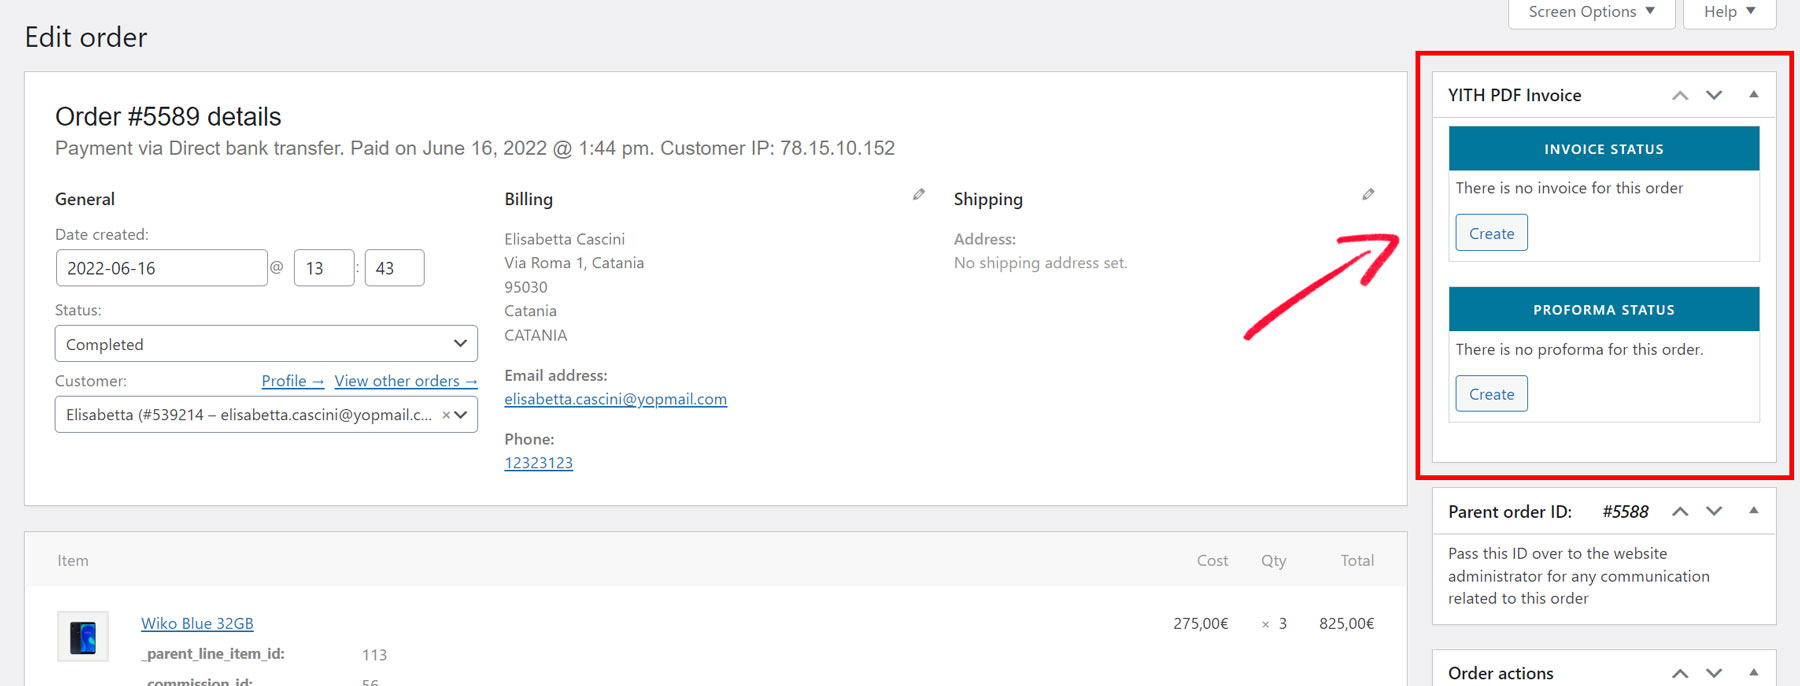
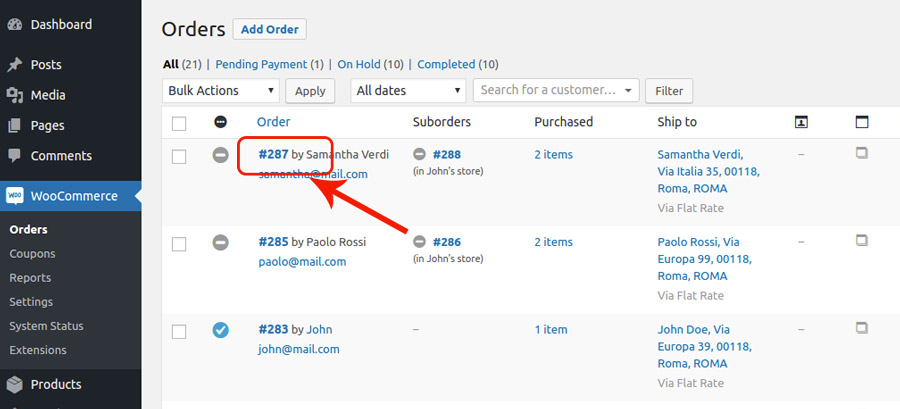
When the plugin is used in combination with YITH WooCommerce Multi Vendor, the automatic generation of invoices will be disabled. The only way to create a new document, invoice or shipping document, is manually through the specific buttons you find in WooCommerce > Orders or in order detail page.
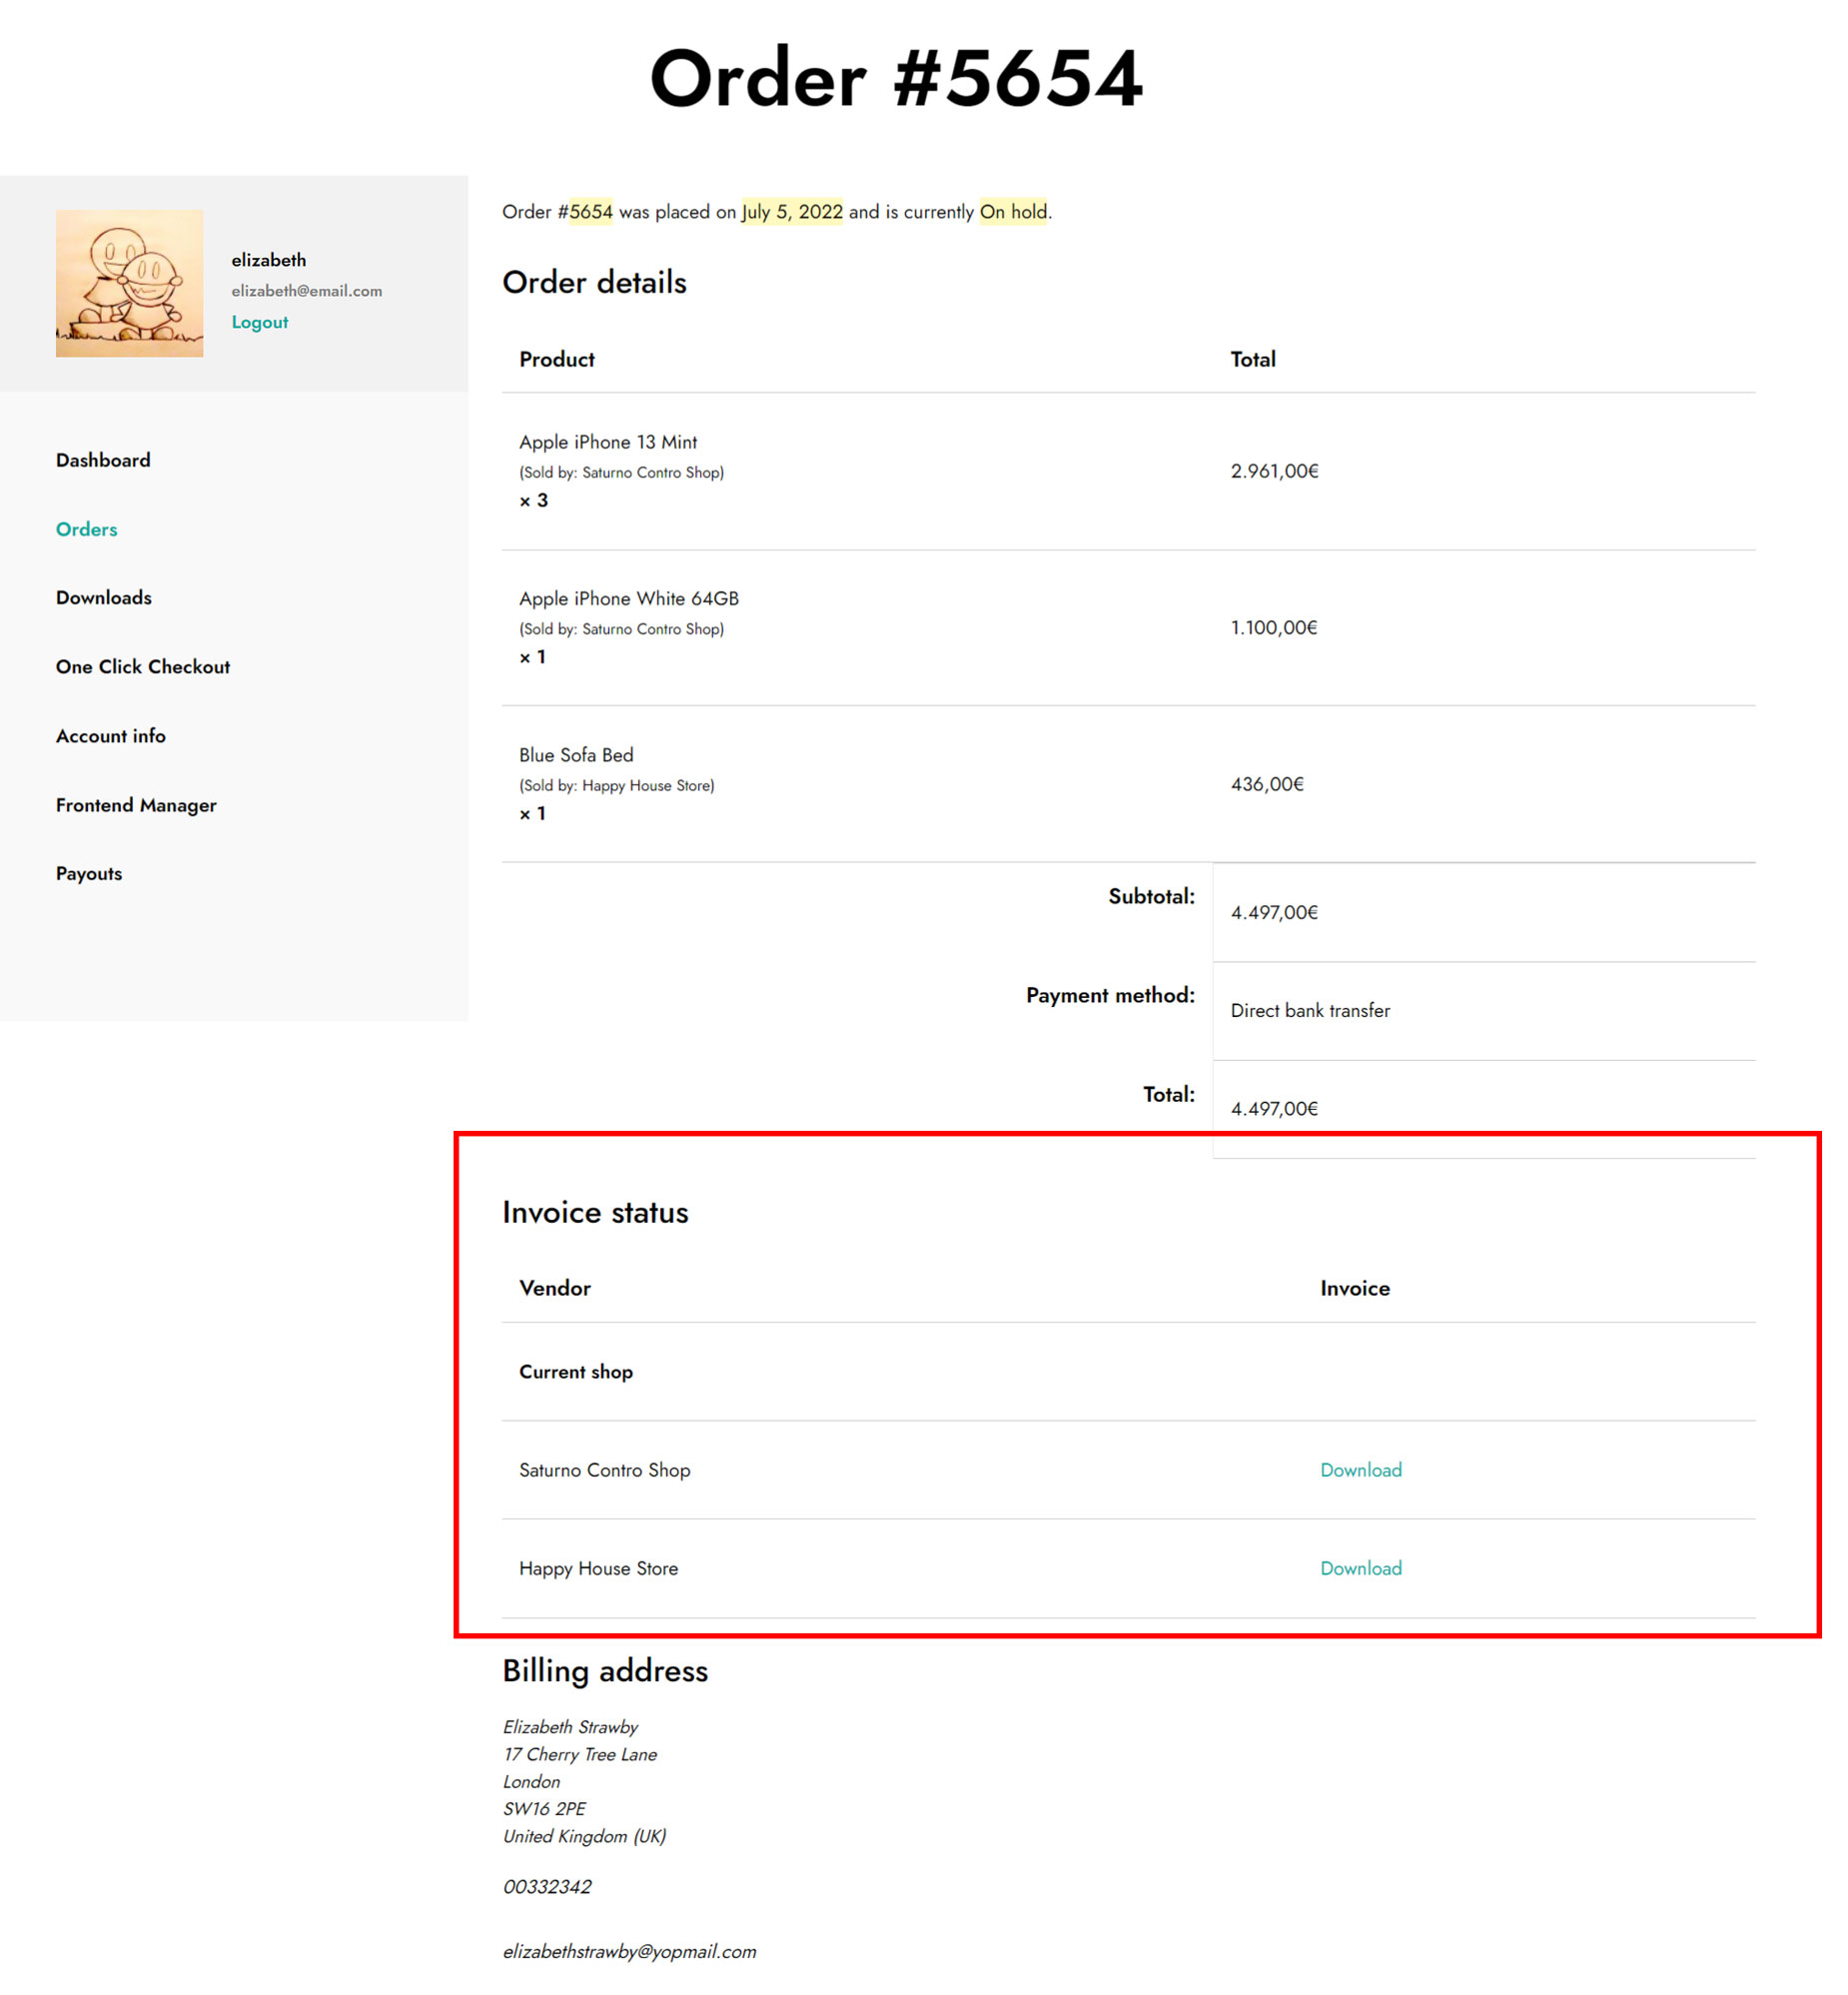
For what concerns users, the various documents can be downloaded from My Account > Orders. Administrator and/or vendor related to the order must generate the document to allow the user to have access to it. The customer will get one invoice for each vendor suborder that is generated for his/her purchase.
For further information about PDF Invoices & Packing Slips, please, refer to the official plugin documentation.
With YITH Product Add-ons, you can add paid or free advanced options to your product pages by using fields like radio buttons, checkboxes, drop-downs, custom text inputs, and more.
It is fully integrated with YITH Multi Vendor, so also your vendors can create advanced options to their products.
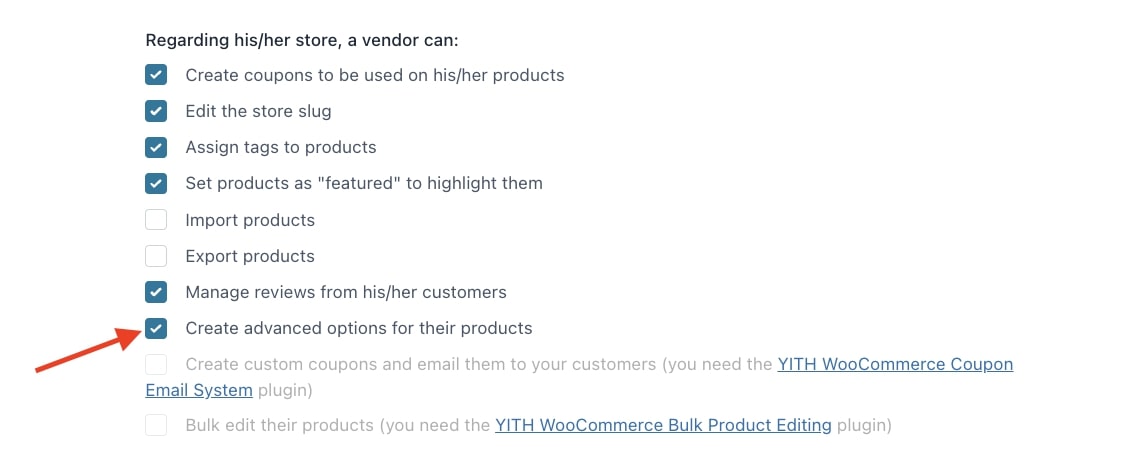
First of all make sure that the two plugins are installed and activated. Then, select Create advanced options for theirproducts in the option Regarding his/her store, a vendor can available in YITH > Multi Vendor > Vendors > Vendors permissions.
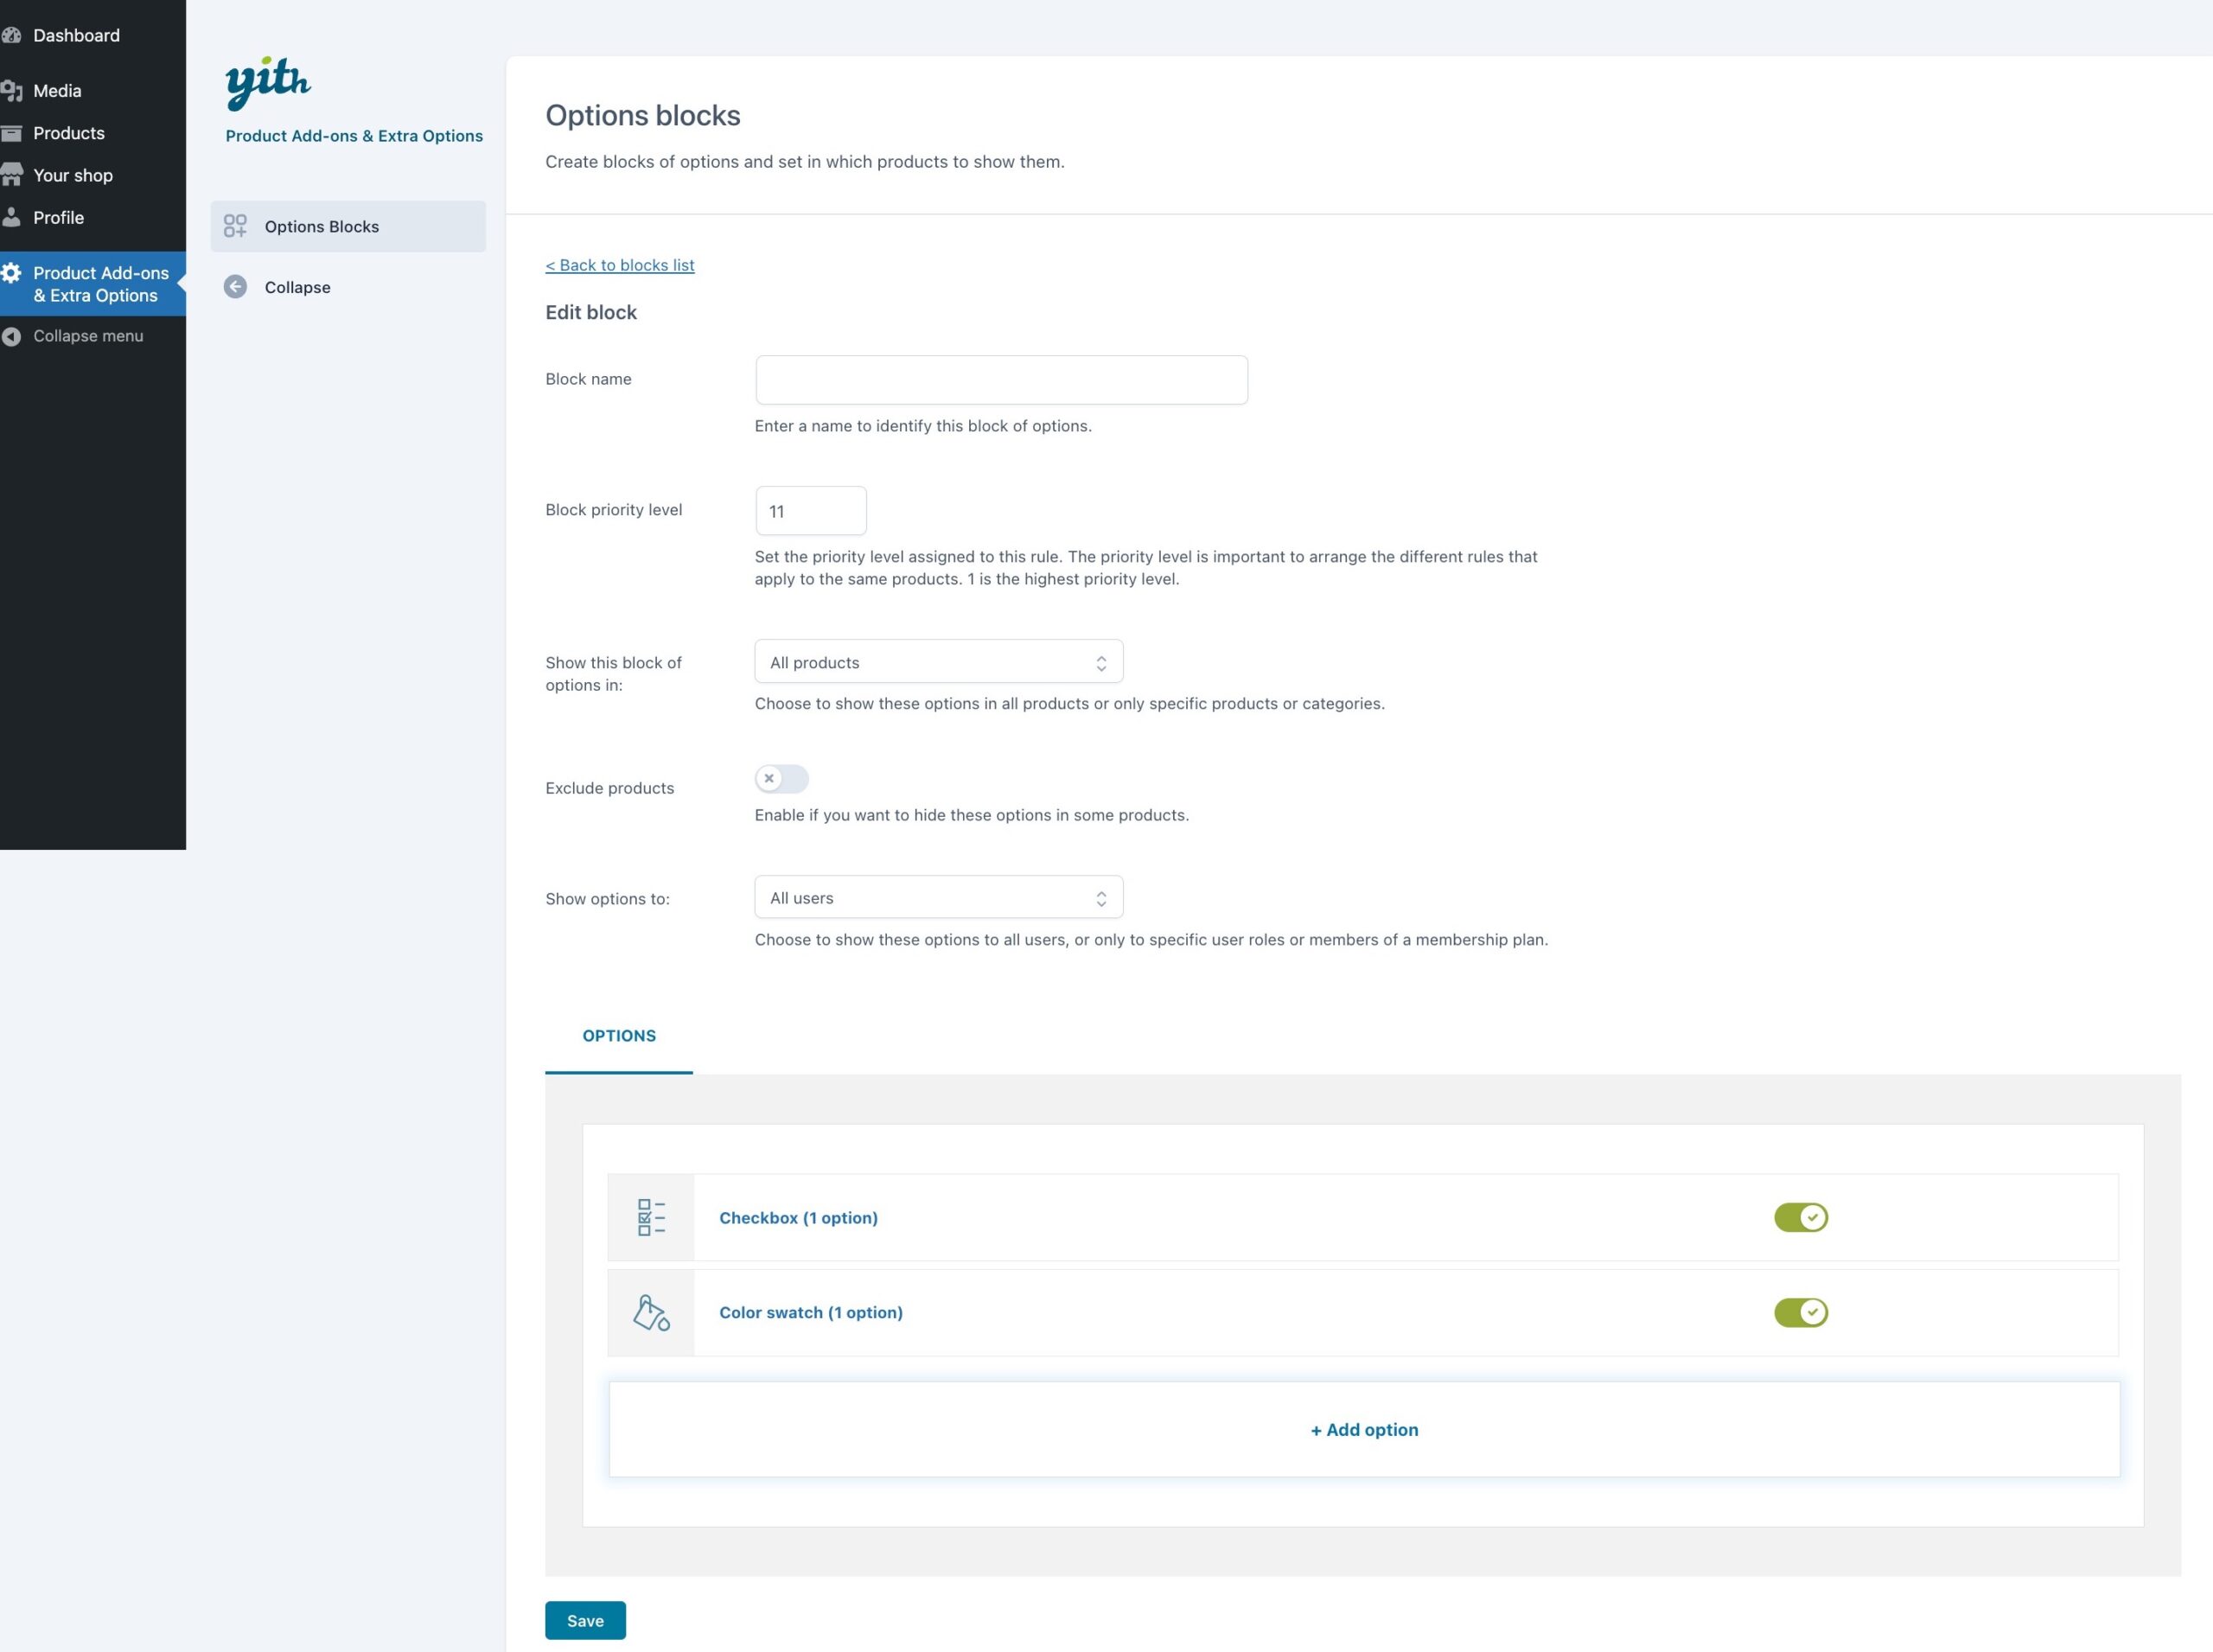
All vendors will be able to create their own options blocks from YITH > Product Add-ons panel:
Vendors can create blocks of options and show them on all their products, on specific products or on their products of selected categories only. Please, note that even if the marketplace has categories that cover products by multiple vendors, the options blocks created by one vendor will only show on their own products.
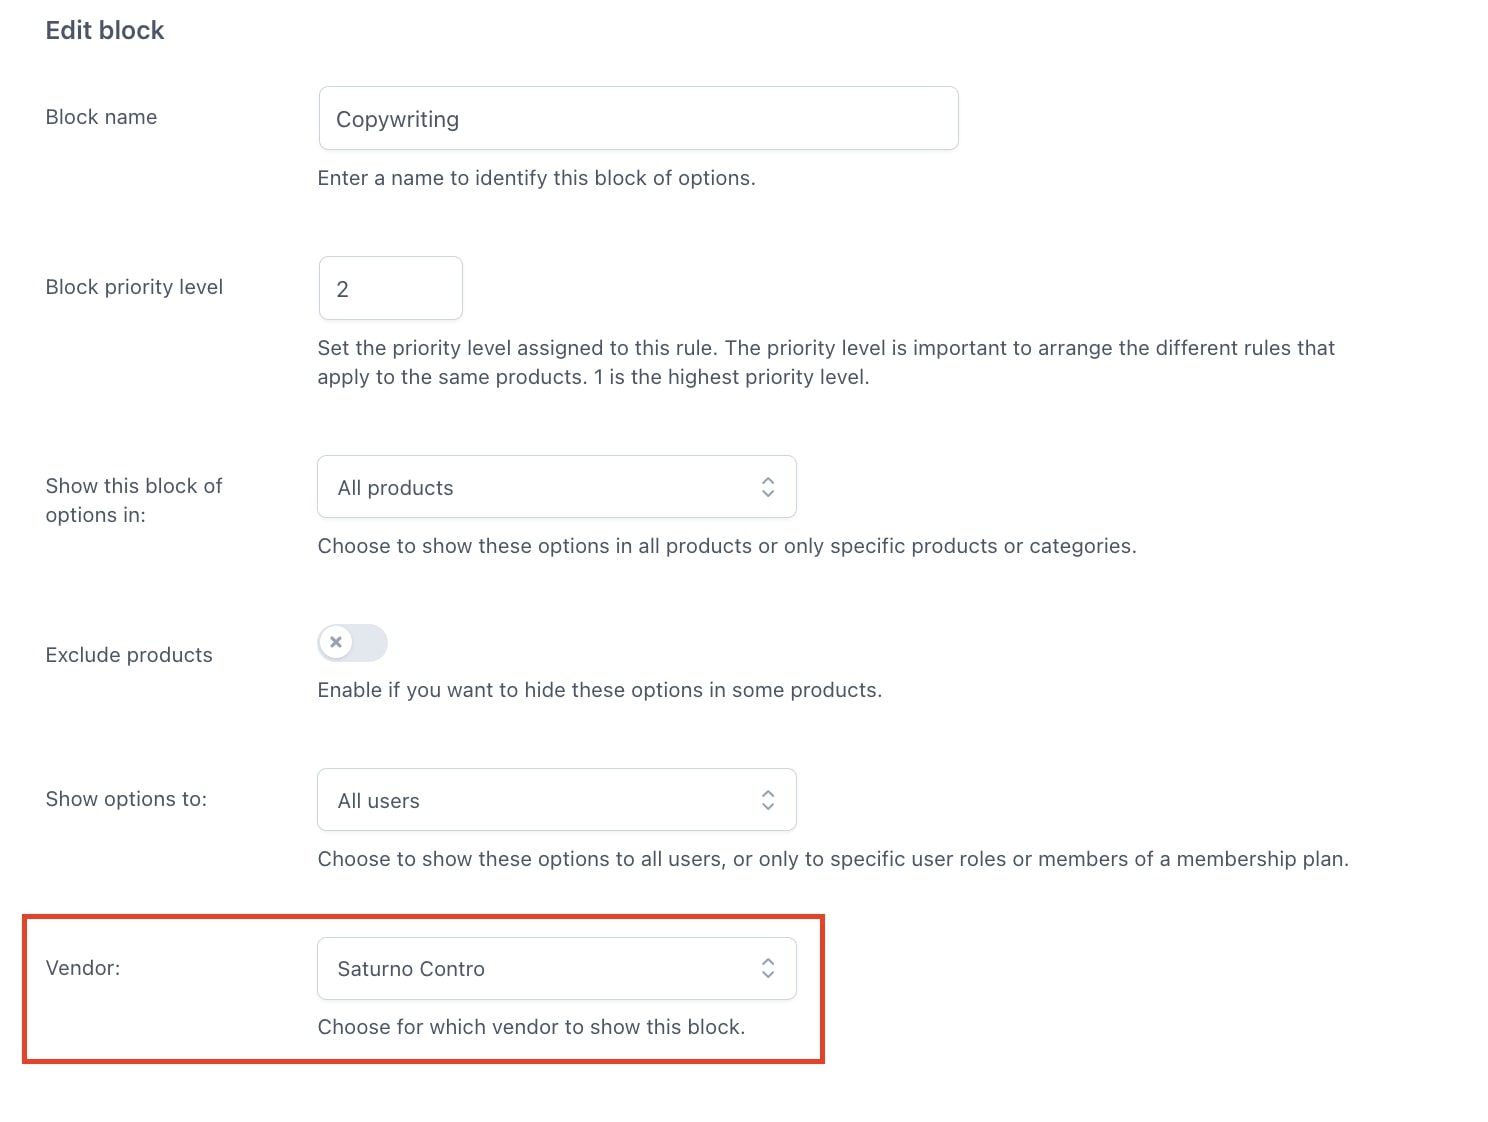
The admin can also assign a block to the products of one specific vendor only, from the Block setting > Vendor:
If the vendor that created that block is removed from the store, all the add-ons created and configured by him/her will be no longer available to the users. In order to show them again on the product page, you must set the Vendor option to No vendor.
For more details about how to use YITH Product Add-ons plugin, please, refer to the plugin documentation.
Additional integration with YITH Request a Quote
This integration supports also an extra step of integration with YITH Request a Quote, so users can send a quote request that includes selected options and the vendor will be able to see the selected options in the quote request and make a custom price estimate.
YITH WooCommerce Product Bundles allows you to create your custom bundles with the products of your shop and offer custom pricing or discounts.
The integration with YITH WooCommerce Multi Vendor lets you give every vendor the possibility to create their own bundles and include their own products in them.
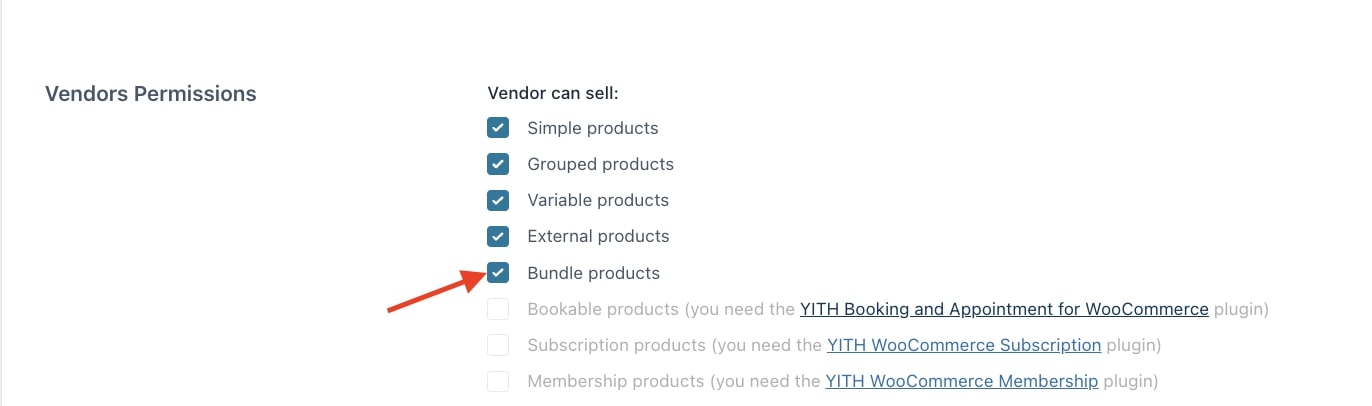
Just make sure you’ve installed and activated the premium version of both plugins. Then, select Bundleproducts in the option Vendor can sell available in YITH > Multi Vendor > Vendors > Vendors permissions.
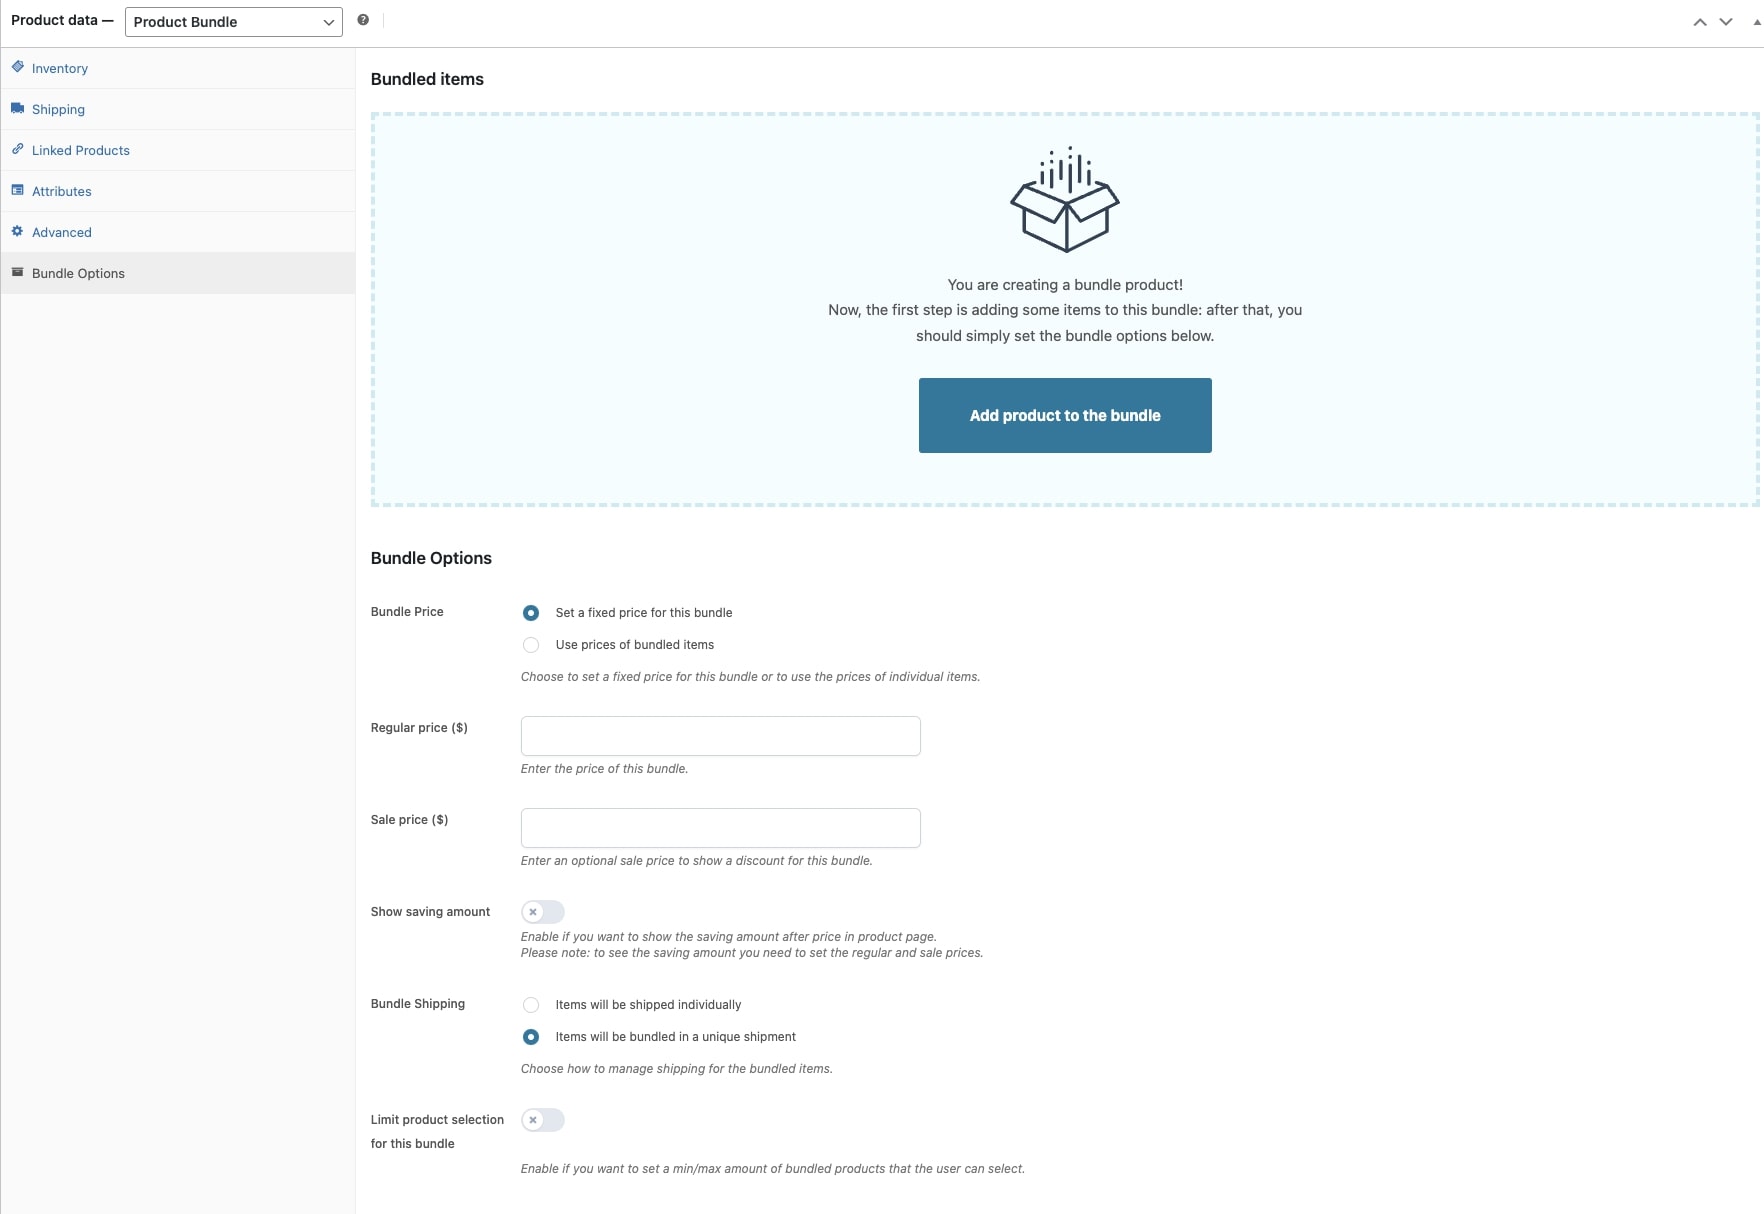
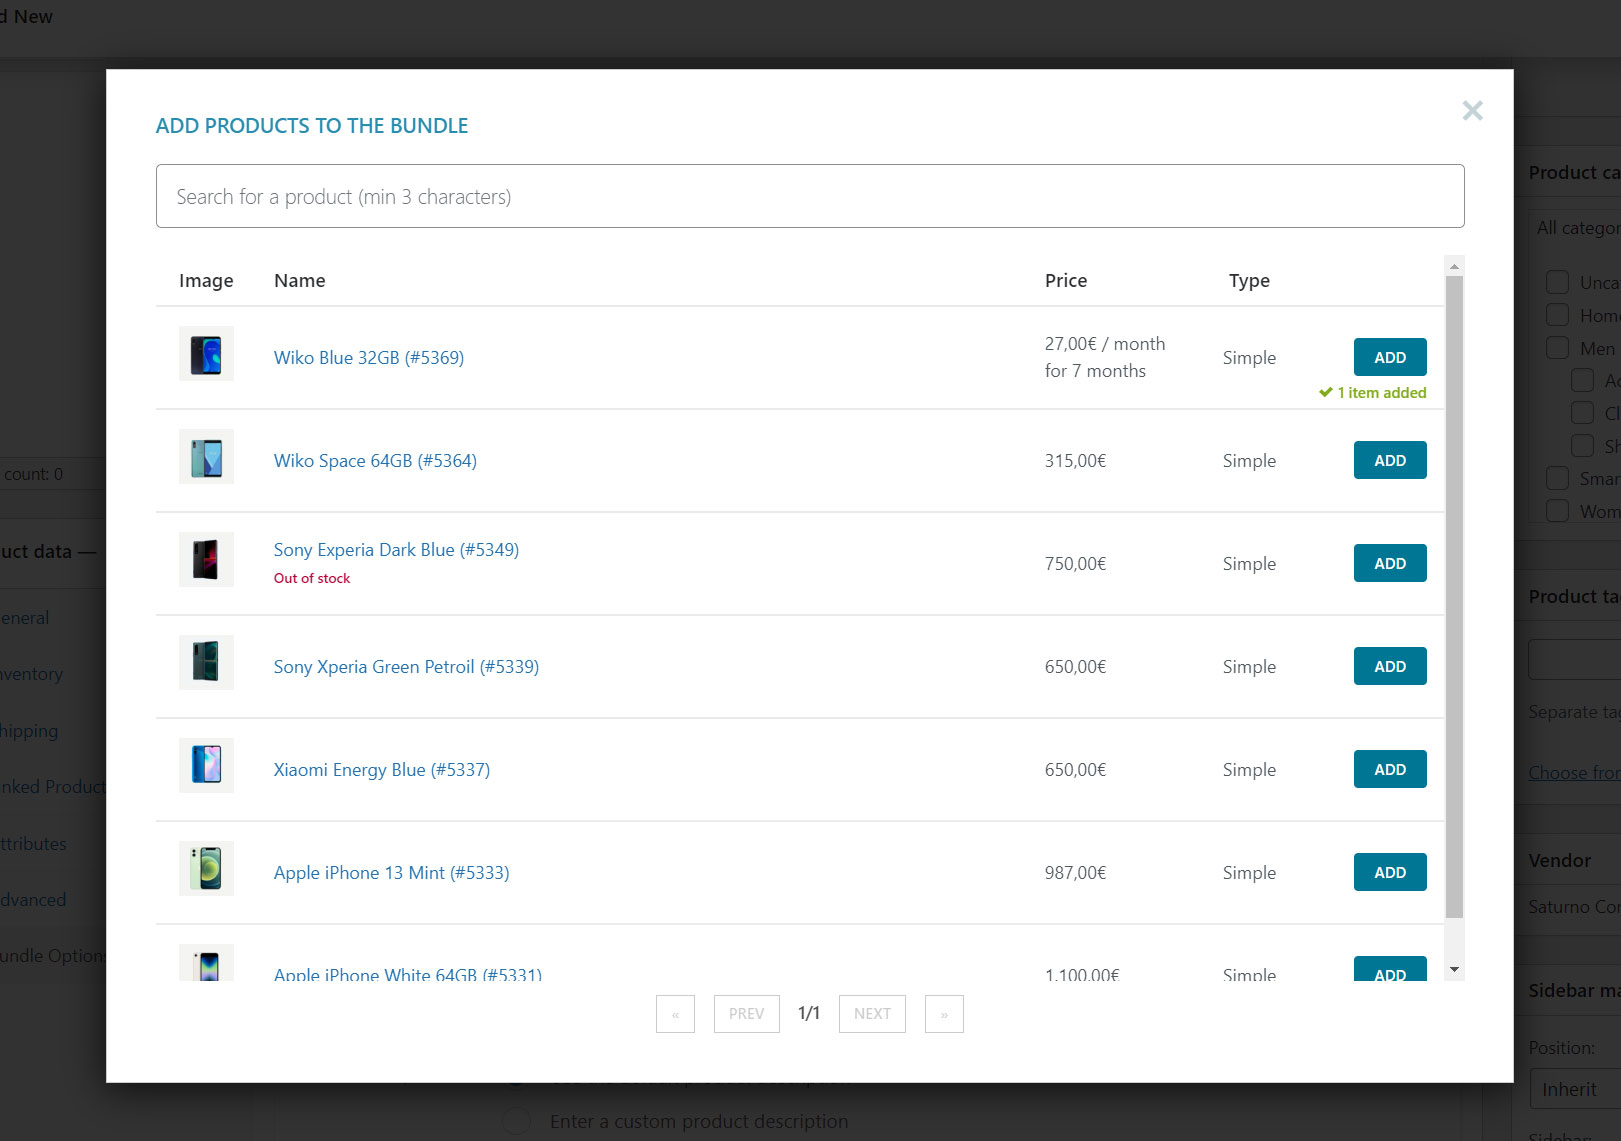
Now, your vendors will be able to create bundles with their own products.
For more details about how to configure your bundled products with YITH Product Bundles, please, refer to the official documentation.
YITH Product Shipping allows the admin to create more complex shipping rules and costs for the various products of the shop. For example, you can add a different cost by region or weight.
If used with YITH Multi Vendor, also your vendors will be able to add extra shipping rules on their own products, and the shipping costs will be attributed to the vendor as a separate commission.
To use this integration, you simply have to install and activate both plugins and it will be automatically enabled.
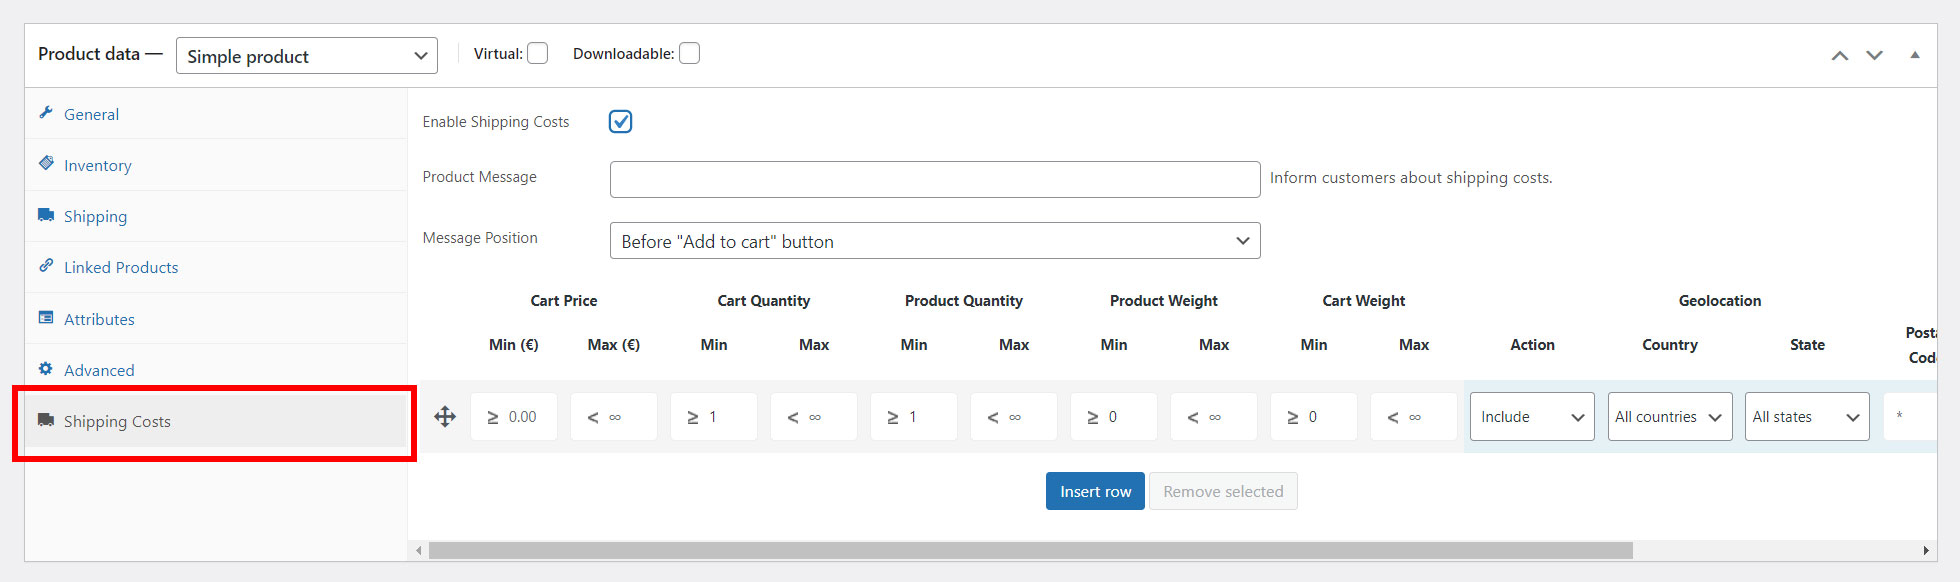
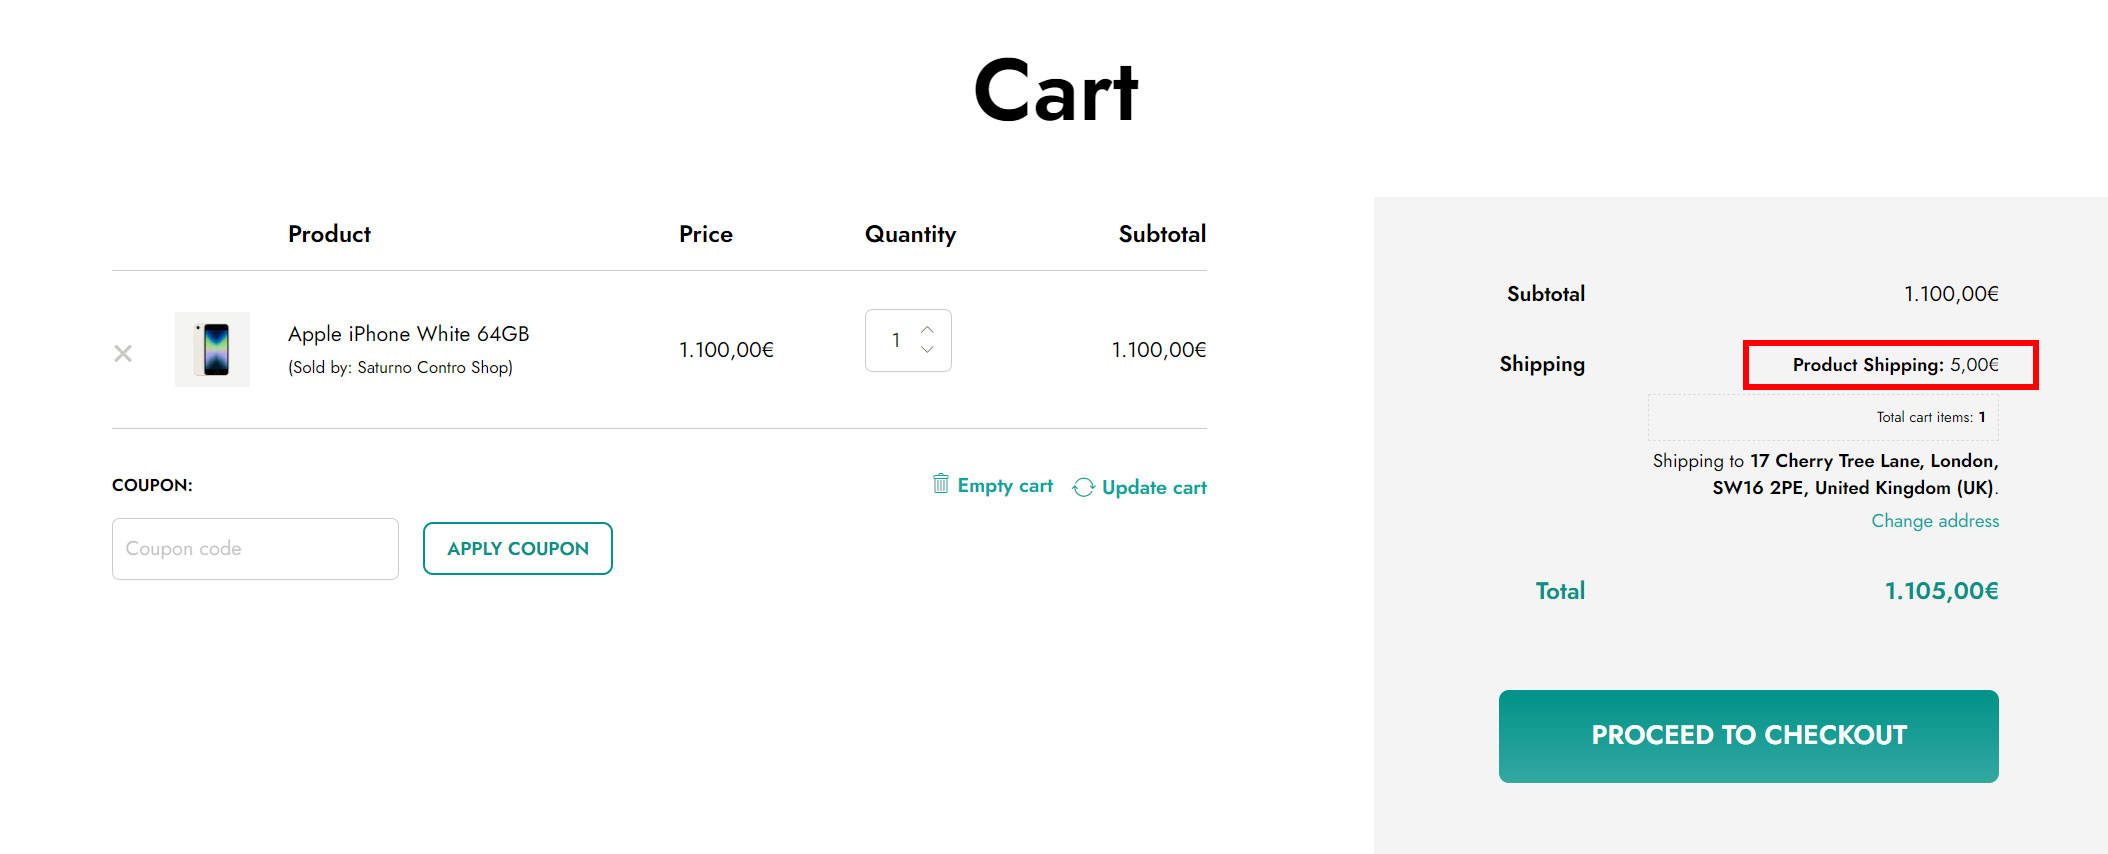
The vendor will be able to see the shipping cost table in the product edit details and add their own extra costs per product from the Shipping costs tab.
The plugin will automatically generate commissions on the product price and an additional commission line with the shipping costs. In this way, the shipping costs will entirely be attributed to the vendor.
With YITH Product Size Charts, you can help your customers to choose the right size by adding an informative size chart table on your products pages.
Thanks to the integration with YITH Multi Vendor, your vendors can also create their size charts and use them for their products.
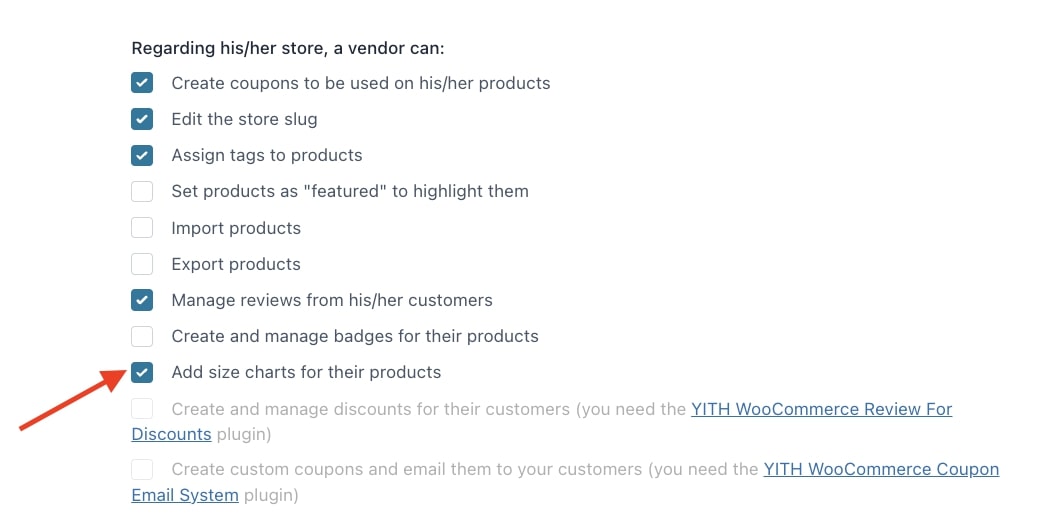
To enable all these features, activate both plugins, go toYITH > Multi Vendor > Vendors > Vendors Permissions and select Add size charts for their products in the option Regarding his/her store, a vendor can.
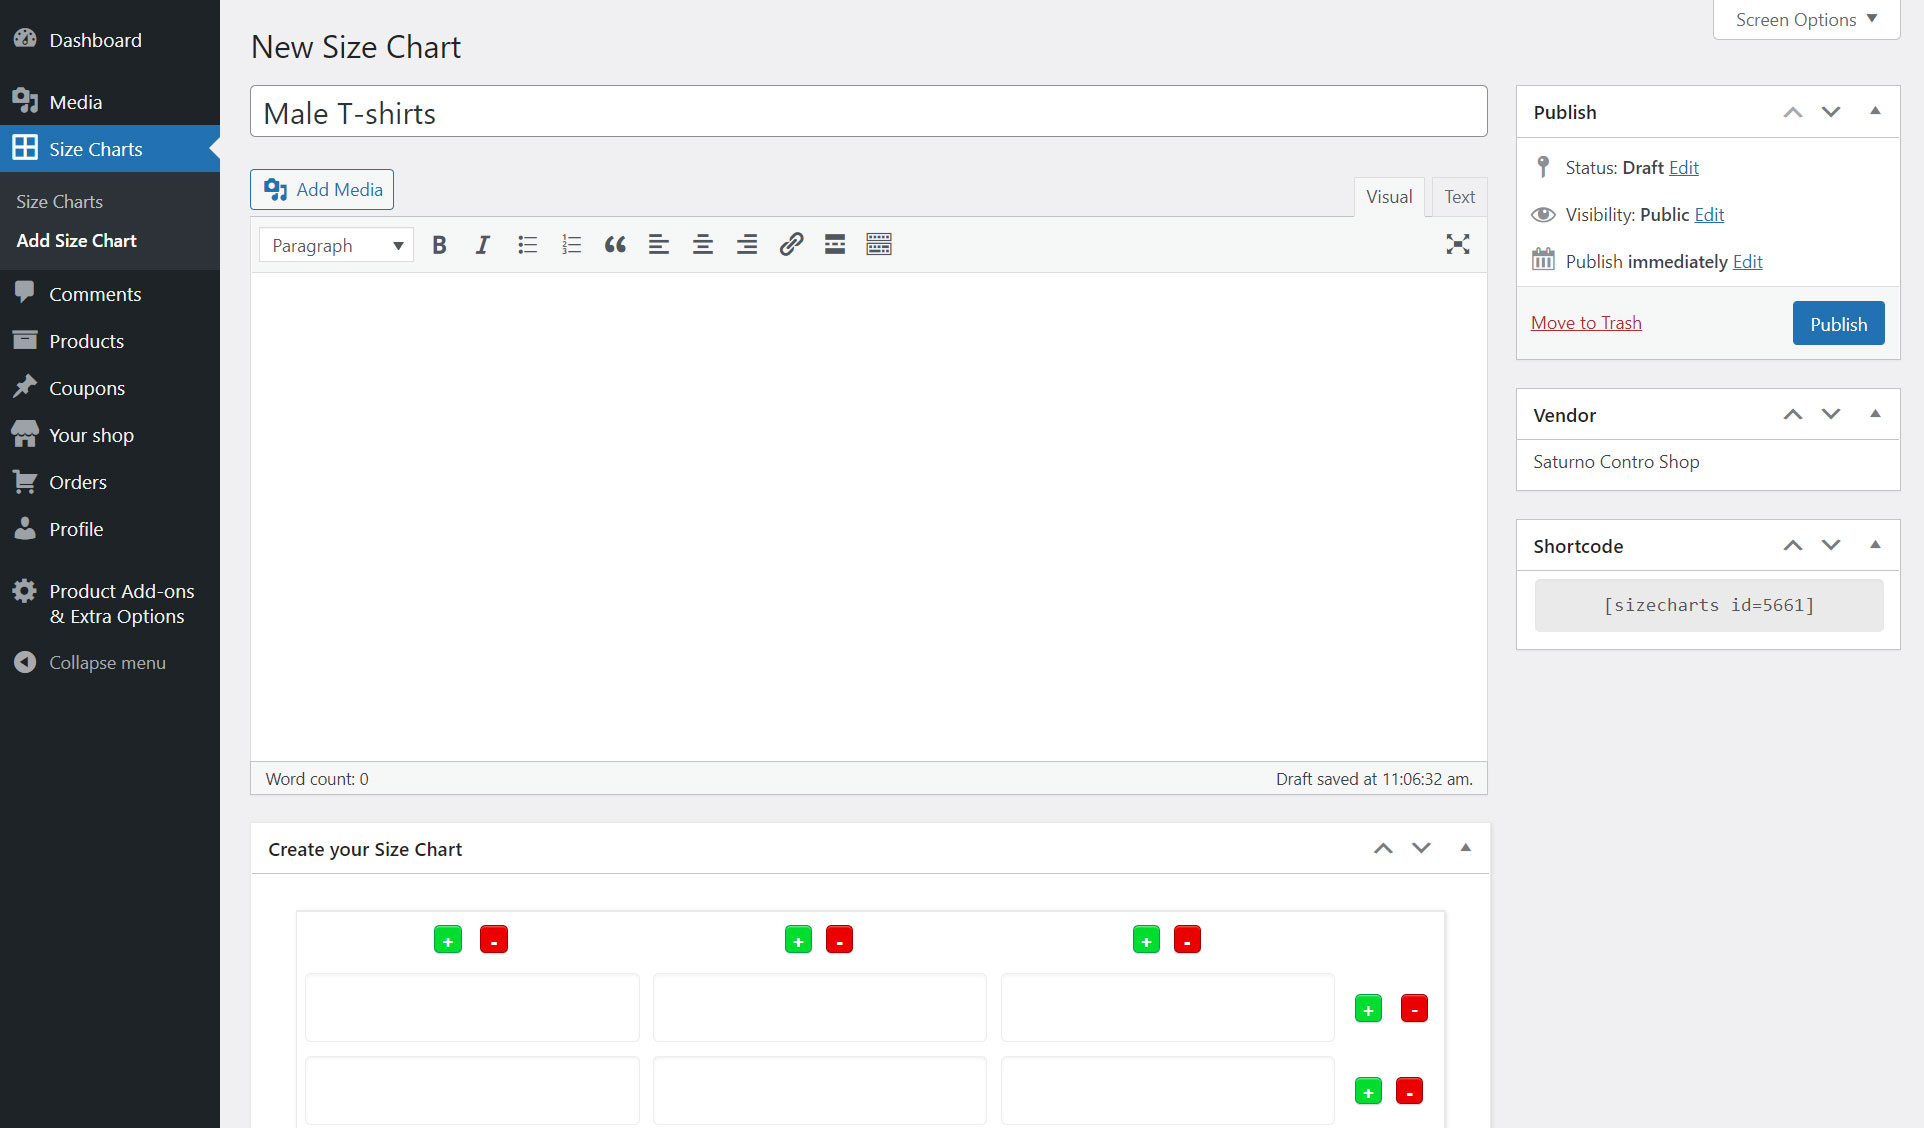
Now vendors will be able to see a Product size charts menu where they can configure their charts.
YITH Request a Quotefor WooCommerce allows all users to request the quote for one or more products of the shop. Thanks to the integration with Multi Vendor, the request will be automatically forwarded to the vendor that owns the product. The global administrator will receive the request only for products not related to any vendor.
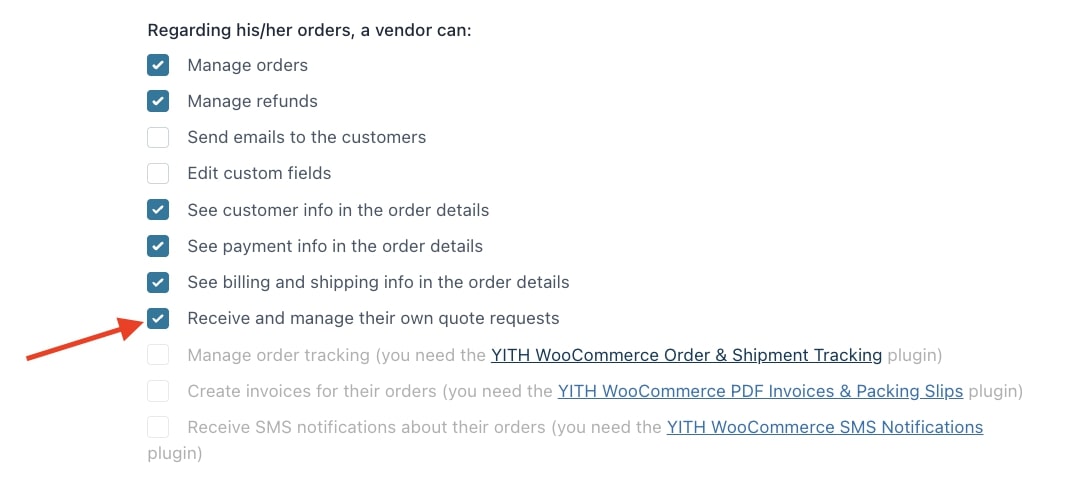
To enable the quote management option for your vendors, select Receive and managetheir own quote requests in the option Regarding his/her orders, a vendor can, available in YITH > Multi Vendor > Vendors > Vendors permissions.
Please, note that if you want your vendors to manage quote requests, you have to enable them to manage orders from the → Vendors permissions.
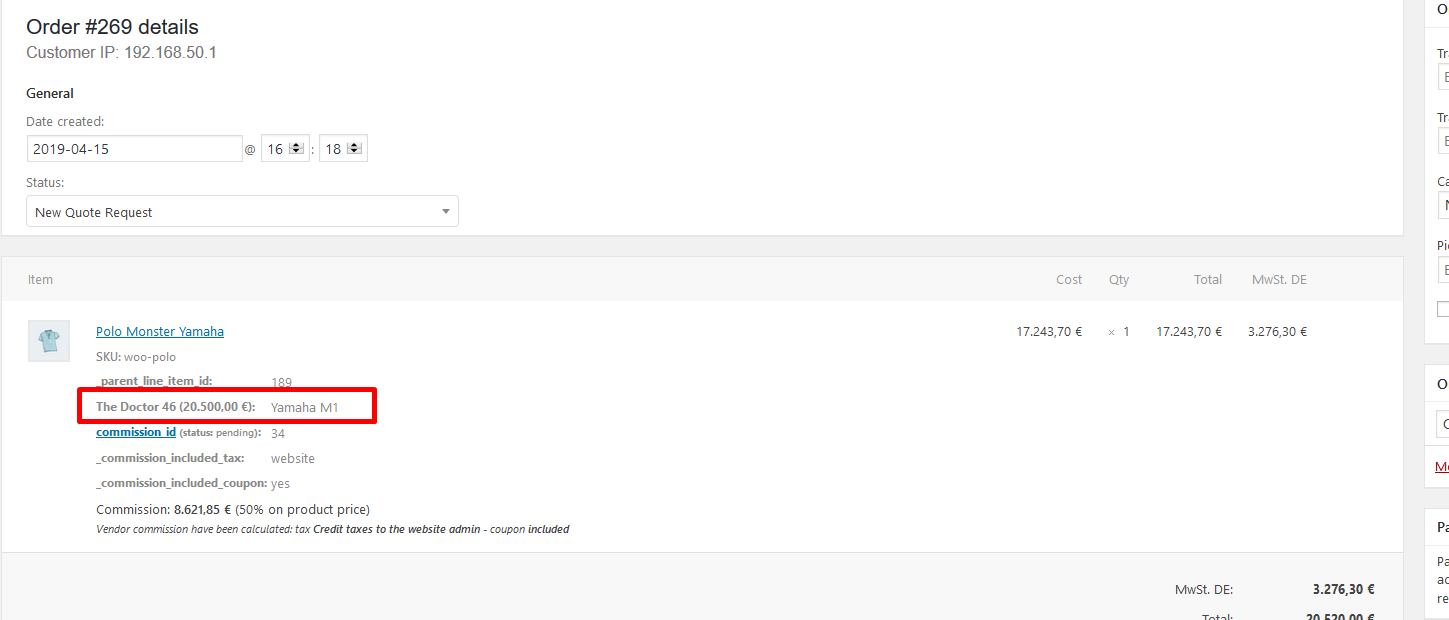
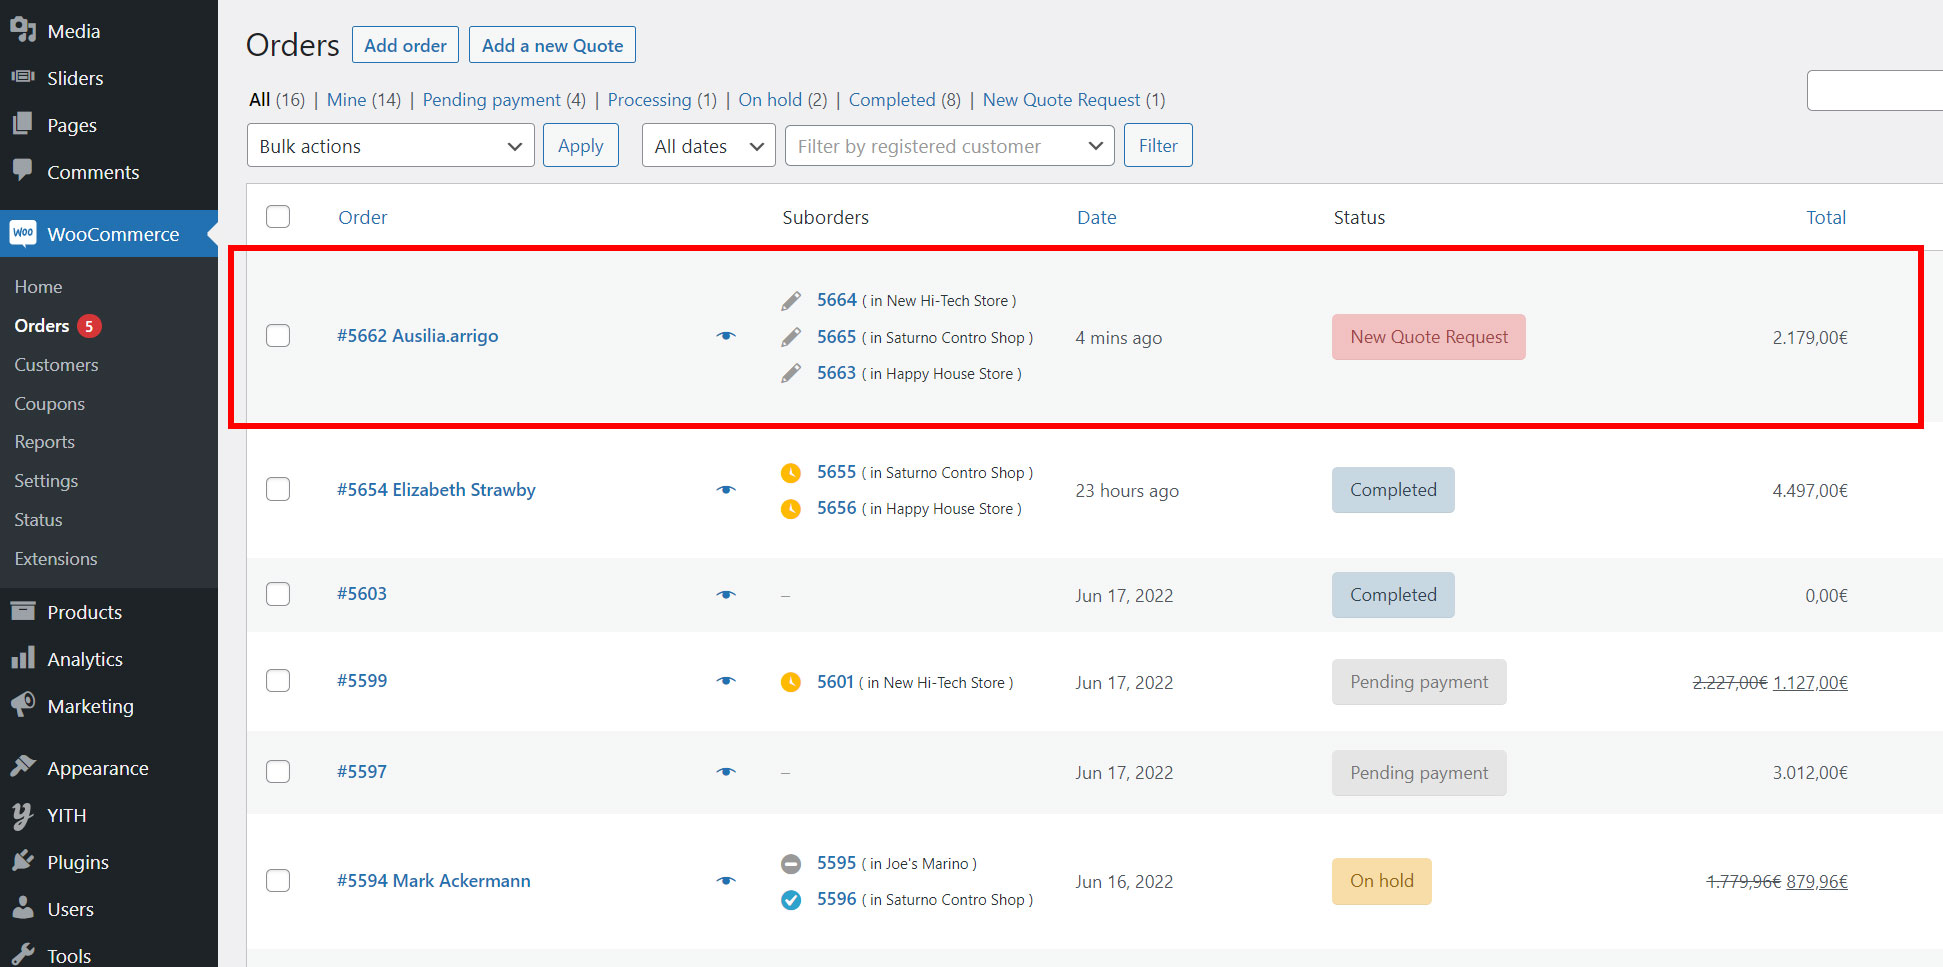
Every new request will appear as a New quote request in the Orders page, both for the admin and the vendor. The vendor will be able to add products to the quote (from the backend). If the vendor adds or removes products from the quote the commission will be recalculated.
Admin side
As for orders, the admin will receive one quote request that contains as many suborders as the vendors involved. So, in the example below, the customer has added products by 3 different vendors to the quote request, so 3 sub-orders will be generated as quote requests.
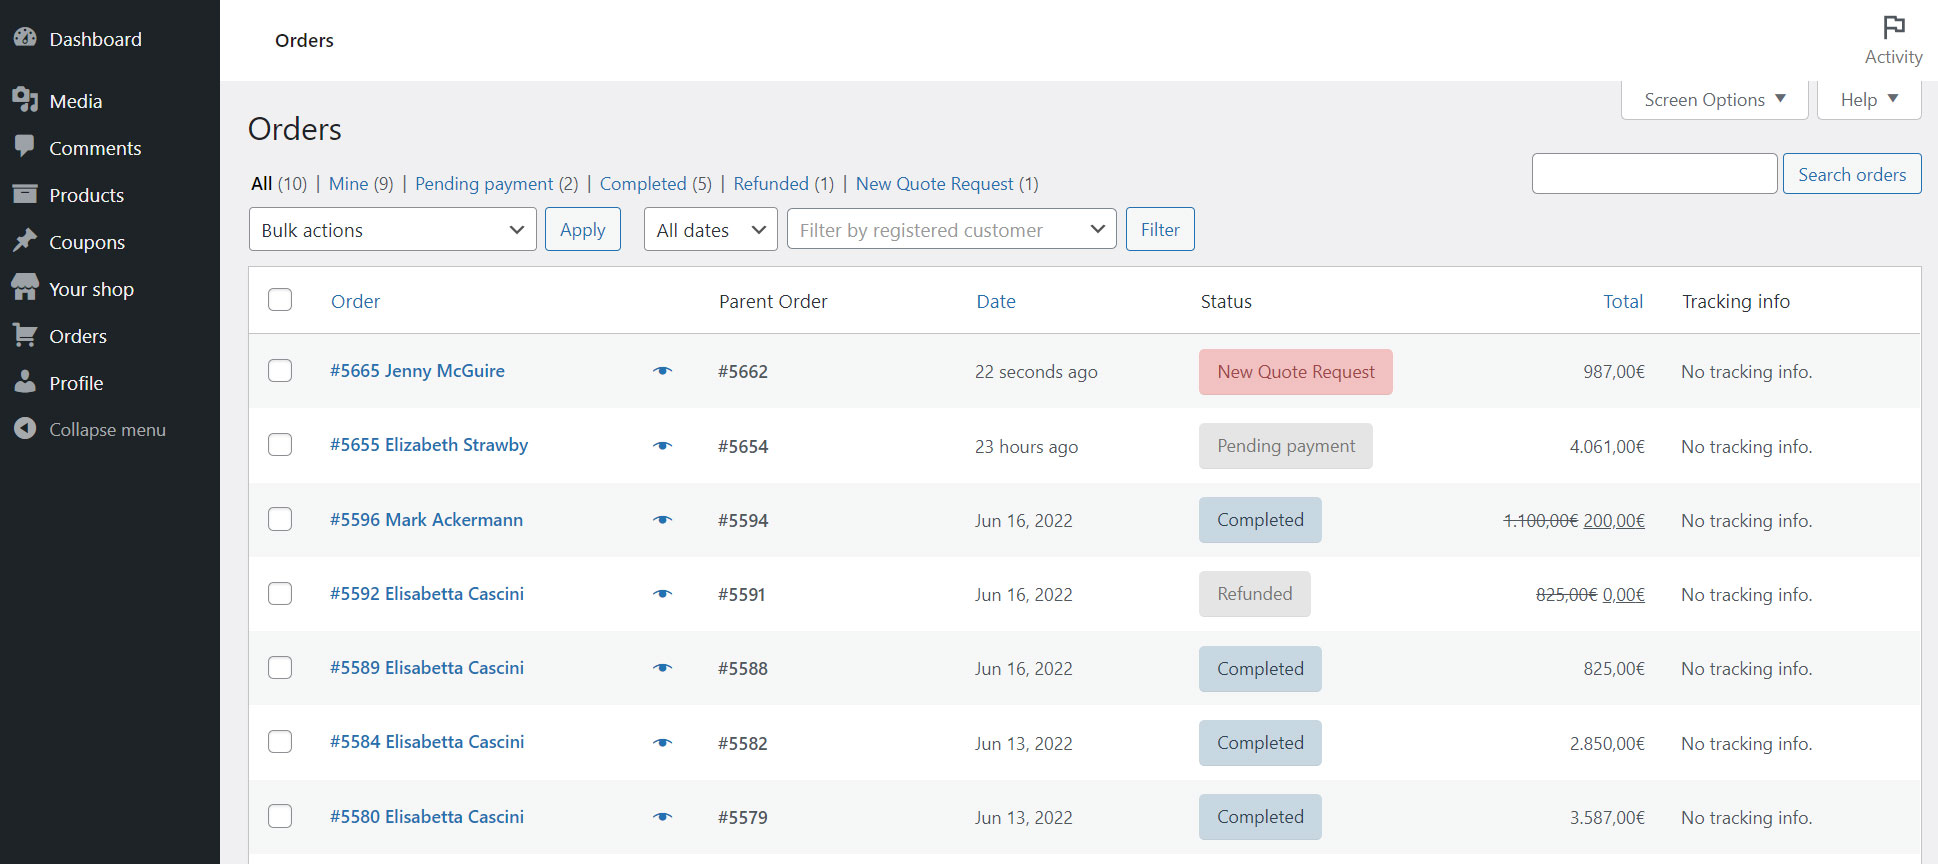
Vendor side
Each vendor will receive his/her suborder quote request in his/her Orders page, exactly as it happens for other orders in the marketplace.
For more details about the order management in Multi Vendor, please, refer to this page.
This integration supports also an extra step of integration with YITH Product Add-ons, so users can send a quote request that includes selected options and the vendor will be able to see the selected options in the quote request and make a custom price estimate.


