The plugin includes 4 shortcodes that you can use to print your vendors’ info anywhere on your site. Three of them also have an equivalent block with the same settings. Let’s see them all in detail.
- Vendors list (shortcode & block)
- Become a vendor (shortcode & block)
- Vendor name (shortcode & block)
- Vendor store header (shortcode only)
- Products by vendor ID (shortcode only)
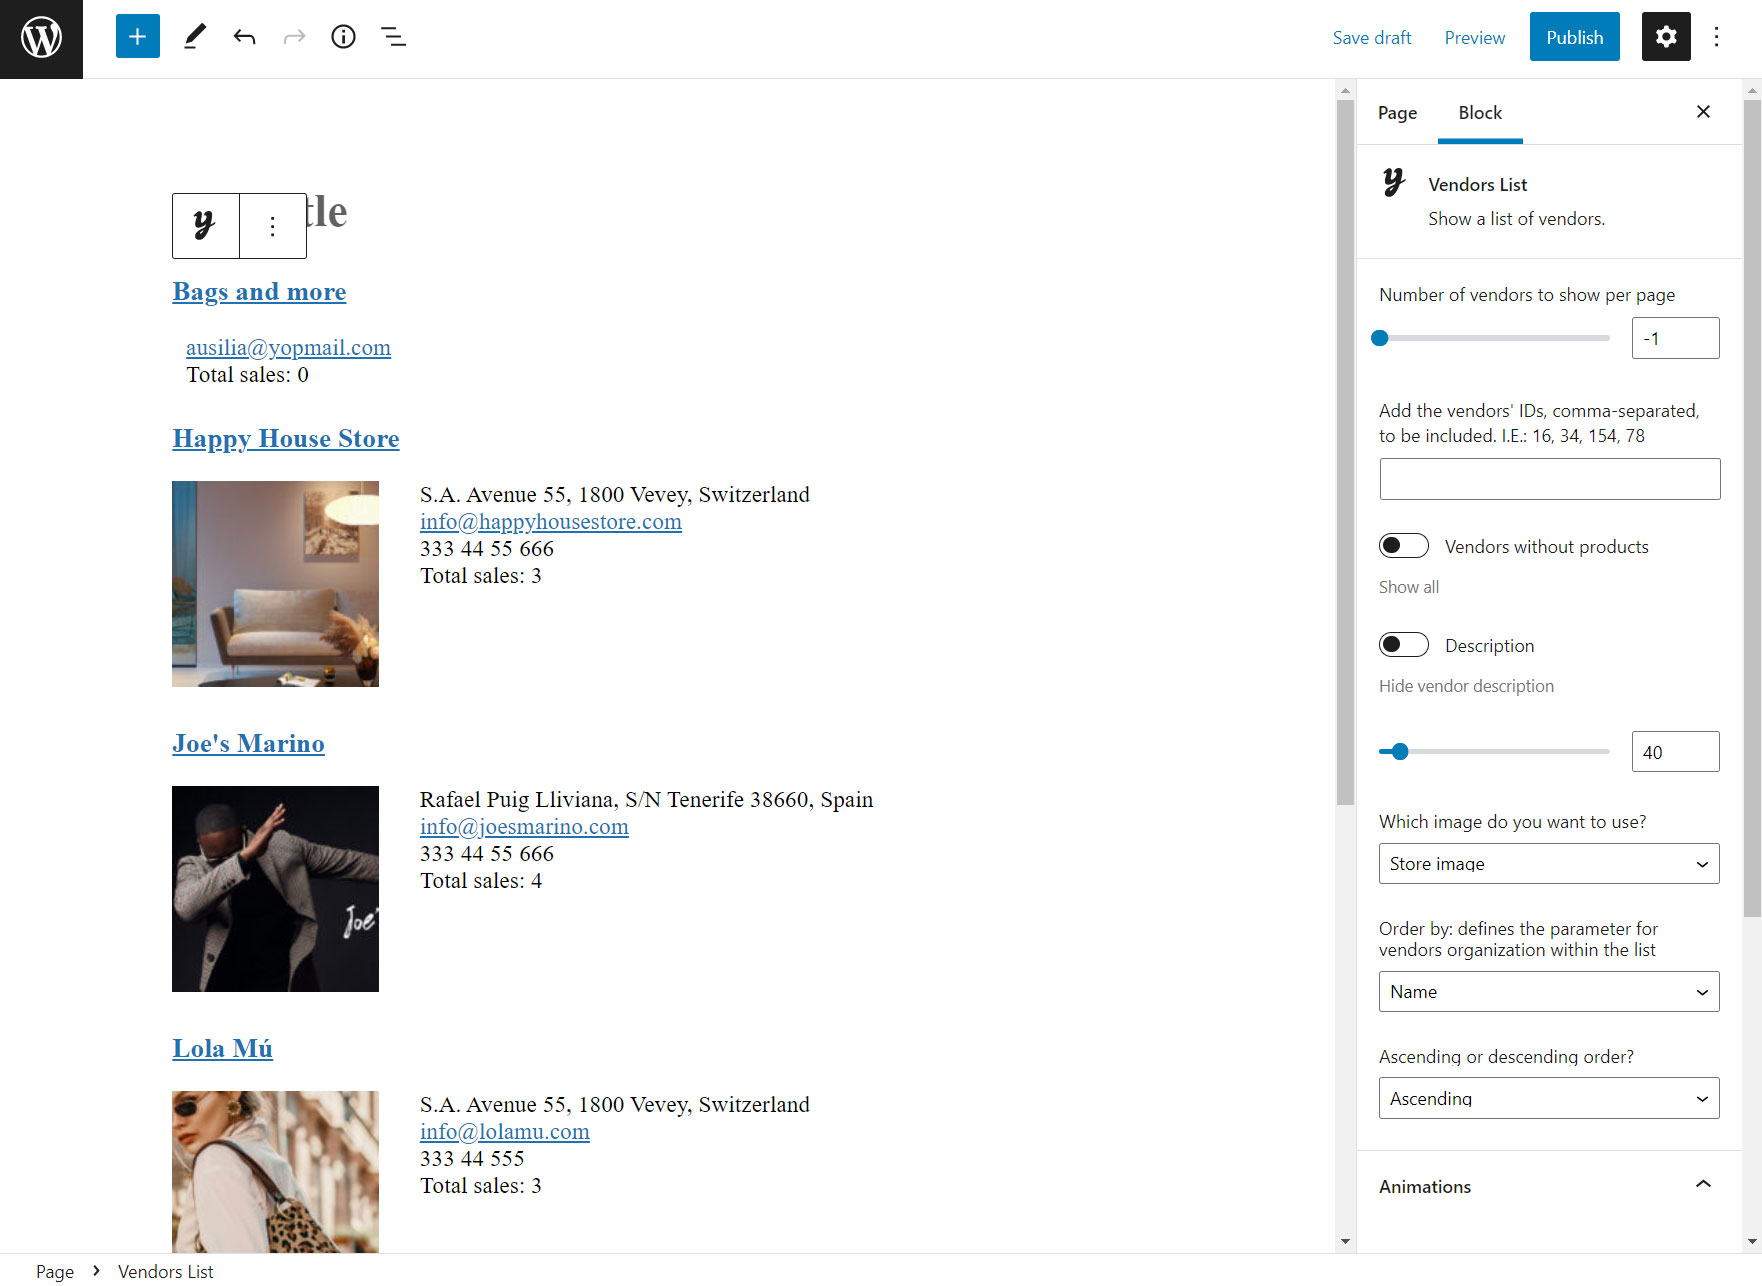
1. Vendors list

[yith_wcmv_list]
Add this shortcode into your page to show the complete list of your vendors in the pages of your site.
The shortcode supports the following attributes:
- per_page: it lets you paginate the list if you add a maximum number of vendors per page. If you want to show them all, just type the default value -1.
- hide_no_products_vendor: hide the vendors without products (default: false).
- show_description: add the vendor description for each vendor (default: false).
- description_lenght: number of description characters to display (if enabled) (Default: 40).
- vendor_image: [store/gravatar] allows selecting the image type to combine to vendor’s profile. You can choose between the default one (the store picture) or the gravatar connected to vendor’s email address (gravatar). (Default: store).
- order_by: [name/slug/description] defines the parameter for vendors organization within the list. Note: for this arg, the allowed values are ‘name’, ‘slug’, ‘term_group’, ‘term_id’, ‘id’, ‘description’. (Default: name).
- order: [asc/desc] ascending or descending order. Allowed value: ASC or DSC (Default: ASC).
- include: it allows show only selected vendors, by simply typing their vendor ID. Separate vendors with commas if you want to show more than one.
This shortcode has an equivalent block with the same settings.
2. Become a vendor
[yith_wcmv_become_a_vendor]
This shortcode allows adding the vendor registration form anywhere on your site. This form will automatically get the fields that you’ve set up in the → Vendors registration settings.

Make sure you add this shortcode onto the page that you’ve selected as Vendor registration page in the → Vendor registration settings.
If you prefer your users to register as vendors when they register as users, please, make sure you enable the Vendor registration on My Account page option, again from the → Vendor registration settings.
This shortcode has an equivalent block.

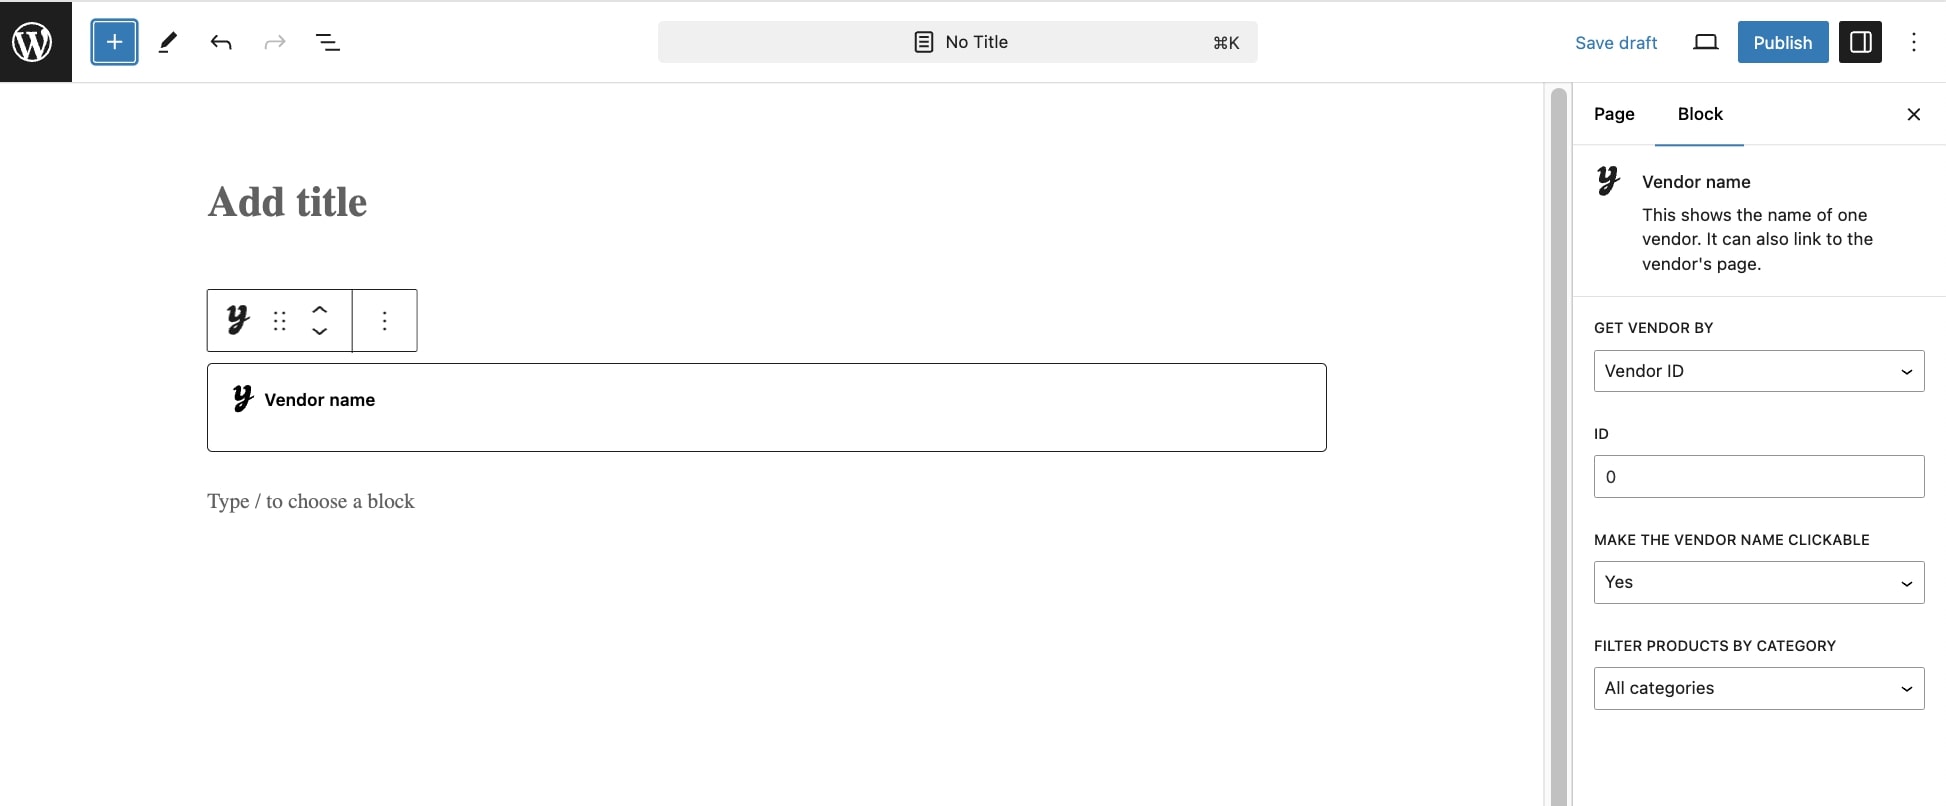
3. Vendor name
[yith_wcmv_vendor_name]
With this shortcode you can print the vendor’s name and make it either available as simple text or as a link.
This shortocde accepts 3 attributes:
- show_by: you can show the vendor name for a product, a vendor or a user (default: vendor)
- value: the vendor ID, the product ID or the user ID (default: 0)
- type: you can show a clickable vendor name or not. Use link to make the vendor name clickable, otherwise text (default: link).
This shortcode has an equivalent block with the same settings.
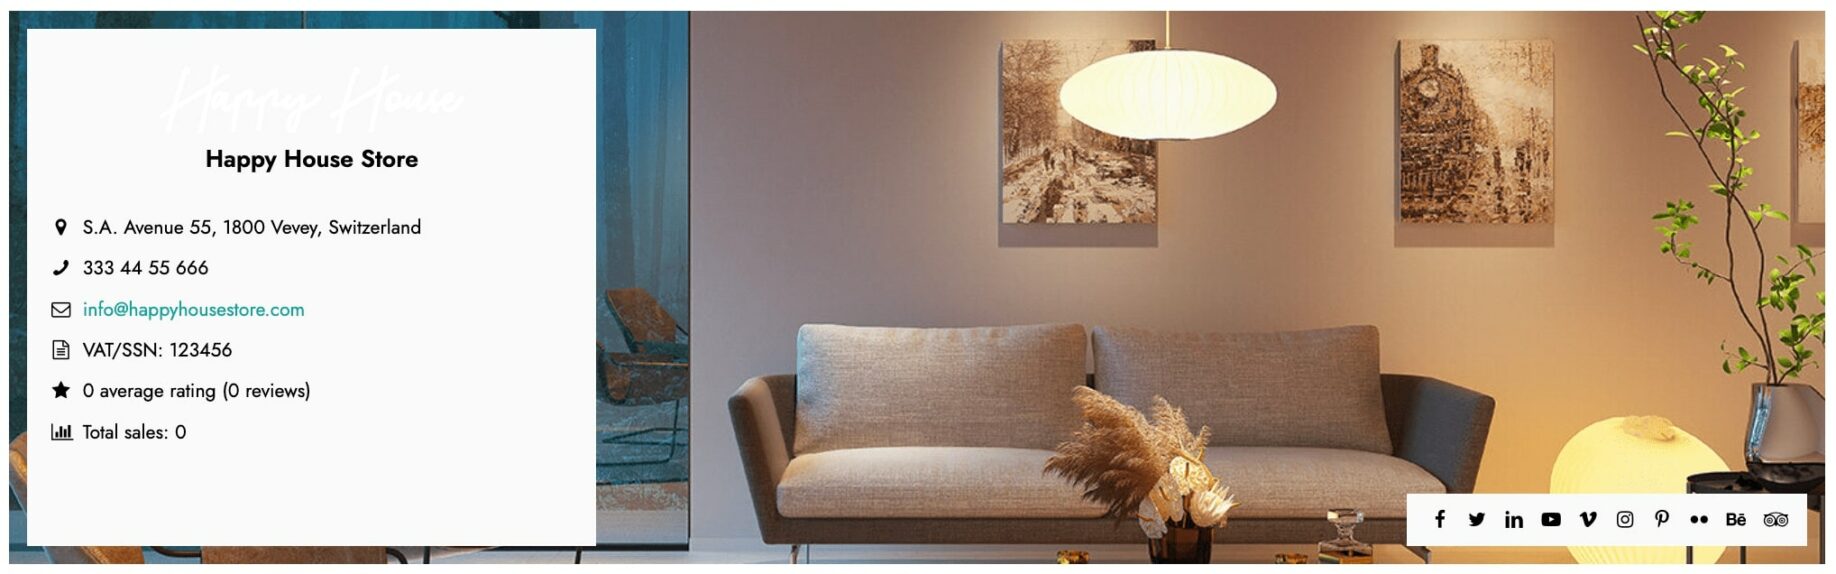
4. Vendor store header
[yith_wcmv_vendor_store_header]
This block allows printing all vendor information, which can be useful if you need to customize the vendor page template.
5. Products by vendor ID
[yith_wcmv_vendor_products vendor_id=""]
This shortcode allows showing products by vendor ID, so, you can show only the products of one or more specific vendors.
You can find the vendor ID in the Vendors List table: make sure the vendor ID column has been enabled from the Screen options. For more details, please, refer to this page.
You can use the following attributes, categorized in two groups.
Display Product Attributes
- limit -> The number of products to show. Use the default -1 value to show all products.
- columns –> The number of columns to show. Default: 4.
- paginate –> Paginate products. To be used in combination with limit. Default:
false. Set totrueto paginate. - orderby –> Sorts the products shown by the selected option. One or more options can be entered by adding both slugs with a space between them. Available option:
date(the date when the product was published). - id –> The ID of one or more selected products to show.
- menu_order –> The Menu Order, if set (lower numbers show first).
- popularity –> The number of purchases.
- rand –> Randomly order the products on page load (may not work with sites that use caching, as it could save a specific order).
- rating –> The average product rating.
- title –> The product title. This is the default orderby mode.
- skus –> Comma-separated list of product SKUs.
- category – >Comma-separated list of category slugs.
- tag –> Comma-separated list of tag slugs.
- order –> States whether the product order is ascending (ASC) or descending (DESC), using the method set in orderby. Default: ASC.
- class –> Adds an HTML wrapper class so you can modify the specific output with custom CSS.
- on_sale –> Retrieves on sale products. Not to be used in conjunction with best_selling or top_rated.
- best_selling –> Retrieves the best selling products. Not to be used in conjunction with on_sale or top_rated.
- top_rated –> Retrieves top-rated products. Not to be used in conjunction with on_sale or best_selling.
Content Product Attributes
- attribute –> Retrieves products using the specified attribute slug.
- terms –> Comma-separated list of attribute terms to be used with attribute.
- terms_operator –> Operator to compare attribute terms. Available option: AND (it will show products from all of the chosen attributes); IN (it will show products with the chosen attribute. Default: terms_operator value; NOT IN (it will show products that are not in the chosen attributes).
- tag_operator –> Operator to compare tags. Available options are: AND (it will show products from all of the chosen tags); IN (it will show products with the chosen tags. Default: tag_operator value); NOT IN (it will show products that are not in the chosen tags).
- visibility –> It shows products based on the selected visibility. Available options are: visible (products visible on shop and search results. Default: visibility option; catalog (products visible on the shop only, but not search results); search (products visible in search results only, but not on the shop); hidden (products that are hidden from both shop and search, accessible only by direct URL); featured (products that are marked as Featured Products).
- category –> Retrieves products using the specified category slug.
- tag –> Retrieves products using the specified tag slug.
- cat_operator –> Operator to compare category terms. Available options: AND (it will show products that belong to all of the chosen categories); IN (it will show products within the chosen category. Default: cat_operator value); NOT IN (it will show products that are not in the chosen category).
- ids – > It will show products based on a comma-separated list of Post IDs.
- skus – > It will show products based on a comma-separated list of SKUs.
Please note – If the product is not showing, make sure it is not set to Hidden in the Catalog Visibility.
Special Product Attributes
These attributes cannot be used with the “Content Product Attributes” listed above, as they will likely cause conflict and not display. You should only use one of the following special attributes.
- best_selling –> It will show your best selling products. Set to: true.
- on_sale –> It will show your on-sale products. Set to: true.