The “Announcements” module allows the admin to create announcements that will be shown on the vendors’ dashboards. Let’s see how to use it…
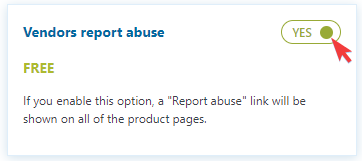
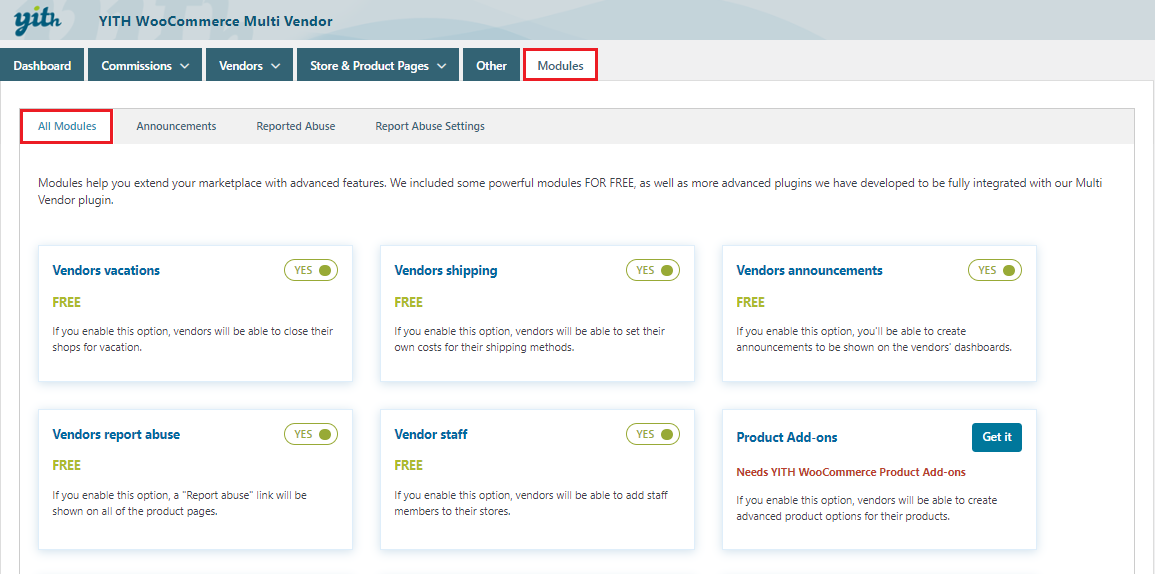
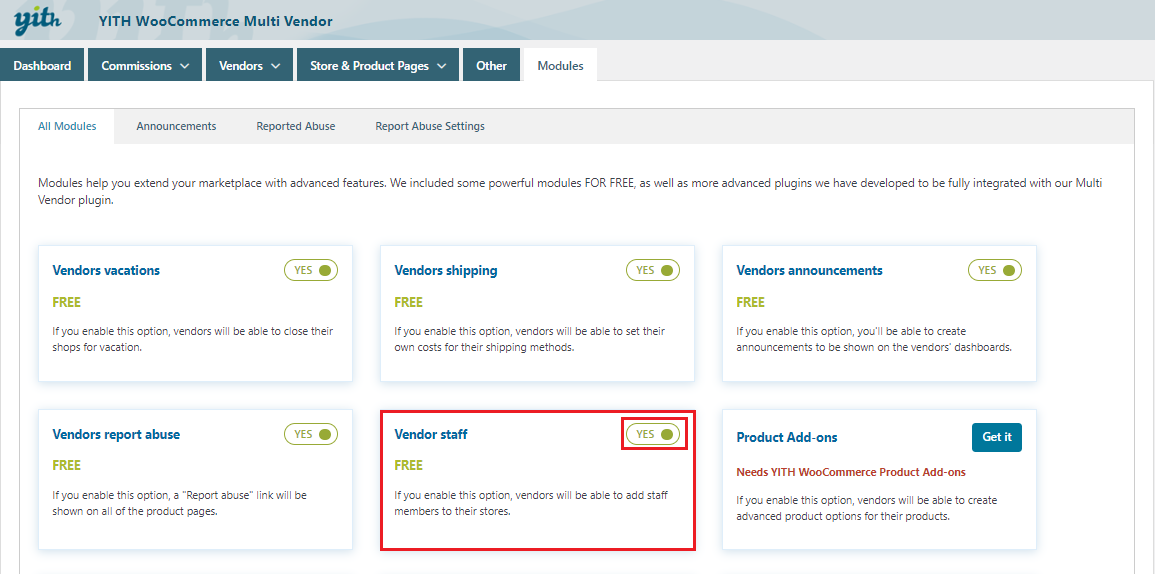
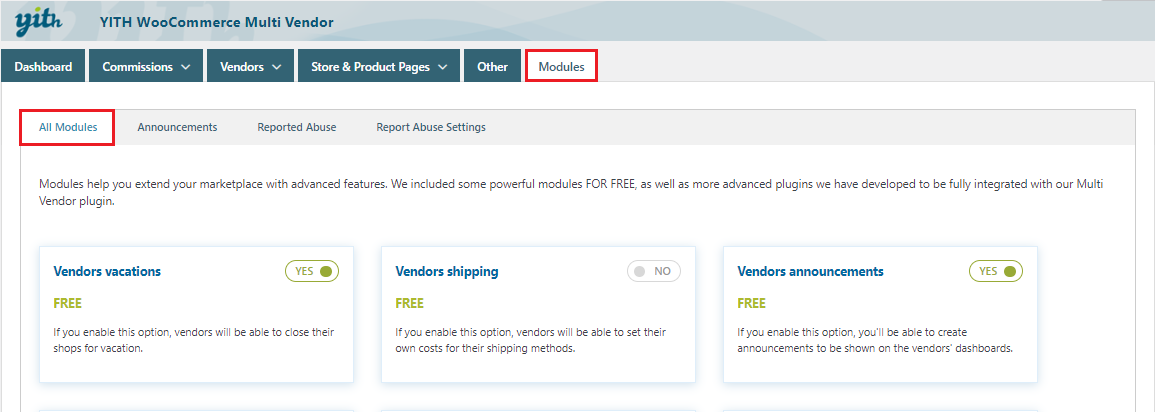
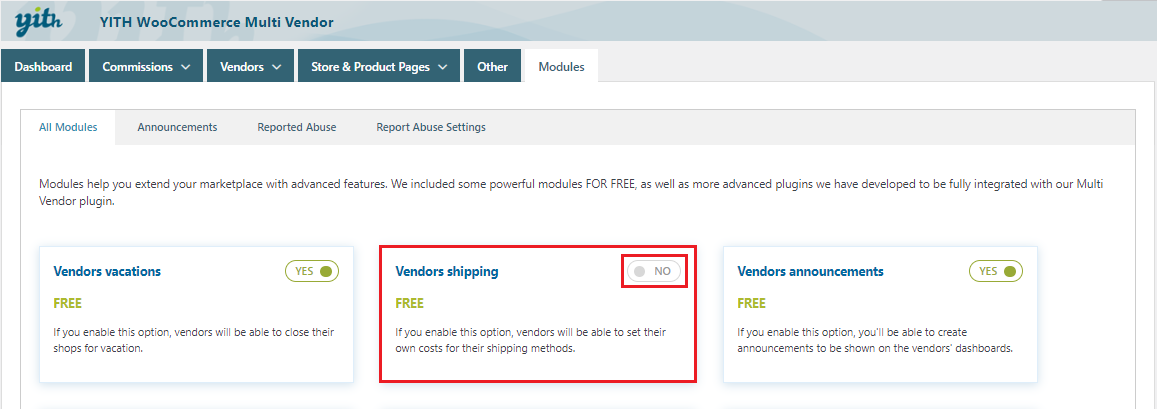
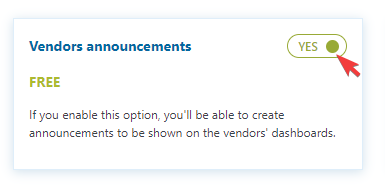
- After the plugin is installed and activated, go over to YITH > Multi Vendor > Modules > All Modules. There, you can enable the “Vendors announcements” module:
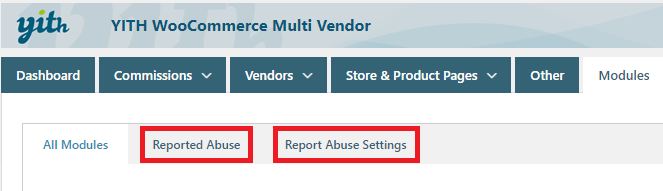
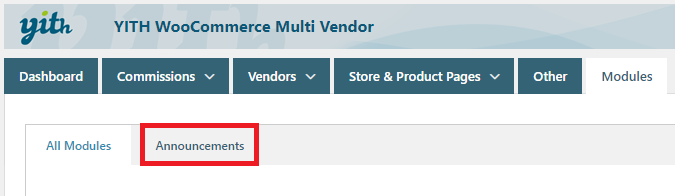
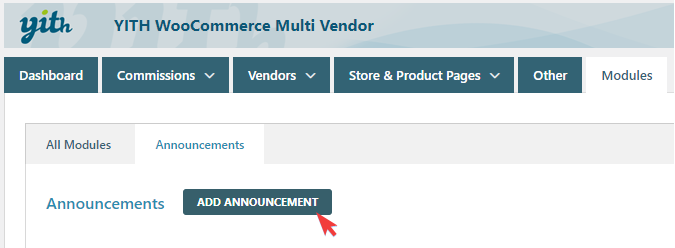
- As soon as it’s enabled, a new Announcements subtab will appear:
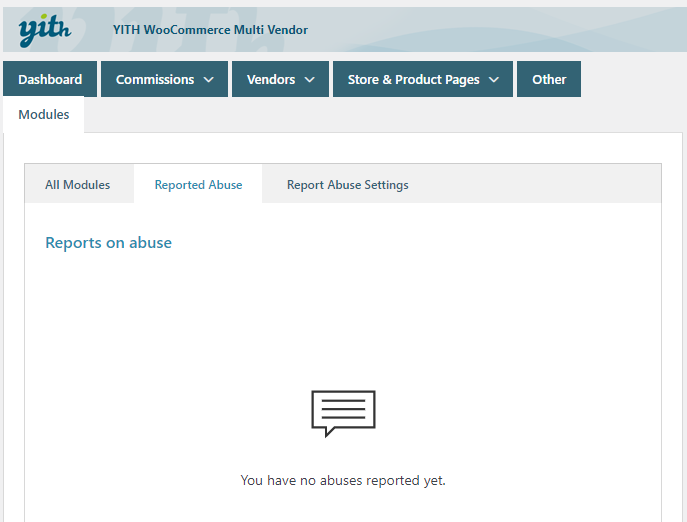
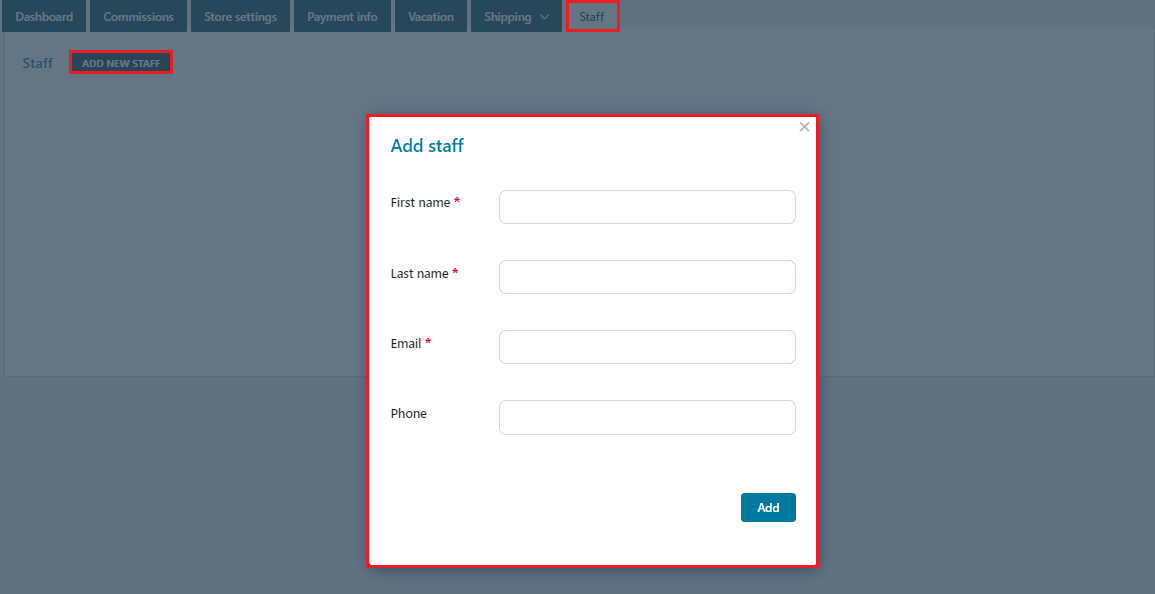
- In that new subtab, you’ll find a dashboard for announcements with an “Add announcement” button. Let’s click on it to create our first announcement:
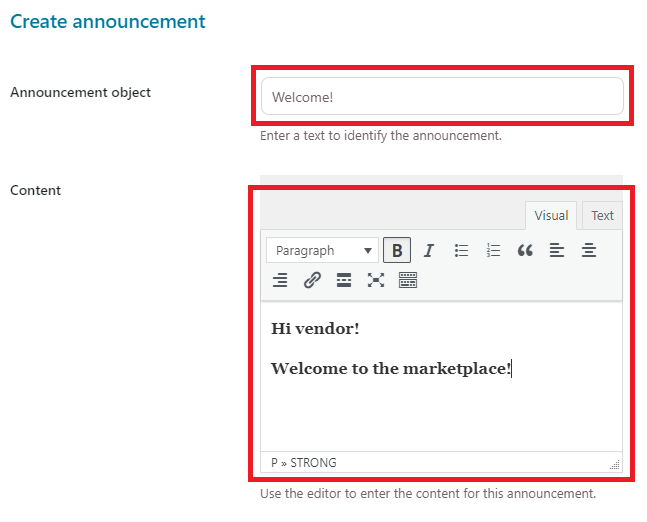
- A modal window will appear with lots of options. First, you need to set the announcement object and the content (you’ll find a text editor for the latter):
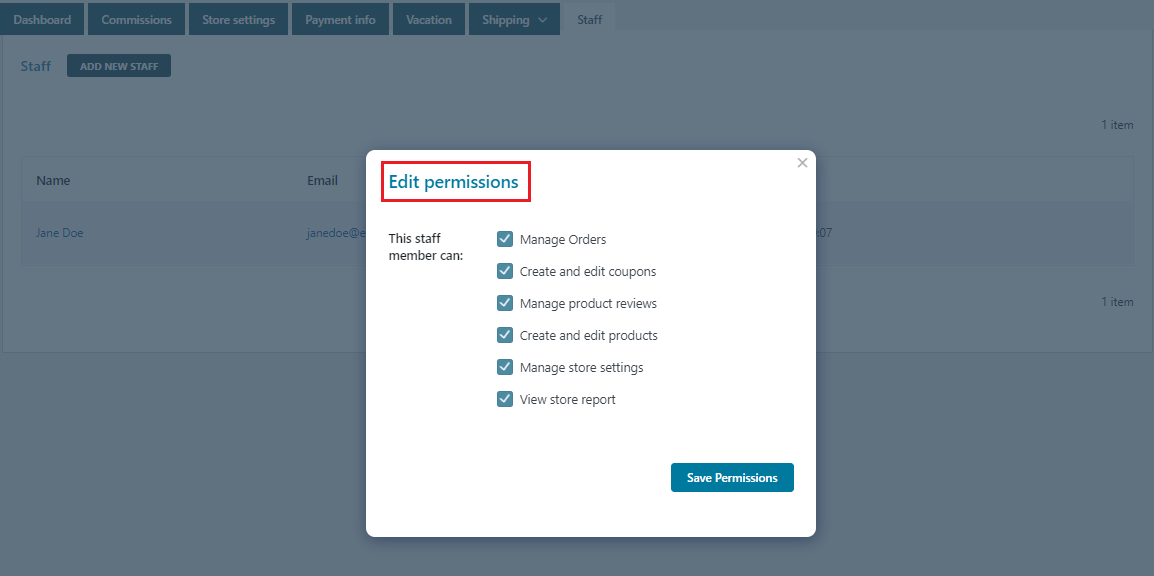
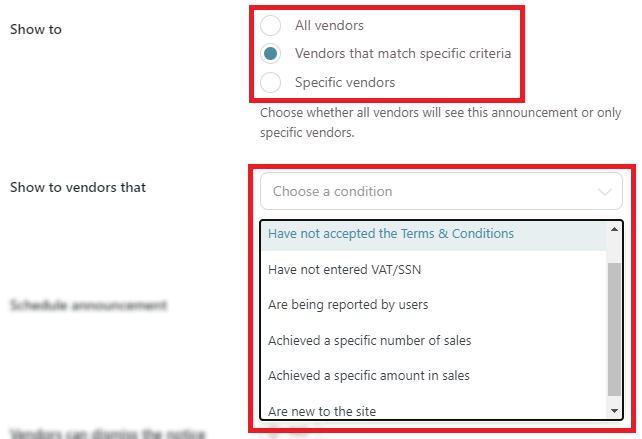
- Then, you’ll be able to select if you want to show the announcement to all vendors, to specific vendors, or to vendors that match specific criteria, here are some of the criteria you can choose from:
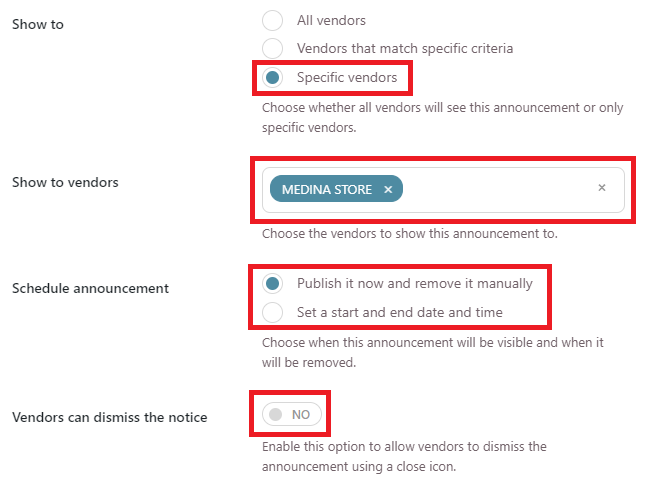
- However, I’m going to show this announcement to a specific vendor. After this set of options, there are two options to schedule the announcement: it can be published as soon as it’s created and then disabled manually, or a start and an end date can be set to show and hide the announcement using a calendar. Lastly, an option to allow vendors to dismiss the announcement can be enabled. If not, it will visible as long as it’s enabled:
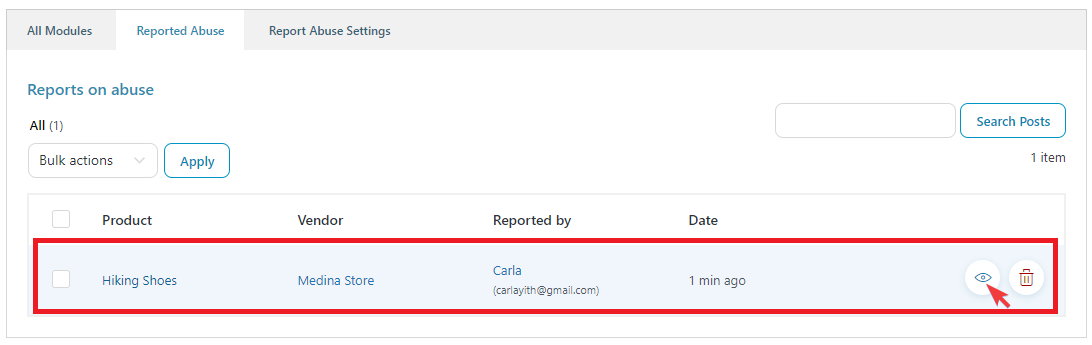
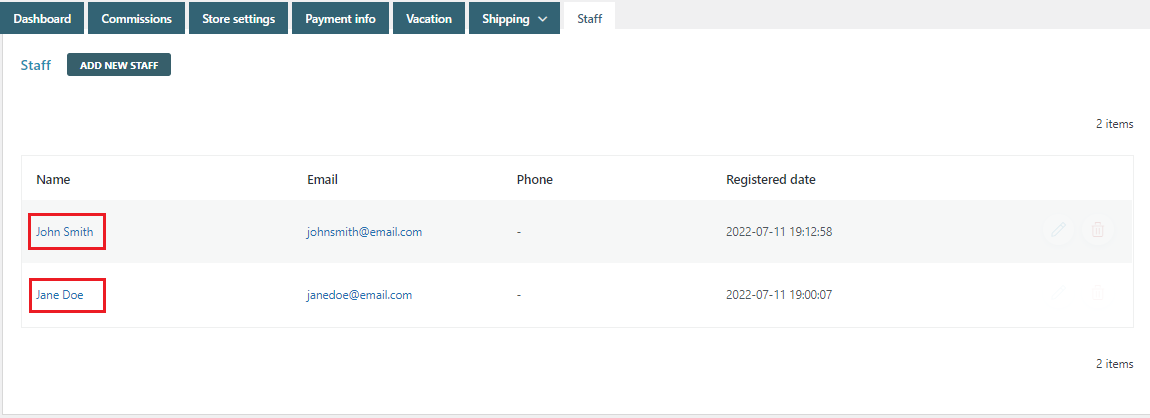
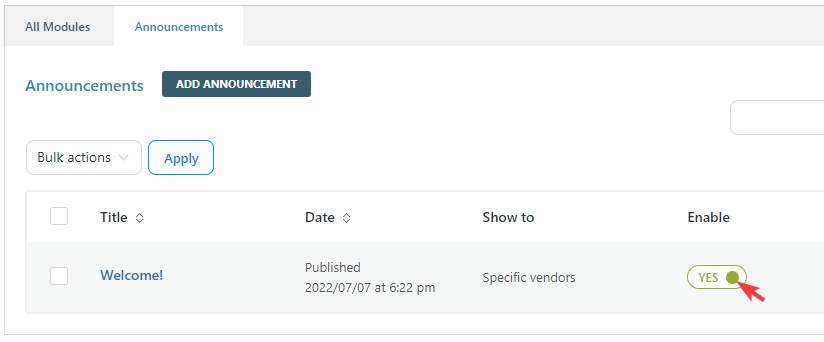
- Once the announcement is saved, it will be visible in the Announcements panel with a toggle button to enable and disable it:
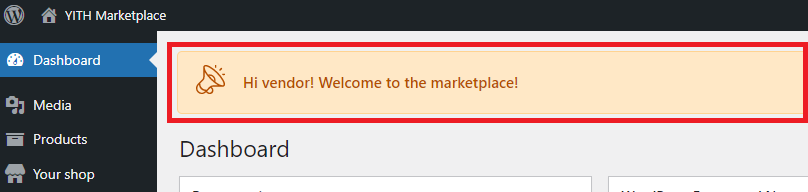
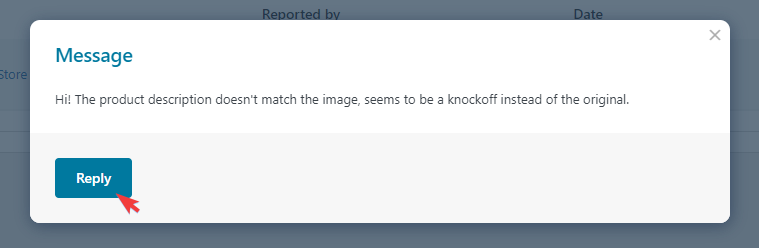
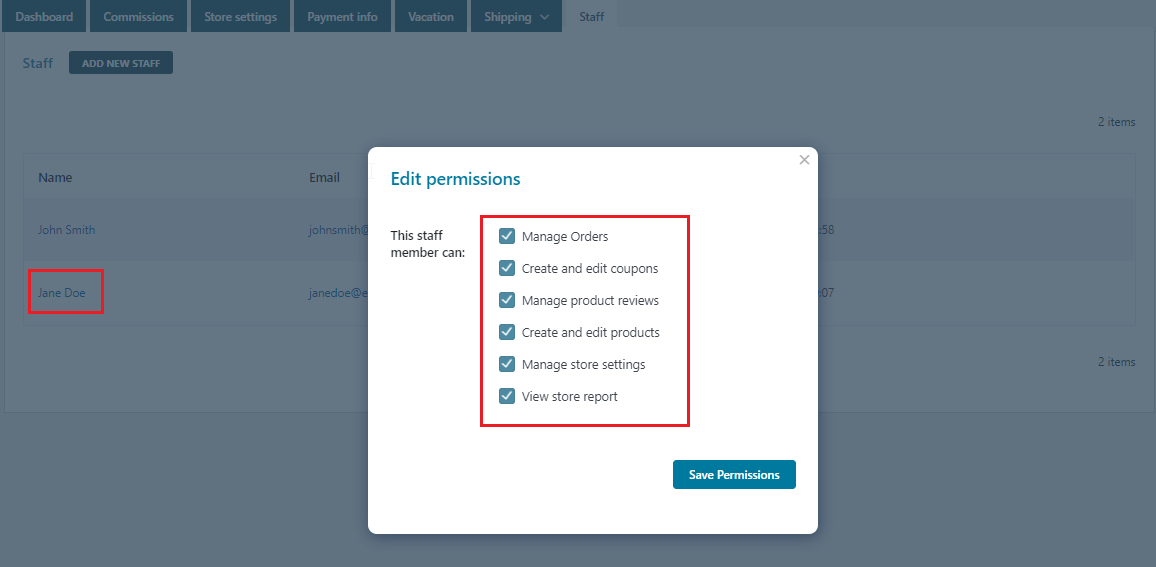
- And the vendor will see the announcement on his/her dashboard like this: