View Product Page

Dashboard – create and manage gift cards

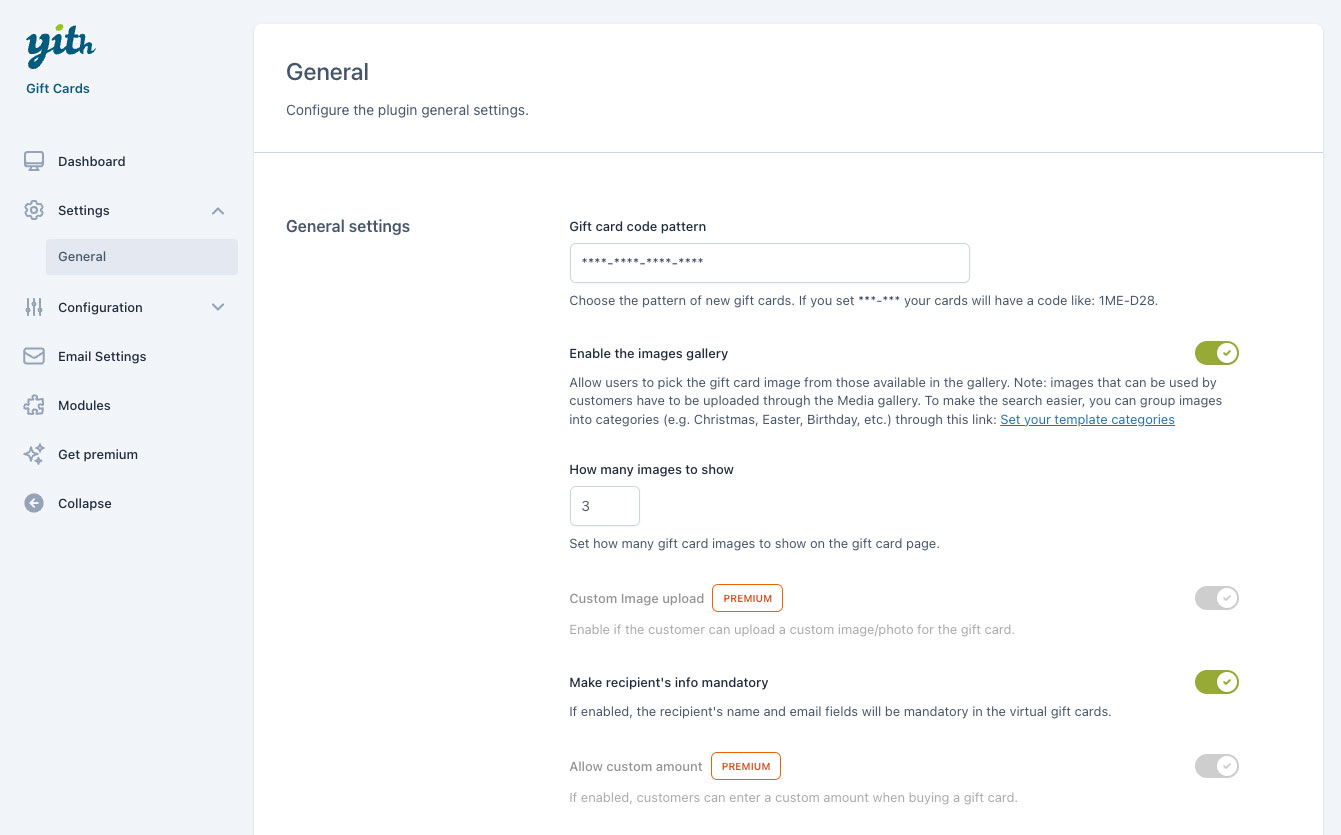
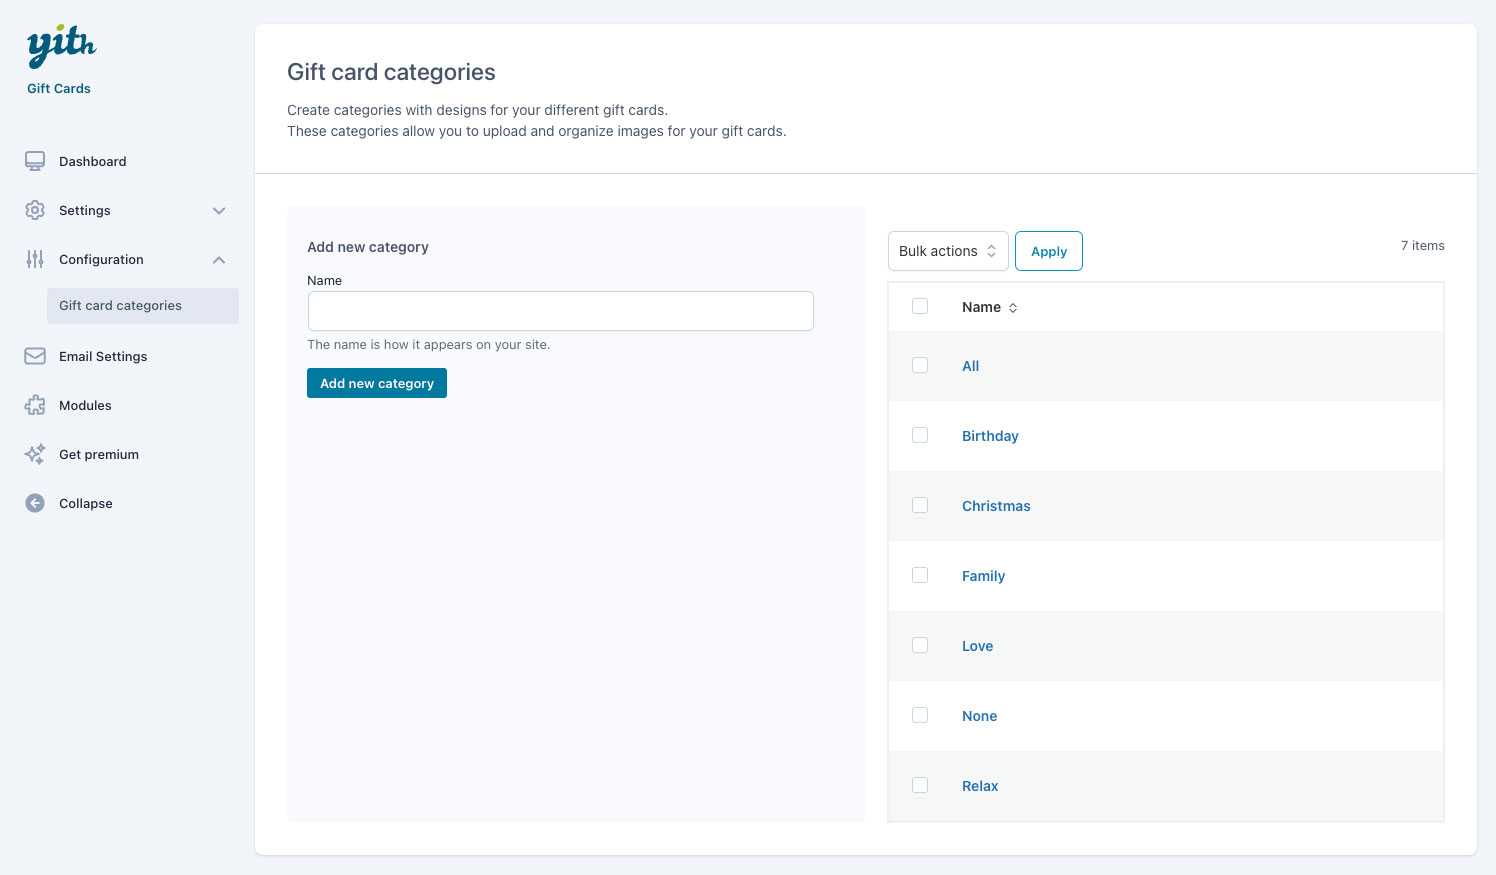
When you open the plugin settings from YITH > Gift Cards, you will be able to see the Dashboard tab, where you can find all the gift cards generated so far, edit them or create new ones.

Dashboard

Gift cards will be generated (and therefore appear here) after the customer purchases a card from your gift card product page and the order gets the Completed status.

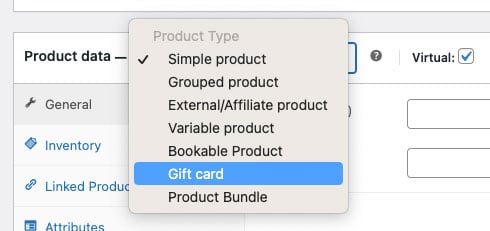
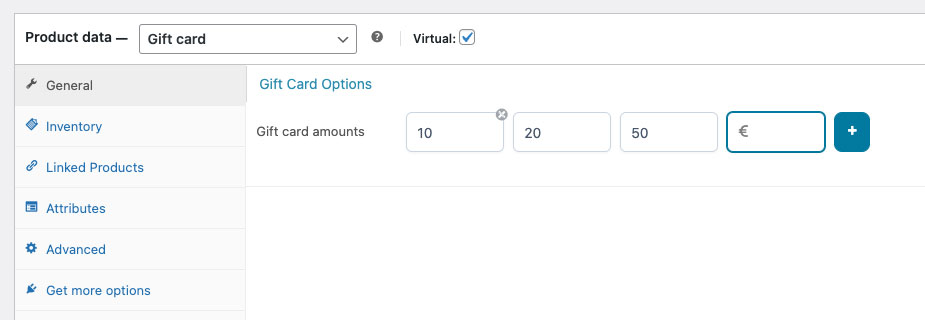
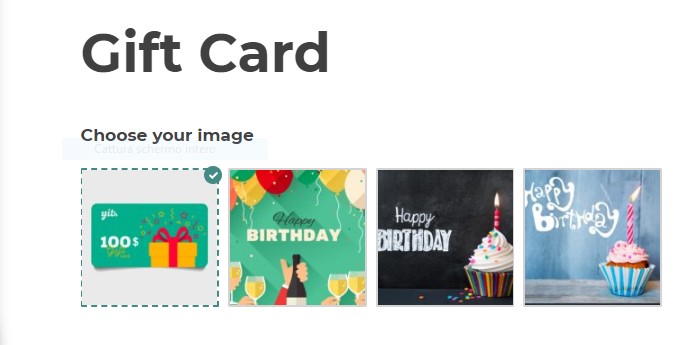
If it’s the first time you’re using the plugin you will find this tab empty, so, we suggest you go through the plugin settings and create your first gift card product first as explained here.

By clicking on the pencil icon in the actions section (this appears if you hover it), you can edit the gift card and check the details:

Actions-edit
Edit gift card
  • Amount
  • Current balance: every gift card can be used multiple times as long as there’s enough credit left.
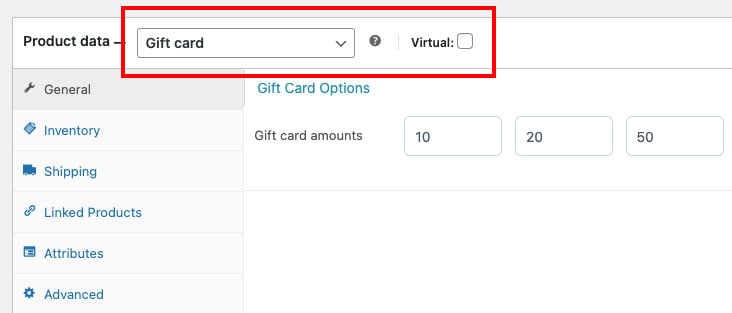
  • Virtual: from this option you can change your card to virtual or physical. If set to digital, you will also see the following options:
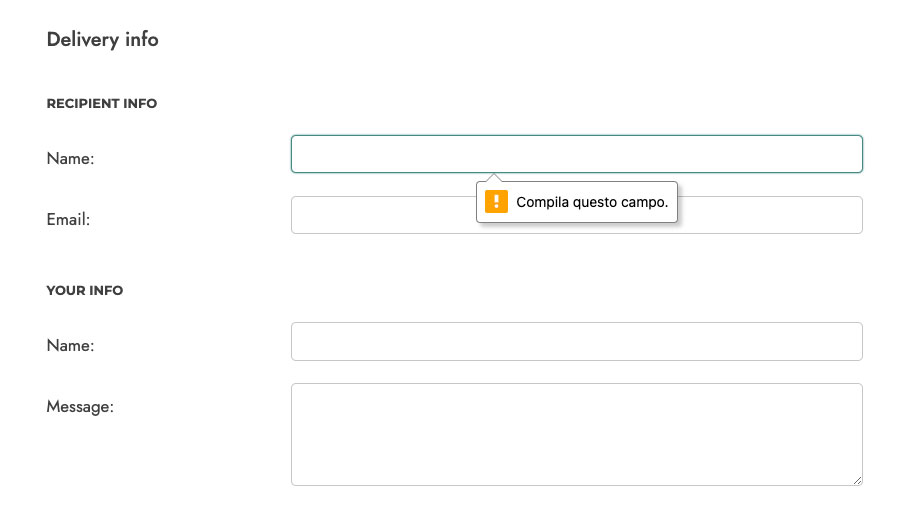
  • Recipient’s email (only available for virtual gift cards)
  • Sender’s email (only available for virtual gift cards)
  • Message (only available for virtual gift cards)
  • Internal notes: finally, this box can be used to add notes visible to the site admin only and for every type of card.

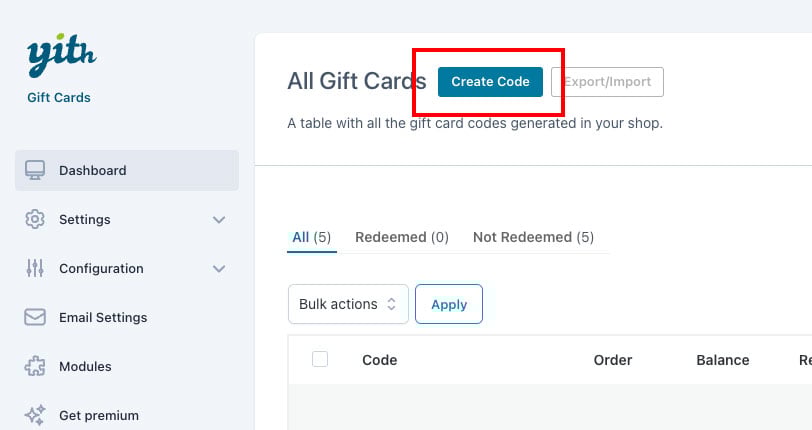
How to create a gift card from the backend?

If you want to create a gift card from the backend, you can simply do that from this page. You can click on the Create code button and you will be able to fill out the same fields that we’ve gone through above.

Create code

Please, note: if no email is entered in the Recipient’s email field, the system will associate the gift card with the site administrator’s email address.

General settings

In Settings > General, you will be able to find the general options and the email options. Let’s check them all here.

General settings

General settings

Gift card code pattern

Whenever a gift card is purchased, a code will be automatically generated and associated with the card. From this option, you can customize the code pattern.

Gift card code pattern

Use asterisks (*) as a placeholders for random alphanumeric characters. Leave blank to use default pattern ****-****-****-****.

For example, you can generate the codes with the pattern yith-****-**** to make sure that all codes have a yith- prefix. You will get codes like these:

yith-af359-58er
yith-try8-ff87
yith-wk7t-aa36
yith-wp87-s47e

Enable the images gallery

By enabling the images gallery, you will be able to upload images that can be used by your customers when they purchase a gift card. Enable this option and select how many images to show in the option below.

Images gallery

After that, you can add your images through the Gift card categories menu in Configuration. Please, refer to this page for more details.

Make recipient’s info mandatory

Finally, you will find the make recipient’s info mandatory option that you can enable to make sure that no gift cards without a recipient are purchased by mistake.

In fact, if you try to add a gift card to the cart without a recipient, you will see an error message and will not be able to move on.

Mandatory delivery info

Email options

In the Email options section in the General tab, you can manage the behavior of the gift card email sent to the recipient and customize it.

Email options

The options available are:

  • Show a button in the gift card email: if enabled, a button will be added to the email with the gift card. By clicking on it, the customer will be redirected to the shop and will be able to apply the gift card code.
  • Button label: here you can insert the text to show in the button
Button in email

Gift card product

To sell gift cards in your shop, you have to create and configure first the a Gift card product.

You can create both a virtual and a physical product.

  • The virtual gift card will be emailed to the customer
  • the physical one can be shipped to the customer and includes therefore the shipping options.

Virtual gift card product

Let’s start by adding a new product, change the Product type to Gift card and check the virtual box.

New virtual gift card product

Now, you can add the amounts available for your users, so for example, they can select a gift card of €100, €200 or €300.

Gift card amounts

Set up the product description, image, and other options.

If you want to include a selection of images your customers can choose from, please, refer to this page.

Now you can sell virtual gift cards, so, the gift card will be delivered by email to the recipient, who will be able to redeem the code on the products of your shop. For more details about how a customer can use a gift card, please, refer to this page.

Gift card codes are created automatically after a user’s order has been completed and will be visible in the Dashboard, where you can also edit existing gift cards or create new ones right from the backend.

Physical gift card product

To create a physical gift card (non-virtual), just make sure that the Virtual box is not checked. The product setting options are the same as the virtual gift card options.

Yet, there are some differences:

  • no “email” field shown to the customer since the gift card will not be sent digitally, but you will arrange shipping it by post office regular mail;
  • the shipping options are therefore available too;
  • no images can be displayed in this product type.
Physical gift card product

By default, the system will associate a code to the gift card, after the order is completed.

Important! If you have pre-printed cards, with pre-printed codes too, you will have to replace this code with the one that appears on your physical card. You can edit the gift card from the Dashboard tab.

Gift card images

The plugin allows adding multiple images that can be selected by your customers when purchasing a digital/virtual gift card. These images can be grouped into different categories, for example Christmas, Birthday, Events and so on. These will be used to keep images sorted by topic, but will not appear as separate groups on the frontend.

Gift card with selectable images

Please, note: the image gallery option is only available for virtual gift cards if you are using the free version. Yet, if you need the gallery option also on physical gift cards, it’s supported in the premium version.

Let’s see how to configure gift card images in the right way.

First, you have to activate the Enable the images gallery option from Settings > General tab in the plugin panel.

Enable image gallery

By enabling this option, you will also be able to select how many images to display on the product. For example you can display a total of 10 images.

Go to Configuration > Gift card categories tab in the plugin panel and add here one or more categories that you will use for your gift card images.

Gift card images

Now, go to the Media library and add a new image from there.

Add images from the media library

You can choose to display the media as a “list” to get a better view of the “gift card categories” column, which is empty now.

List mode

Then, you have to add a category to each of your gift card images.

You can either select the image and select the category from the media edit page:

Select gift card category in list mode

If the you are seeing images in grid mode, you will have to enter the category slug in the gift card category input field:

Select category in grid mode

Alternatively, you can bulk assign a gift card category to multiple images from the bulk actions:

Bulk add gift card category

Now users can select a template in the “Choose your image” section from the gift card product page.

How users can manage a gift card

On this page, we will go through the process from purchasing a gift card to redeem it.

To purchase a gift card for a friend, you have to select an image (if enabled) the amount and enter the delivery info.

Gift card page - frontend
  • “Choose style”: let the customer choose between the predefined images (please, visit this page to see how to enable this section).
  • “Select amount”: the customer should choose the desired gift card amount, depending on the configuration of the product.
  • “Delivery info”: here, the customer can fill the information related to the gift card, like the recipient data, his/her name and a message for the recipient.

If the form has been correctly completed, the product will be added to the cart, ready to be purchased. The email, containing the gift card code, will be sent to recipients only after the order has been completed.

It will include the gift card code and, if enabled from the Email options, a button to automatically open the website URL and apply the gift card code.

Button in email

Gift card on “My account”

Right inside the “My Account” page, all users can keep track of all the gift cards they own. The gift cards are linked to the recipient email user.

Gift cards in My account

In the “Usage” column, you will be able to see the order where the gift card code has been used.