Product listing: search, add and scan by barcode
On the left side of the screen, you will see the products. They are displayed either by category or all together, based on the settings that you’ve selected in YITH > Point of Sale > Registers > In Register dashboard show (see details here).
You will be able to see all products or filter them by On sale, or Featured.
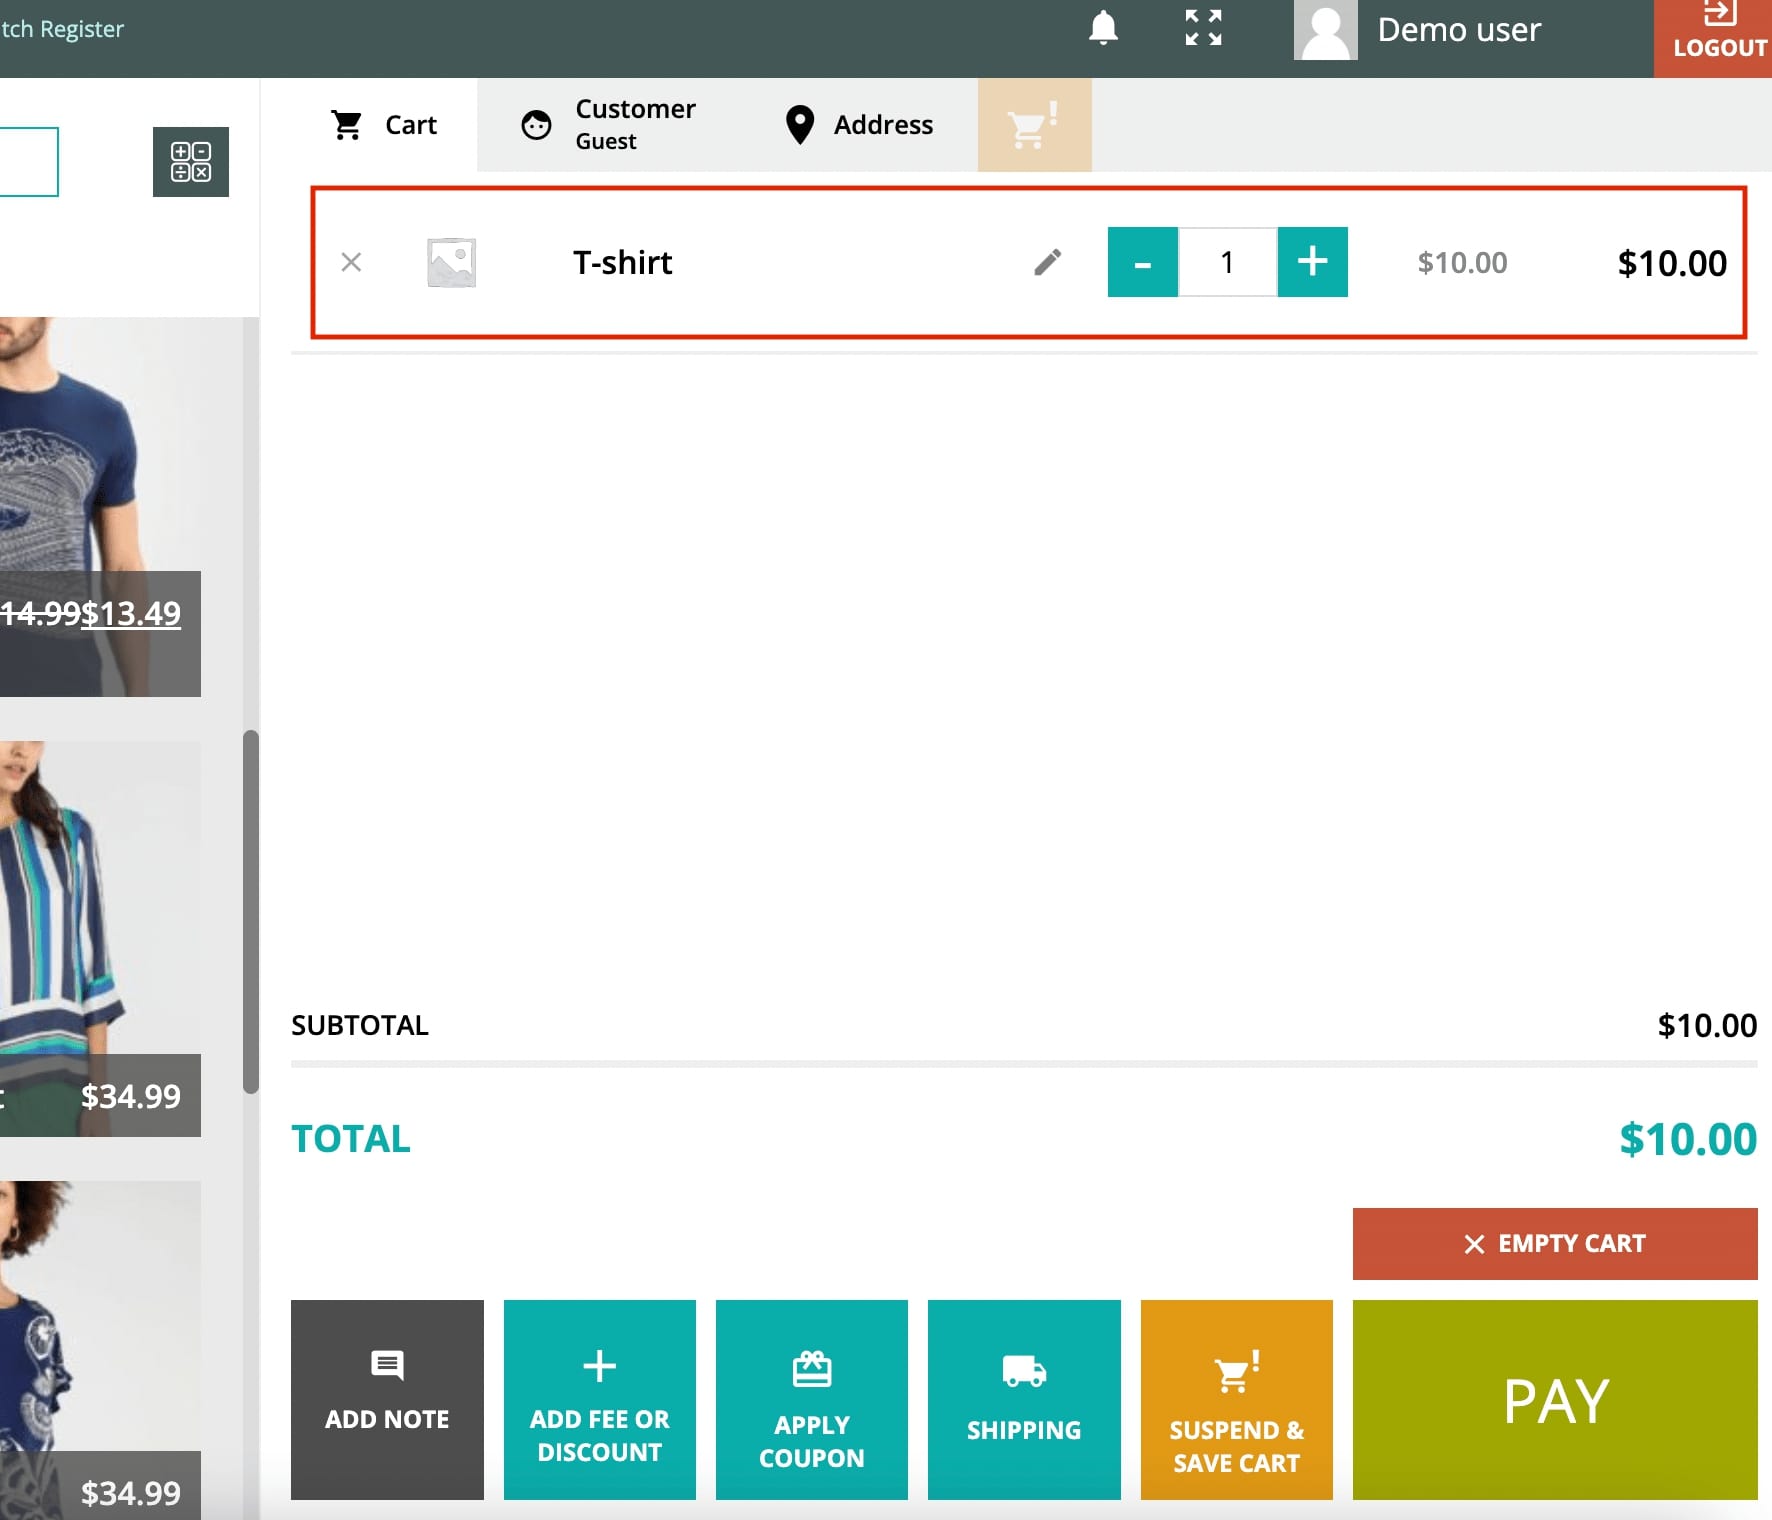
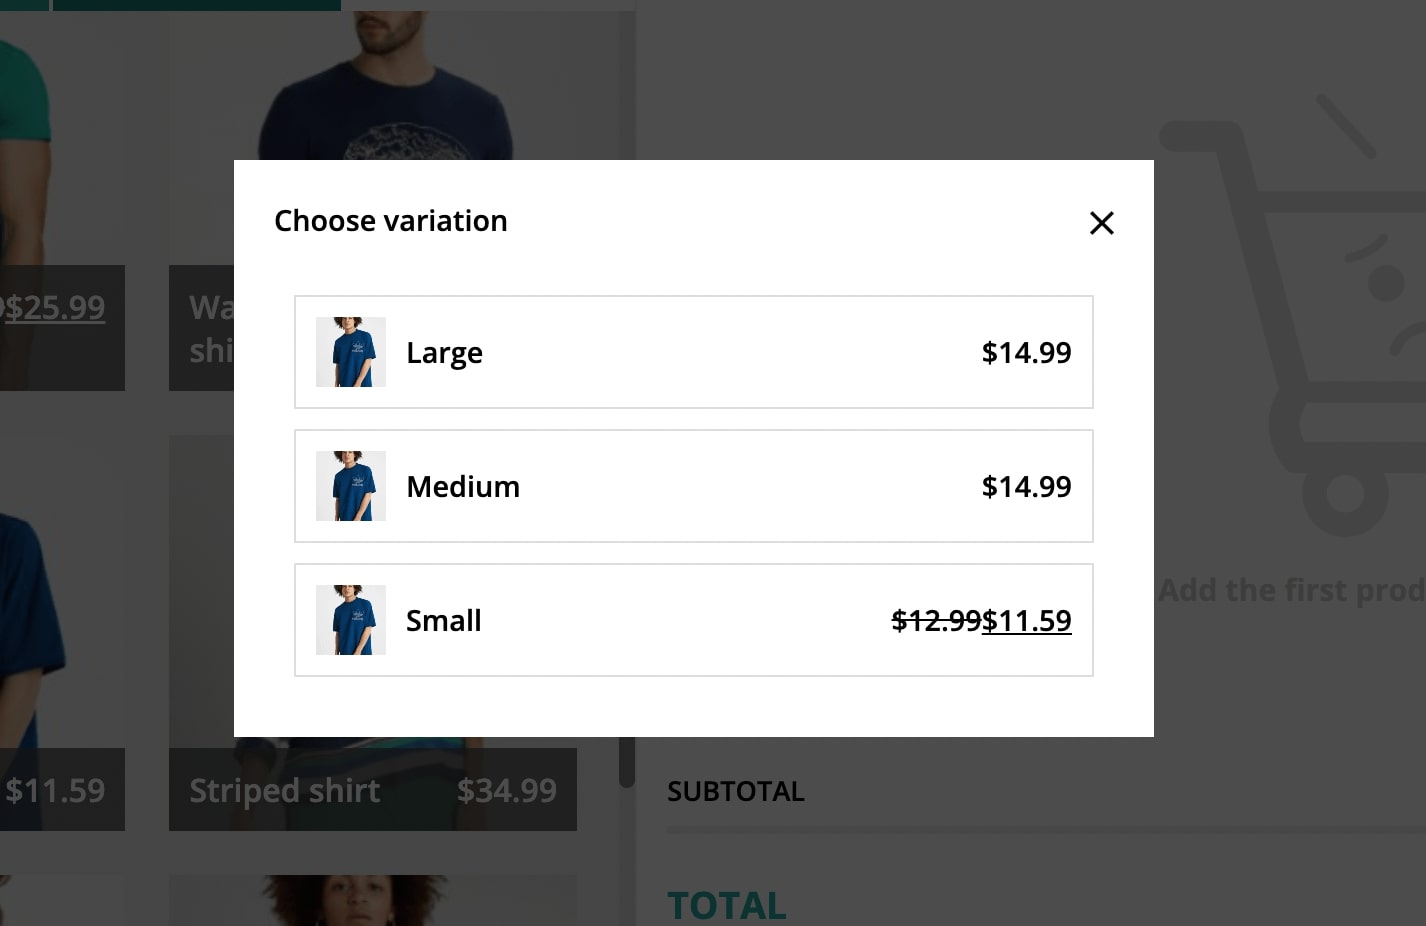
Just click on them to add them to the cart. If it’s a variable product, you will be able to pick the right variation:
Clicking on one product more than once will update the product quantity.
You can also search products by name in the search bar or by Barcode if the related option has been enabled (in the Store Register settings).

To scan a product by barcode, you just have to select the Scan Barcode tab and the pointer will be automatically placed in the search bar. Just scan the item with your barcode reader, and you will find the product matching the code.
To add the barcode to a product, you have two options. You can either enter the product barcode in the SKU field in the product settings, so whenever you scan the product in the search bar, you will find the product.

Or, alternatively, you can use YITH Point of Sale with YITH Barcodes plugin that will automatically generate a barcode for every product and order in your shop. Please, read this page for more details about this integration.
Please, consider that the barcode readers work like any other input device. So, as an alternative to it, you can manually enter the barcode from your keyboard.
Add a new product on the fly
Finally, from this section, you can also add a product on the fly by clicking on the Add product tab.
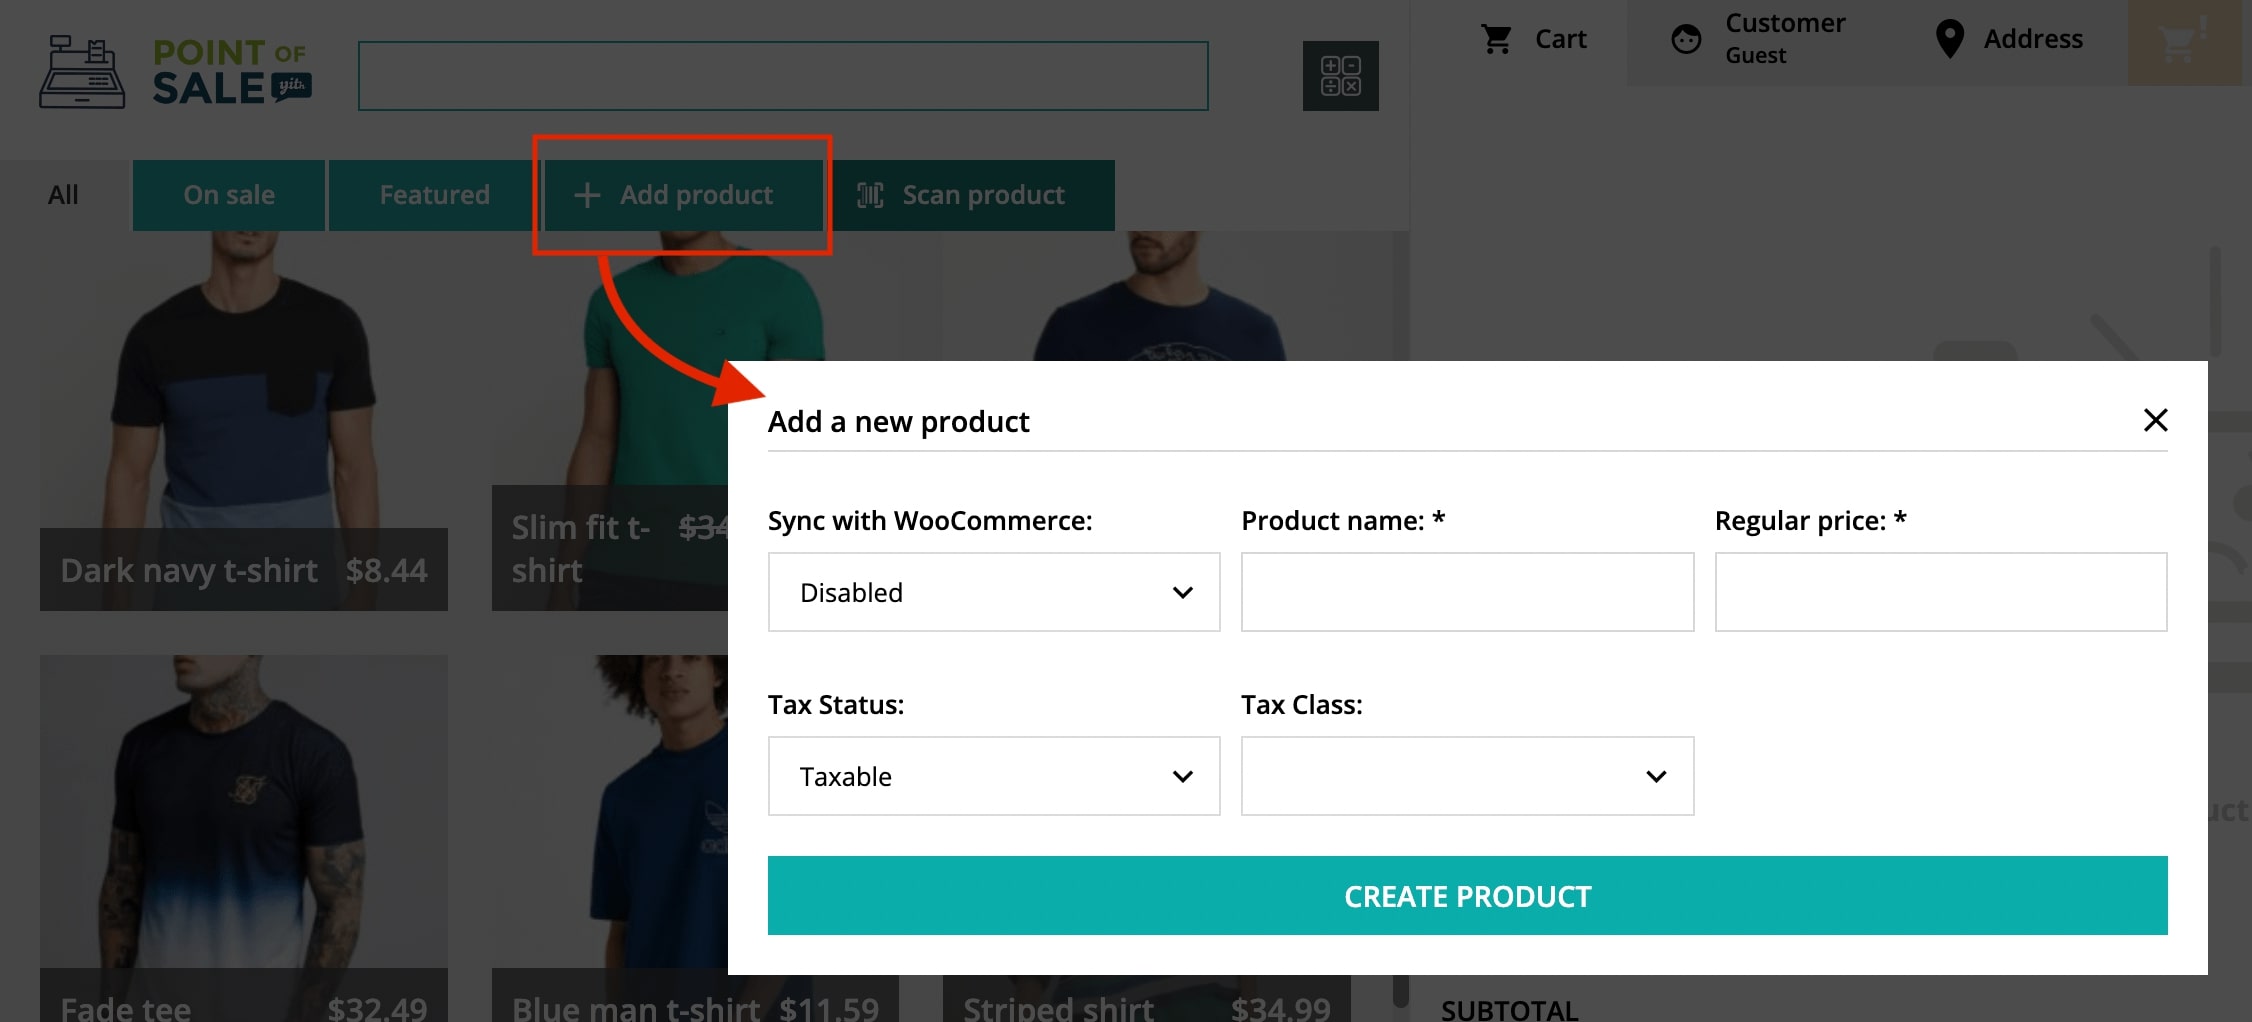
You will be able to fill in the following information for the new product:
- Product name
- Product category: start typing to search among your shop categories
- SKU: enter the product SKU here.
- Tax Status: you can pick one among:
- taxable
- shipping only
- none
- Tax Class: you can pick one among what you’ve set up in your WooCommerce > Settings > Tax.
- Regular price: enter here the product price.
- Stock (only available for Store Managers): enable or disable the stock management for this product here.
- Quantity in stock (only available for Store Managers): enter the total stock quantity here.
- Sync with WooCommerce (only available for Store Managers): choose whether to sync the product that you are now creating with your WooCommerce products. If disabled the product will not be saved. If enabled, the product will be saved in WooCommerce > Products (with the visibility option set to Hidden). This means that, by default, the product is hidden in the online catalog and is visible in POS only.
Please note – products added by Cashiers will only be available on that specific order and will be deleted immediately after the order is completed.
After clicking on ‘Create product’ the product will be automatically added to the cart.