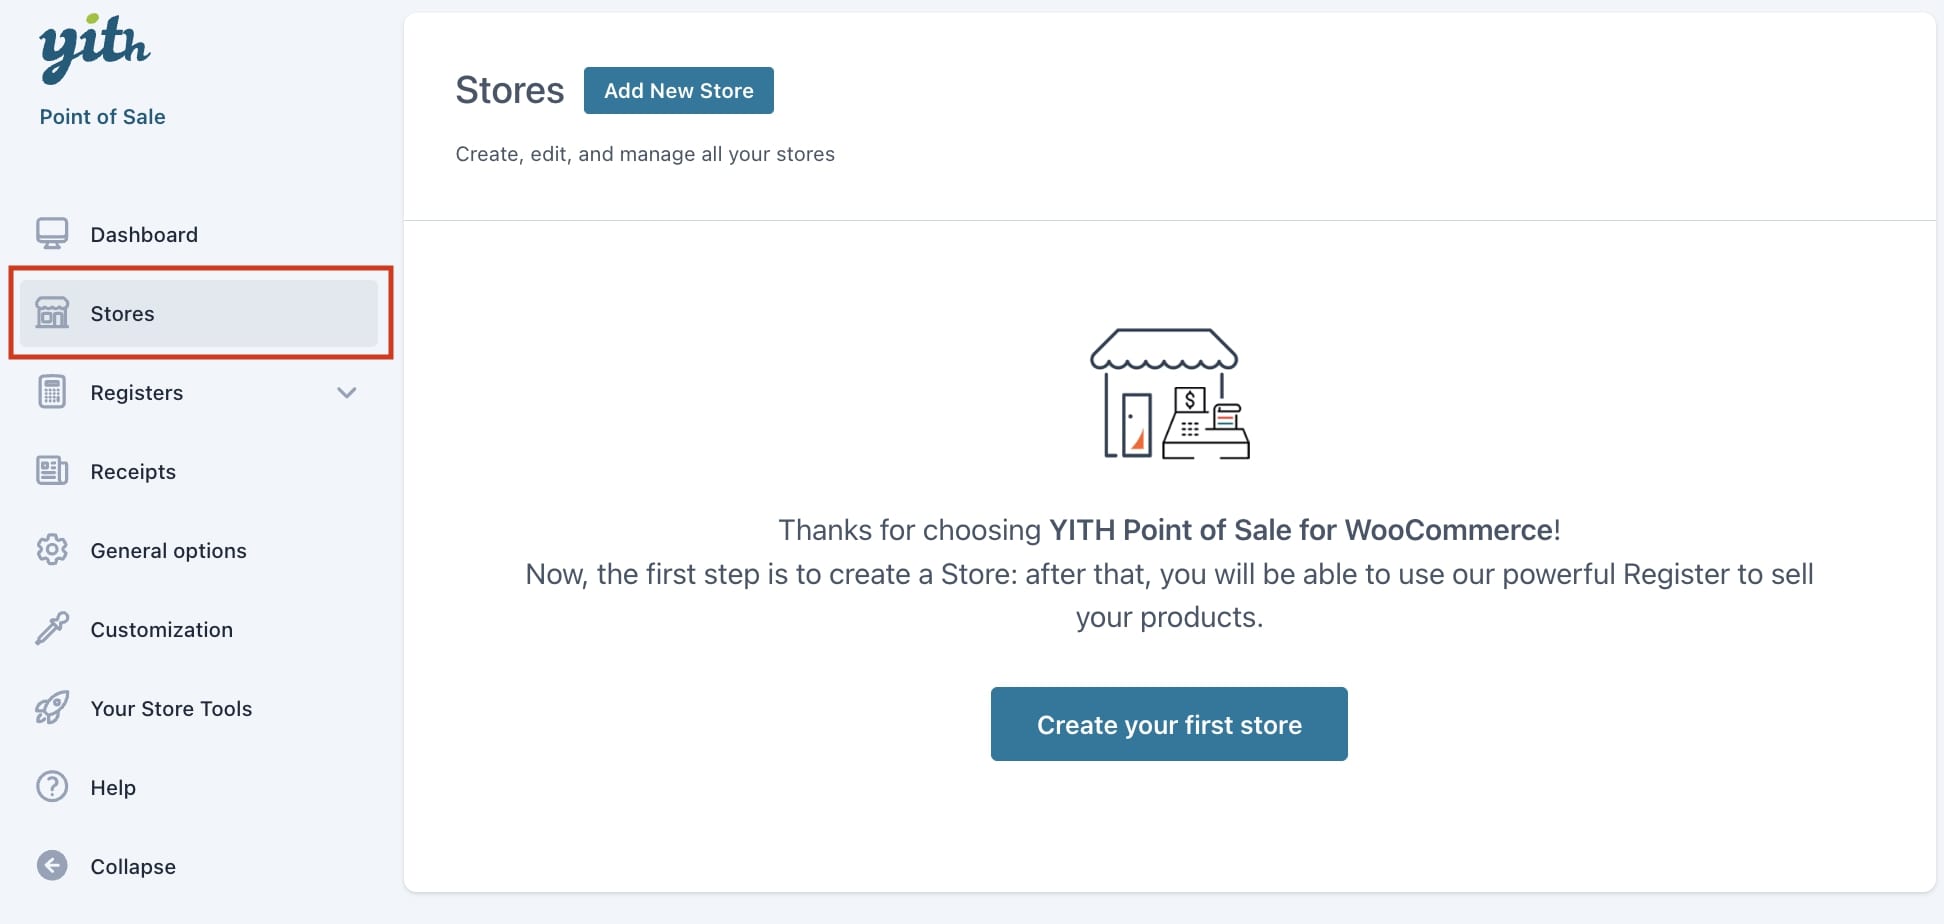
To start configuring your Points of Sale, go to YITH > Point of Sale > Stores: here you can set up one or more stores where you will use the POS system.
Click on Create your first store to add a new one, and you will be guided step by step to the full configuration.
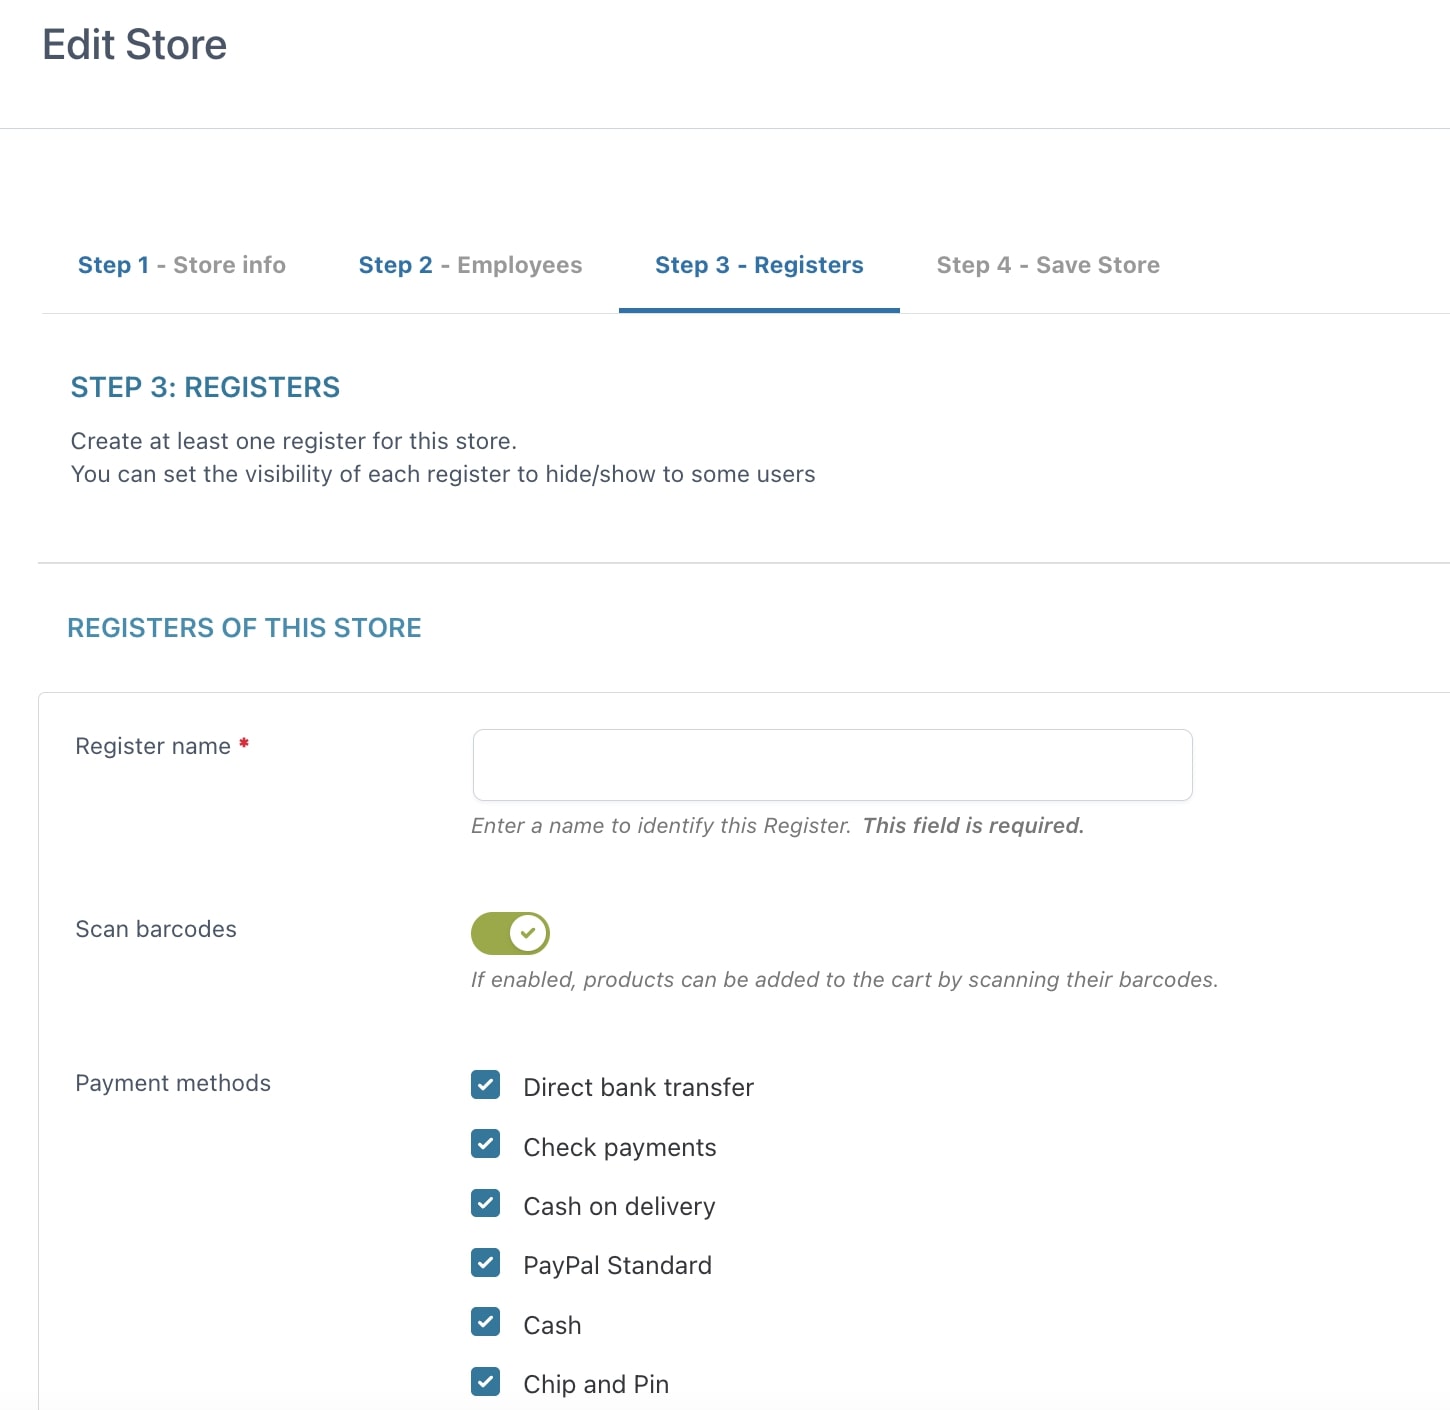
Step 1 – Store information
In this step, you can enter the store information and contact details, social networks included. Below, you find the details you can enter.
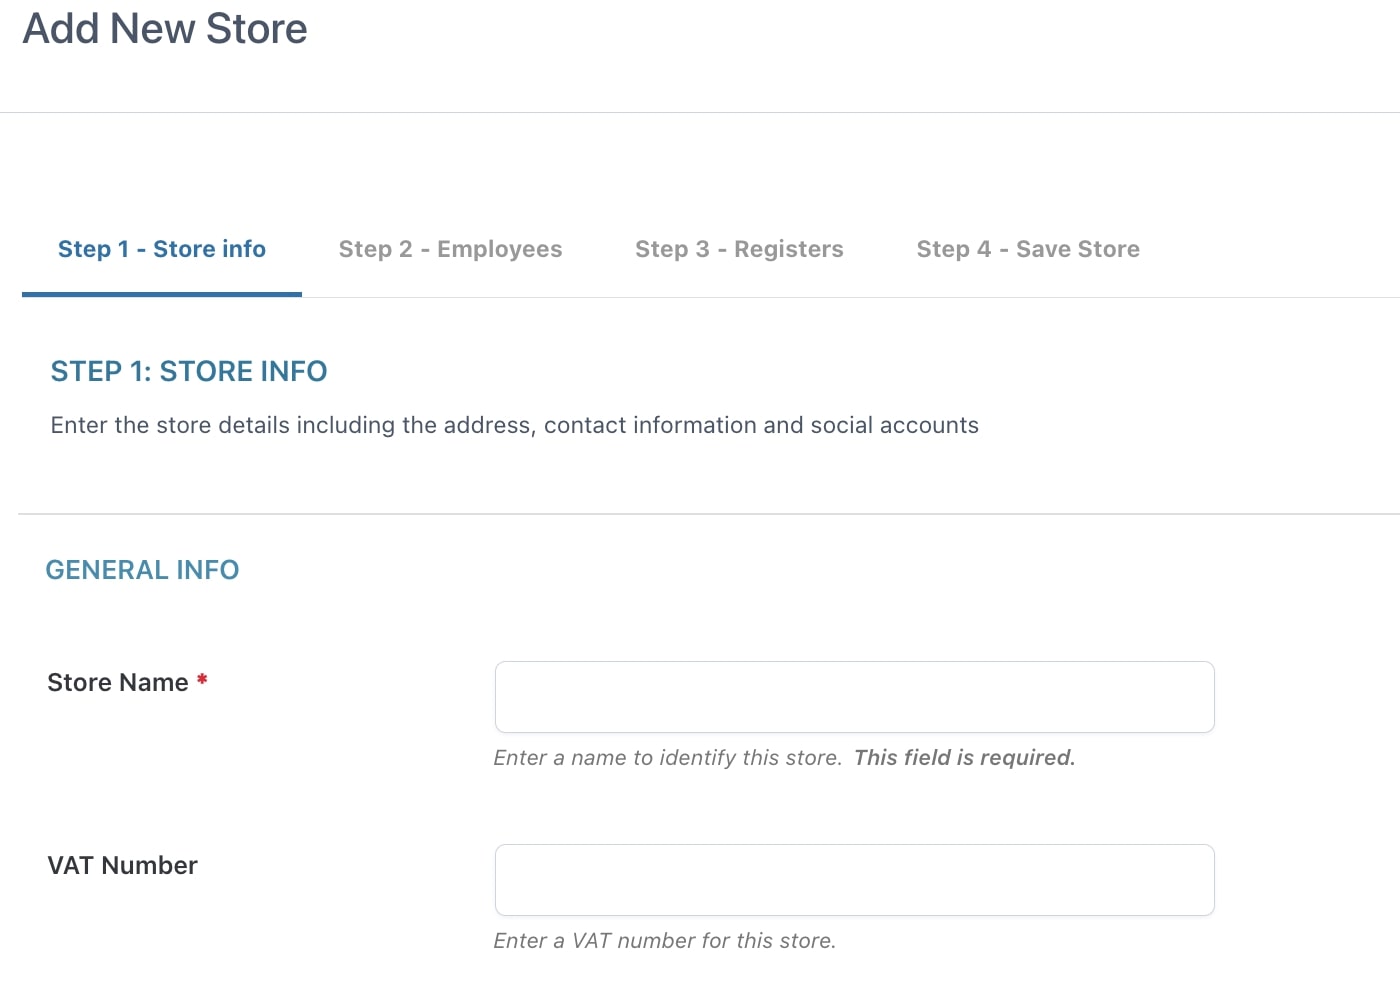
- Store Name (required field)
- VAT number
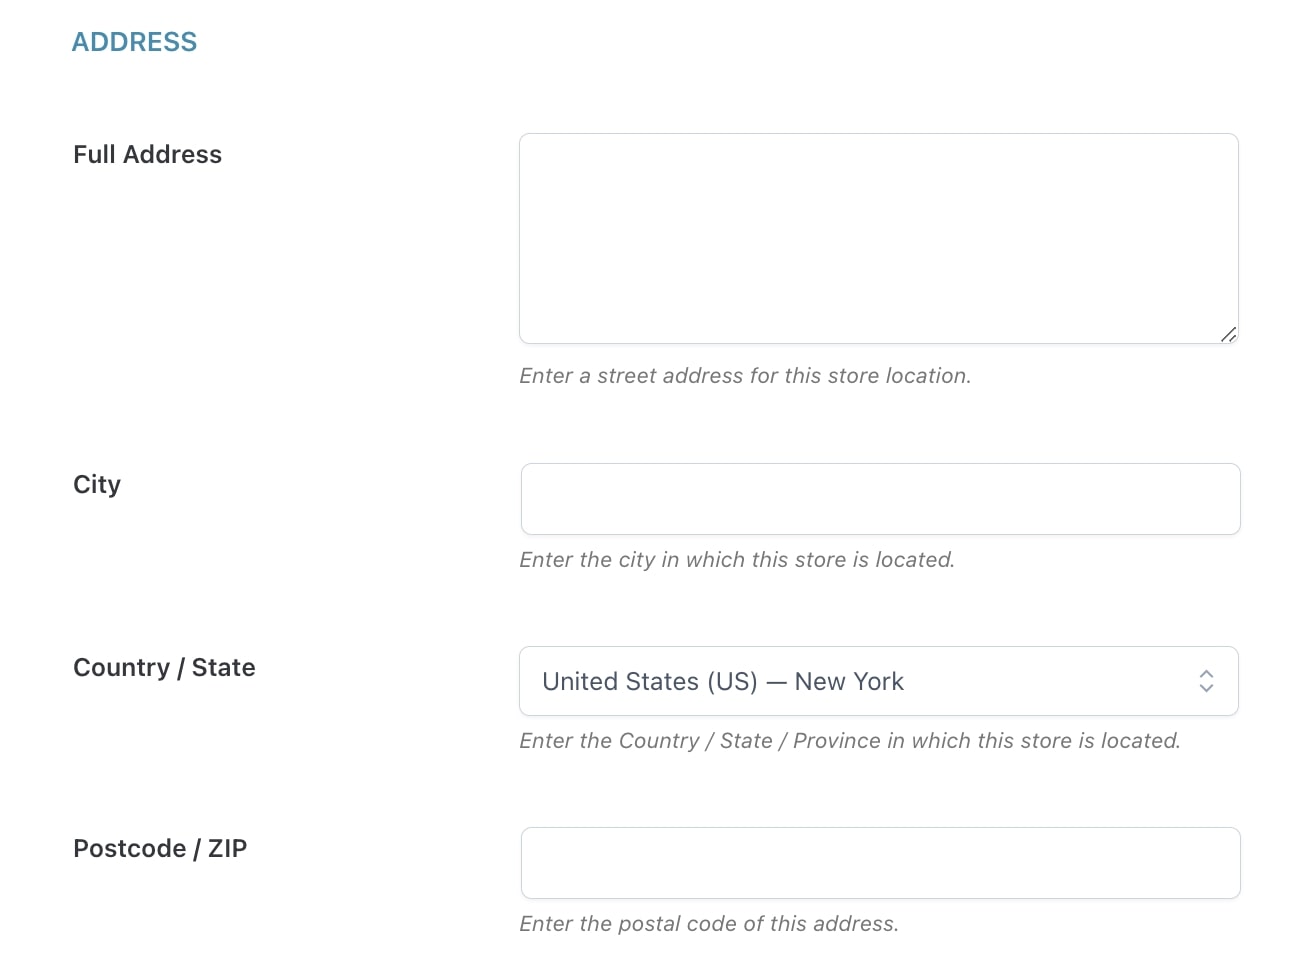
- Full address
- City
- Country/State
- Postcode/ZIP
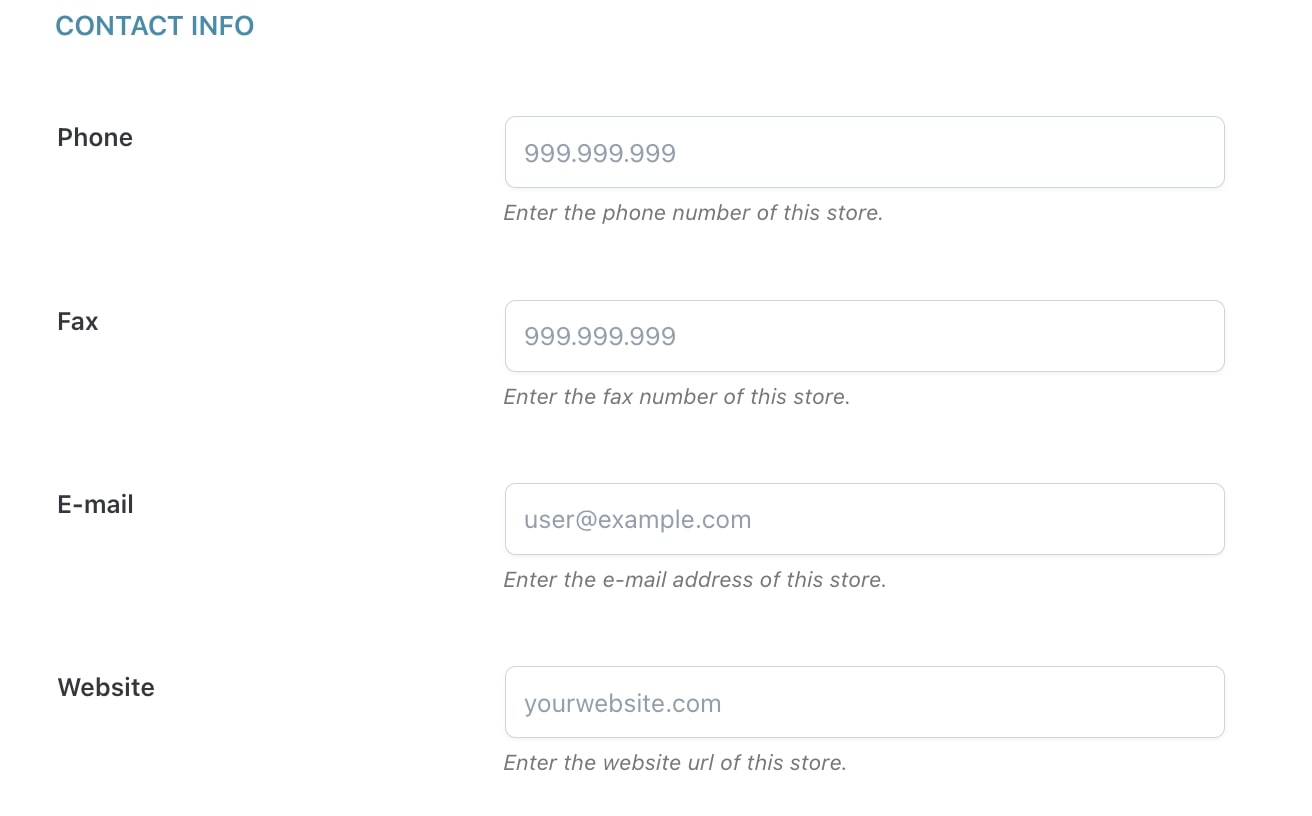
- Phone
- Fax
- Website
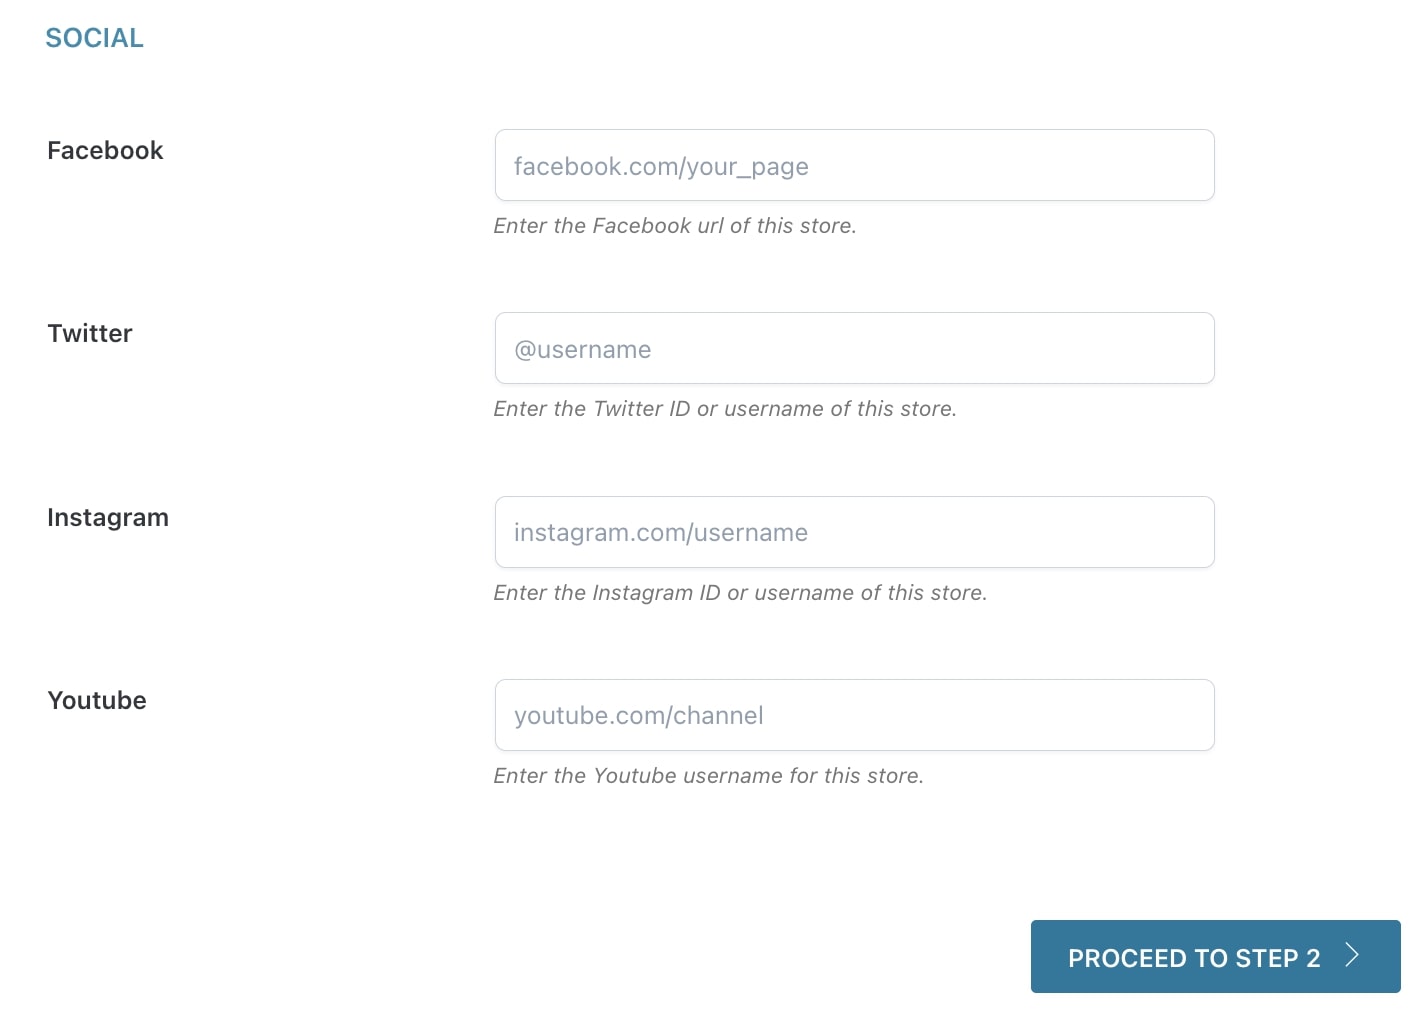
- Youtube