View Product Page

Members-only content starts here

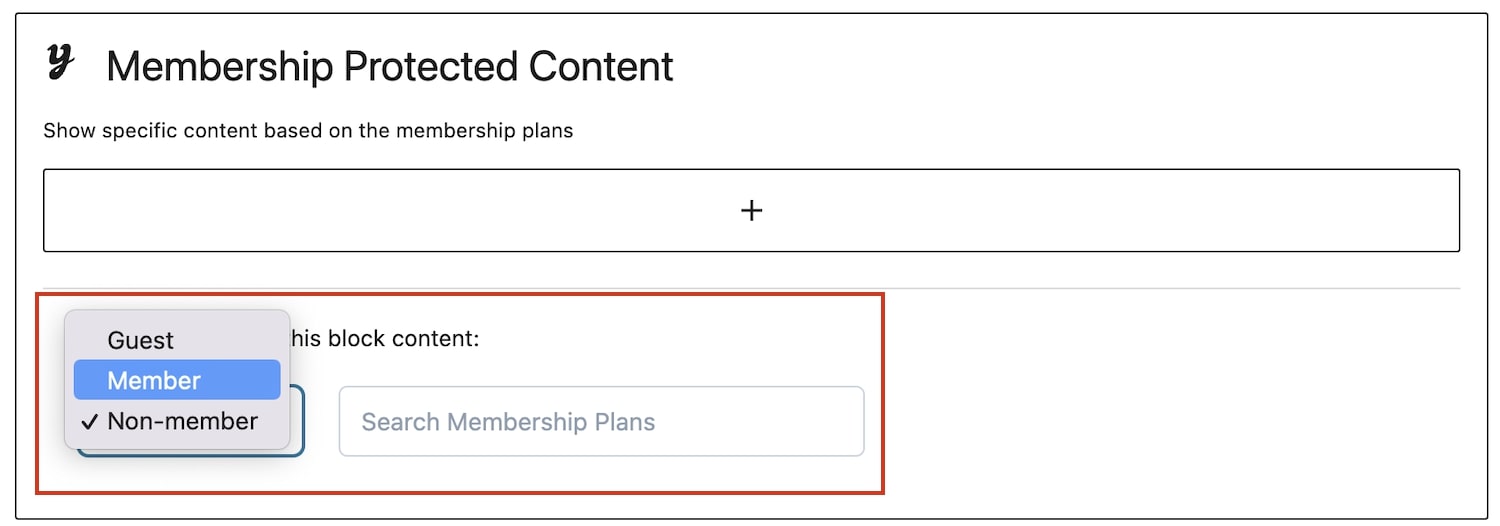
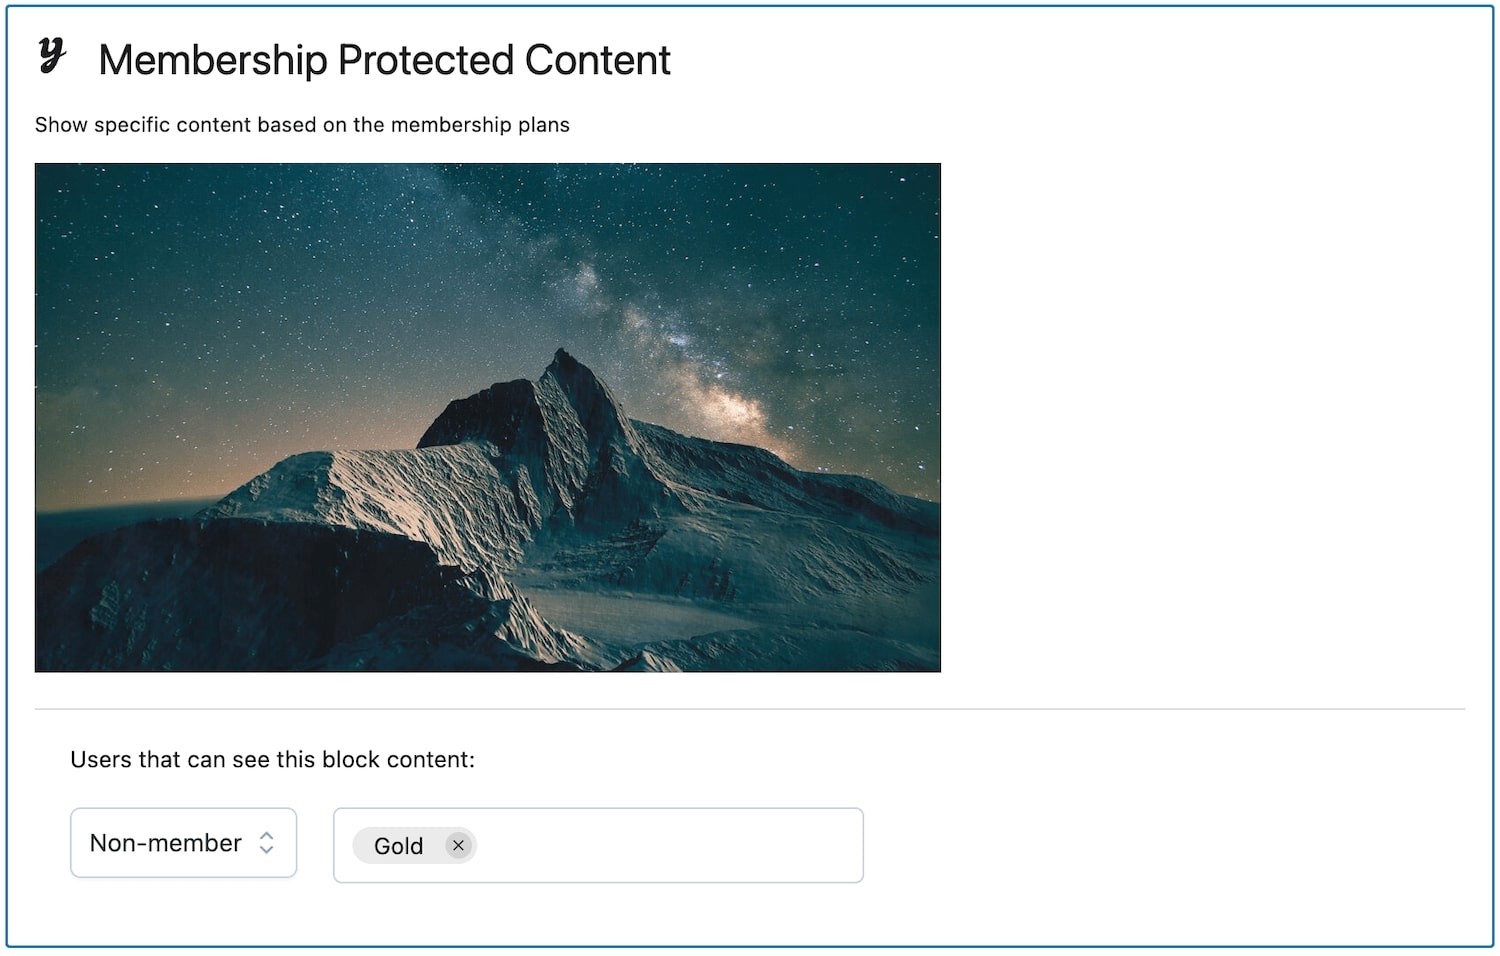
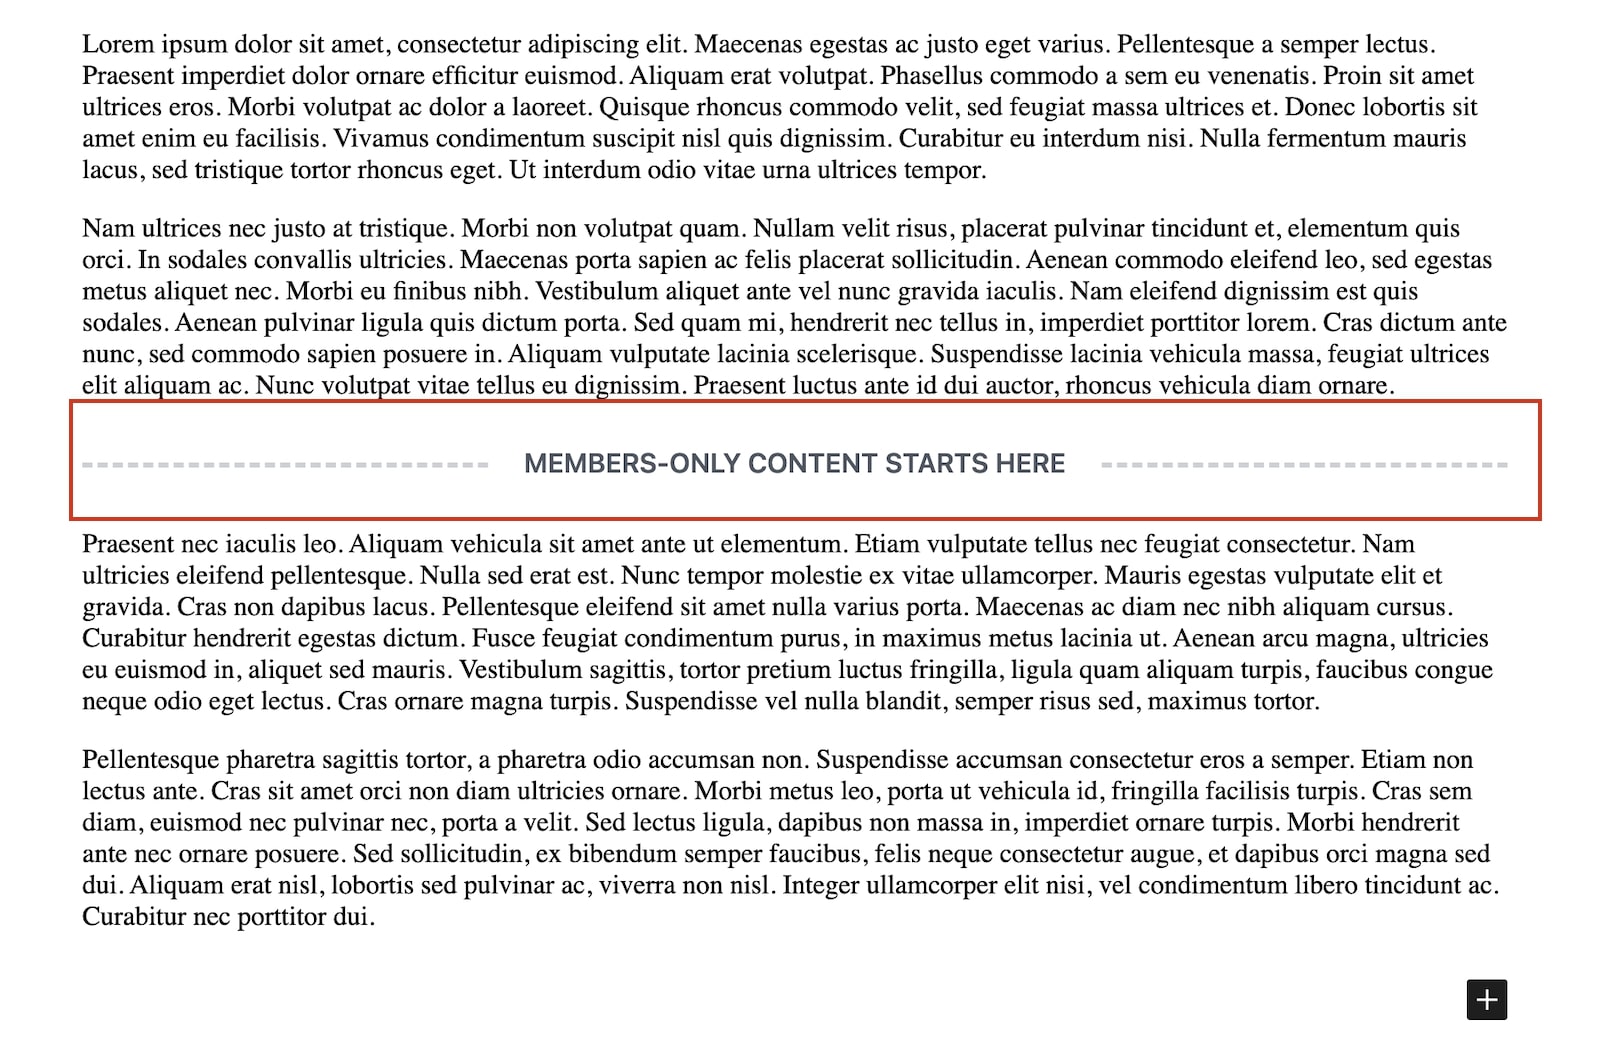
This block gives you the possibility to insert a divider line in your posts and pages so you can hide the content of the post partially, namely everything that is AFTER the divider.

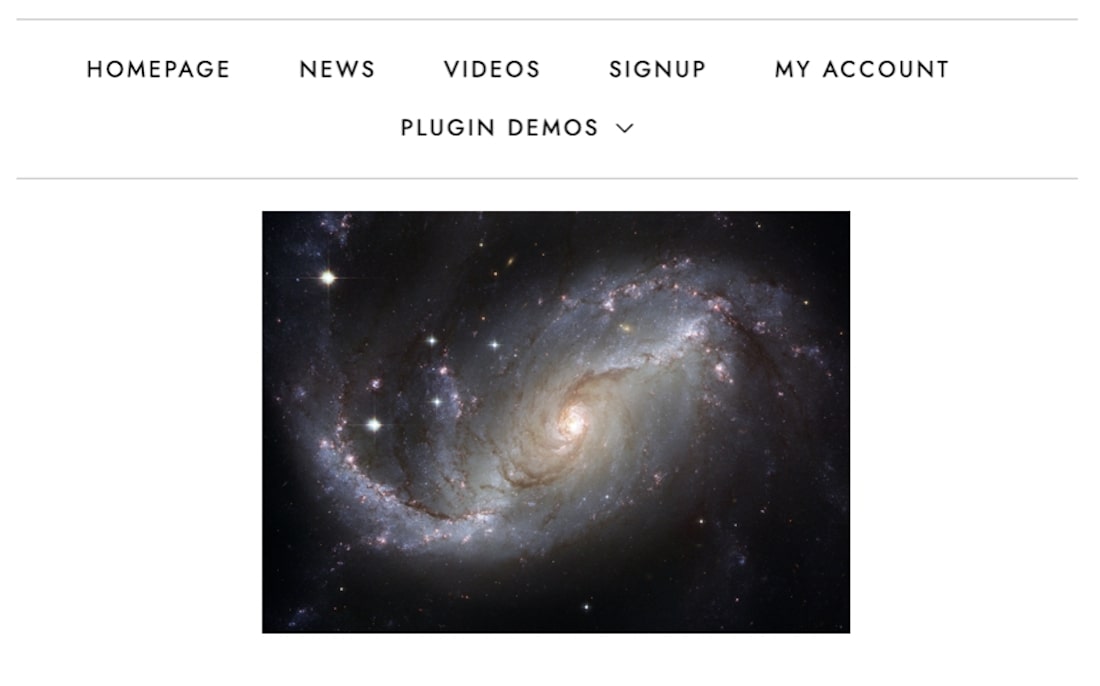
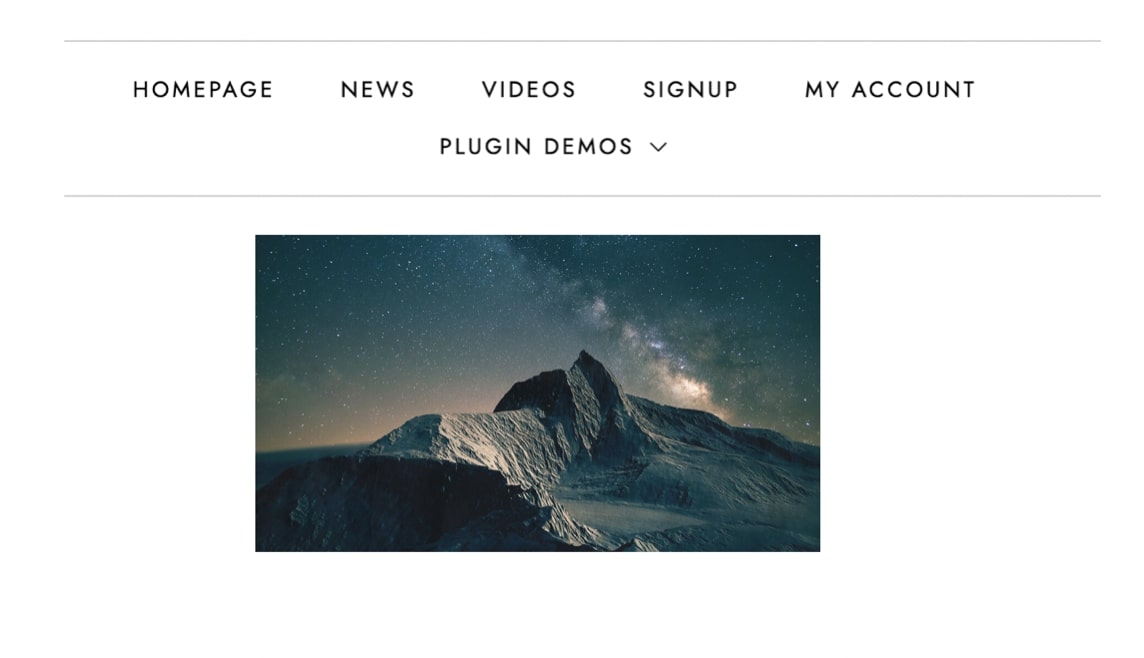
In this way, members will see the whole content, whereas non-members will only see the first part.

Members only content block

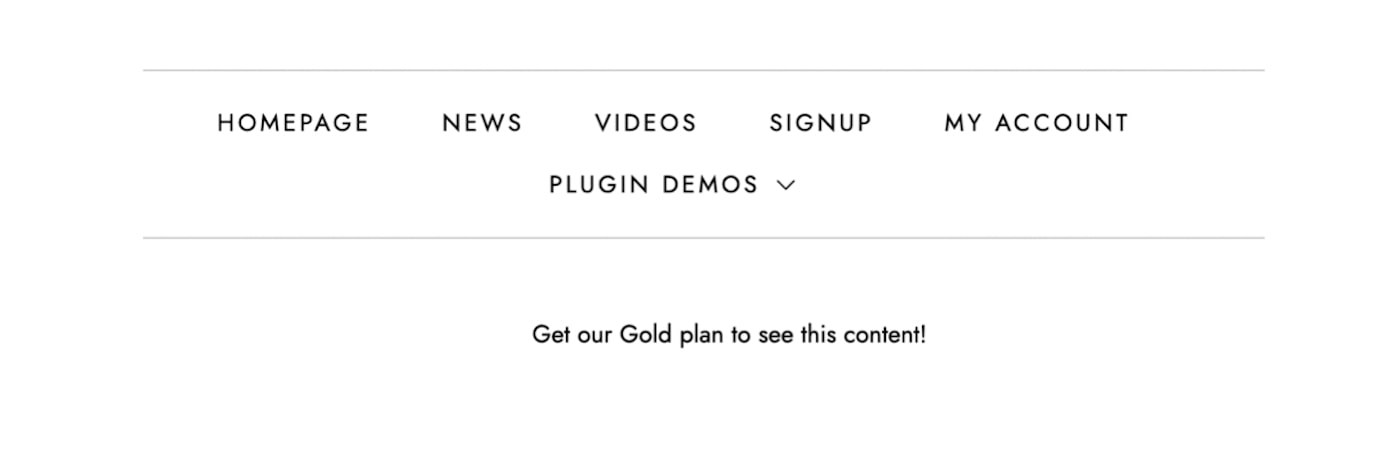
After the divider, the plugin will automatically show the default alternative content (if set in the Membership options from the page/post).

Members only content example

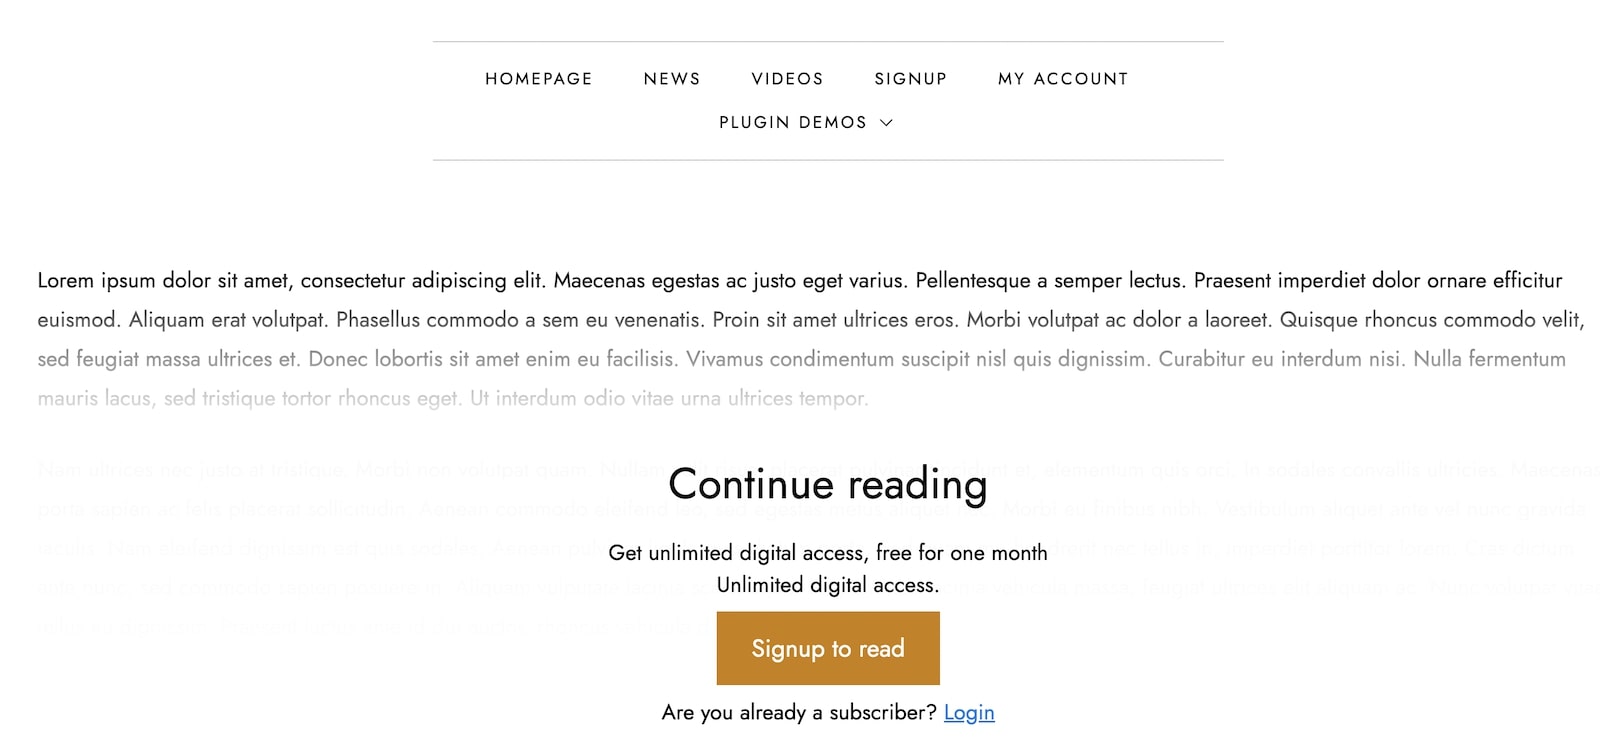
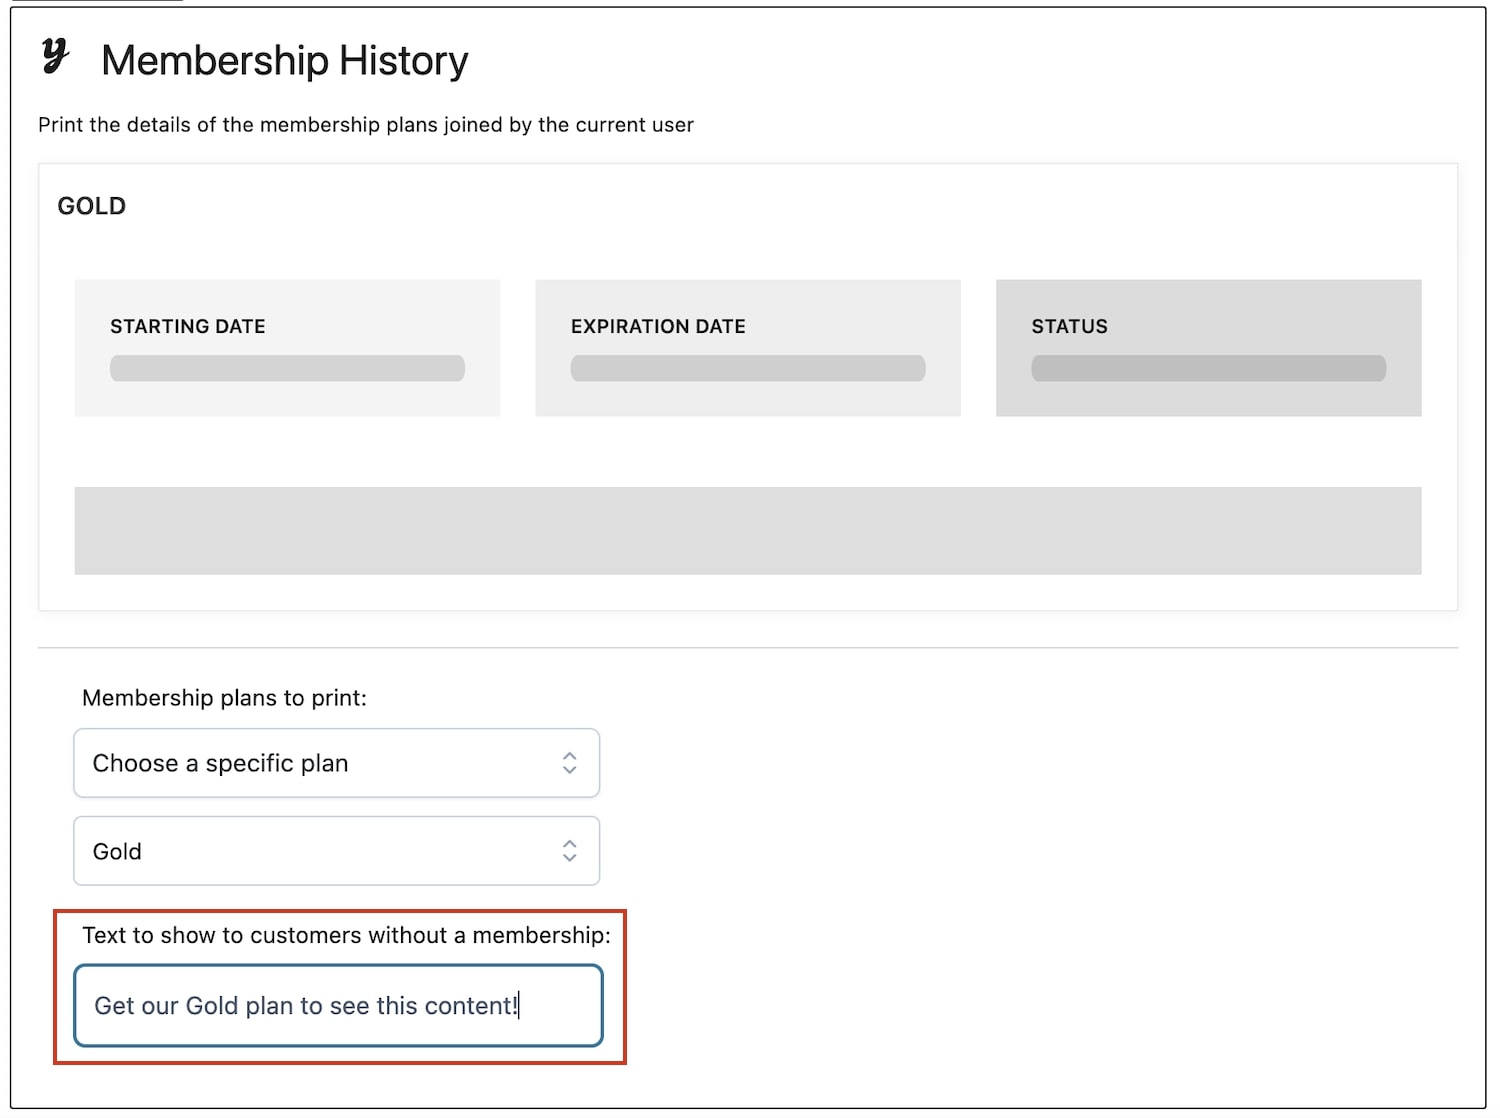
Please, note that this block only works if you have chosen to show an alternative content for non-members from the General options, as explained here.

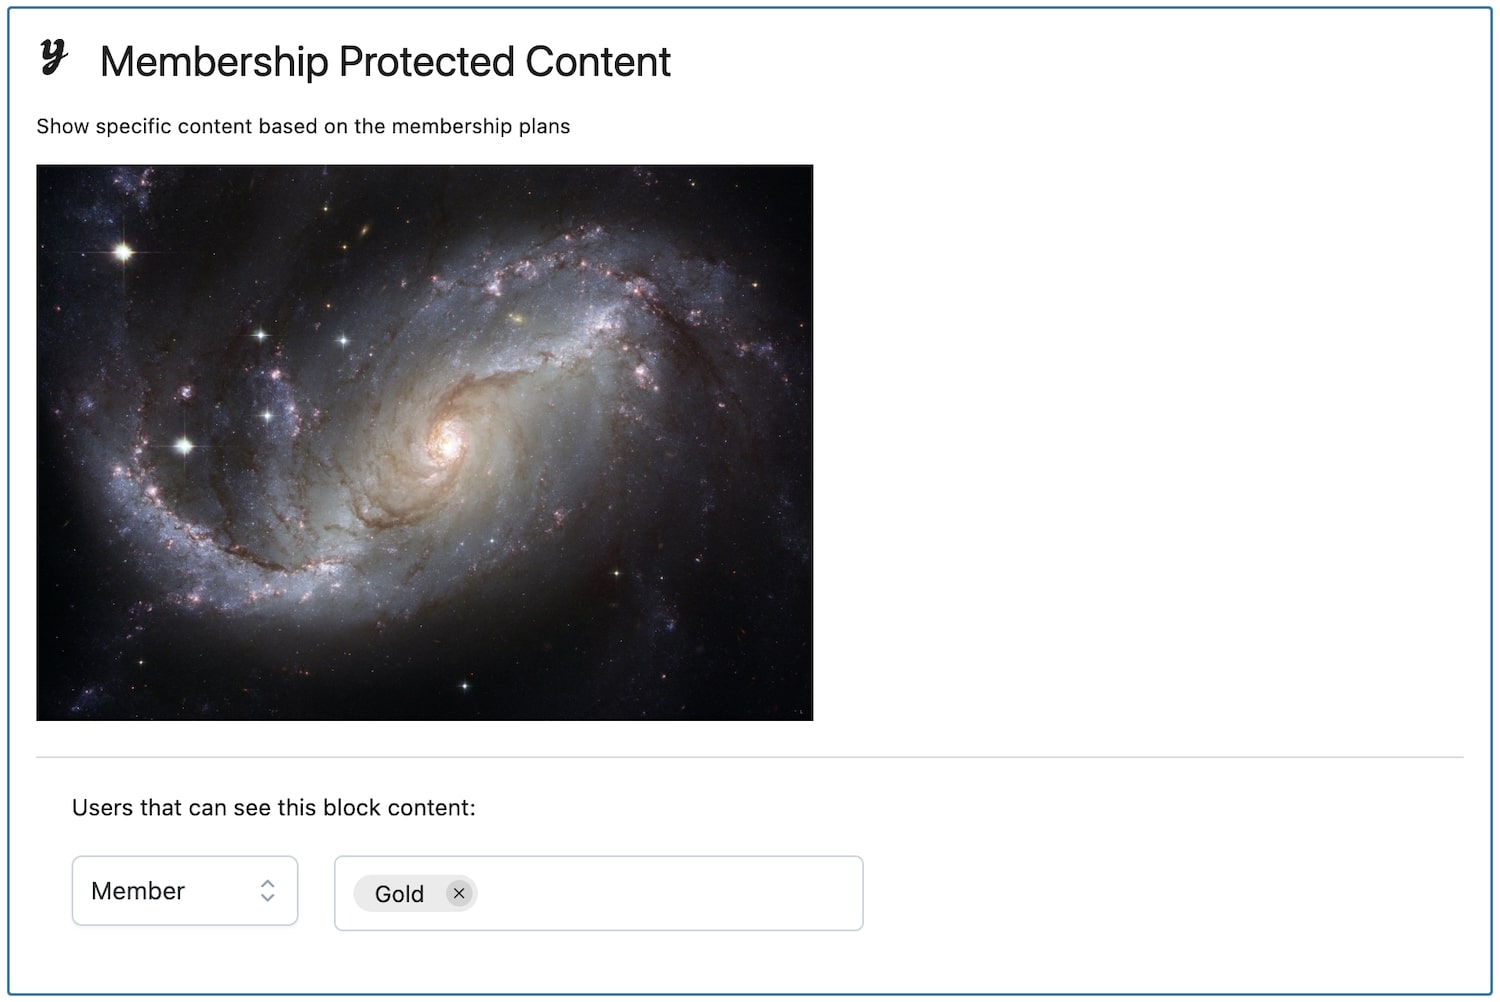
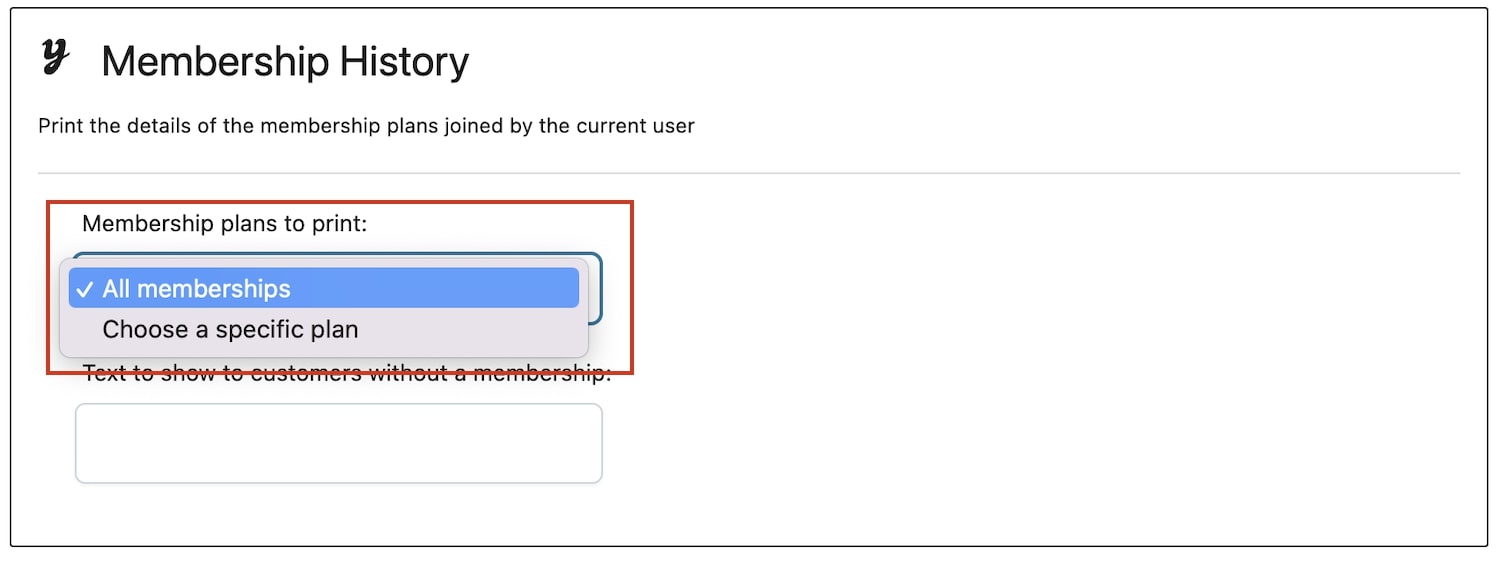
Yet if you want to hide the alternative content, you can enable the “Hide alternative content” option (if necessary) from the page builder editor:

Hide alternative content

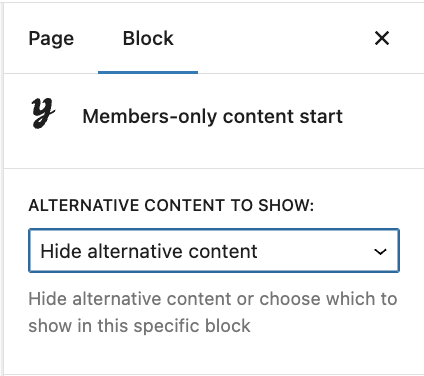
If you enable this option, the alternative content will be completely hidden for non-members, so they will only see the content previous to the members-only block:

Hidden alternative content example

Membership protected links

This block allows you to display protected links within a specific page, post or product in your website. Only members of a specific membership plan can see and download these files.

  • Print protected links set into: Select the post, page or product that has the protected links you wish to display.

You can choose the current post options to print the protected links from the post you’re creating the block in:

Protected links block

You can use custom HTML classes for the link element that will be printed, using the Link Class option in the page builder editor:

Link class option

Once you select the option for the protected links, the plugin will automatically lay out the protected file links as download buttons. Here is an example of what users with the membership plan will see in the frontend:

Protected downloadable links frontend example

Membership protected content

This block allows you to set specific content based on a membership plan and specific user types. You can add as many blocks as you prefer and every content added within this protected content block will only be displayed to the selected type of user.

  • Click on the “Add block” button to select the type of content you want to add:
Add protected content
  • Users that can see this block content: Choose the user that will be able to see the content set in this block. You can choose to show content for Guest users, Members of a membership plan or a Non-member. Keep in mind that non-members still have to be members of a plan, but not from the plan selected in the block.

If you select Member or Non-member, you have to select the specific membership plan:

Select user for the protected content block

Example 1:

If you want to create content only visible for members of specific plans (for example, Gold members), you would have to set it up as it follows:

Protected content set up example 1

Only members of the Gold membership plan would be able to see this content:

Protected content frontend example 01

Example 2:

If you want to create a content visible only to Non-members of a Gold plan, this would be the set up:

Protected content set up example 2

All users, except users with a Gold membership plan and Guests, will be able to see this content:

Protected content frontend example 2

Membership protected media

This block allows you to print protected media links that can only be downloaded by members of the selected membership plan(s).

Keep in mind that the media should be set as protected from the media settings options before printing the link, as shown in the following image:

Set protected media

After doing that, select the block in your page or post. It will open like this:

Protected media block

The media URL cannot be edited, but you can edit the linked text that will appear in the frontend:

Linked protected media text

In the frontend, enabled users can click on the link to automatically download the selected media:

Membership protected media example

Membership history

This block allows you to show to the users of a membership all the details regarding their plan.

  • Membership plans to print: Select the membership plan details you wish to include. You can choose between showing the details from all the membership plans the user has purchased or from a specific plan only.
Membership plans to print option

If you select the option “Choose a specific plan“, then a second selection will be shown where you can search for a membership plan:

Choose a specific plan
  • Text to show to customers without a membership: You can write a specific text to show to those users who do not have access to the selected membership plan for this block.
Custom tem for users without membership

As shown in the example below, the details include the starting and expiration date, the status of the membership, the history of their plan and the content available with the plan.

Membership history in the frontend

This is what an user without the membership would see if you select a custom message for them:

Membership history custom text for non members

Membership plan items

This block allows you to show a complete list of all elements associated to a specific membership plan. This list is visible only to users who have purchased this plan.

  • Print items included in plan: Choose the plan that you wish to add to this block.
Membership Plan Items - select a plan

This is how it would look like after selecting the plan:

Membership plan items - selected plan

In the frontend, it would look like this for members of the selected plan:

membership items frontend example

Membership downloaded product links

This block prints a list with all the downloadable files linked to a membership plan product. This is what it looks like after adding the block:

Membership downloaded product links block

Users can see and download all the files directly from this table. The table displays the product to which the link belongs to and the download button:

Membership downloaded product links example