Image badges give you the opportunity to choose among a series of ready badges or to upload a customized one.
To create your image badge, start by entering a name to identify it (N.B. this is a required field) then select Image from the dropdown in Badge type.
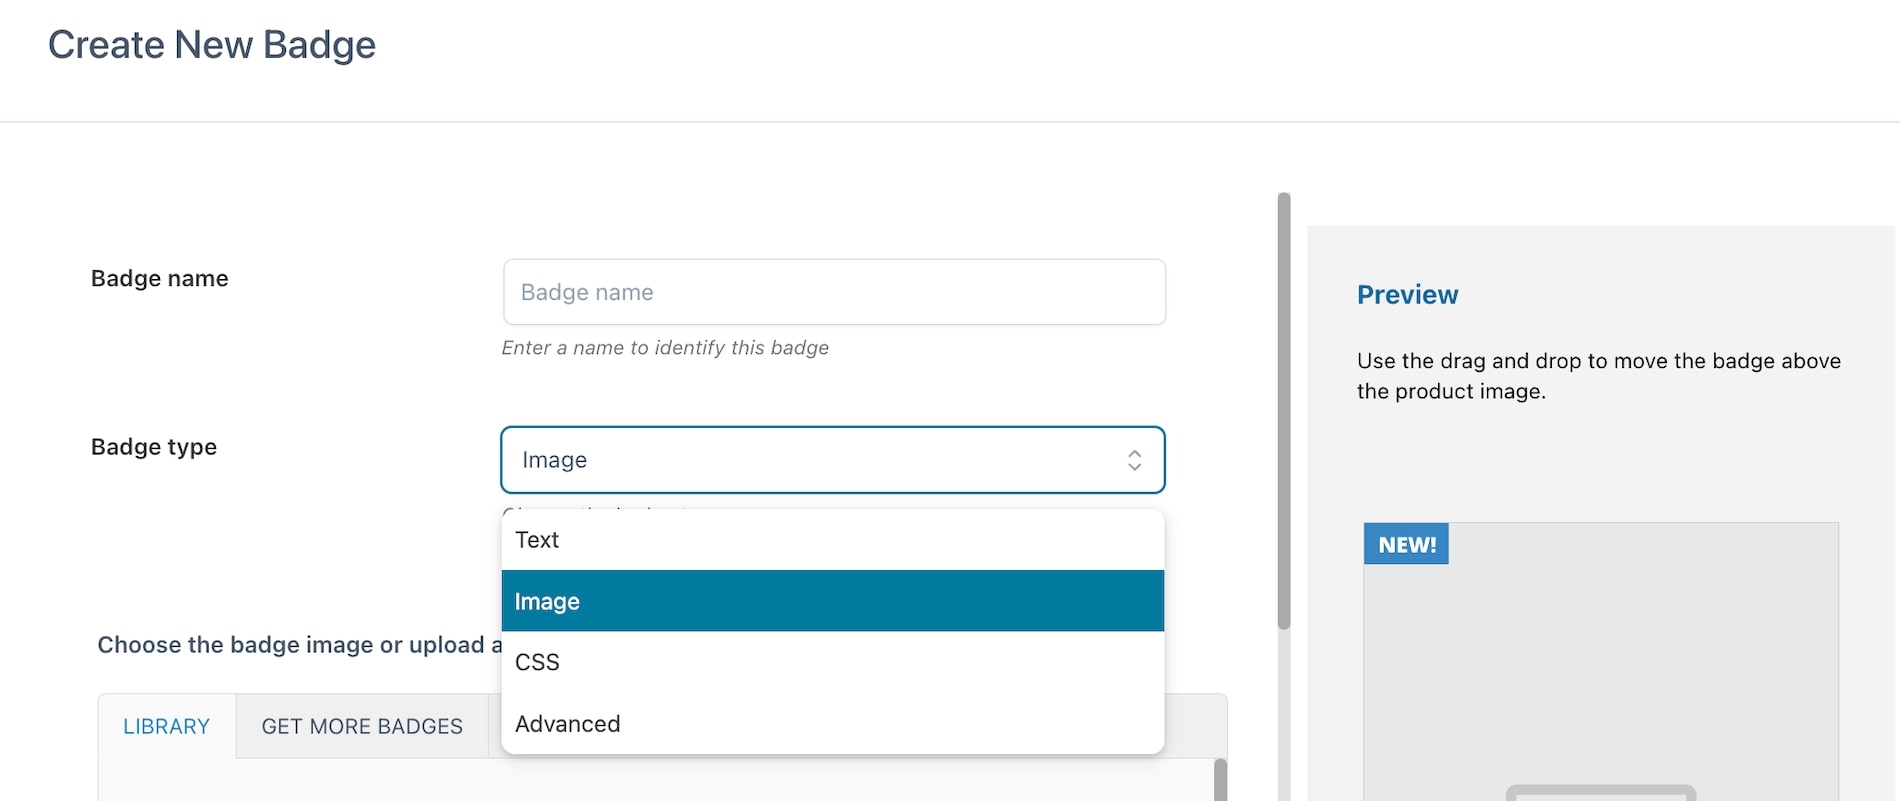
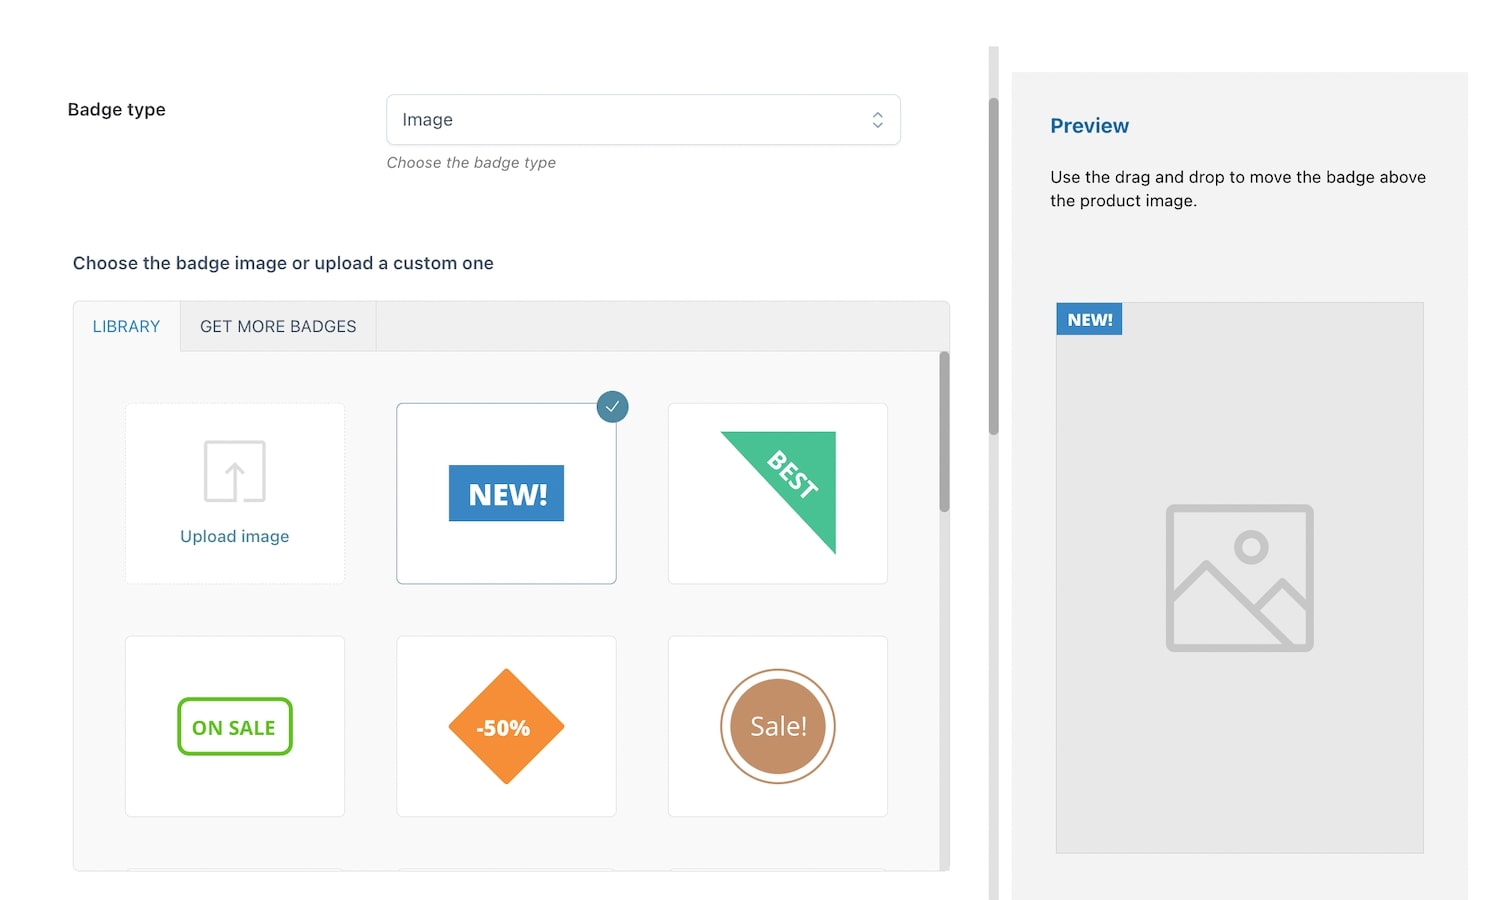
The plugin includes a library with ready-to-use badges as well as the possibility to upload custom images.
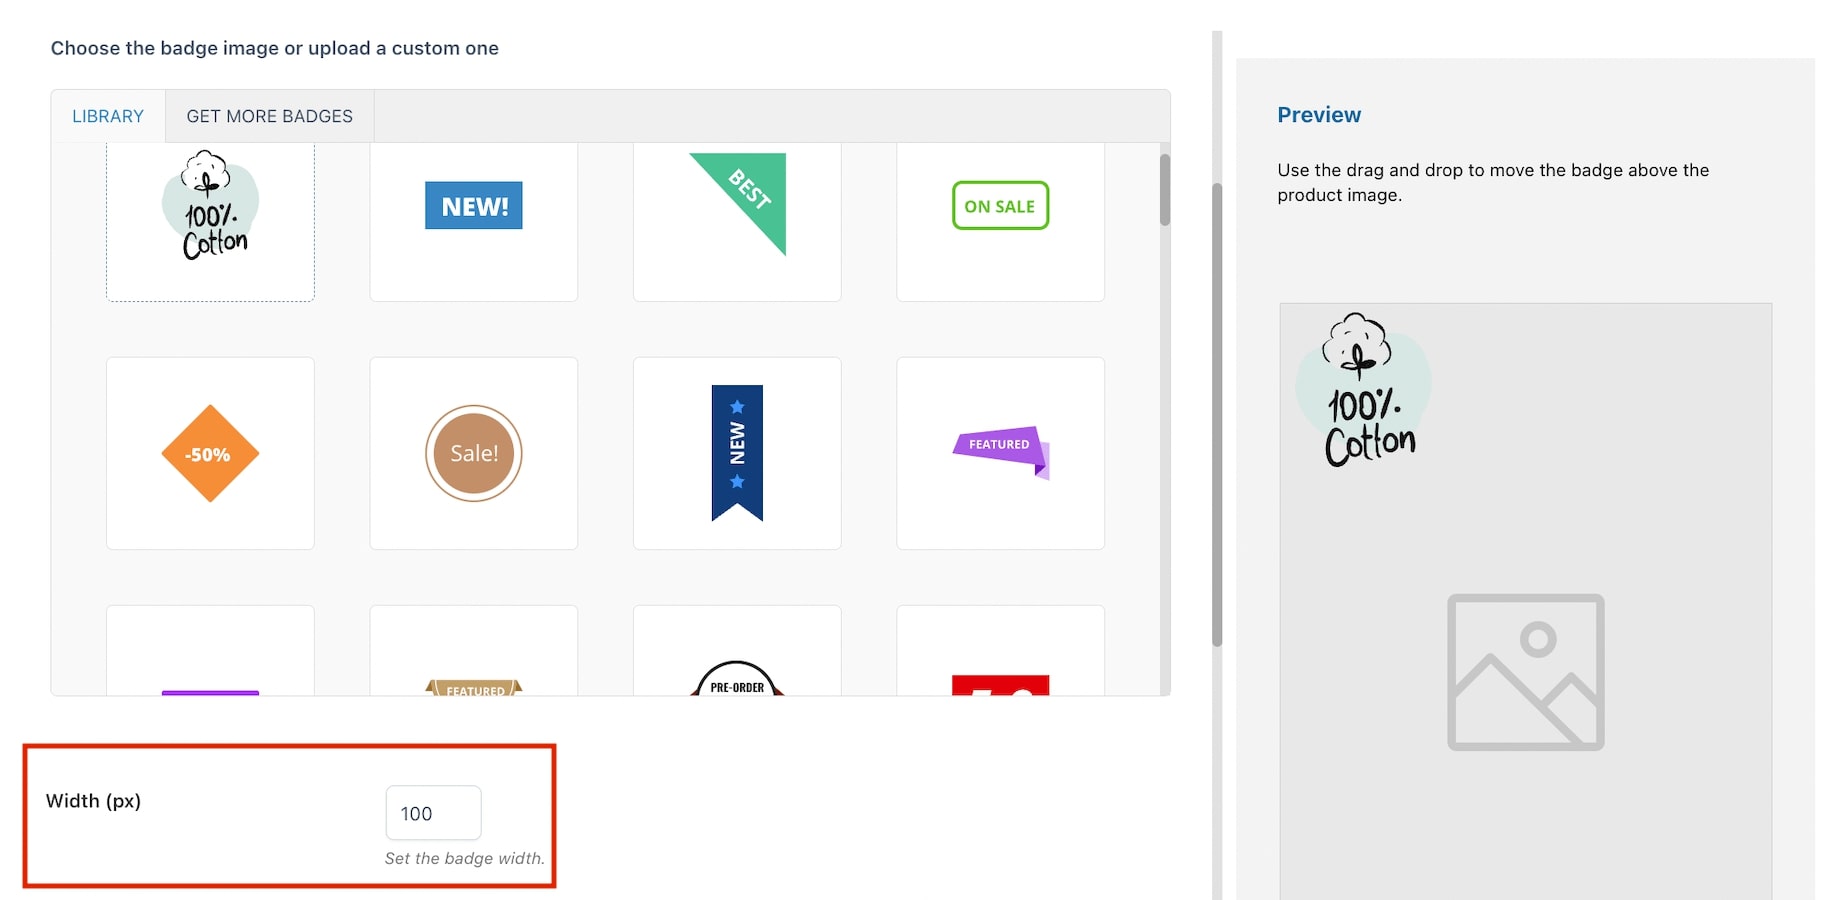
When using a custom image, you can set the badge width through the related option Width (px). For custom images, we recommend using vector graphics format.
In addition to the images available in the Library tab, you can also download extra badges from Get more badges.
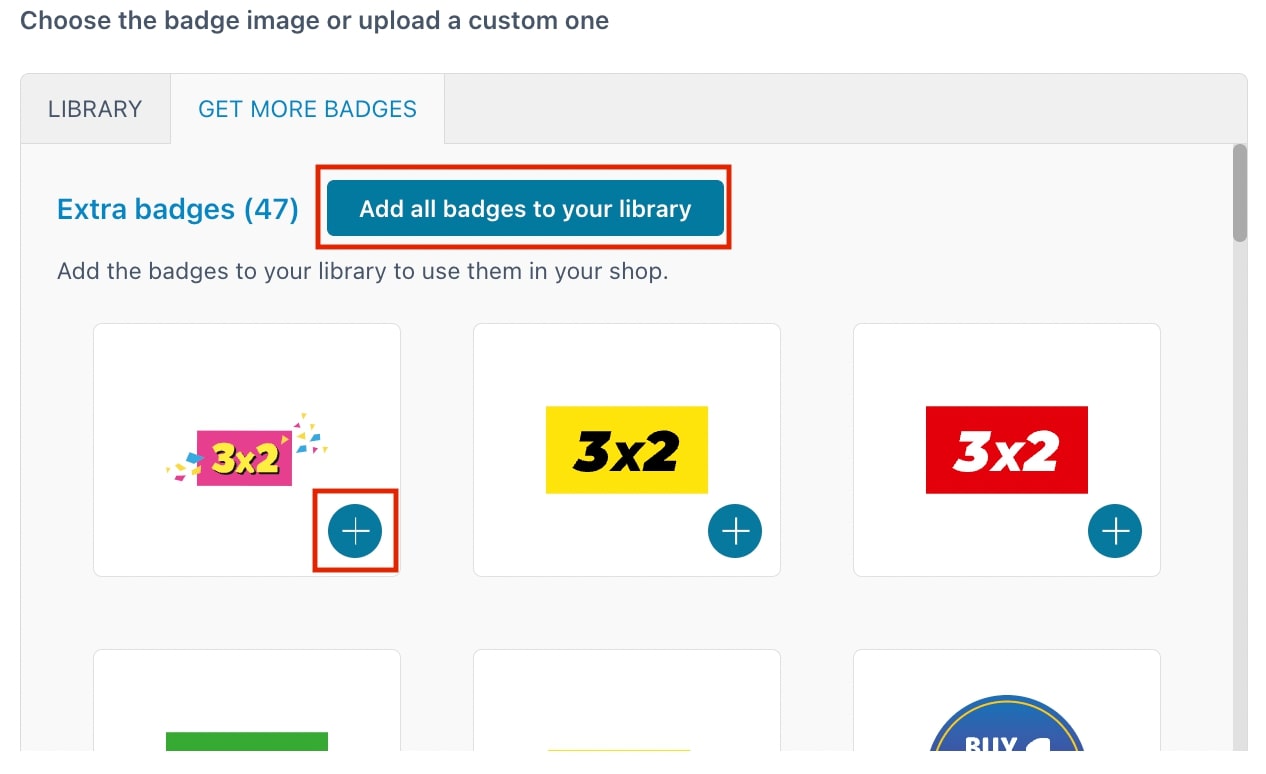
Here, you can either download them all or only those you want to use through the related buttons that will add the badges to your library.
Other options are:
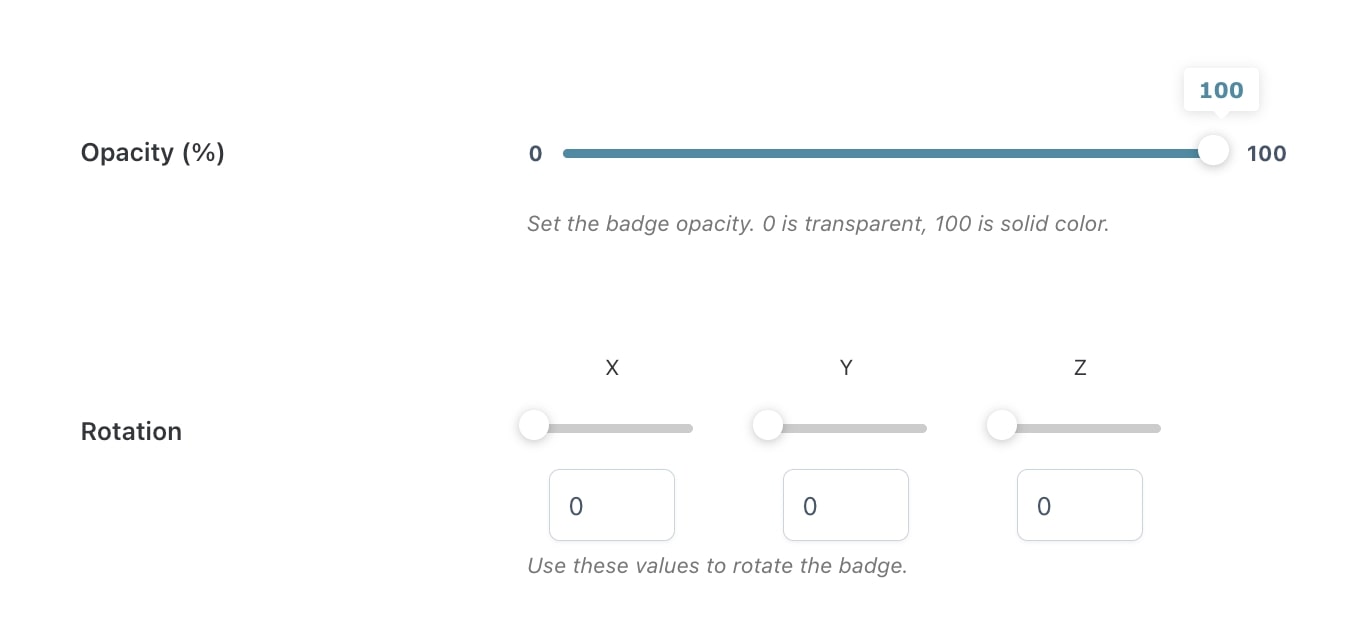
- Opacity (%): set the percentage of opacity for the badge. Min. 0 = transparent; max 100 = solid color;
- Rotation: With the rotation option, you can rotate the image like a 3D object. You can rotate it using the three main axes X, Y, and Z. You can either choose to use numbers or the slider as shown in the image below.
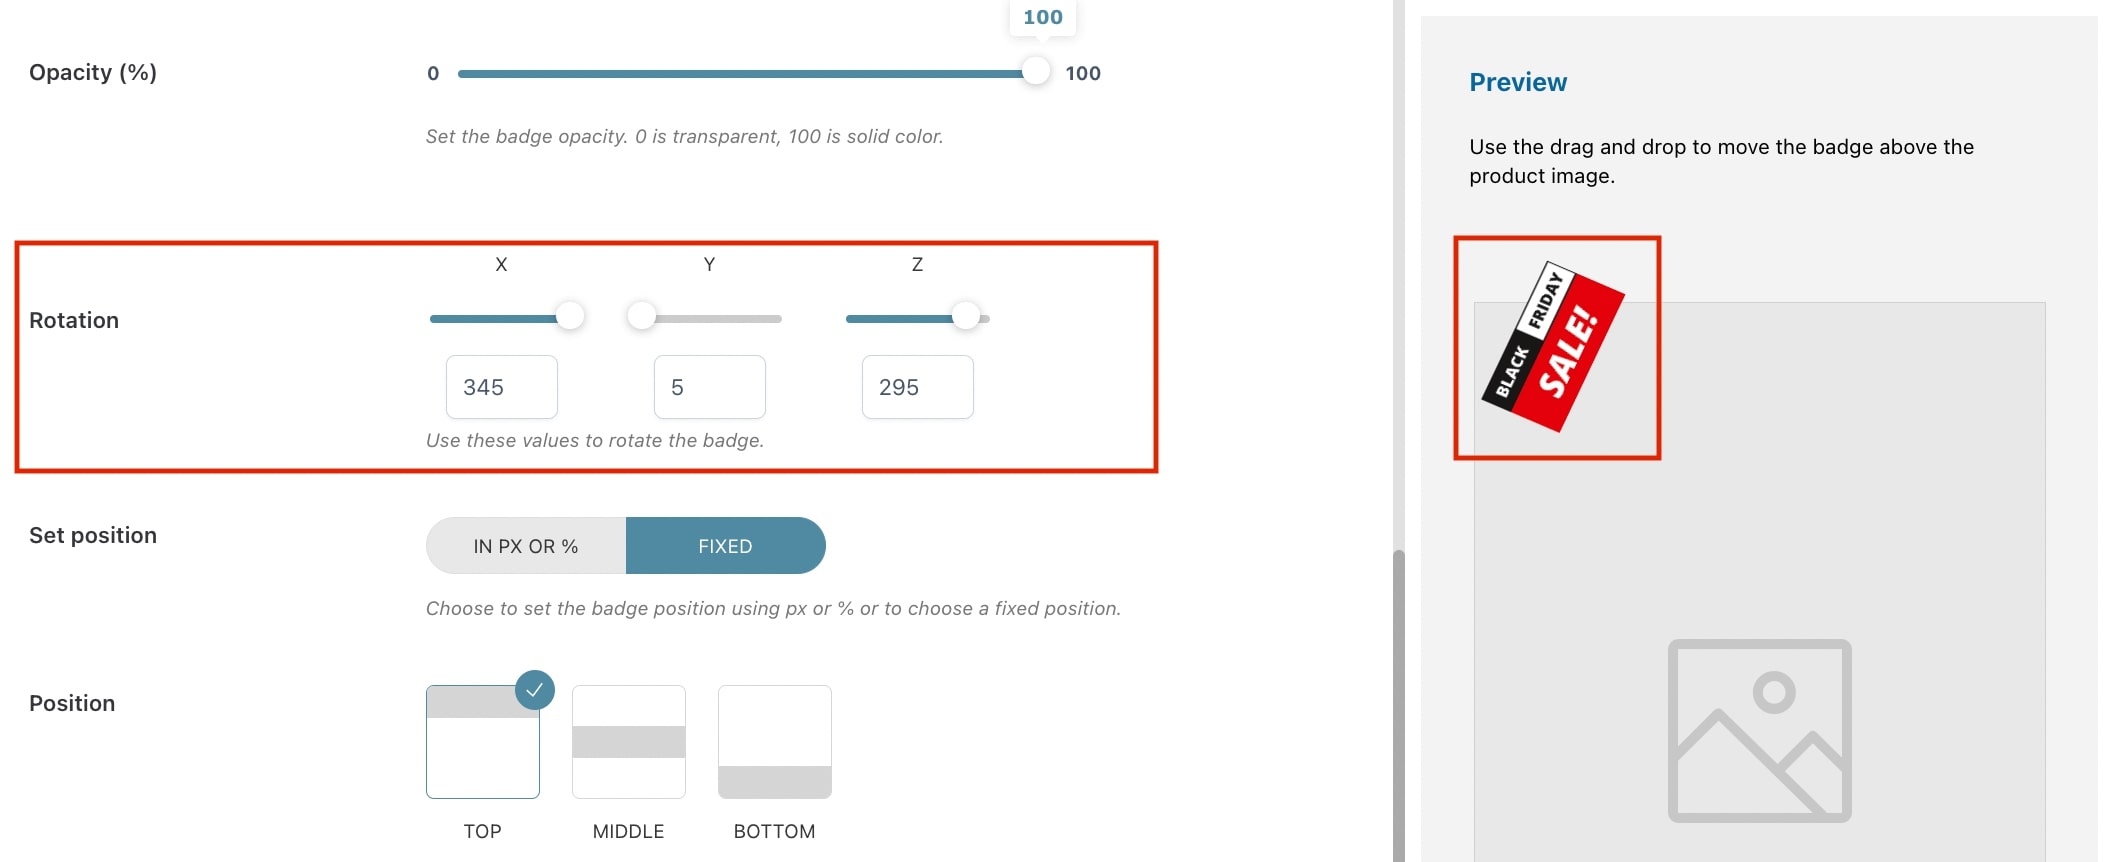
Please, note that there is no flip/mirror text option for the image badges. The option to flip the text is only available for the text, css, and advanced badges.
Badge position
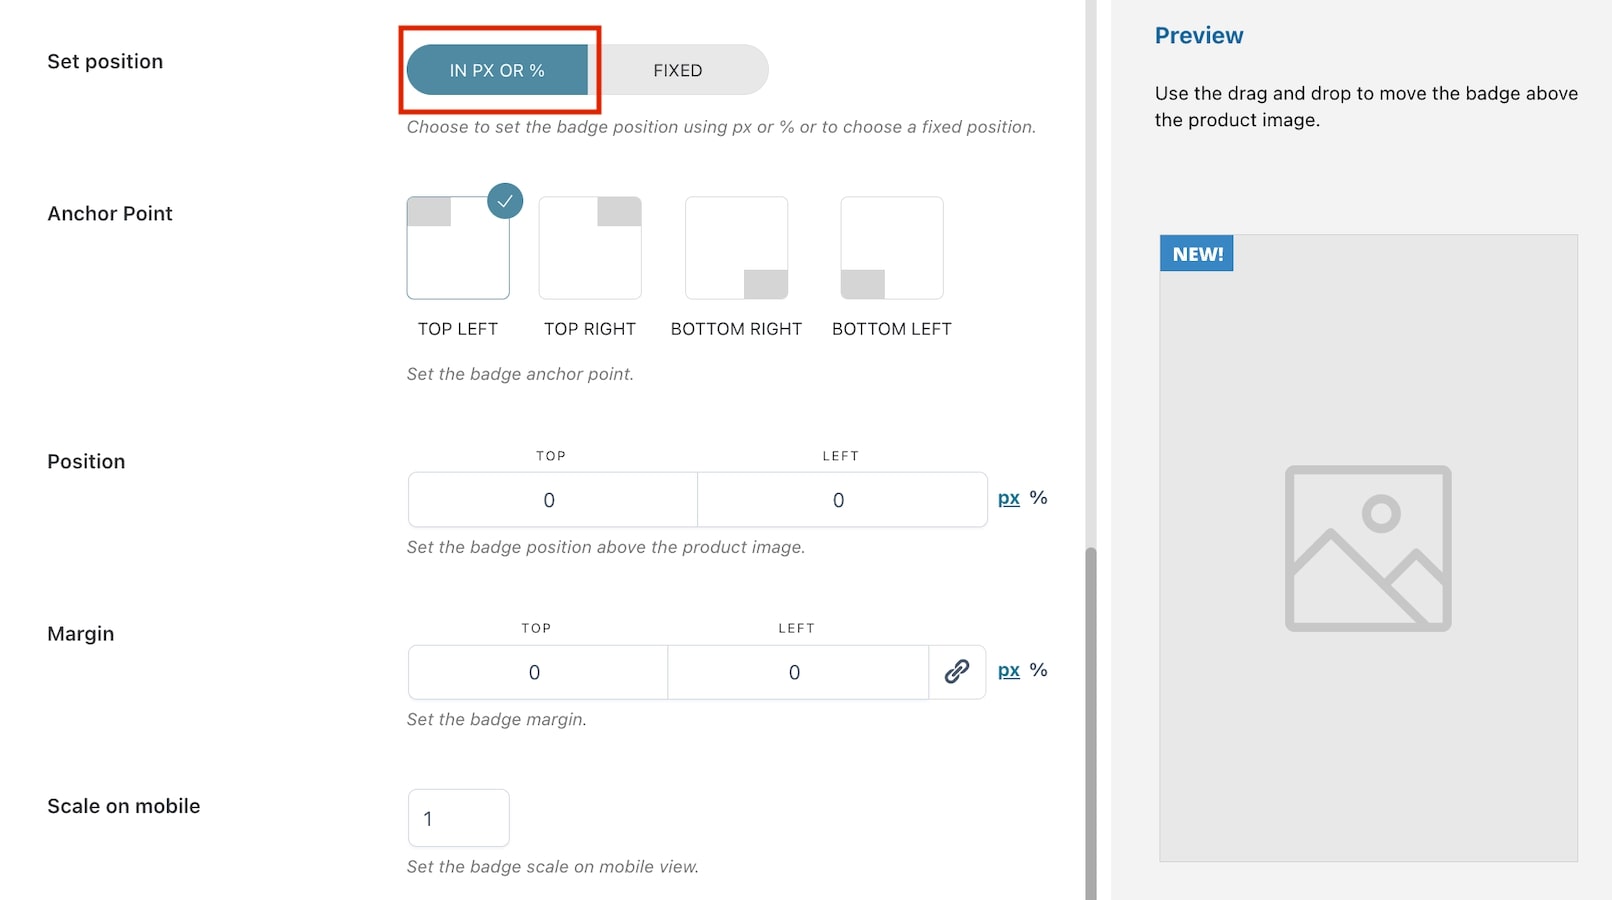
- Set Position: choose how to set the badge position in the product image from in px or % and fixed. By selecting in px or %, you will have the following options:
- Anchor Point: select the anchor point for the badge (top left, top right, bottom, left, bottom right). E.g. in the image above, we have selected top right;
- Position: based on the selected anchor point, the position will automatically show two options (in this case top and right) and their values. Adjust them according to your needs in px or %;
- Margin: based on the selected anchor point, the margin will automatically show two options (in this case top and right) and their values. Adjust them according to your needs in px or %.
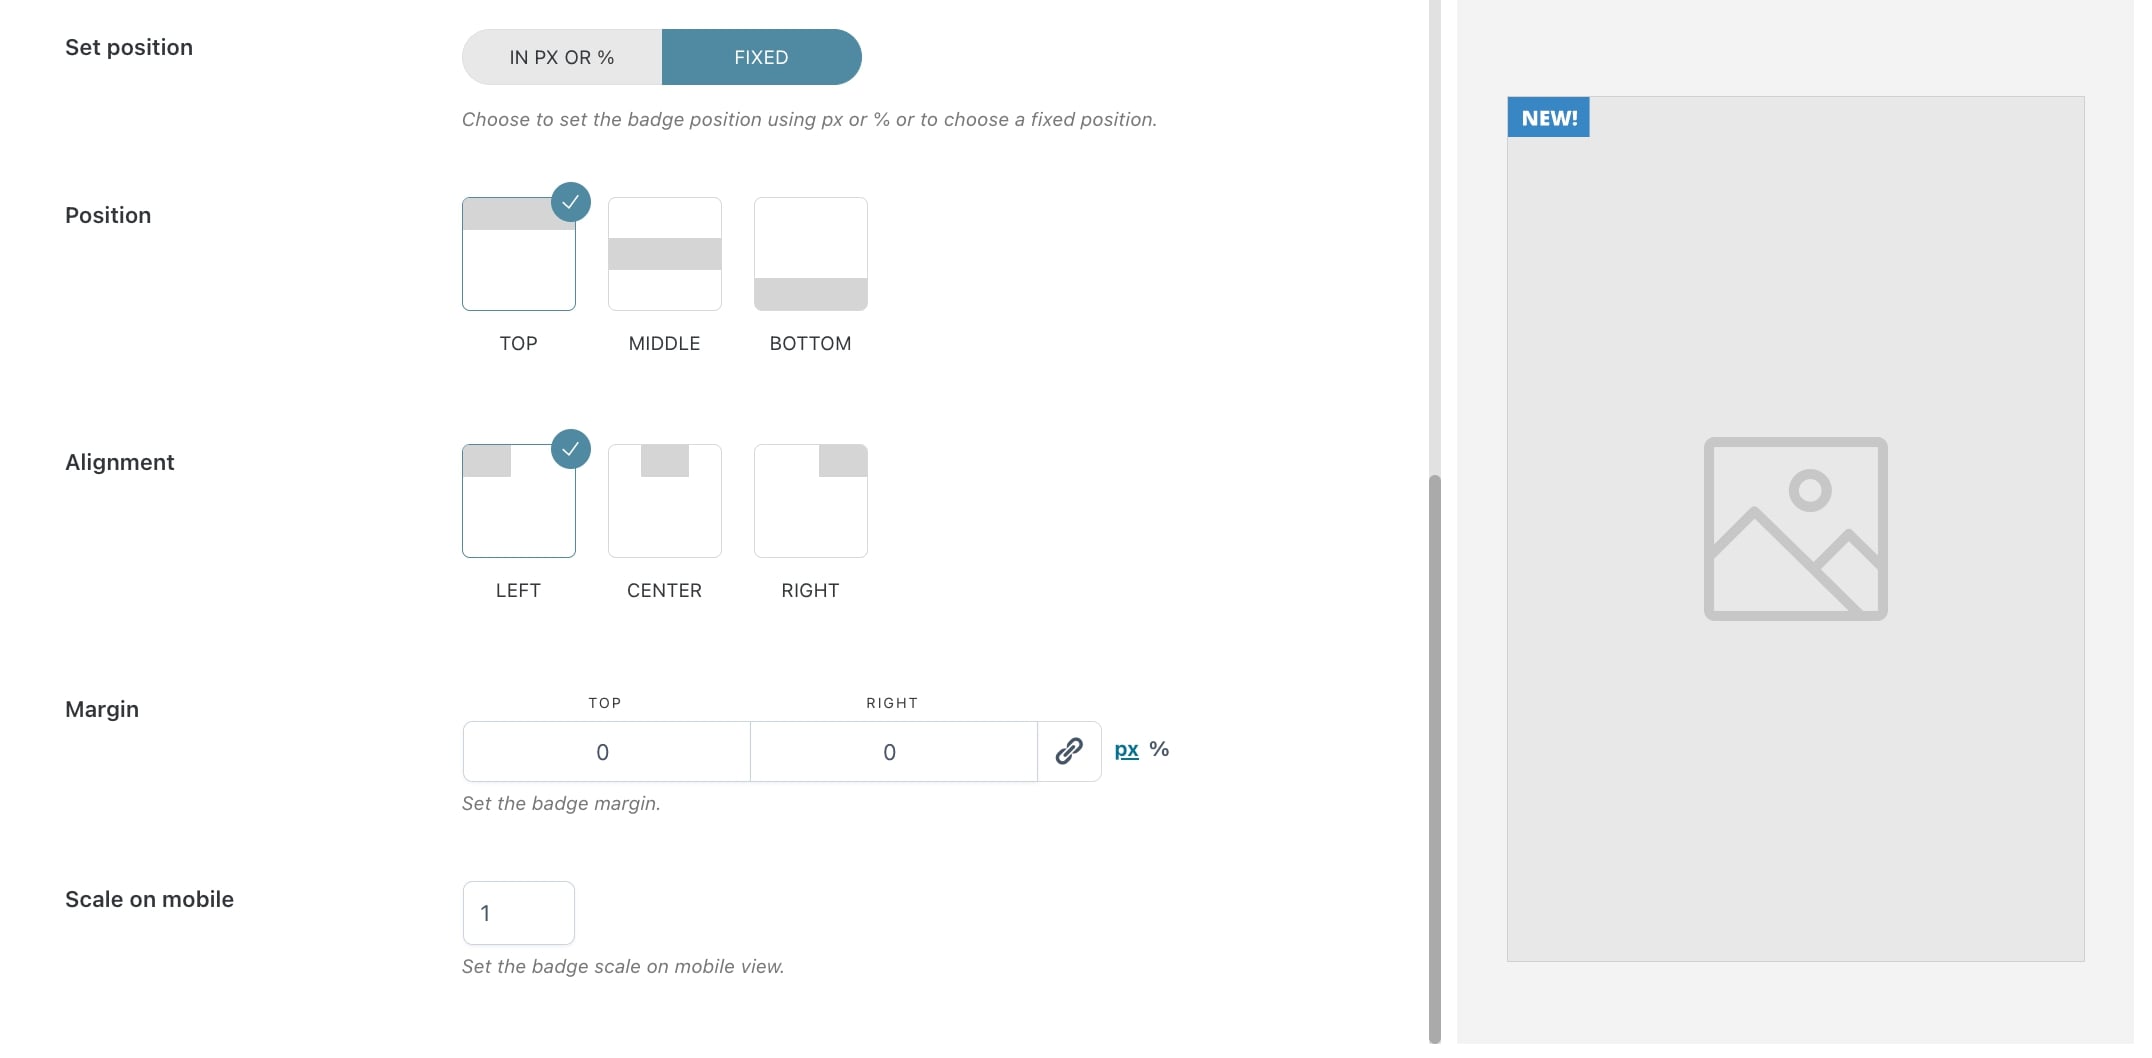
- Set position: choose how to set the badge position in the product image from in px or % and fixed. By selecting fixed, you will have the following options:
- Position: choose the badge position from top, middle or bottom. E.g. in the image above, we have selected top;
- Alignment: choose the badge alignment from left, center or right. E.g. in the image above, we have selected right;
- Margin: based on the previous selections, the margin will automatically show two options (in this case top and right) and their values. Adjust them according to your needs in px or %.
- Scale on mobile: insert the value to scale the badge on mobile devices. Default value: 1.
Preview
Any of the above option settings will reflect in the preview box on the right so you will be able to see in real-time the badge you are creating and apply any necessary adjustments.
To move the badge above the product image, you can use drag and drop. When applying this action, the position will be automatically set to in px or % and the values will update based on where you’re moving the badge.
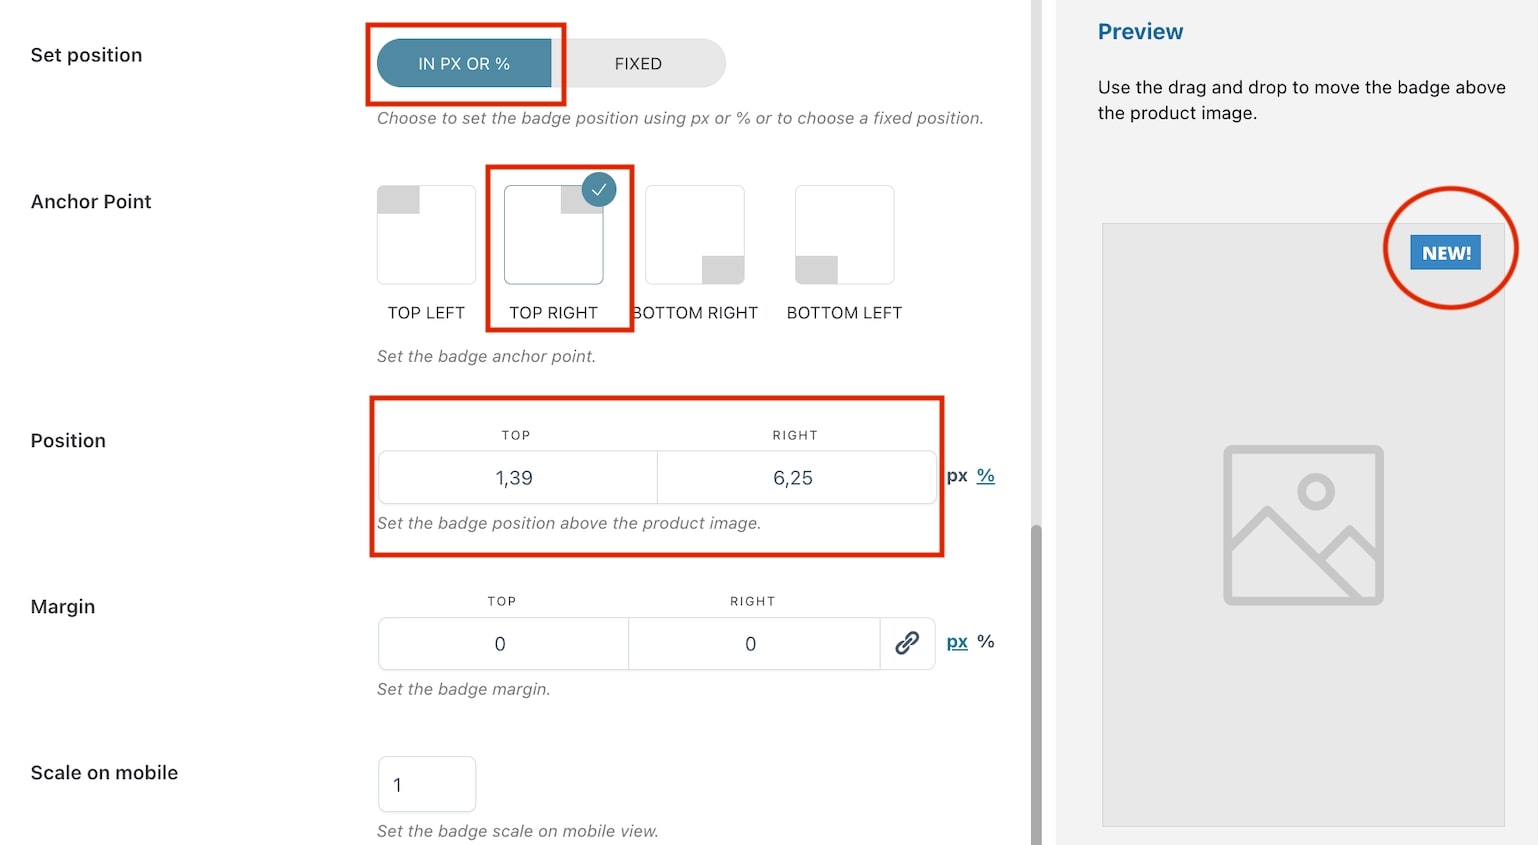
Image badge on frontend

