From the Email settings section in the panel, you can manage and customize all the emails automatically sent by the plugin.
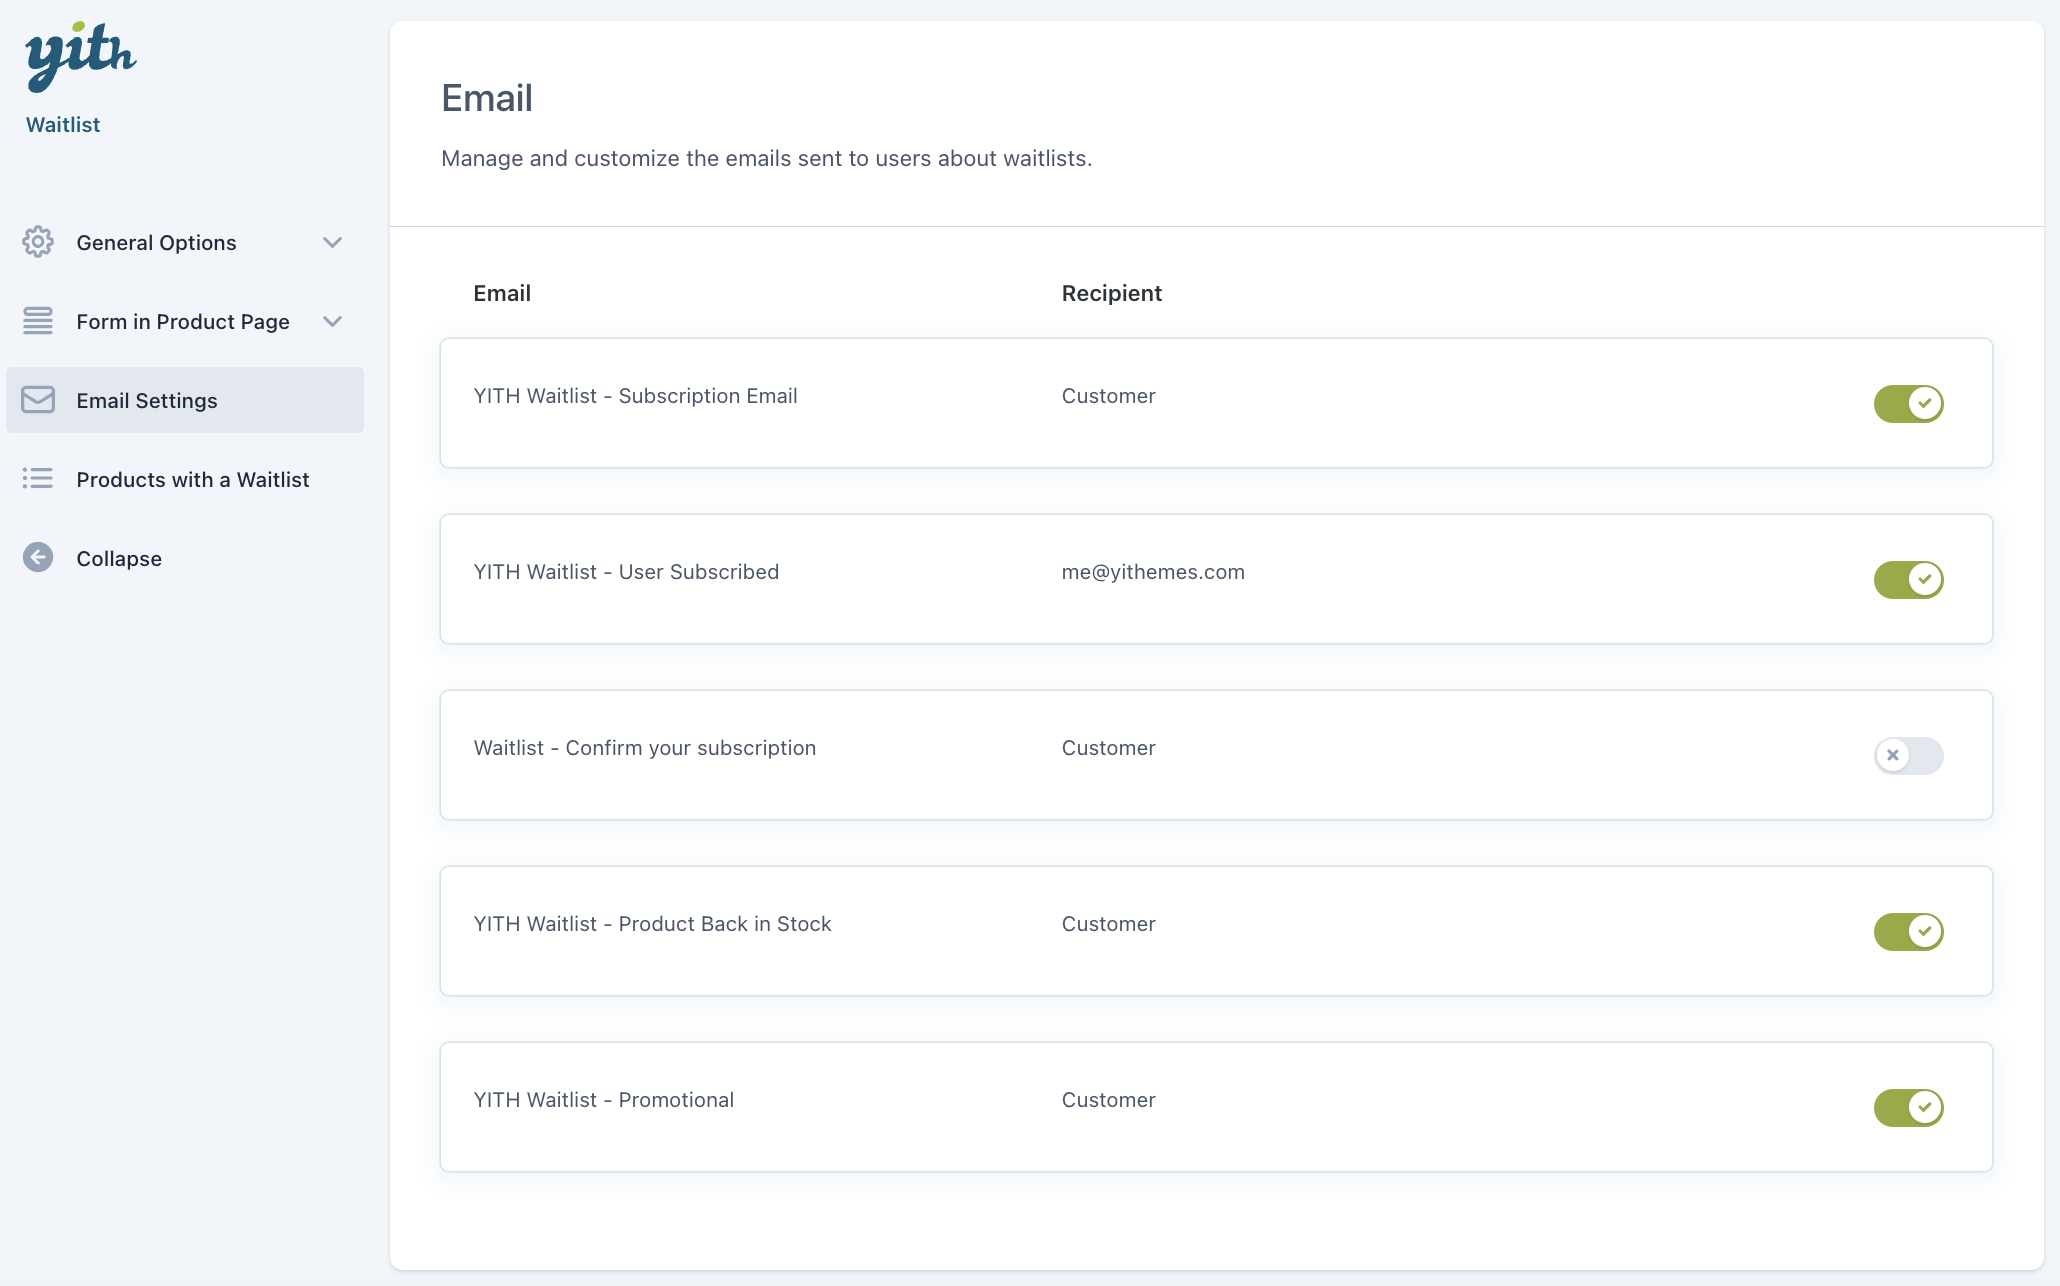
On this page, we will analyze the options available in the User subscribed which is the email sent to the site admin when users subscribe to a product waitlist.

Click on the pencil icon to access the email options.

- Recipient(s): add the recipients, comma separated, for this email;
- Subject: you can enter a custom text to replace the default email subject;
- Email heading: you can enter a custom text to replace the default email heading;
- Email type: choose the email type from HTML, plain text or multipart;
- Email content: use the advanced editor to add the content of the email received by users. The available placeholders are:
- {blogname}: the name of the blog
- {site_title}: the name of the site
- {product_title}: the product name
- {product_sku}: the SKU of the product
- {product_price}: the price of the product
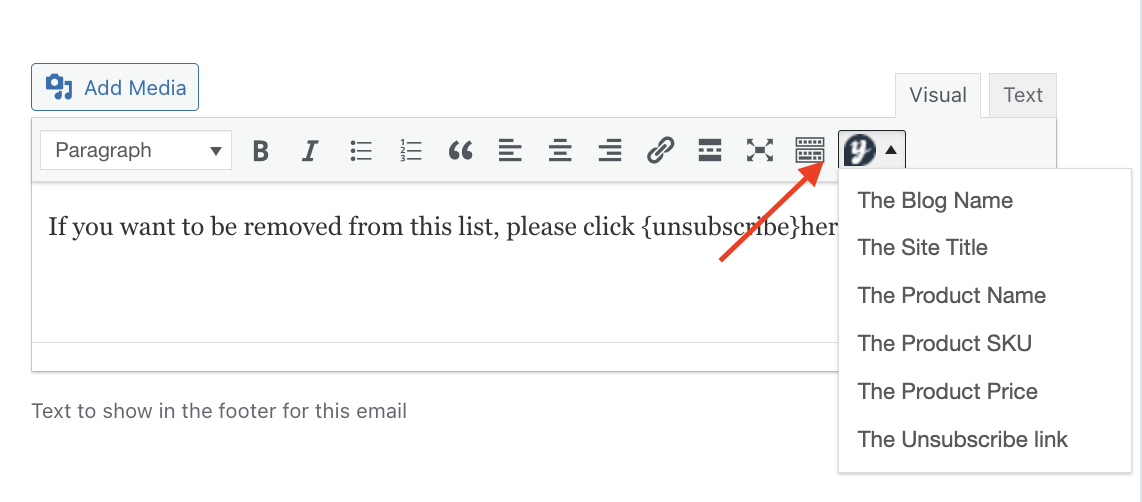
- {unsubscribe}here{/unsubscribe}: the link to unsubscribe
- Footer text: use the advanced editor to add footer text for the email received by users. The available placeholders are:
- {blogname}: the name of the blog
- {site_title}: the name of the site
- {product_title}: the product name
- {product_sku}: the SKU of the product
- {product_price}: the price of the product
- {unsubscribe}here{/unsubscribe}: the link to unsubscribe
- Show product image: enable this option if you want to show the product image in the email.
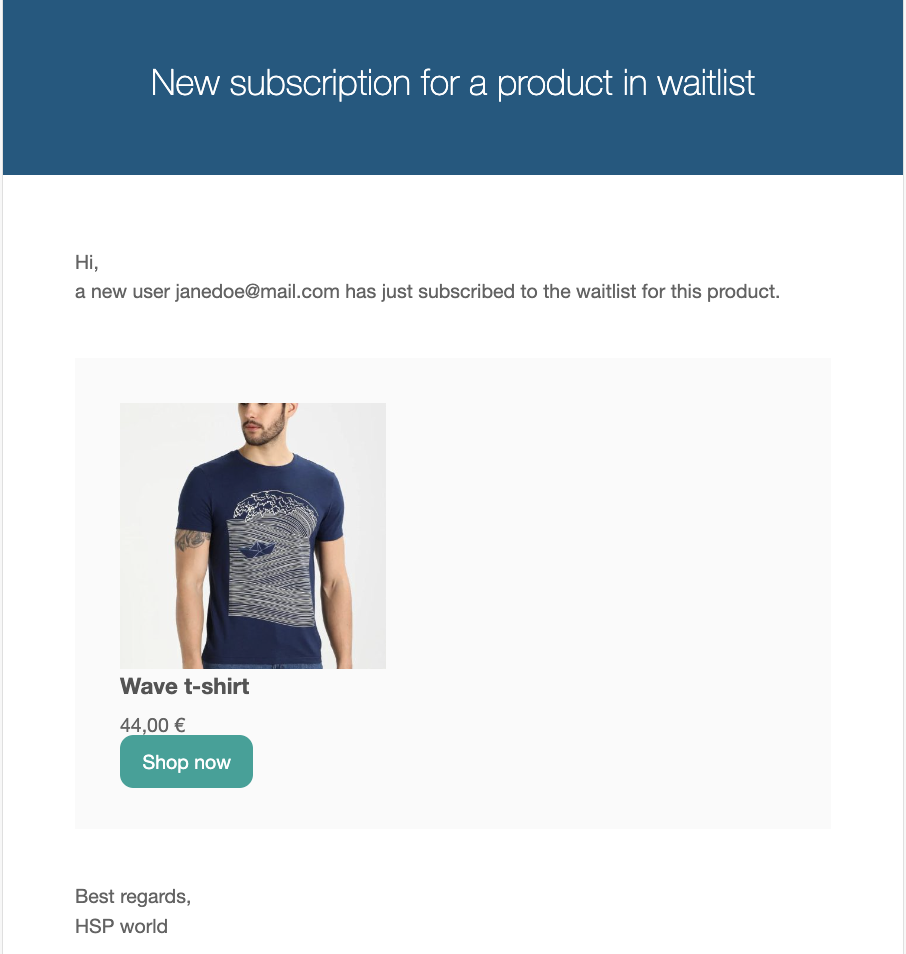
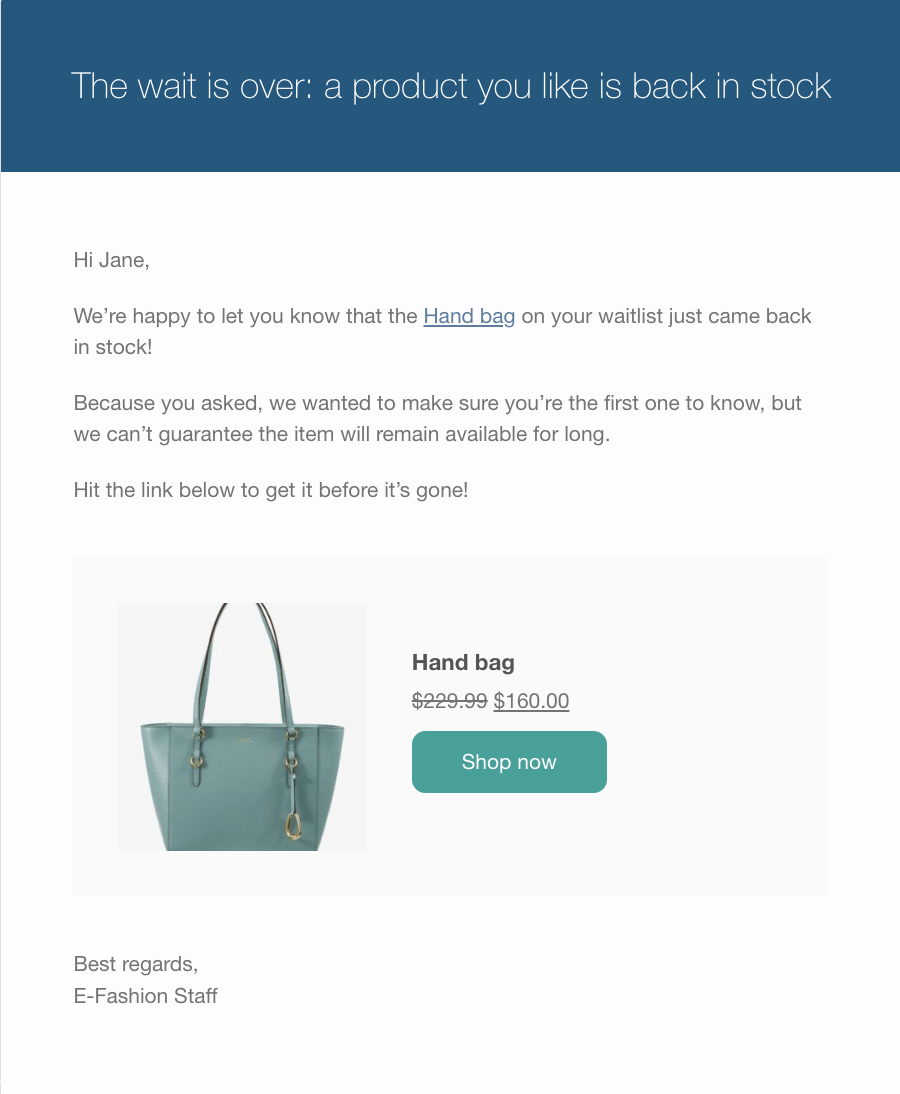
Email example


