View Product Page

Options

To let your users subscribe to waitlists for out-of-stock products, open the plugin panel and go to General options > Options. Here, you must enable the option Enable Waitlist on by choosing the products on which the waitlist form will show from:

Enable Waitlist features

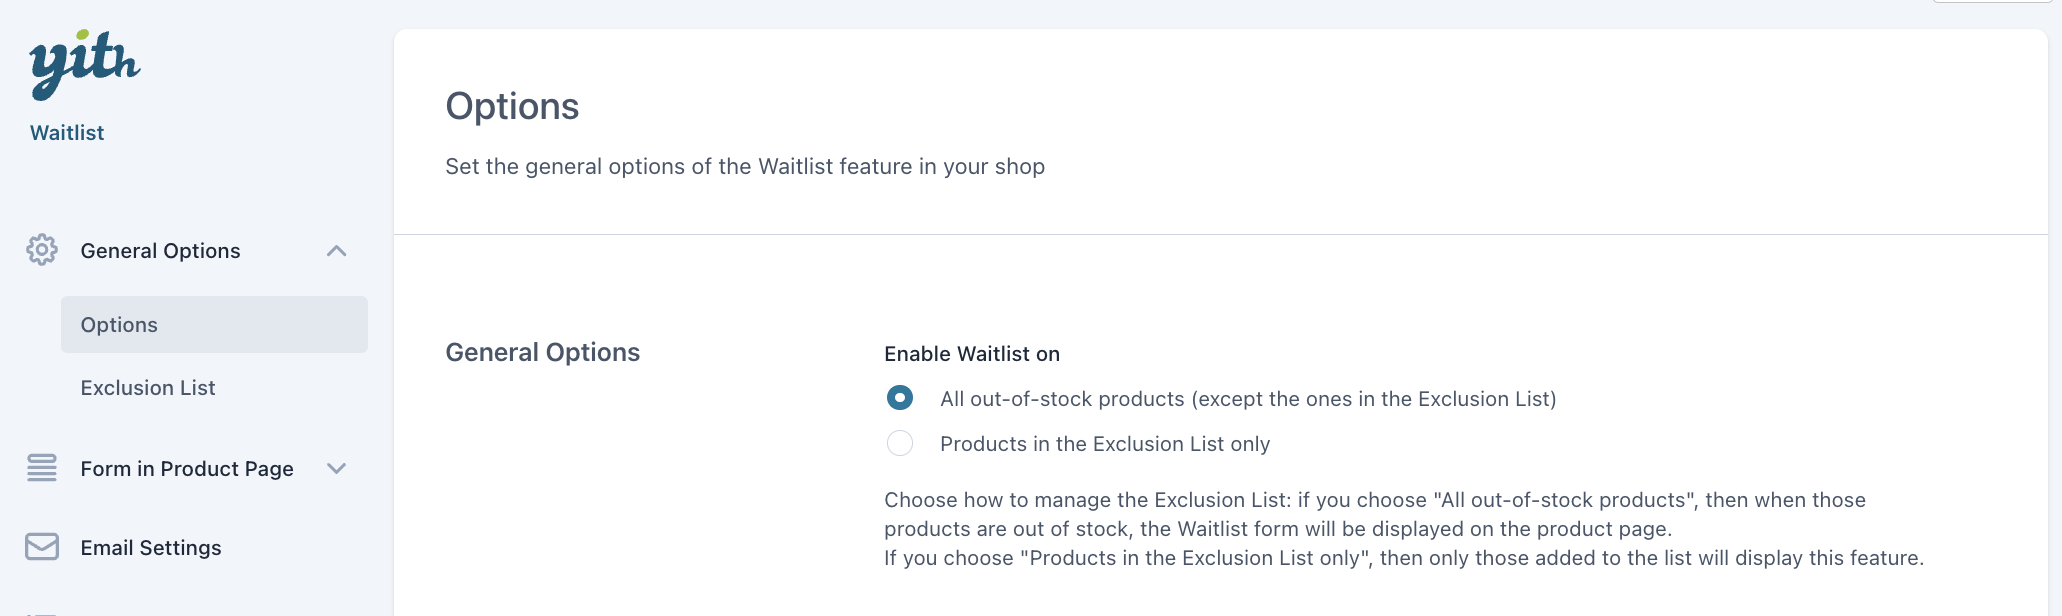
  • All out-of-stock products (except the ones in the Exclusion List): this will show the form on the product pages of all products that are out of stock;
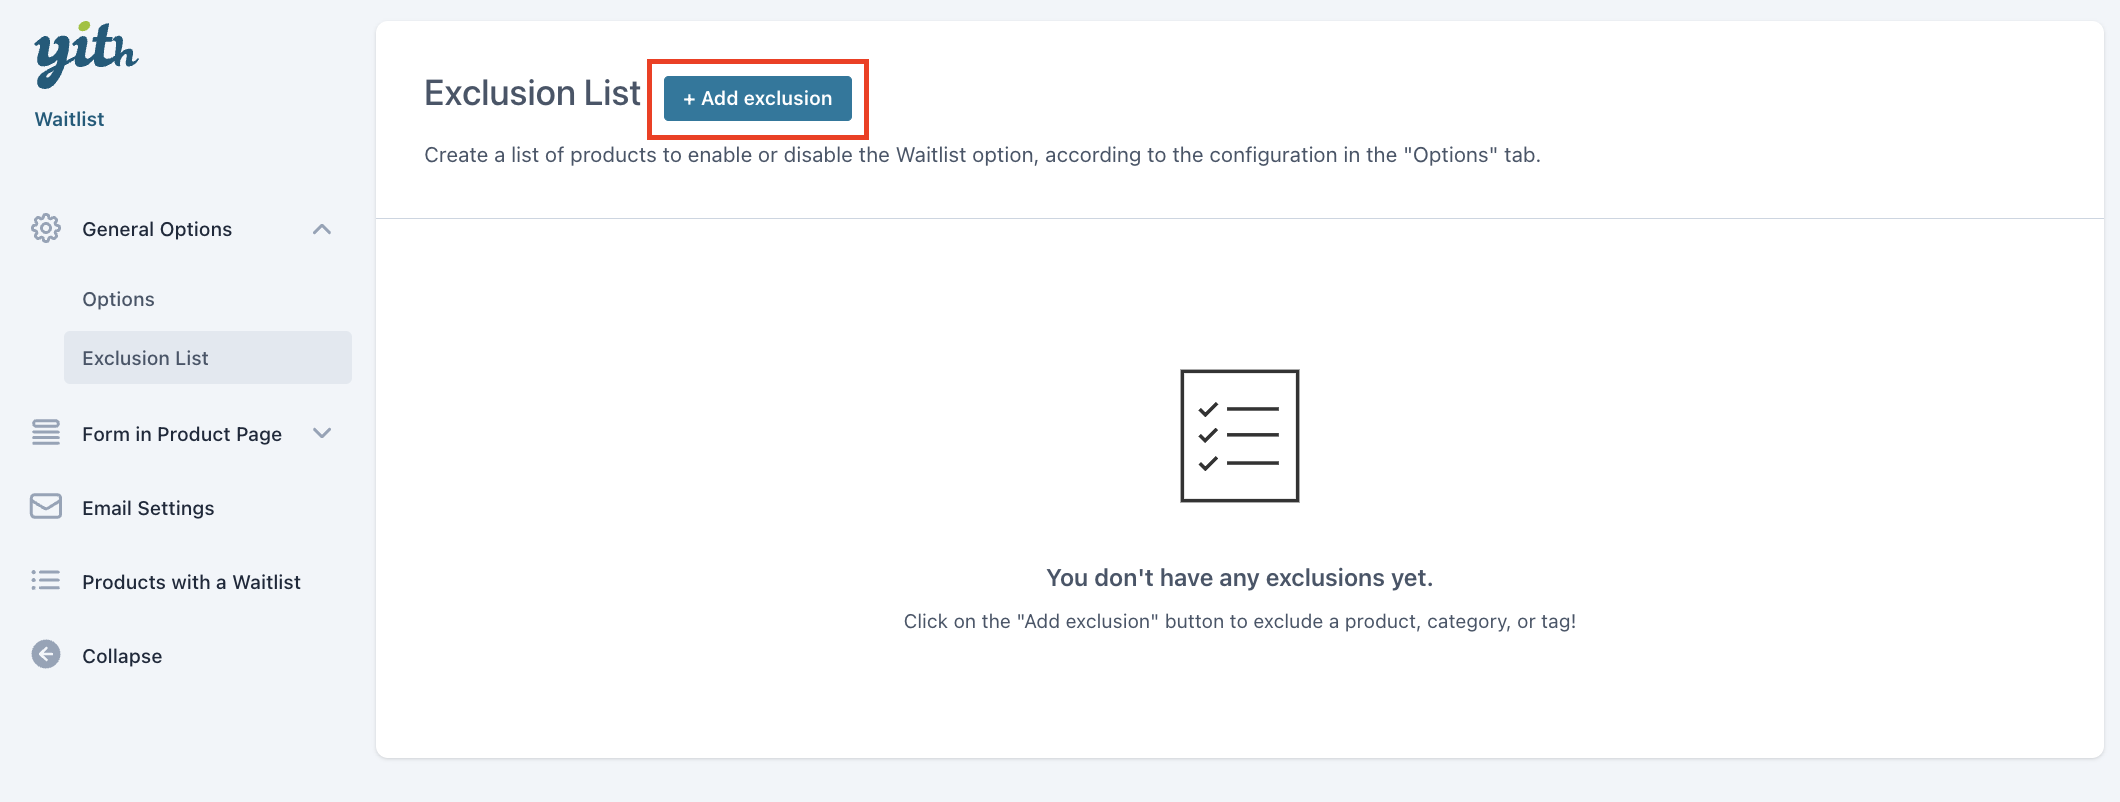
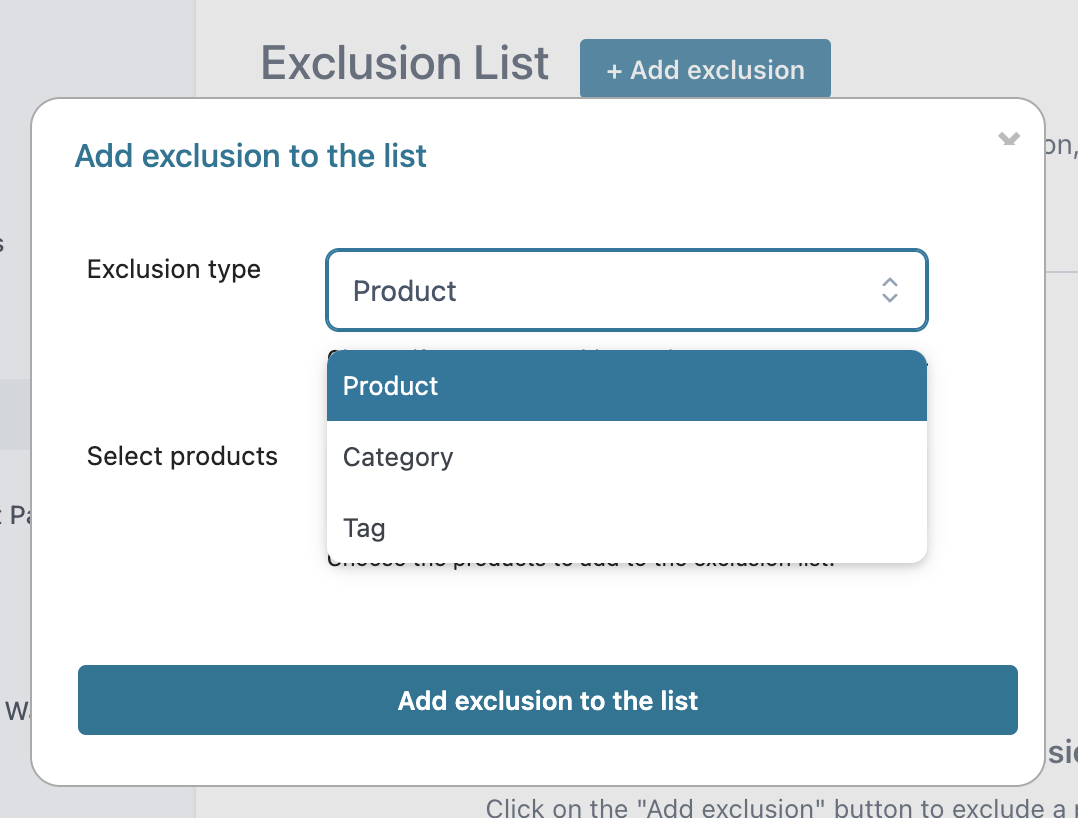
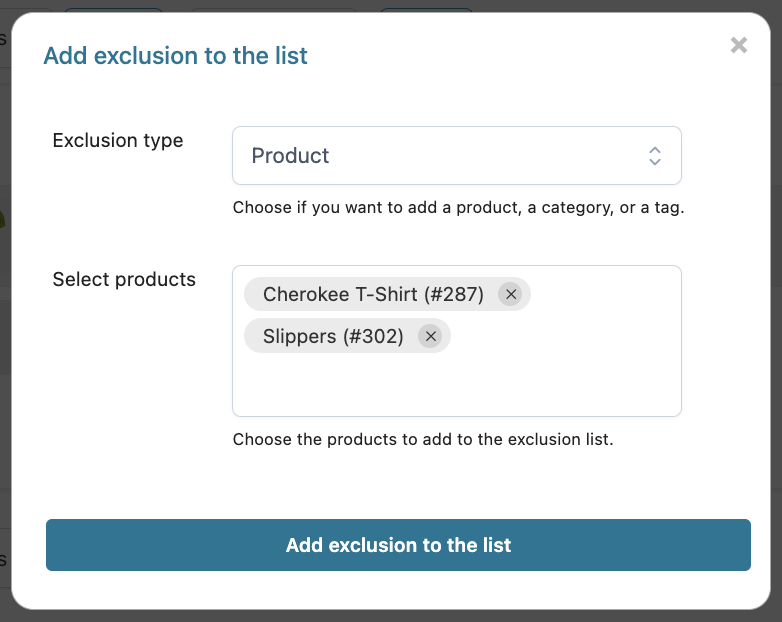
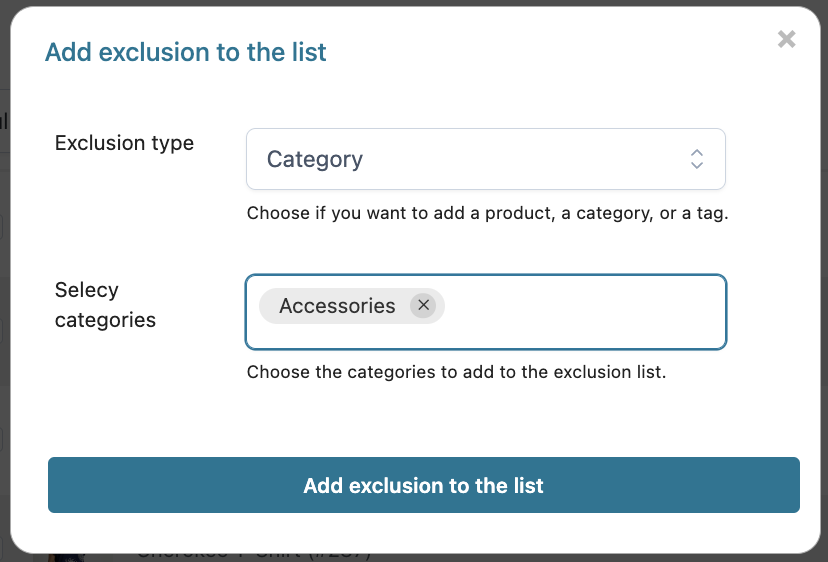
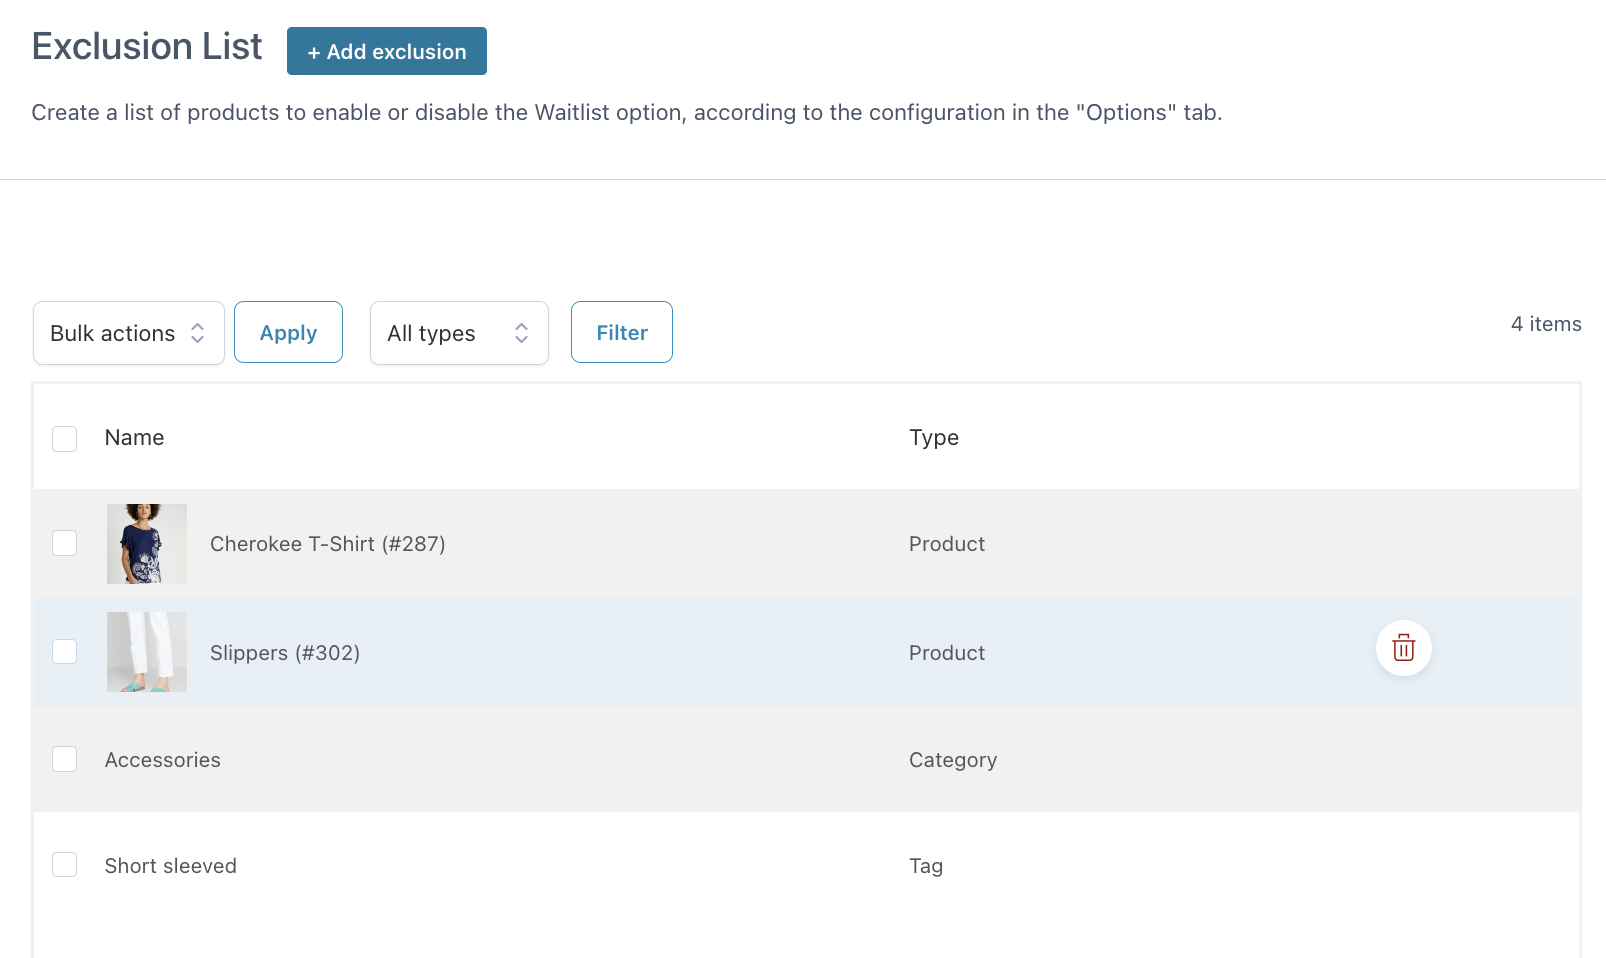
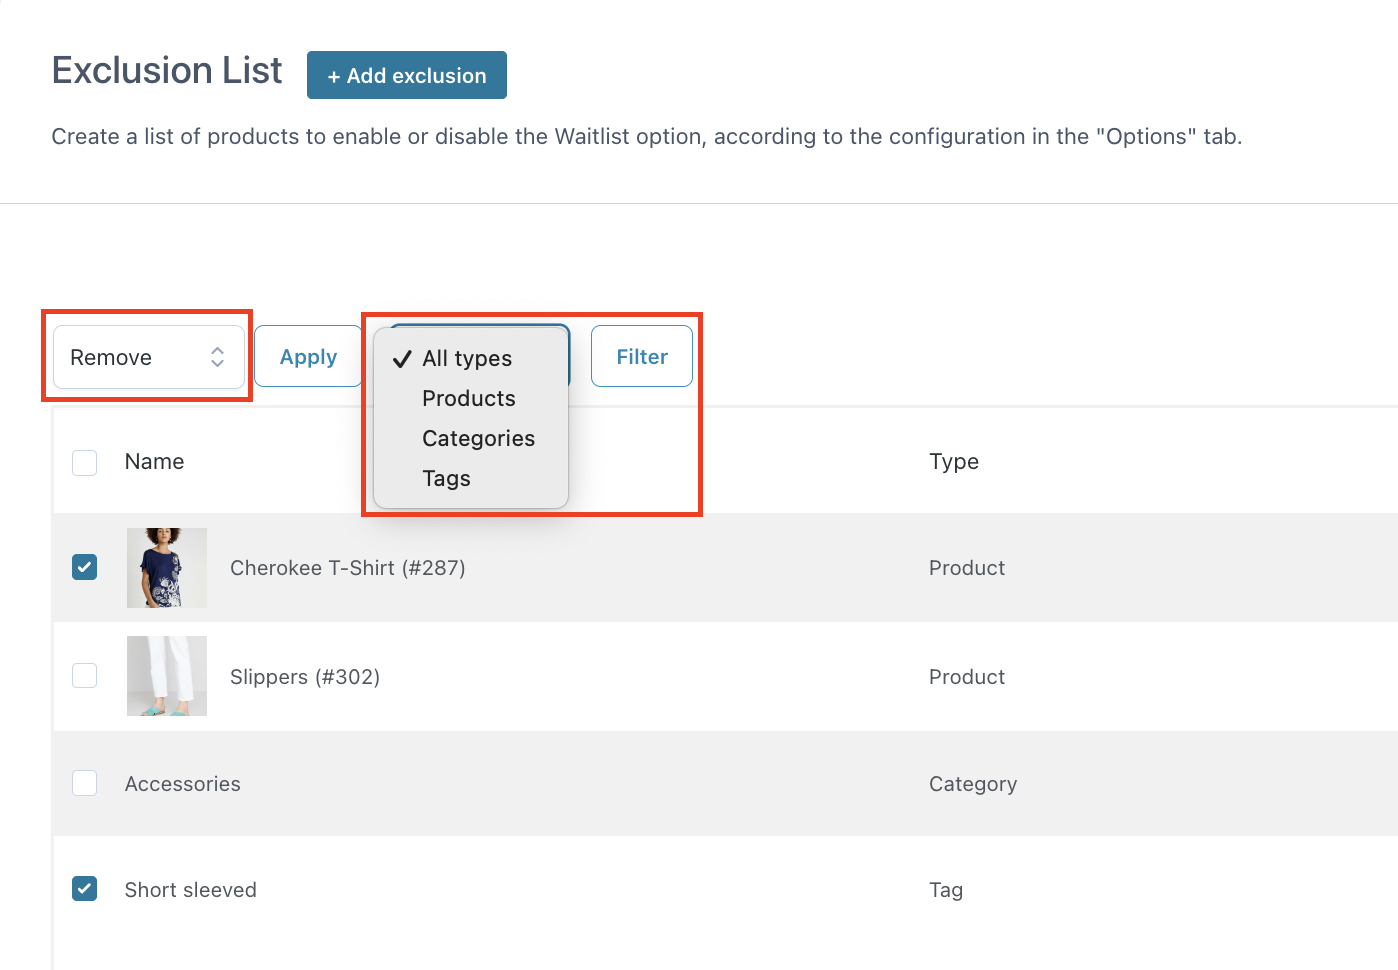
  • Products in the Exclusion List only: this will show the form only on product pages of products added to the Exclusion list. Go to this page to learn how to add products to the Exclusion list.

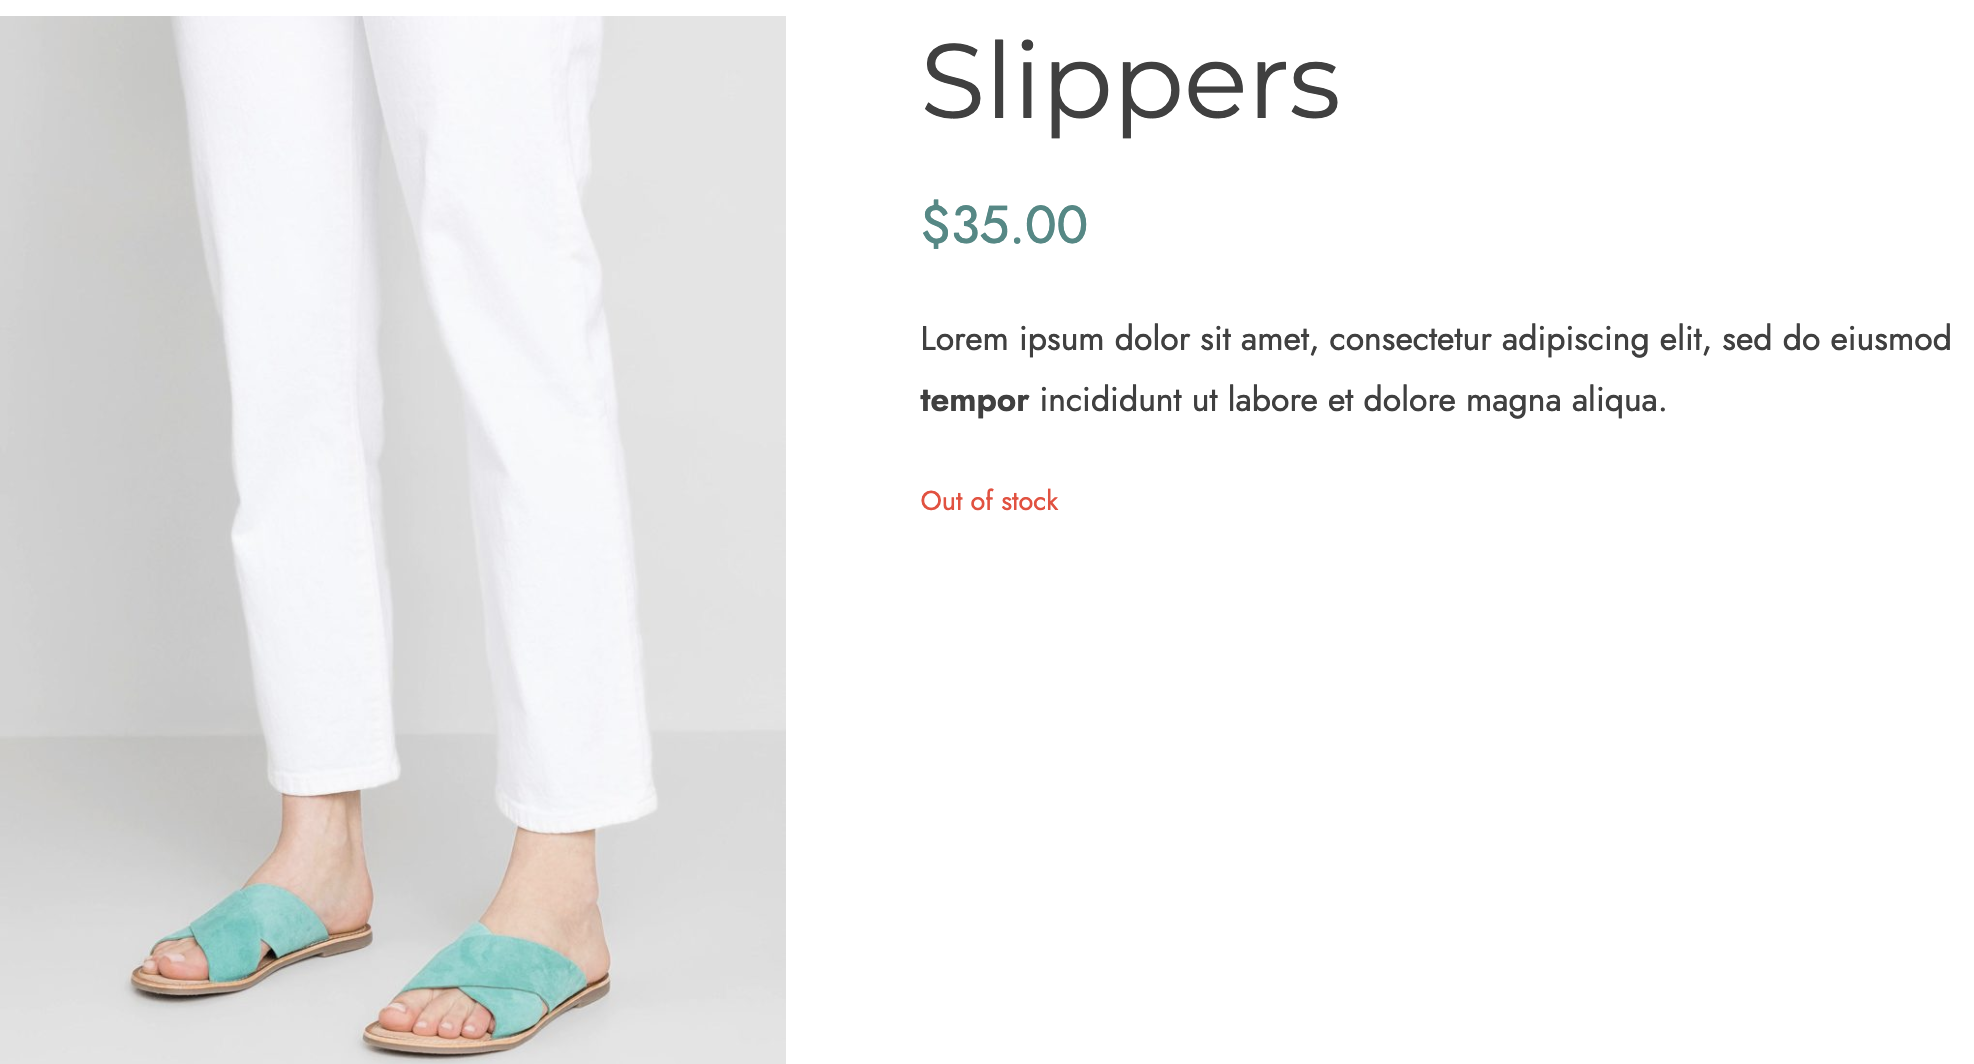
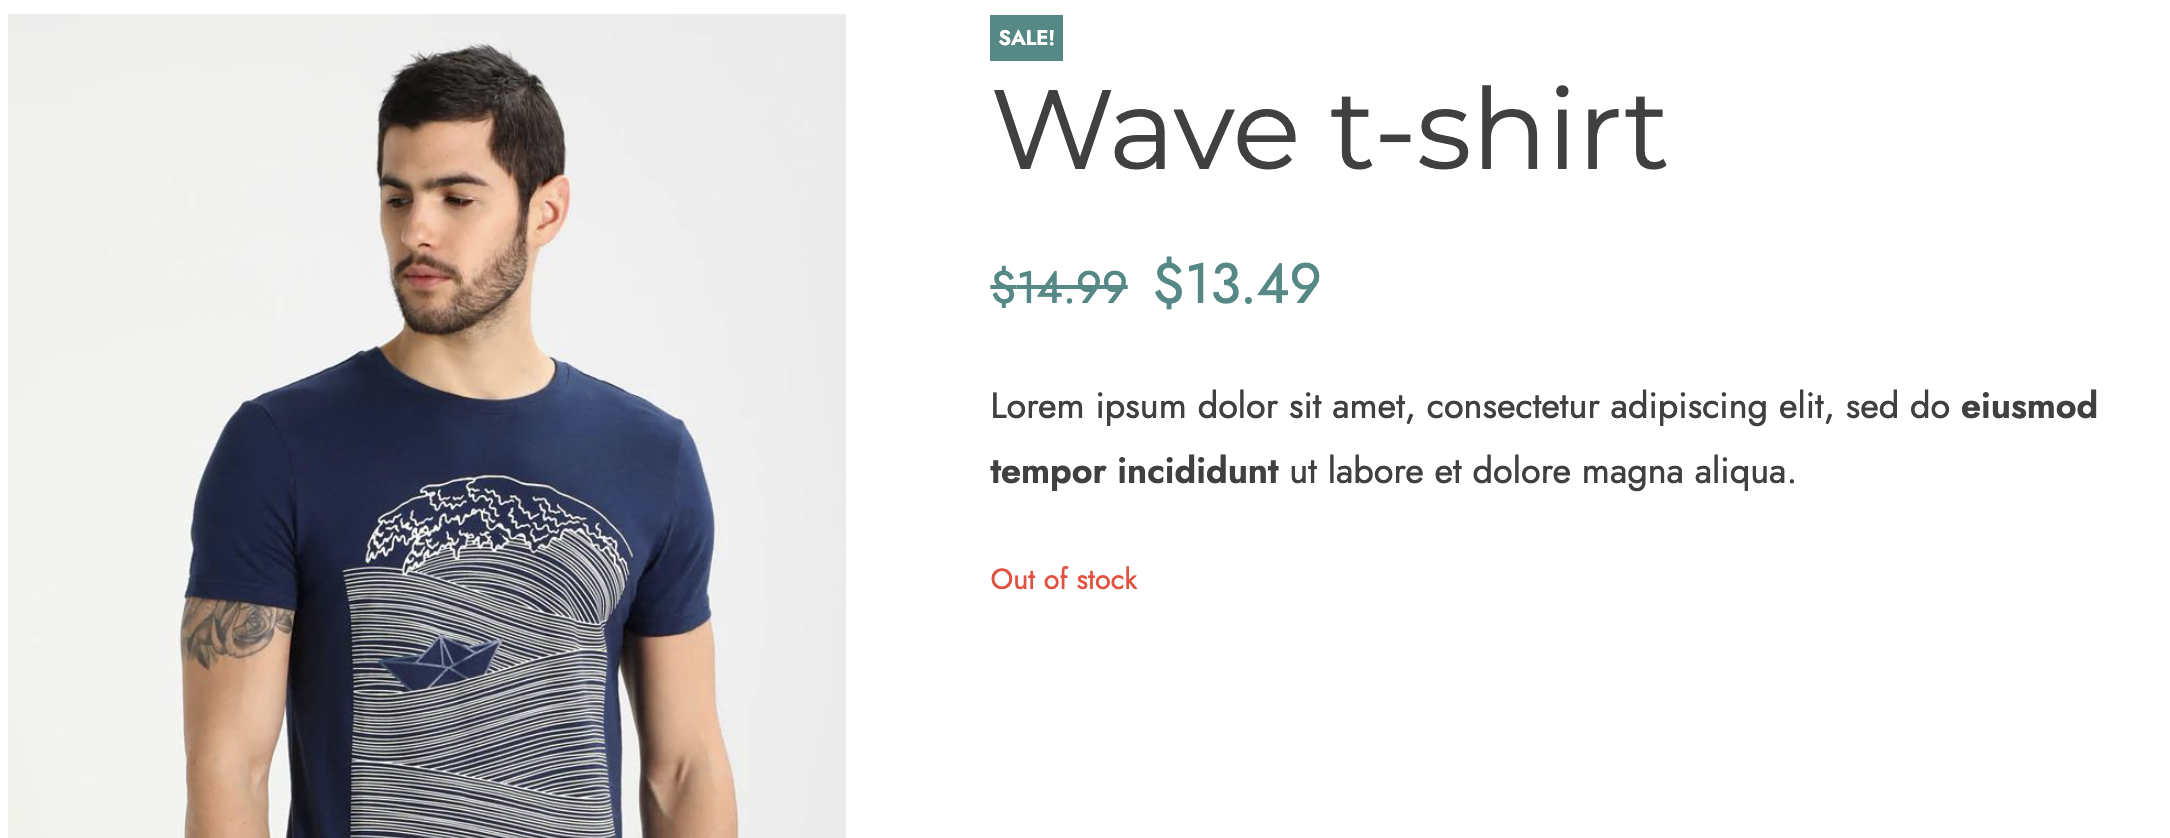
And this is what the waitlist form looks like on the product page.

Waitlist button on product page

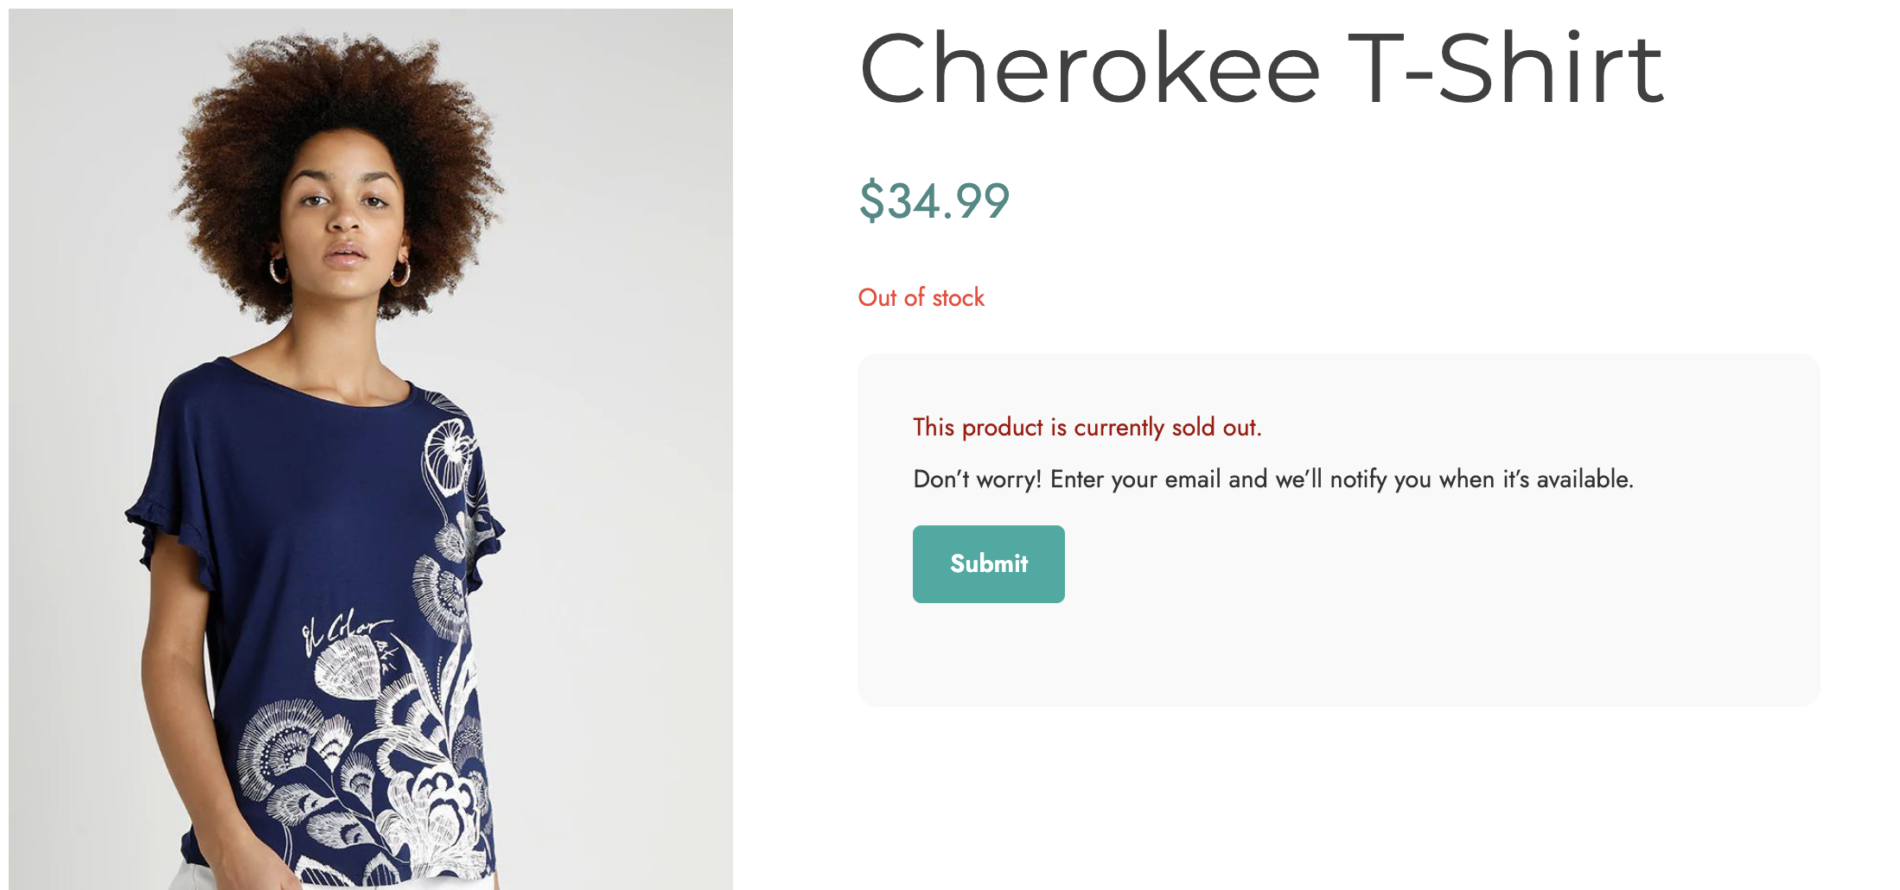
But, what happens when clicking on the button? This is when the form shows and users are invited to enter their email address so that they will receive a notification email once the product will be back in stock.

Waitlist form

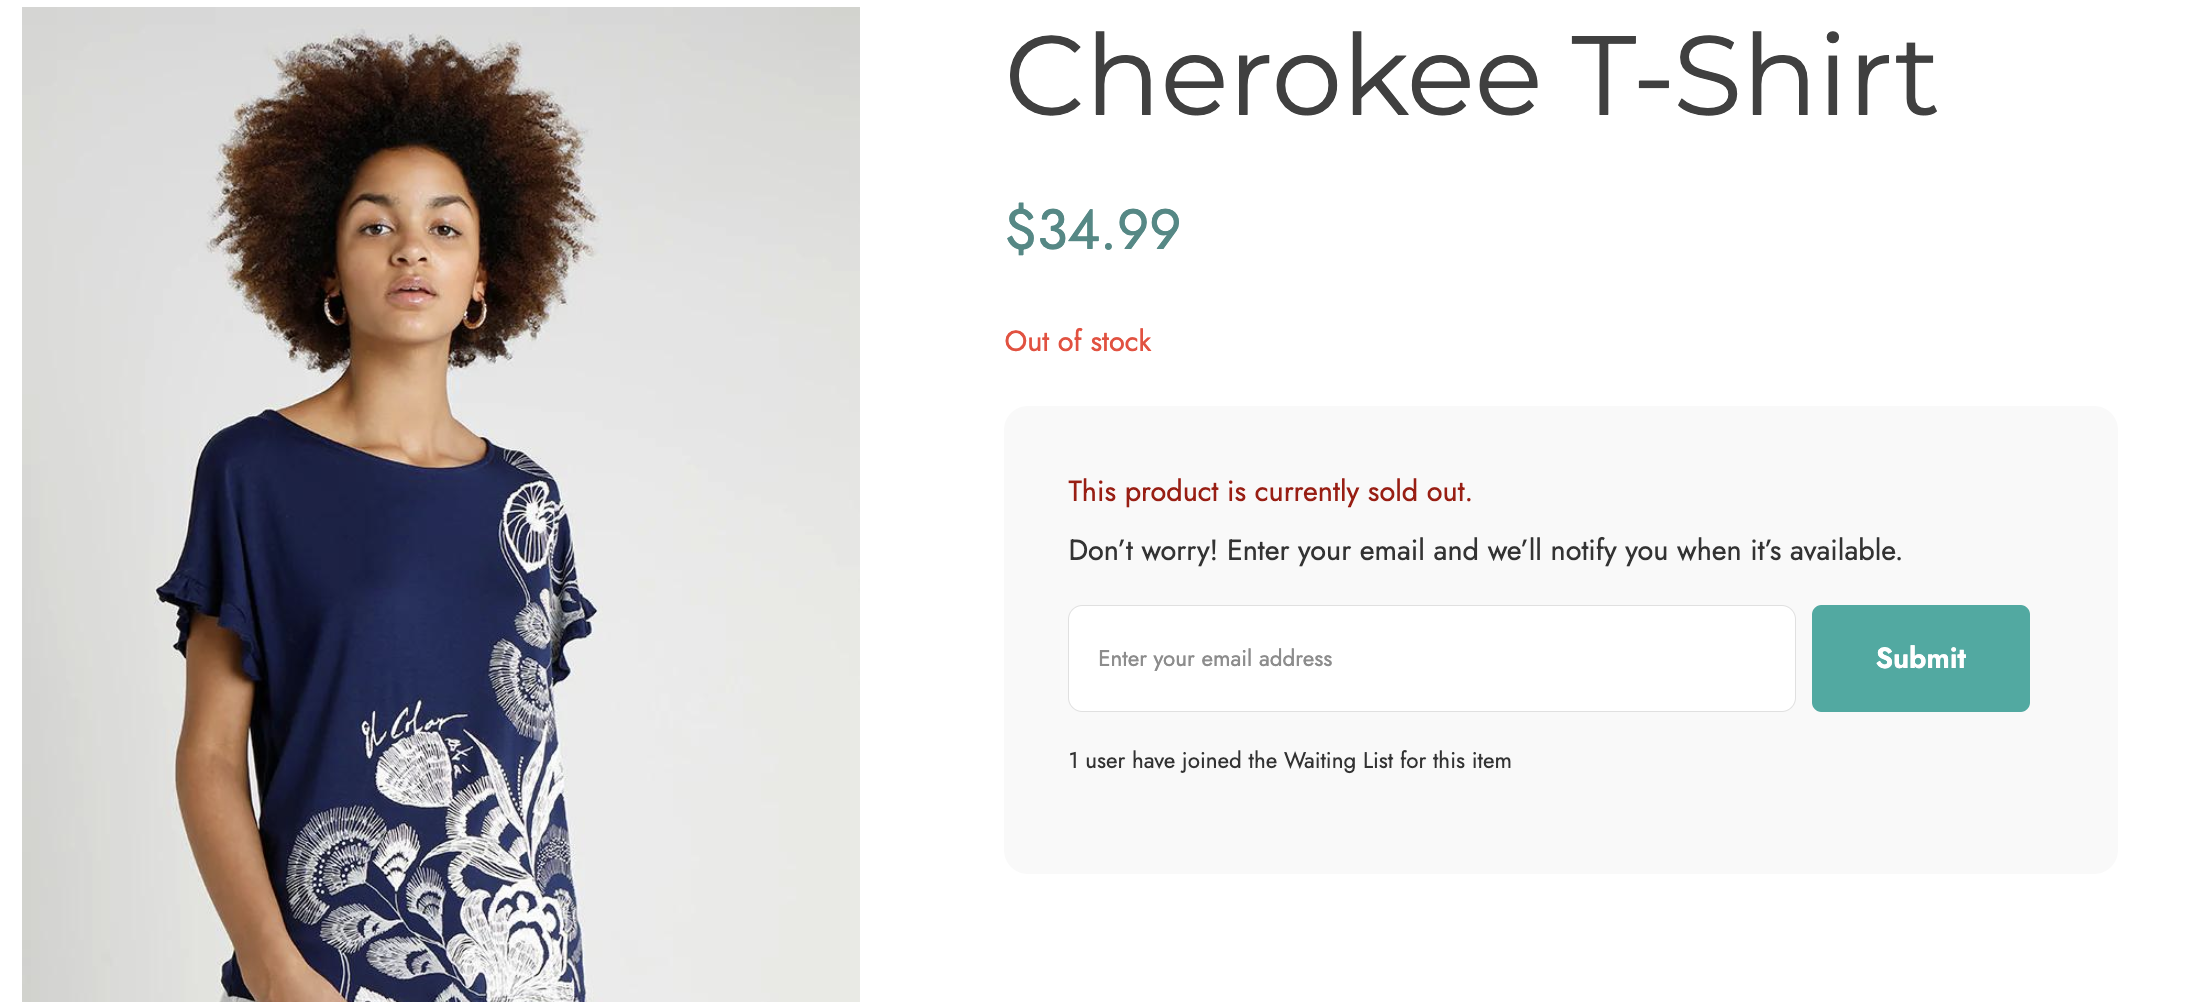
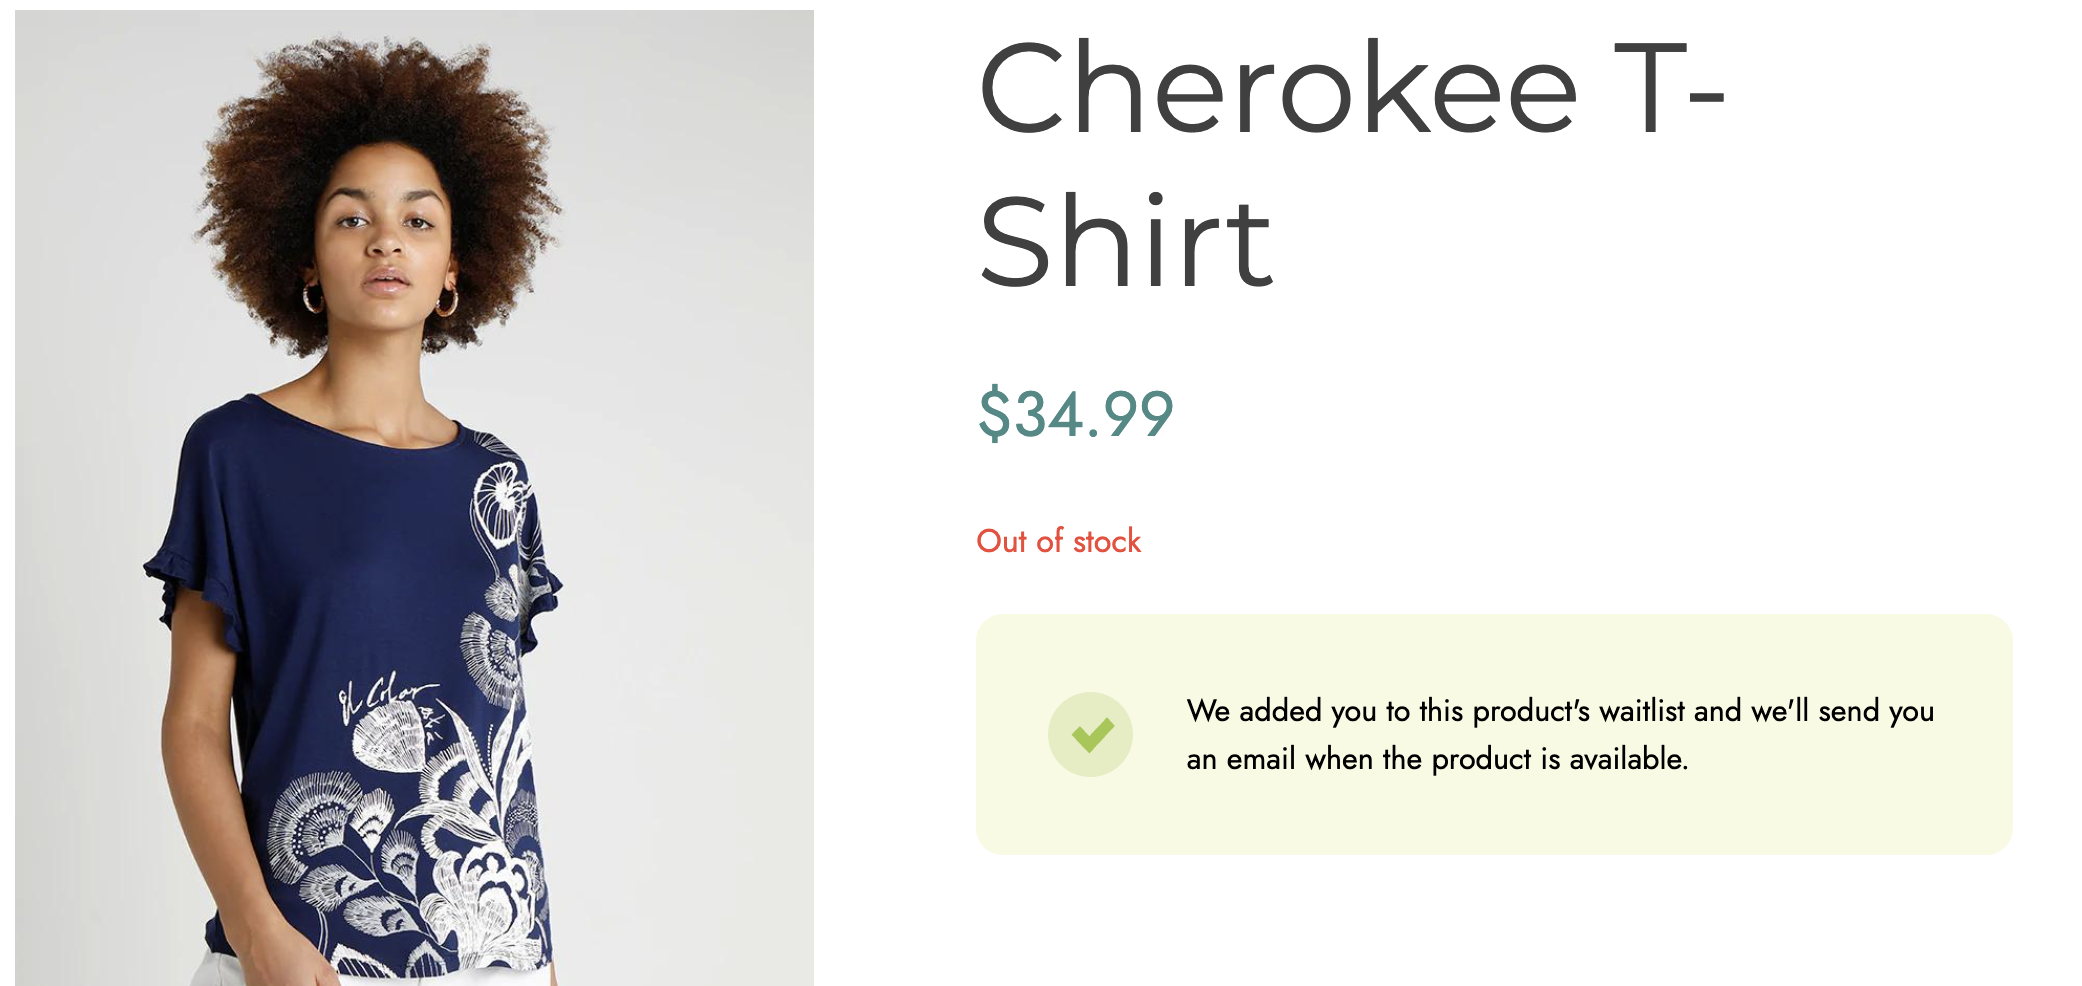
After successfully subscribing to the waitlist, a message will show.

Waitlist subscription message

Keep the list after sending the notification

The next option, if enabled, allows you to keep the waitlist even after sending the “Product back in stock” email to the users when the products become available. By keeping the list, you will have the possibility to send the email again in the future.
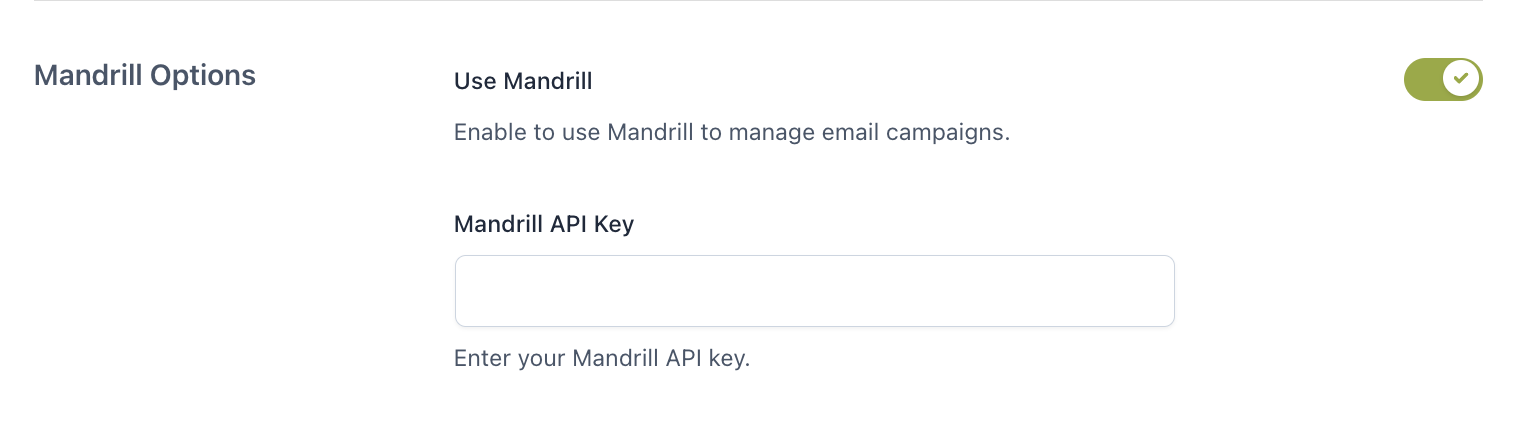
 

Keep waitlist option

Mandrill Options

If you want to use the Mandrill service to send emails, you can enable the option Mandrill Options.
After enabling it, you will have to enter the Mandrill API key, which is required to use Mandrill email service, in the related field.

Mandrill options


Exclusion list

If there are products, categories or tags you want to exclude from the Waitlist features, you can add them to the Exclusion List by clicking on the button Add exclusion available in General options > Exclusion list.

Exclusion list

In the popup, you can then select the exclusion type by choosing from

  • products
  • categories
  • tags

How to add the exclusion list

Products

Add products to the Exclusion list

Select Products in the Exclusion type option and start searching for the product/s you want to add to the Exclusion list.
For example, by adding Cherokee T-Shirt and Slippers, no Waitlist form will show on these two products and it won’t be possible for users to subscribe to a waitlist.

Exclusion list - Frontend example

Categories

How to add categories to the Exclusion list

Select Category in the Exclusion type option and start searching for the product categories you want to add to the Exclusion list.
For example, by adding Accessories, no Waitlist form will show on products of this category and it won’t be possible for users to subscribe to a waitlist.

Exclusion type - Category

Tags

Select Tag in the Exclusion type option and start searching for the product tags you want to add to the Exclusion list.
For example, by adding Short sleeved, no Waitlist form will show on products with this tag and it won’t be possible for users to subscribe to a waitlist.

Add product tags to the Exclusion list

All the exclusion lists created will now show in the Exclusion list table.

Exclusion lists

Bulk actions on Exclusion lists

From the Exclusion list table, you can easily and quickly remove the lists you have previously created by using the bulk actions.

Moreover, you can filter the exclusion lists by type (products, categories or tags) to make the removal procedure even faster.