To start with, we will analyze how to create a new Bundle product, and how to select the items that we want to assign to it.
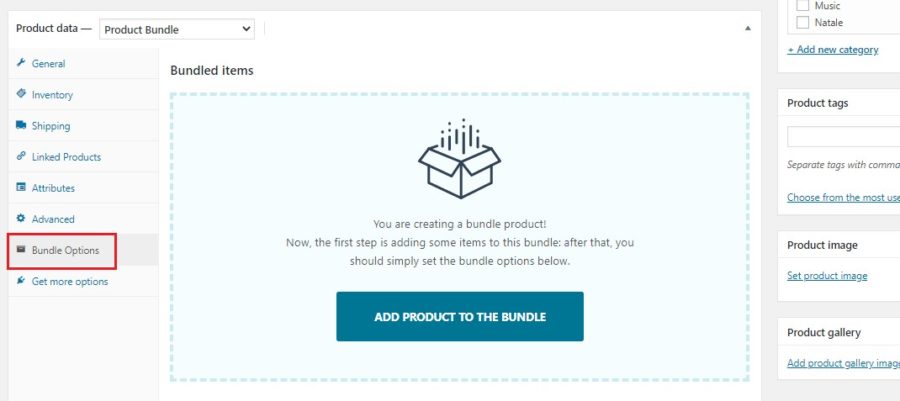
First, create a new WooCommerce product and select the Product Bundle type in the product detail page.
Add the products to the bundle in a few simple moves. Go to Bundle options and click on Add product to the bundle button.
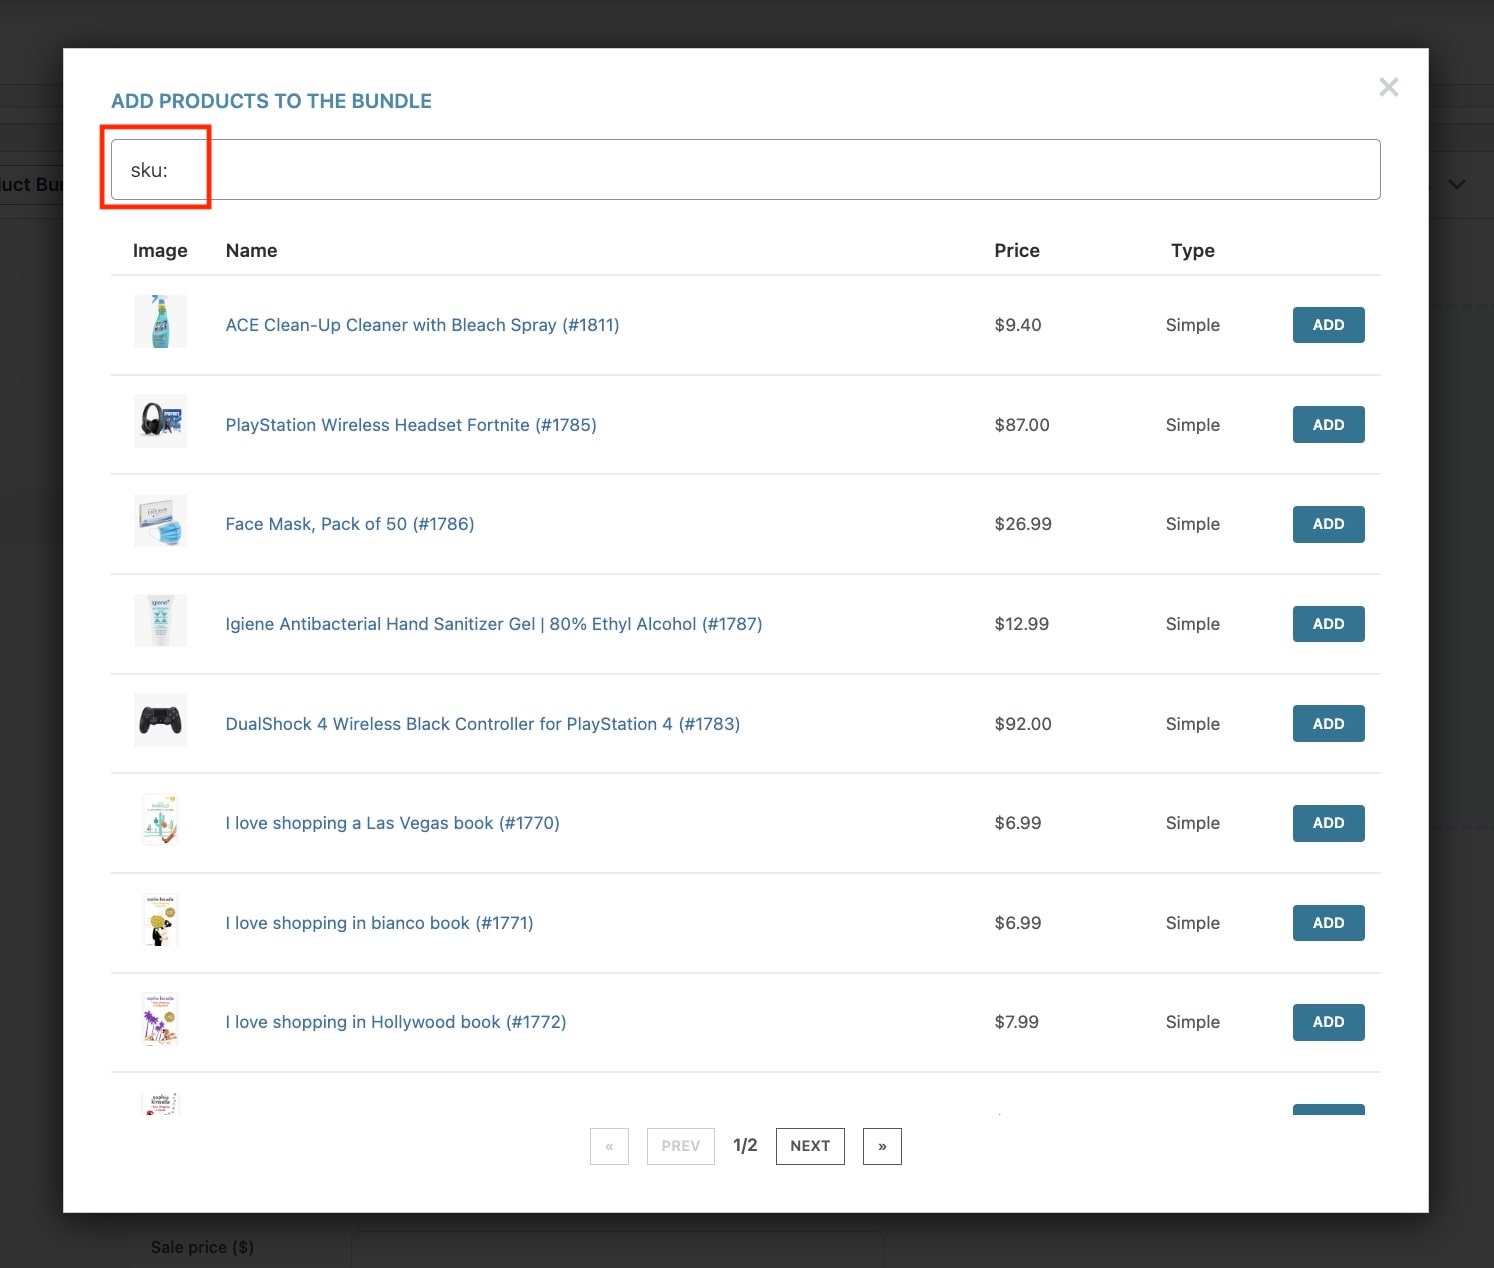
A popup window will open. You’ll be able to search a product using the search field on top and to add all the products you need by clicking on Add next to each of them.
You can either search the product on the product name or SKU, by writing SKU:
Add the products you need by clicking on the Add button next to each of them.
The products you want to add can be both simple and variable ones.
For variable products, choose whether to offer all the variations or only some. In the latter case, select the variations that can be included in the bundle under in “Filter Product Variations” that will be visible after the product has been added.
Let’s analyze the settings that you find in the product.
You will see settings for each item in the bundle and a general section with settings of the entire bundle product.
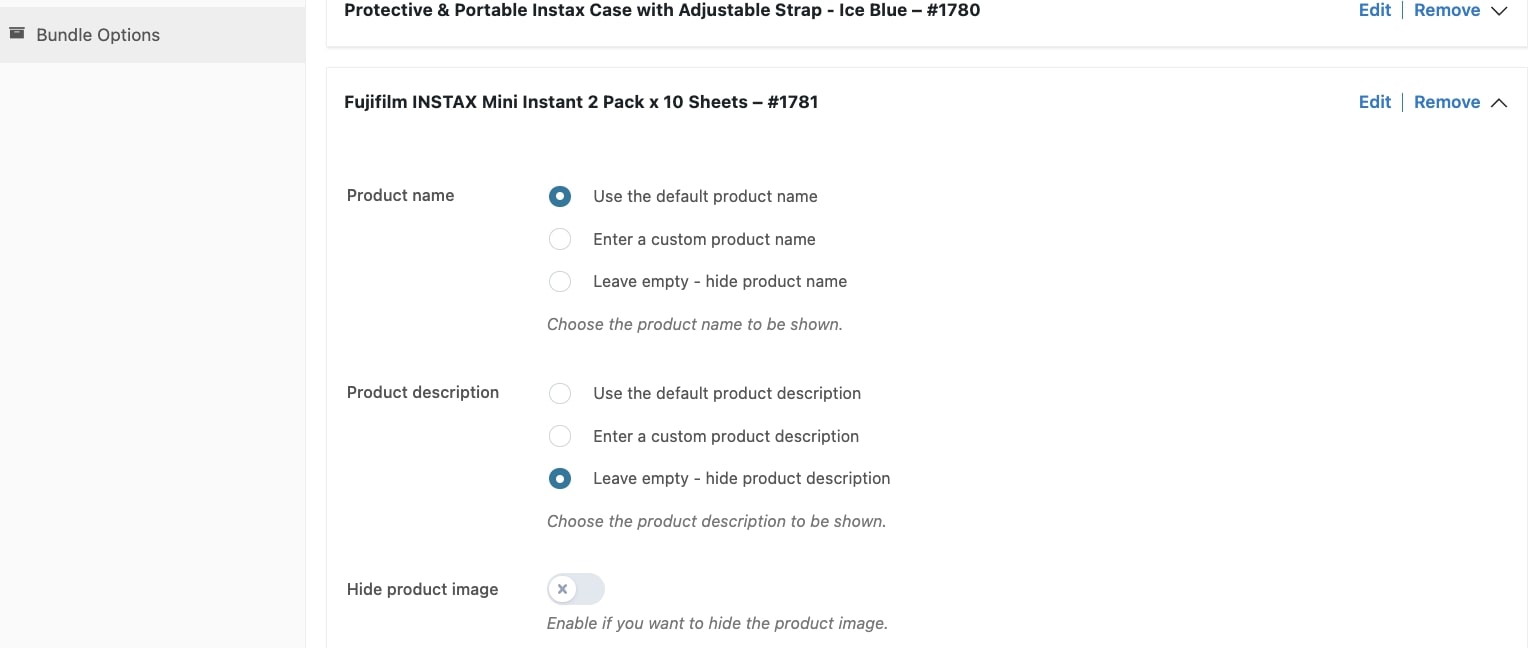
1. Bundle item options
These options can be set for every item added in the bundle.
Product name: choose the product name to show by choosing from the default one, a custom one or leave empty to hide it.
Product description: choose the product description to show by choosing from the default one, a custom one or leave empty to hide it.
Hide product image: choose whether to show or hide the product image.
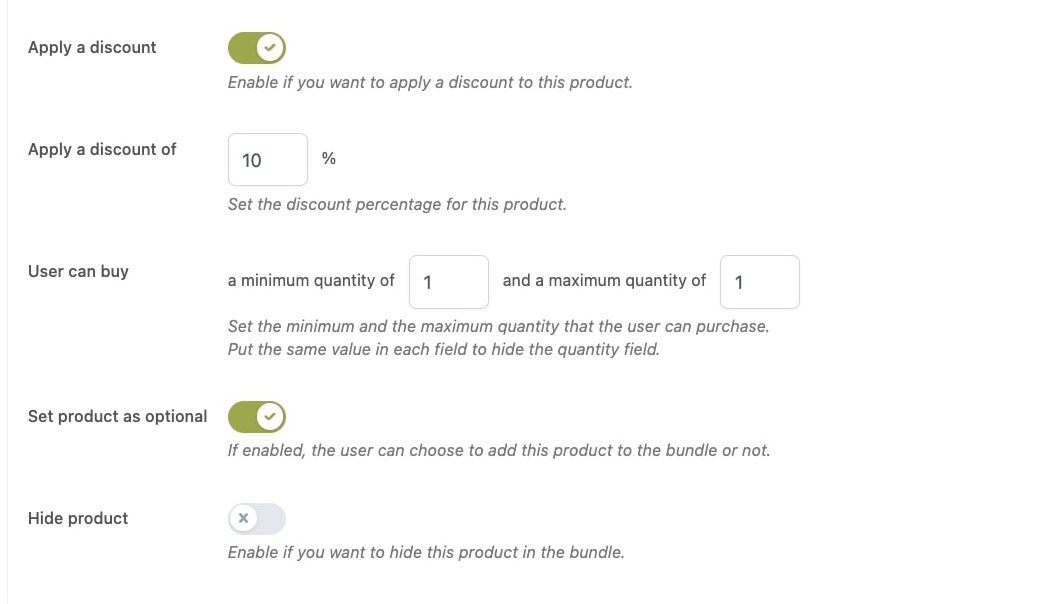
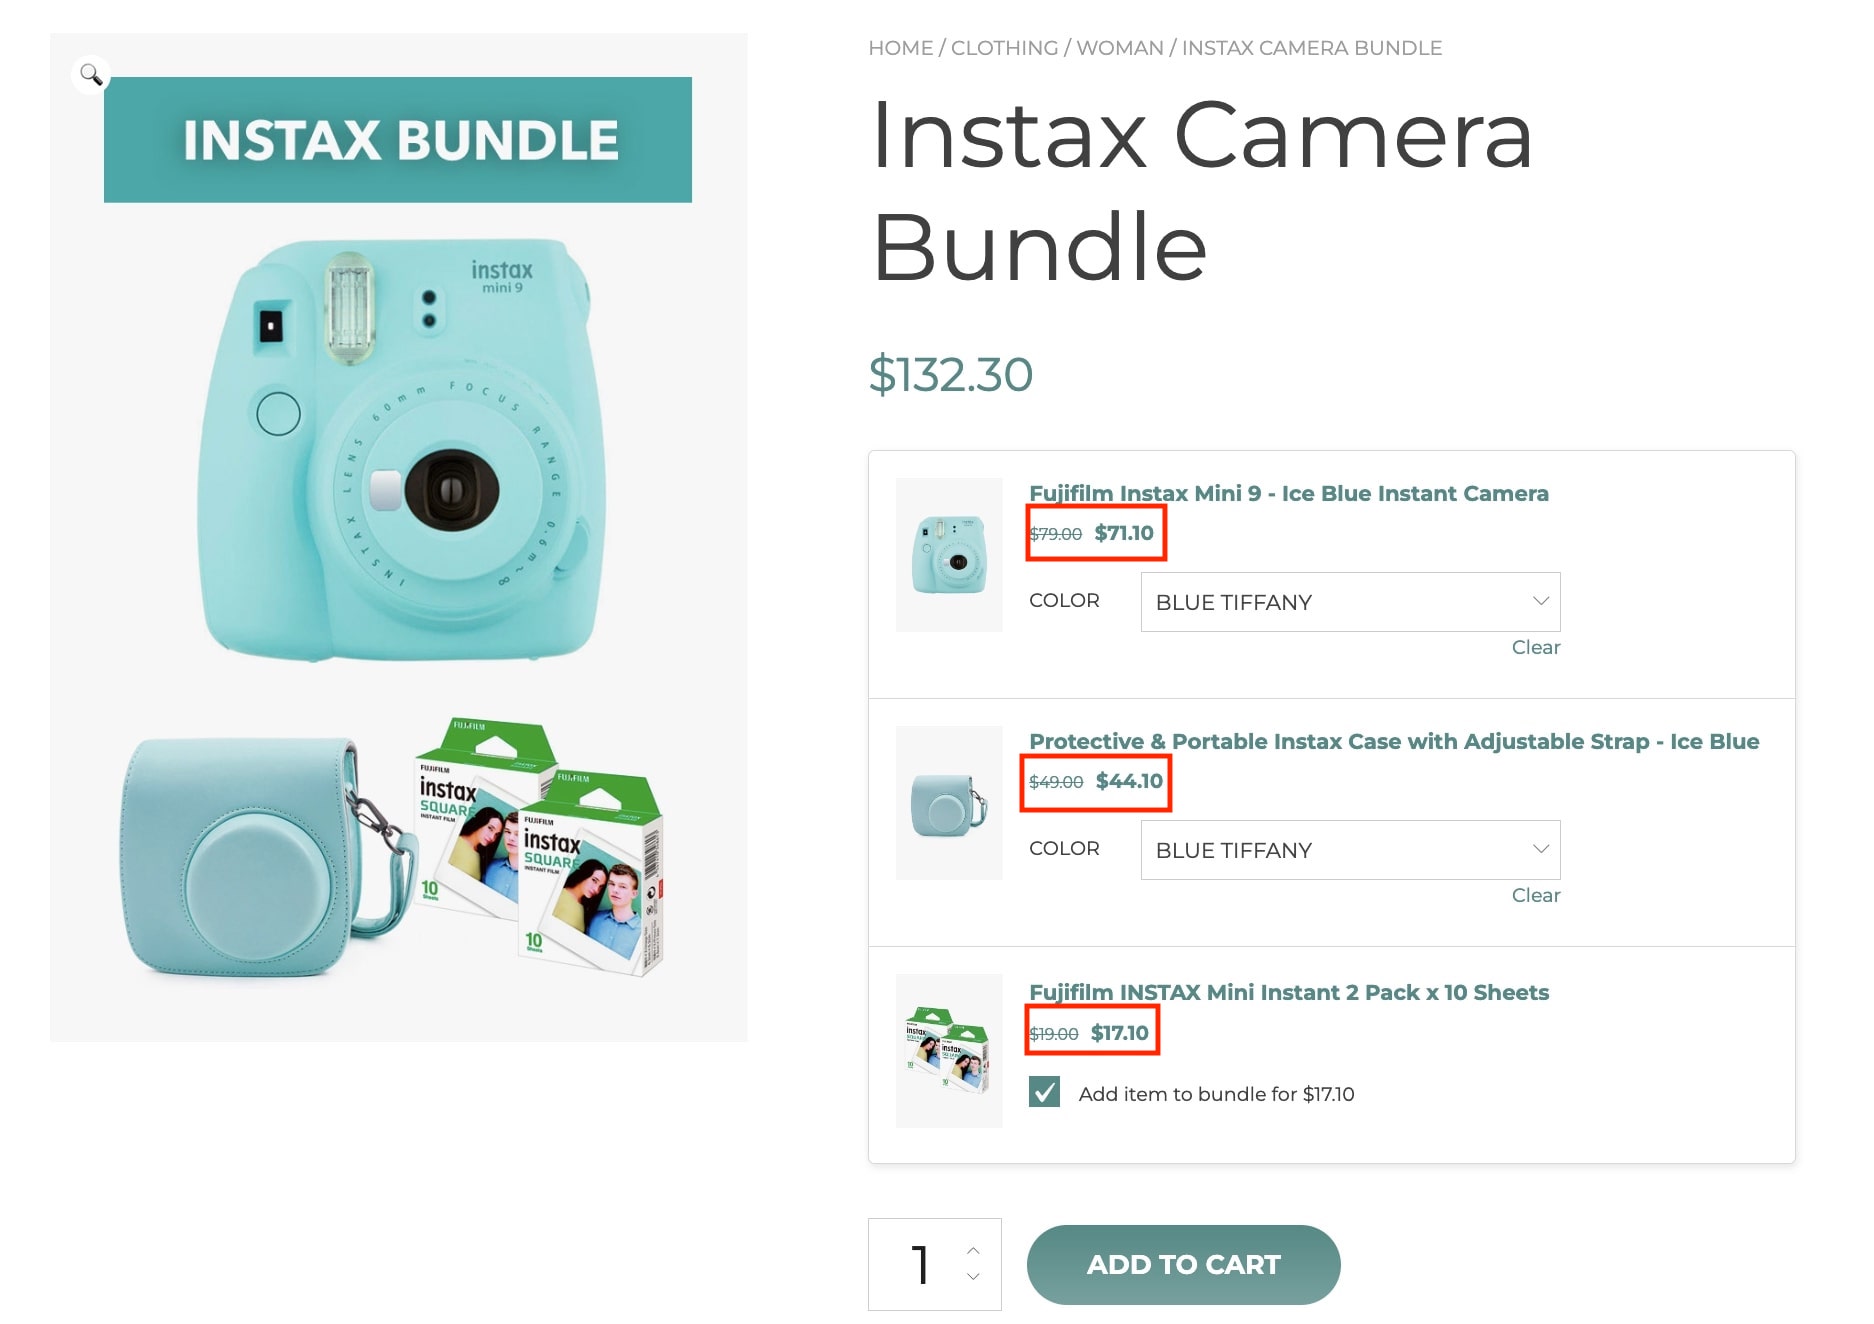
Apply a discount: if enabled, you can set a percentage discount in the field Apply a discount of.
User can buy: set the minimum and maximum quantity allowed to purchase the product. To hide the quantity field, set the same value in both fields.
Set product as optional: if enabled, it lets the users choose to add the product to the bundle or not.
Hide product: if enabled, the product will be hidden in the bundle.
2. Bundle options
These options apply to the entire product. We will cover price, shipping, and quantity selection.
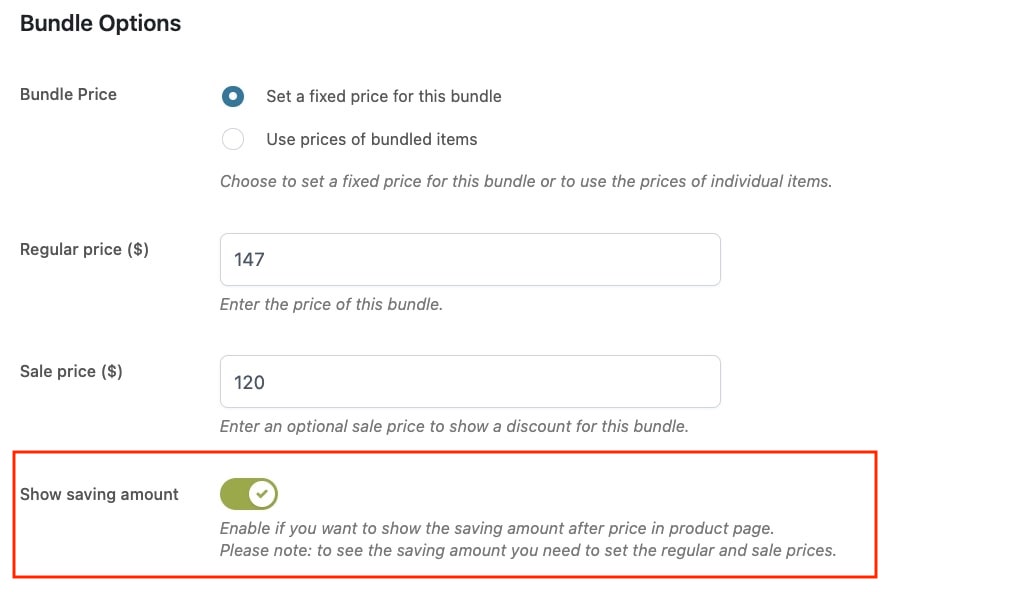
Fixed price
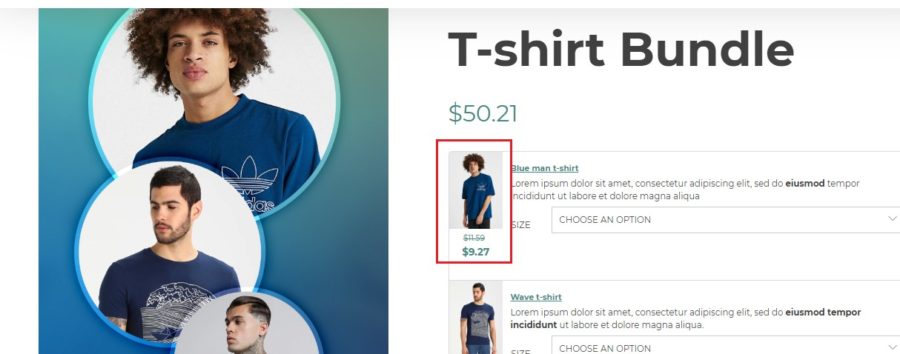
By selecting Set a fixed price for this bundle, you can enter the regular price and, optionally, the discounted price.
Through the option Show saving amount, available only if you set a fixed price for the bundle, you will have the possibility to show on the product page how much money users can save when purchasing the bundle product.
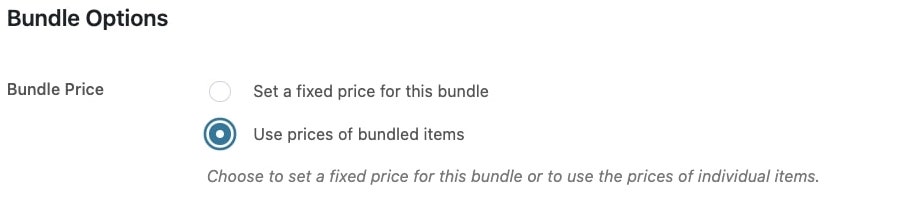
Use prices of bundled items
By selecting Use prices of bundled items, the price of the bundle will be calculated based on the prices of the added products and subordinated to the quantity of each of them as explained in the previous point.
Shipping
If you want to apply the shipping fees separately for each product of the bundle, select the option Items will be shipped individually. In this case, every product will have its own shipping fee set from the related WooCommerce detail page. On the contrary, if you want to apply just one shipping fee, select the option Items will be bundled in a unique shipment.
Bundled items quantity
You can set the minimum and/or maximum quantity of items that must be included in each bundle in order to add it to the cart by enabling the option Limit product selection for this bundle.
When enabled, you can specify the minimum and the maximum number of items that can be selected by users in the entries available in Total items in bundle.
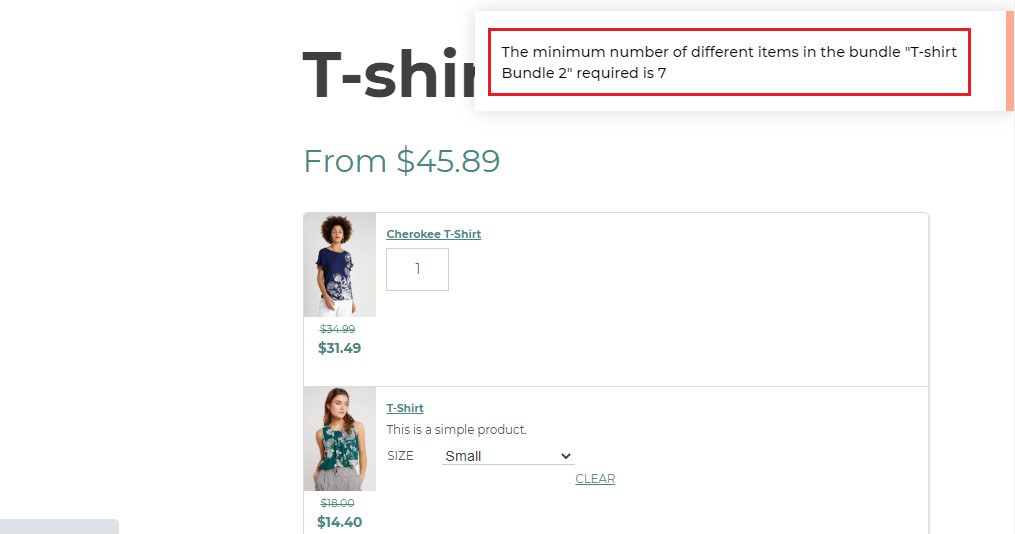
Through the option Different types of itemsin bundle, you can specify the minimum and the maximum number of different items that can be selected by users.
The user will be notified by an error message on the product page in case the bundle can’t be added to the cart.
Once we have configured the bundle as explained here, let’s take a look at the plugin general settings that you find in YITH > Product Bundles > General settings. This is how it looks like:
Learn more about the available options in the following posts.
By default, the “bundle” product is purchasable only if all the products included are available. If at least one of these products is out-of-stock, the system prevents adding the “bundle” product to the cart by removing the “add to cart” button on the page.
Yet, you can choose how to manage the bundle including out-of-stock items through the option If a bundled product is out of stock.
You can select one of the following options:
Hide the bundle
Set the bundle as Out of Stock
Show the bundle, but users will not be able to buy it (default option).
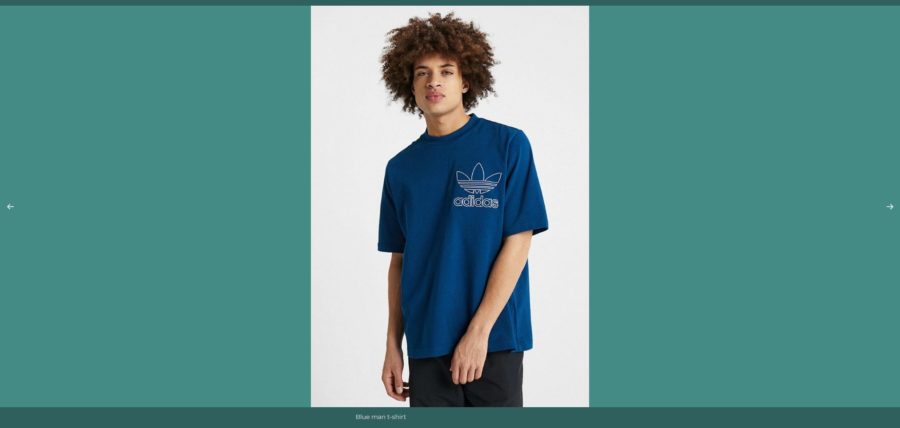
If you enable the option Activate PhotoSwipe for bundled images, your users will be able to open the image gallery of one of the bundled items and see the product image on full screen. Use the arrows on the sides to display the images of the other products included in the bundle.
We will have 2 visibility options for the bundle products in the cart and checkout:
1. Hide bundled items
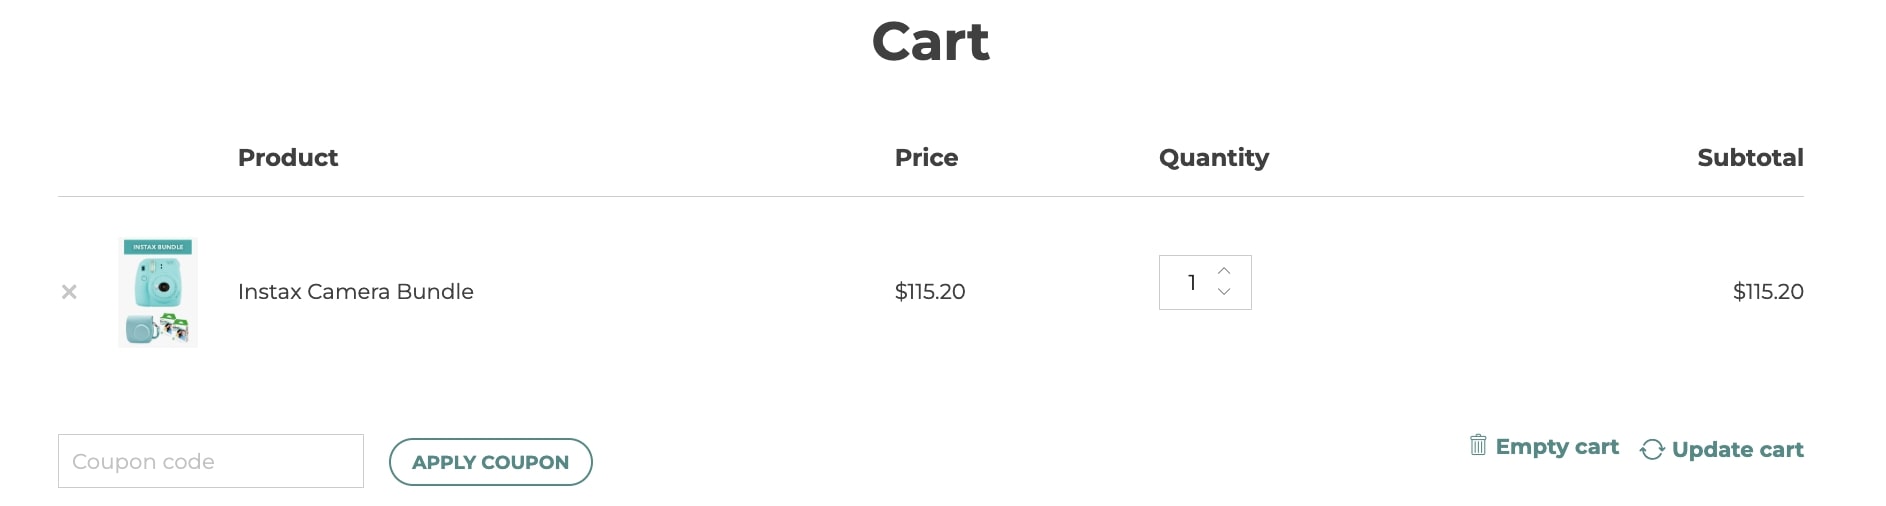
By default, the product bundle and the products included will be shown in “Cart” and “Checkout” pages.
However, if you don’t want to show the products included in the bundle, you can enable this specific option.
The bundle will be shown as one unique product.
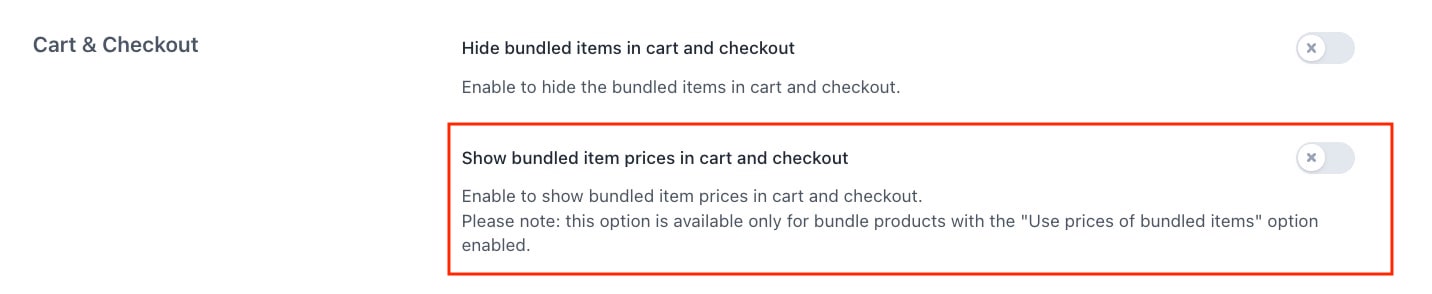
2. Show bundled items prices
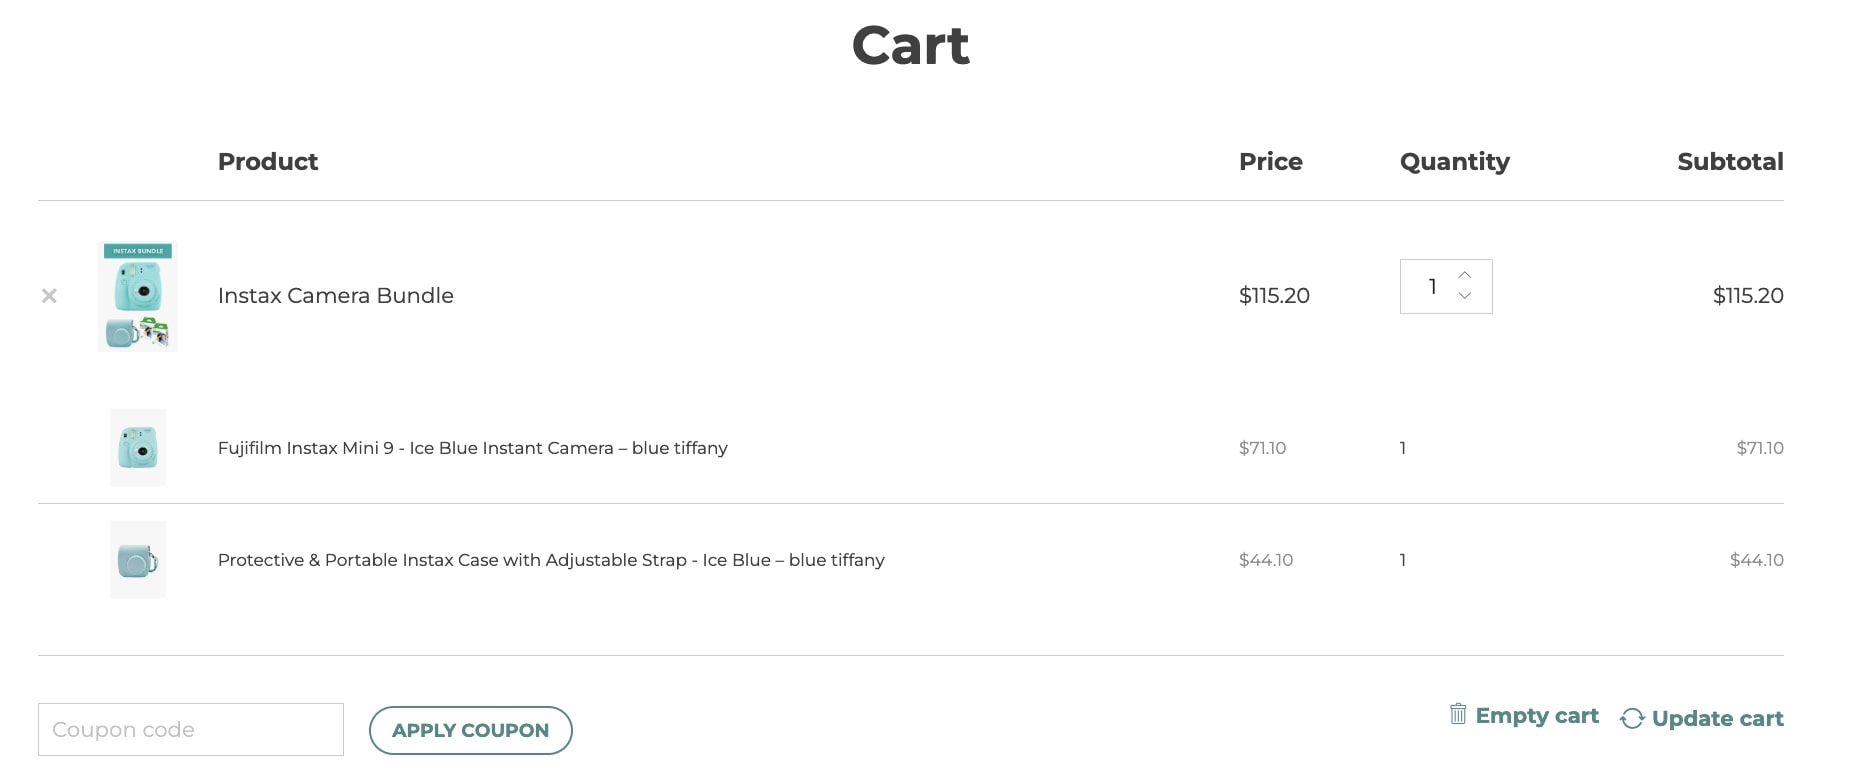
On the contrary if you have enabled Use prices of bundled items to show prices in the bundle as explained here and you also want to show prices of the included items both in Cart and Checkout pages, you must enable the option Show bundled item prices in Cart and Checkout.
The bundled items prices will show as below.
In order details the bundle products will be also visible.
The plugin allows to change how the price of the bundle is displayed in the order details as well as have the WooCommerce Report display the bundle items.
Bundle price in order details
You can choose how to show the price of bundled products in the order details page when the “Use prices of bundled items” option is enabled.
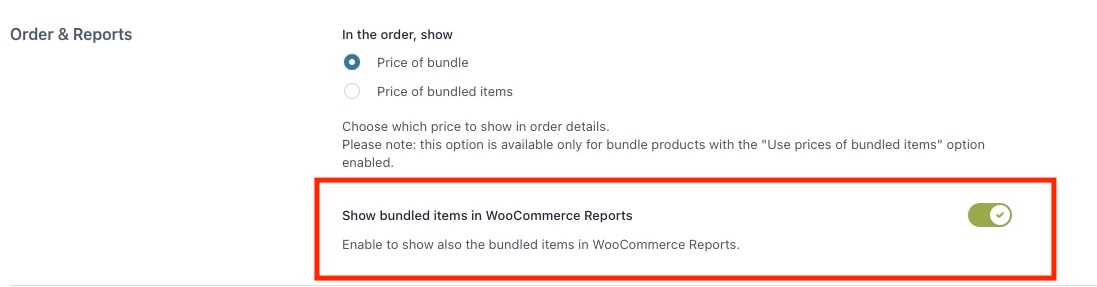
In the general settings, go to Order & Reports> In the order, show and pick one of the following two options:
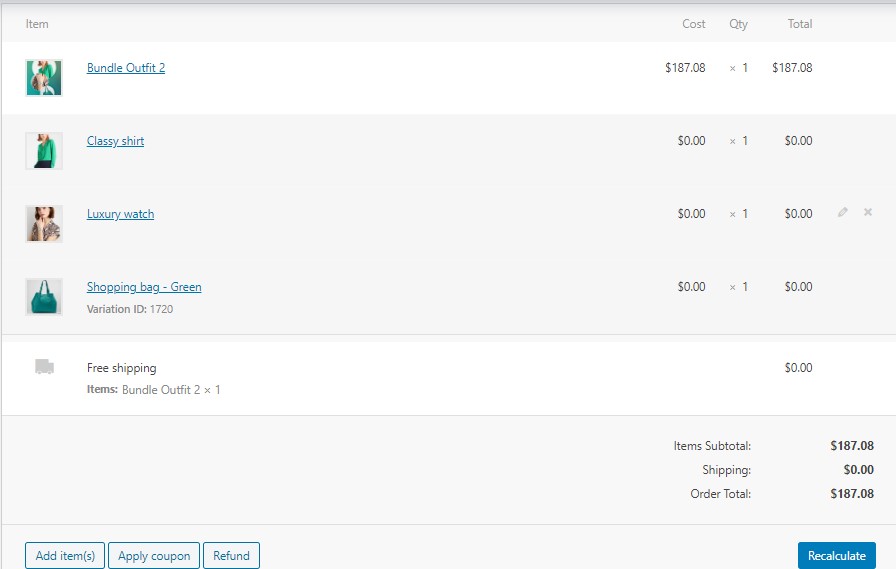
Price of bundle: shows the price of the entire bundle and so shows zero next to each of the bundled items.
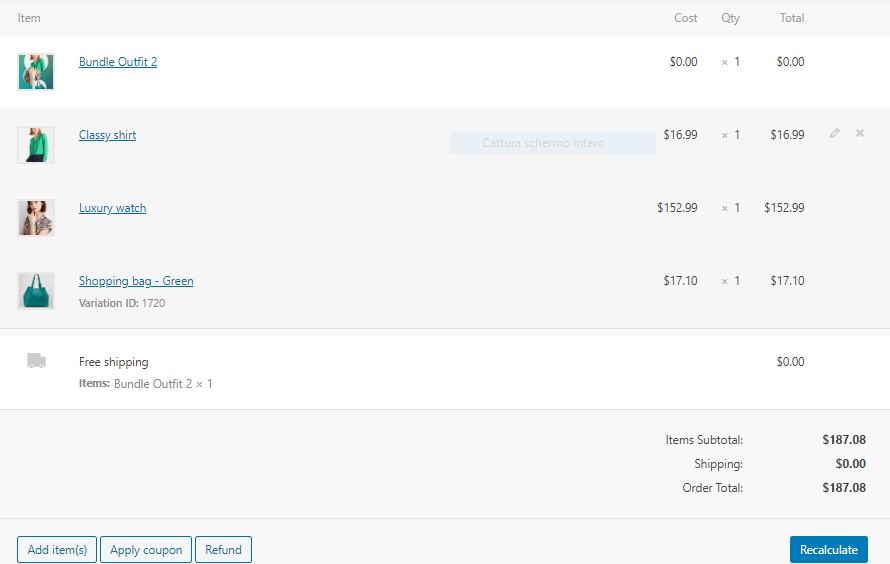
Price of bundled items: show the price of every single product of the bundle and so show zero next to the bundle title.
WooCommerce Reports
As for any other product available in the shop, the sales related to the product “Bundle” are registered within WooCommerce reports.
By default, only the product bundles are displayed in the report, whereas the products associated to the bundle are left out. This behavior can be changed by enabling the “Show bundled items in WooCommerce Reports” option that you find in the plugin settings> Order & Reports.
Now, also the products included in the bundle are shown in the WooCommerce report, in the amount of zero, as you can see in the image below.
This button lets you force the creation of bundle prices when the option “Use prices of bundled items” is enabled; use it ONLY if you are encountering issues with sorting prices in the shop (as for when the bundle products have been added with an older version of the plugin).
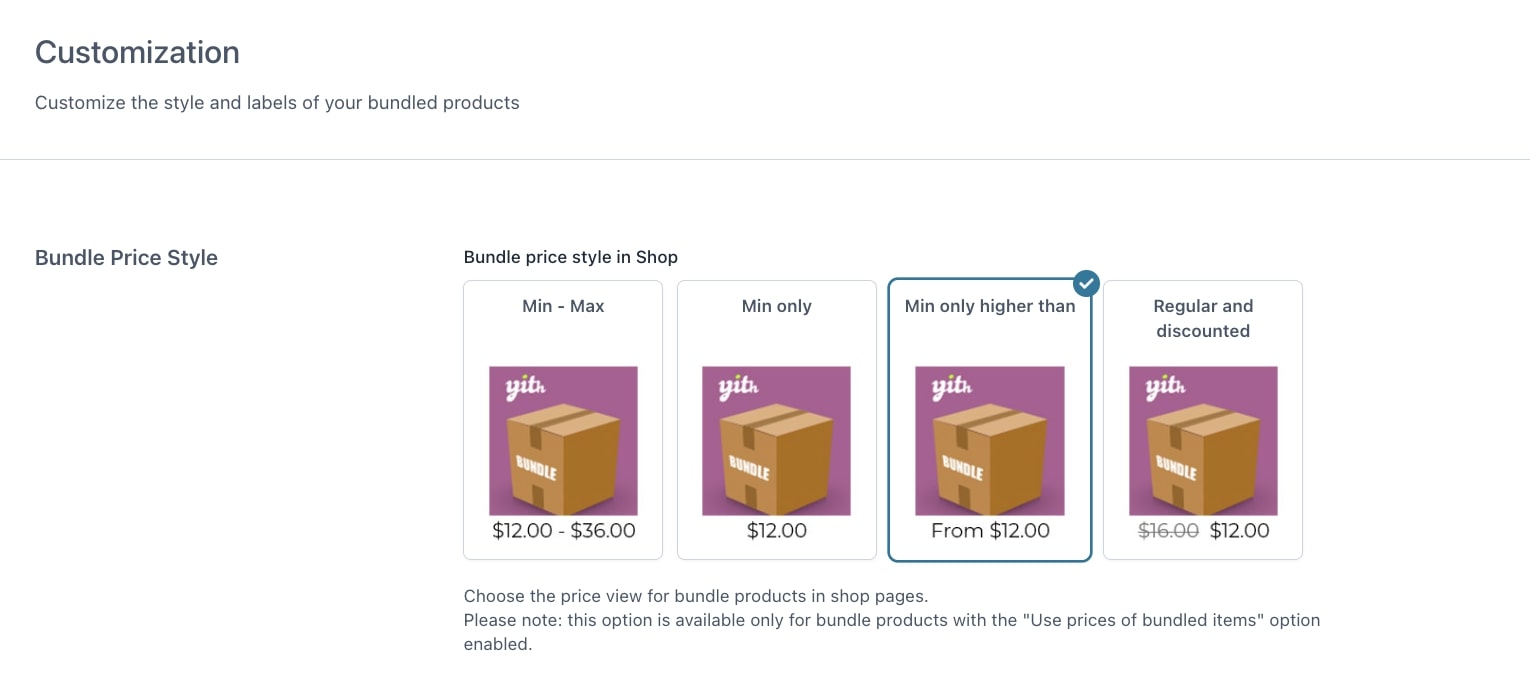
From the tab Customization, you can manage the price style and the labels for your bundles.
Prices
You can choose how to display the bundle price on the Shop page. As the product might have a minimum and maximum price based on the selected options, you might want to show only the starting price or the range.
You can select the layout you prefer next to the option called Bundle price style.
Choose any among the four available layouts:
Min – max: show the total price range this bundled product can cost
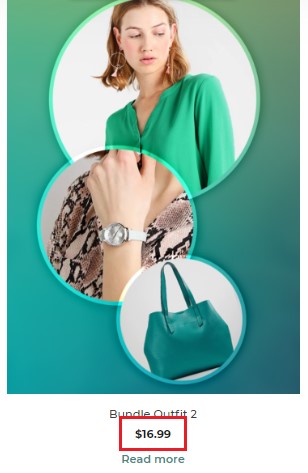
Min only: show only the starting price of the bundles
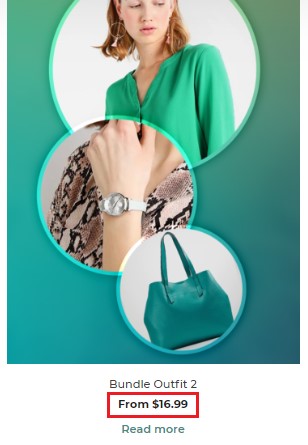
Min only higher than: show then minimum price with text that lets users understand it starts from a given price, ex. “From $100”
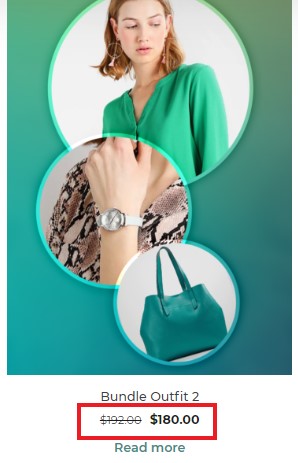
Regular and discounted: show both the regular price as strikethrough and the bundle discounted price.
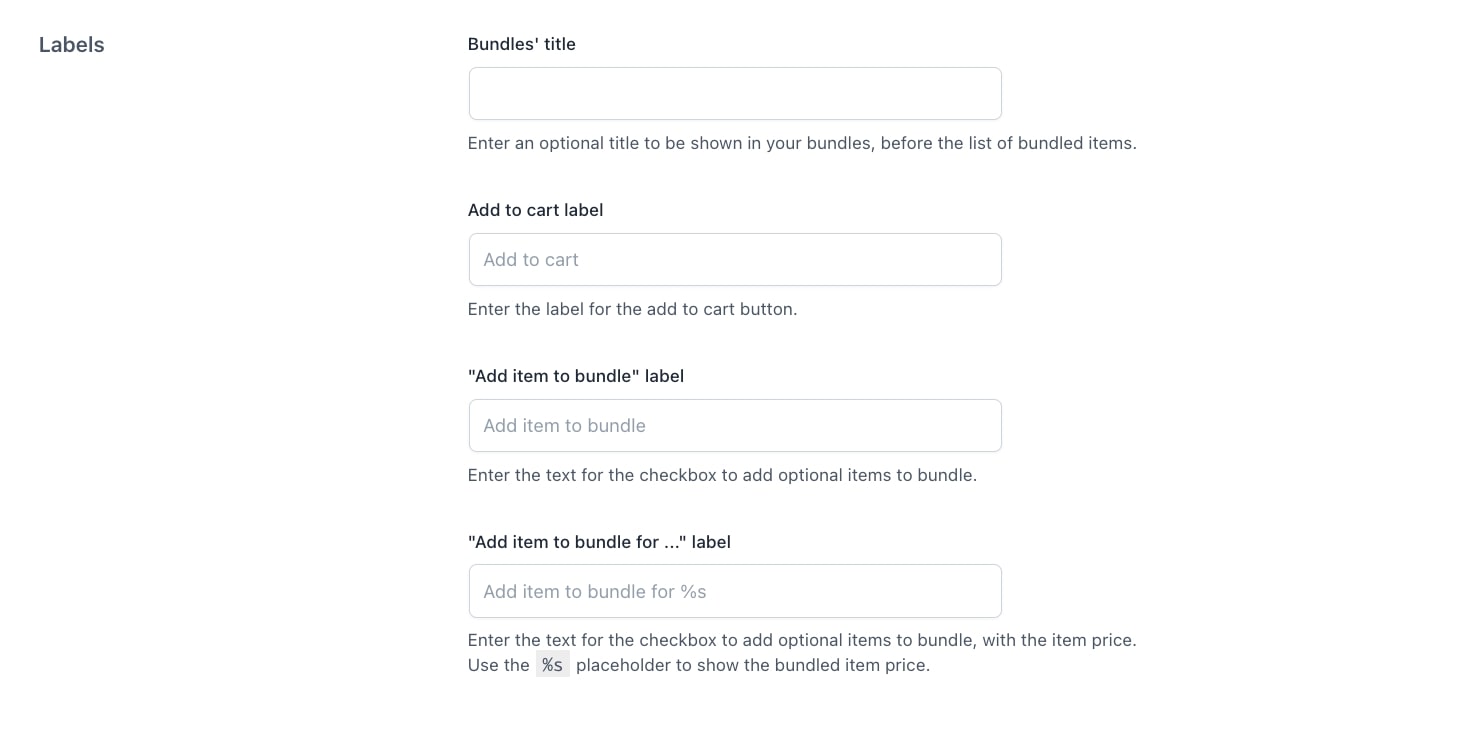
Labels
Through these options, you can configure:
Bundles’ title: this allows showing an optional title in the bundles before the list of bundled items;
Add to cart label: this allows inserting a text for the add to cart button;
“Add item to bundle” label: this allows entering a text for the checkbox to add optional items to the bundle;
“Add item to bundle for …” label: this allows entering a text for the checkbox to add optional items to bundle with the item price.
The [bundled_items] shortcode should be used within product detail page. It shows the elements related to “bundle” type product and to the “Add to cart” button.
In case you want to show the products list but not “Add to cart” button, you must add “type” attribute to the shortcode and assign the “list” value. [bundled_items type="list"]
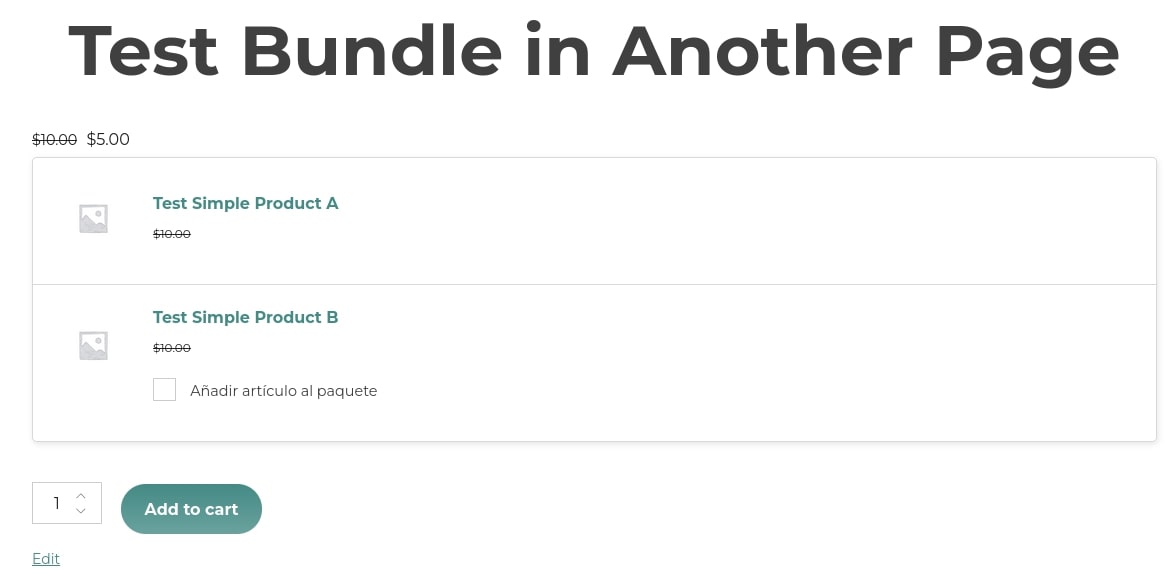
On the contrary, if you want to show the bundle on any other page of your site, you have to use the shortcode [bundle_add_to_cart] followed by the product ID, for example, [bundle_add_to_cart id="123"].
This shortcode prints the bundle form as shown below.