The unit cost of each ticket can be automatically increased based on two variables:
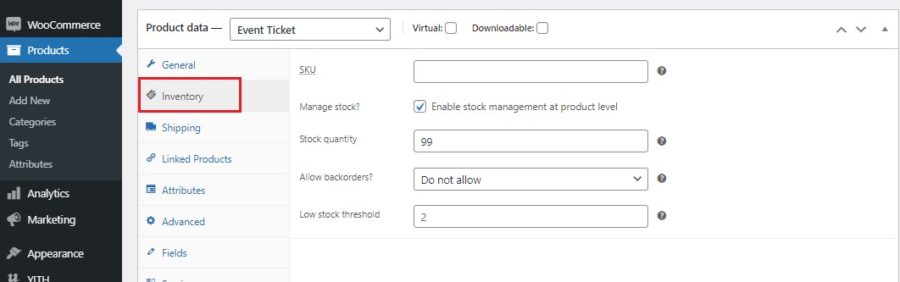
- number of tickets left (available only if the stock management in the product is enabled)
- number of days left to the event
The plugin gives you the possibility to configure several increase rules that apply at the same time. The increased cost is always calculated on the ticket base price before any service costs are applied.
Let’s look into the two different types of increase separately.
Increase price based on stock
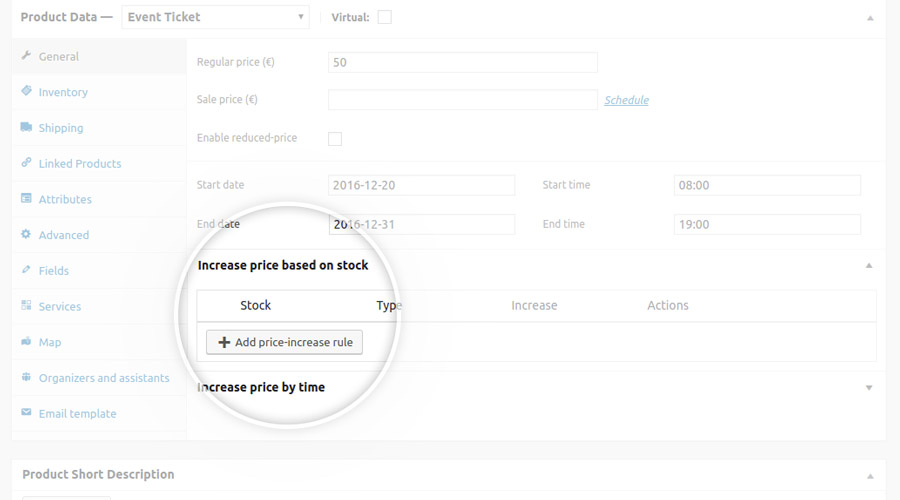
First of all, ensure the stock management has been enabled on the product.
Then, open the section Increase price based on stock and click on the Add price-increase rule button to add a new rule.
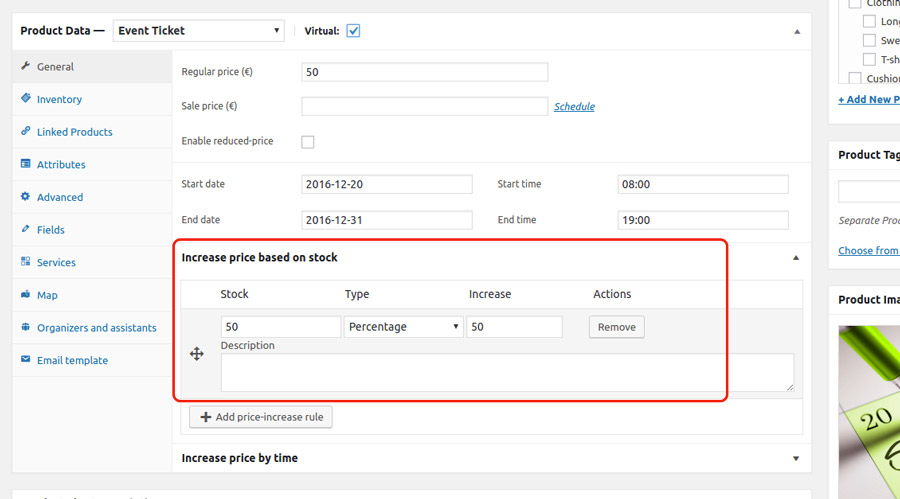
Configure the following paraments as follows:
- Stock: threshold below which the price will be increased
- Type: choose whether to increase the base price by a fixed value or a percent value
- Value: increase value
- Description: note down how the rule works (for your convenience; not visible to users)
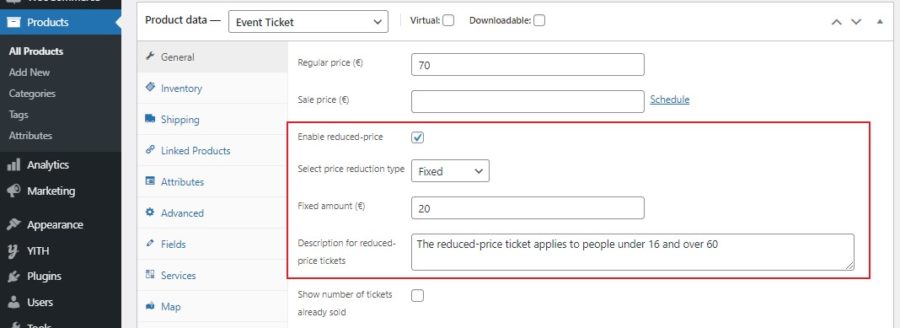
Let’s make an example.
Suppose we want to add a 50% markup on the ticket base price when less than 50 tickets are left.
We will configure the rule as follows:
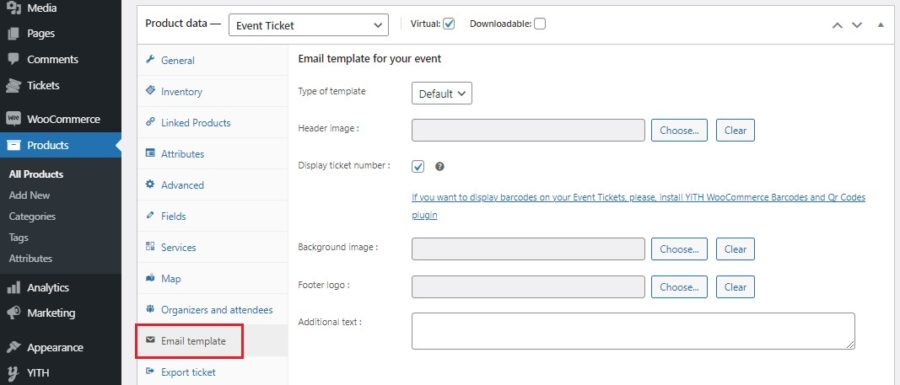
Increase price by time
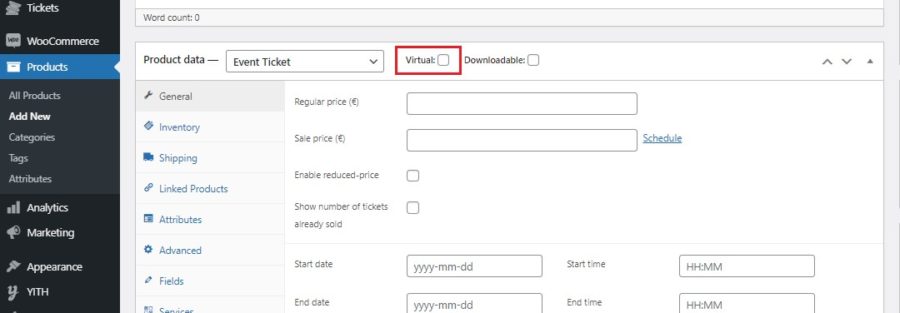
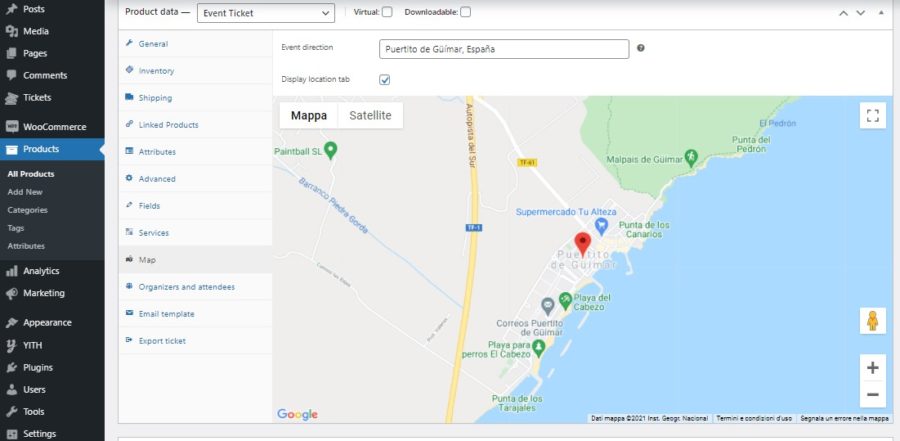
First of all, ensure you have associated a start date to the event (see the image below).
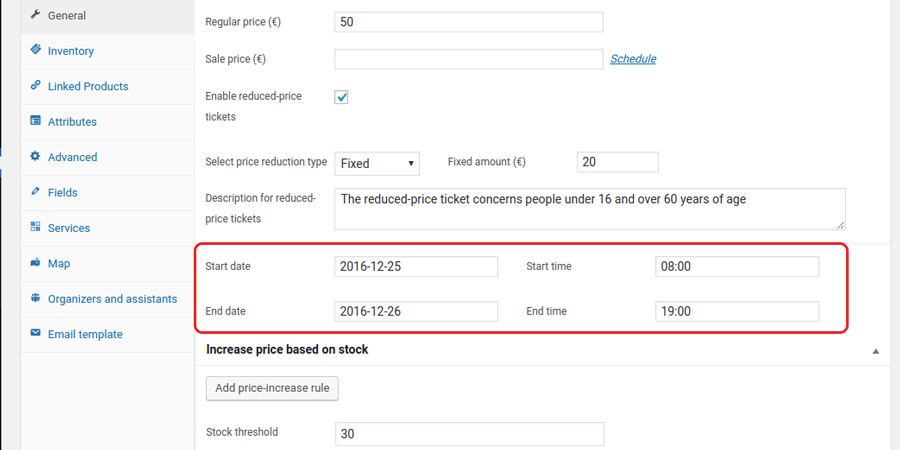
Now, open Increase price by time section and click on Add price-increase rule to add a new rule.
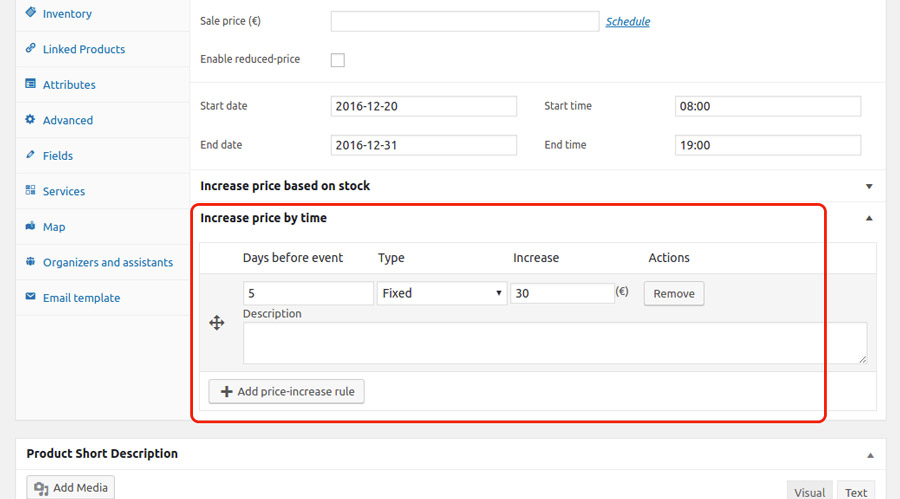
The configuration shown in the above image will let the price automatically increase by €30 exactly 5 days before the event start date.