View Product Page

Content

The Tab Content allows you to edit the content you can enter into the popup.
According to the type of content you select in the drop-down menu “Content-type”, you will be able to edit the textual parts of your popup from the textual boxes available (header, footer, left contents, right contents, unique content).

N.B. The content you enter in the tabs “Newsletter”, “Form”, “Social” and “WooCommerce” will only be shown if the same popup type has been selected in the drop-down menu “Content-type”.

Below you will find a list of all content types available:

  • text: text content.
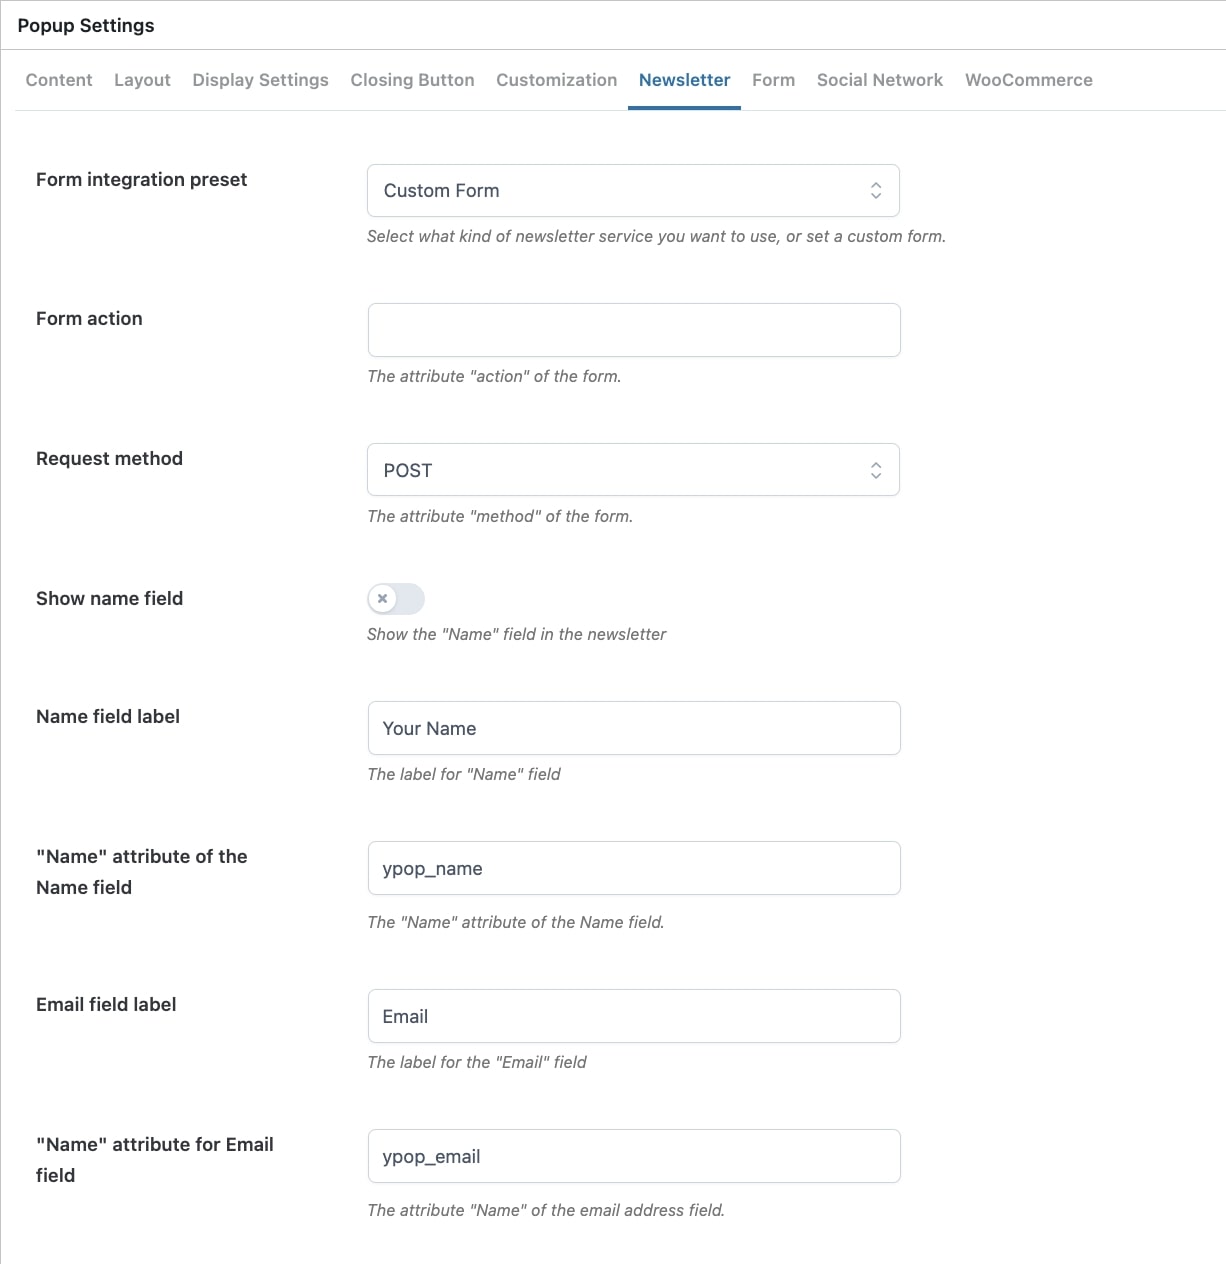
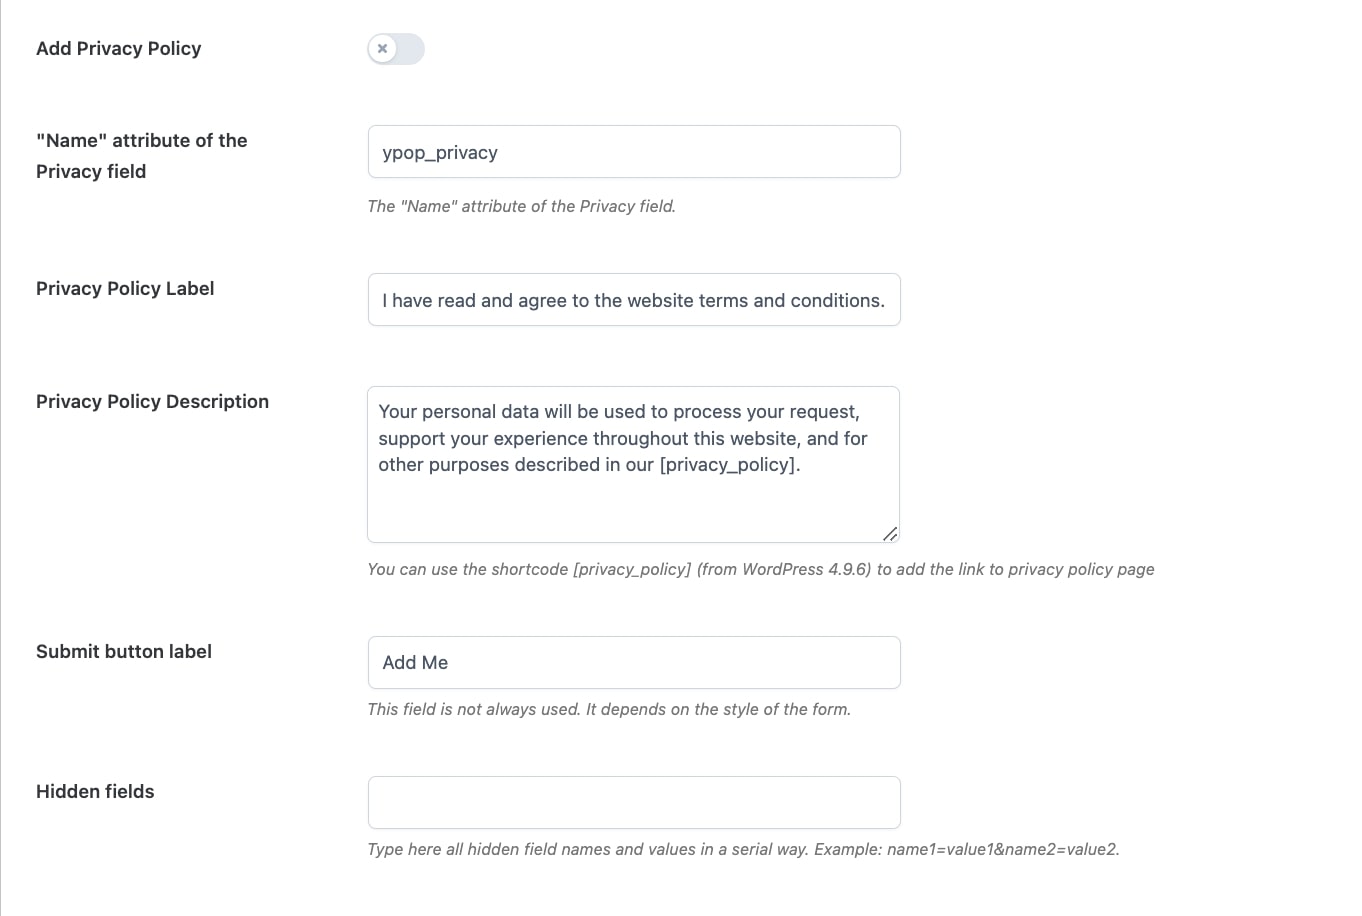
  • newsletter: newsletter popup includes a form for newsletter subscription. Settings for newsletter popups are managed in the tab “Newsletter”.
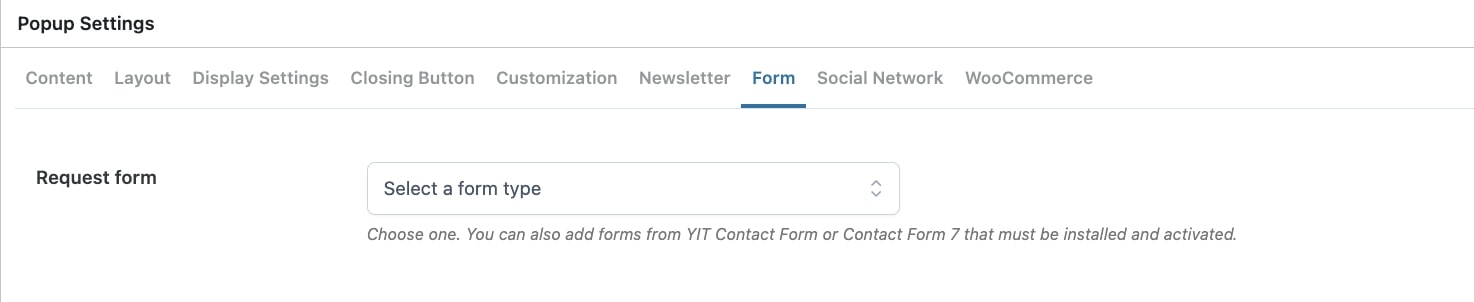
  • form: if you select form type for your popup, you will be able to show a form. Settings for this form can be managed in the tab “Form”.
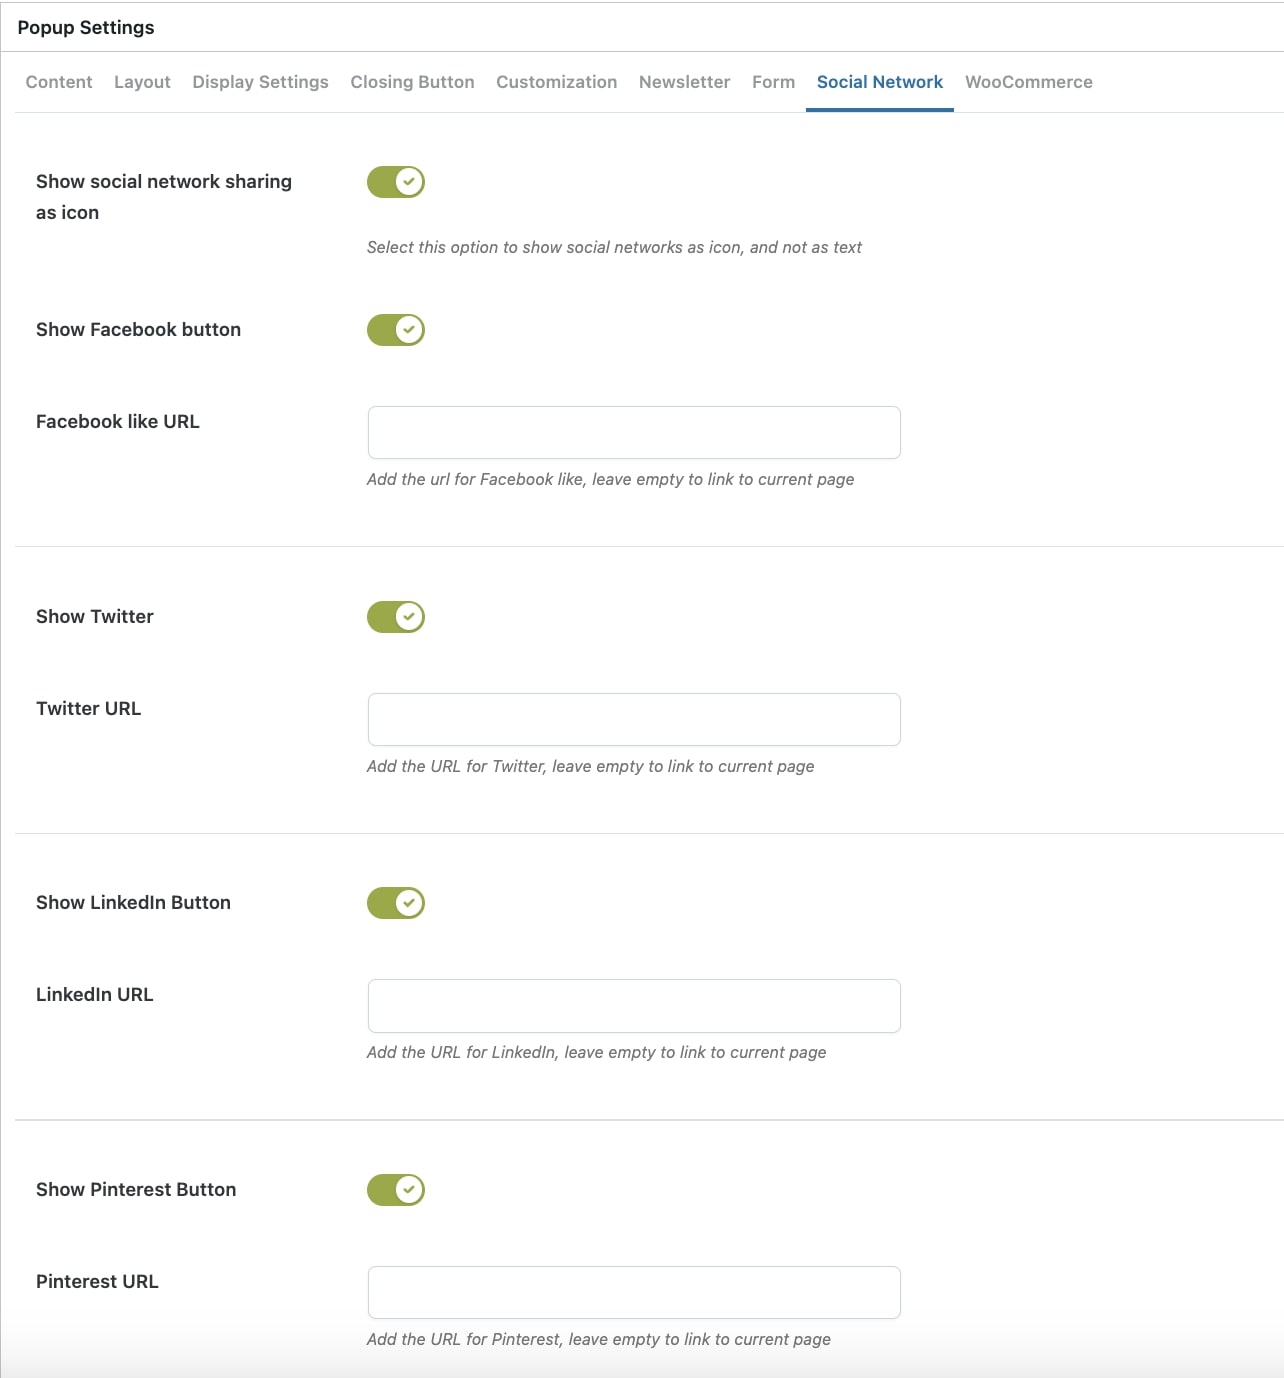
  • social: with this type of popup, you can add links to the Social Networks that you can manage from the tab “Social”.
  • WooCommerce: in a WooCommerce popup, you can show one of the items in your shop. Settings for this type of popup can be managed in the tab “WooCommerce”.
Popup content

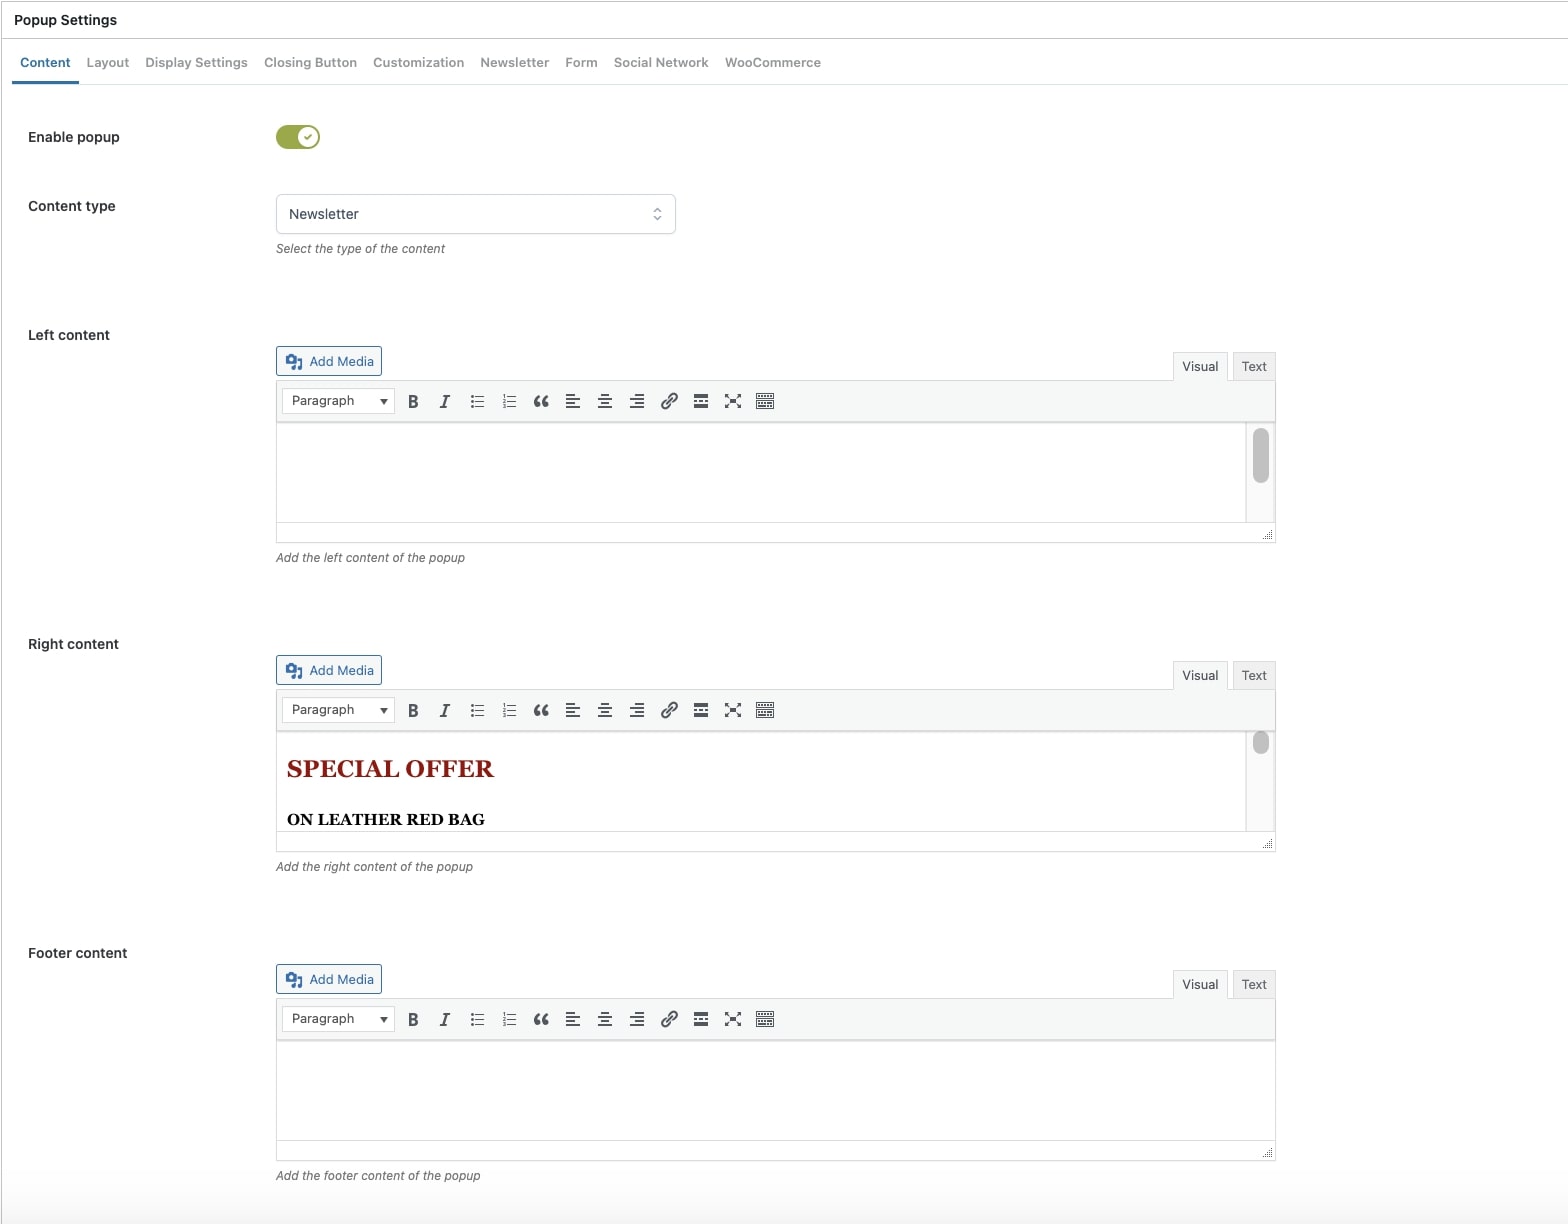
If you scroll down, you will be able to add the right content of the popup, and also the footer content.

Layout

In the tab Layout, you can manage all the settings that allow you to edit the style colors of your popup. According to the popup template you select, some options may vary.

Popup layout

Display Settings

In the “Display Settings” tab, you can configure the following options:

Popup display settings
  • Position of the popup:
    • centre
    • left top
    • left bottom
    • right top
    • right bottom
  • Overlay opacity
  • Overlay color
  • Choose when displaying the popup:
    • As soon as the page has been loaded
    • When mouse leaves the browser viewport (not available on mobile devices)
    • When users attempt to leave the page
    • When users click on an external link (any link to an external site or resource on the page)
    • When users click on a link with #yithpopup in URL: this option allows you to trigger the popup when the user clicks on a specific link. For example, you want to trigger the popup when the user clicks on a specific link on the same page: you just have to add #yithpopup as URL, as you can see in the following example.
      Trigger popup on link on the same page
  • Delay time before the popup appears (in seconds)

Closing Button

In this tab, you can edit the closing button of the popup using the icons included in the plugin or by uploading your own custom icon.

Popup closing button
Popup

Customization

In the tab Customization, you can find two text areas, CSS and JavaScript, that allow you to enter your custom code to edit the style and behavior of the popup you are configuring.

Customization

Newsletter

The Section Newsletter allows you to set up the form that has to be shown in newsletter popup type. Below you find a complete list of all options:

  • Form integration preset: type of form (custom, Madmimi or MailChimp)
  • Form action: “action” attribute of the form (custom type)
  • Request method: “method” attribute of the form (custom type)
  • Show name field: show field “name” in the form (custom type)
  • Name field label: label for the field “name” (custom type)
  • “Name” attribute of the Name field: value for the attribute “name” of the form (custom type)
  • Email field label: label for the field “email”
  • “Name” attribute for Email field: the value of the attribute “email” of the form (custom type)
  • Add Privacy Policy: if enabled, it adds the Privacy Policy to the form
  • “Name” attribute of the Privacy field: attribute “Name” for the Privacy field
  • Privacy Policy Label: label for the field “Privacy Policy”
  • Submit button label: label for the field “submit”
  • Hidden fields: names for possible hidden fields added to the form (custom type)
  • Mailchimp API Key: API Keys of the MailChimp account you want to link to WordPress.
  • Mailchimp List: list of MailChimp features associated to the specified account
  • Mad Mimi Username: username of your Mad Mimi account
  • Mad Mimi API Key: API Keys used to connect Mad Mimi service to WordPress.
Popup newsletter
Popup newsletter

Form

The tab “Form” allows you to select the form you want to display in the form popup type.
The list includes all contact forms that you can create through the plugin Contact Form 7 and YITH Contact Form.

Form

Social Network

The tab Social network includes a list of all social networks that can be shown in the social popup type.
For each social network available (Facebook, Twitter, LinkedIn, Pinterest), enable the button and enter the URL of the associated account.

Social network

WooCommerce

The tab WooCommerce includes all options that can be set up in the WooCommerce popup type.
Below you find a list with all options:

  • Choose a random product to show from: product type to display in the popup.
    You can choose to:
    – display only specific products
    – display products of certain categories
    – display discounted products
    – display featured products
  • Show name of product: show/hide the product name.
  • Show thumbnail of product: show/hide the product image.
  • Show price of product: show/hide the product price.
  • Show Add to Cart: show/hide the “Add to cart” button in the popup.
  • “Add to cart” Label: linked label for the “Add to cart” button.
  • Show summary: show/hide the product description.
WooCommerce