View Product Page

Popup creation

To start creating your popup templates, go to YITH -> Popups and click on Add New Popup.

Add new popup

The free version of the plugin lets you create endless popups using a single template for their layout.

Popup template

Enter the popup title and start configuring the following settings:

After creating your popups, they will all be listed in a table. You can enable/disable each popup based on your needs.

Popups

General settings

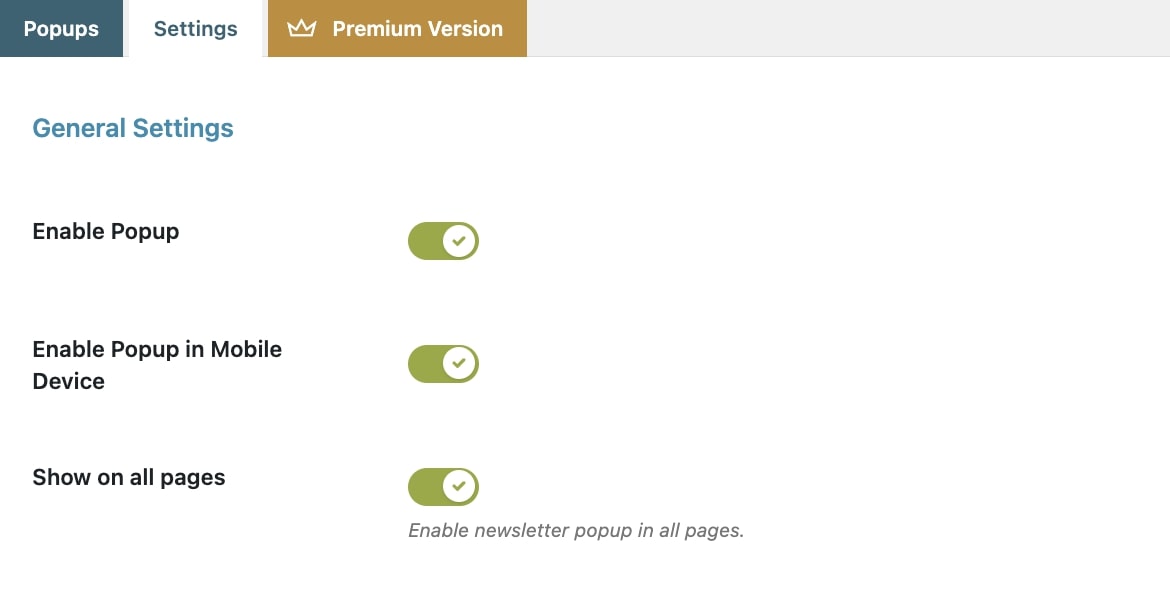
In the Settings tab, you can configure the plugin general settings.

Enable popup
  • Enable popup: enable this option to show the popups you have created;
  • Enable popup in mobile device: enable this option to show the popups on mobile devices;
  • Show on all pages: enable this option to show the Newsletter popups on all your site pages;
General settings
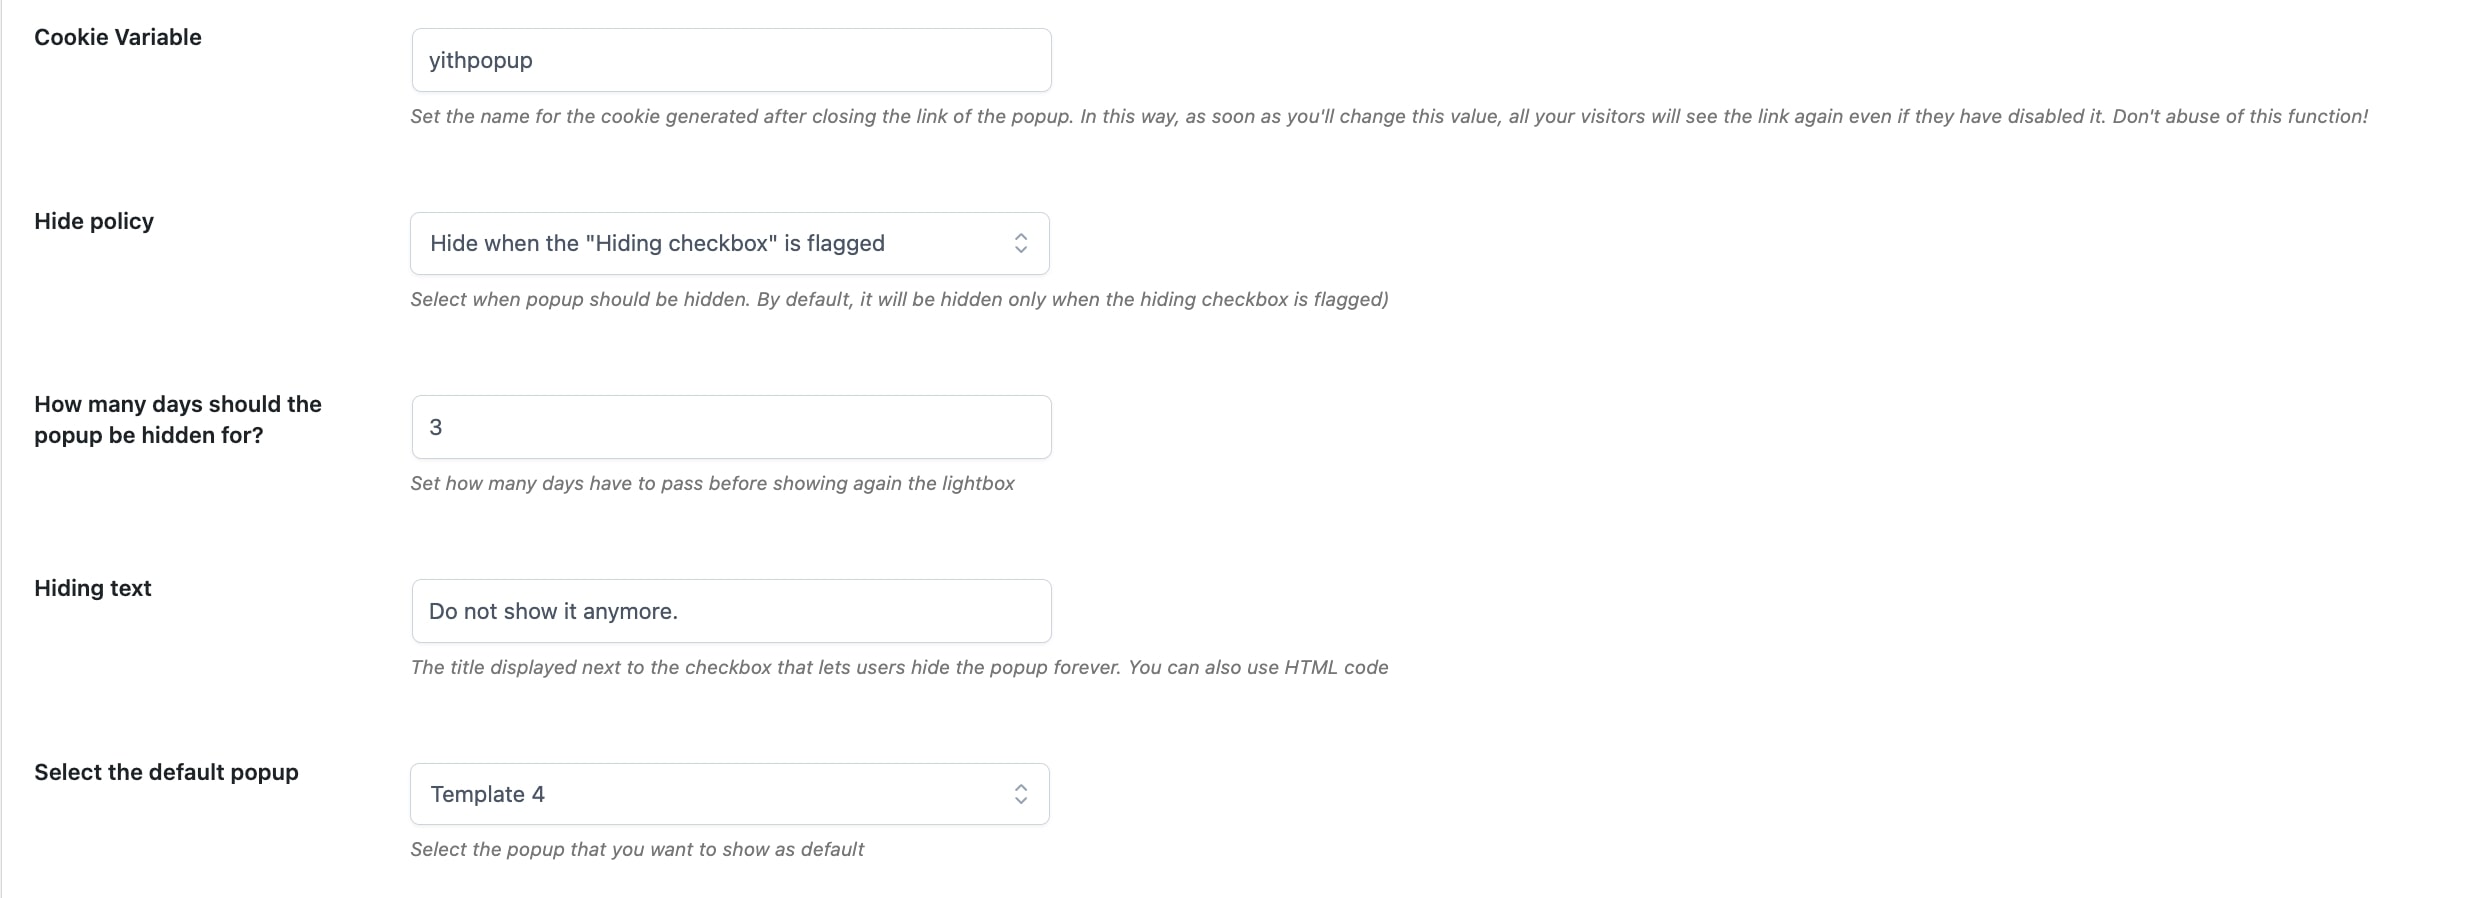
  • Cookie variable: enter the name of the cookie that is generated after the popup is closed;
  • Hide policy: choose when hiding the popup from:
    • when the hiding checkbox is flagged
      • show only once per session
      • How many days should the popup be hidden for? (option available if “Hide when the hiding checkbox is flagged has been selected): enter the number of those after which the lightbox will show again;
      • Hiding text: enter the text to show next to the checkbox that lets users hide the popup;
      • Select the default popup: select the popup that will show by default.

Page Settings

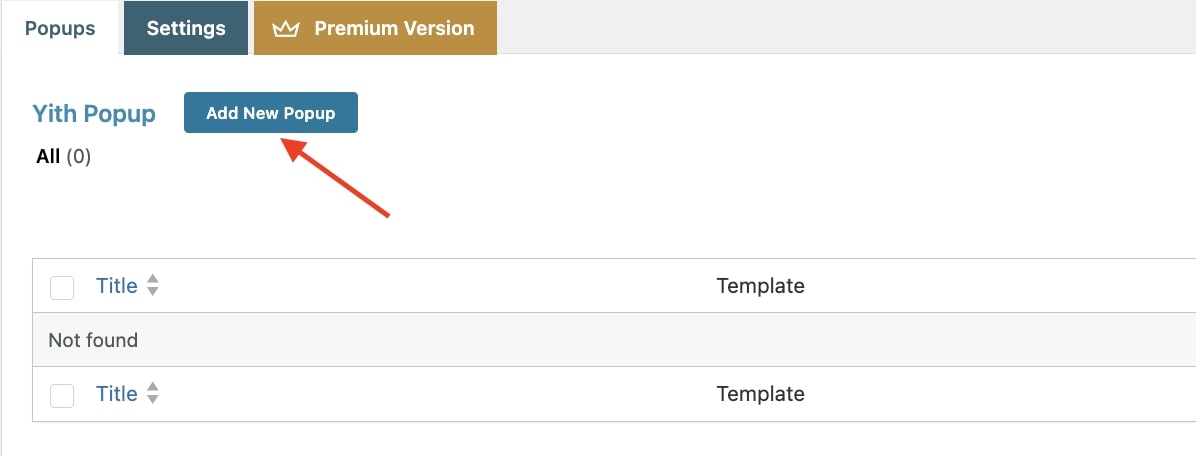
If you want to have different popups on the pages of your website, go to the pages regarding this and set the Popup option according to your needs at the bottom of the page.

Page settings

You have the following options:

  • the page respects the settings of the plugin options panel, so the default popup will be shown if the page is one of those set to show the default one;
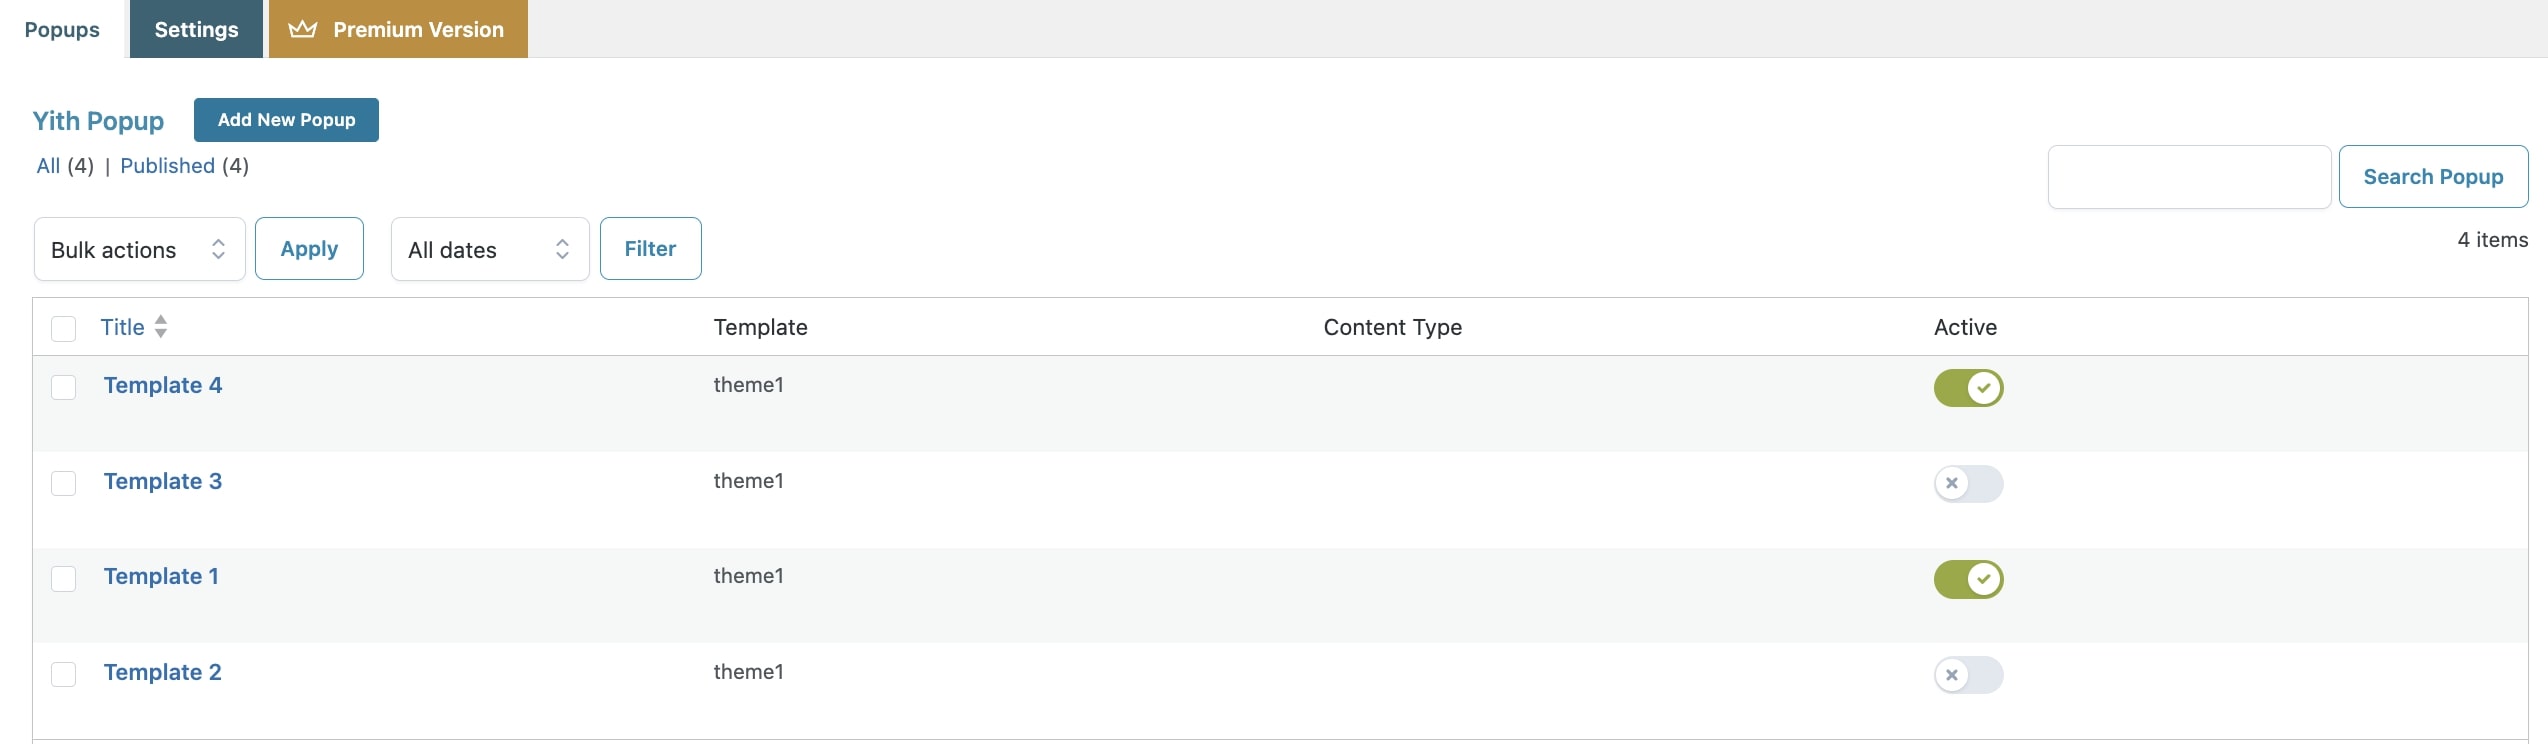
  • a popup created in the popup custom post type is shown;
  • no popup is shown on the page.

Content of the popup

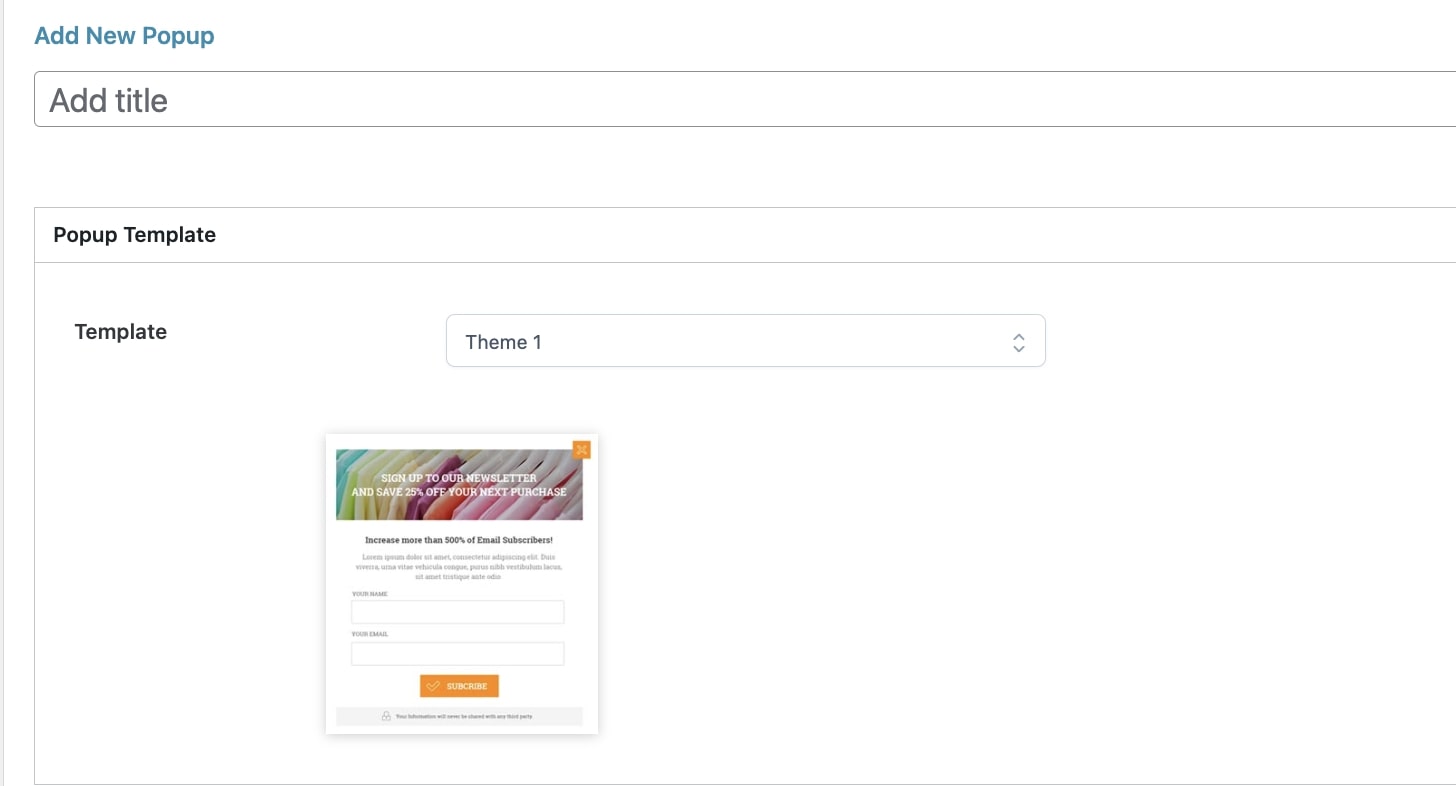
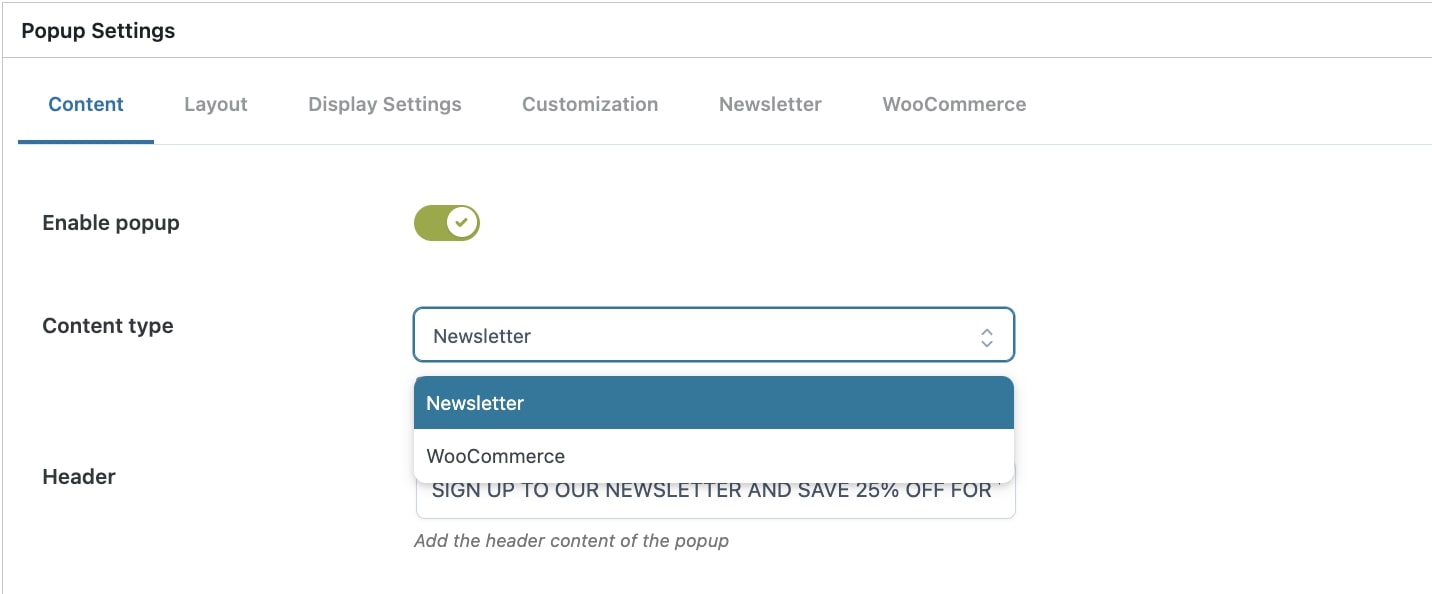
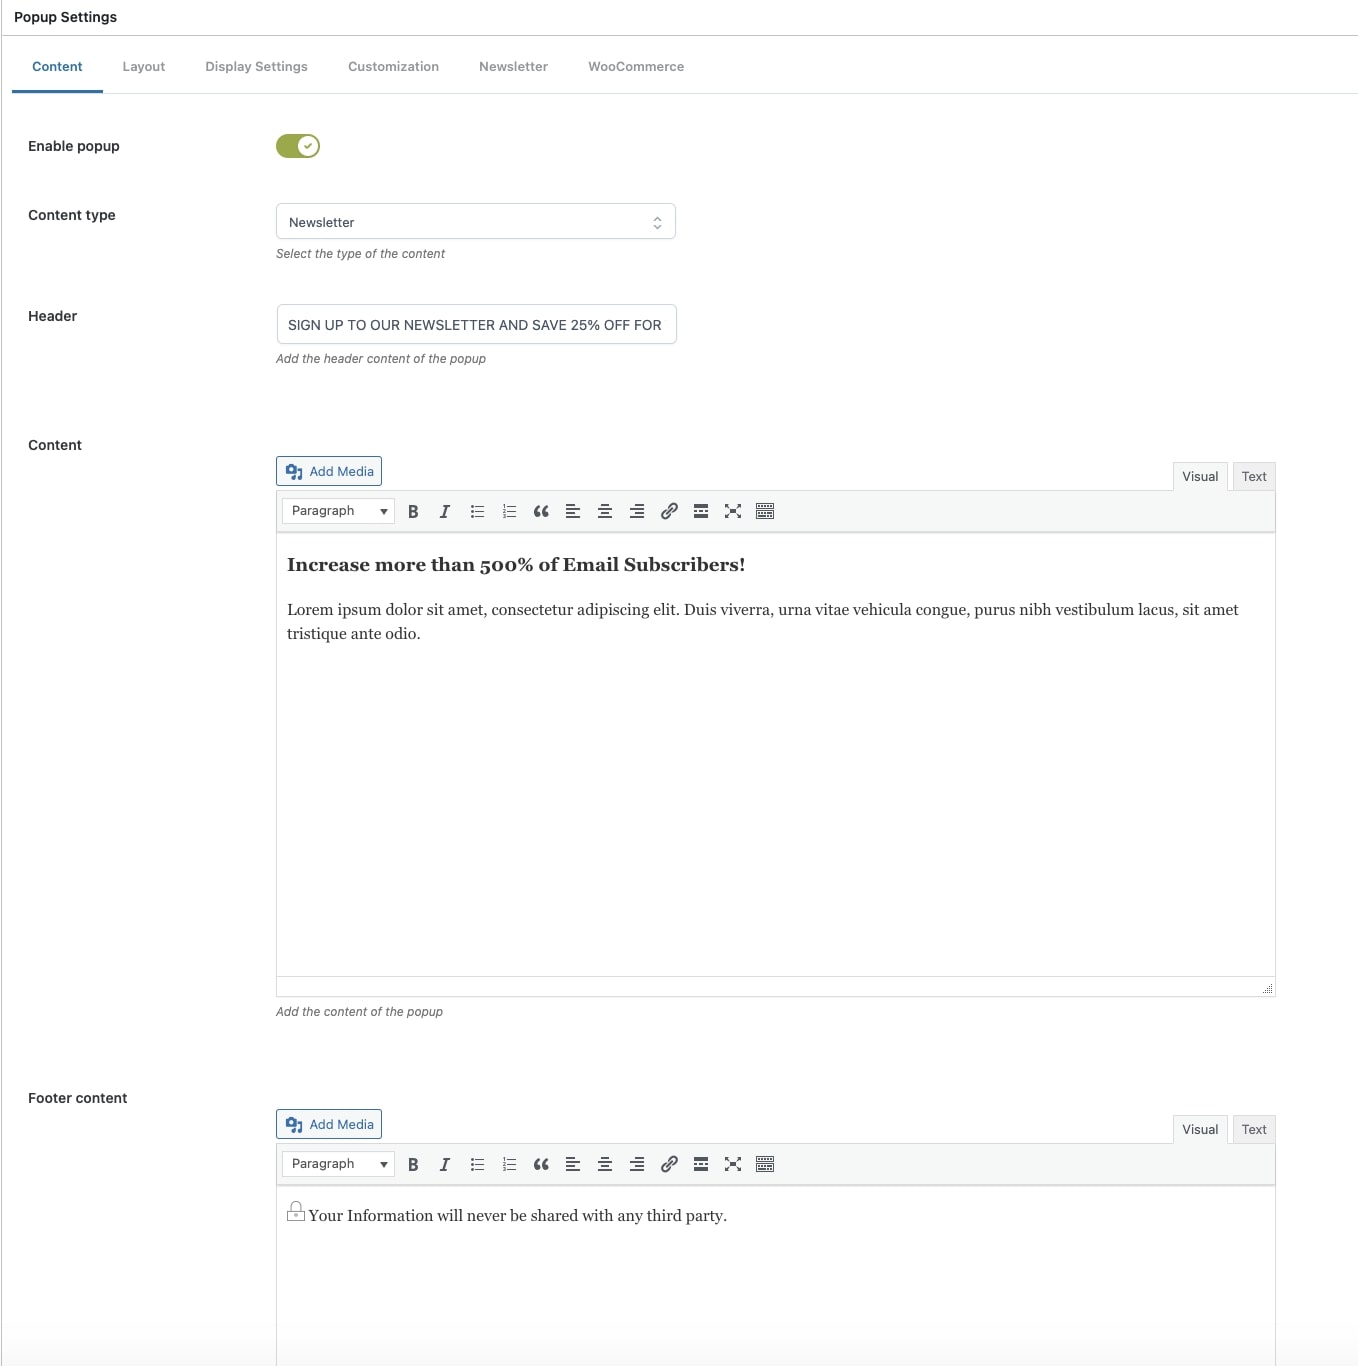
The tab Content allows you to edit the content shown in the popup.
Through the option Content type, you must first select Newsletter or WooCommerce and then edit the textual parts of your popup from the textual boxes available (header, footer, left contents, right contents, unique content).

Content type

N.B. The content you enter in the tabs “Newsletter” and “WooCommerce” will be shown only if the same popup type has been selected in the drop-down menu “Content-type”.

Below, you find a list of all content types available:

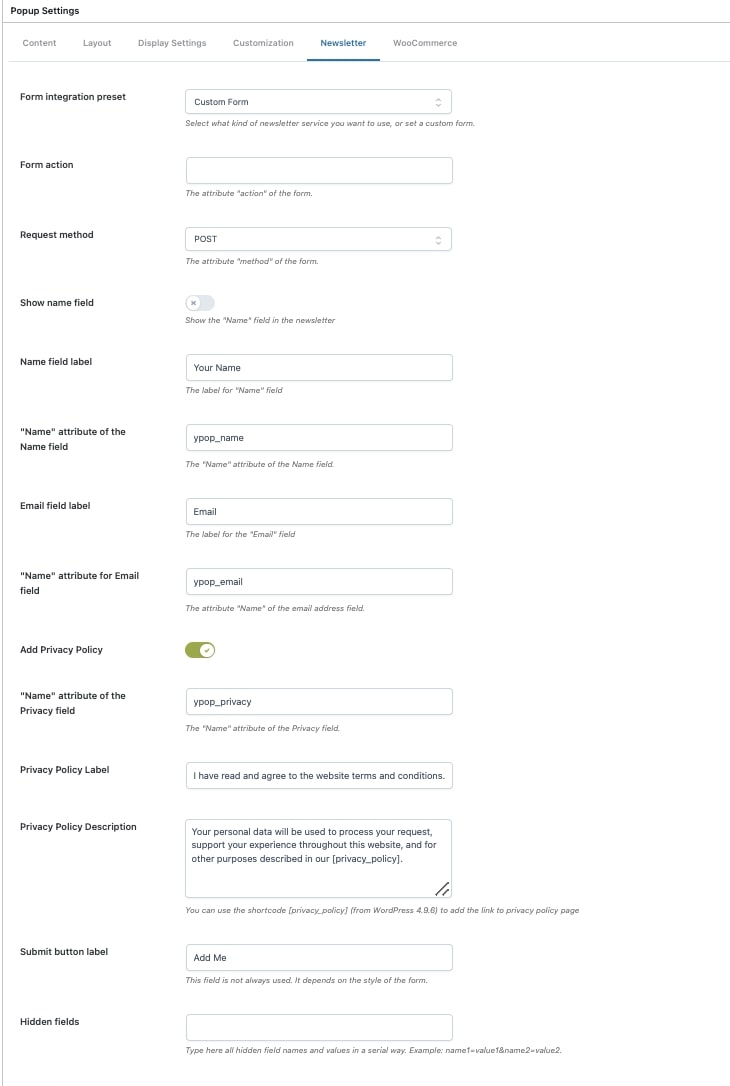
  • Newsletter: newsletter popup includes a form for newsletter subscription. Settings for the newsletter popup are managed in the tab “Newsletter”.
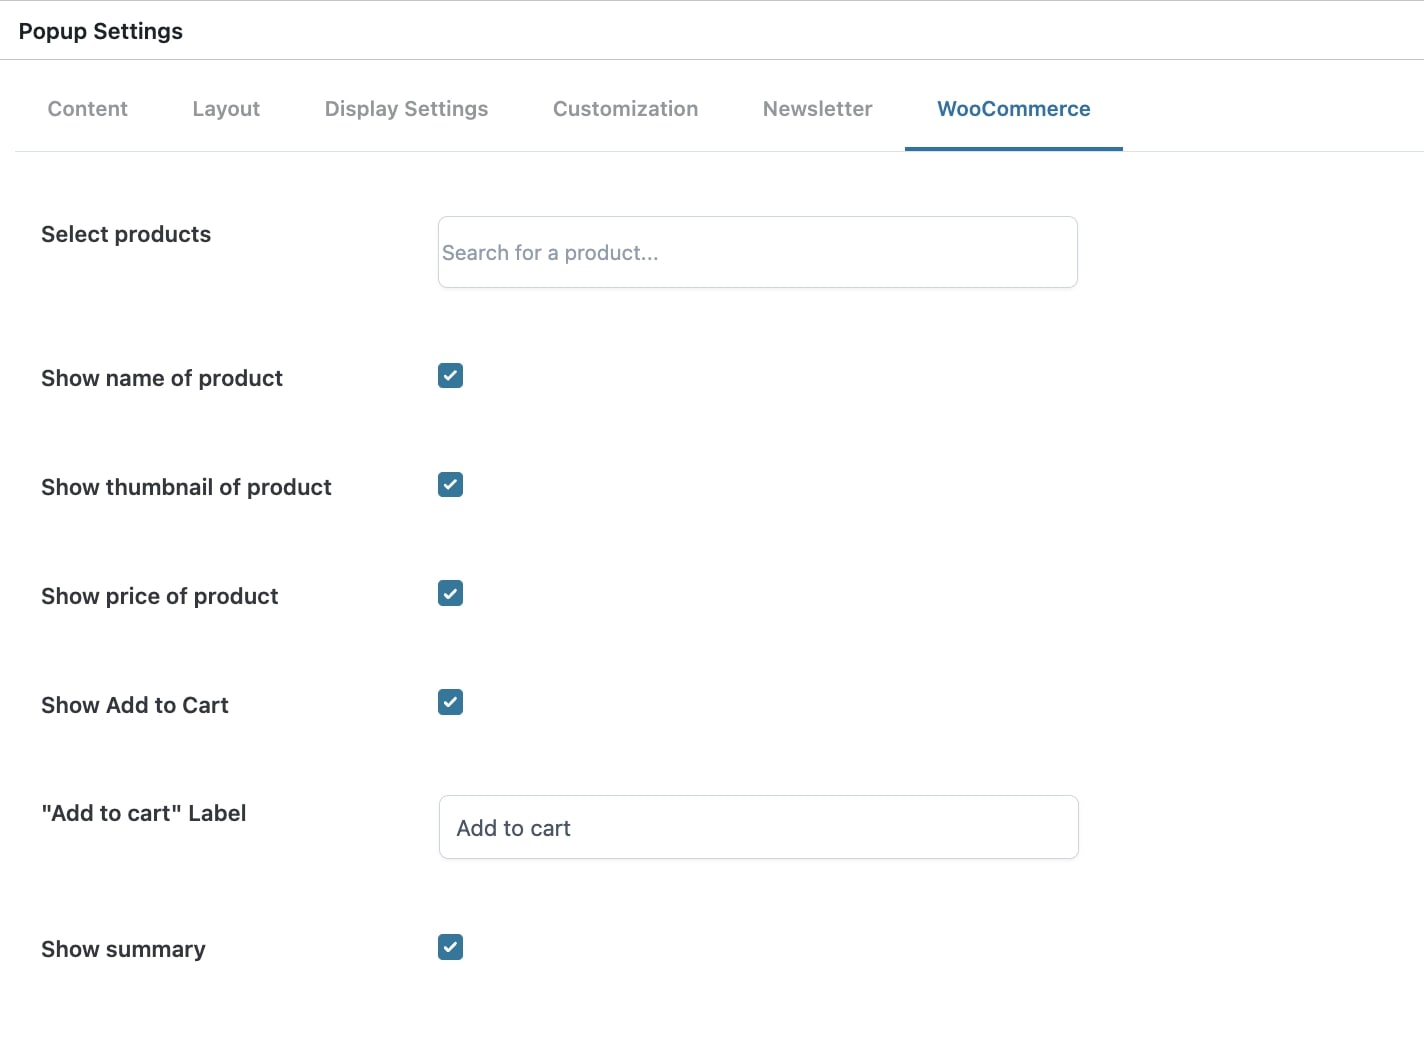
  • WooCommerce: in a WooCommerce popup, you can show one of the items in your shop. Settings for this type of popup can be managed in the tab “WooCommerce”.
Popup content options

Layout

In the tab Layout, you can manage all settings that allow you to edit the style and colors of your popup.

Layout

Display Settings

In the Display Settings tab, you can configure the opacity of the popup background.

Display settings

Newsletter

The tab Newsletter allows you to set up the form that has to be shown in newsletter popup type. Below, you find a complete list of all options:

Newsletter
  • Form integration preset: type of form (custom, Madmimi or MailChimp);
  • Form action: “action” attribute of the form (custom type);
  • Request method: “method” attribute of the form (custom type);
  • Show name field: show field “name” in the form (custom type);
  • Name field label: label for the field “name” (custom type);
  • “Name” attribute of the Name field: value for the attribute “name” of the form (custom type);
  • Email field label: label for the field “email”;
  • “Name” attribute for Email field: the value of the attribute “email” of the form (custom type);
  • Submit button label: label for the field “submit”;
  • Hidden fields: names for possible hidden fields added to the form (custom type);
  • Mailchimp API Key: API Keys of the MailChimp account you want to link to WordPress;
  • Mailchimp List: list of MailChimp features associated to the specified account.

WooCommerce

The tab WooCommerce includes all options that can be set up in the WooCommerce popup type.
Below you can find a list with all the options:

WooCommerce
  • Select products: search and select the products you want to show in the popup;
  • Show name of product: enable to show the product name;
  • Show thumbnail of product: enable to show the product image;
  • Show price of product: enable to show the product price;
  • Show Add to Cart: enable to show the “Add to cart” button in the popup;
  • “Add to cart” Label: enter the label for the “Add to cart” button;
  • Show summary: enable to show the product description.