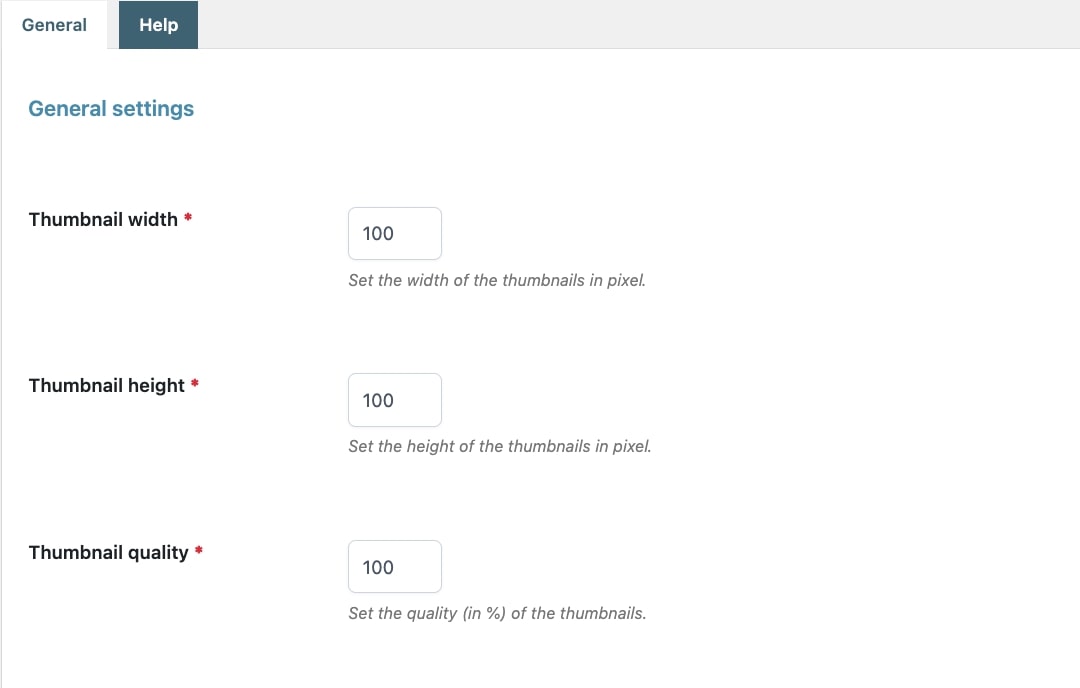
To set up the general upload rules, their visibility and other options, go to the tab General. Let’s check every option in detail.
First of all, you can set the width, height, and quality of the thumbnail images generated after uploading a file.
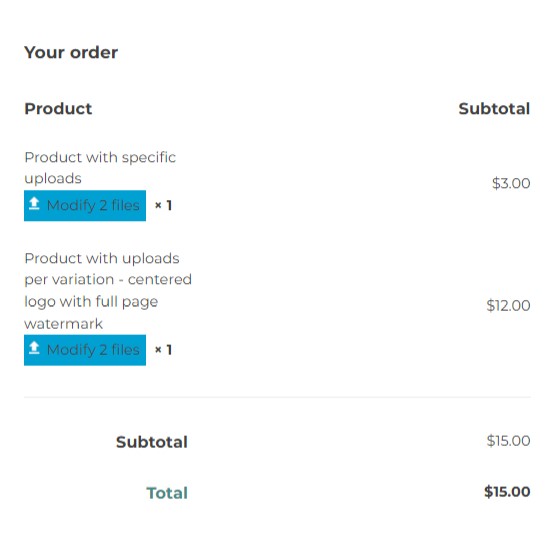
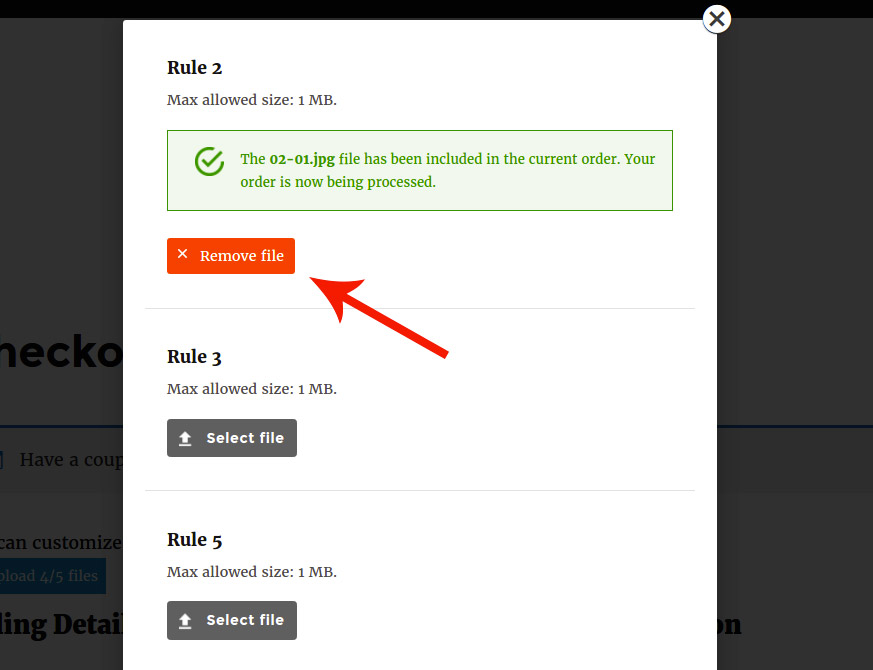
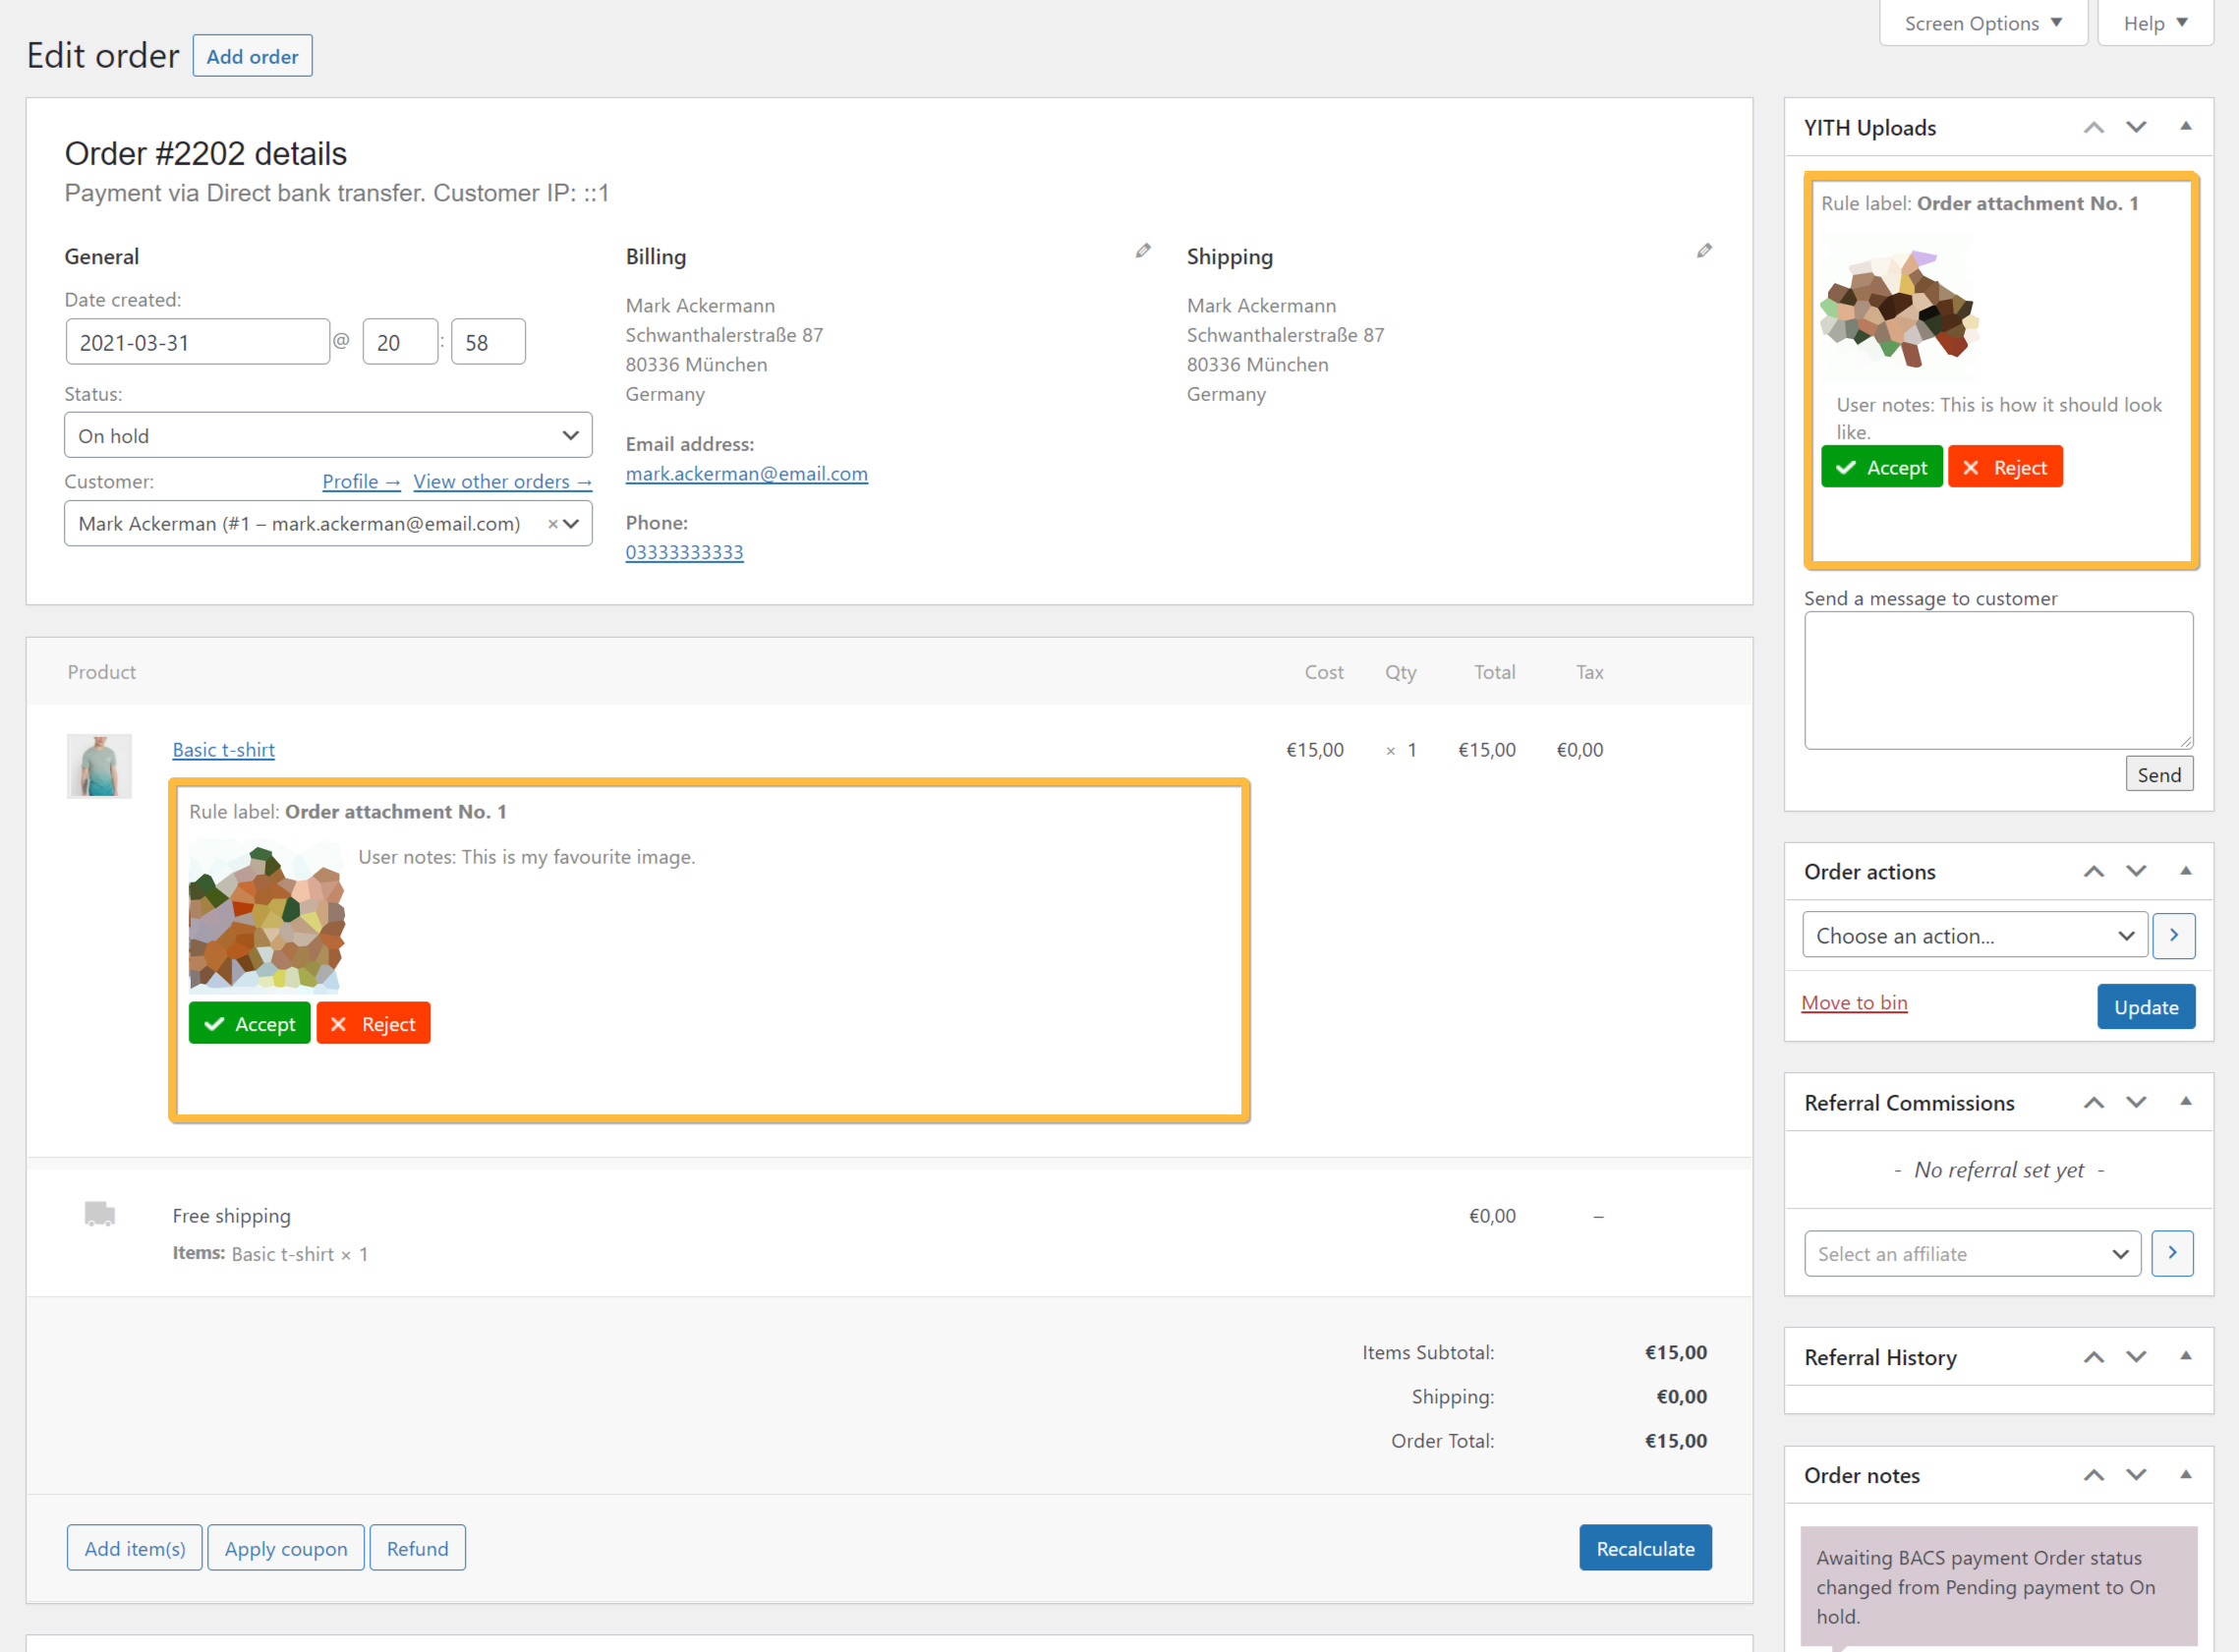
The user can associate files to products and/or orders depending on the conditions set by the administrator.
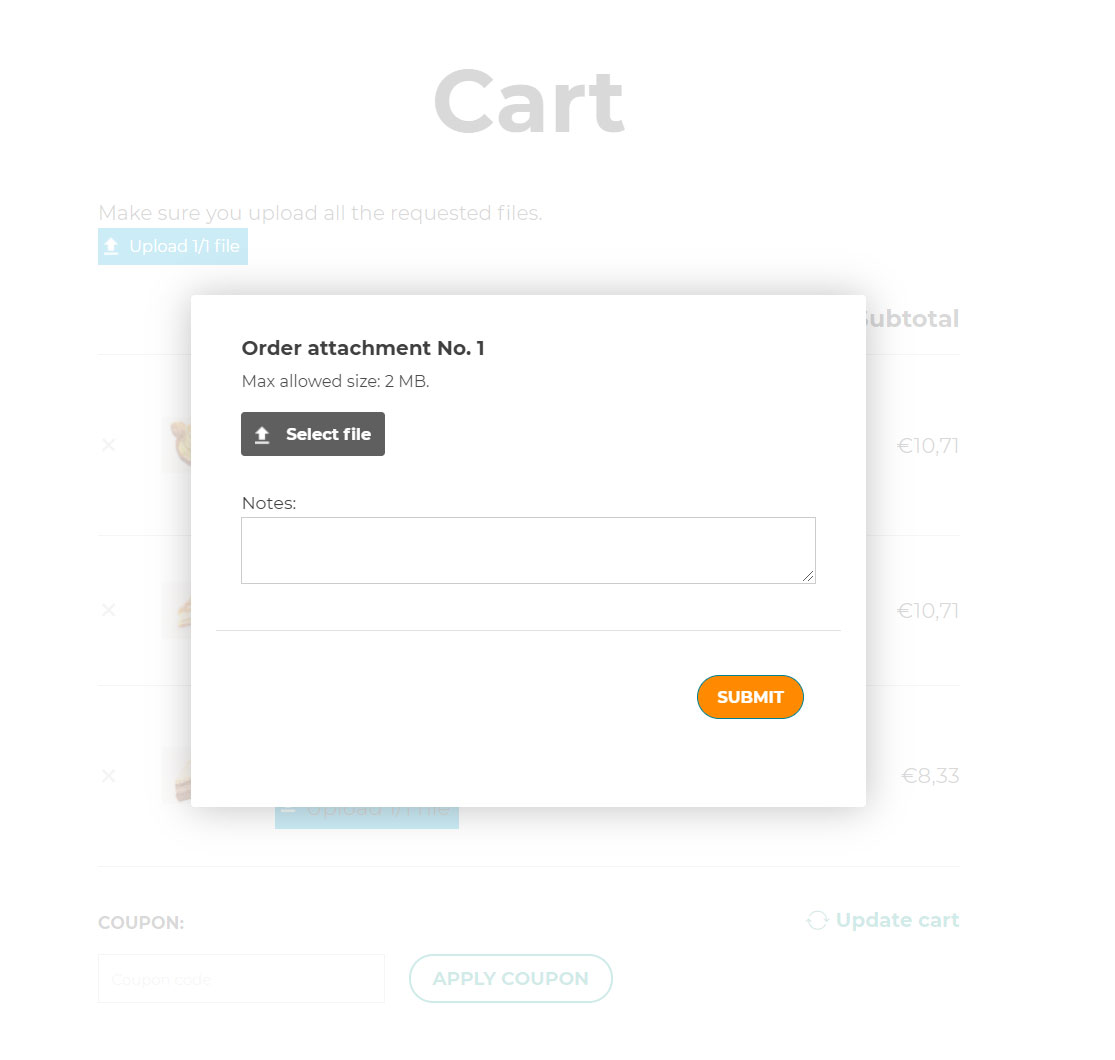
The upload button shows only if one or more rules apply to the products in the cart.
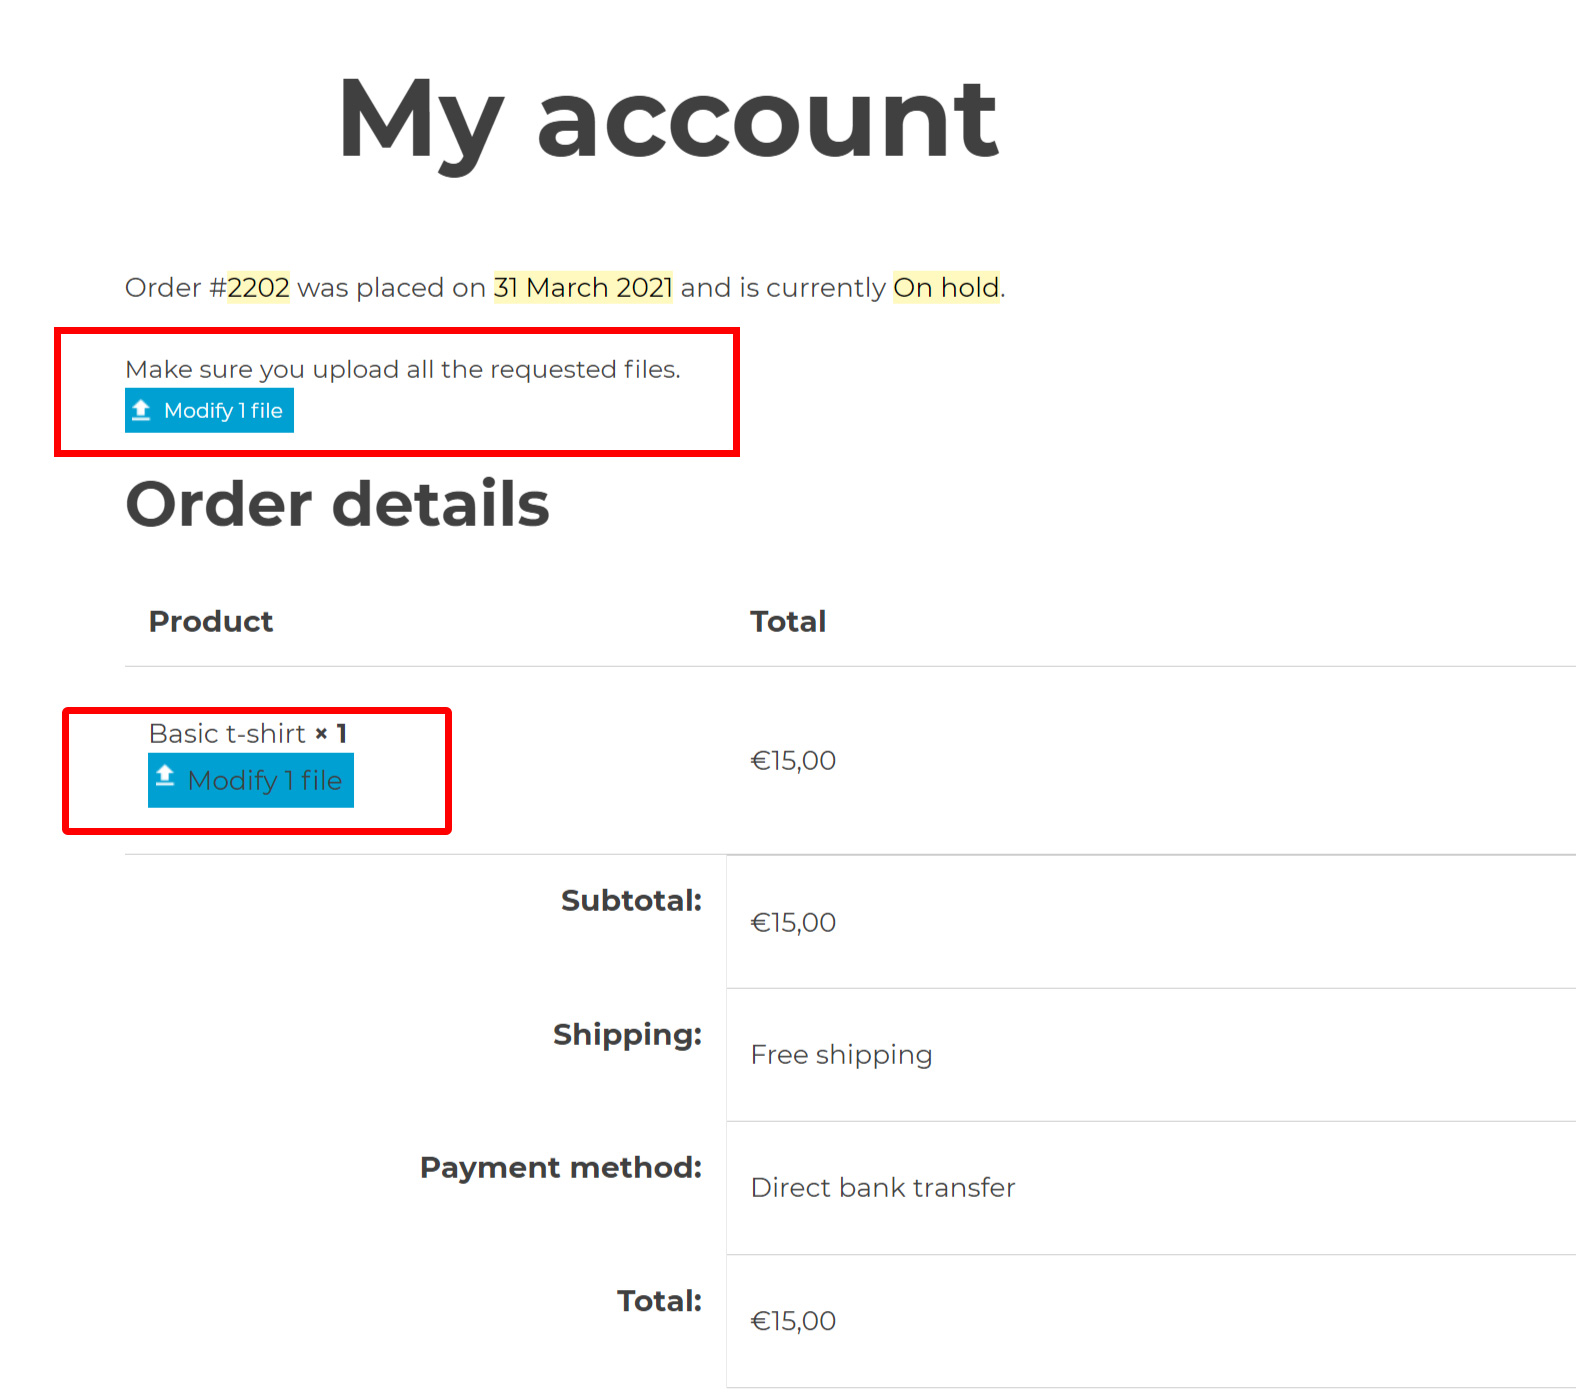
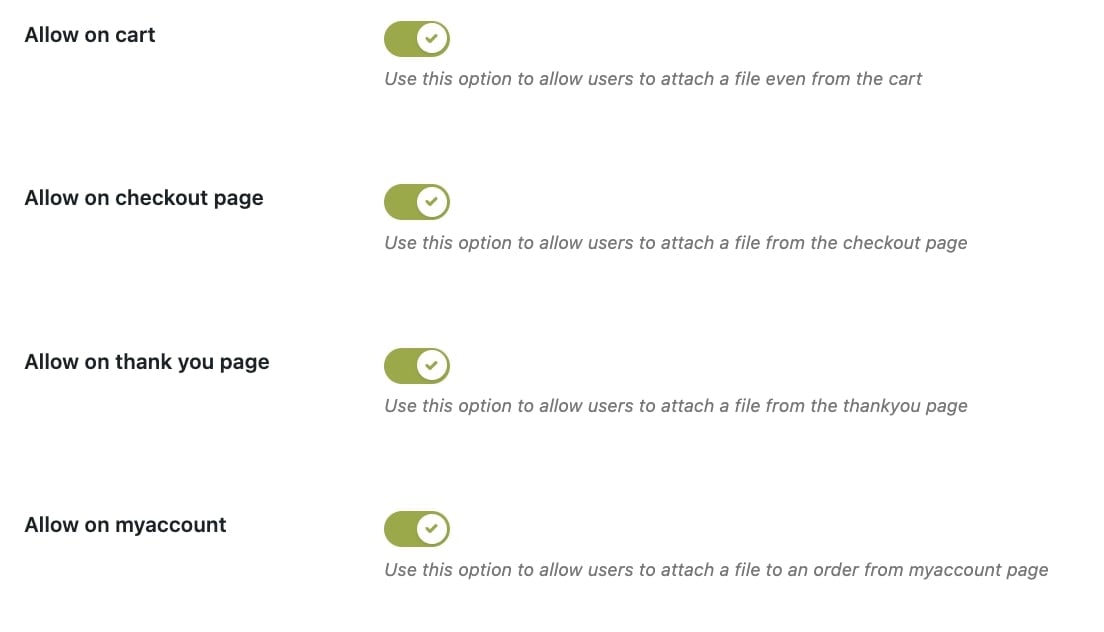
You can show or hide the upload button in the Cart, Checkout, Thank You page and My Account by enabling or disabling each option.
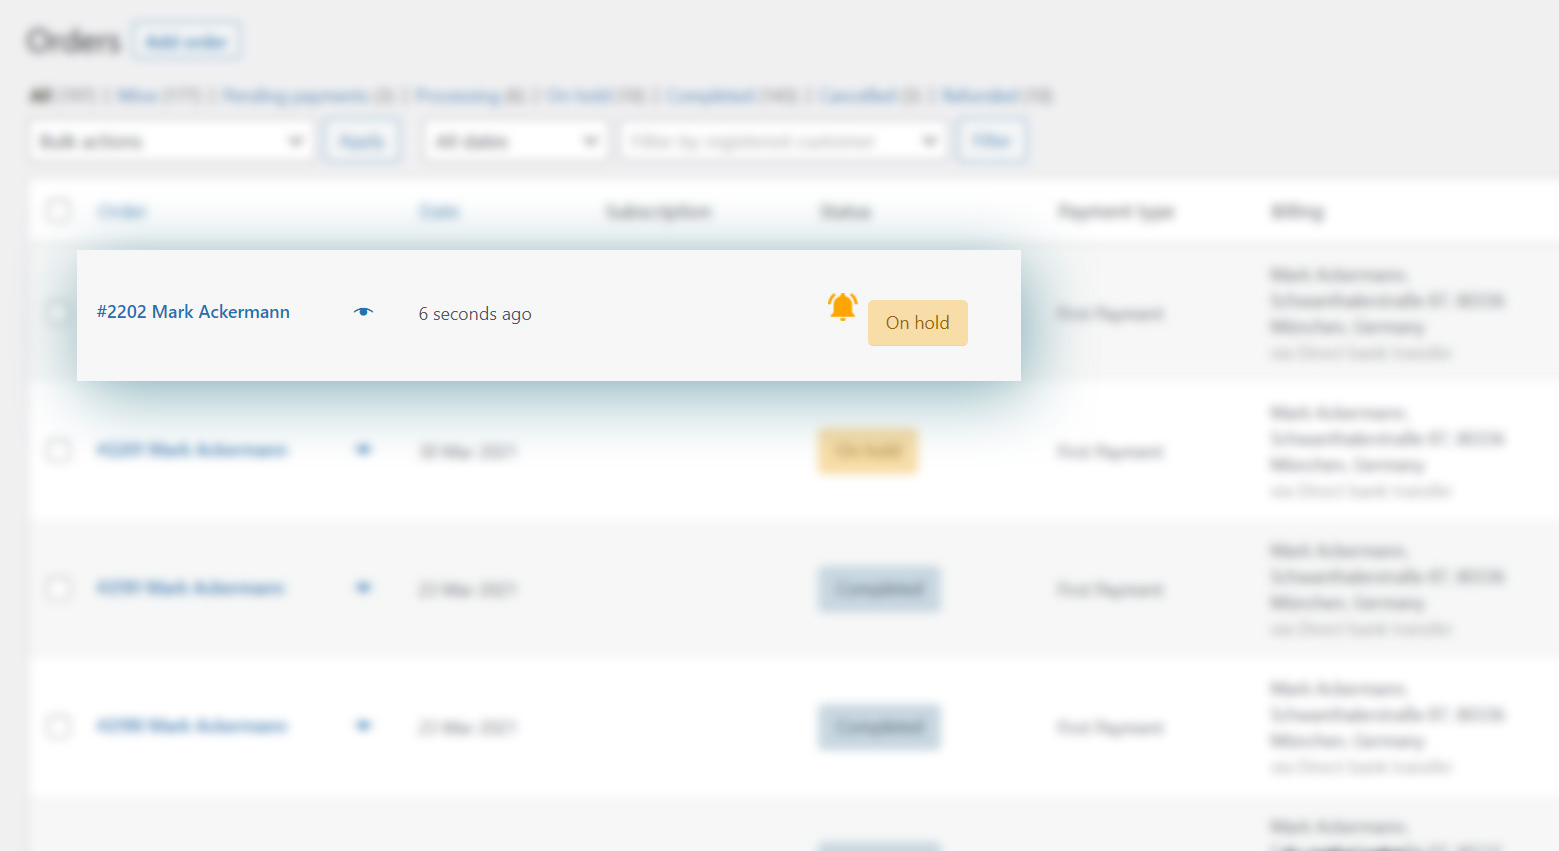
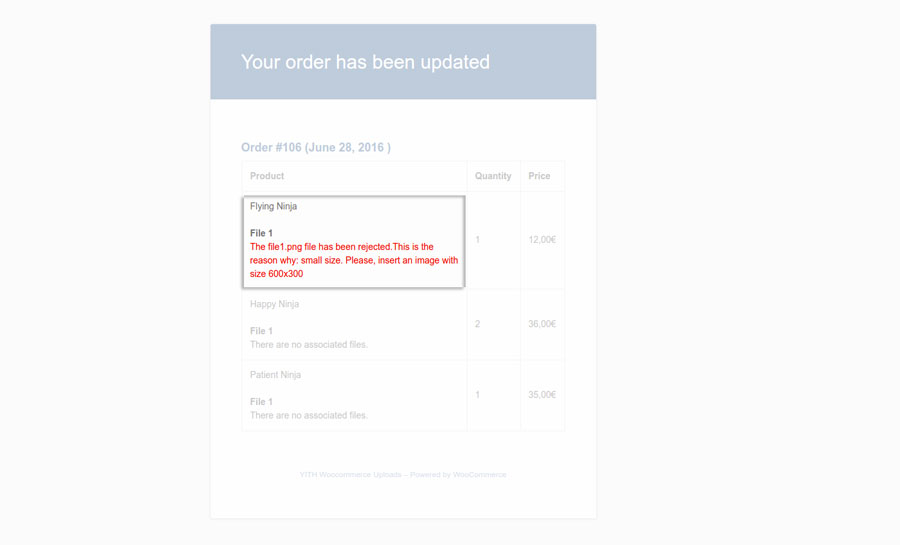
For uploads through the My Account page, you can further filter this option and make sure that it is available only for those order statuses that you’ve enabled in the following option “Allow the file upload when the order status is“:
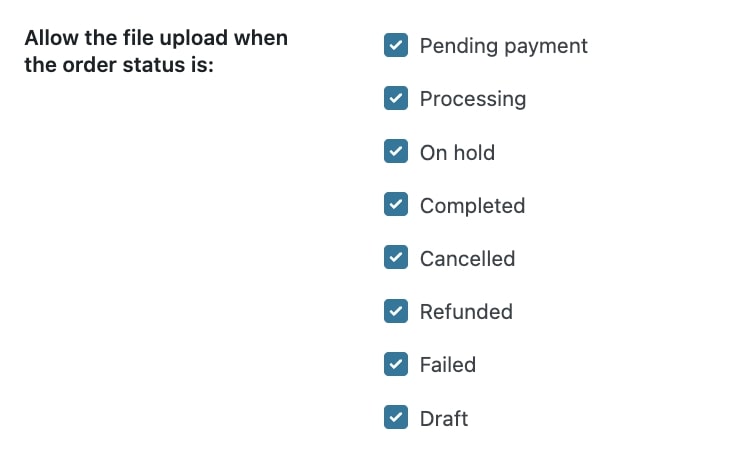
Additionally, you can also choose on which order status your customers are allowed to delete the files they have uploaded.

Storing folder and mode
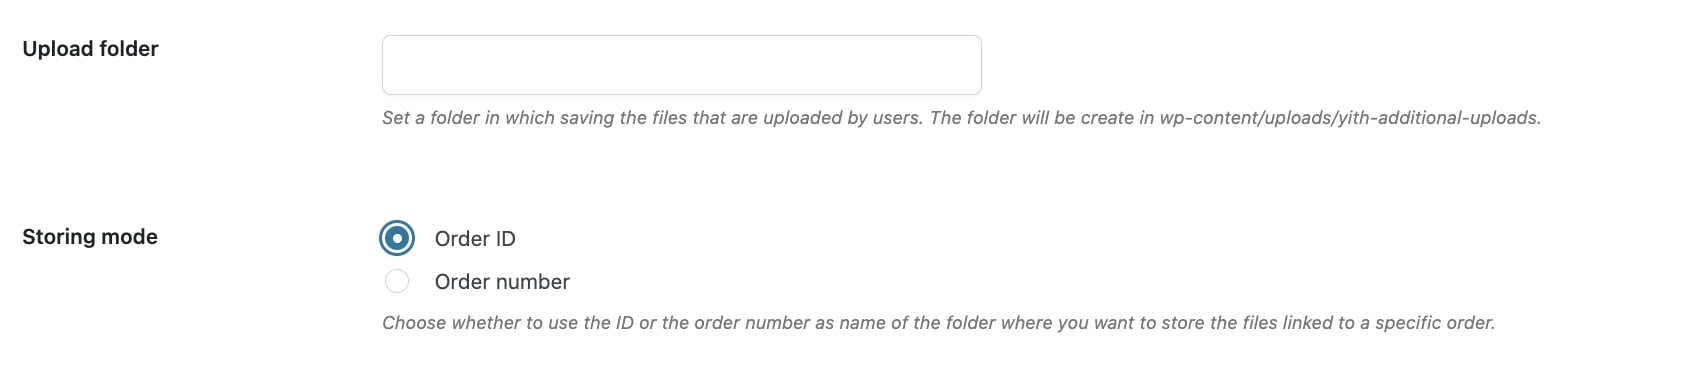
Upload folder: choose a custom folder in your WordPress installation where to store all the uploaded files. Leave it blank to create the default folder in wp-content/uploads/yith-additional-uploads/.
Storing mode: choose whether to use the ID or the order number as the name of the subfolder where the uploaded files will be stored.
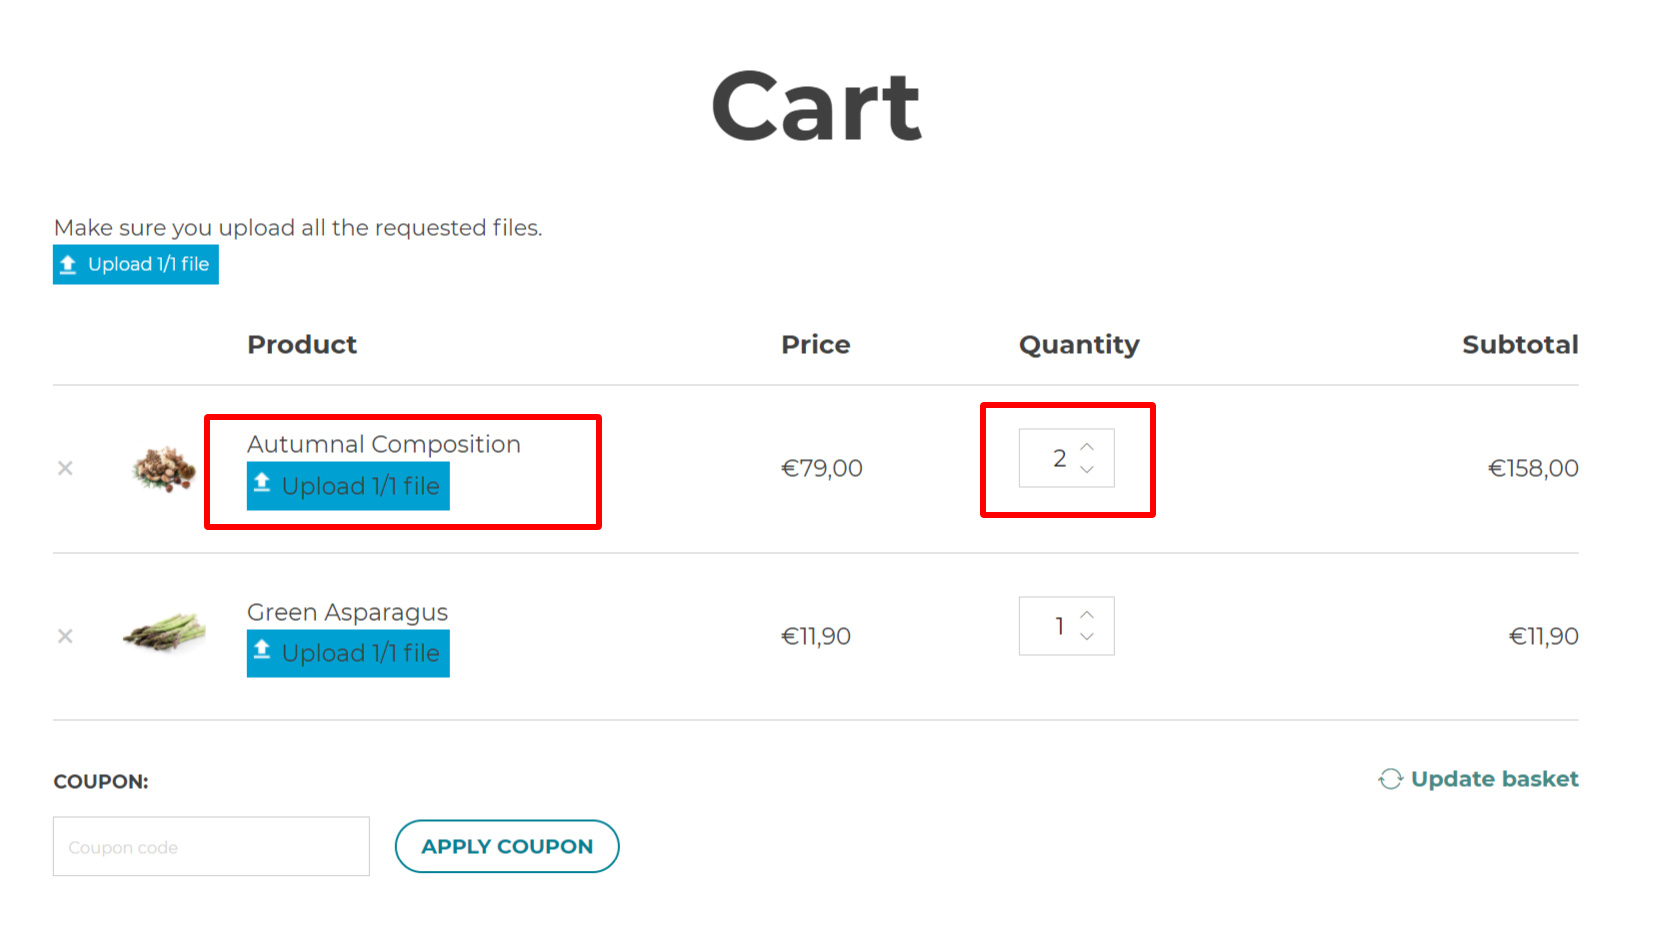
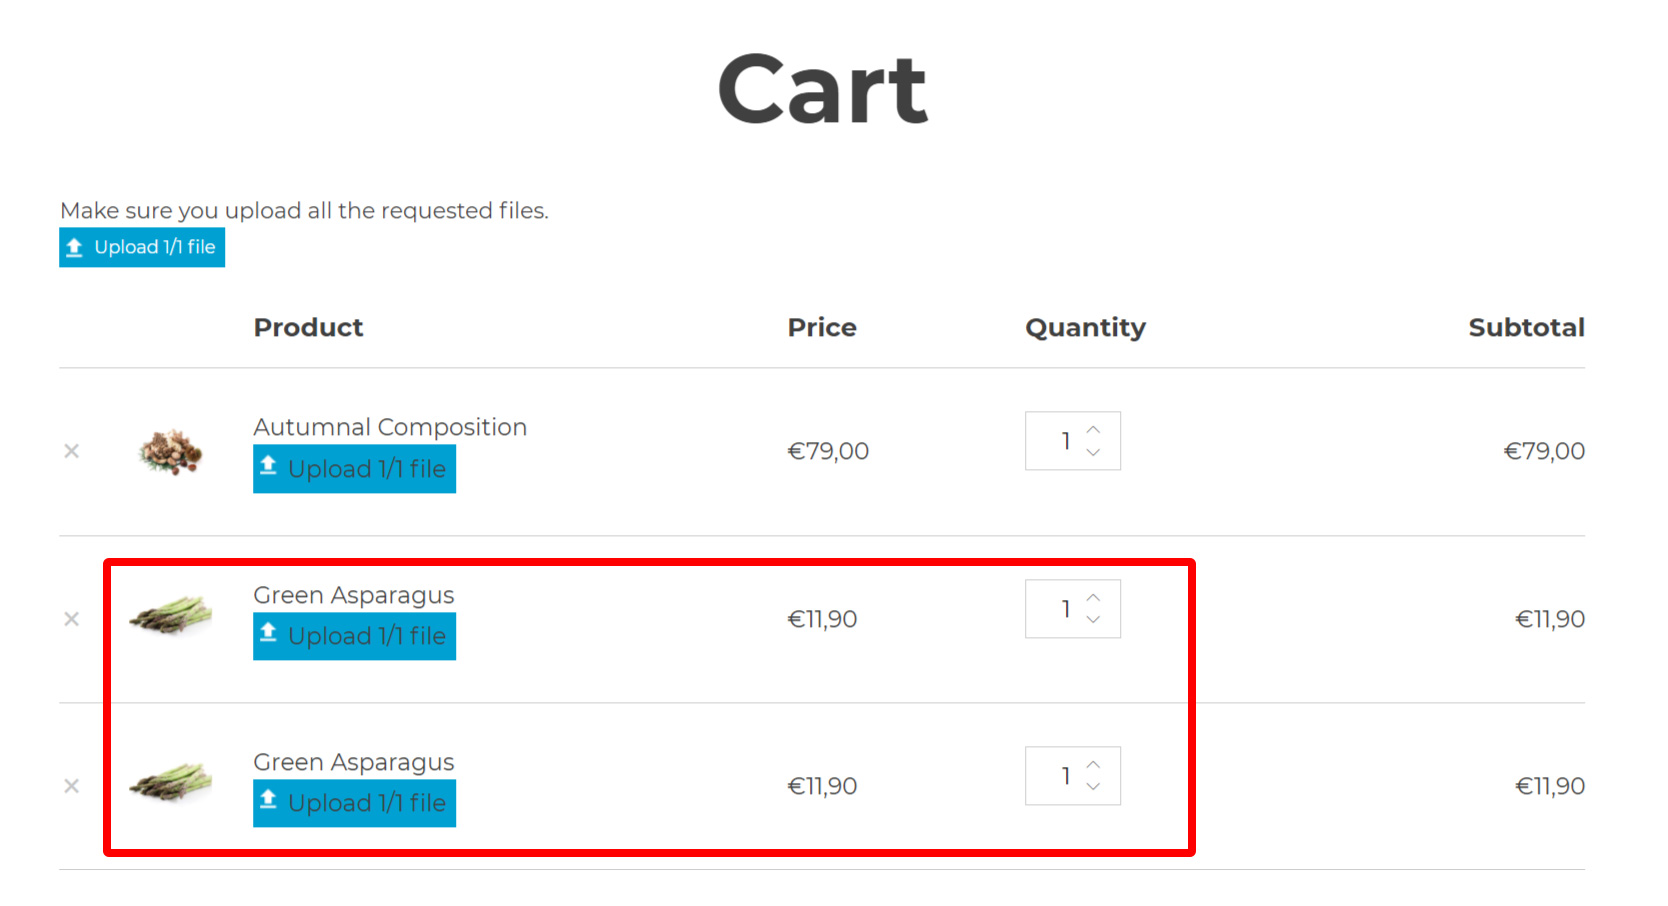
Split products in cart
Split products in cart: enable this option to split products with multiple quantities and make sure that customers can upload different products for every item. For example, if your user adds the “Calendar” product with quantity 3, they will be able to upload a different file for each copy of the calendar. Please, refer to this page for more details.

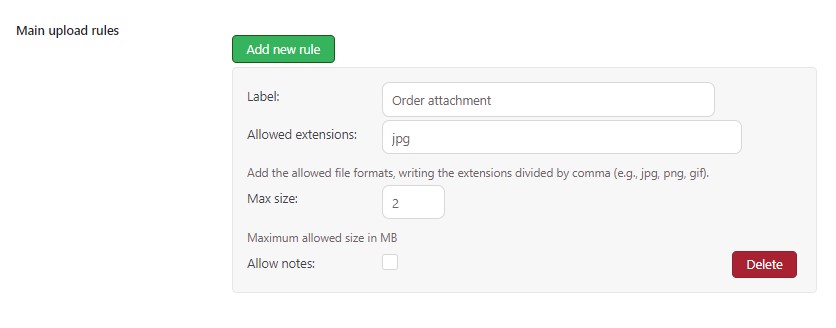
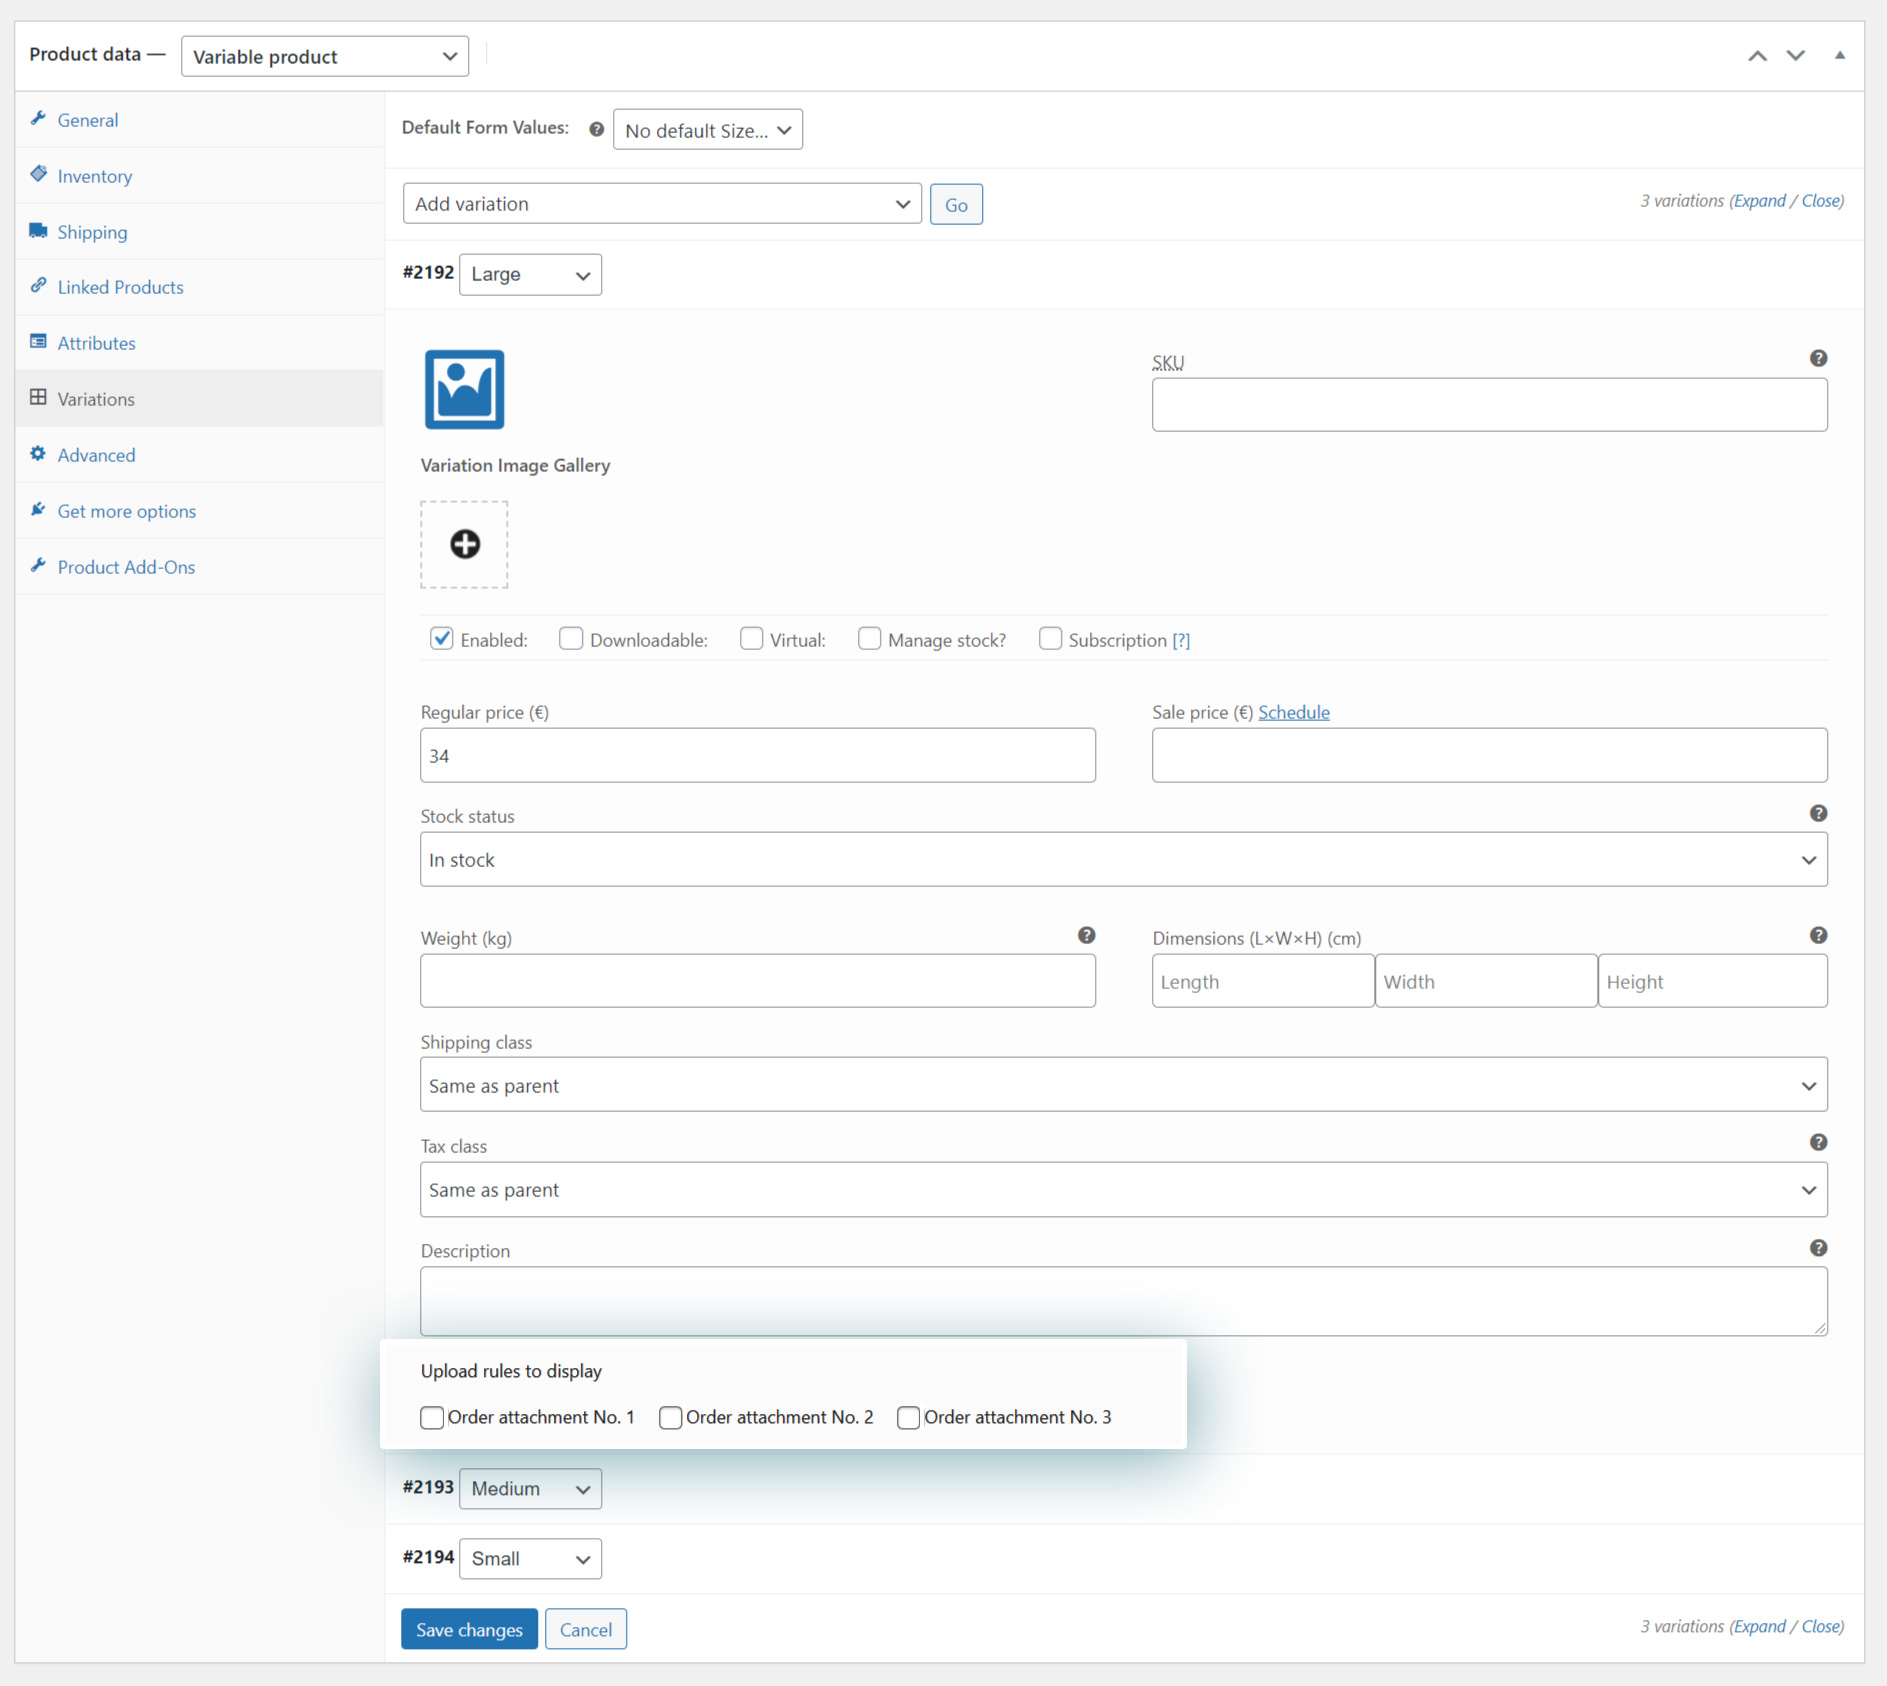
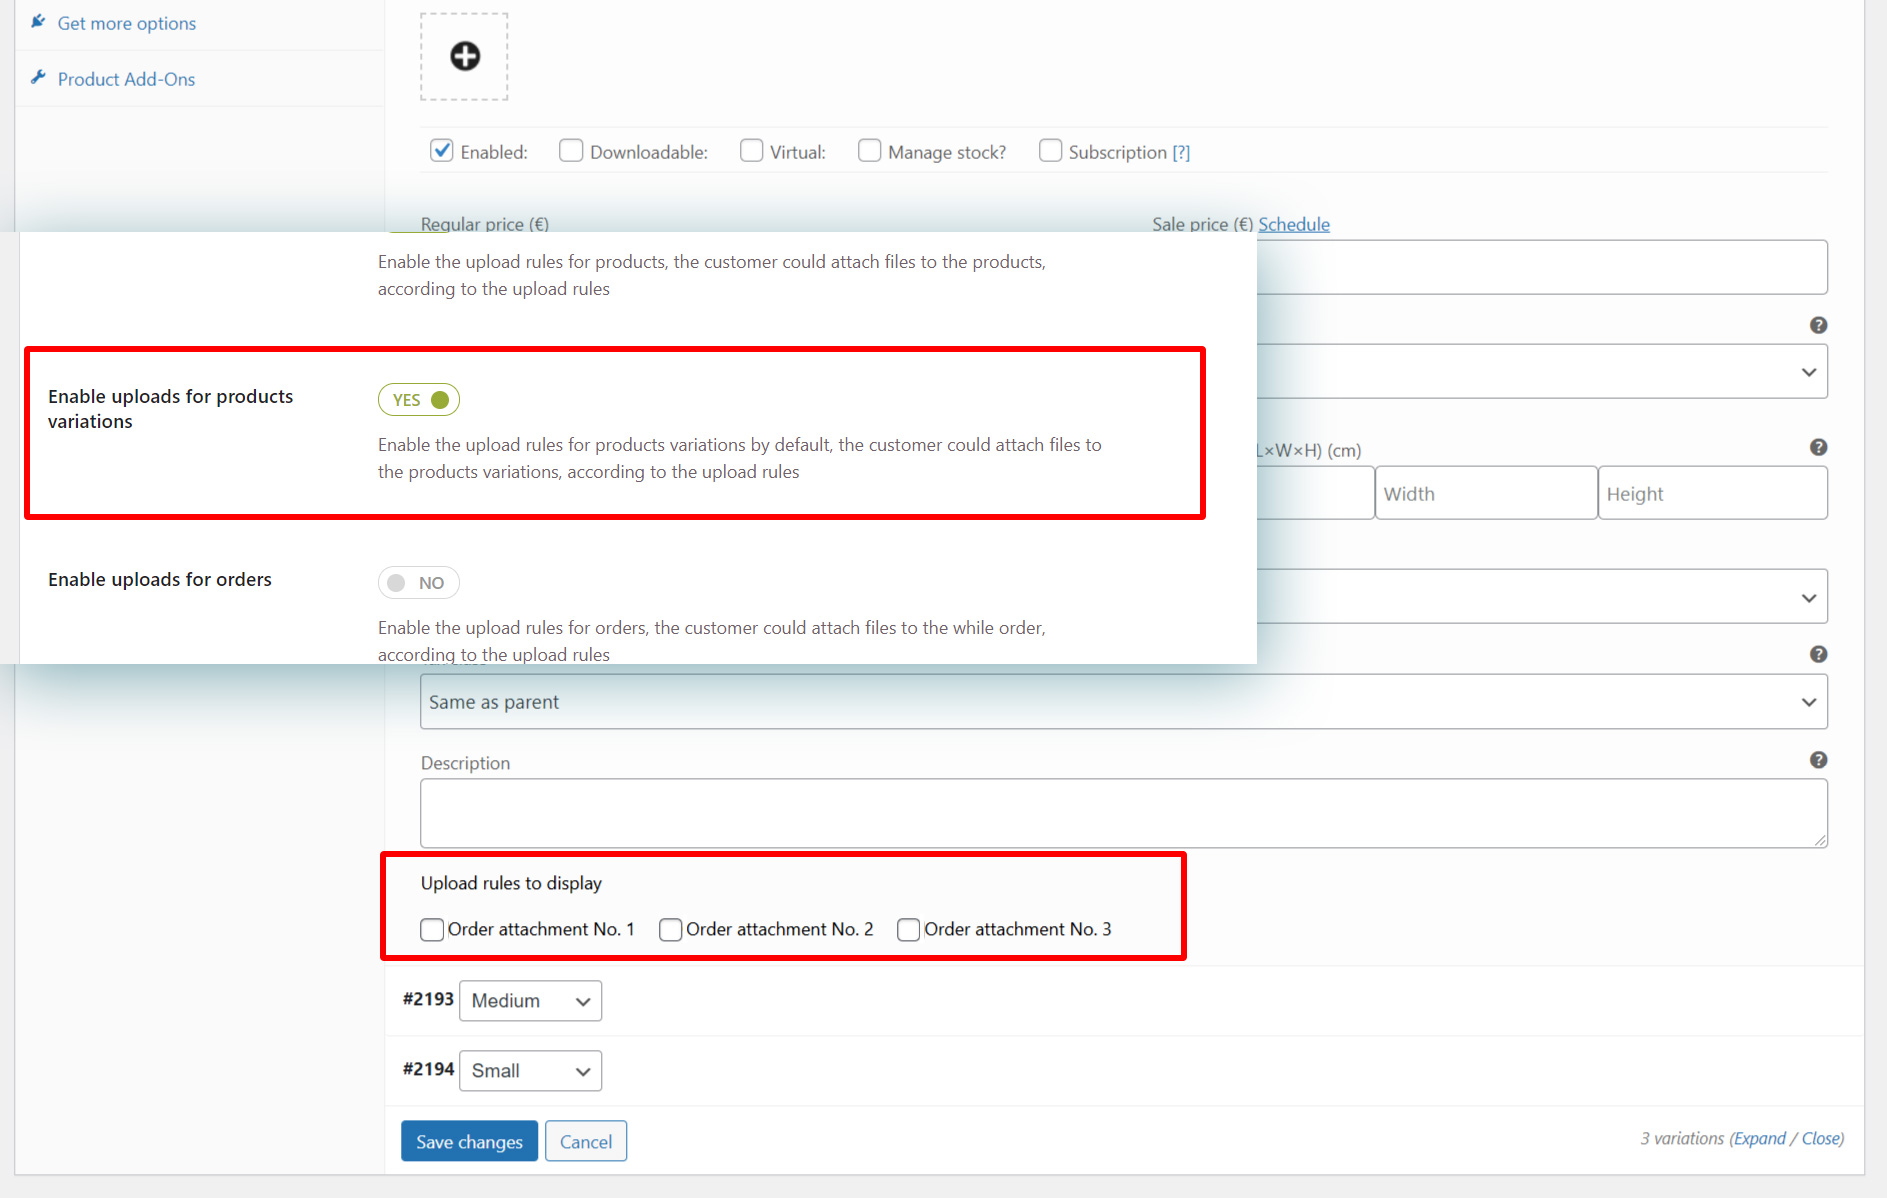
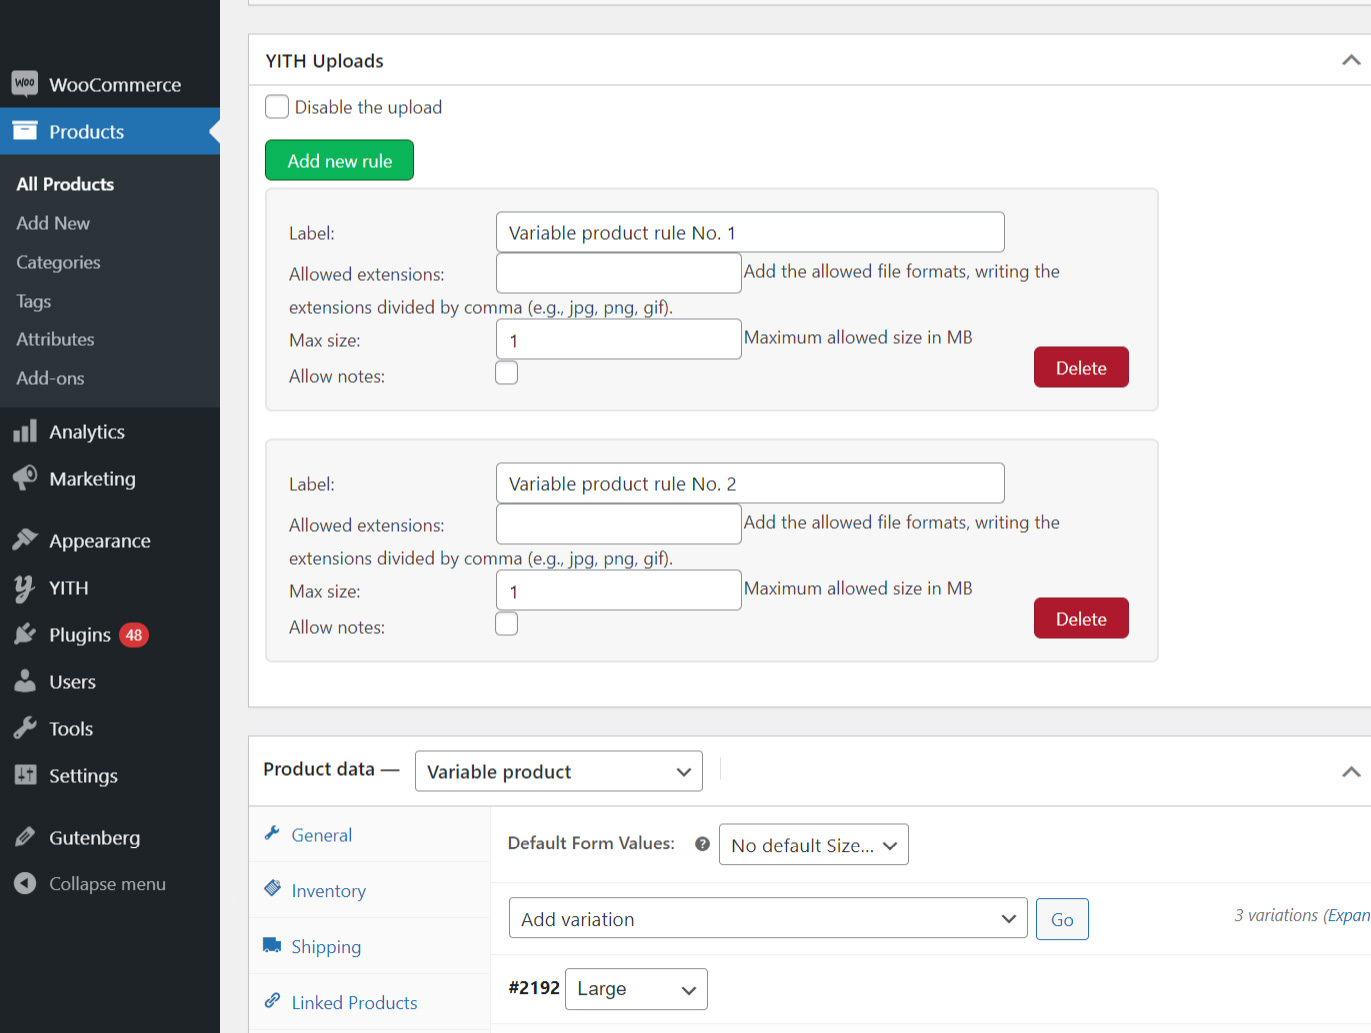
General upload rules
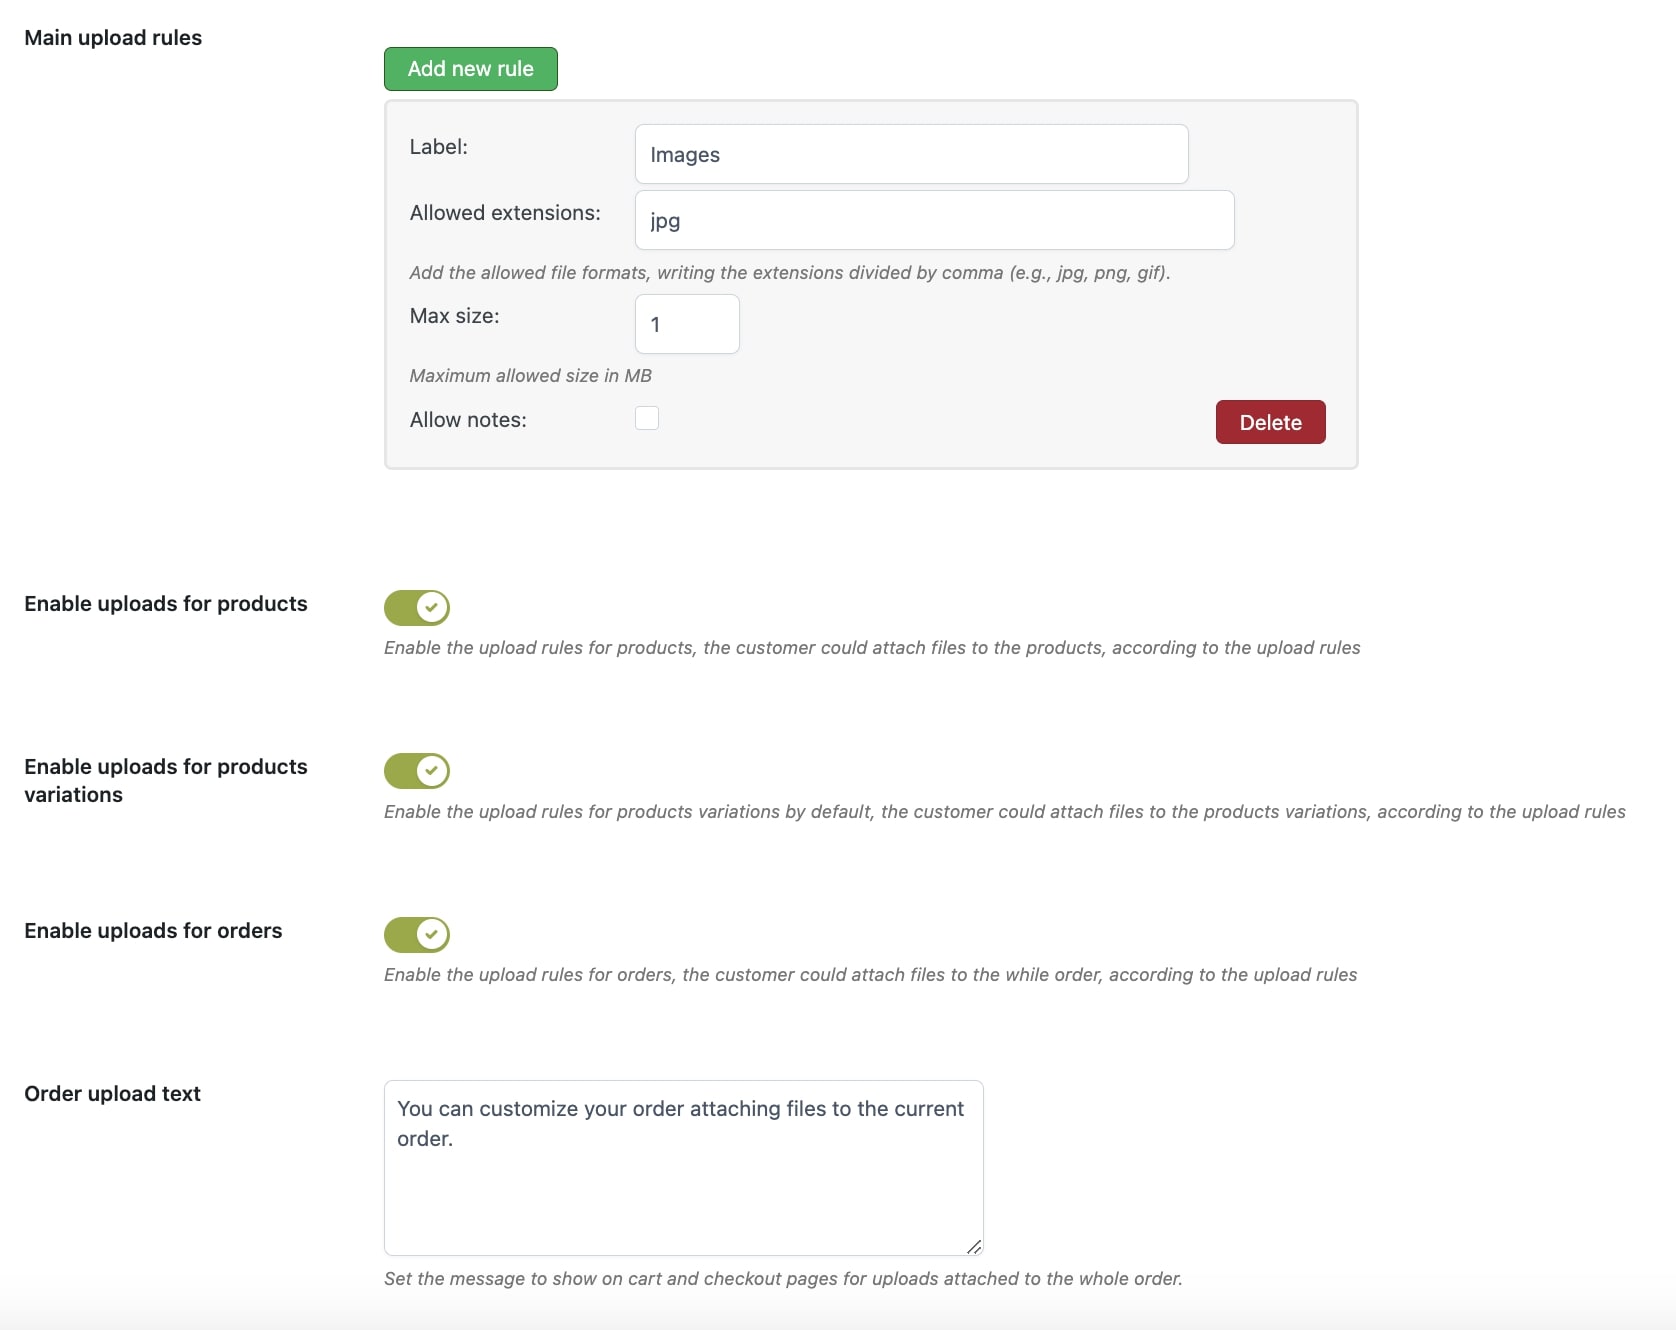
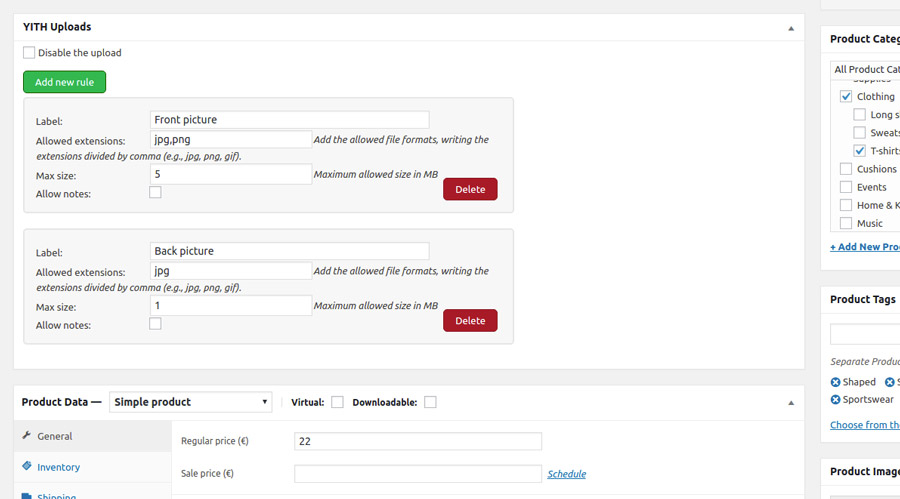
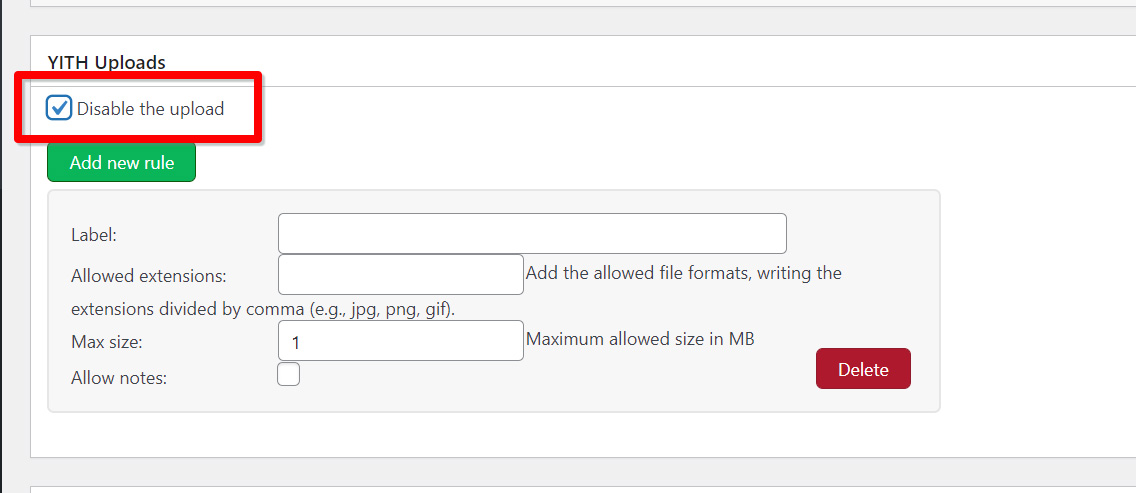
Then, here you can configure your main upload rules that will apply to all products or override them for specific products from the product page.
For more details about the setup of the upload rules, please, refer to the following pages:
Accept uploads automatically
Finally, from these General settings you can also enable the options to accept the uploaded files automatically, either for product rules or for orders, or both of them: