View Product Page

Coupon

In this tab, you can configure the style and options of the Coupon box shown on the custom Thank you page.

Style options

Here, you can find the following style options for the Coupon box:

  • Title font color: set the font color for the title;
  • Title font weight: choose the font weight for the title from lighter, normal, bold, bolder;
  • Title font size (in px): set the font size for the title.

Shortcode

  • [yith_coupon_box]: use this shortcode to print the Coupon box.

To learn more about the shortcode parameters, please refer to this page.

Social box

In this tab, you can configure the style and options of the Social box shown on the custom Thank you page.
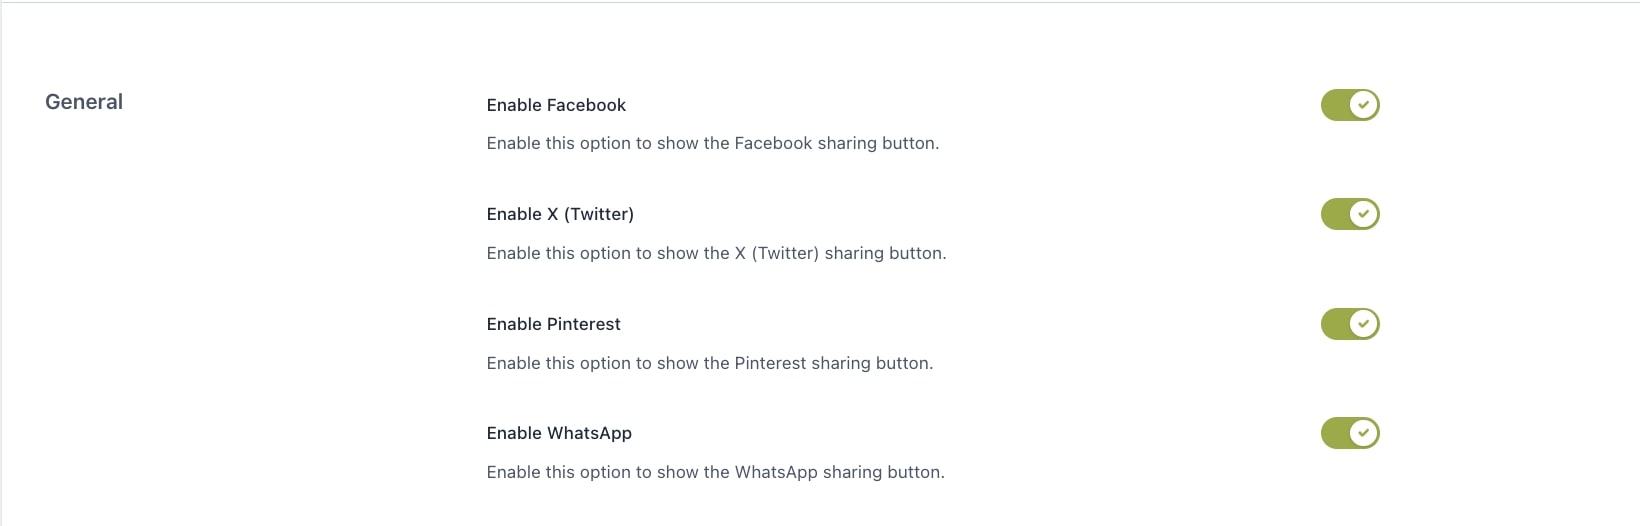
General

Here, you can find the following general options for the Coupon box section:

  • Enable Facebook: enable this option if you want to show Facebook sharing button;
  • Enable Twitter: enable this option if you want to show Twitter sharing button;
  • Enable Pinterest: enable this option if you want to show Pinterest sharing button;
  • Enable WhatsApp: enable this option if you want to show WhatsApp sharing button.
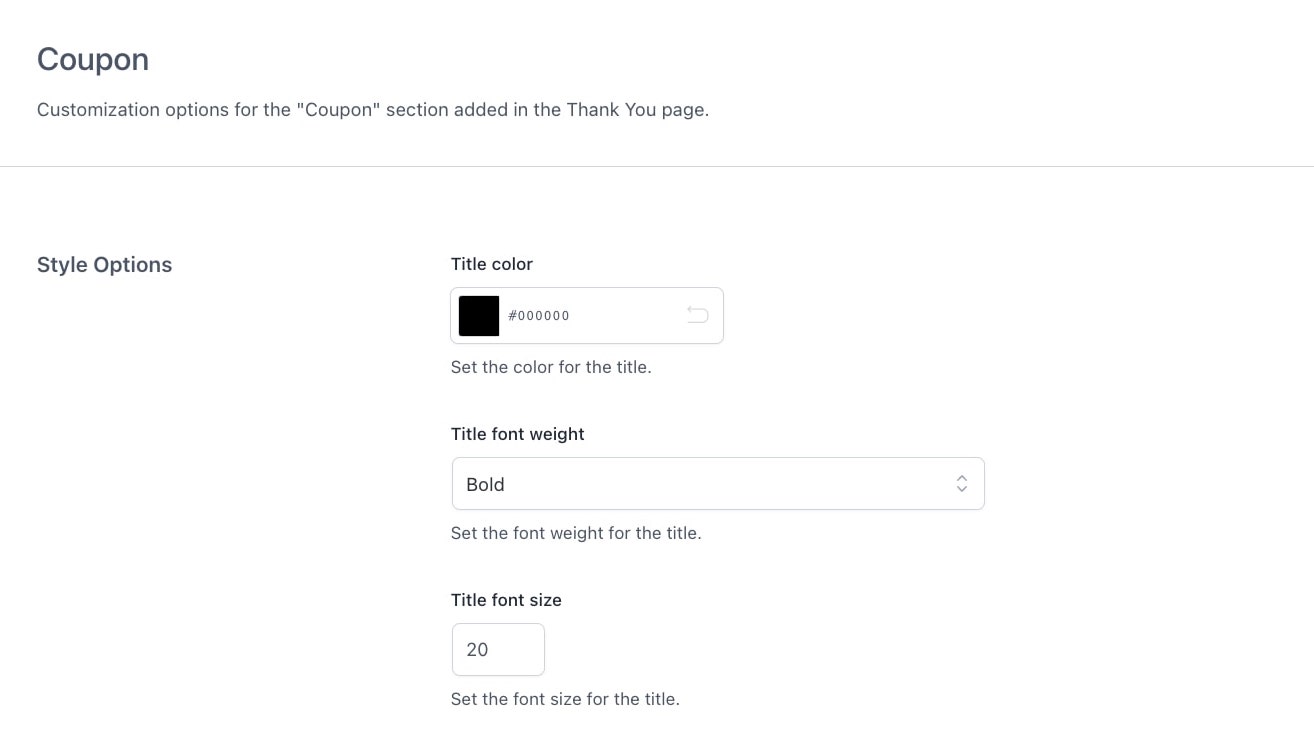
Title style options

Here, you can find the following style options for the Social box title:

  • Title: enter the text for the title that will define the Social box section;
  • Title font color: set the font color for the title;
  • Title font size (in px): set the font size for the title;
  • Title font weight: choose the font weight for the title from lighter, normal, bold, bolder;
  • Text alignment: select the alignment of the text (left, center, right).

Tab style

Here, you can find the following style options for the Social box tab:

  • Accent color: set the accent color that will be applied to the active tab and icon, the active dot in the slider, etc.;
  • Share button colors: set the colors of the share button (text, text on hover, background, background on hover);
  • Border radius: set the border radius for the share buttons.

URL shortening settings

Here, you can enable the automatic optimization of URLs for sharing by using Bitly service. After enabling the option, enter the Bitly API key in the related field.
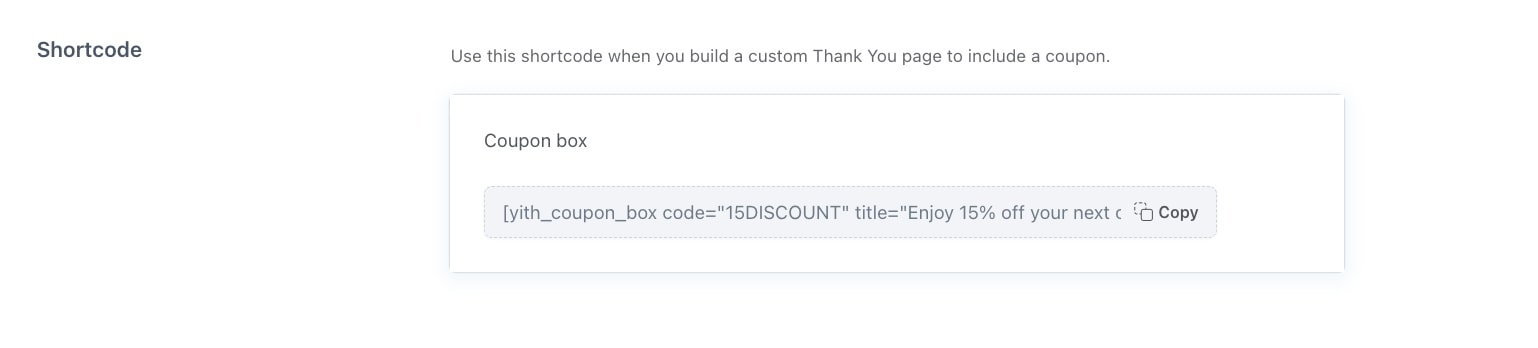
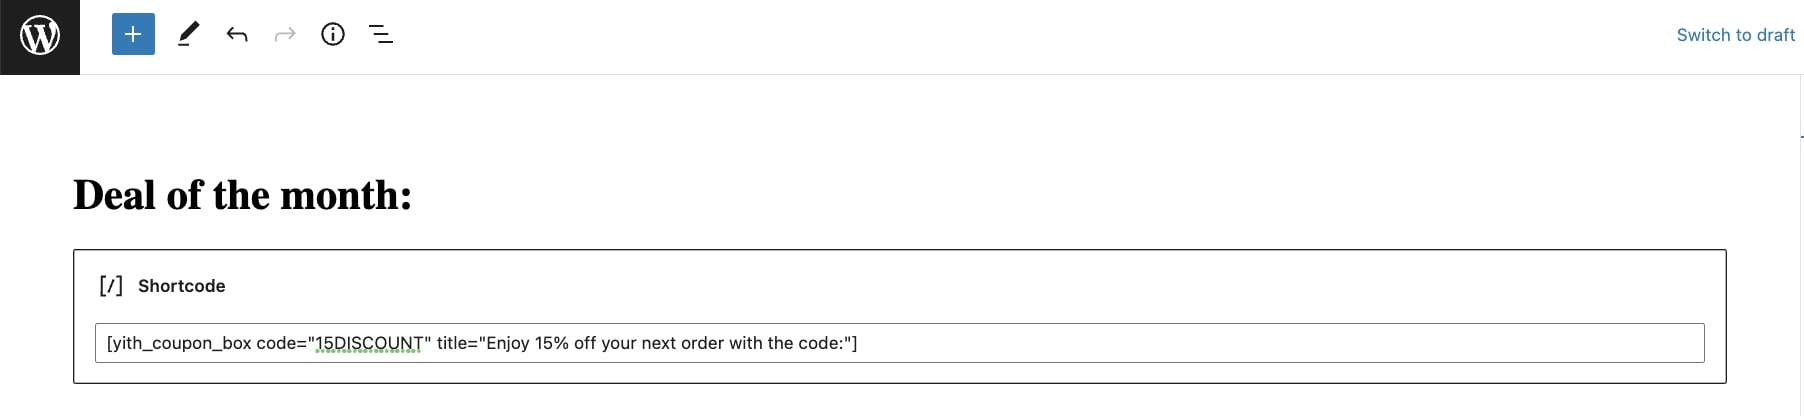
Shortcode

  • [yith_ctpw_social]: use this shortcode to print the Social box section.

To learn more about the shortcode parameters, please refer to this page.

Rules

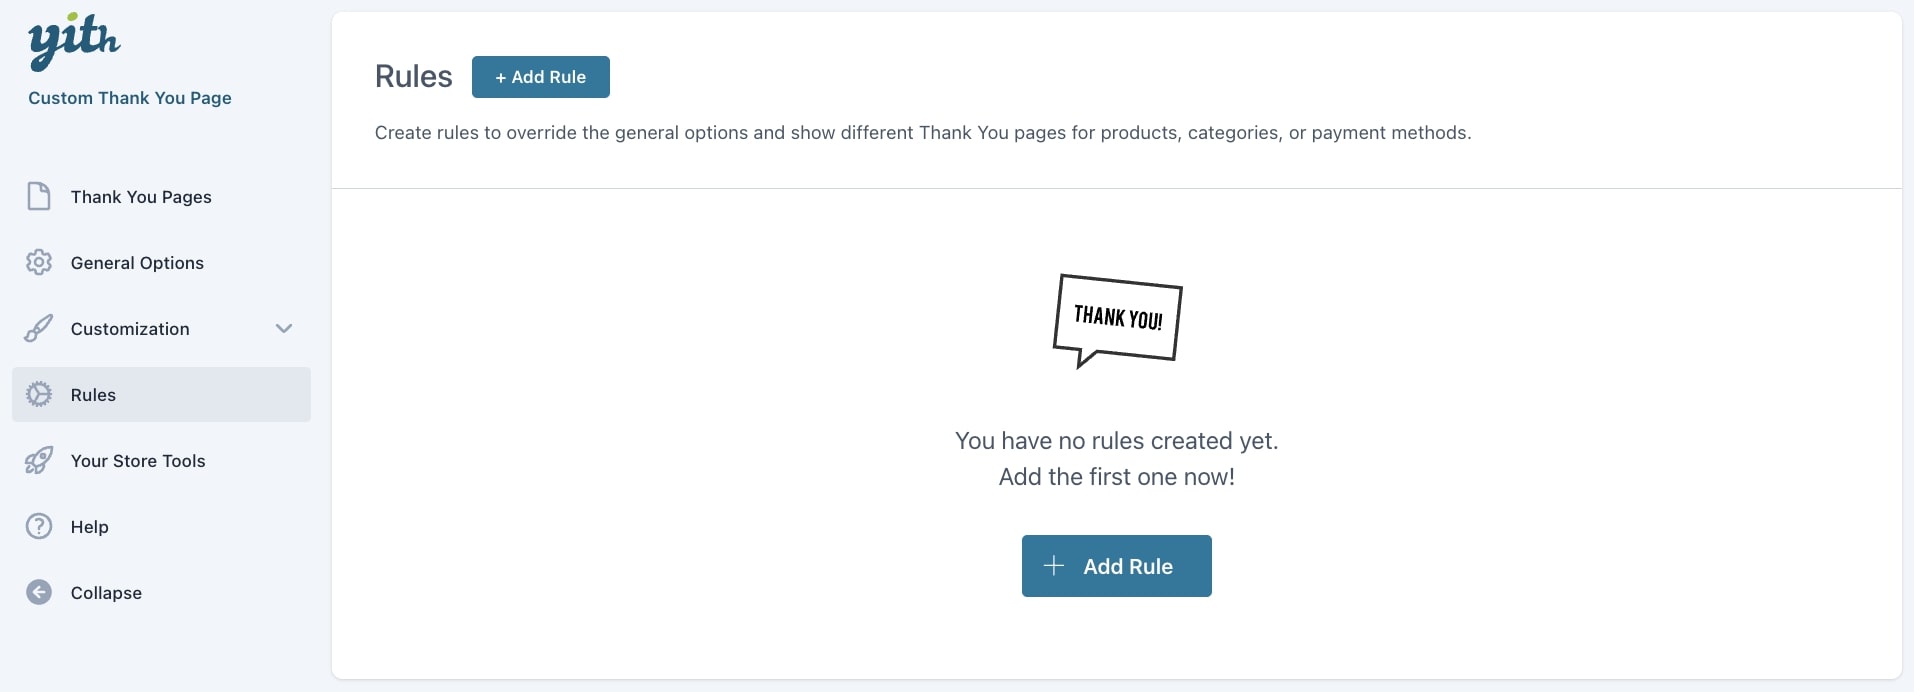
If you want to show a different Thank you page based on the products, categories or payment method used during the purchase by your customers or the payment method they used to pay the order, go to YITH > Customize Thank You Page > Rules and click on Add rule.

How to set up a rule

After clicking on Add rule, a modal will open. Here, you can start creating and setting up the rule.

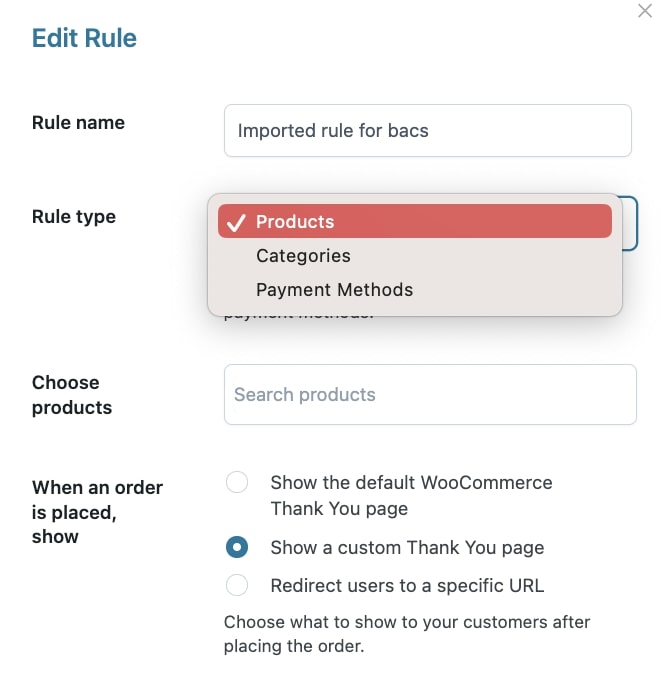
  • Rule name: enter a name that will define the rule;
  • Rule type: You would be able to select:
    • Products
    • Categories
    • Payment method
  • Choose: search and add the products/categories/payment method that will trigger the rule;
  • When an order is placed: decide what to show after customers placed the order:
  • Show the default WooCommerce Thank You page;
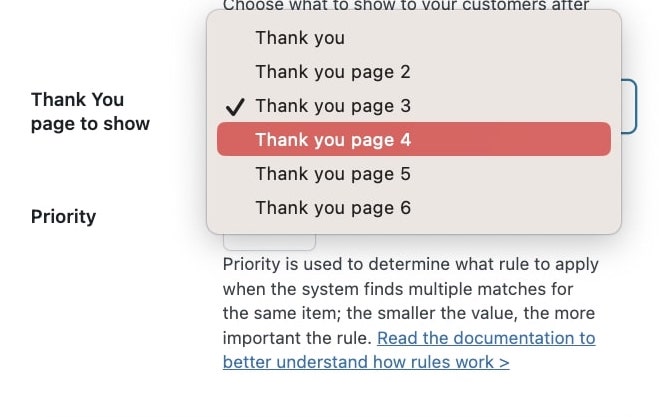
  • Show a custom Thank You page: by selecting this option, you can choose the Thank you page to show in the entry Thank You page to show;
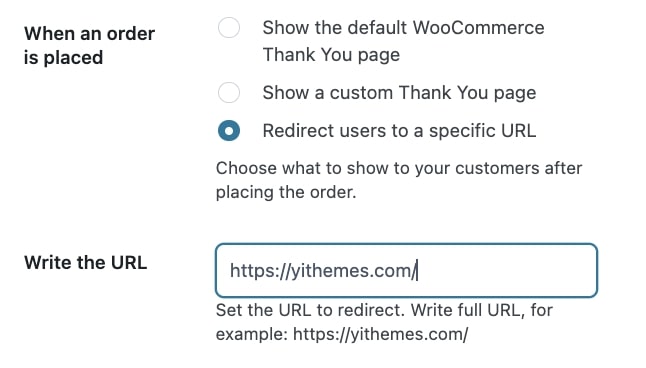
  • Redirect users to a specific URL: by selecting this option, you can enter the URL to which users will be redirected in the entry Write the URL;
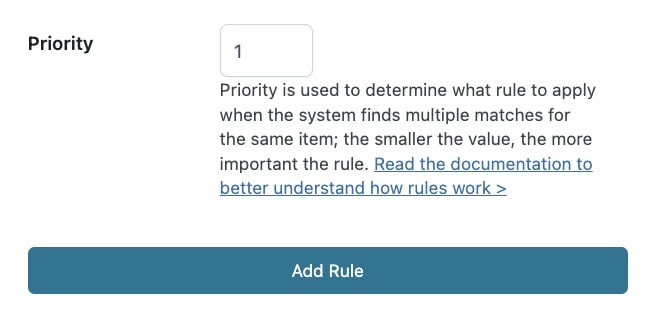
  • Priority: define the priority you want to give to the rule. To learn more about priorities, please go to this page.

Now click on Add rule to save it.

Manage rules

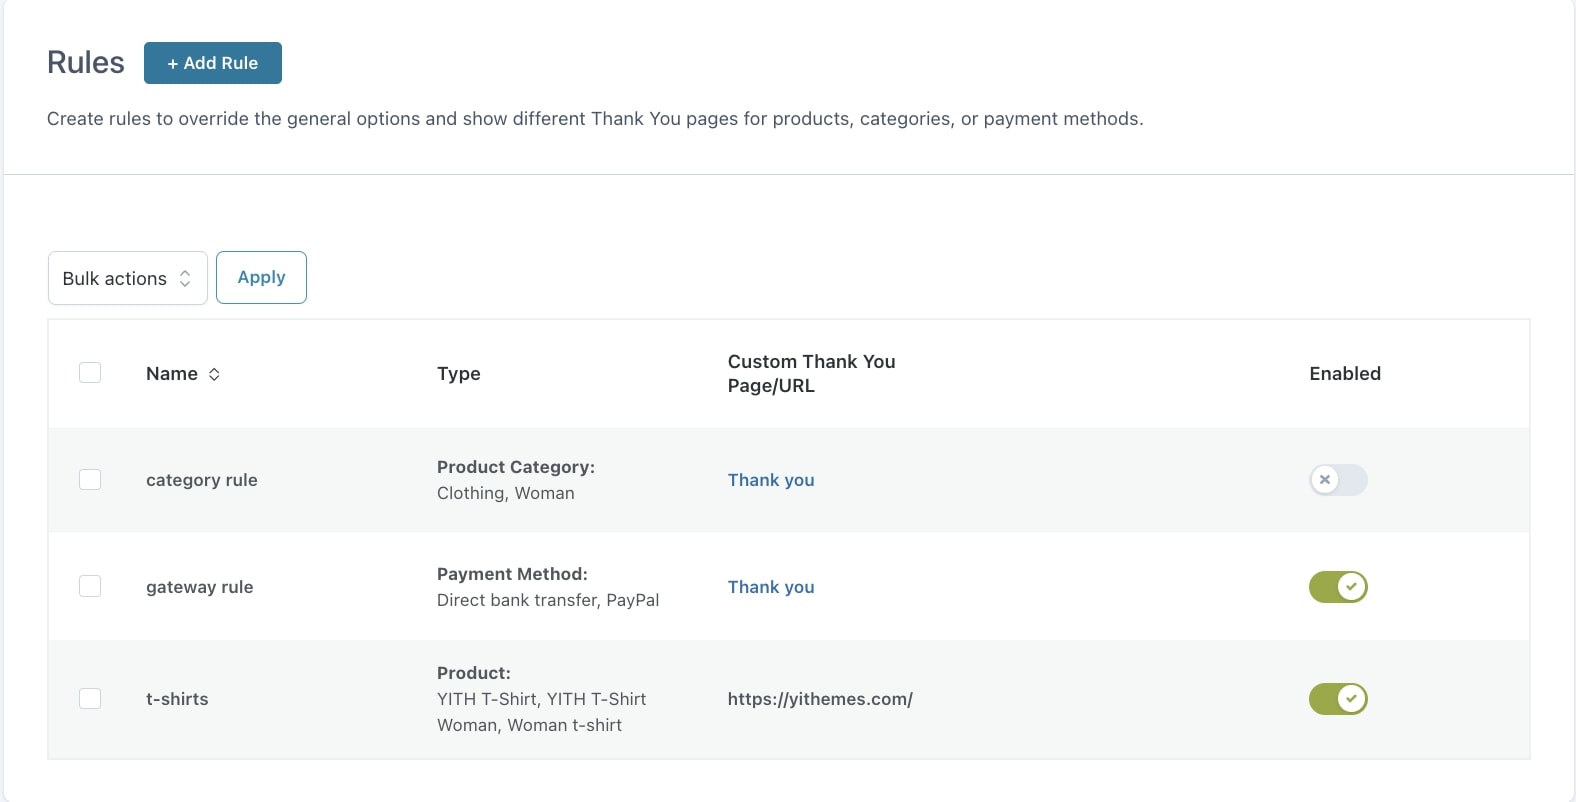
After creating and saving your rules as described here, they will show in the Rules tab where you will be able to manage them according to your needs.

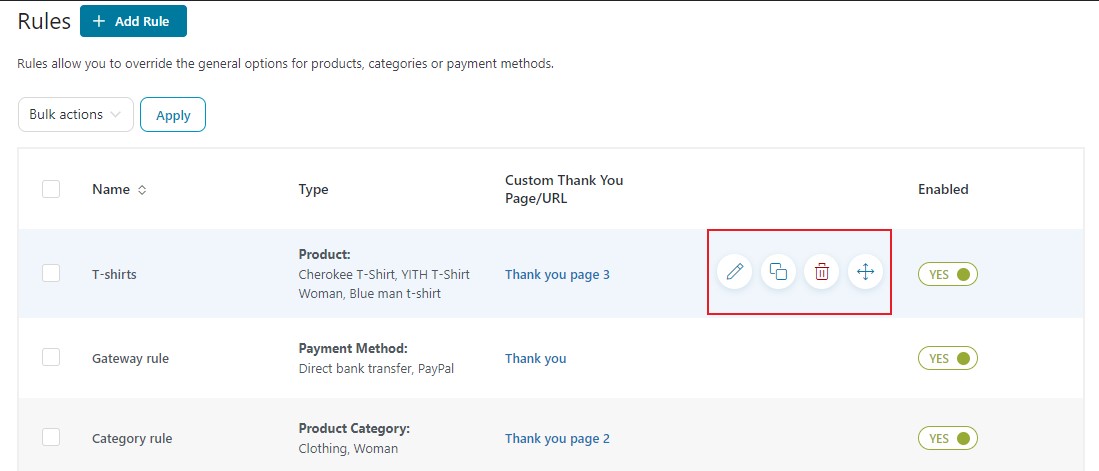
For every single rule, you can choose to enable or disable it through the related toggle and edit, duplicate, delete and move the rule by clicking on the icons that show on mouse hover.
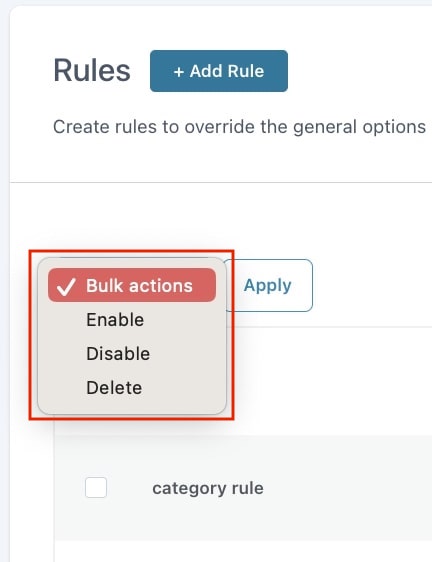
Actions on single rule

Bulk actions

If you need to quickly enable, disable or delete more rules at the same time, you can easily do it through Bulk actions: select the rules, choose the bulk action then click on Apply.

How to set a priority rule to show Thank You pages

Even though you have created and set up different Thank You pages on your shop, only one of them will show to the user. Yet, when creating the rule, you will be able to set the priority when more than one rule applies to the same product.

By default, the priority applies based on the following rule conditions:
1. payment method: priority is given to the Thank You page linked to the payment method the customer chooses. If there is no payment method rule created or enabled, the system will first check to see if there is a Product Thank You page, then a Product Category Thank You page, and finally a General Thank You page.
2. product: priority is given to the Thank You page linked to the purchased product. In case there is no product rule created or enabled, the Category Thank You page will show or, if none is available, the General one.
3. category: priority is given to the Thank You page linked to the product category to which the product belongs. In case there is no category rule created or enabled, the system will show the General Thank You page.
4. general options: the General Thank You page will show only if no rule has been created or enabled or if none of the above-mentioned default priority rules applies to the purchased product.

For example, if you have created a product rule to show a custom Thank you page to users buying product A and a payment method rule to show a custom Thank You page to users paying with a credit card, when a customer purchases product A and pays with PayPal, the Thank You page shown will be the one defined in the product rule since the payment rule won’t be applied.

Preview Thank You page

Preview Thank You page

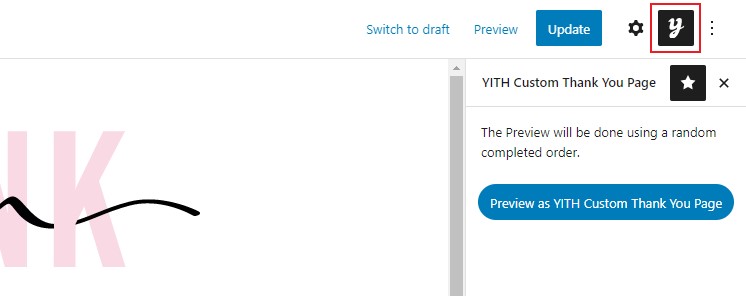
When editing/creating your Thank you pages, you can see a preview by clicking on the ‘YITH’ icon on the upper right side of the page.

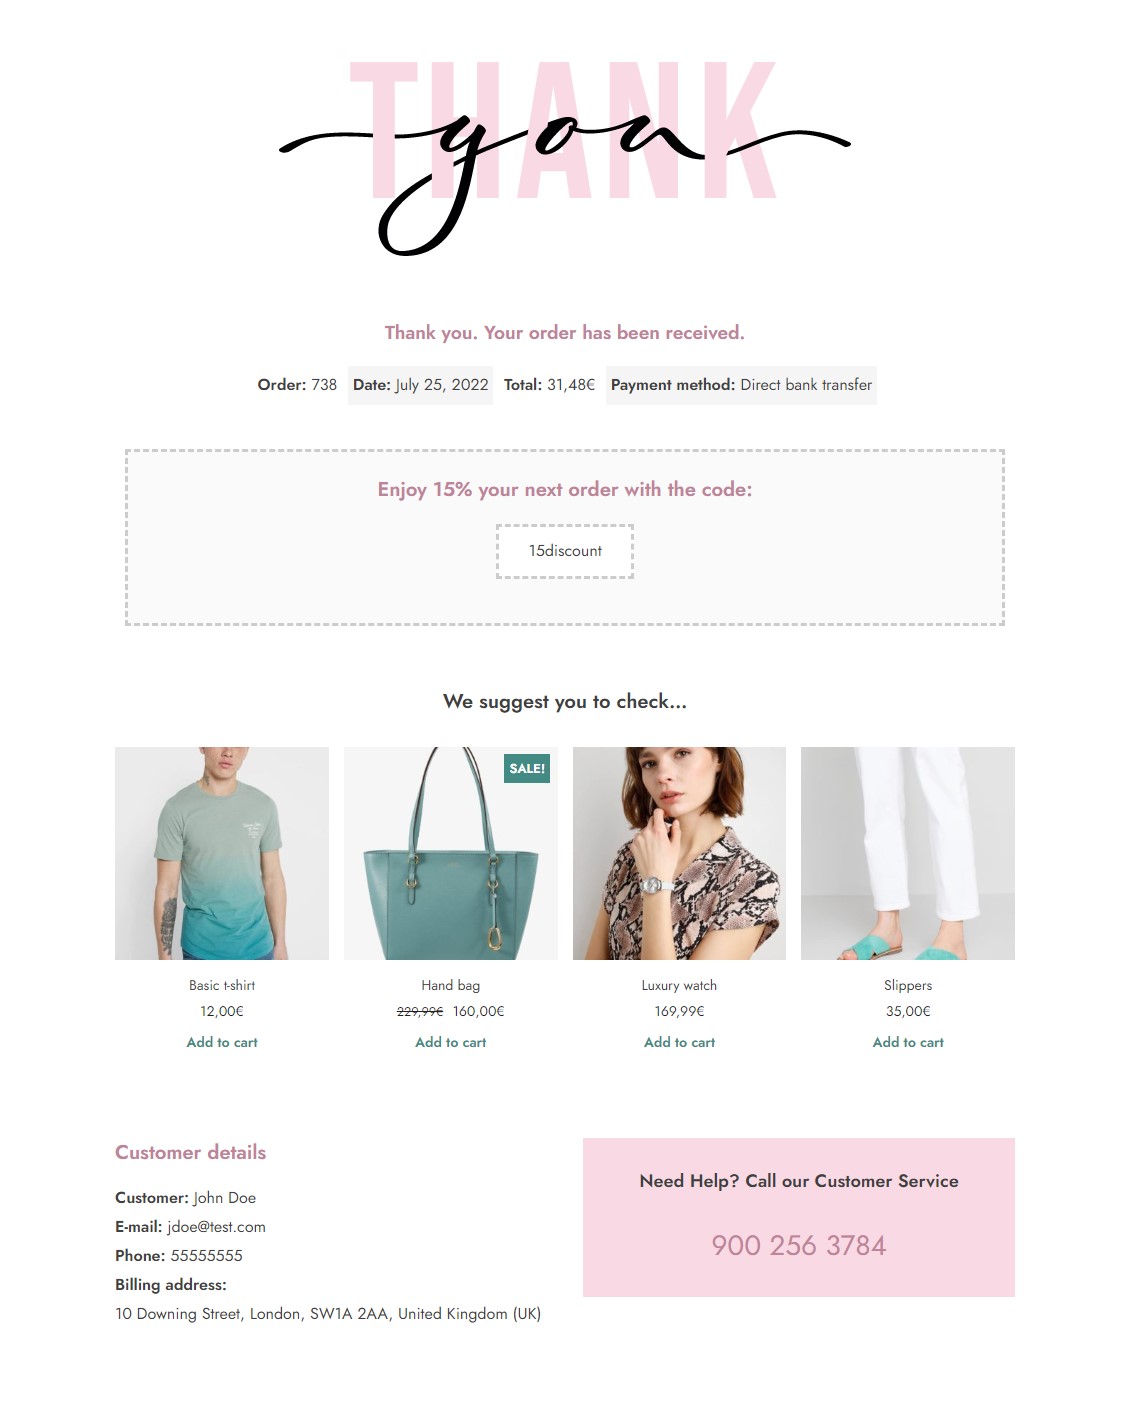
Now a new button will show (Preview as YITH Custom Thank You Page). Click on it to see the preview.

If there are no orders in your store yet, the Thank You page will show based on a ‘dummy order’. If you do have previous orders, the plugin will use a random completed order, unless you specify an existing order ID in the related block options.

Shortcodes

Thanks to the shortcodes available in the plugin, you will be able to customize your Thank you pages in all its parts, and also change the default arrangement of the four sections it is made of:

You can build your Thank You pages using the following shortcodes and sort the available sections in the order you prefer.

Order details

These are the shortcodes you can use to show order info: 

  • [yith_orderreview_header]: this prints the main details of the order that has just been placed;
  • [yith_orderreview_table]: this prints the product table;
  • [yith_ctpw_order_number]: this prints the order number.
Order details shortcode

The parameters for the shortcode [yith_orderreview_header] are:

  • ‘style’: compact (single line) or multiline;
  • ‘text_align’: text alignment (left, center or right);
  • ‘show_message’: yes/no.
Example: [yith_orderreview_header style=”multiline” text_align=”center” show_message=”yes”]

The parameters for the shortcode [yith_orderreview_table] are:

  • ‘text_align’: text alignment (left, center, right or justified);
  • ‘show_title’: show the title (yes or no);
  • ‘show_thumb’: show thumbnails (yes or no);
  • ‘title_color’: the color of the title;
  • ‘accent_color’:  the accent color.
Example: [yith_orderreview_table text_align=”justified show_title=”yes” show_thumb=”yes” title_color=#01AF8D accent_color=#5DD9933]

Customer info

These are the shortcodes you can use to show customer info:

  • [yith_orderreview_customer_details]: this prints the customer’s details;
  • [yith_ctpw_customer_email]: this prints the customer’s email;
  • [yith_ctpw_customer_name]: this prints the customer’s name.
Customer details shortcode

The parameters for the shortcode [yith_orderreview_customer_details] are:

  • ‘text_align’: text alignment (left, center, right);
  • ‘show_title’: show the title (yes or no);
  • ‘title_color’: the color of the title;
  • ‘layout’: the shipping and billing info layout (compact or traditional).

The parameter for the shortcode [yith_ctpw_customer_name] is:

  • ‘name’: customer’s billing first name.
Example: [yith_orderreview_customer_details show_title=”yes” text_align=”left” title_color==#01AF8D layout=”traditional”]

PDF

The shortcode [yith_ctpw_pdf_button] prints the button to let customers download the order summary as a PDF file.

PDF button shortcode

The parameters for this shortcode are:

  • ‘title’: text of the button;
  • ‘bkg_color_hover’: background color on hover;
  • ‘bkg_color’: background color;
  • ‘text_color’: text color;
  • ‘text_color_hover’: text color on hover;
  • ‘border_radius’: border radius of the button.
Example: [yith_ctpw_pdf_button “title” bkg_color_hover=”#5DD9933″ bkg_color=”#5DD9933″ text_color=”#2FFFFFF” text_color= “#2FFFFFF” border_radius=”30″]

Upsells

To show an Upsells section, you can use the shortcode [ctpw_show_products].

The parameters for this shortcode are:

  • ‘columns’: number of columns;
  • ‘products_per_page’: number of products per page;
  • ‘orderby’: order products by name, date or random;
  • ‘order’: ascending or descending;
  • ‘ids’: product IDs, comma separated; 
  • ‘title_align’: title alignment get_option( left, center or right);
  • ‘show_title’: show the title (yes/no);
  • ‘title_color’: the color of the title;
  • ‘type’:  type of products (best sellers, related, featured, or custom).
Example: [ctpw_show_products type=”custom” ids=”19,30,40,190″ products_per_page=”4″ columns=”4″ orderby=”name” order=”asc”]

Coupon

To show a coupon box to offer customers a discount on their next orders, you can use the shortcode [yctpw_coupon_box].

Coupon box shortcode

The parameters for this shortcode are:

  • ‘title’:  title of the coupon section;
  • ‘code’: the coupon code that will grant the discount;
  • ‘title_color’: color of the title;
  • ‘title_font_weight’: weight of the title font;
  • ‘title_font_size’: size of the title font.
Example:[yith_coupon_box code=”15DISCOUNT” title=”Enjoy 15% off your next order with the code:”]

Social box

To show a social section through which customers can share the purchased products, you can use the shortcode [yith_ctpw_social].

Social box shortcode

The parameters for this shortcode are:

  • ‘facebook’: yes/no;
  • ‘twitter’: yes/no;
  • ‘pinterest’: yes/no;
  • ‘whatsapp’: yes/no;
  • ‘order_id’: ID of the order;
  • ‘title’: title of the section;
  • ‘title_align’: title alignment (left, center, right);
  • ‘show_title’: yes/no;
  • ‘title_color’: the color of the title
  • ‘accent_color’: accent color;
  • ‘button_color_bkg’: background color of the button;
  • ‘button_color_bkg_hover’: background color of the button on hover;
  • ‘button_text_color’: text color of the button;
  • ‘button_text_color_hover’: text color of the button on hover;
  • ‘button_radius’: border radius.
Example: [yith_ctpw_social facebook=”yes” twitter=”yes” pinterest=”yes” whatsapp=”yes”]

Order total

This is the shortcode you can use to show the total of the order: [yith_ctpw_order_total].

Order total shortcode

Order date

This is the shortcode you can use to show the order date: [yith_ctpw_order_date].

Order date shortcode

Payment method

This is the shortcode you can use to show the payment method used to pay for the order: [yith_ctpw_order_payment_method]

Payment method shortcode