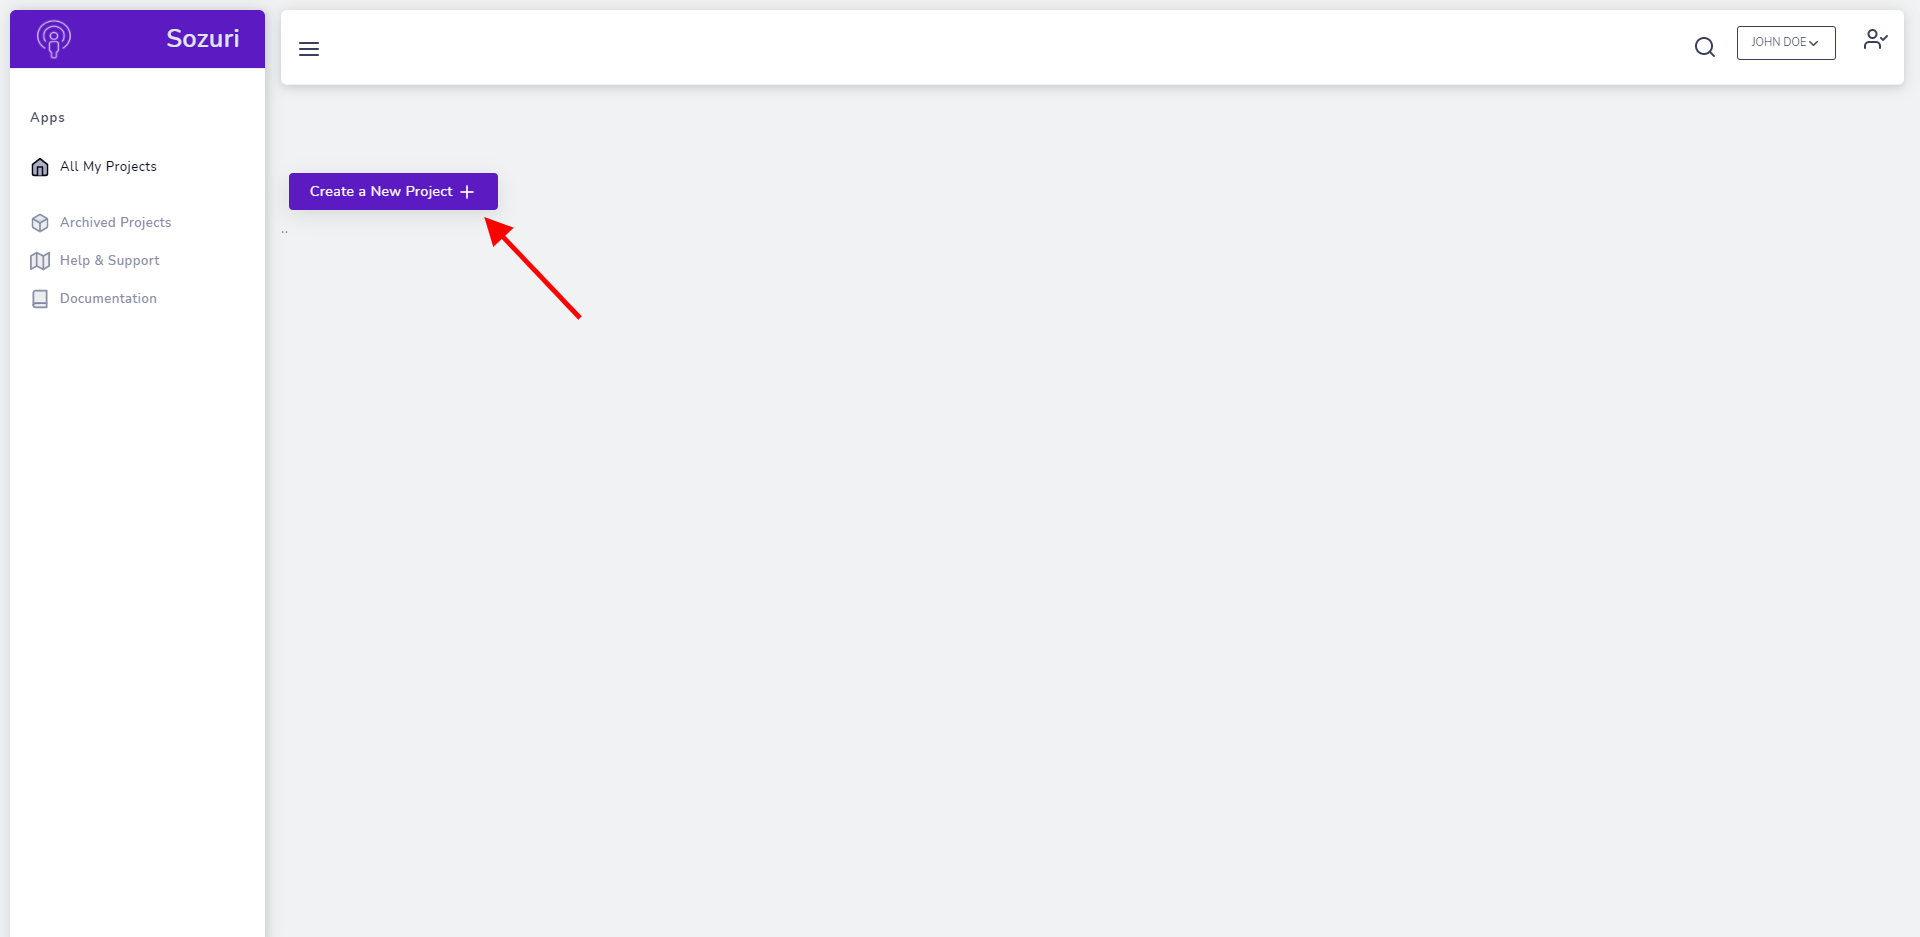
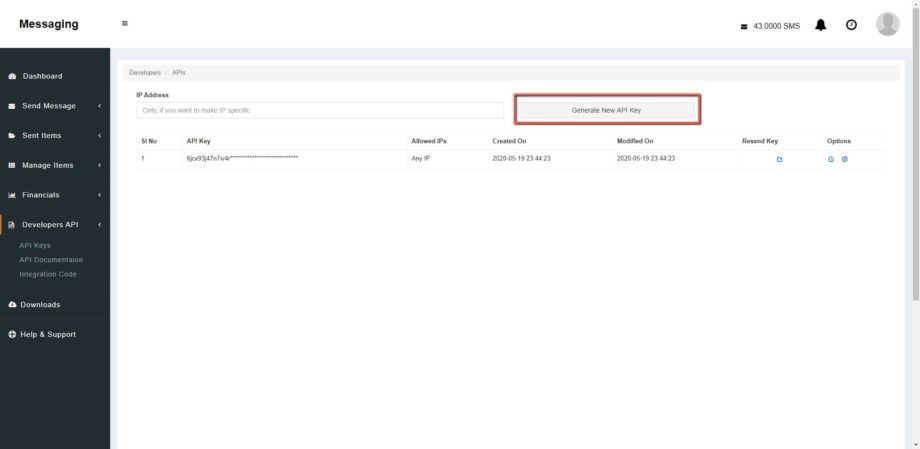
Register an account on https://smsplanet.pl/ then go to this page: https://panel.smsplanet.pl/s/api
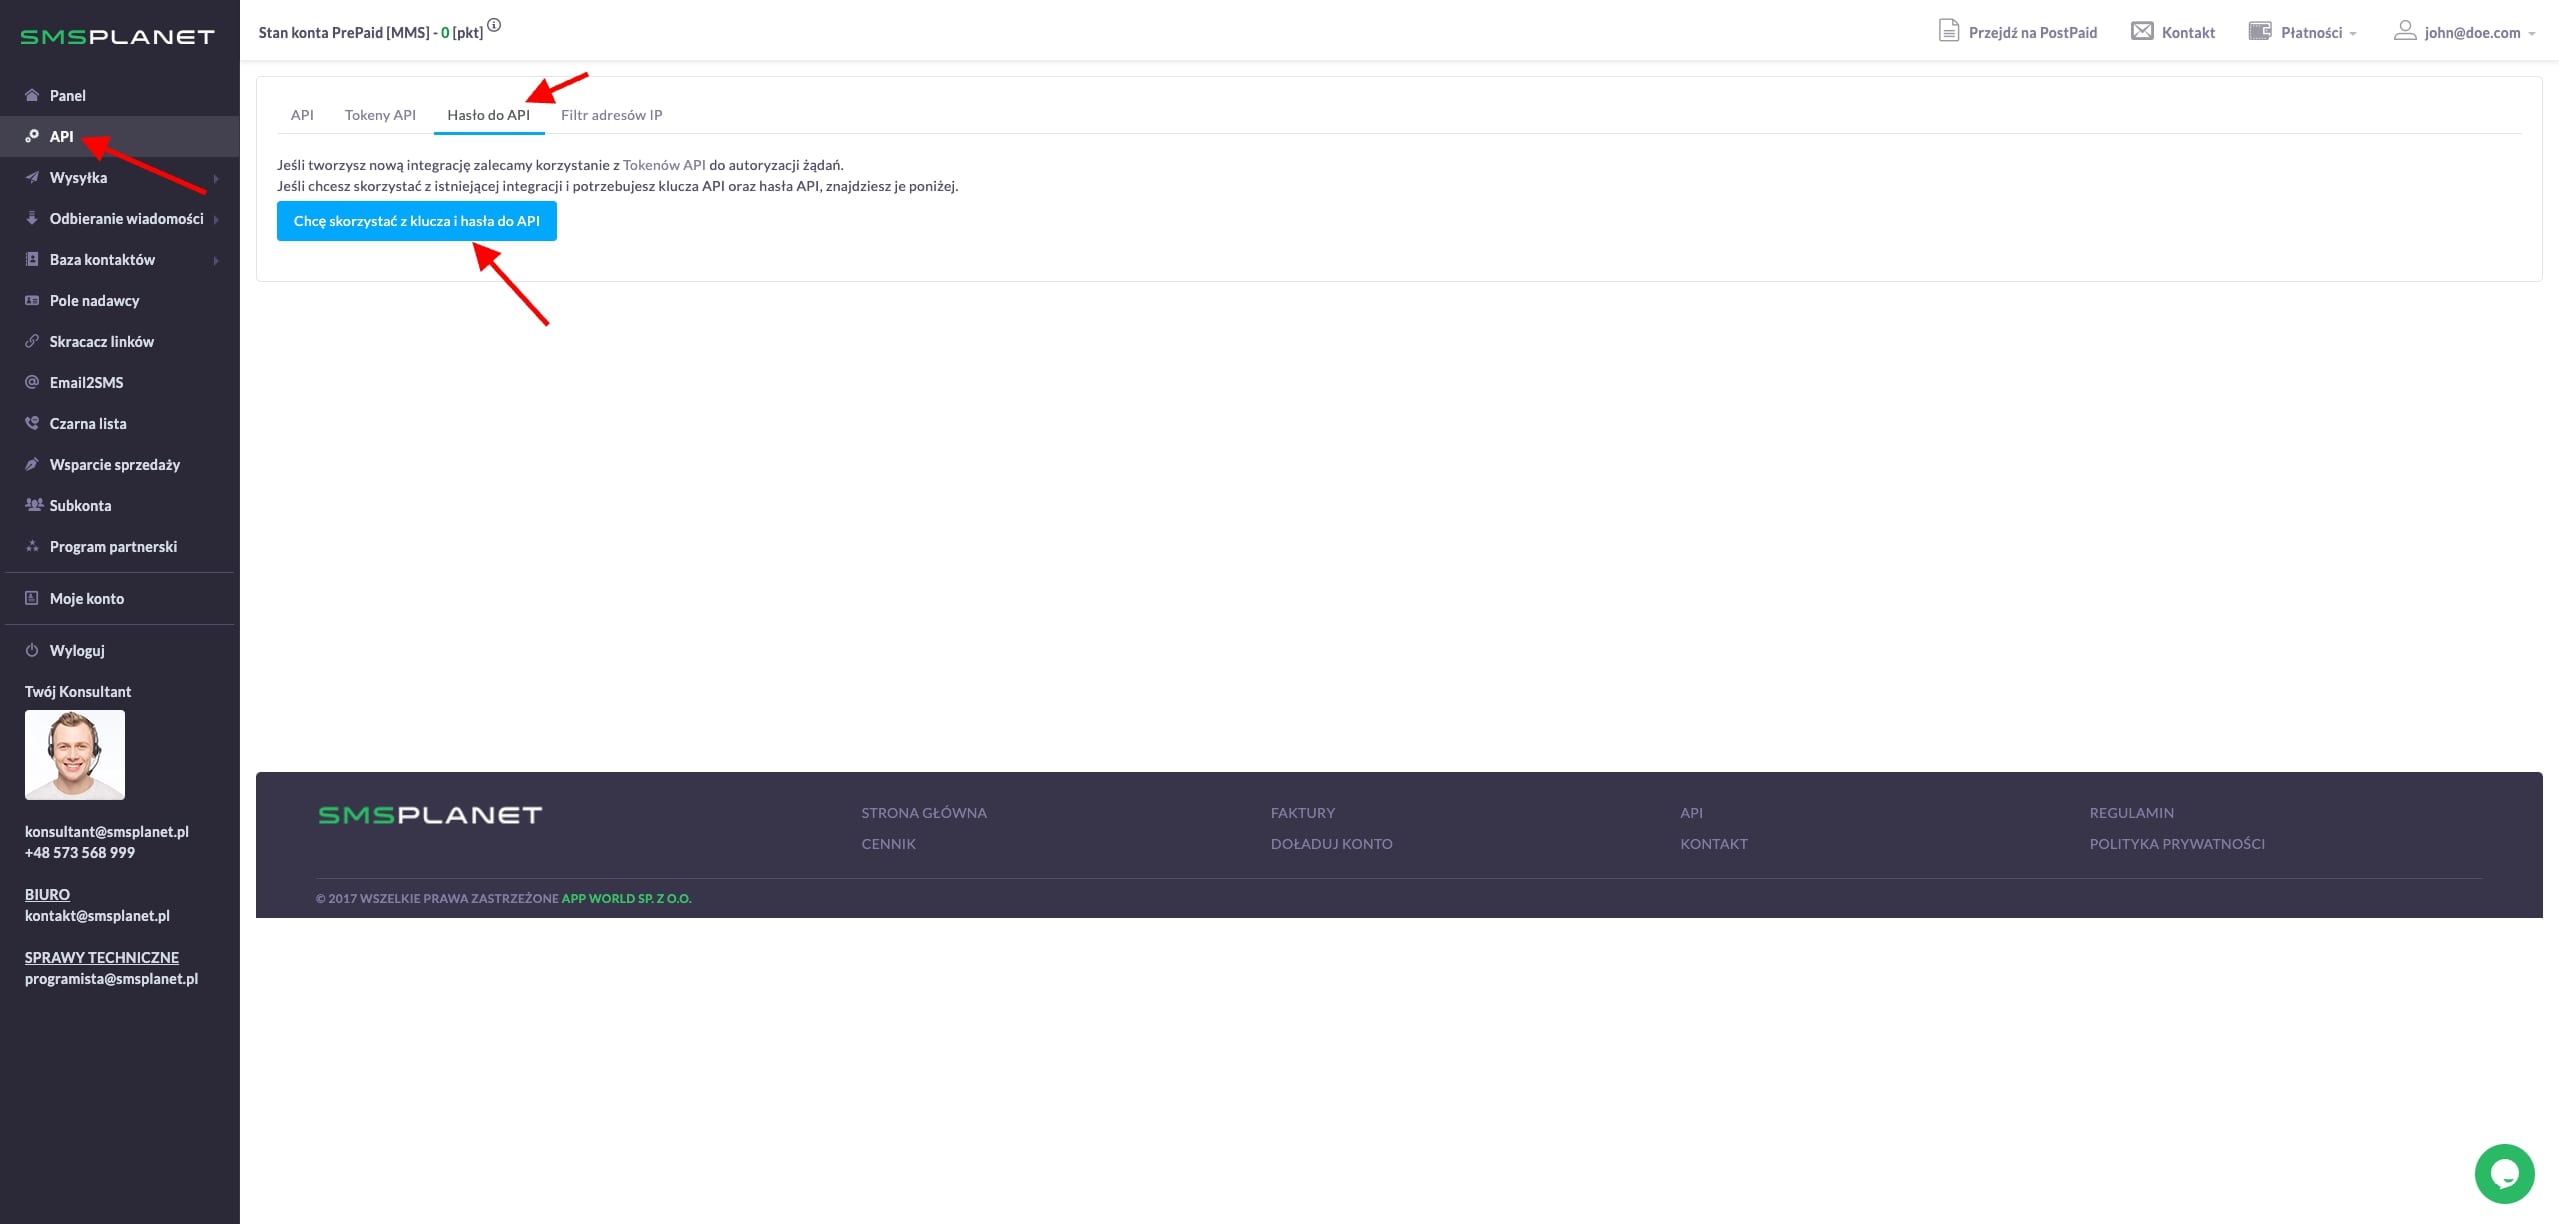
Then, create a password for the API.
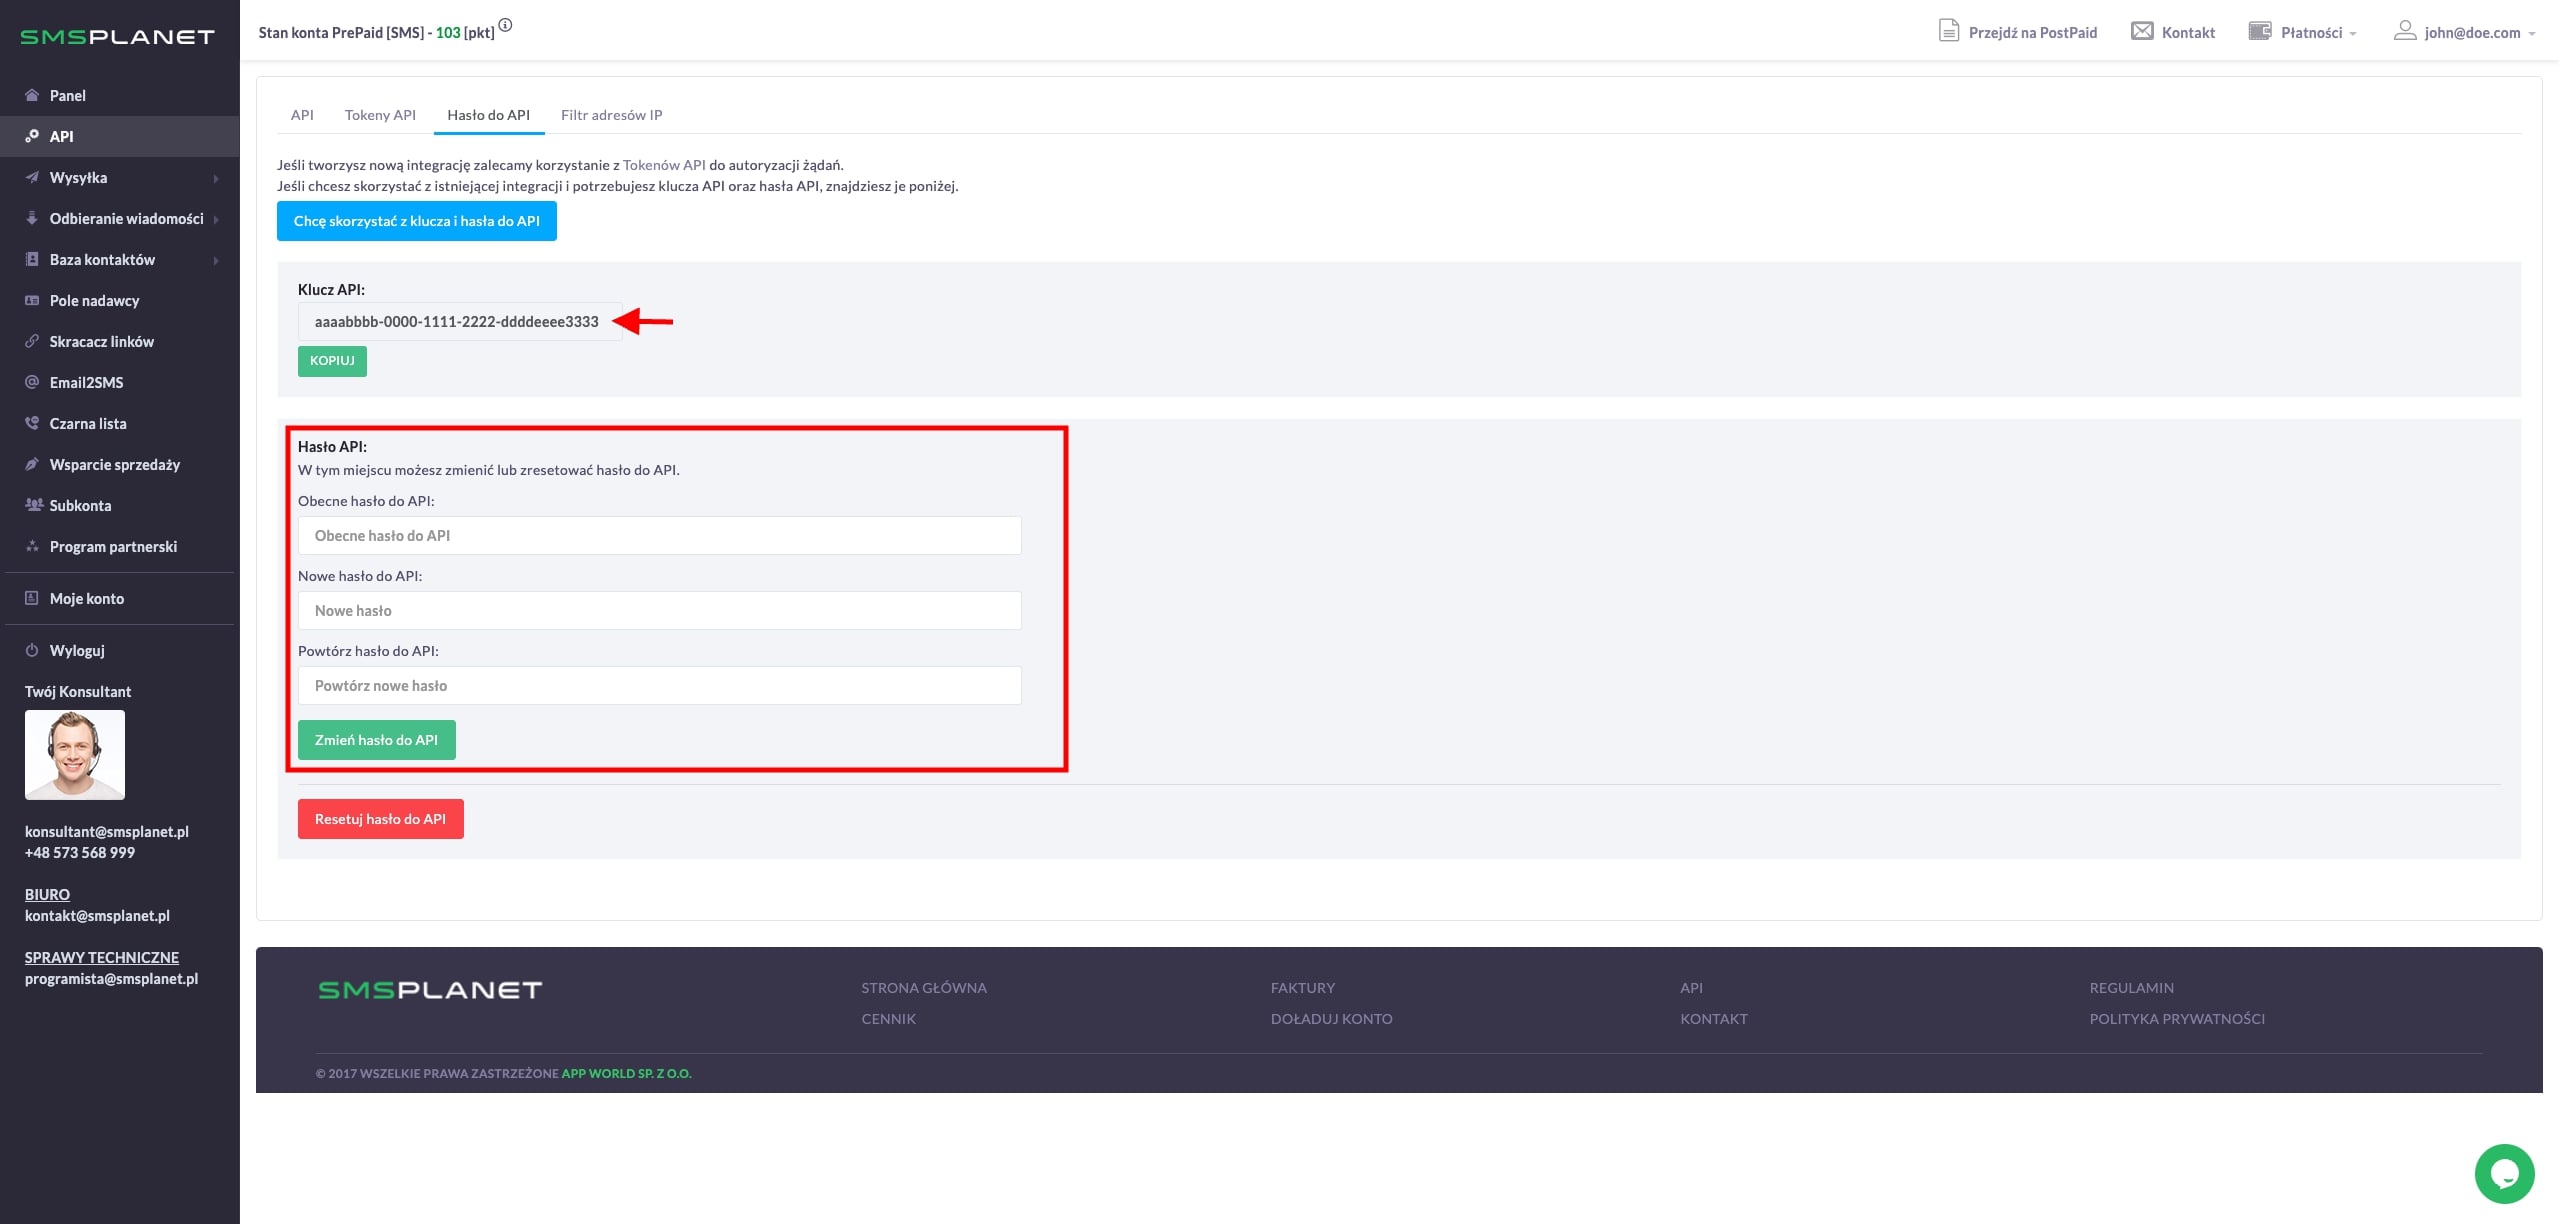
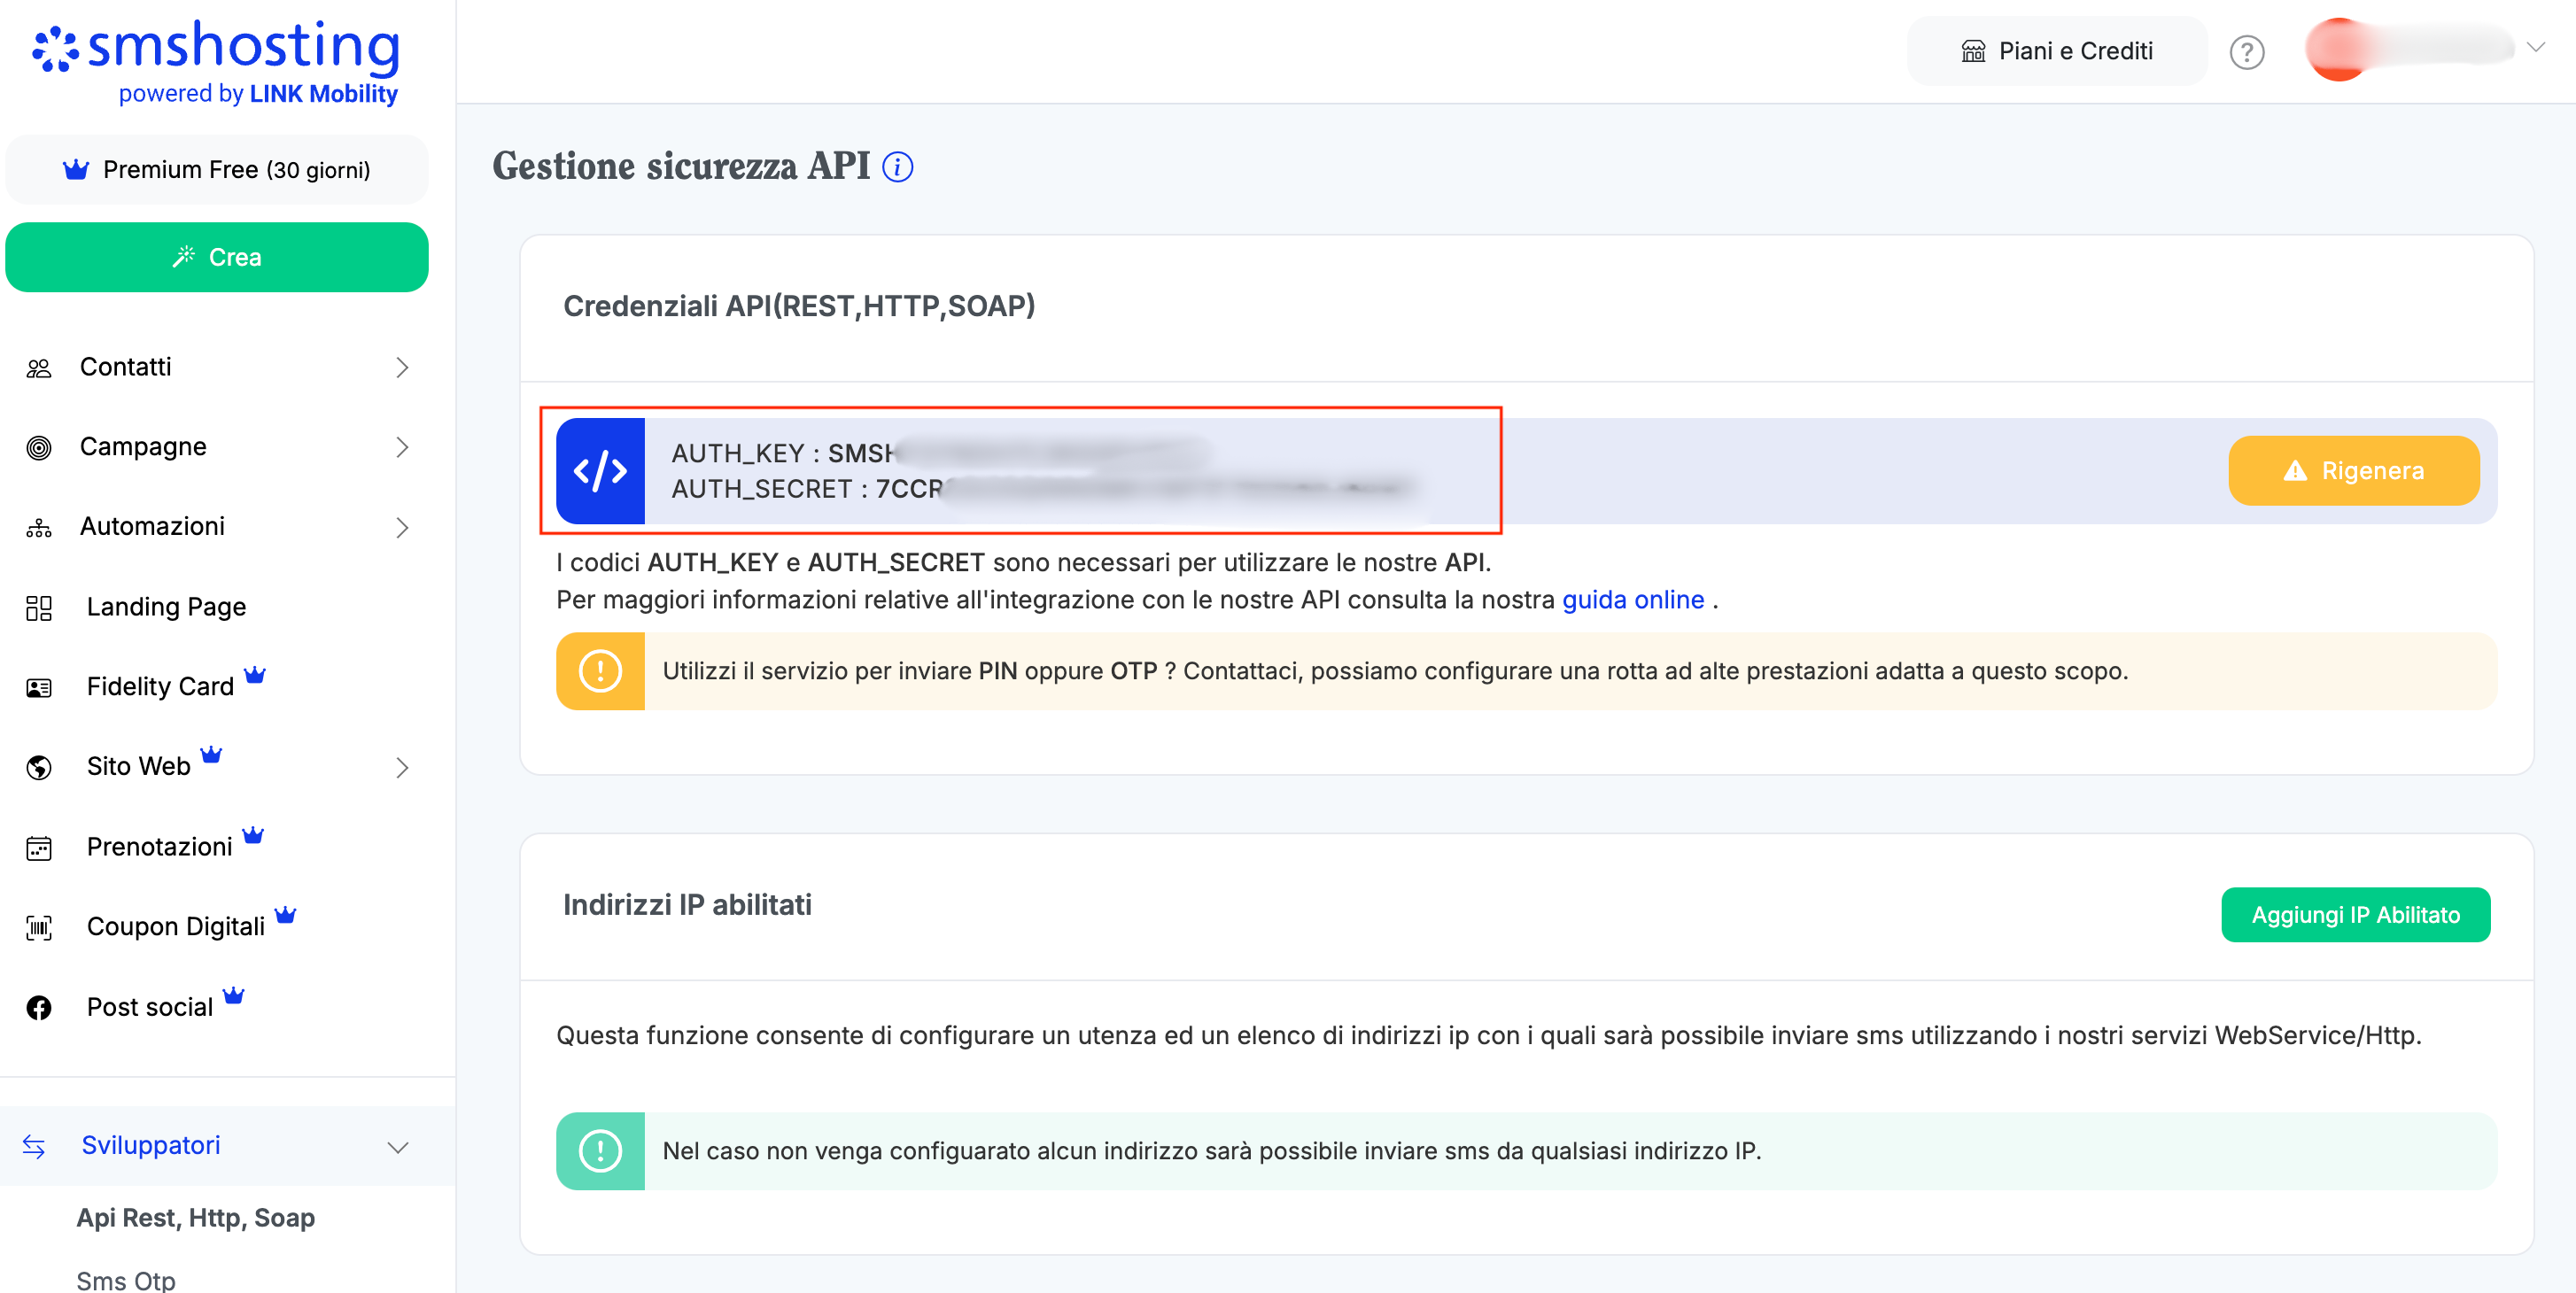
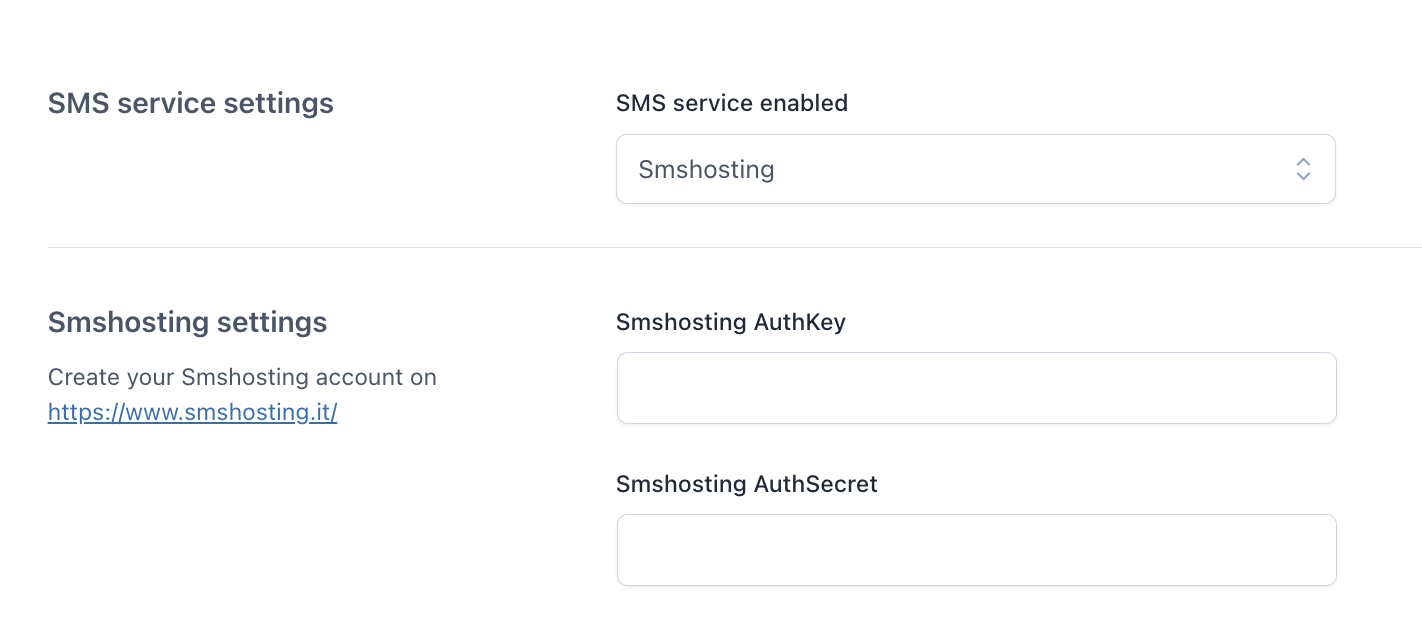
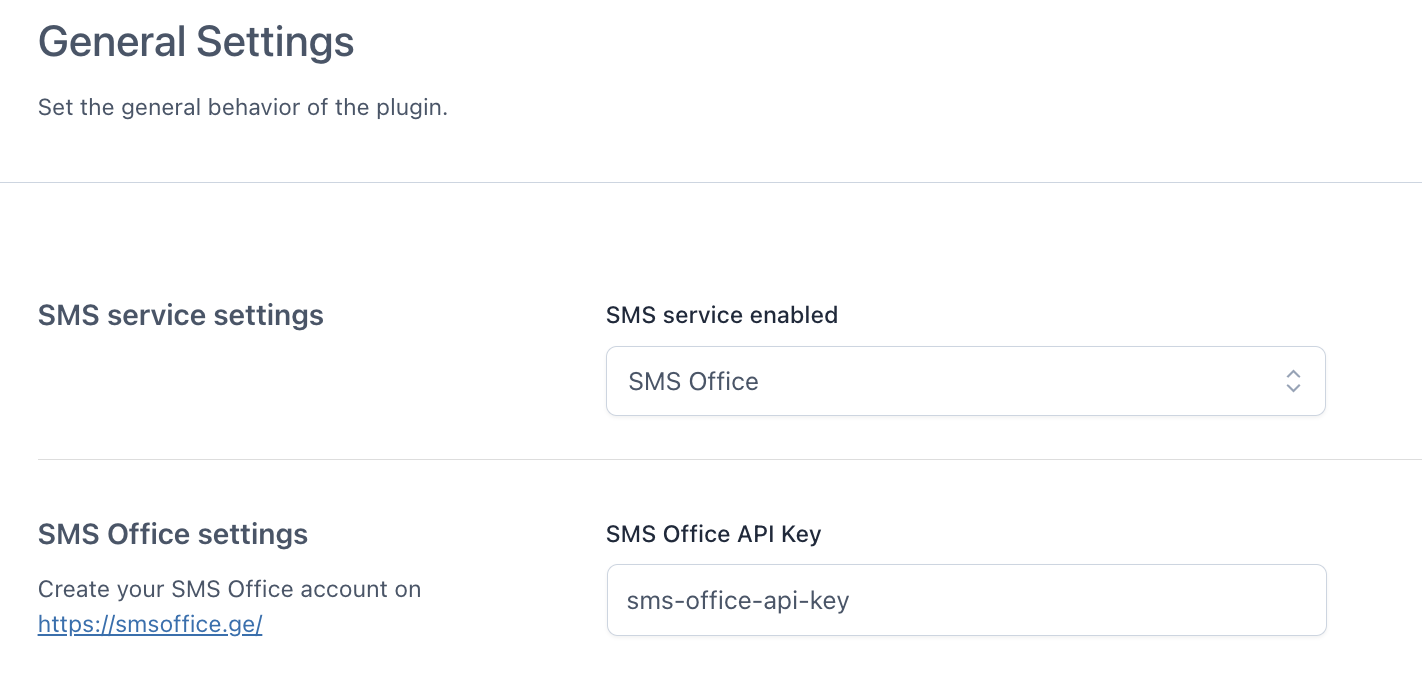
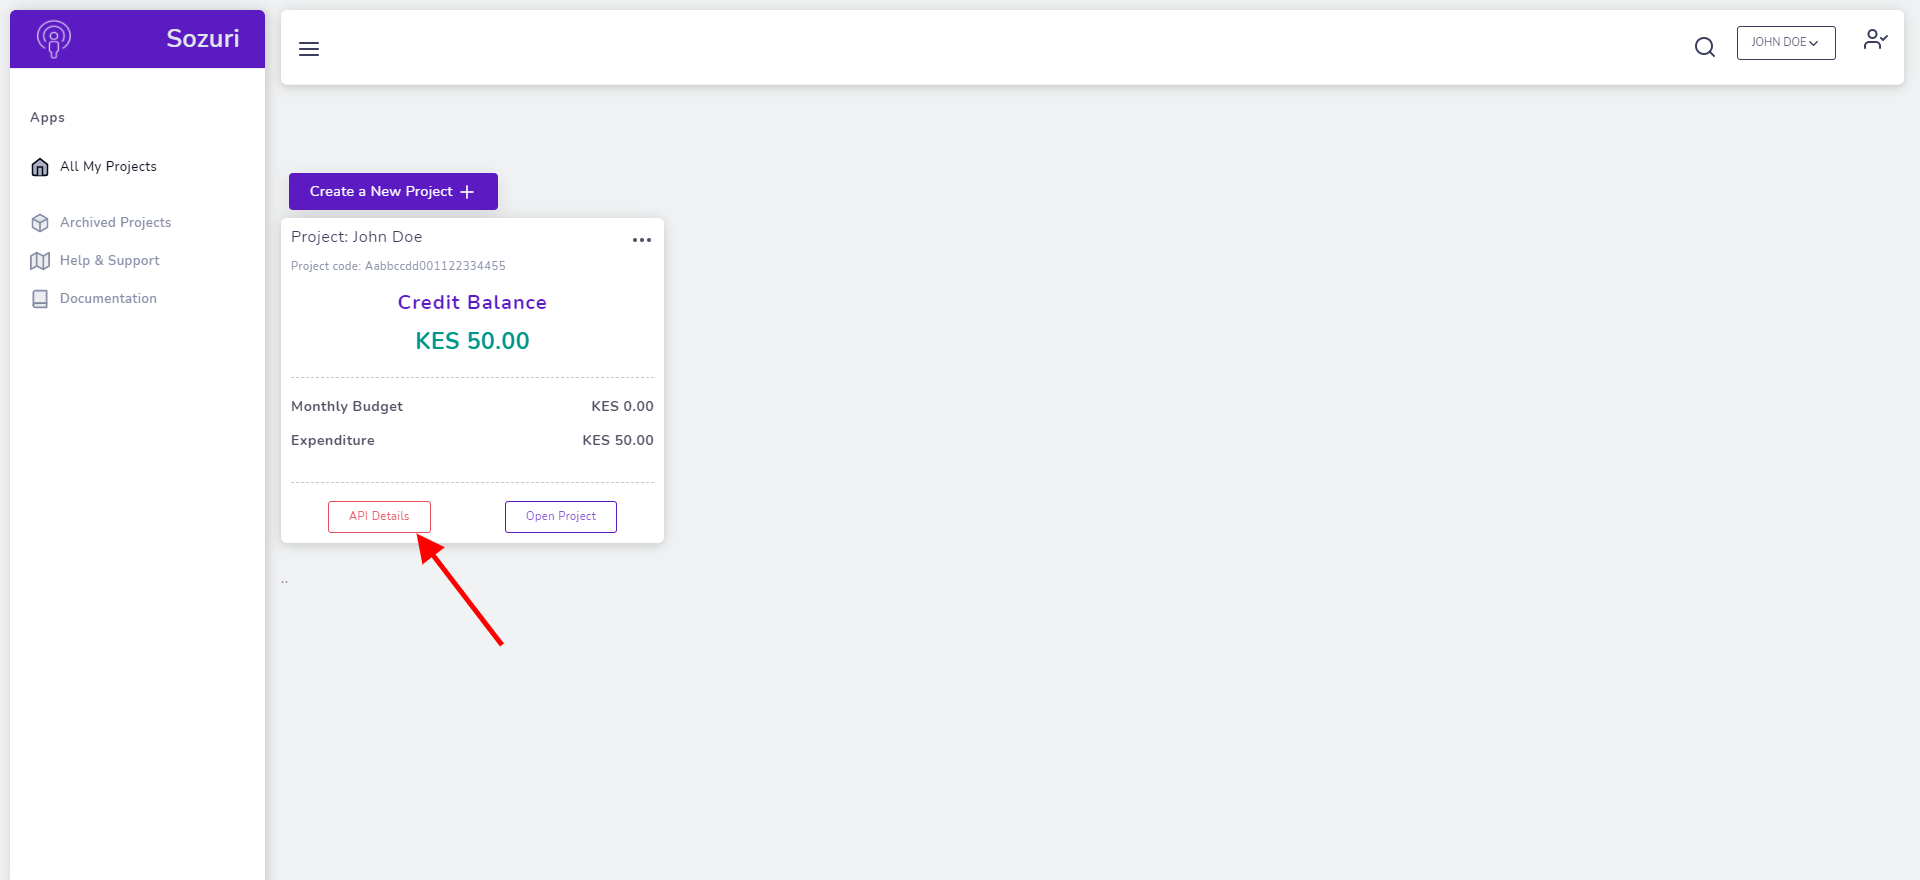
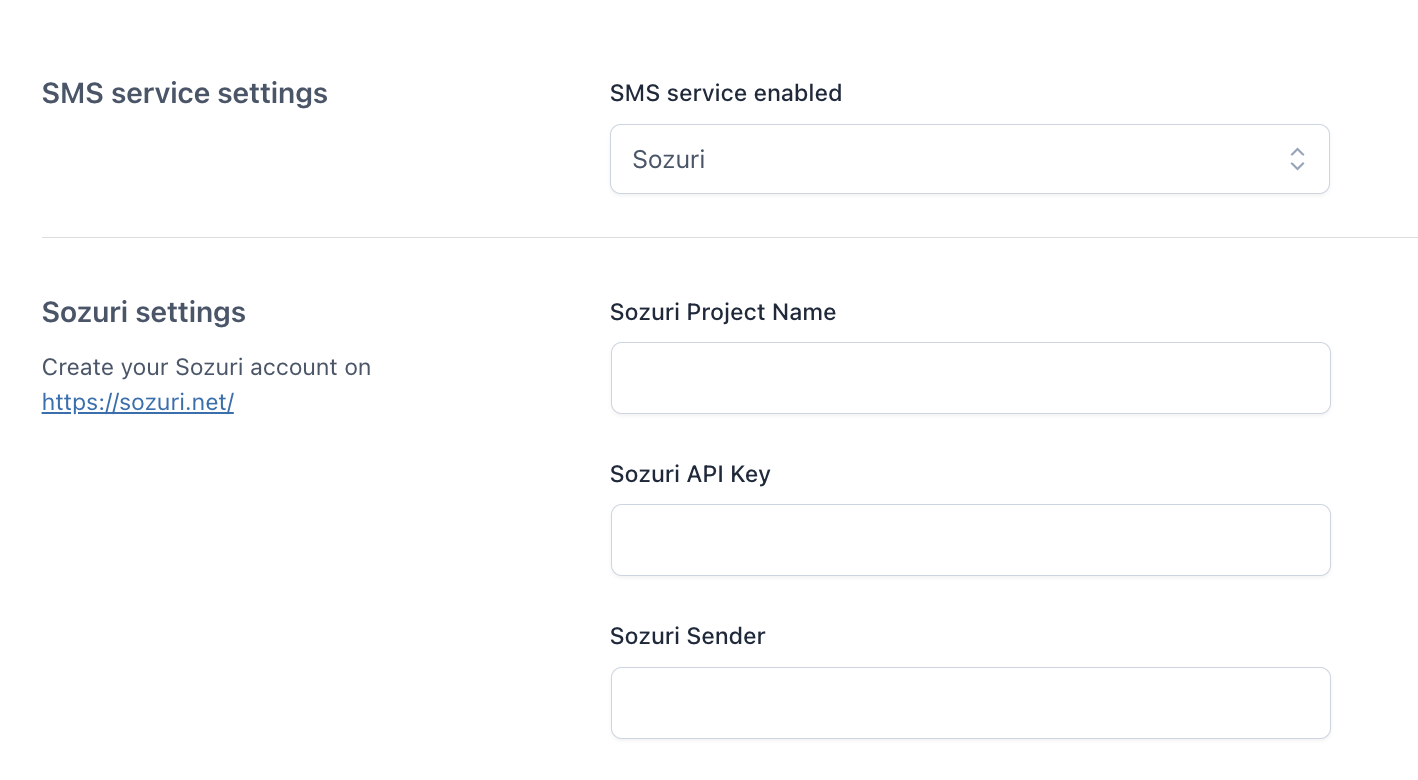
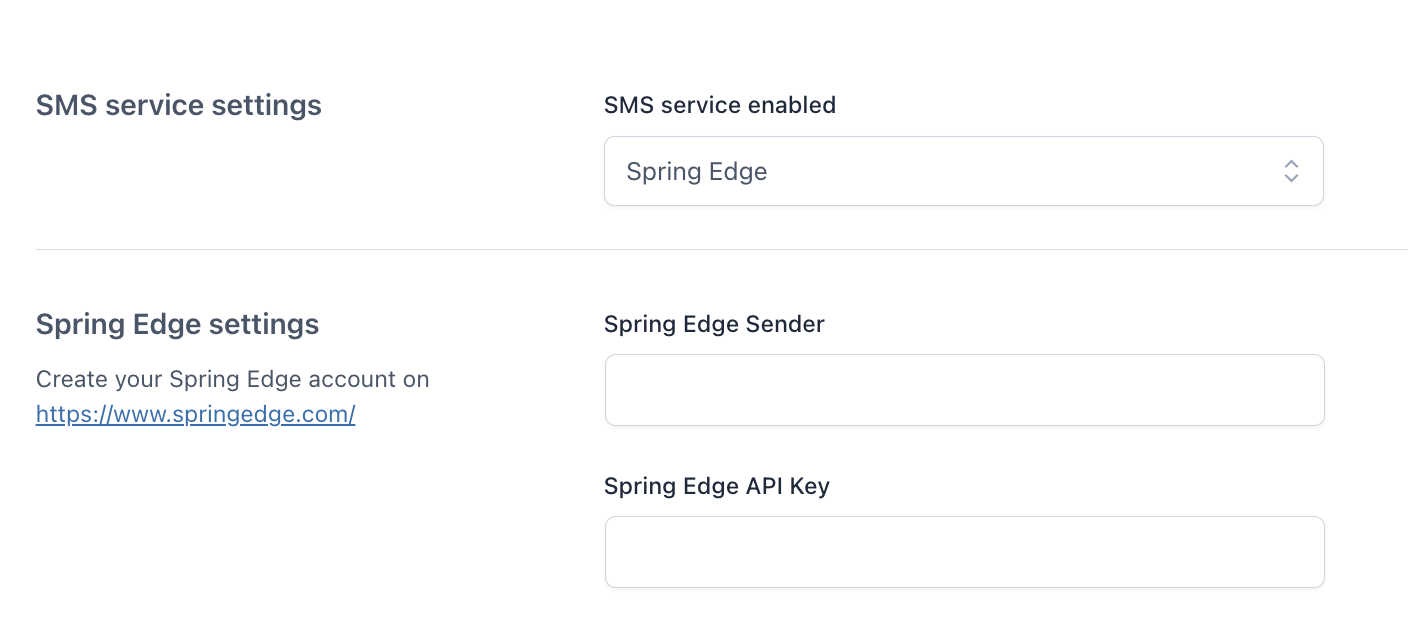
Copy it and paste it together with the API KEY in the plugin options.
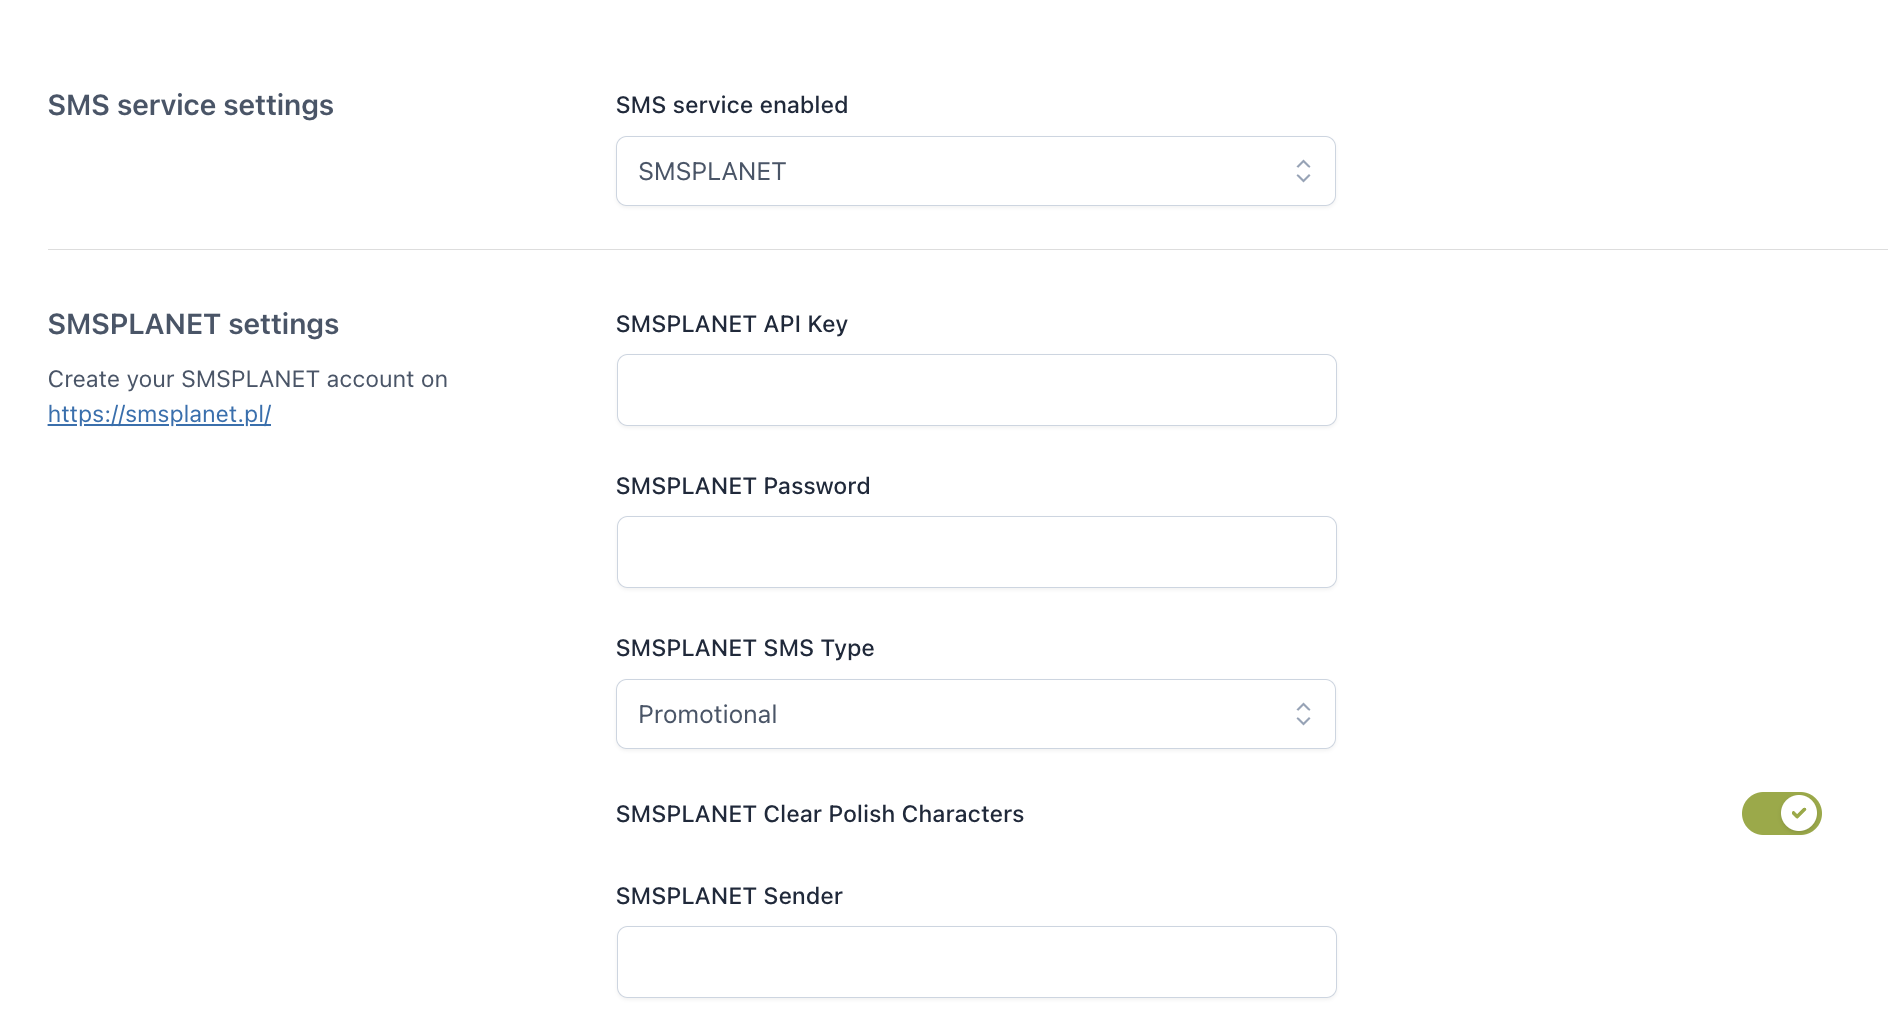
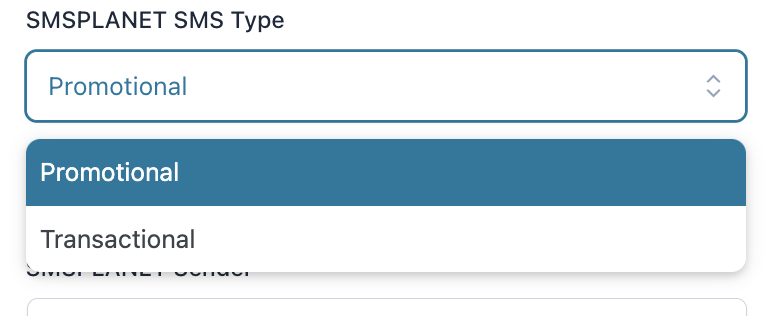
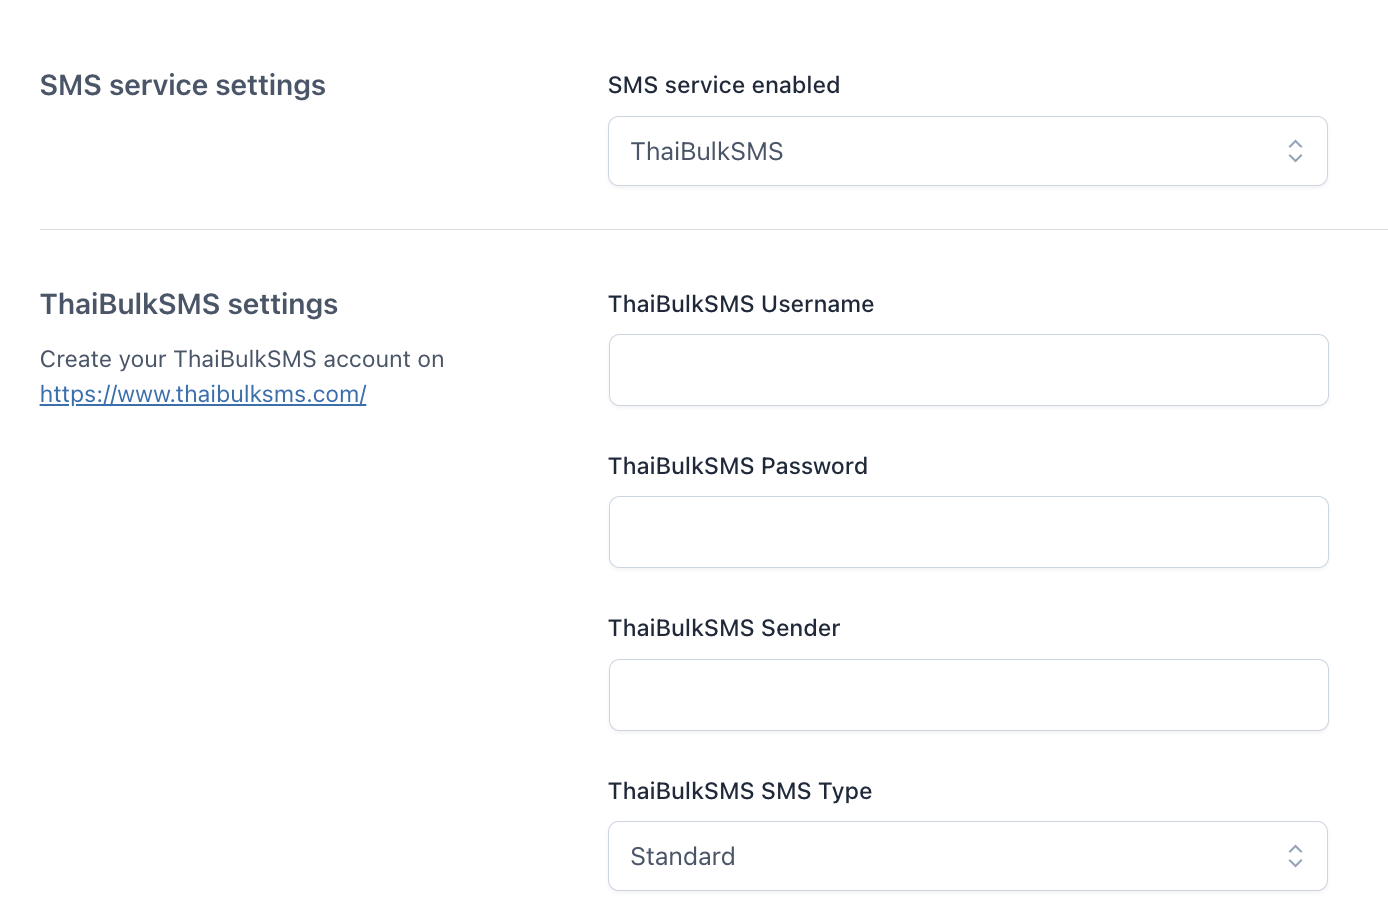
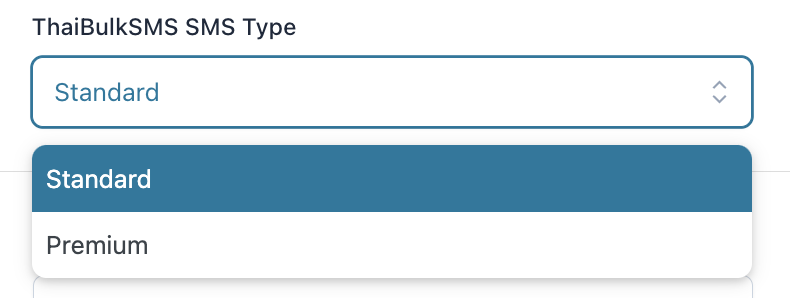
From the plugin’s options, you can also choose the SMSPLANET SMS Type: Promotional or Transactional.