You can increase the value of your shop by using YITH WooCommerce SMS Notifications. You can keep an eye on what’s going on with your store in real time, even when you’re away from your PC. You’ll also be in the loop on customer orders.
You can also make the shopping experience in your store better for customers by offering them the option to be texted when their order is processed or shipped.
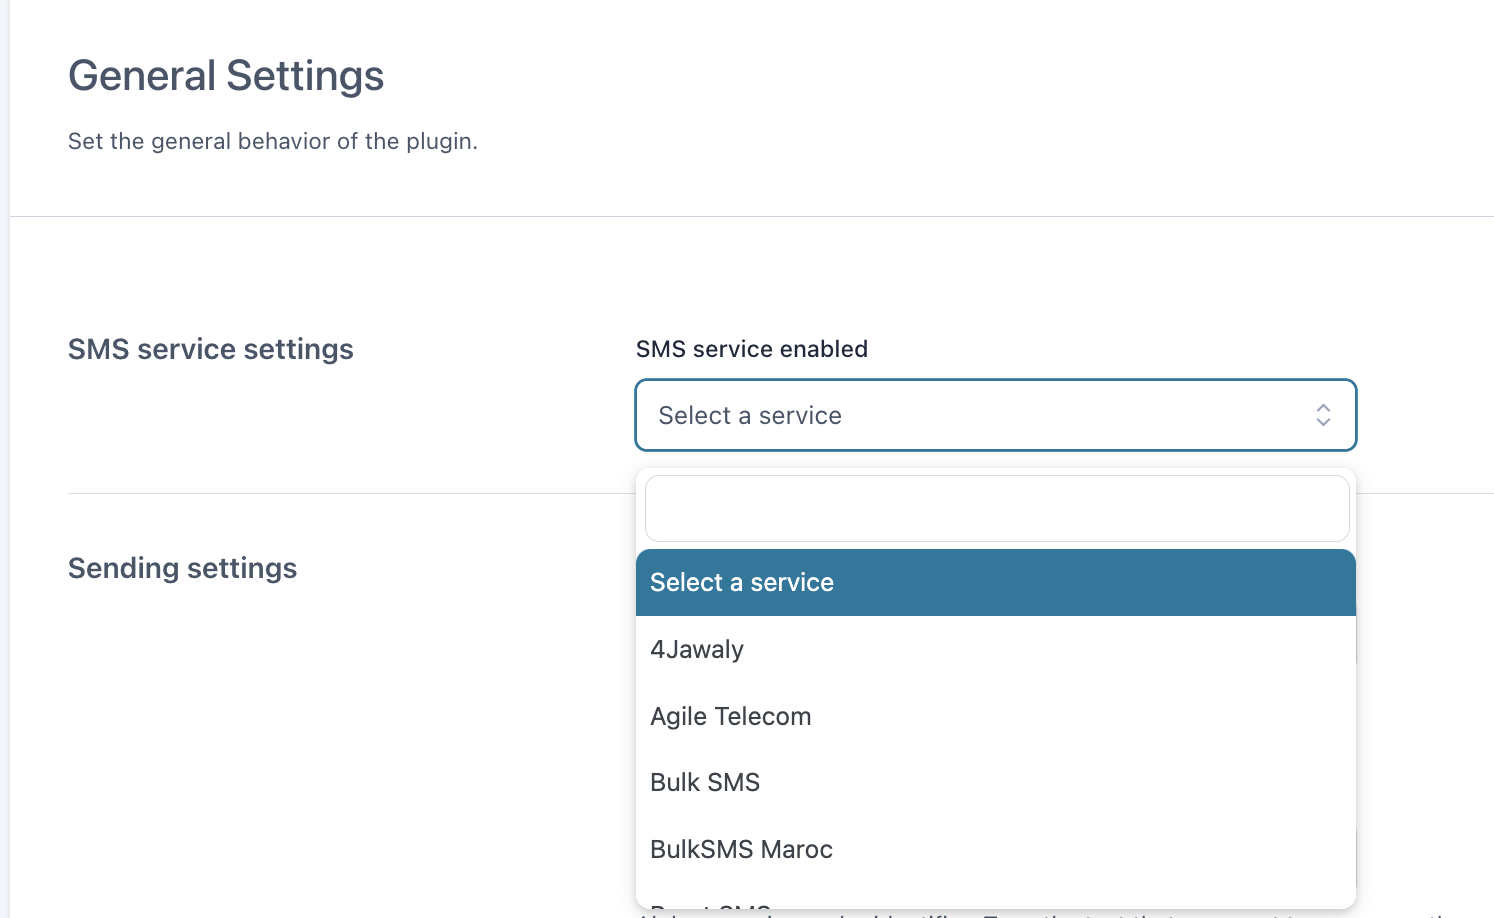
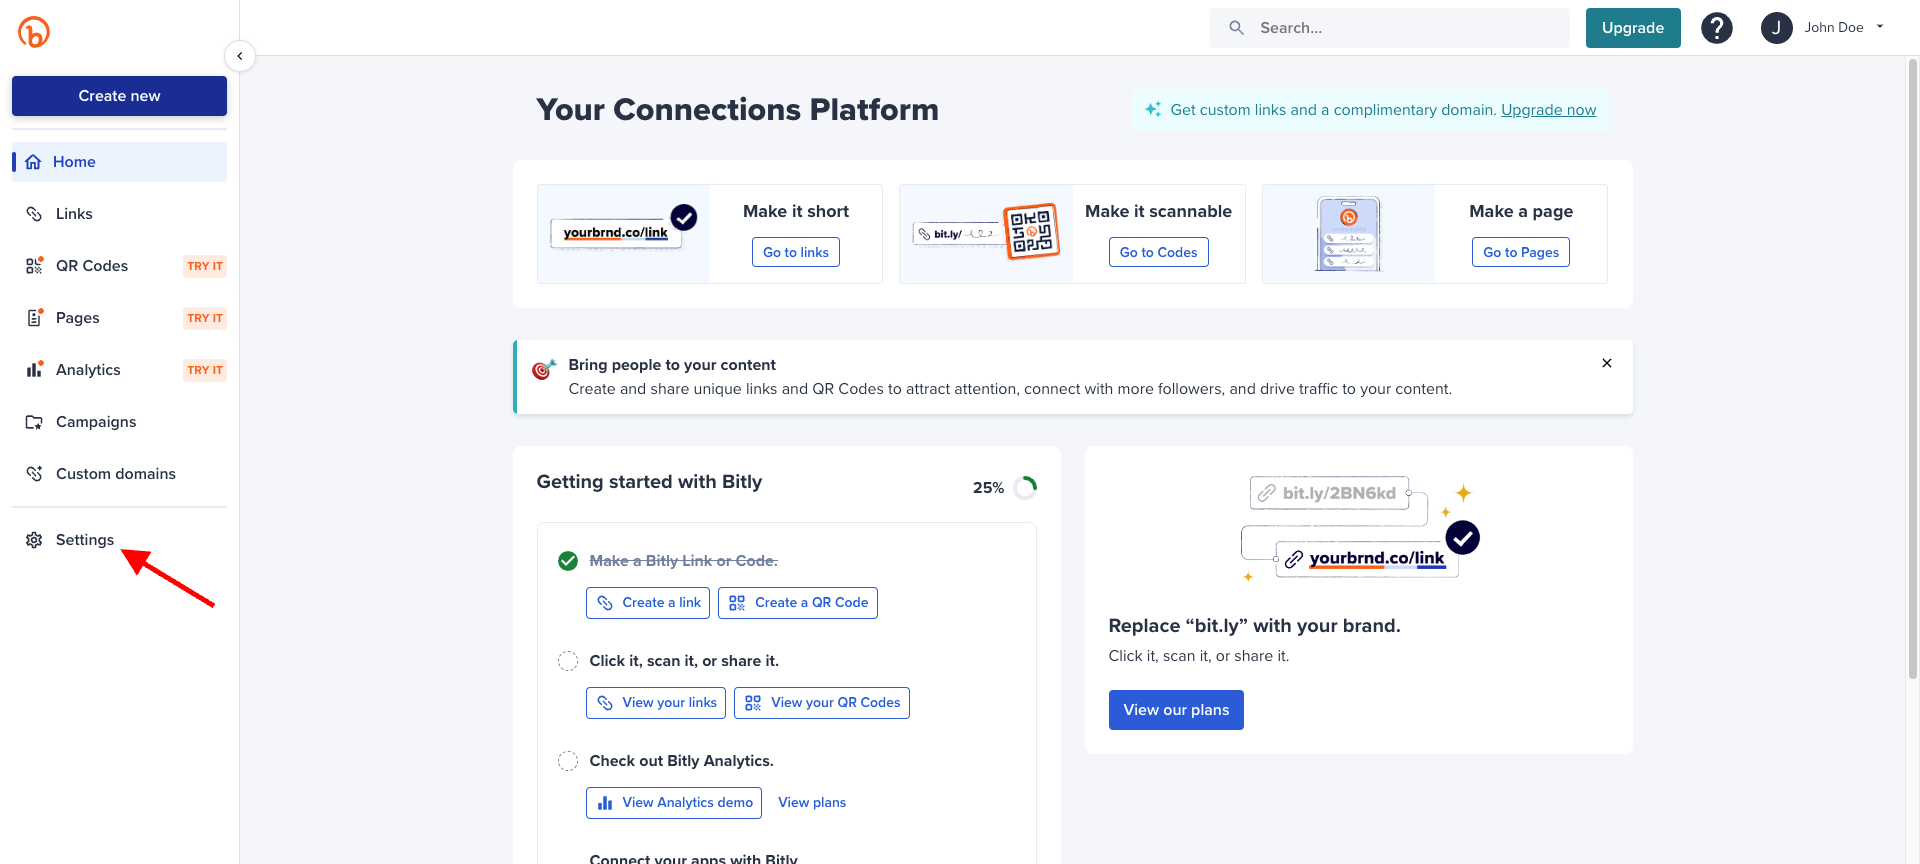
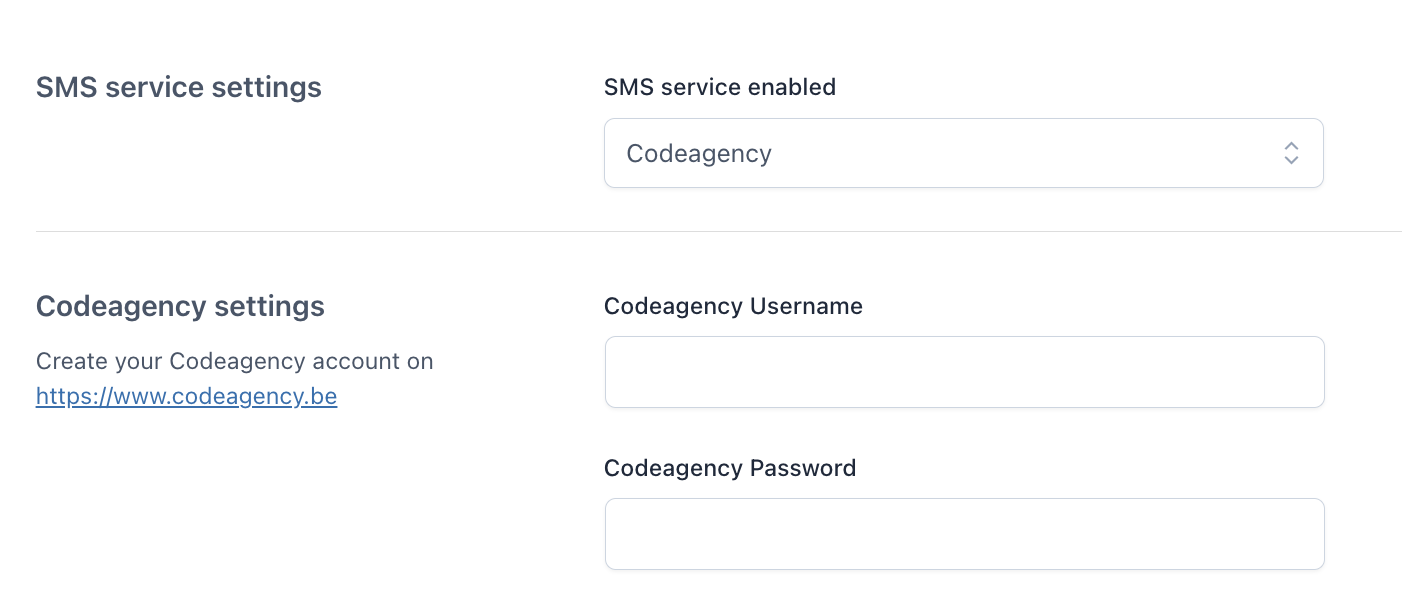
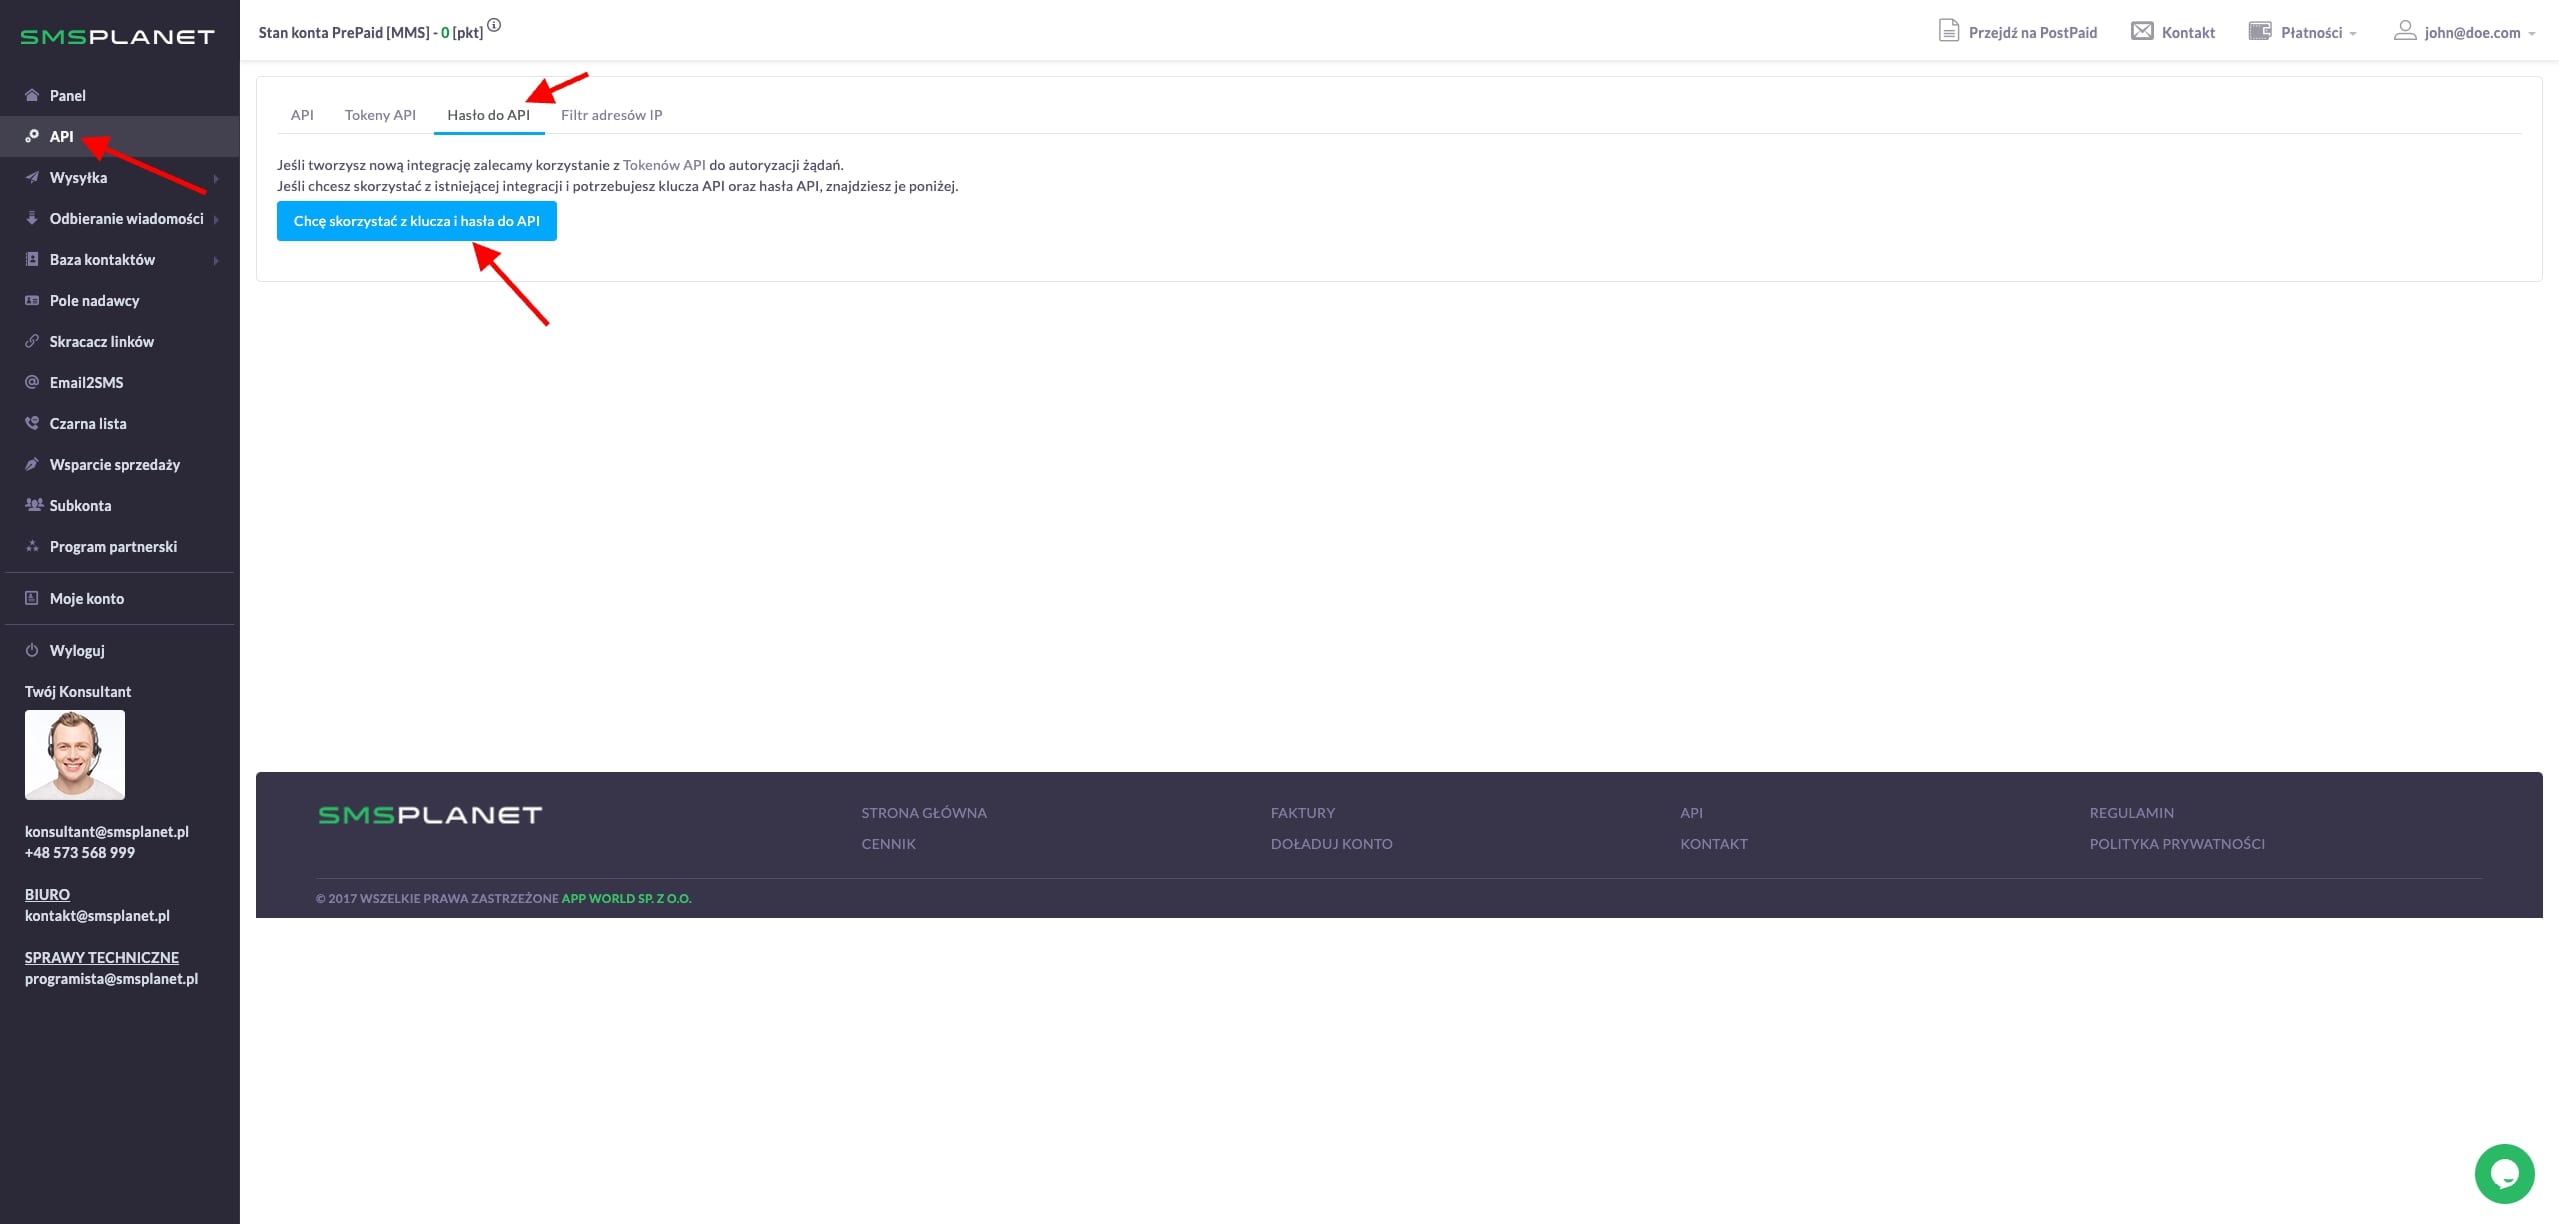
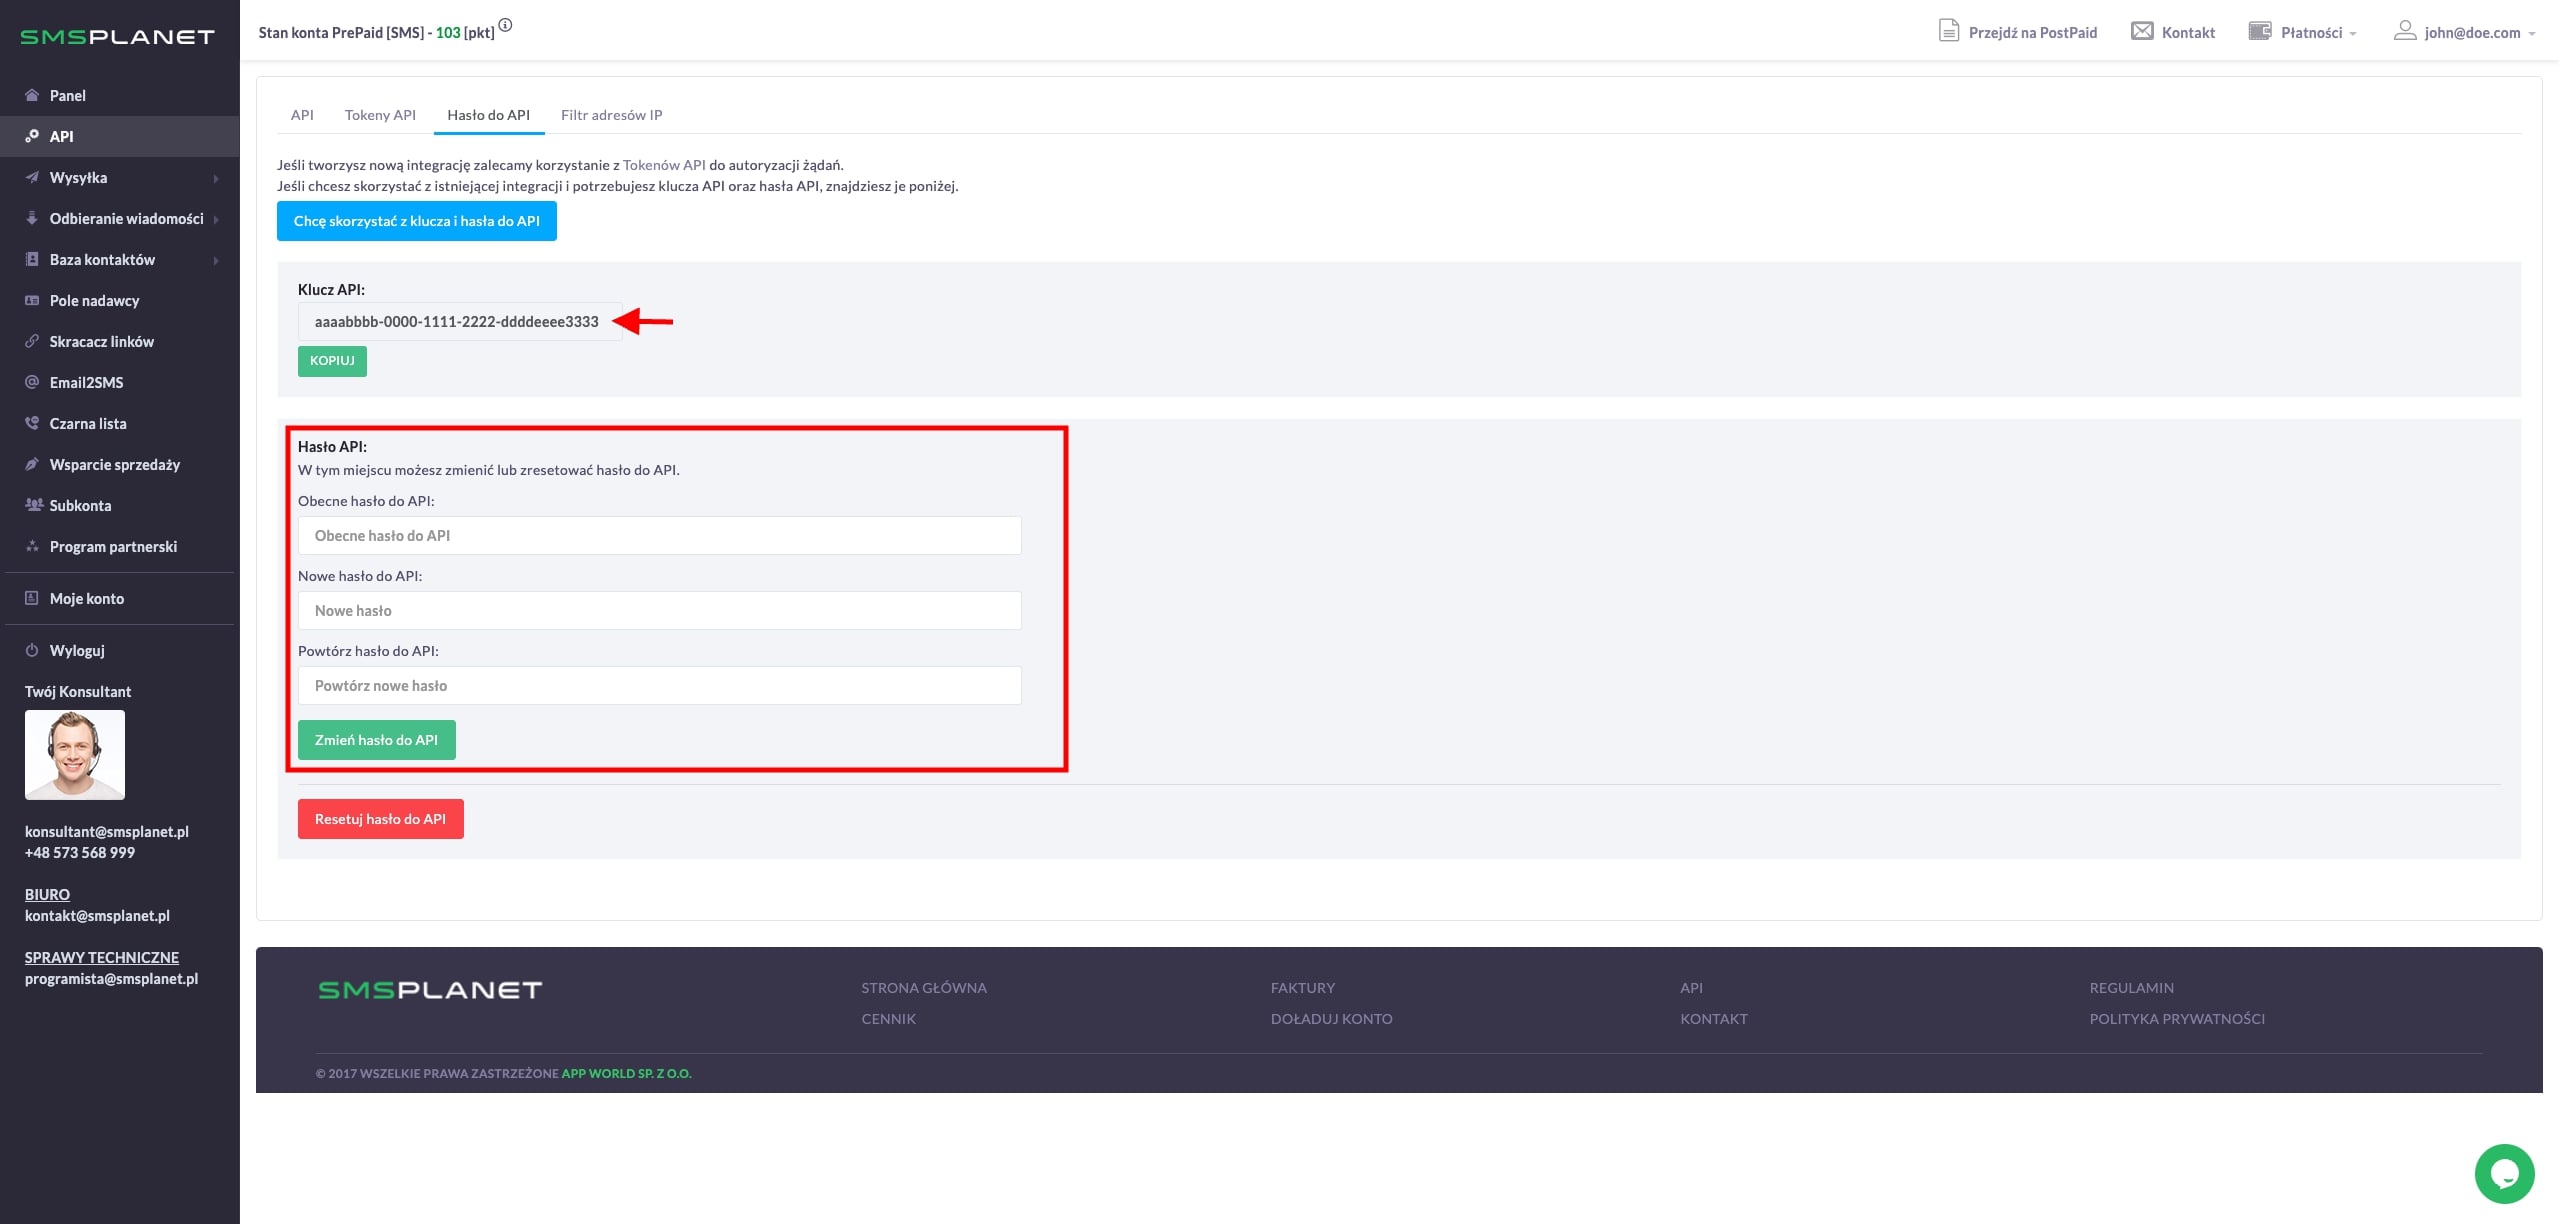
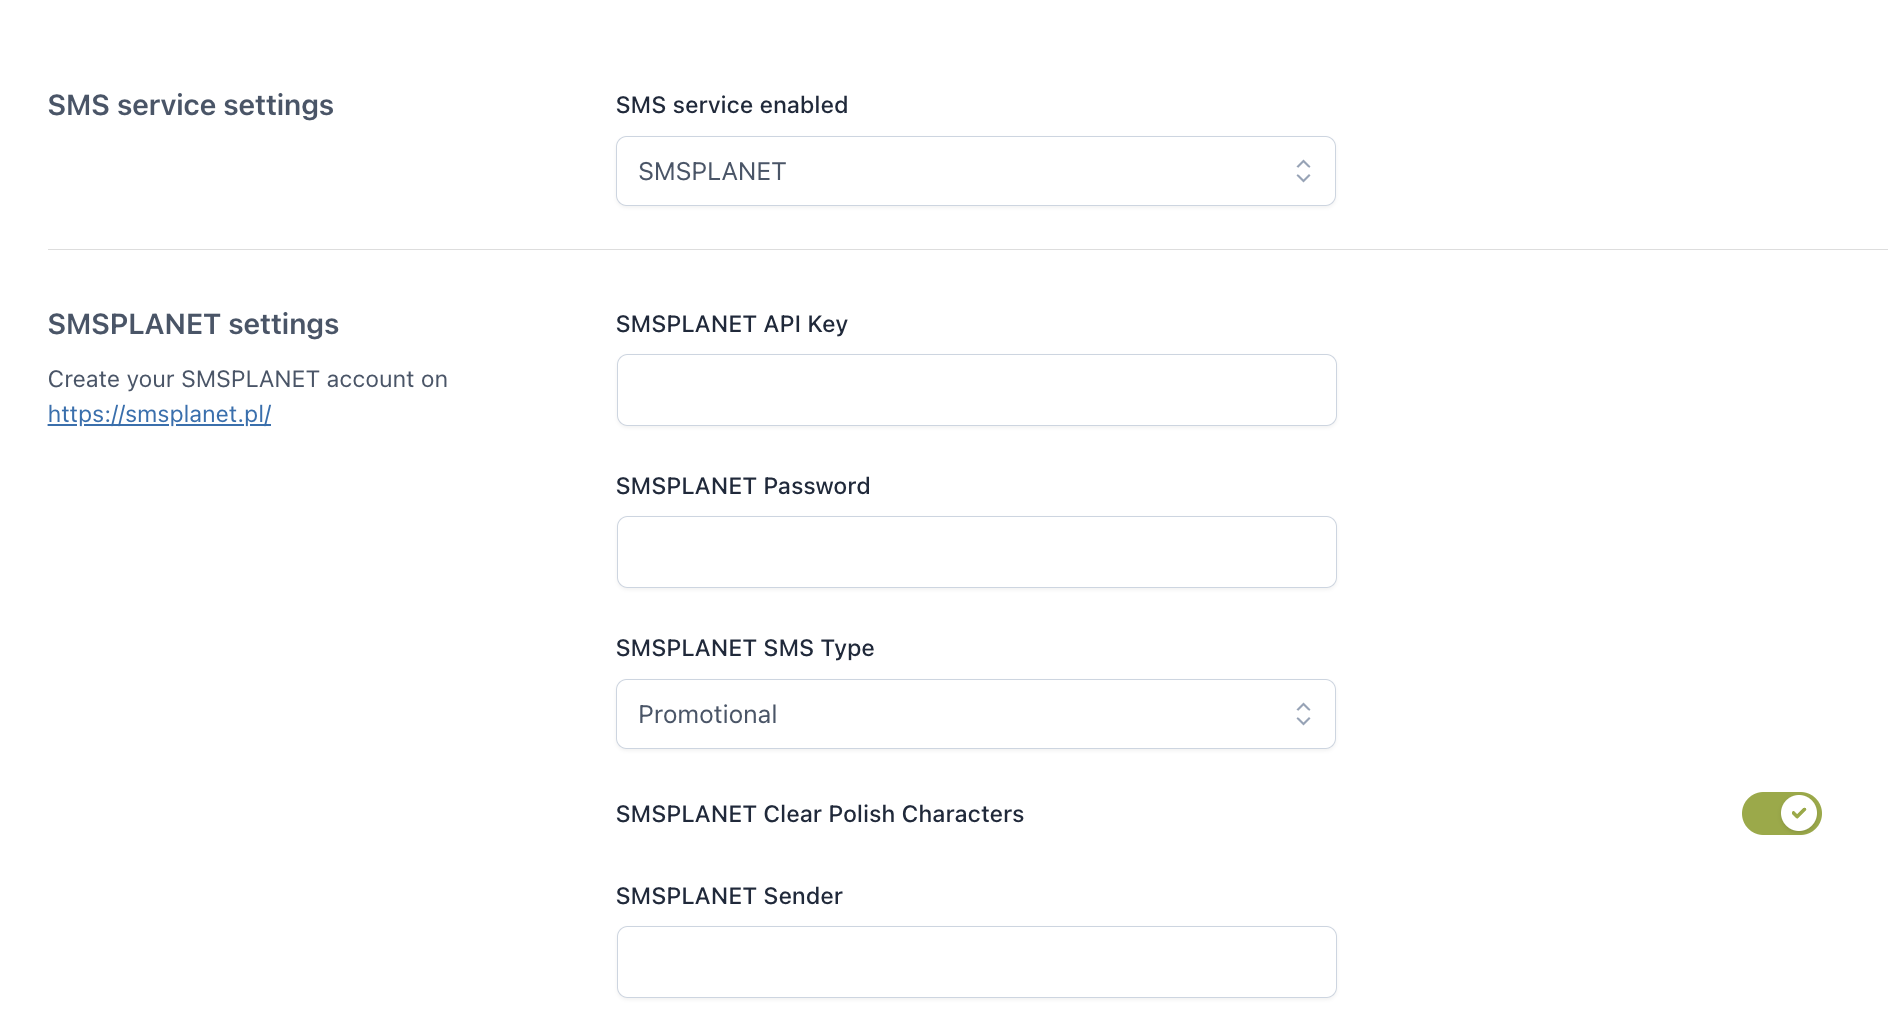
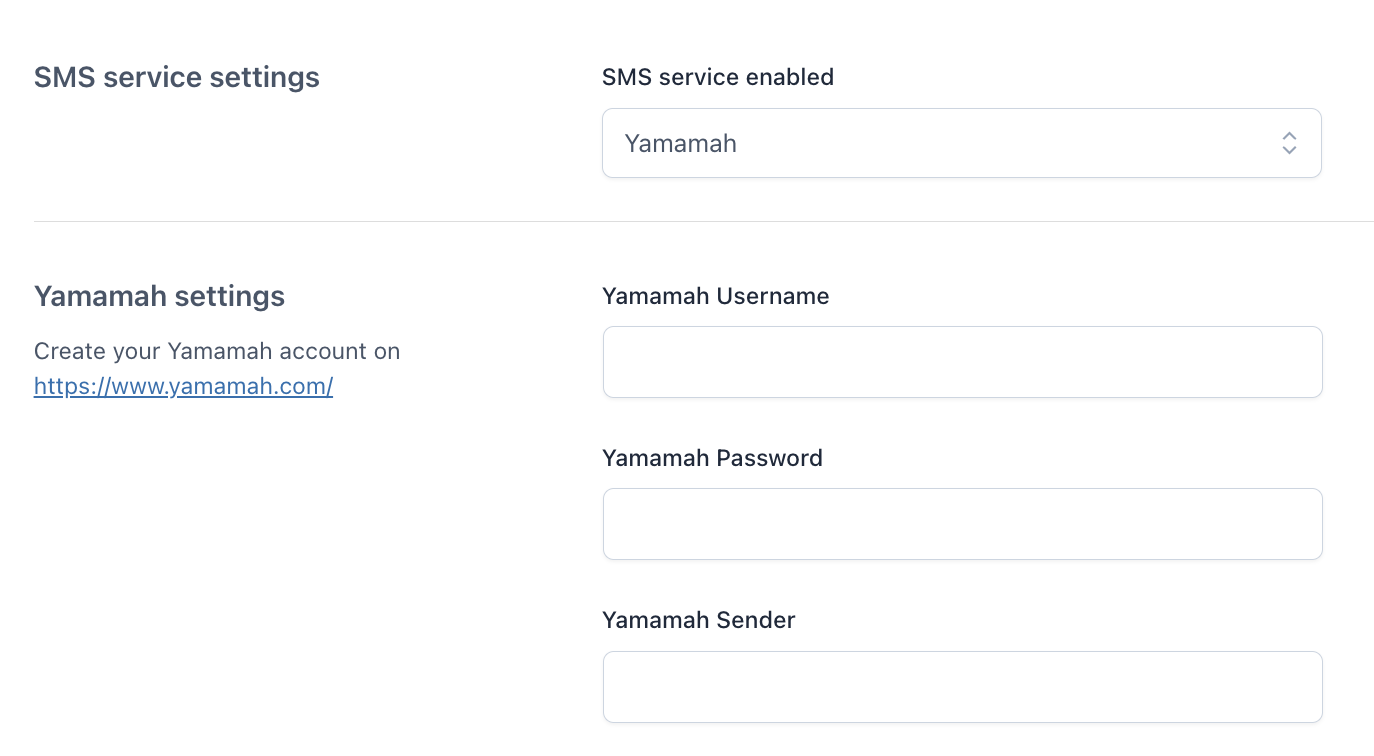
First of all, go to the General Settings tab, and choose the SMS provider you want to use in the SMS service settings option.
Note: Each SMS provider will require some credentials that you will receive from them. These credentials will vary depending on the provider.
To find the complete list of all the SMS services available you can check this page.
Step 2—Configure the text sending
Once you have chosen the SMS service, the next step is to manage the sending settings.
First, you’ll find the Sender telephone phone number option, where you can enter the phone number you want to appear as the sender. Note that this is the number you have set up in your SMS provider account, or the one they provide you with (for example, Twilio usually does not allow you to choose your number, but gives you one of theirs). The maximum number of characters allowed is usually 16.
Then, you can set the Alphanumeric sender ID. You’ll need to enter the name you want to appear as the sender (this option might not work in all countries, so it’s probably best to check with your chosen SMS service provider first).
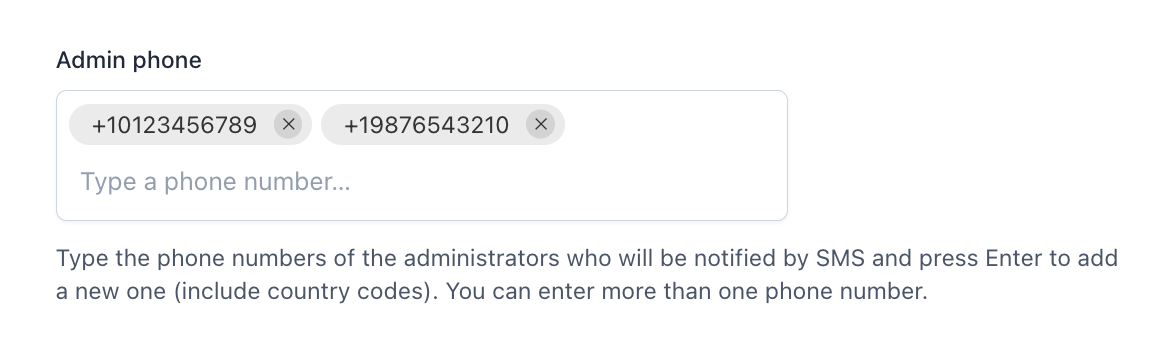
Next, you’ll see the Admin phone field option, where you can enter the phone numbers of the administrators who will get a text message. To add a new one (including country calling codes), just press “Enter”.
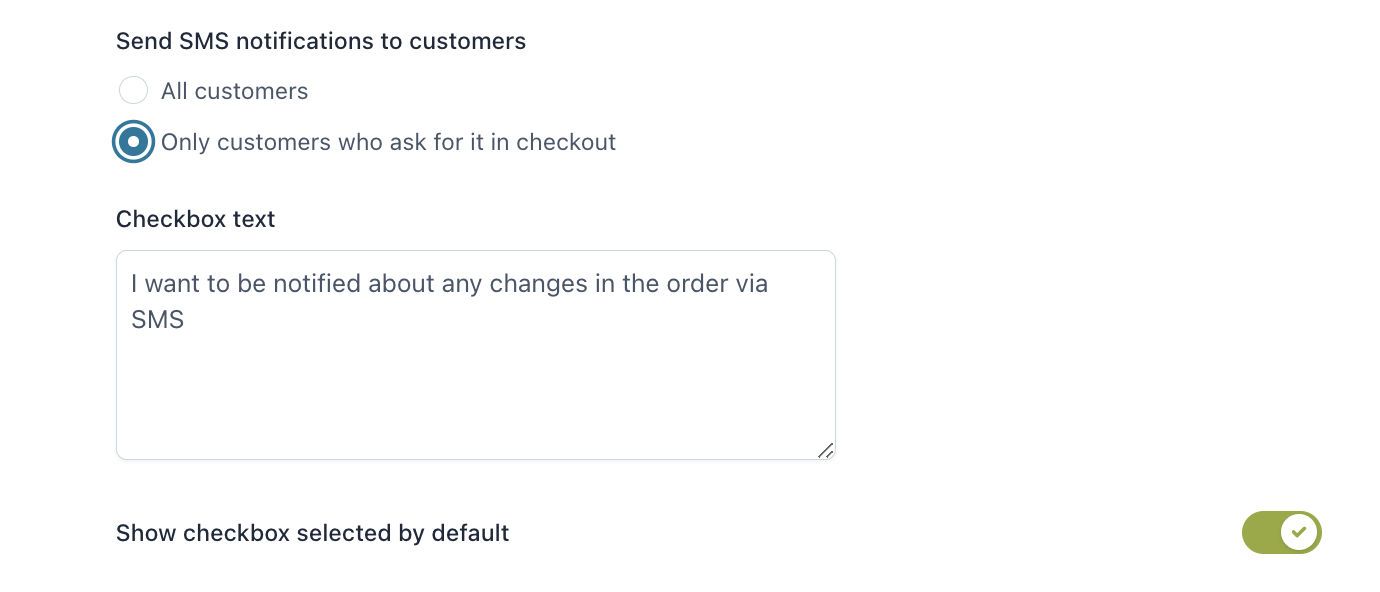
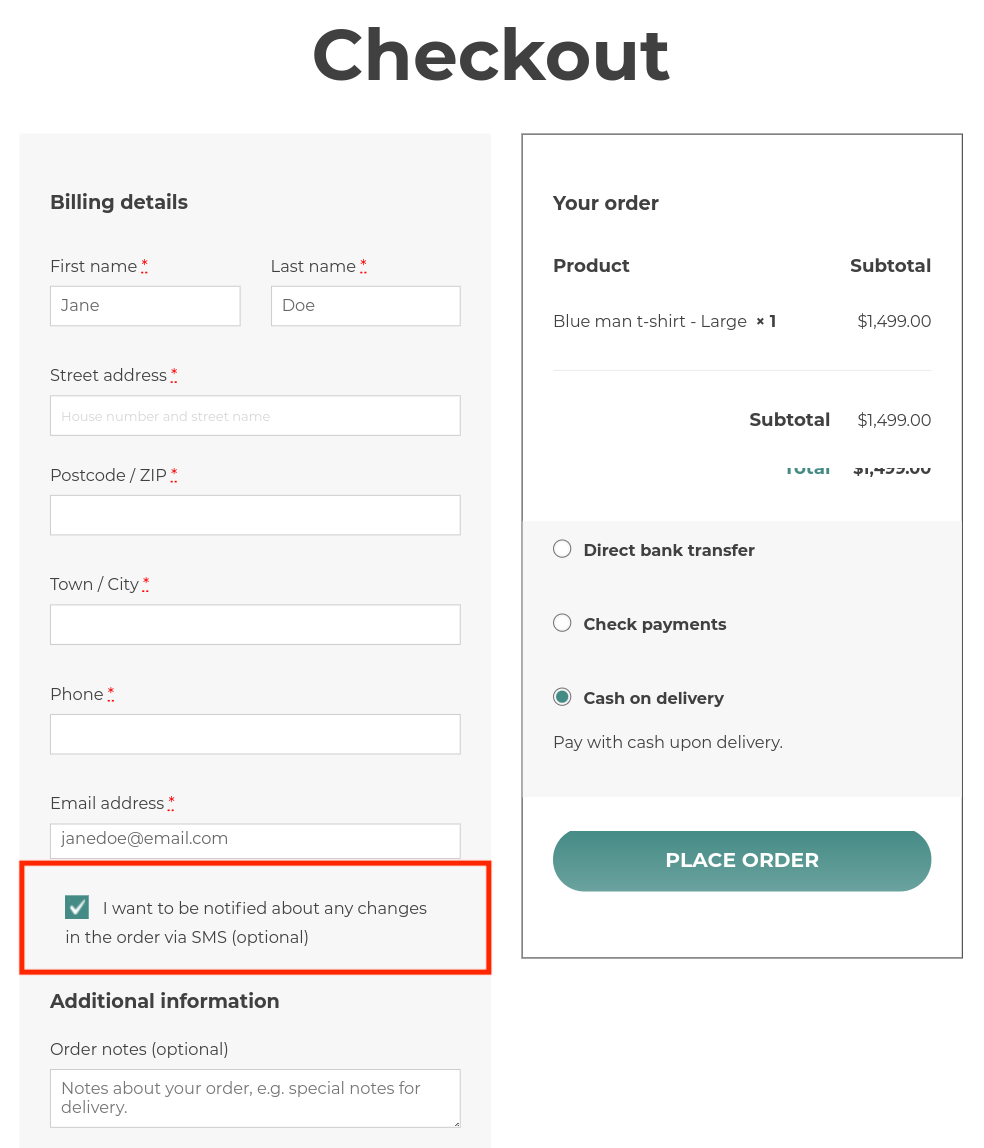
Once done, you can set the Send SMS notifications to customers option. You can choose to send notifications to all customers or just those who ask for them at checkout.
When choosing the second option, you’ll see a text field where you can enter the text for the checkbox. You can also choose to show this checkbox by default.
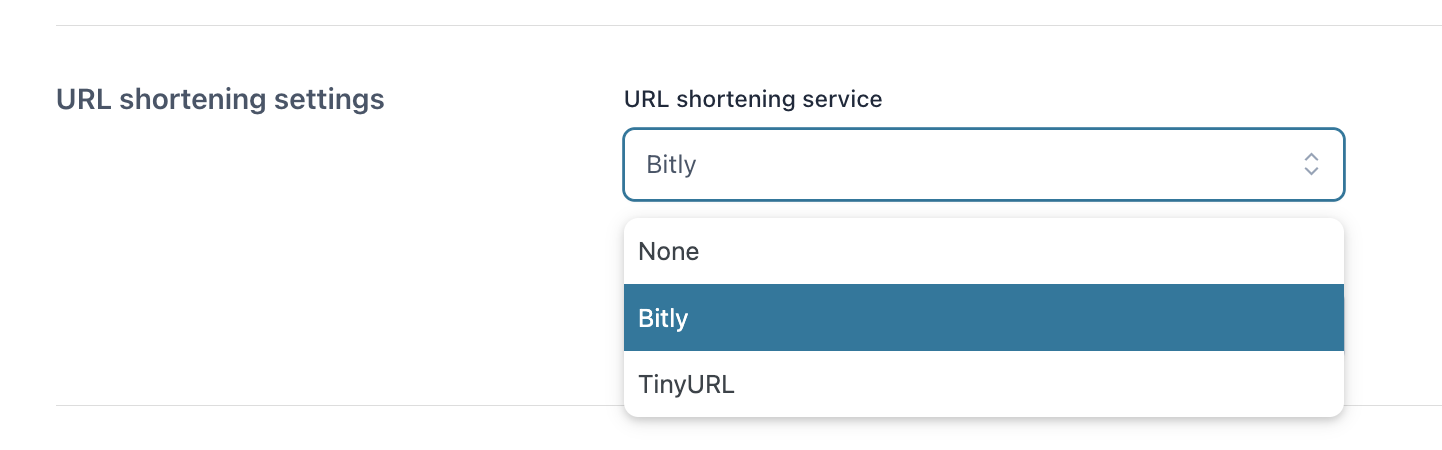
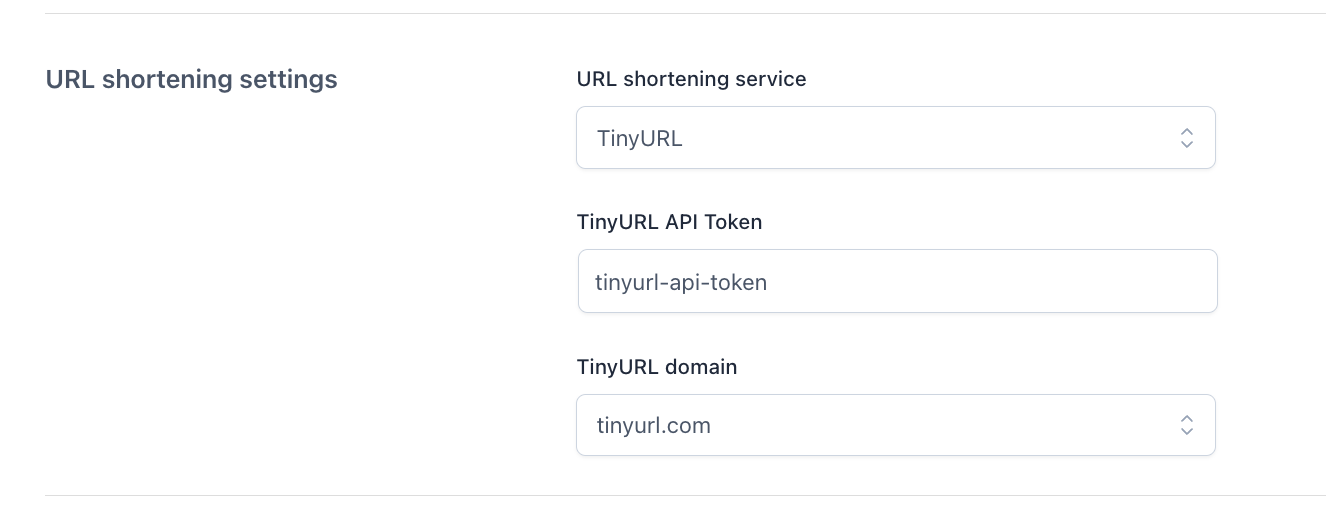
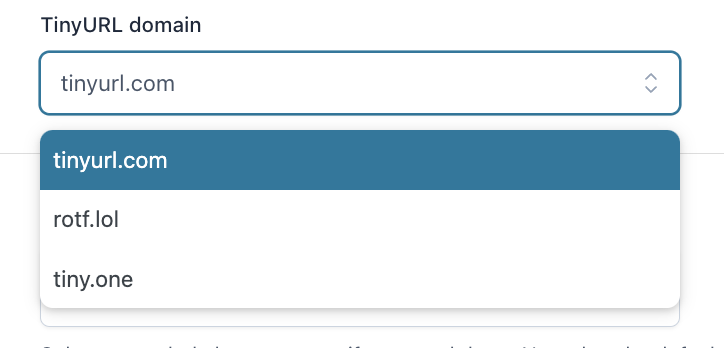
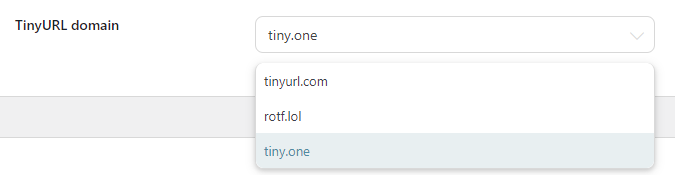
From the General settings tab, you can now select the shortening URL service. This will automatically turn any URL included in the SMS text into a shorter version, so you can spare characters.
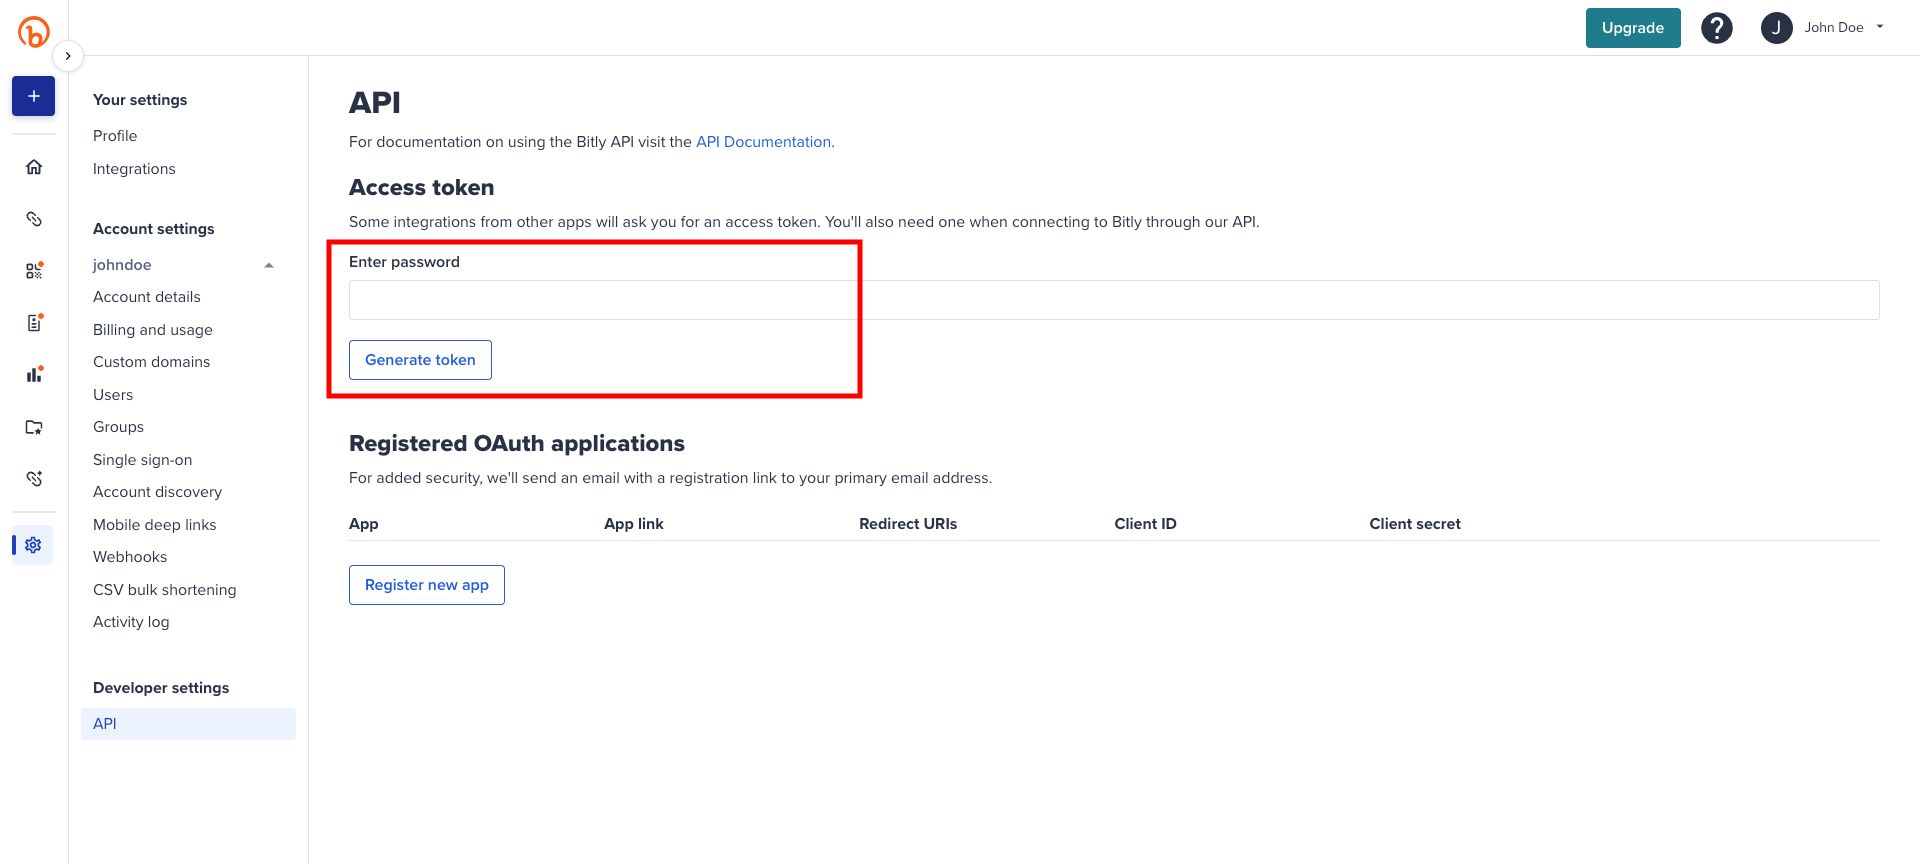
1. First, you get to choose between one of the supported services, either Bitly or TinyURL.
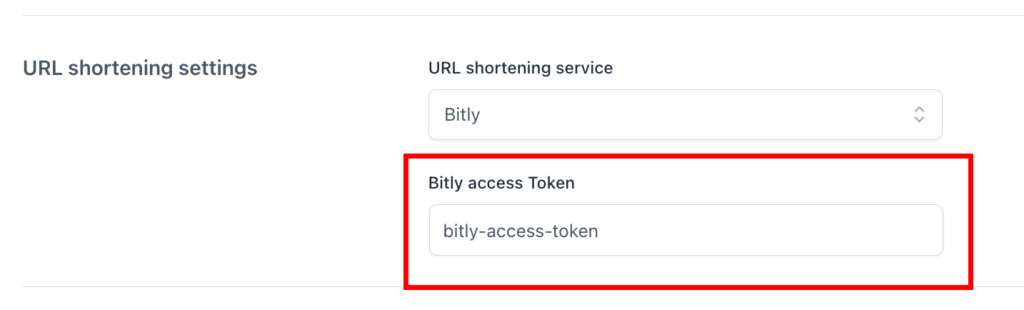
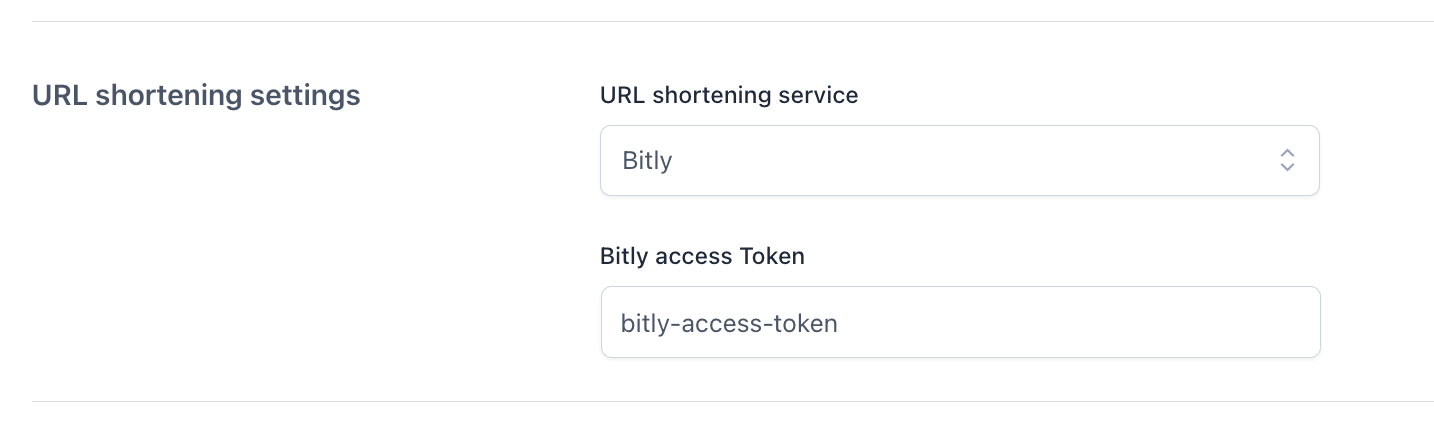
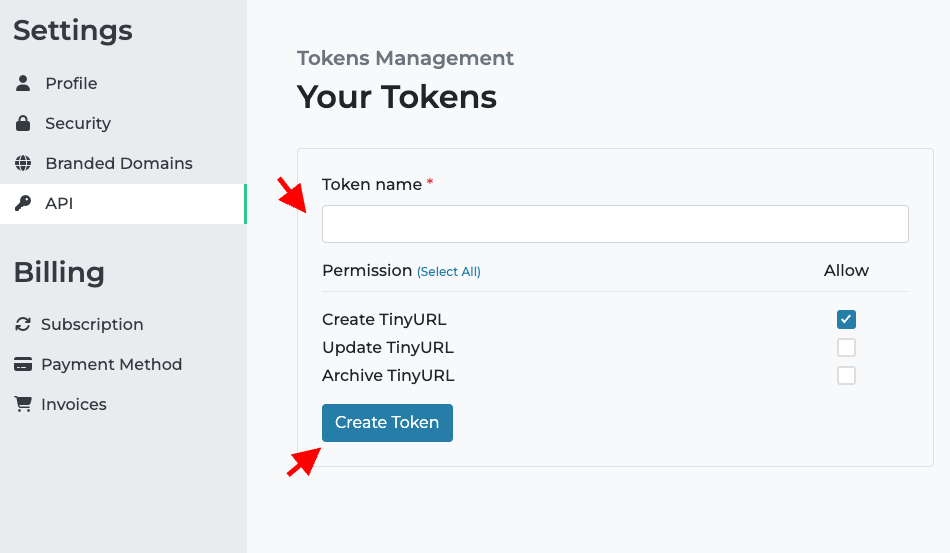
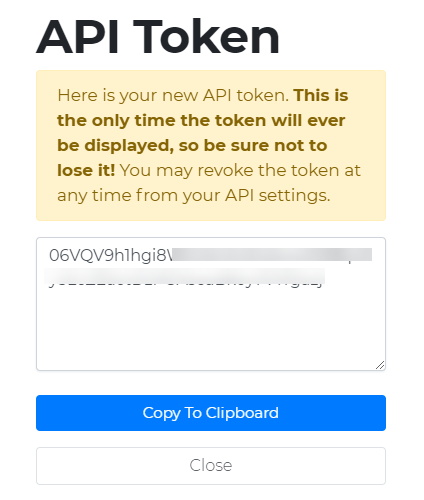
2. Then, enter the access tokens, based on the selected service.
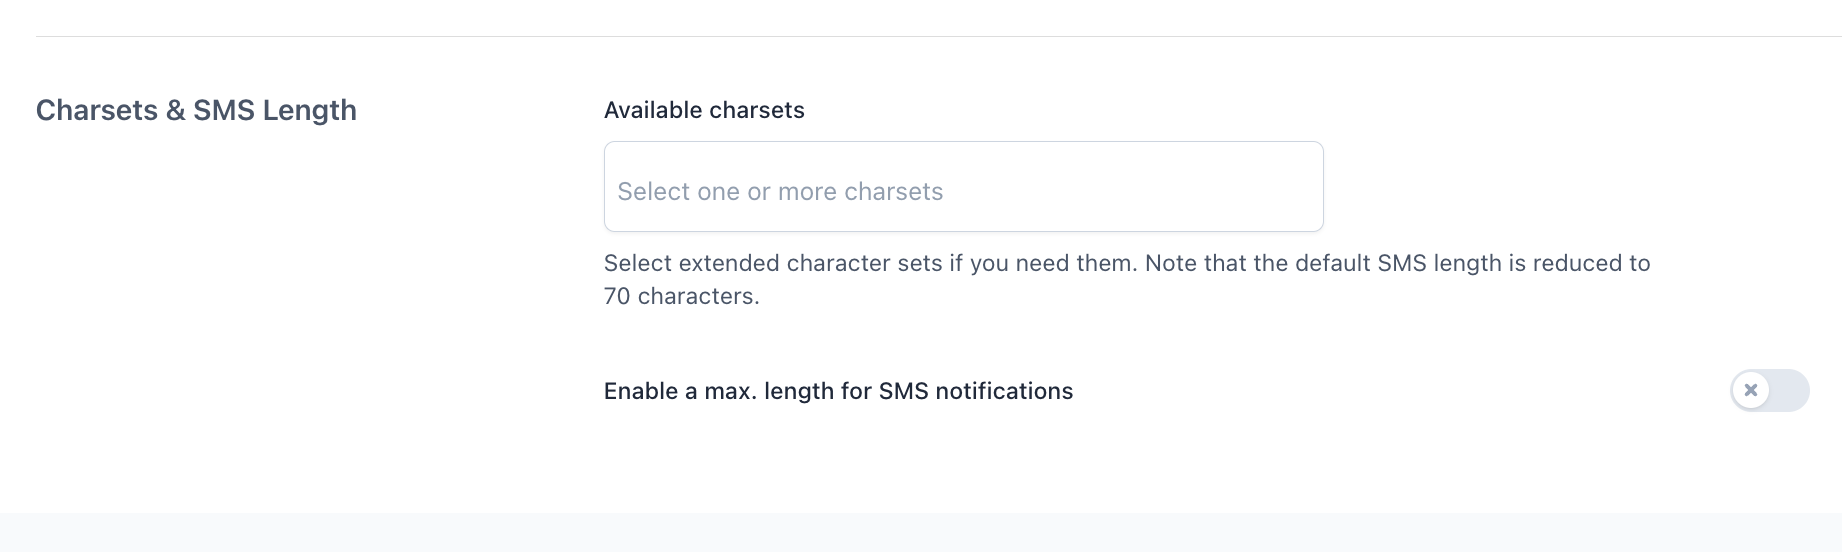
The Charsets option allows you to send an SMS text by using special Unicode (https://www.utf8-chartable.de/) characters.
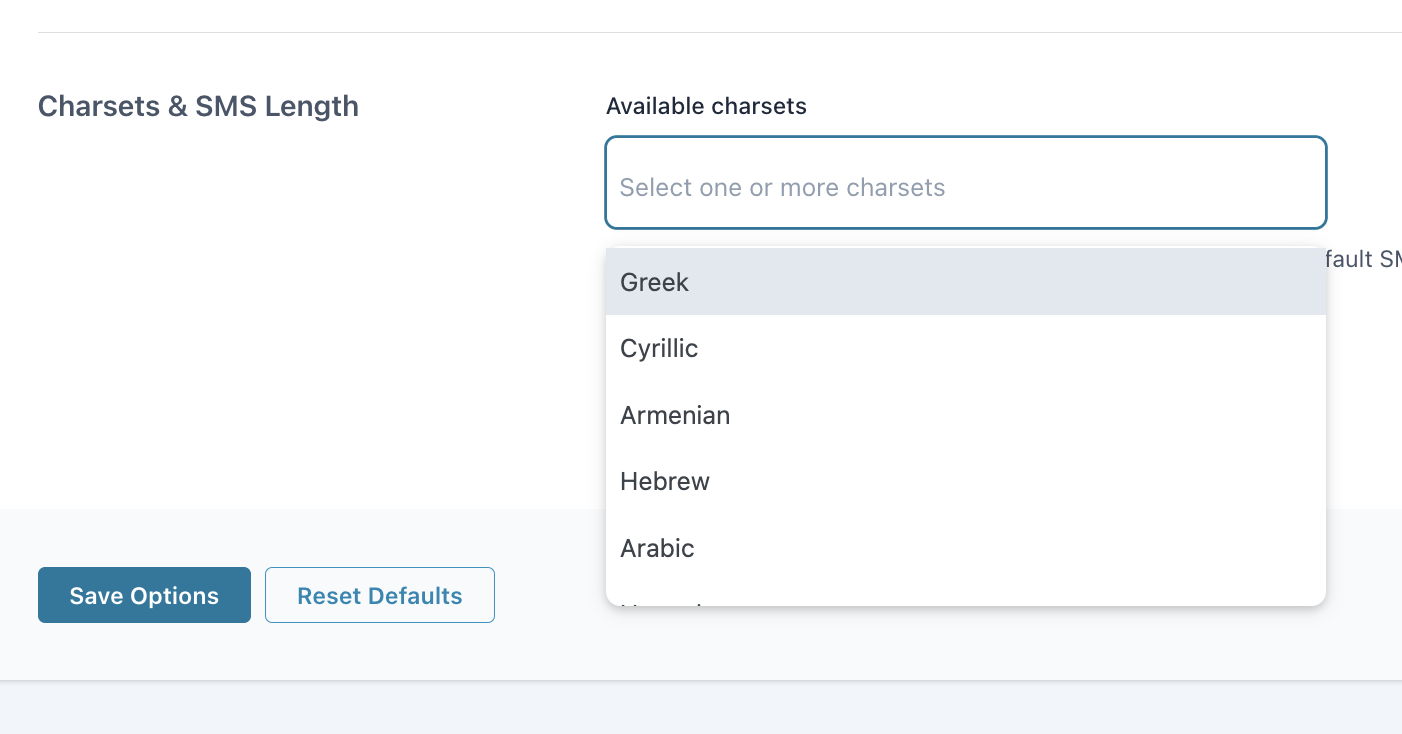
First of all, you will have to choose between the available charsets:
You will find the following options:
CJK – Chinese Japanese Korean (CJK Radicals Supplement, CJK Symbols and Punctuation, CJK Strokes, Enclosed CJK Letters and Months, CJK Compatibility, CJK Unified Ideographs Extension A, CJK Unified Ideographs, CJK Compatibility Ideographs, and CJK Compatibility Forms sets).
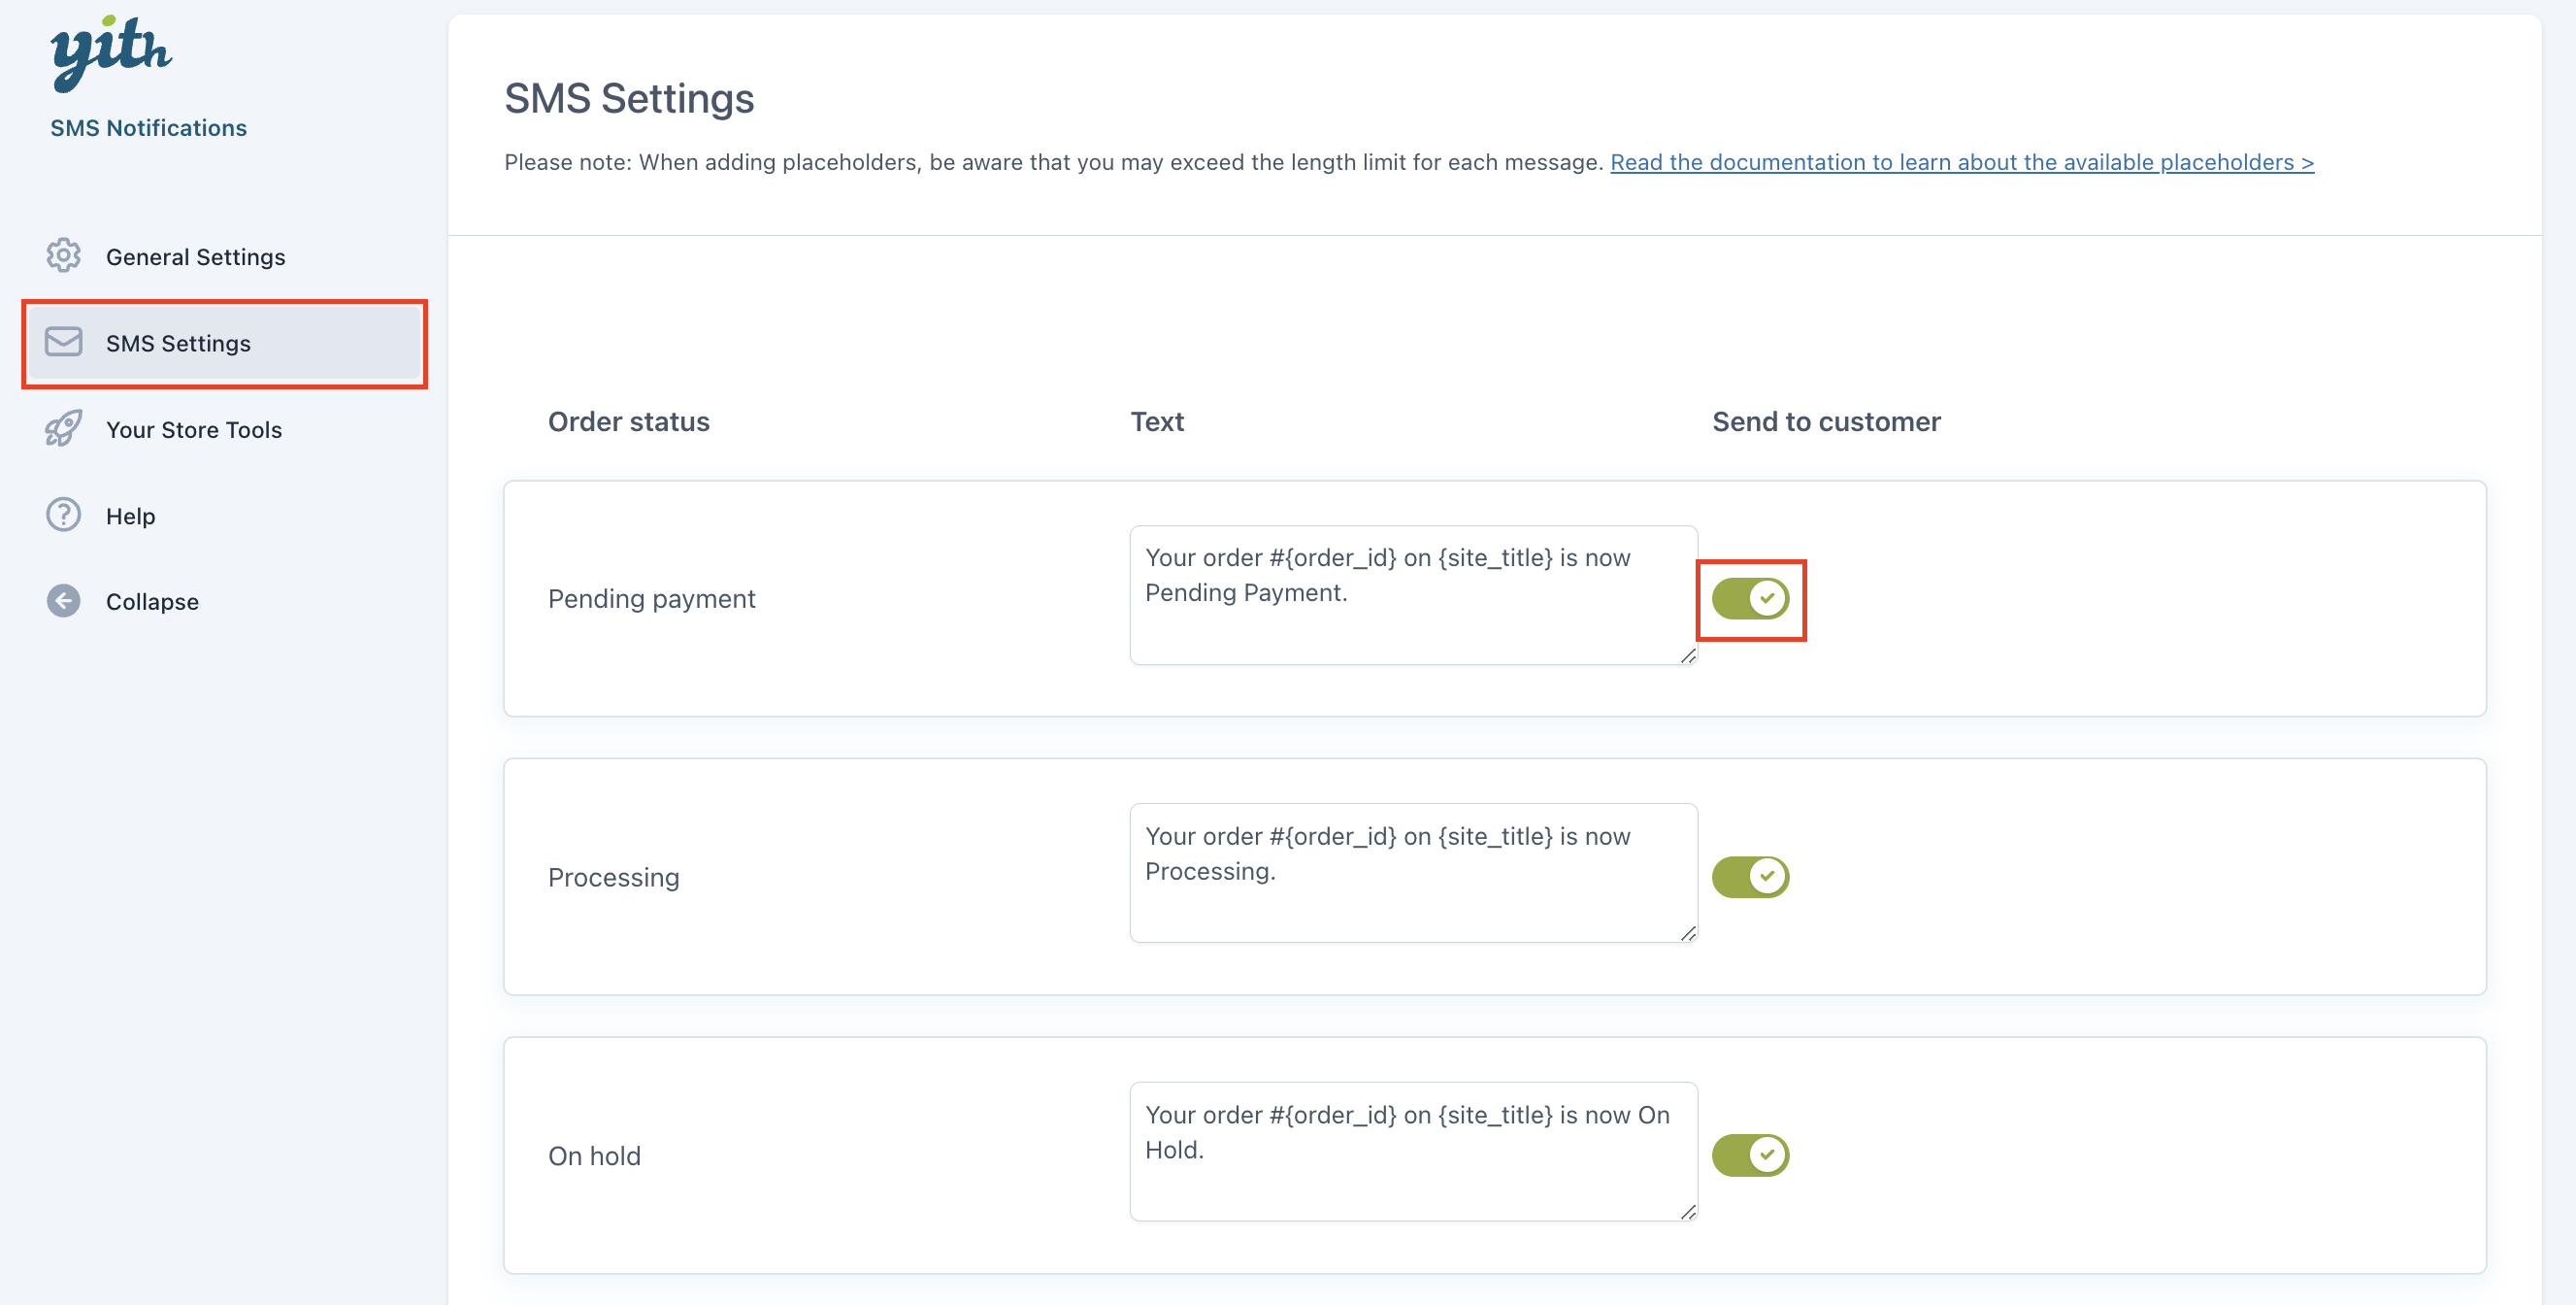
Step 5—Enable SMS notifications for order statuses
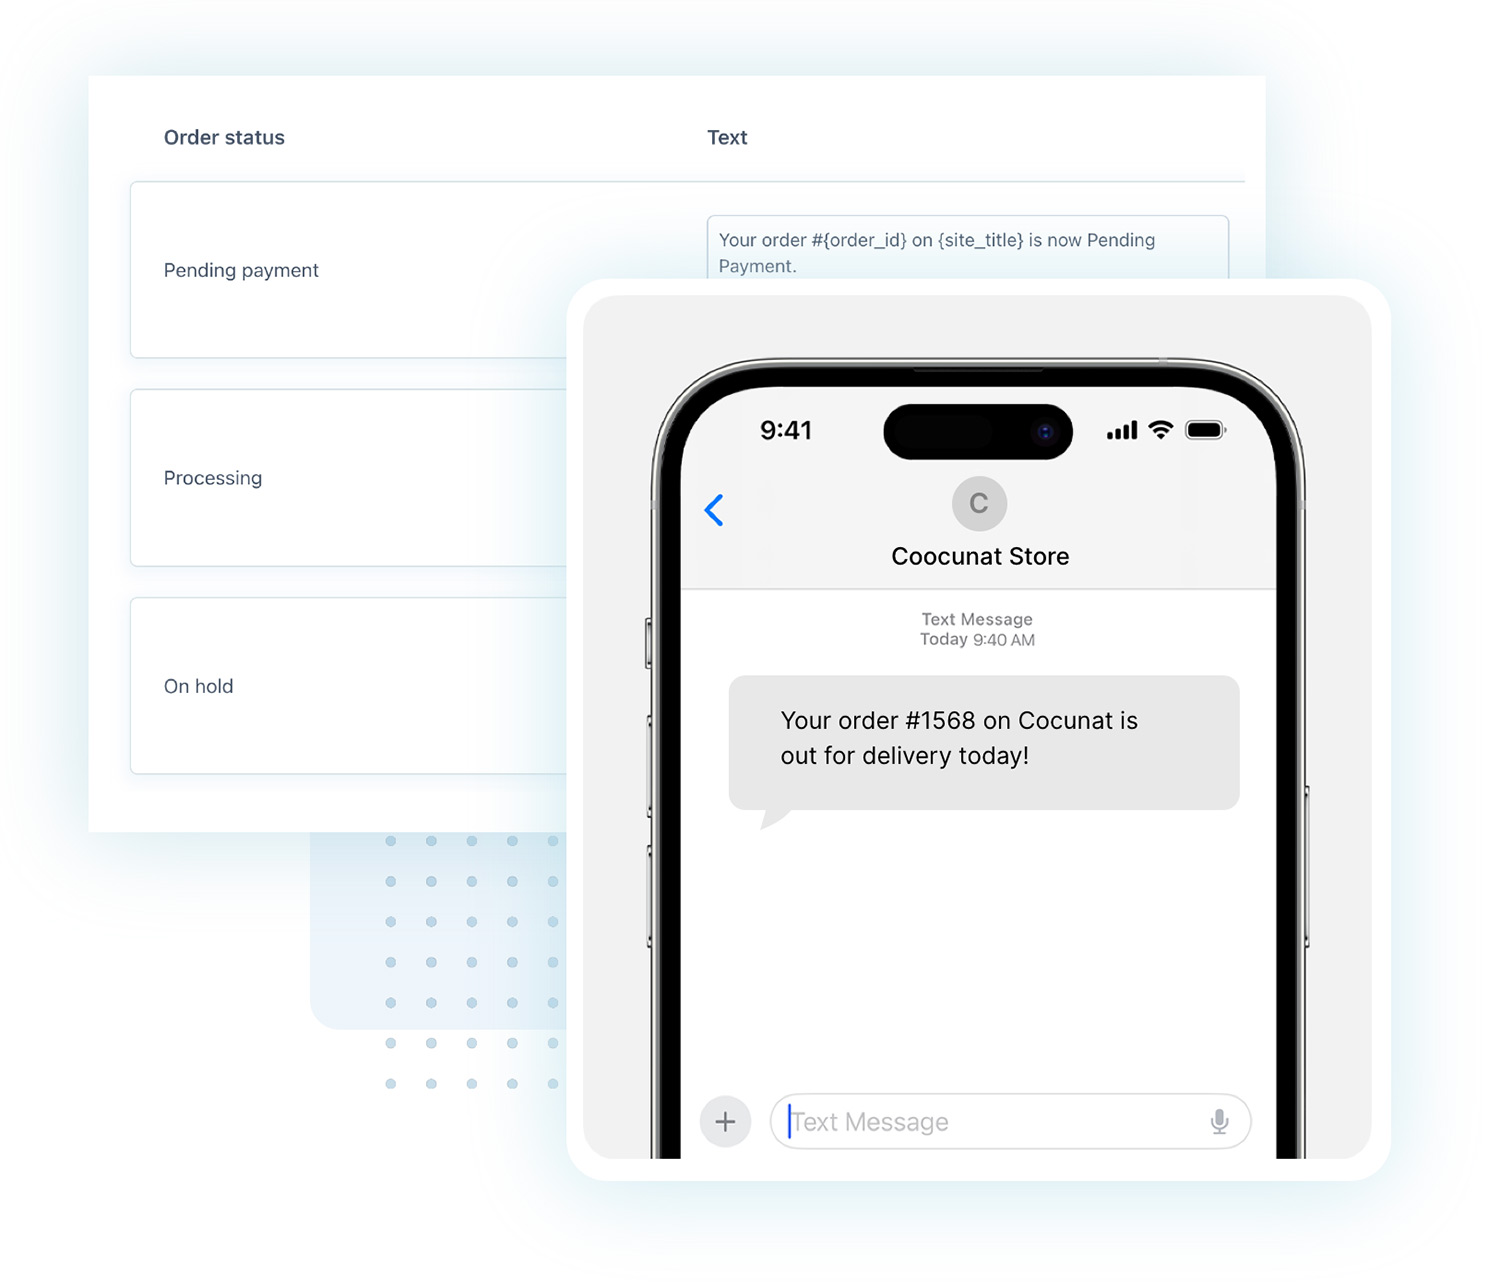
Now it’s time to select the order statuses for which you would like to send notifications to your customers and to the store administrators.
Go to the “SMS Settings” tab, customize the text and enable the notification for each order status you would like to add. It supports all default WooCommerce order statuses.
Thanks to the full integration with YITH WooCommerce Custom Order Status, you can send SMS notifications also for all the custom order statuses you have created.
After that, you can customize the text for each notification or use the default one.
As you can see in the image below, you can customize the admin message with just one text and the specific placeholders.
If you want to dynamically retrieve information about the user and the order, you can use one of the following placeholders in the message content:
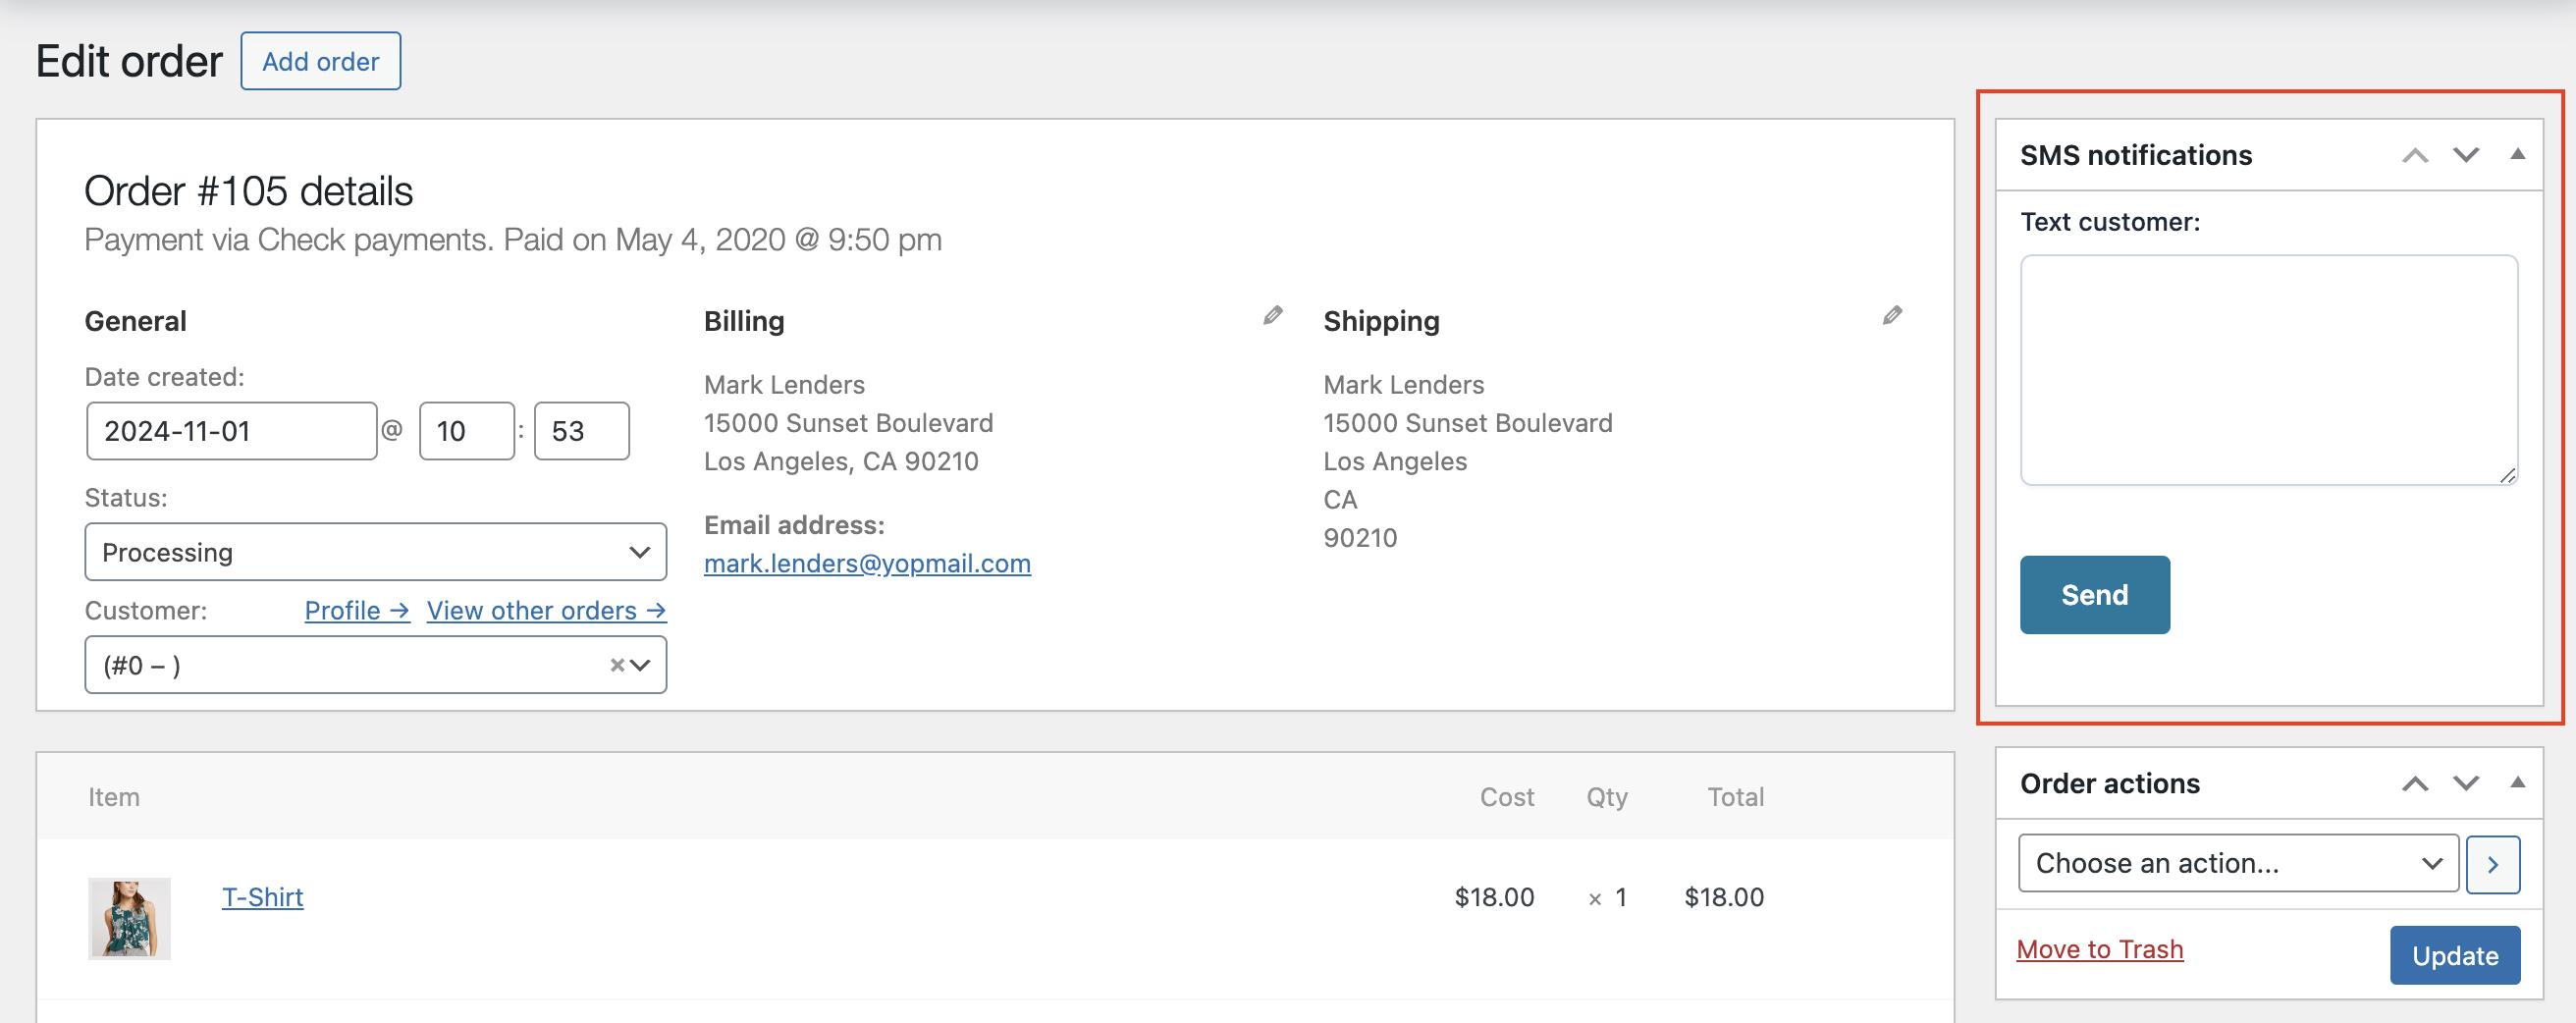
The plugin automatically sends SMS notifications when order status changes. However, if you want to send a new SMS message manually, you have to go to the “Edit Order” page. There, you’ll find an option to manually send a new SMS message to the user who owns the selected order.
From there, you can type the specific message and click “Send”. If the checkbox isn’t enabled, it means that the SMS sending feature isn’t available for the user associated with the order. Enabling it will change this behavior.


