Step 1—Select the SMS provider
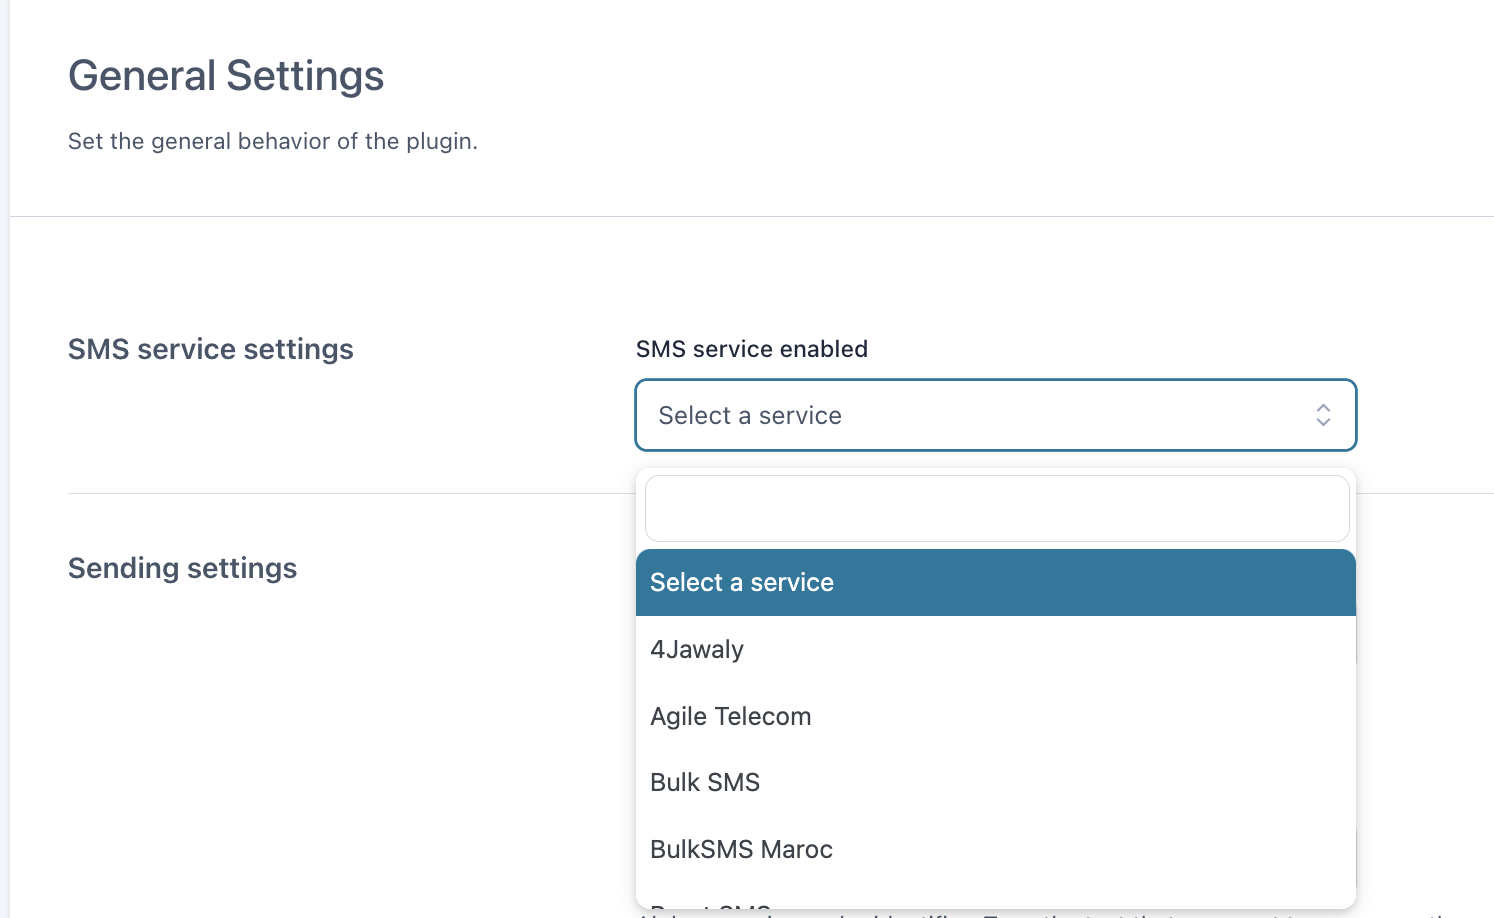
First of all, go to the General Settings tab, and choose the SMS provider you want to use in the SMS service settings option.
Note: Each SMS provider will require some credentials that you will receive from them. These credentials will vary depending on the provider.

To find the complete list of all the SMS services available you can check this page.
Step 2—Configure the text sending
Once you have chosen the SMS service, the next step is to manage the sending settings.
- First, you’ll find the Sender telephone phone number option, where you can enter the phone number you want to appear as the sender. Note that this is the number you have set up in your SMS provider account, or the one they provide you with (for example, Twilio usually does not allow you to choose your number, but gives you one of theirs). The maximum number of characters allowed is usually 16.

- Then, you can set the Alphanumeric sender ID. You’ll need to enter the name you want to appear as the sender (this option might not work in all countries, so it’s probably best to check with your chosen SMS service provider first).

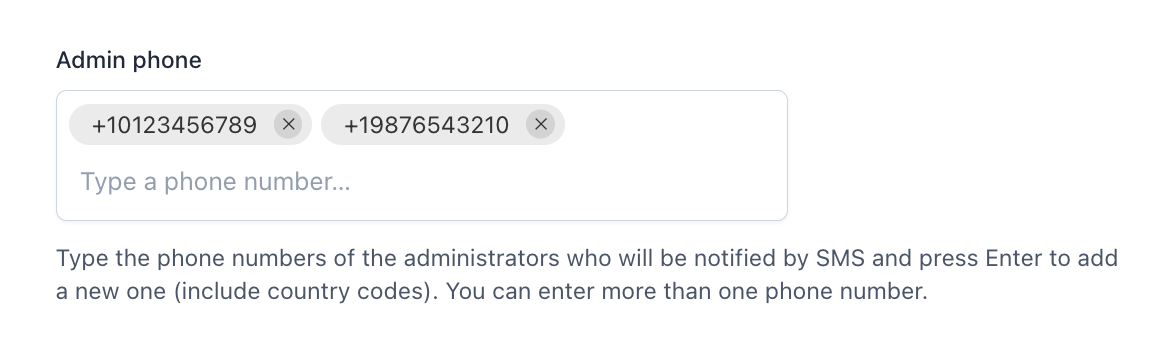
- Next, you’ll see the Admin phone field option, where you can enter the phone numbers of the administrators who will get a text message. To add a new one (including country calling codes), just press “Enter”.
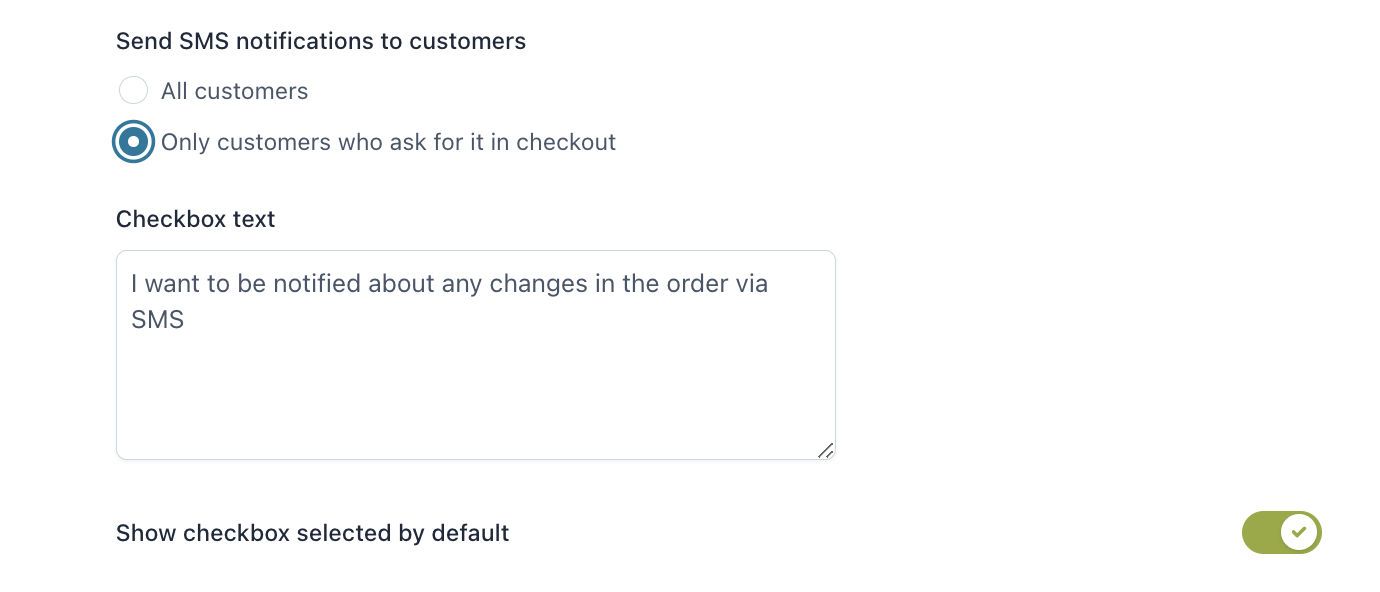
- Once done, you can set the Send SMS notifications to customers option. You can choose to send notifications to all customers or just those who ask for them at checkout.
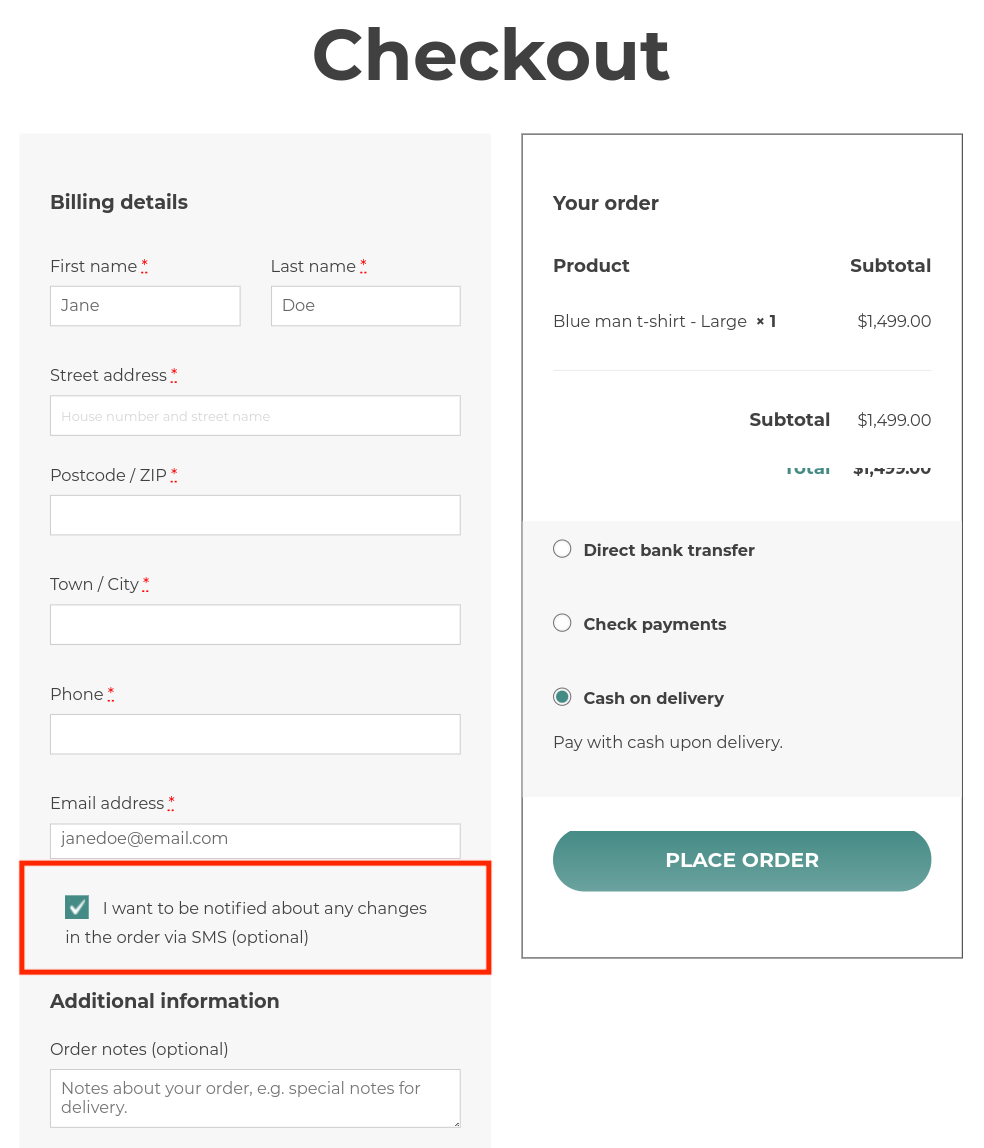
When choosing the second option, you’ll see a text field where you can enter the text for the checkbox. You can also choose to show this checkbox by default.
It will look like this in the frontend: