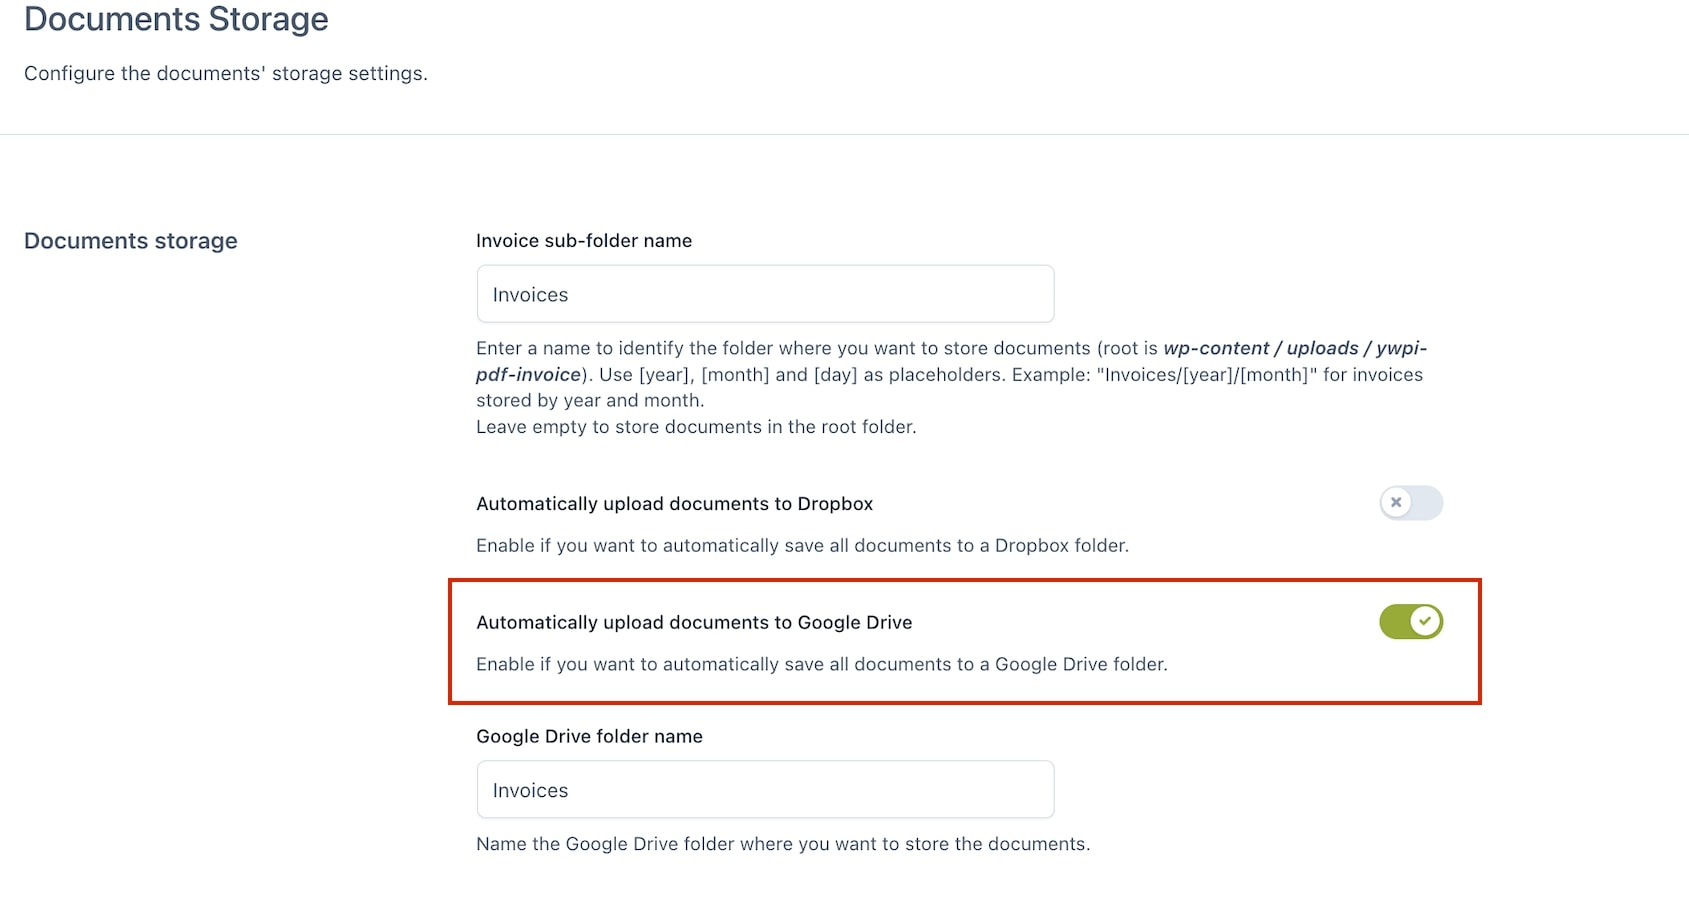
You can automatically back up all generated PDF documents in Google Drive . The backup is immediate.
Following we analyze each individual step for the saving process to work correctly.
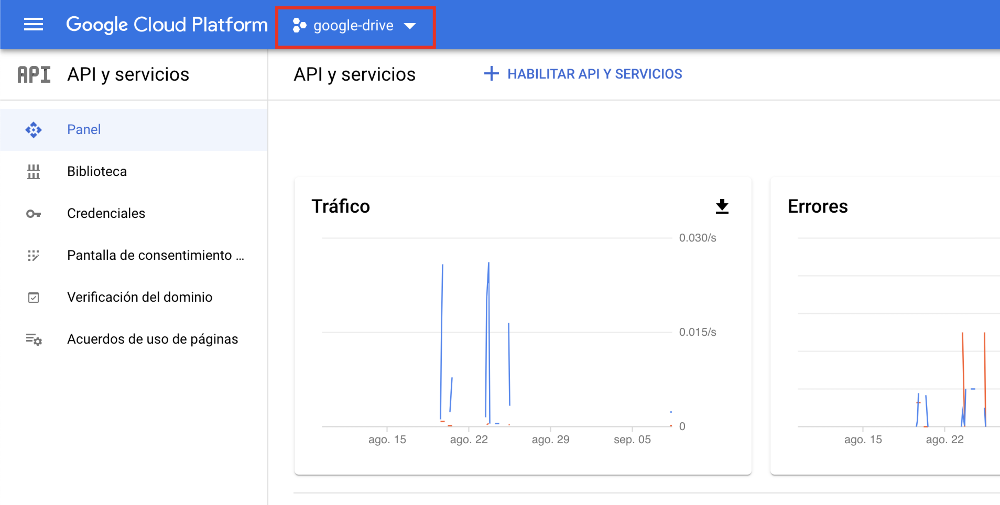
Step 1
Create a project into the API Manager, your screen should look similar to this:
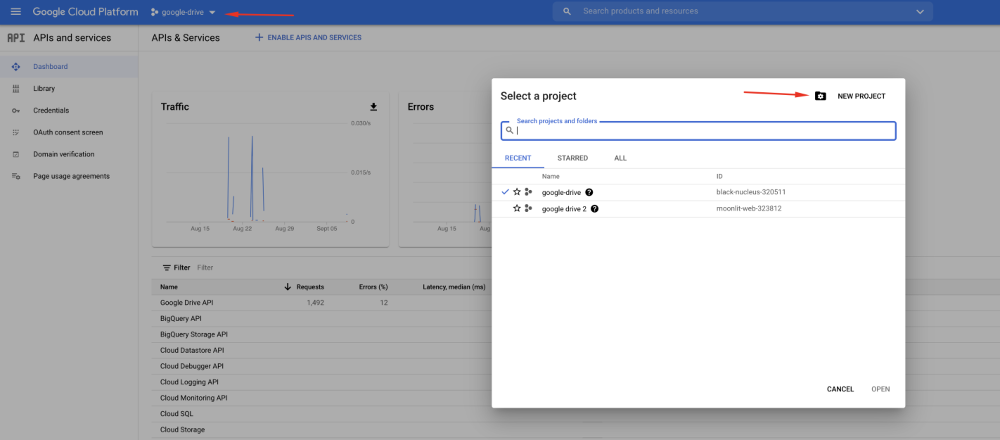
Step 2
Start off by clicking on the project selection link and click on the “New Project” button:
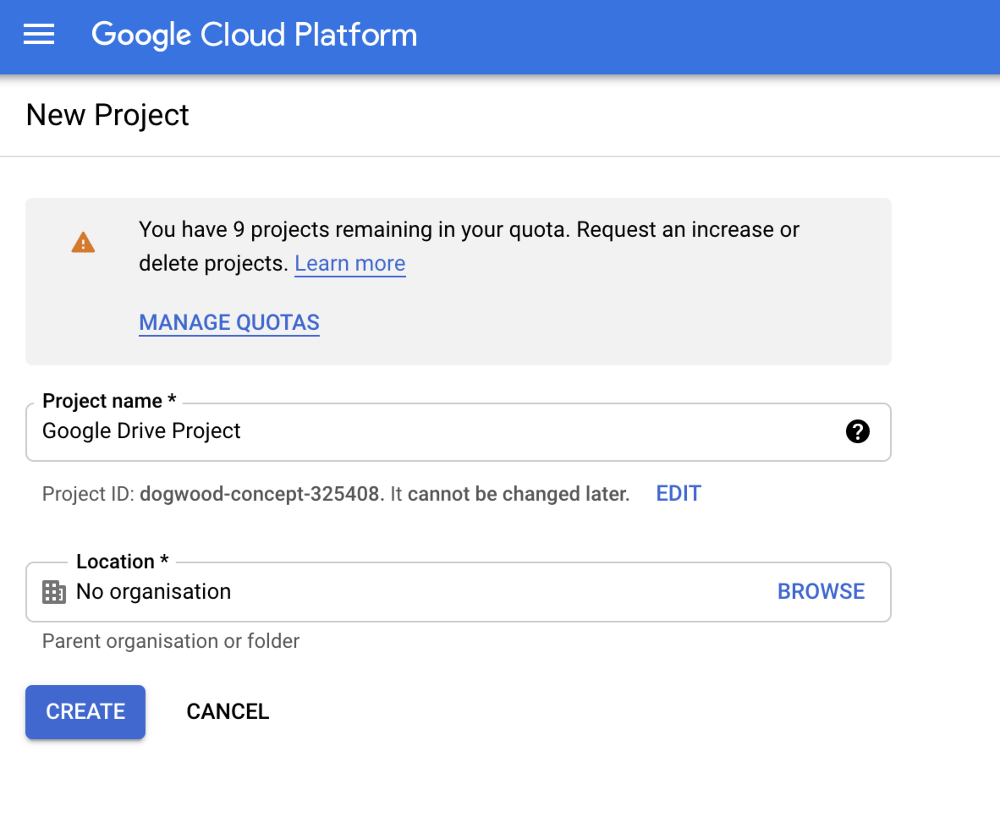
Step 3
In the next step, add a Project name and create it.
Step 4 Creating a Client ID
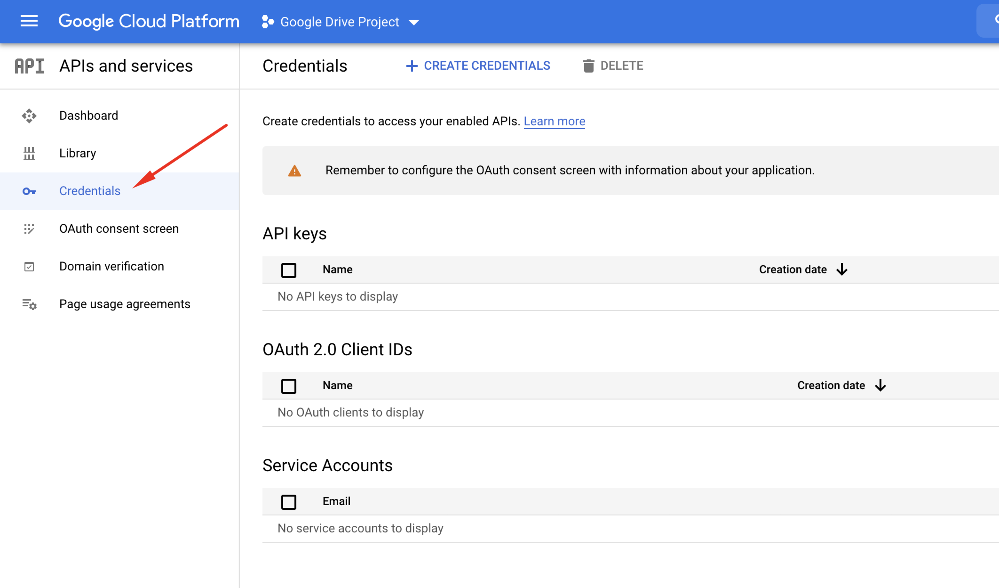
The Client ID is mandatory for Google. To get one:
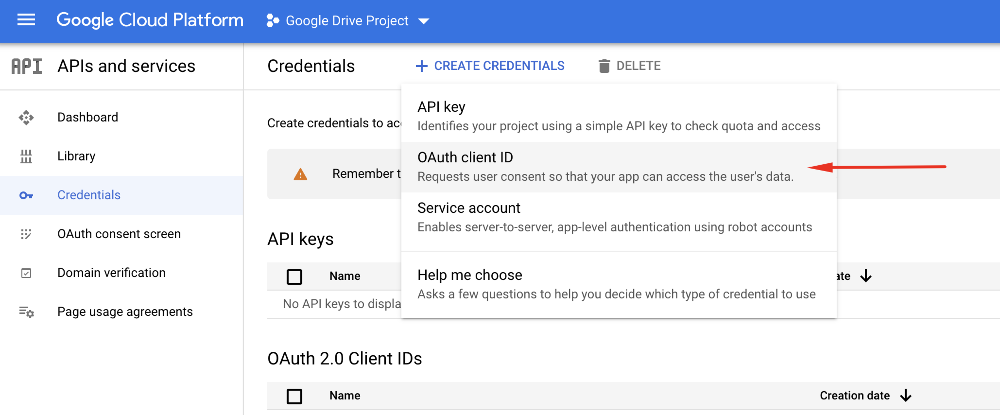
Go to the API Manager > Credentials:
Step 5
Create new OAuth client ID credentials:
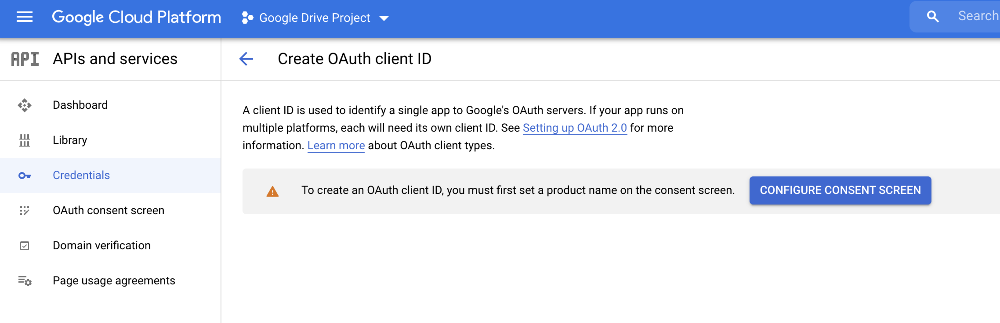
Step 6
You must configure a Consent Screen:
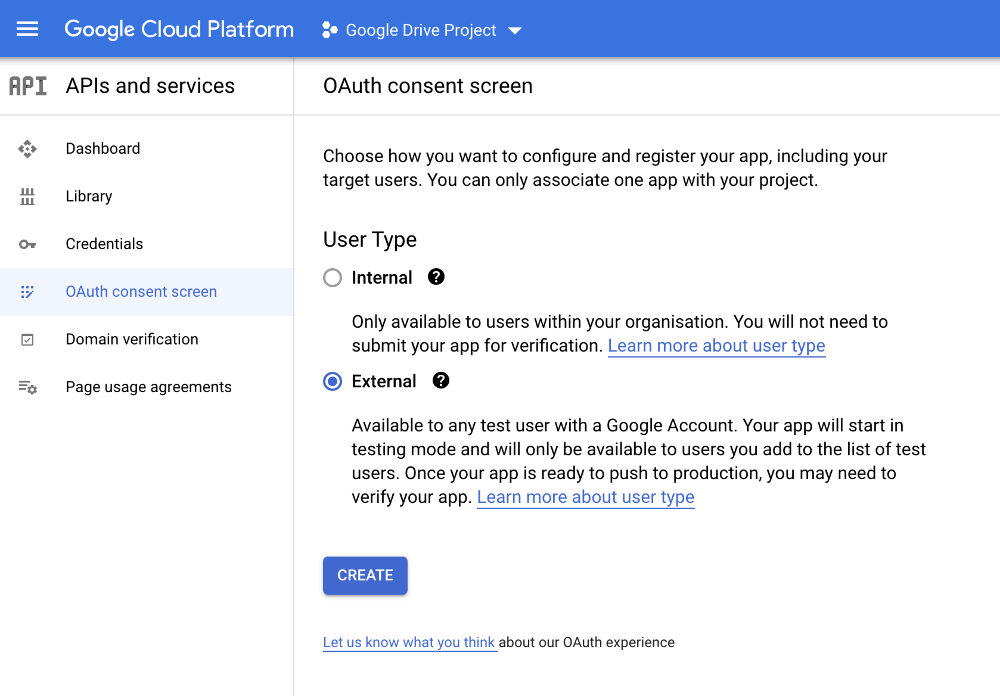
Step 7
Pick external, because you are going to use your Google account for authentication.
Step 8
On the consent screen provide the “Application Name” and the Email Address
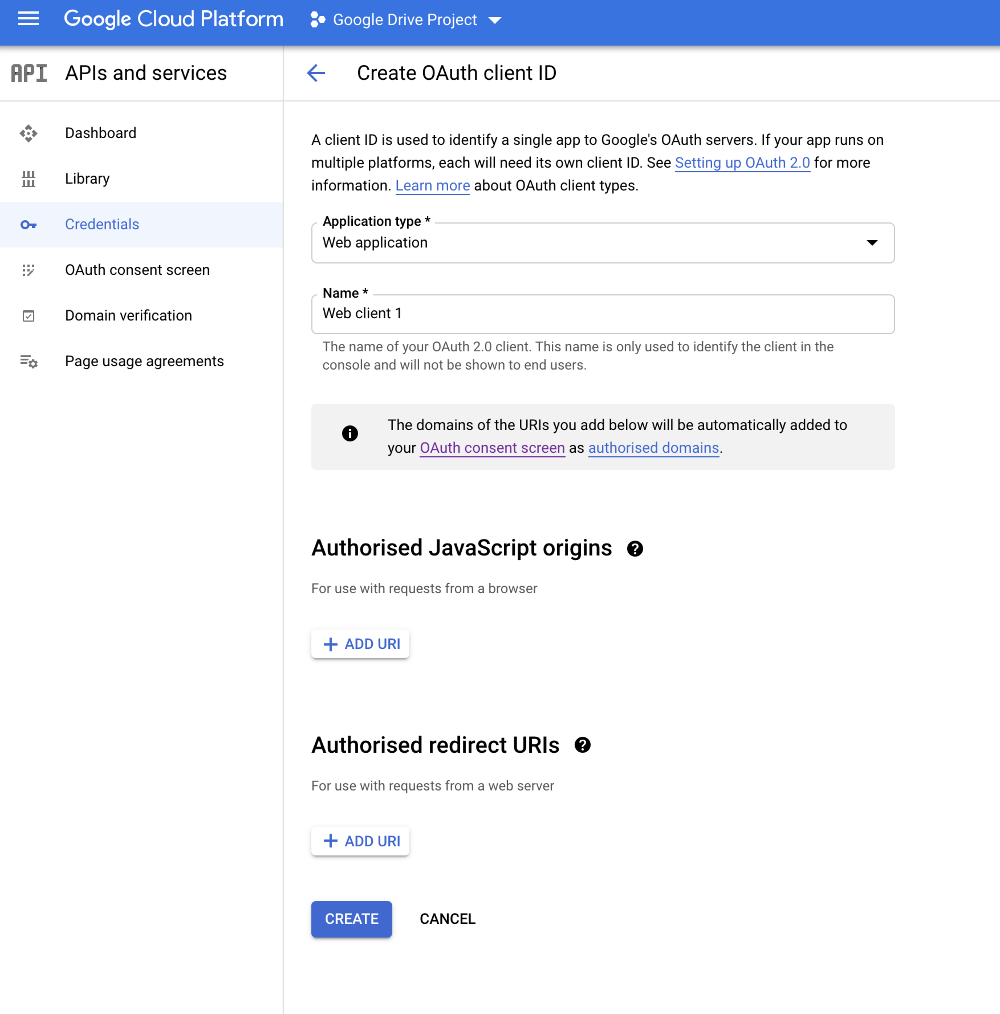
Go back to Credentials → Create Credentials → OAuth client ID. In the resultant screen, you can pick one of two options:
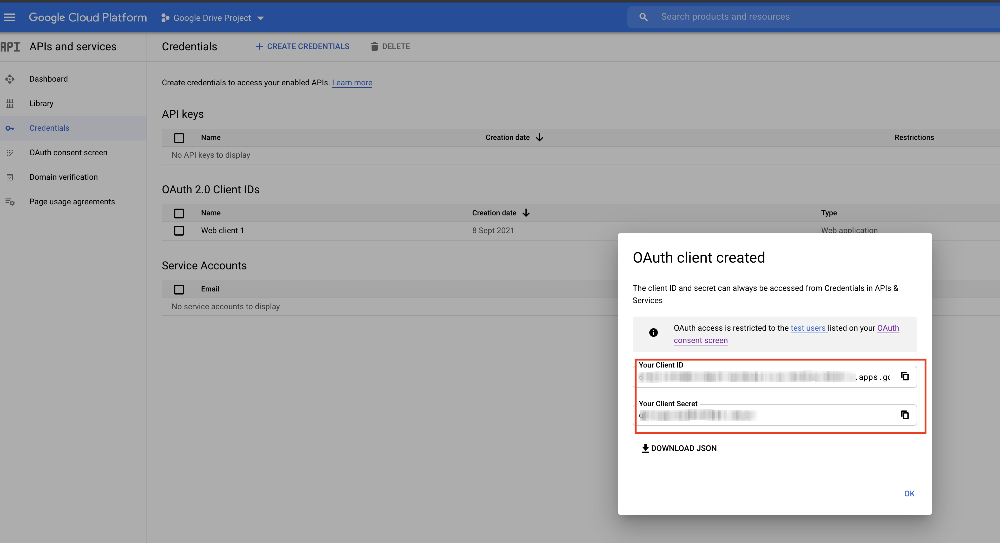
Step 9
After continue, you will see the Client ID and the password that you will use in our plugin fields.
Step 10 Enabling the Client ID for Google Drive
Navigate to the API Library page and search for Google Drive API.
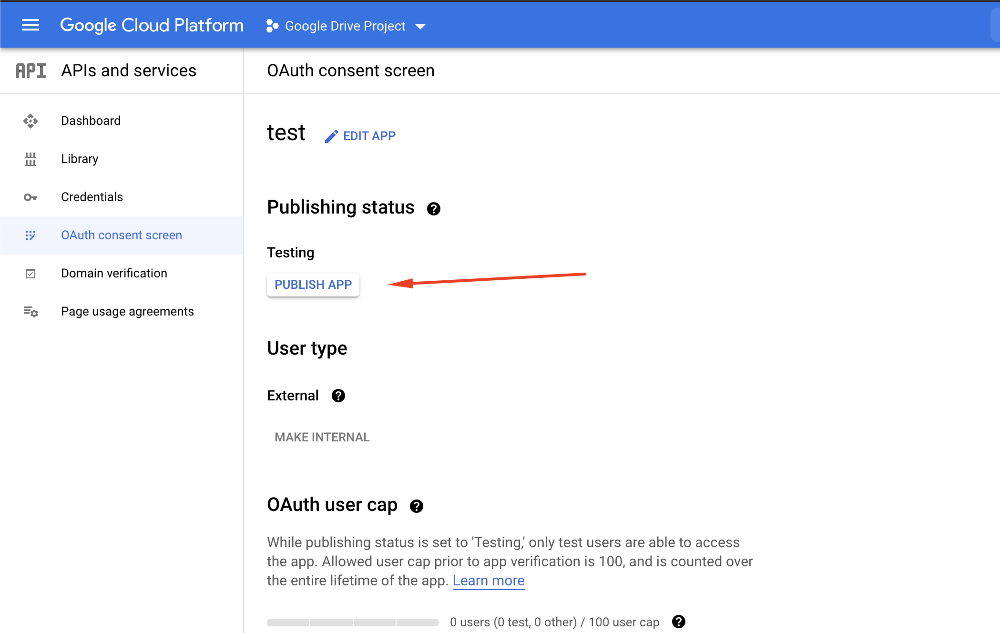
Step 11 publish your project
Go to the “OAuth Consent Screen” in your Google Console, and click on the button “Publish App” and that’s all:
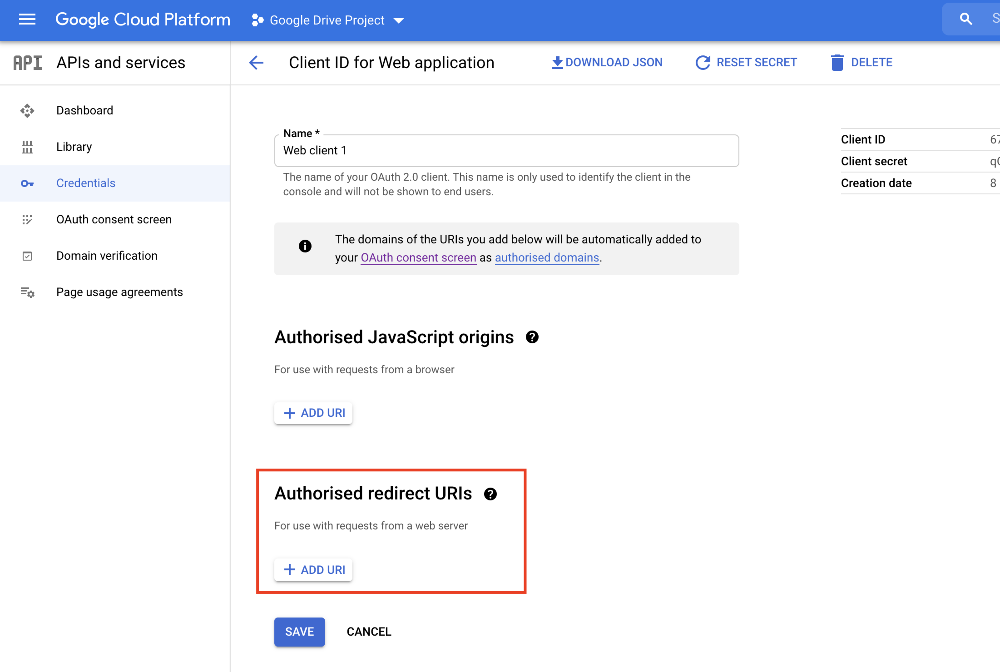
Step 12 Add your Redirect URI
Go to Credentials > Open your credentials configuration and add the Redirect URI in the Authorised redirect URIs section.
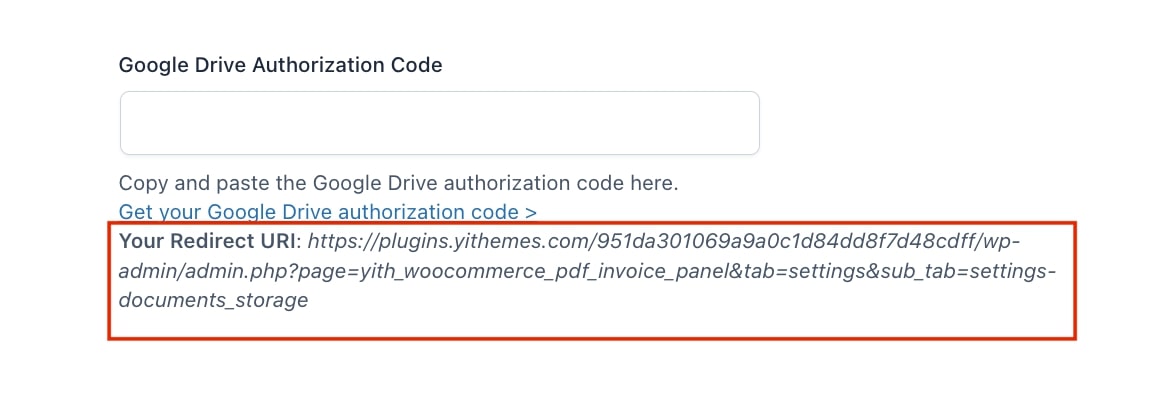
Step 13
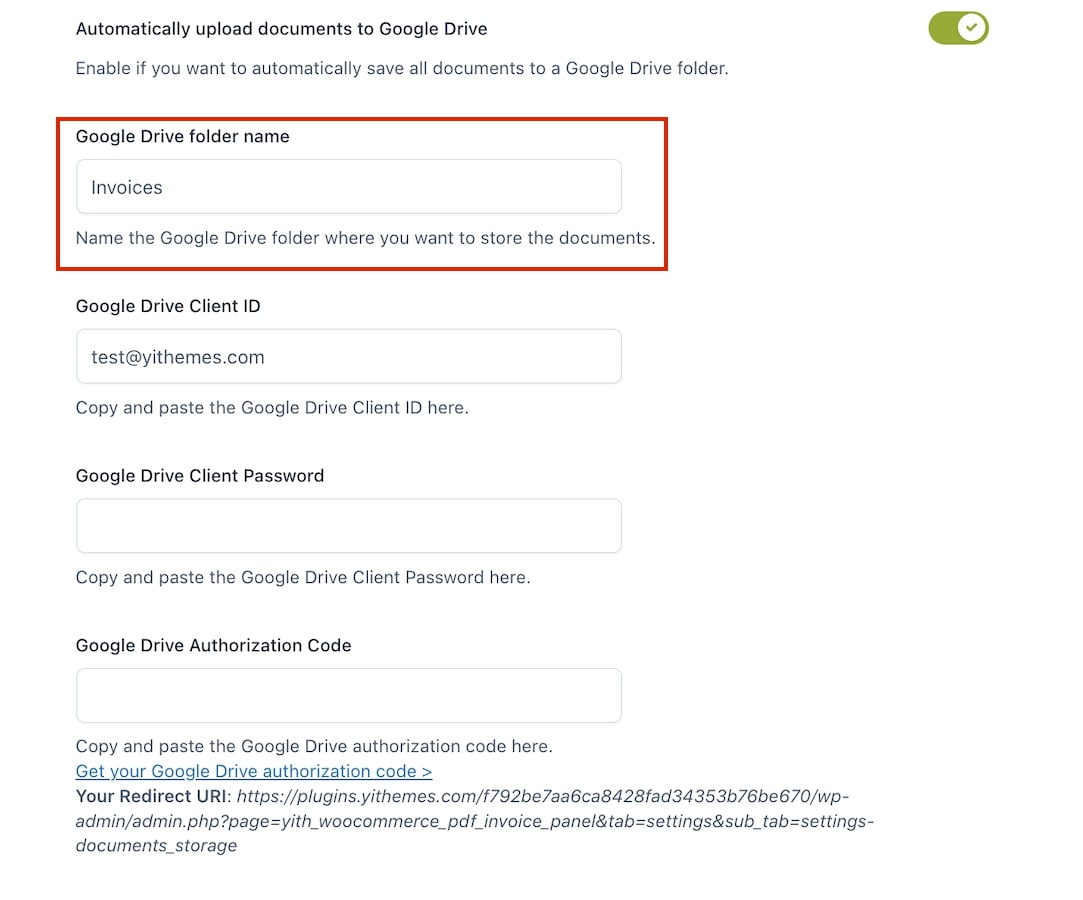
You can find the Redirect URI in the “Google Drive Authorization Code” option of the plugin.
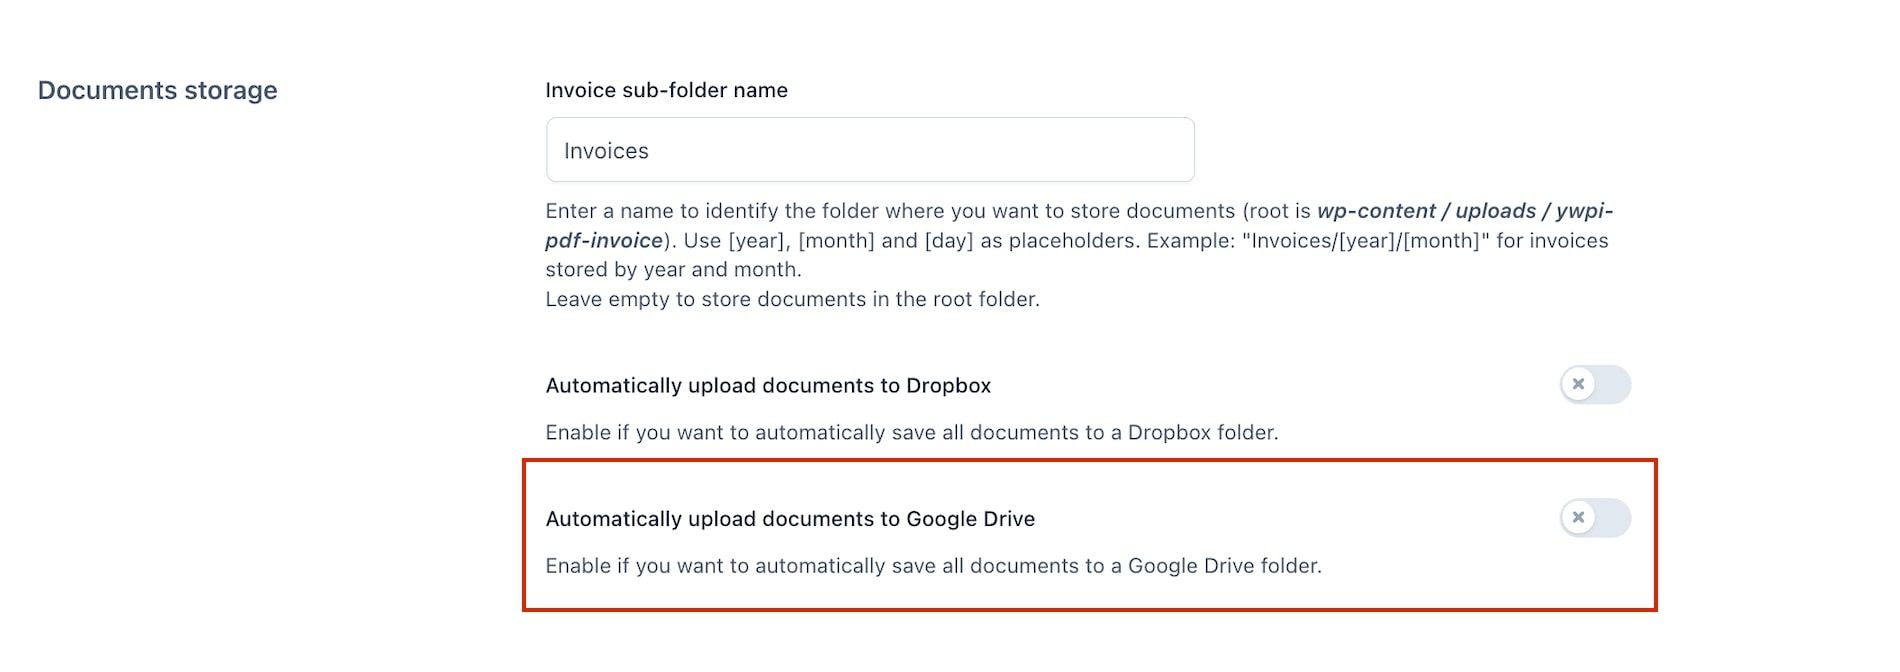
Step 14 change storage folder name
Step 15 disable google drive storage
You can easily disable the Dropbox storage option by using the toggle.