To manage barcodes and QR codes on your orders, go to the plugin settings panel YITH > Barcodes and QR Codes > Settings > Order barcodes and configure all the necessary settings.
Note: the below settings apply to both barcodes and QR codes.
Barcodes configuration

- Generate and apply barcodes on orders: enable this option to enable barcodes or QR codes on orders. From the order page, you can also delete the generated barcode.
- Automatically generate and apply barcodes on new orders: enable this option to generate barcodes automatically as soon as the order is placed.

- Code type: choose between Barcode or QR code
- Order barcode protocol: choose one of the available protocols (only available for barcodes). Available protocols are:
- EAN-13
- EAN-8
- UPC-A
- STD 25
- INT 25
- CODE 39
- CODE 93
- CODE 128
- Codabar
For more details about the protocols and which one could be the best for your project, please, refer to this page.
- Generate the barcode using:
- The order ID
- The order number
- A custom field: any of the order custom fields.
- Show barcodes on order page: choose whether to show the order barcode/QR code on the order confirmation page on the frontend.

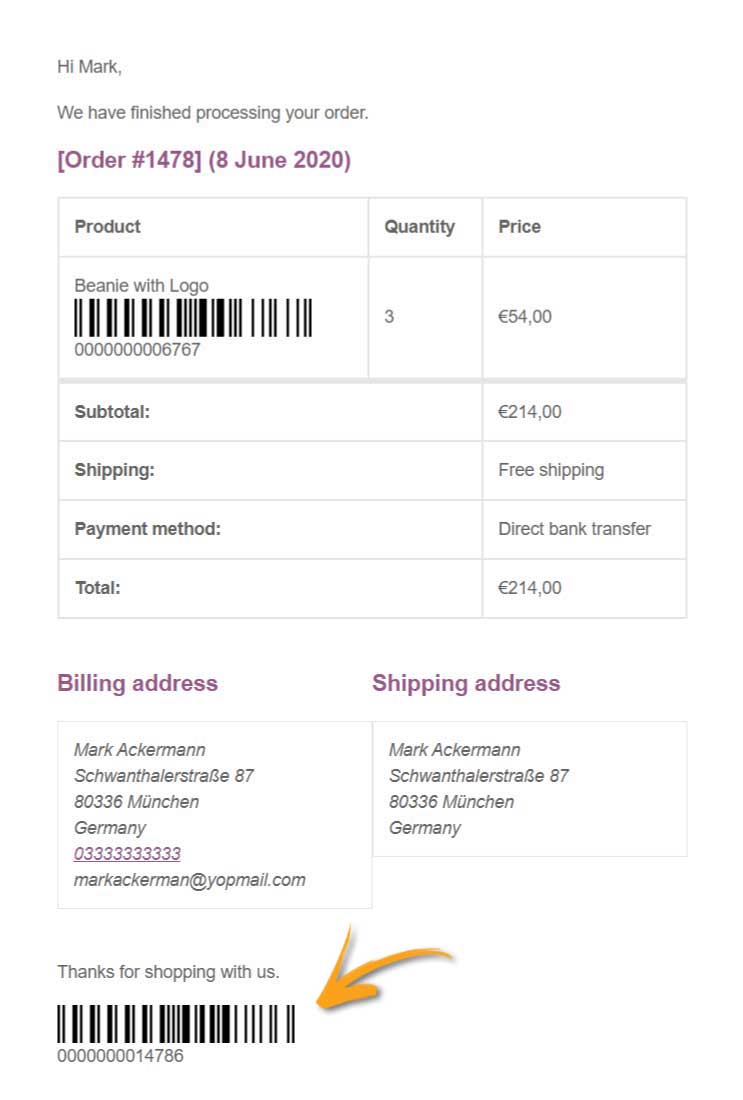
- Show order barcode in order email:
- Never show order barcode in emails
- Show only in emails sent after the order is set to ‘completed’
- Show in all emails