In the All stores table, you can have an overview of all the stores you have created so far. For each store, you can see the related services, address, contact info, and facilities.
You can use the available actions showing on mouse hover to
- view the store: clicking on the View icon will redirect you to the store page on the frontend;
- edit the store: clicking on the Edit icon will redirect you to the store edit page on the backend;
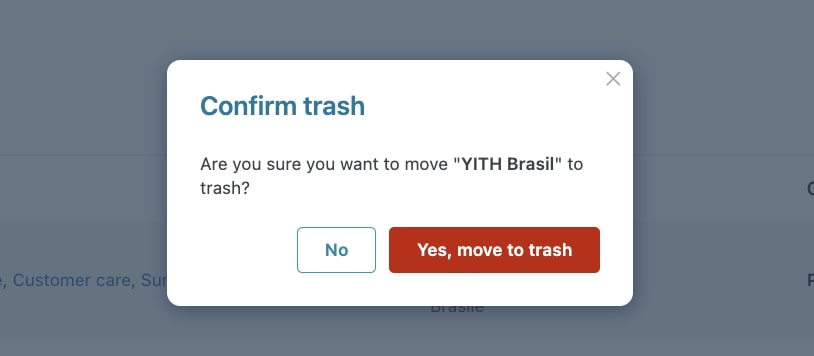
- delete the store: clicking on the Trash icon will move the store to the trash. This action requires the confirmation;
- reorder the store position: clicking on the Arrows icon allows you to move the store to a different position in the table.
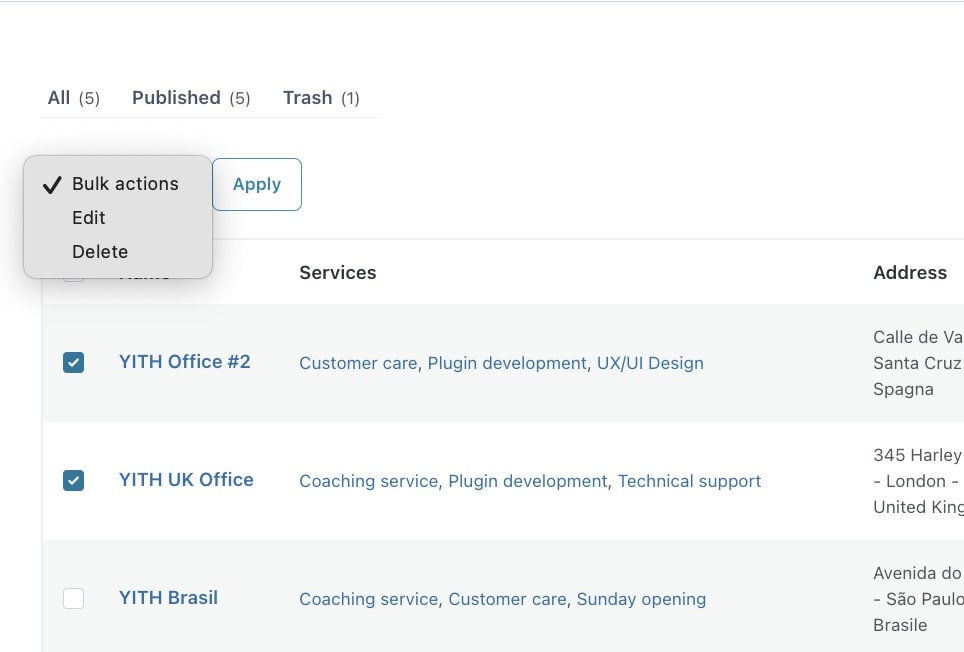
Store editing and deletion can be also applied massively through the bulk actions.
Export/Import stores
If you have stores you want to show on the Store Locator page or if you need to export those added to the All stores table, you can use the Export/Import option.
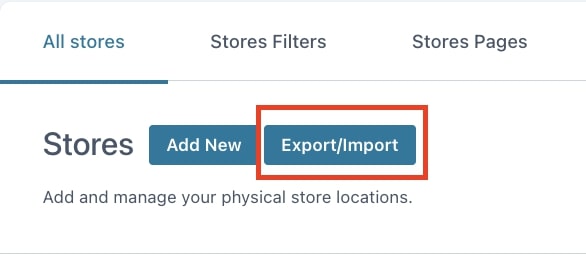
By clicking on the button, the procedure will start and you will be asked to choose the action to apply.
By selecting Export, stores will be exported into a CSV file without any further action. A message will show at the end of the process as confirmation of the completed import.
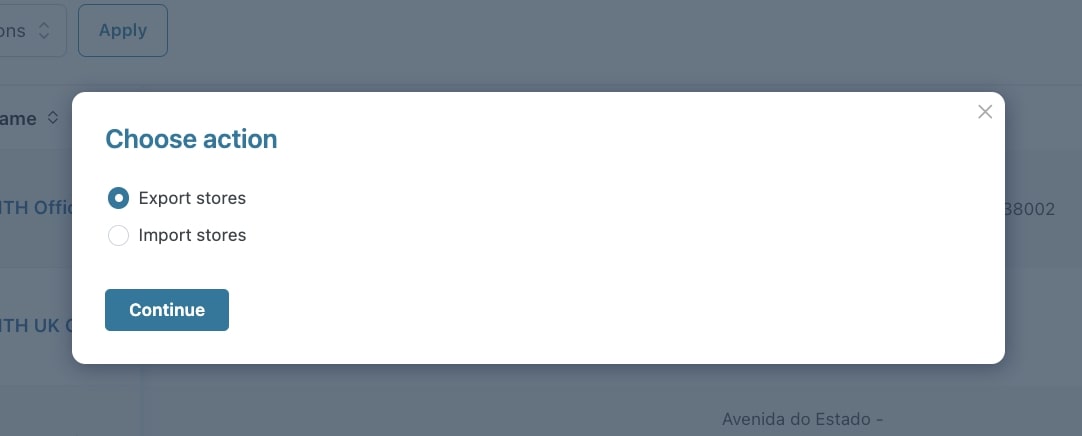
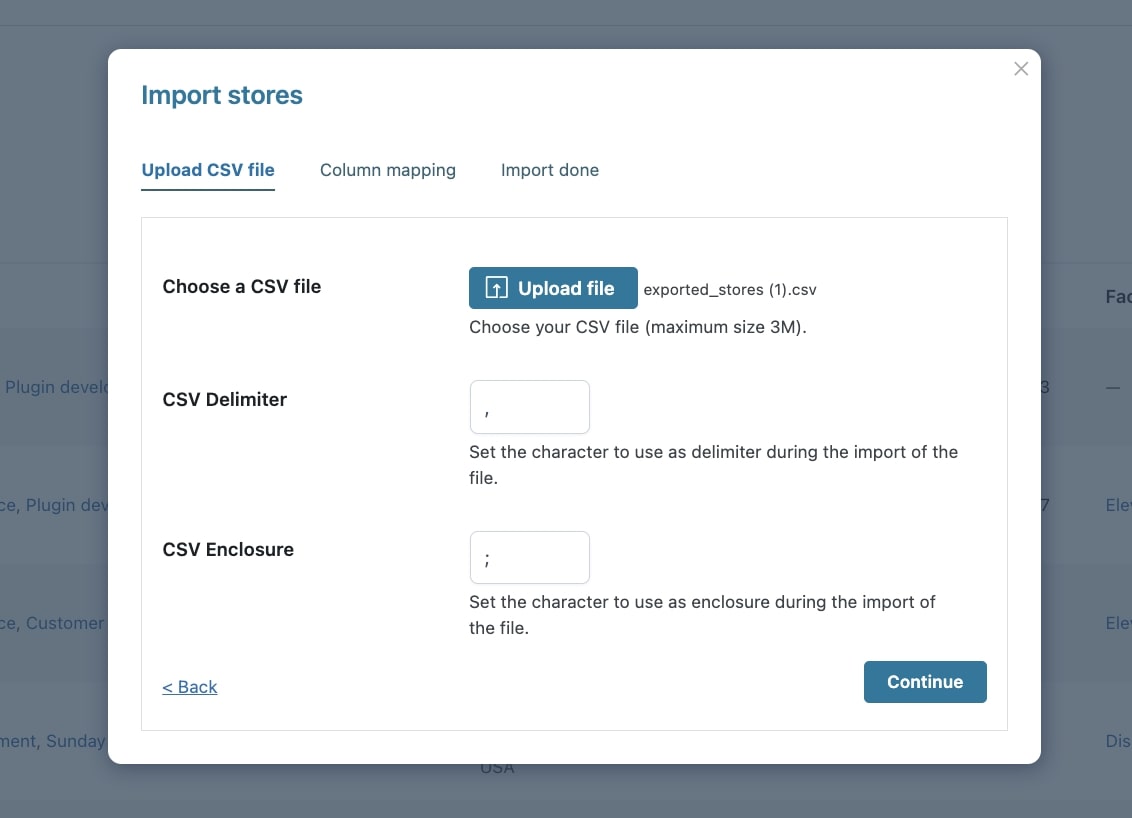
By selecting Import, you will need to upload a CSV file and define both CSV delimiters (e.g. a comma) and enclosure (e.g. a semicolon) in the dedicated fields. You can then click on Continue.
To import the data correctly, it is important to associate the information to retrieve from the CSV file columns by selecting it from the dropdown in the fields.
Map the ID field only if you are sure this won’t overlap IDs. By not assigning any column, the plugin will automatically generate the ID field.

Now click on Run the importer and wait for the message confirming the import is successfully completed.