To configure the map settings, go to Store locator page -> Map. Here, you can find all the options related to:
- the map
- the pin info modal
- the radius circle.
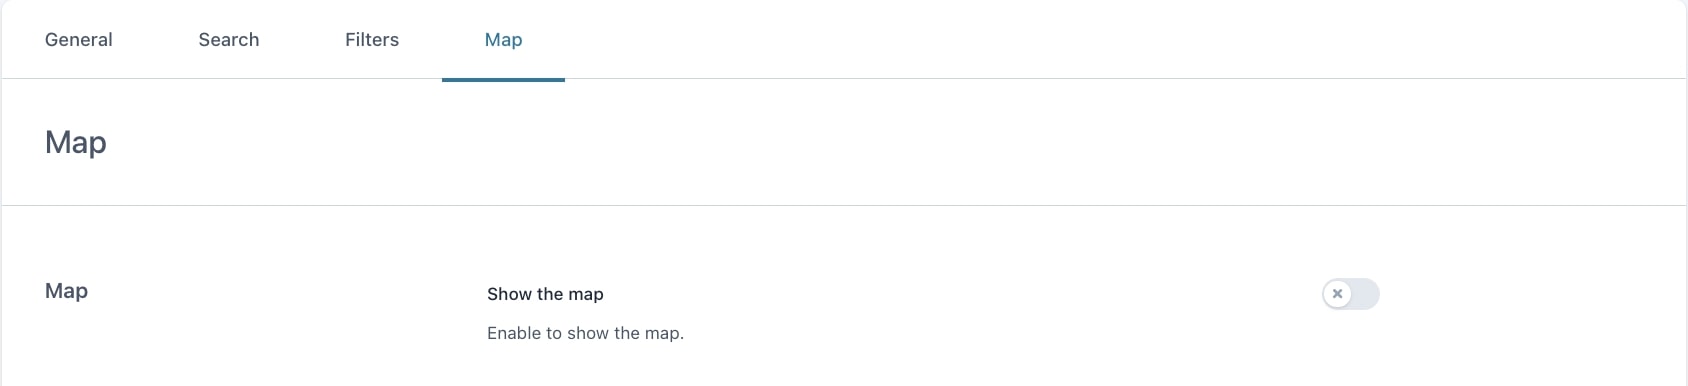
Map
To start configuring the map options, you must first enable the option Show the map.
Now, you can start setting up the following options:
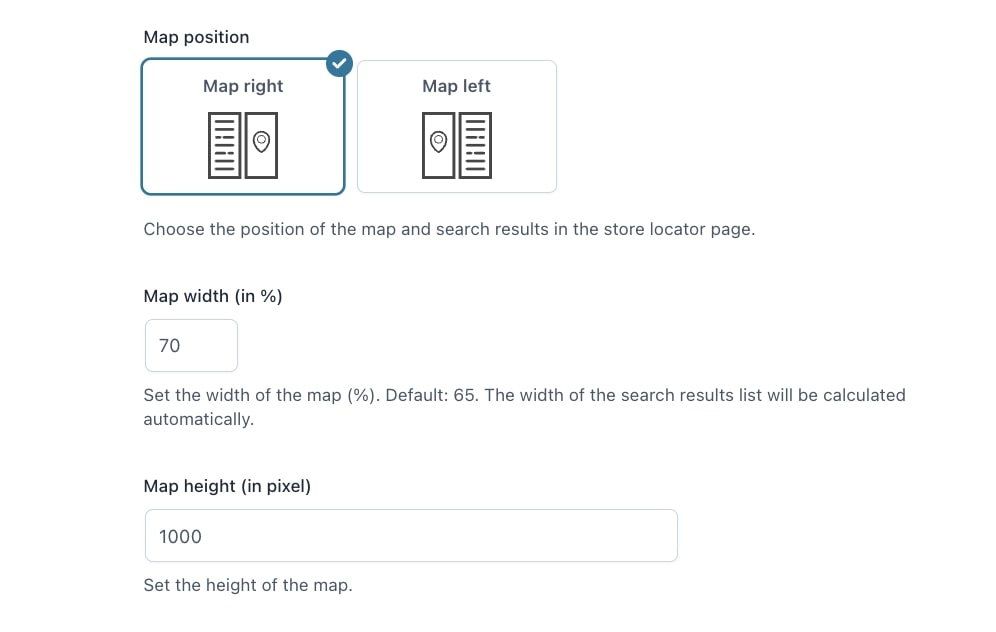
- Map position: choose whether to show the map and search results on the right or left on the Store locator page.
- Map width (in %): set the width of the map as a percentage to calculate the list of search results automatically. Default value: 65.
- Map height (in pixel): set the width of the map.
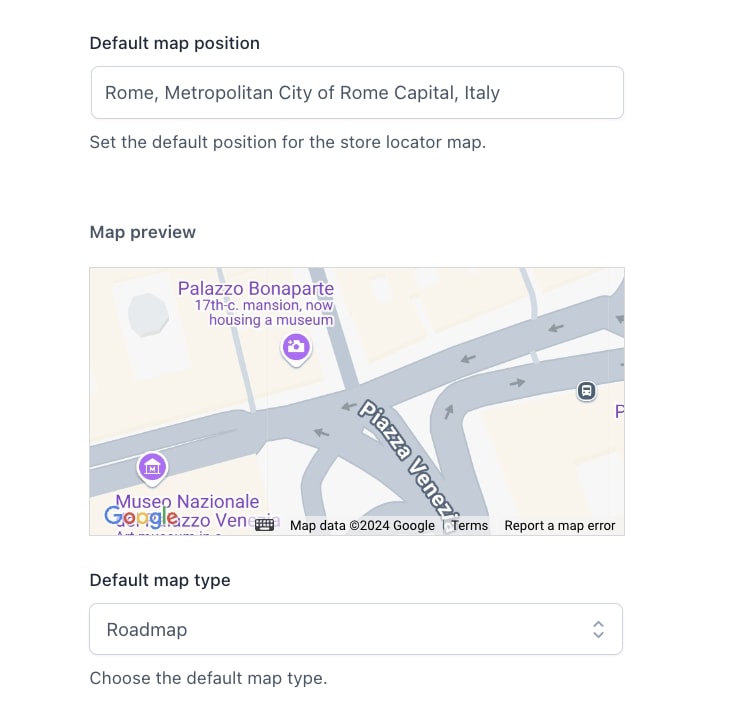
- Default map position: define the default map position by using Google suggestions.
- Map preview: this is a preview of the map based on the location entered as the default map position.
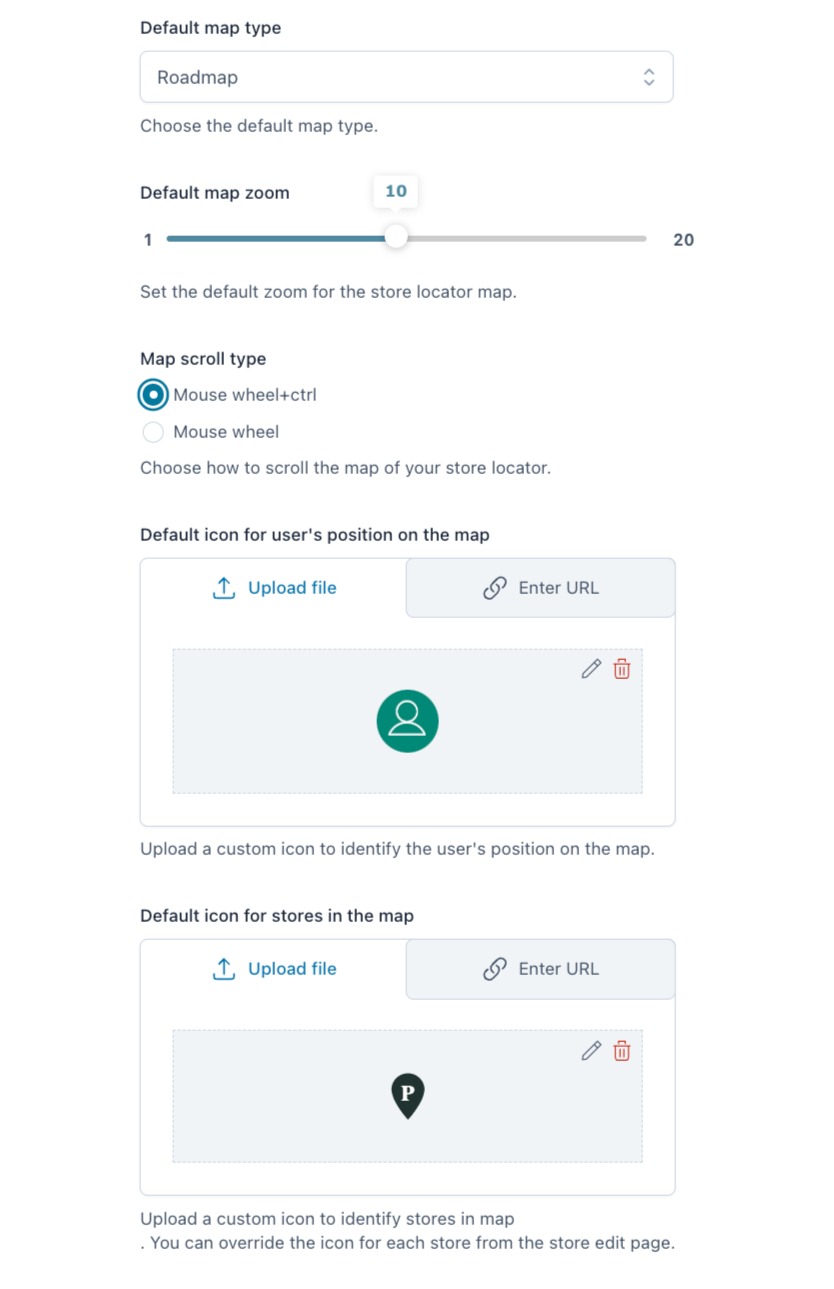
- Default map type: choose the map type to show from roadmap and satellite.
- Default map zoom: set the default zoom for the store locator map.
- Map scroll type: select how to scroll the map of the store locator (with Mouse wheel+ctrl or Mouse wheel).
- Default icon for user’s position on the map: choose the icon to identify the user position in the map from the default one or by uploading a custom icon.
- Default icon for store in the map: choose the icon to identify the store position in the map from the default one or by uploading a custom icon. You can override this option from the store edit page if you want to use a different icon for each store.
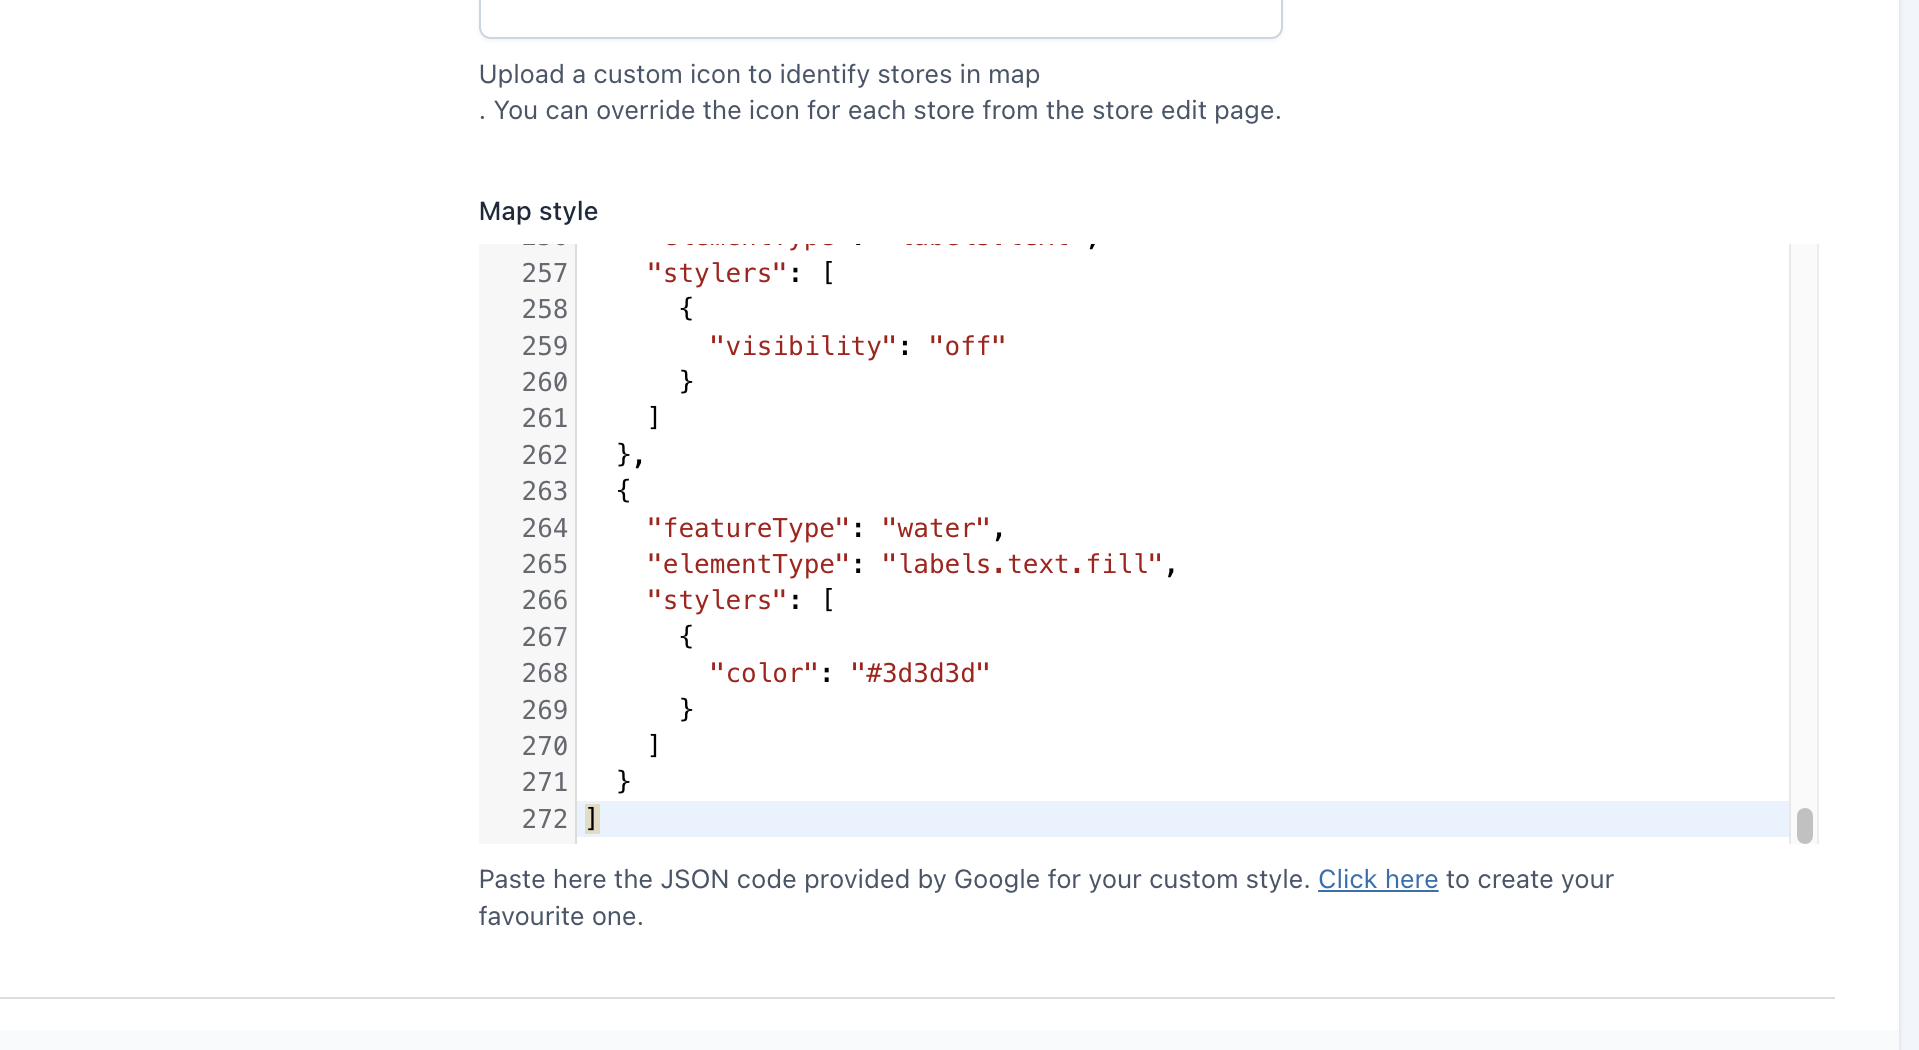
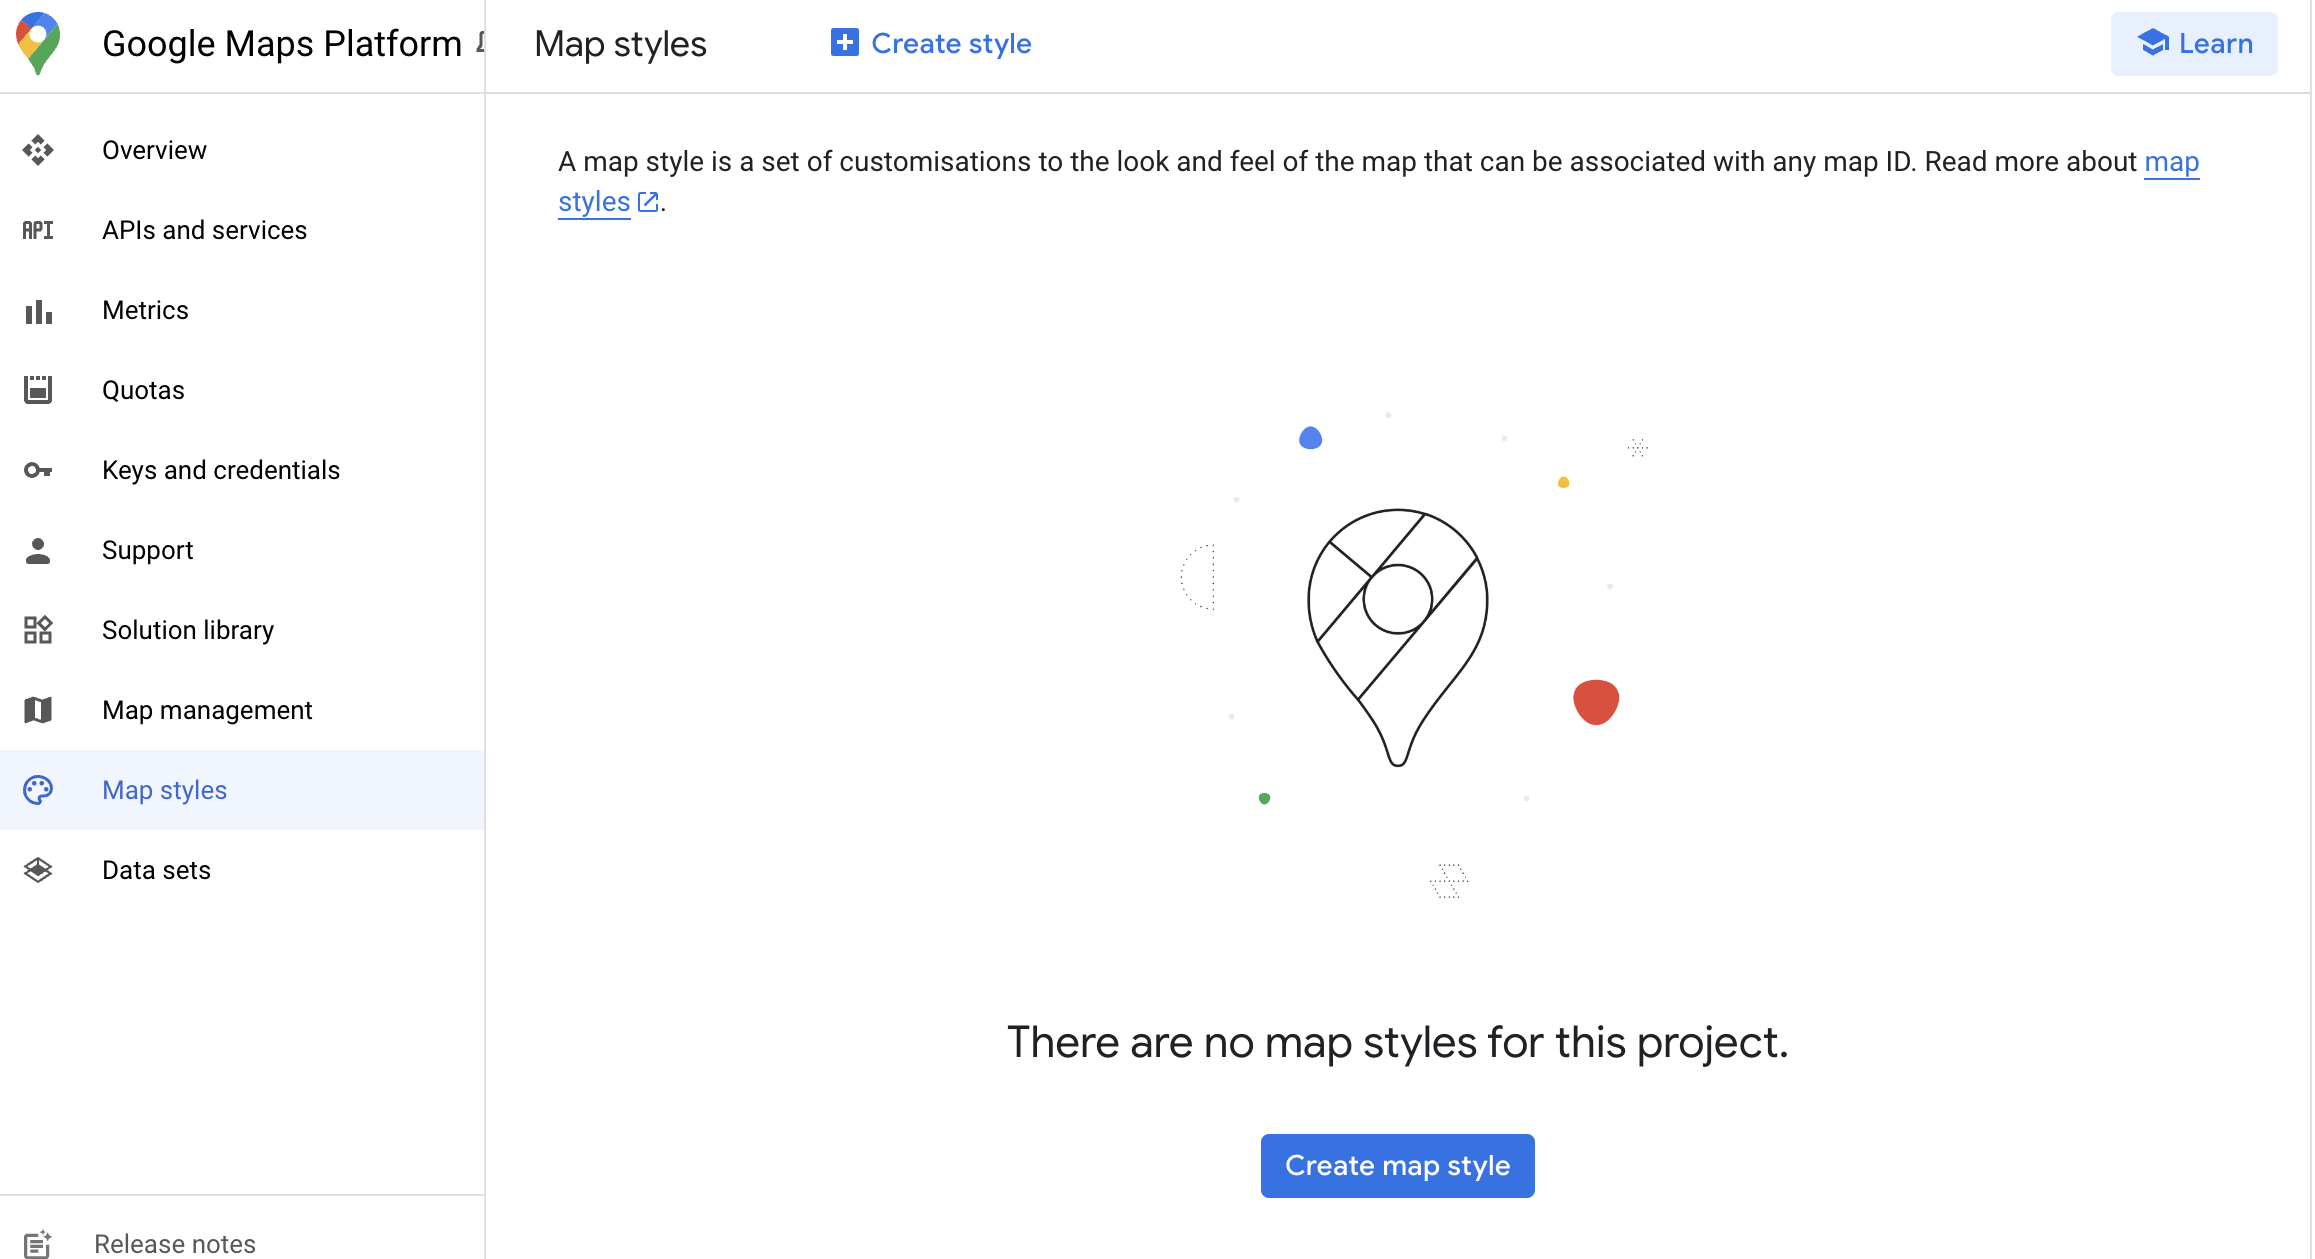
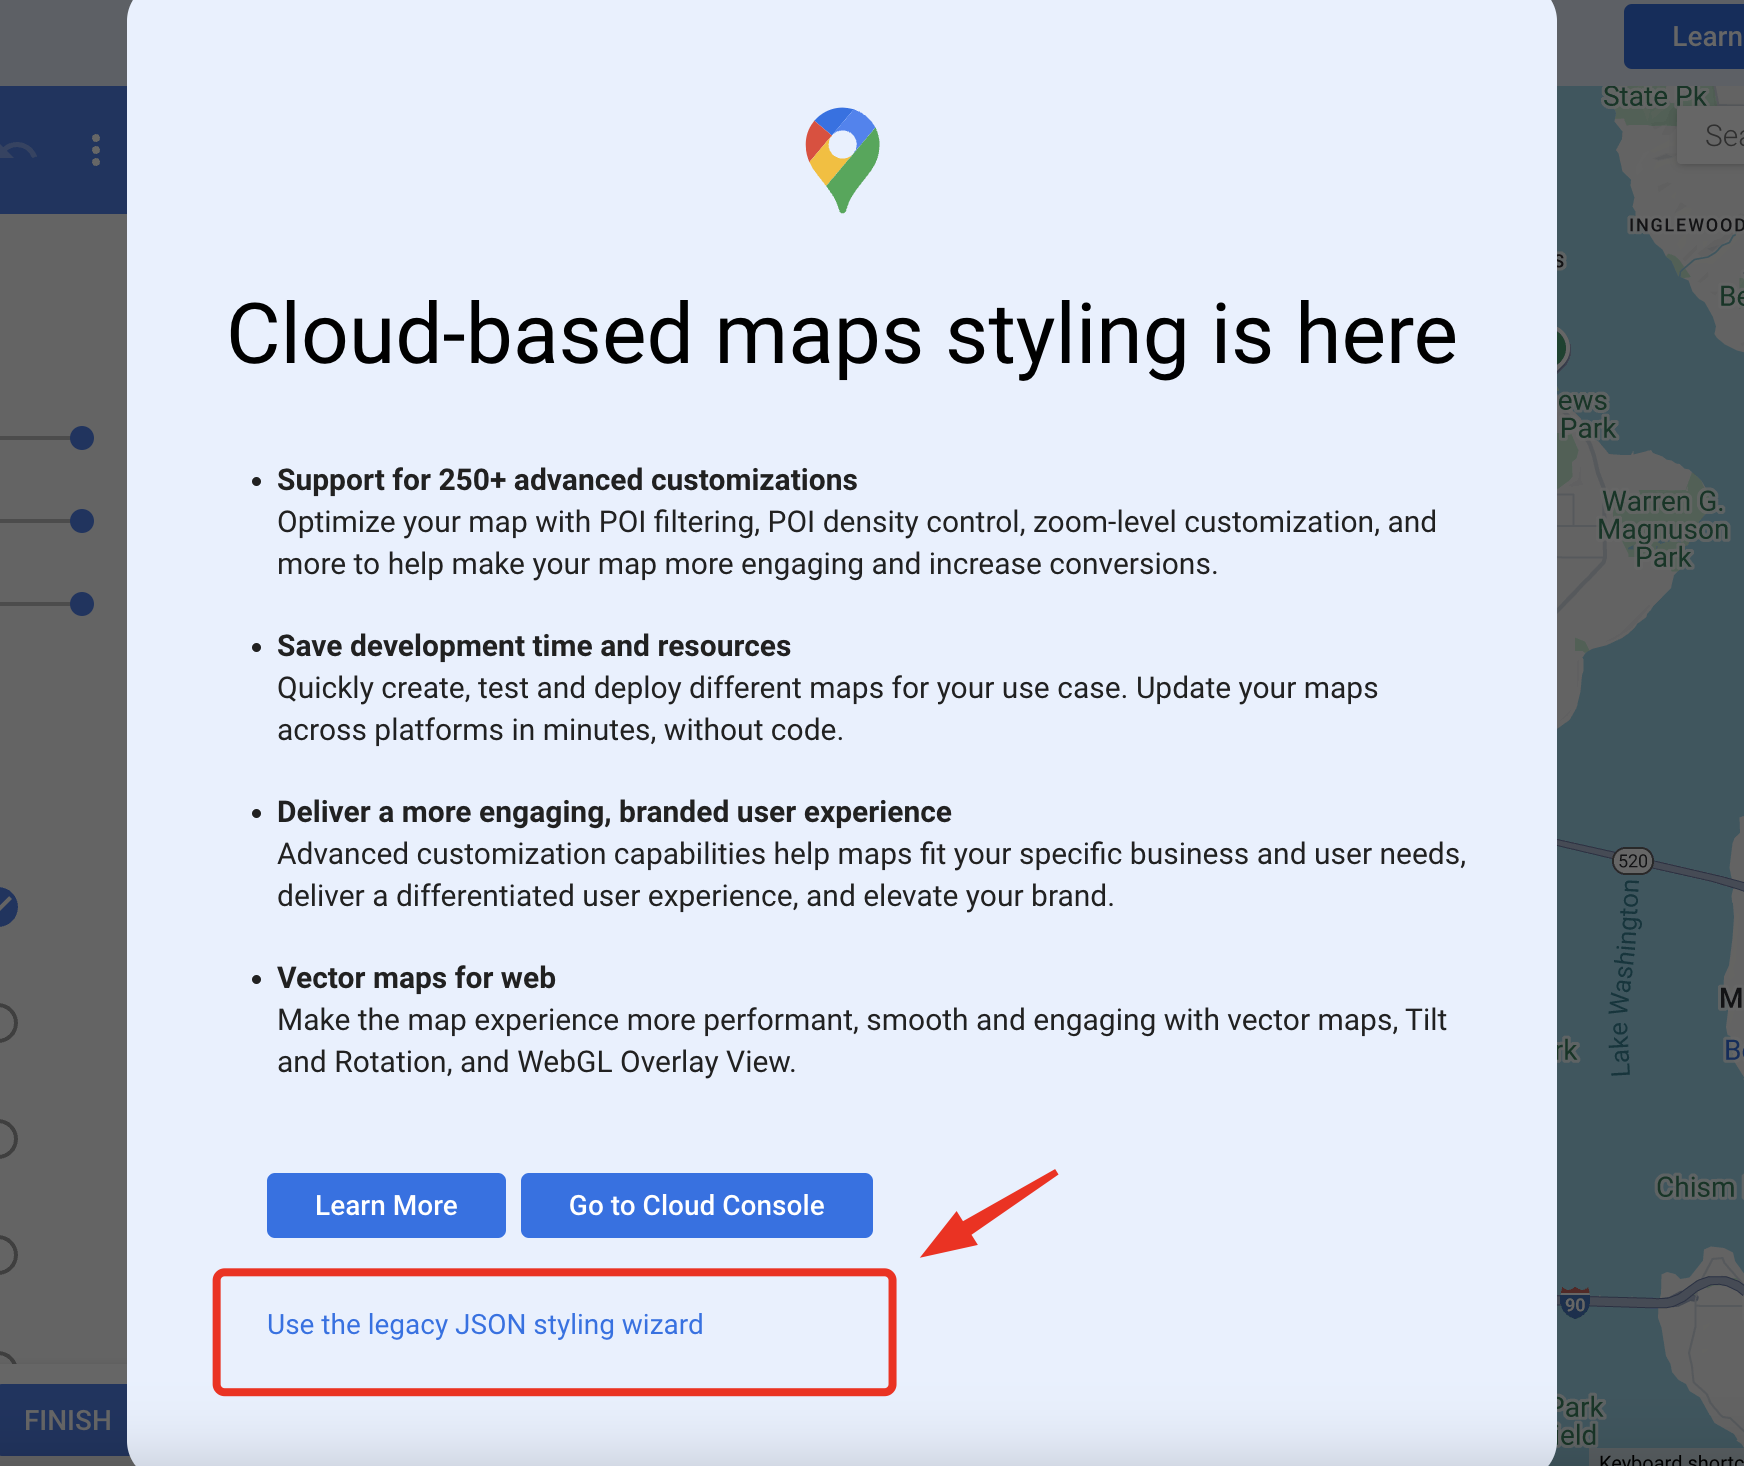
- Map style: use this option to add the JSON code provided by Google for your custom style. Go to https://mapstyle.withgoogle.com/ and click on Create style.
Click on Use the legacy JSON styling wizard.
Now choose the theme and click on Finish.
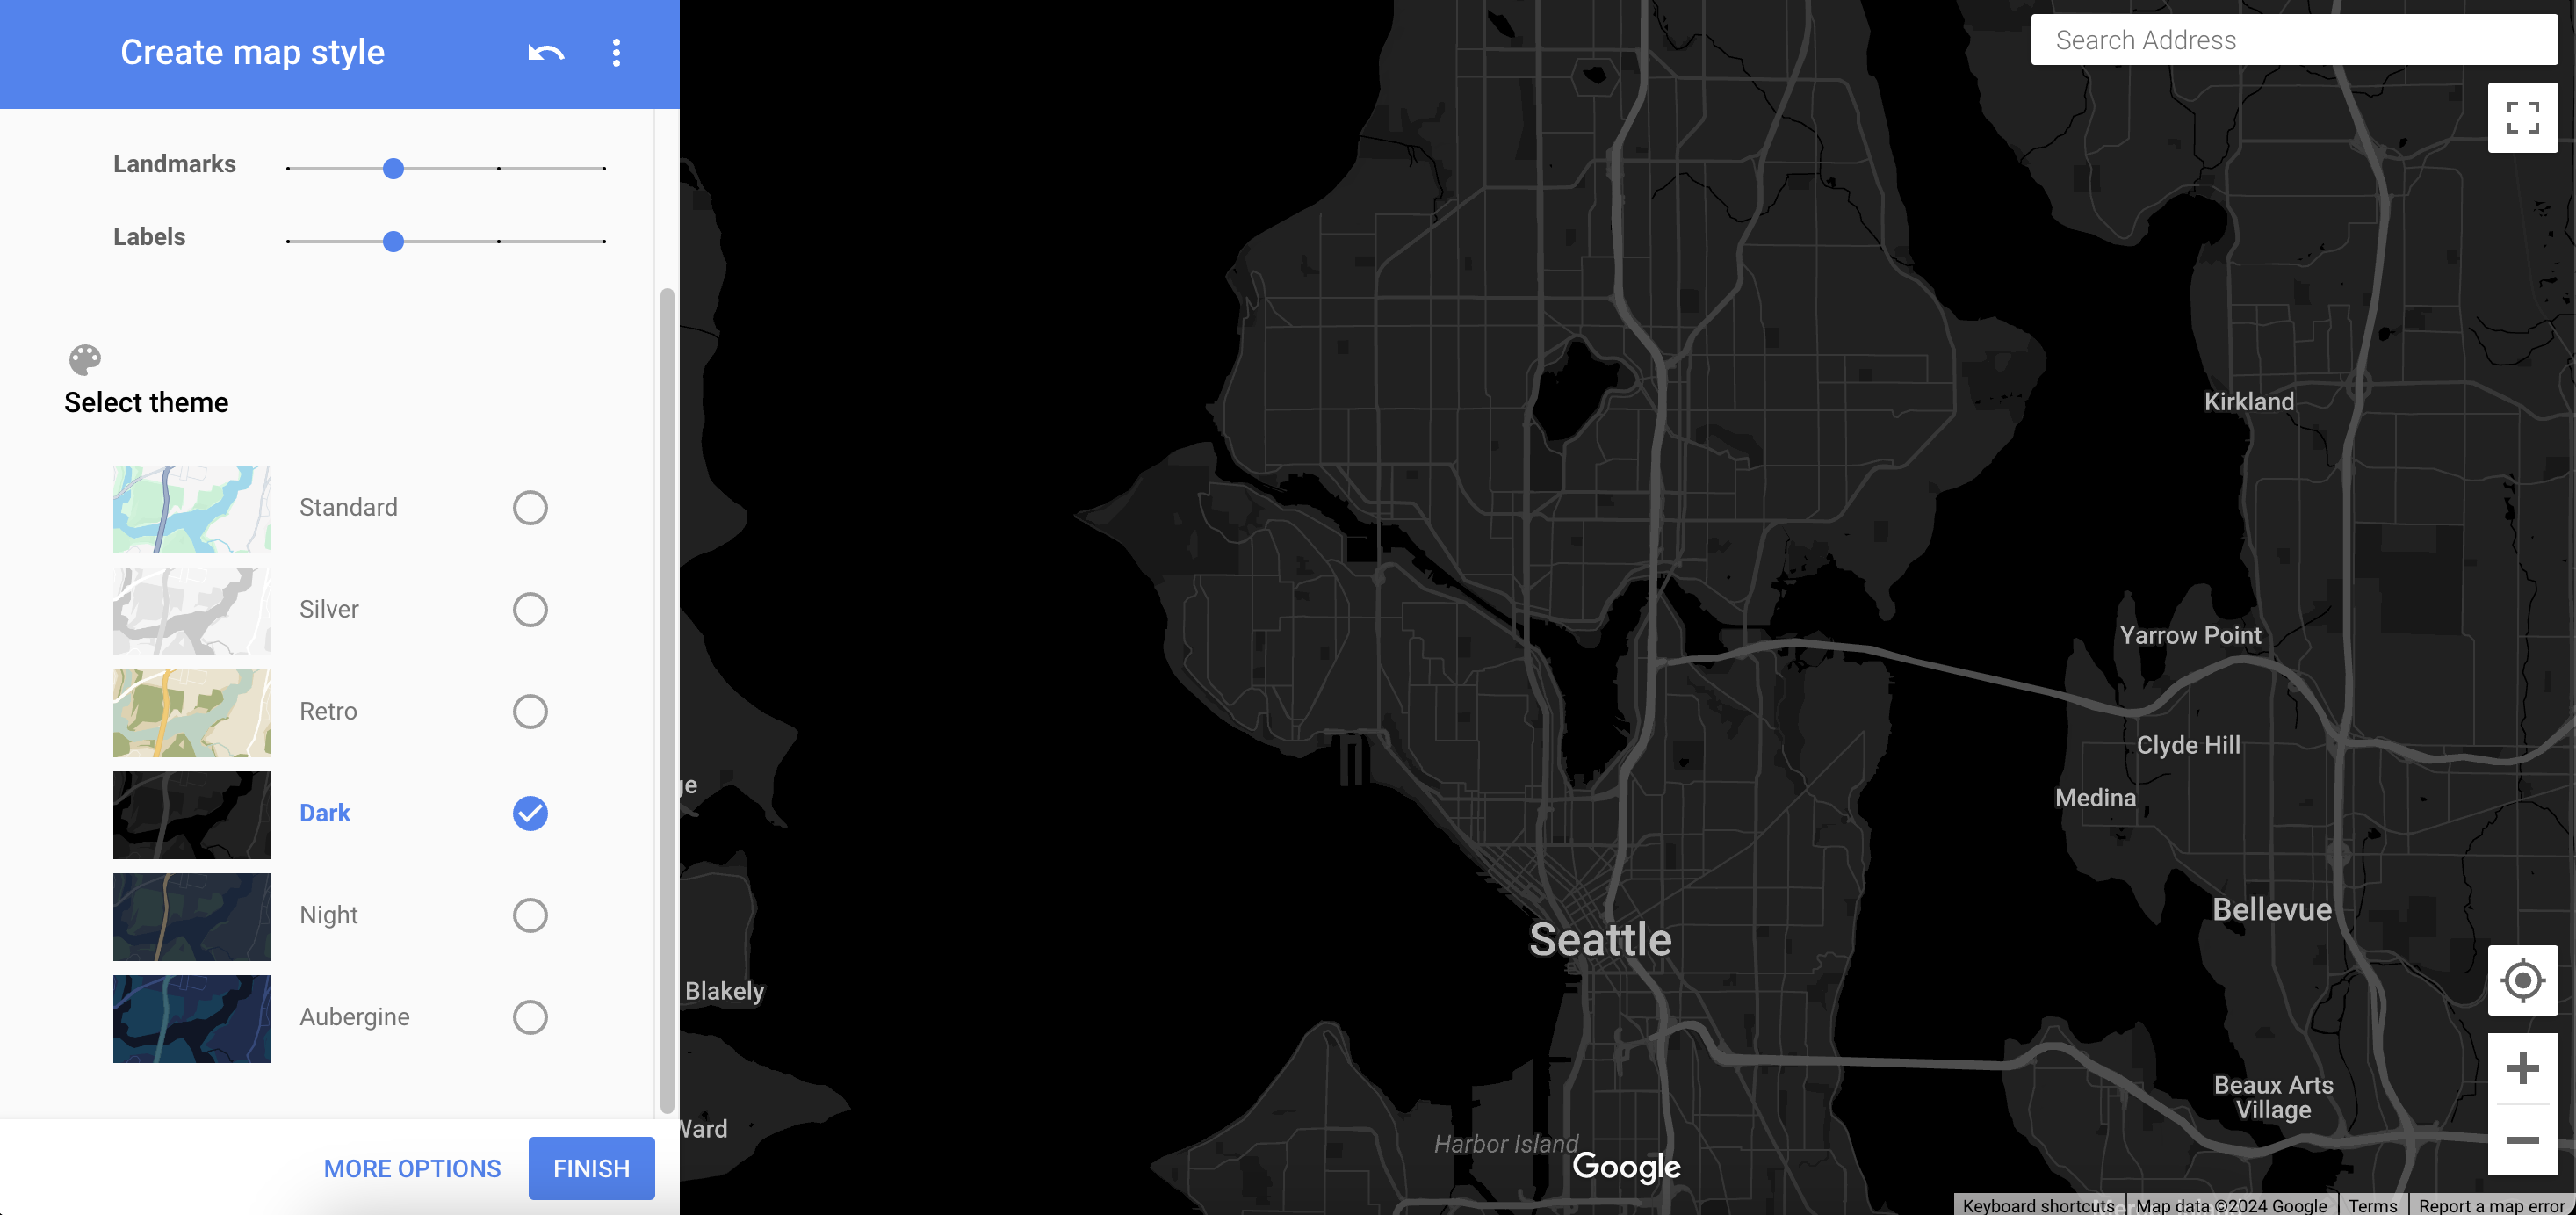
Copy the JSON…
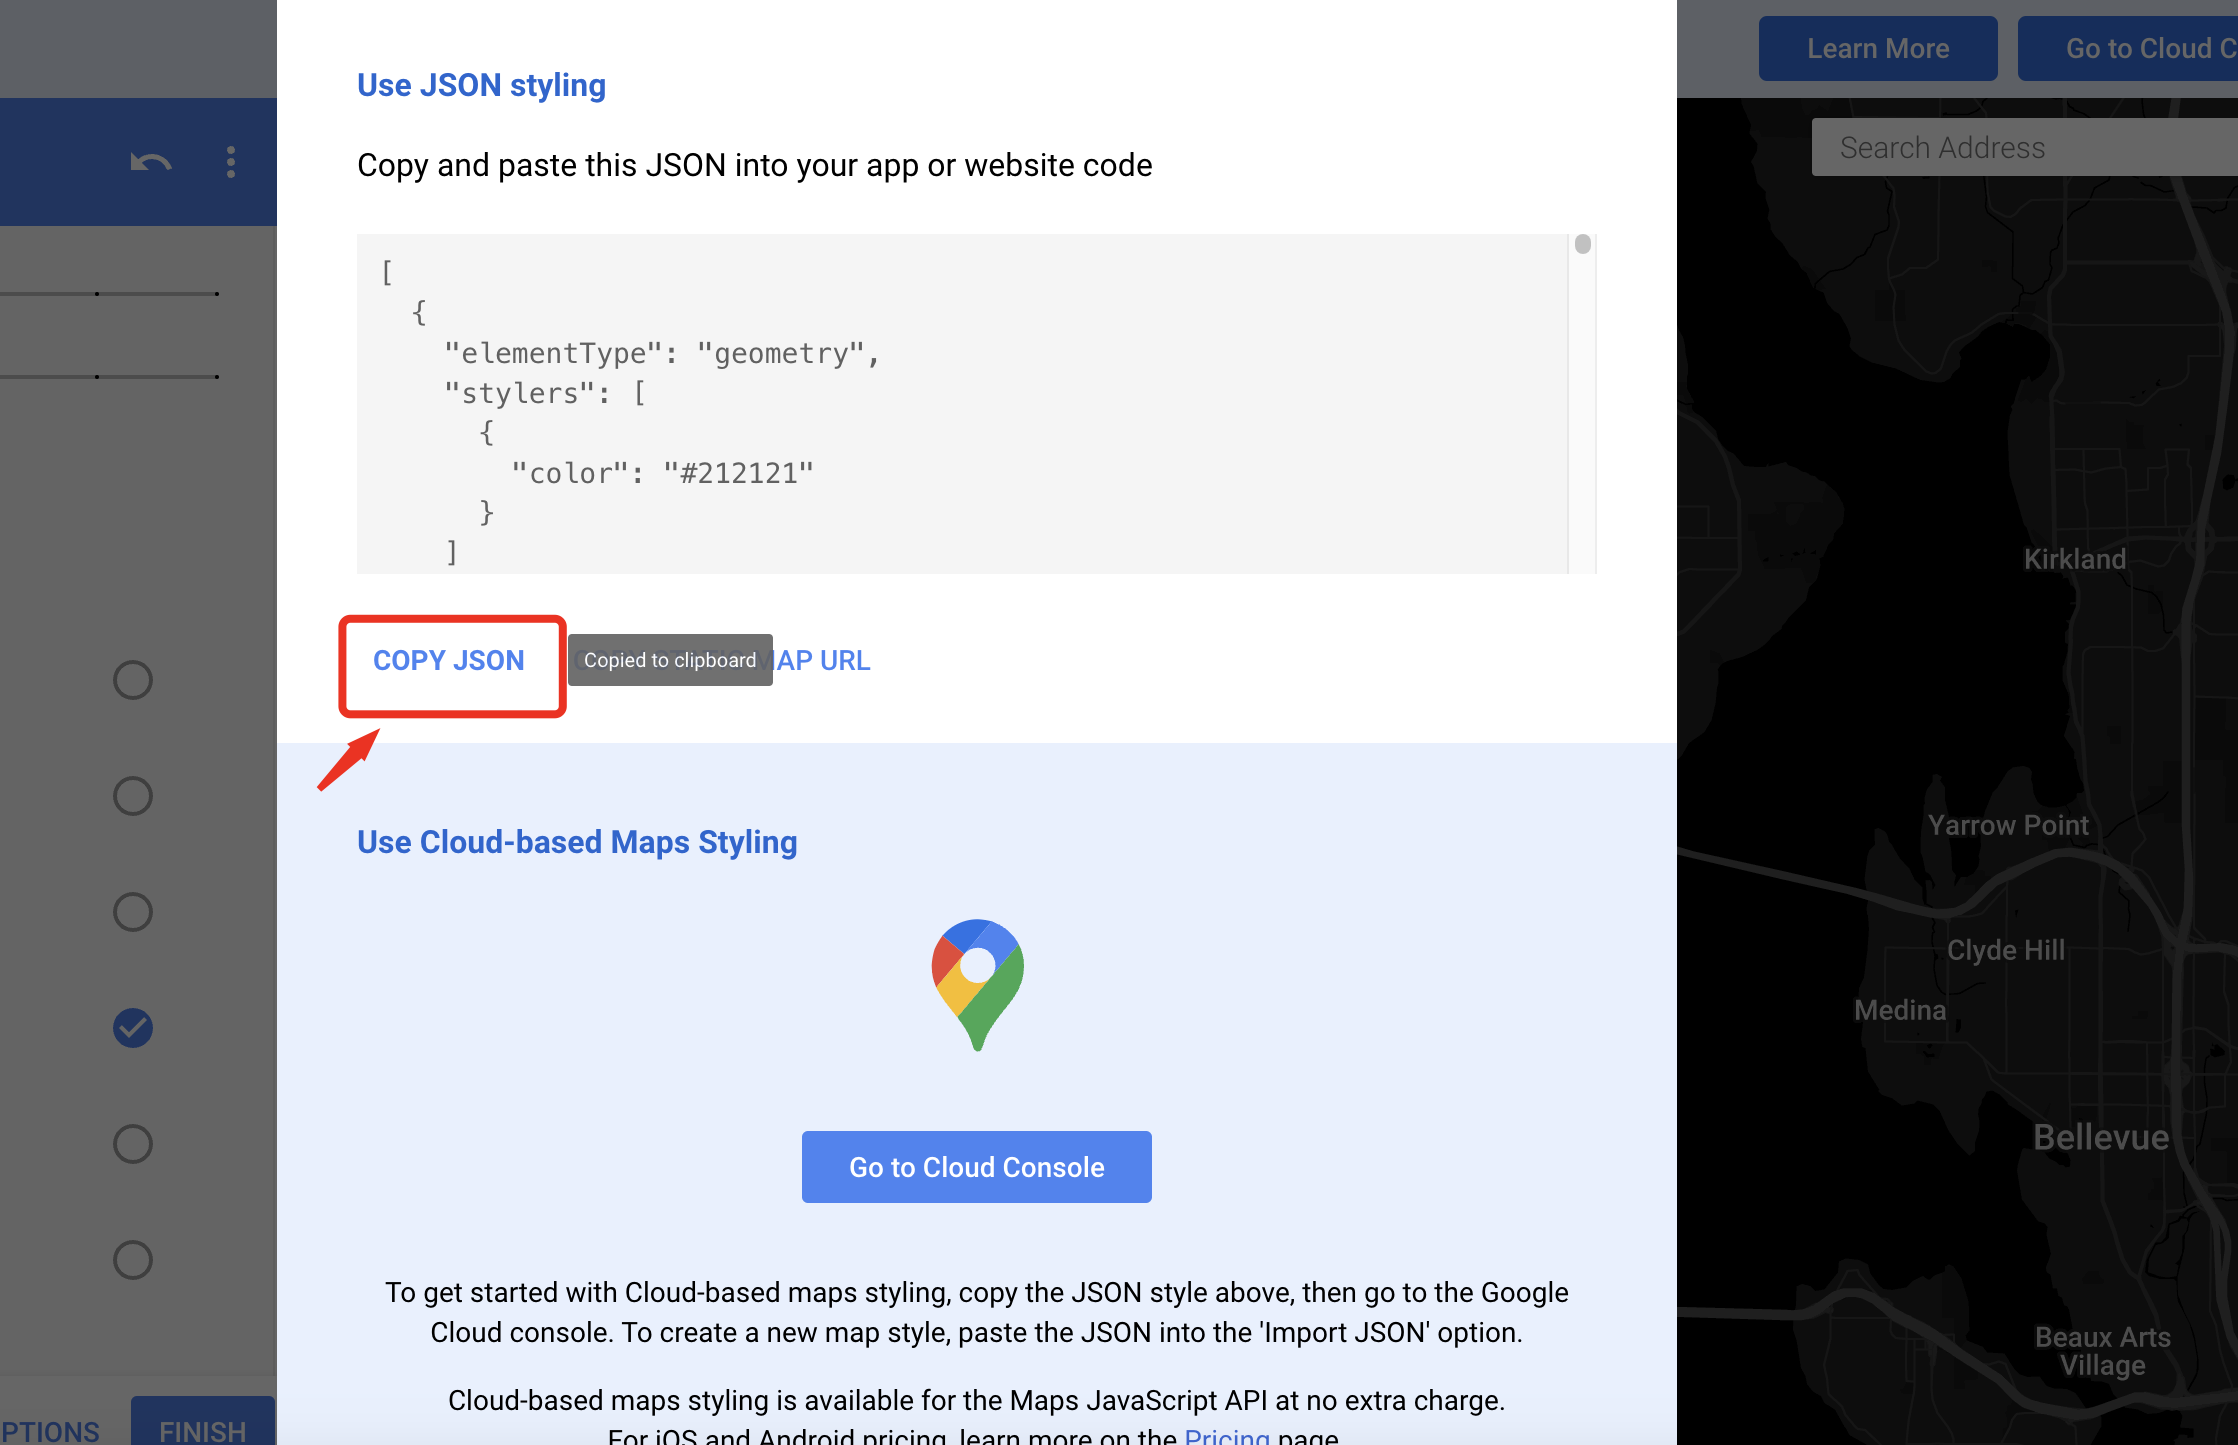
and paste it into Map style option.