View Product Page

Add new stores

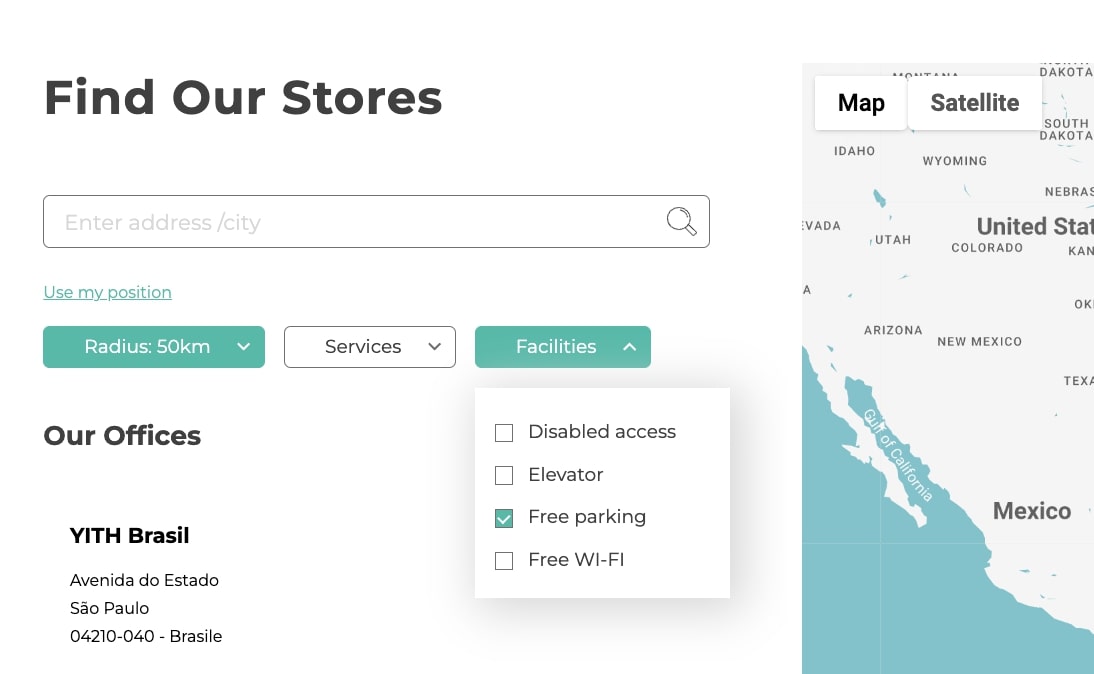
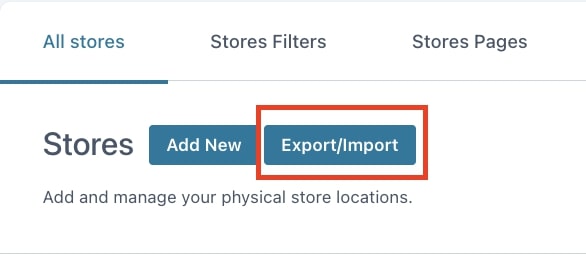
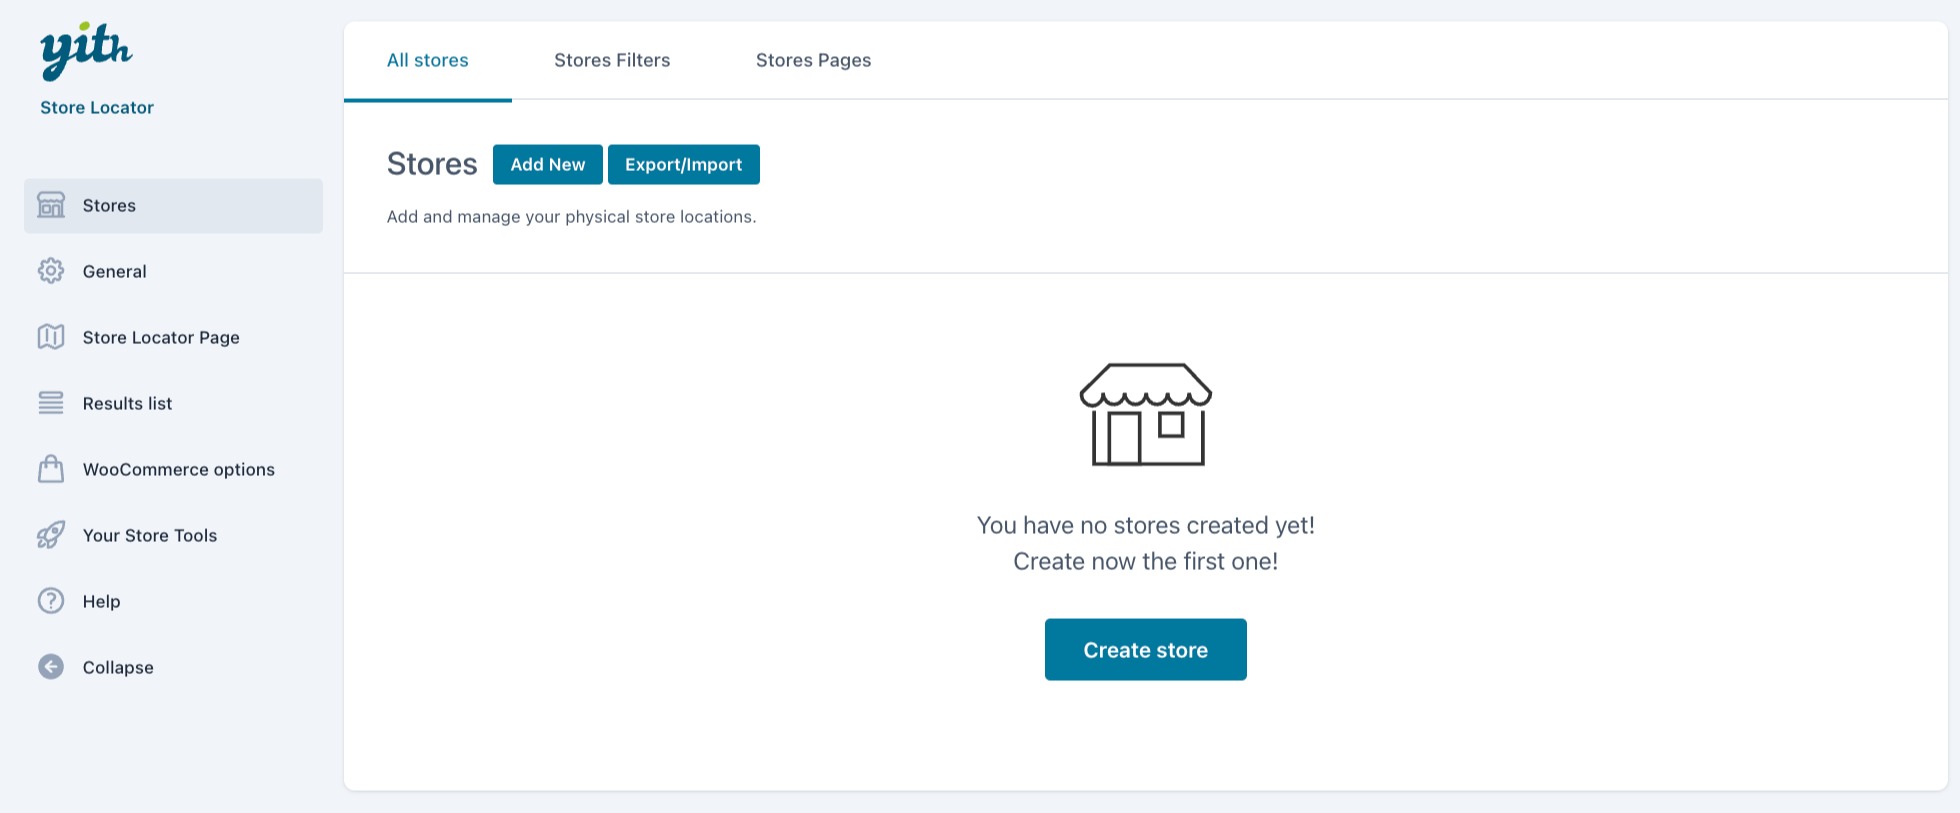
To start creating the stores that will be listed on your store locator page, go to Stores -> All stores in the plugin panel and click on the button Create store or Add new.

Add store

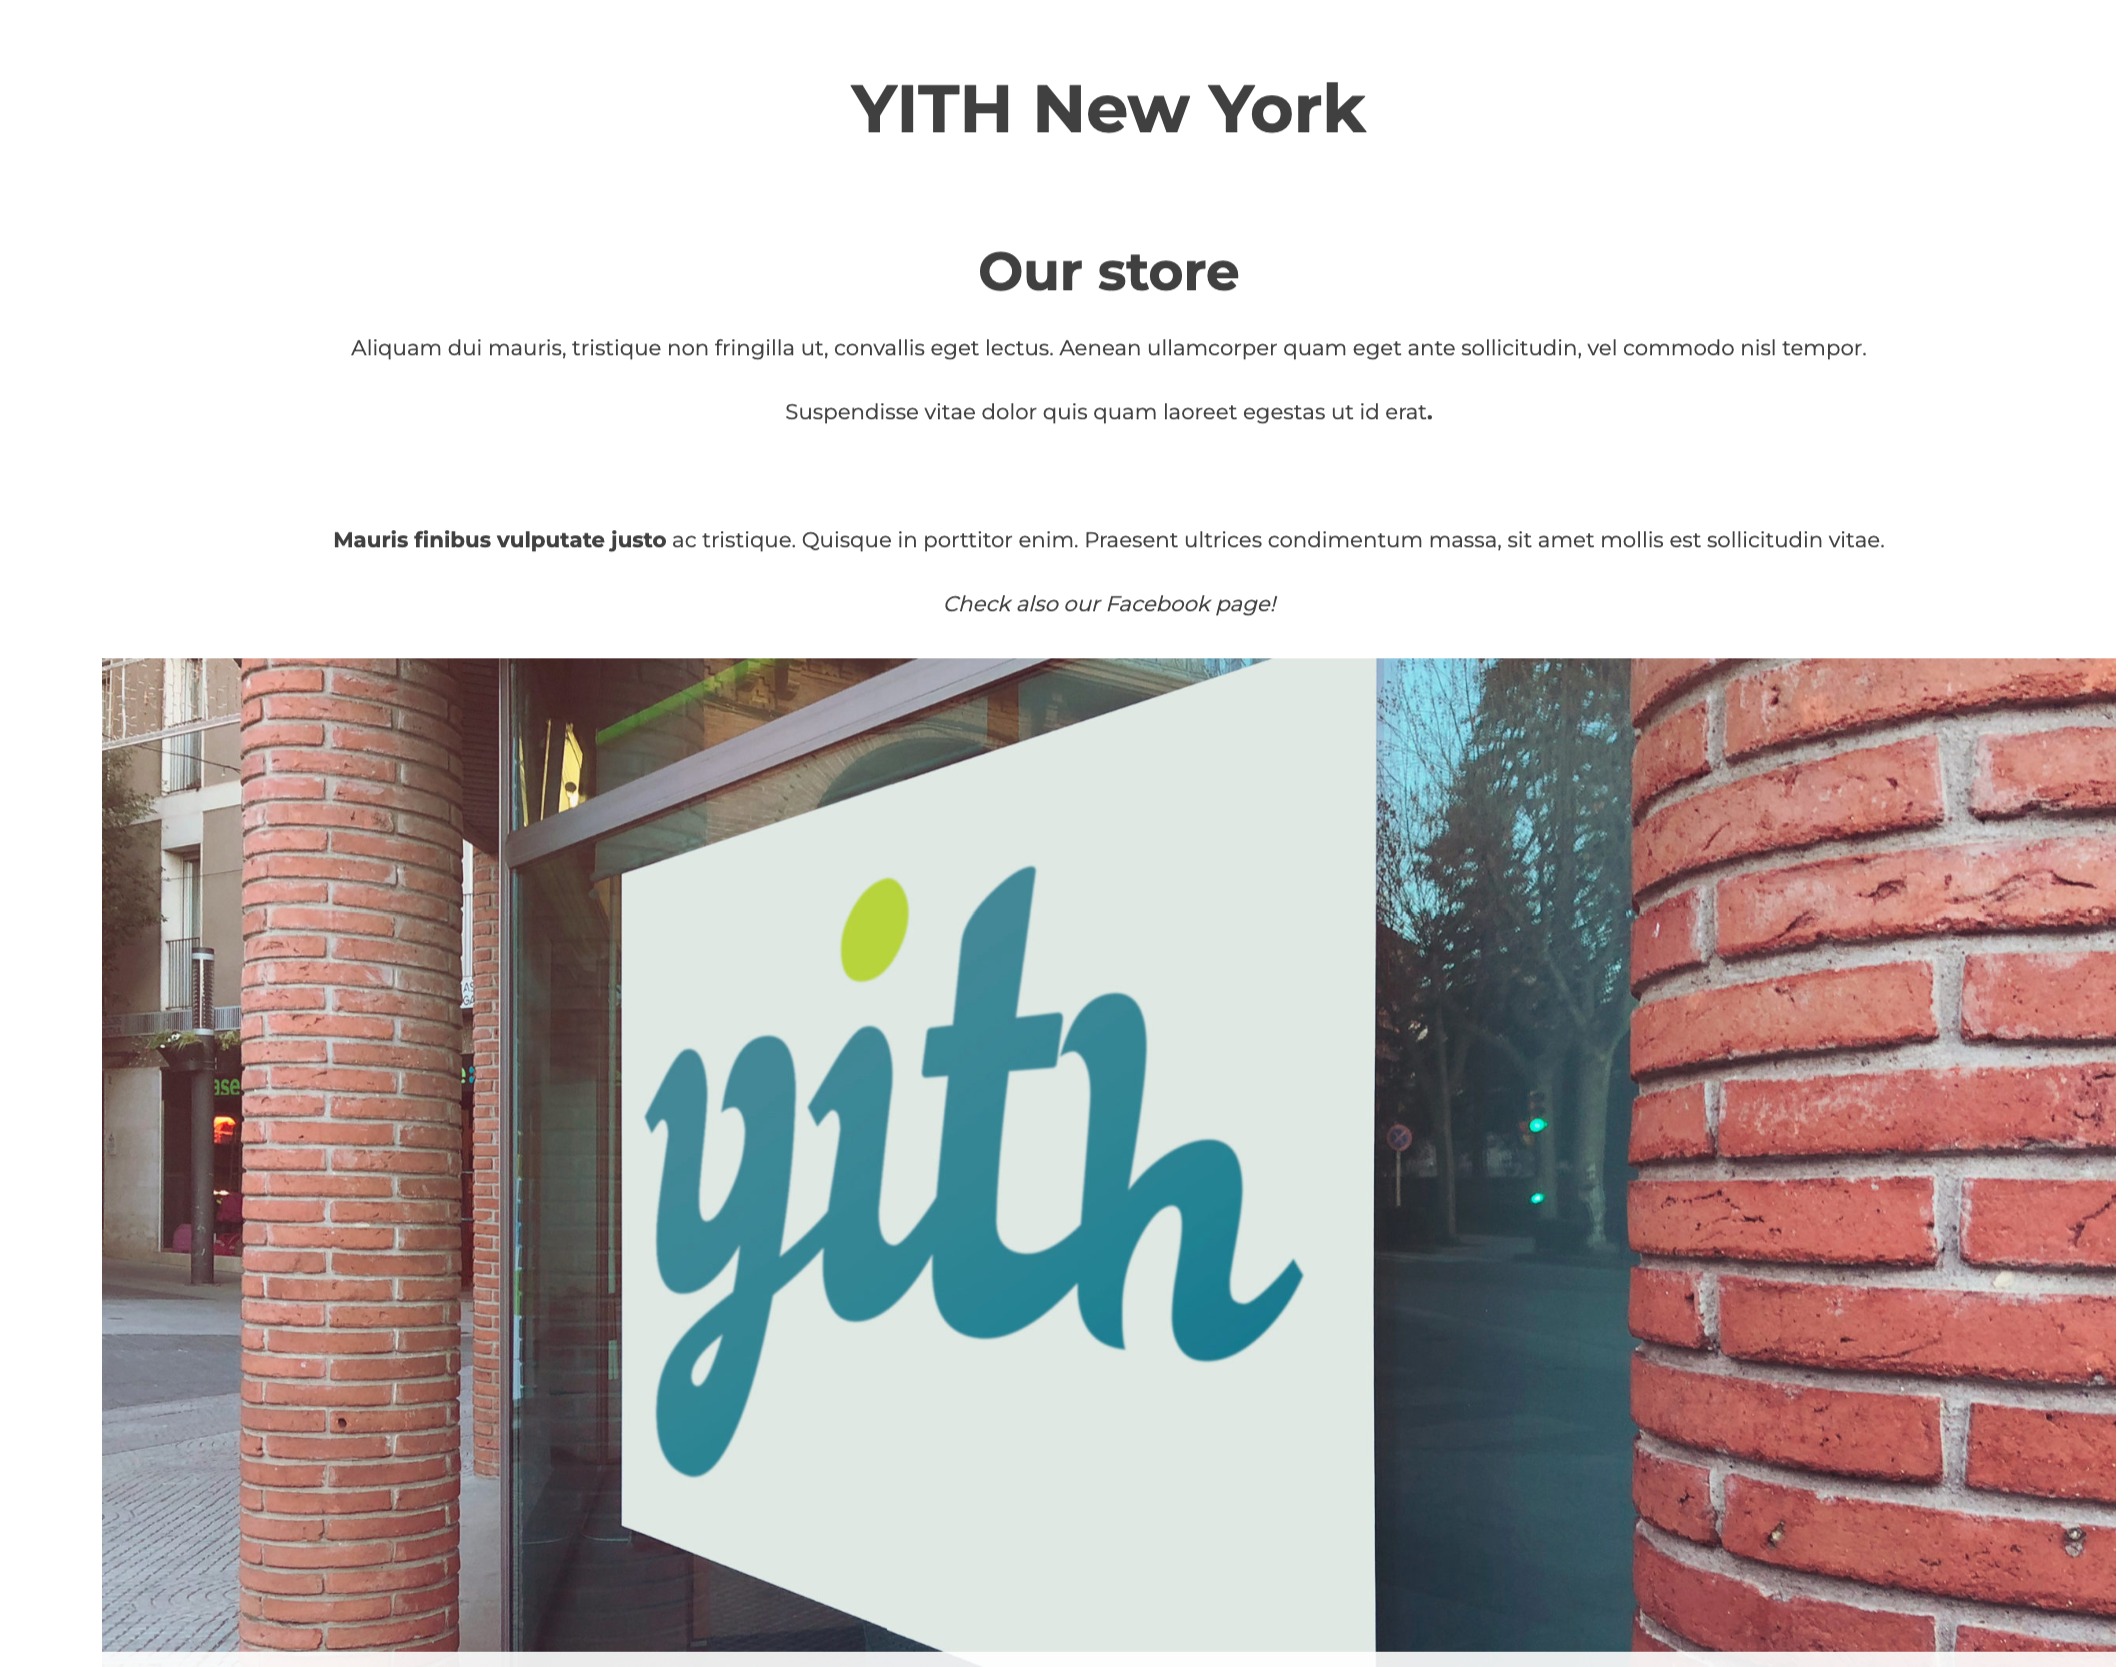
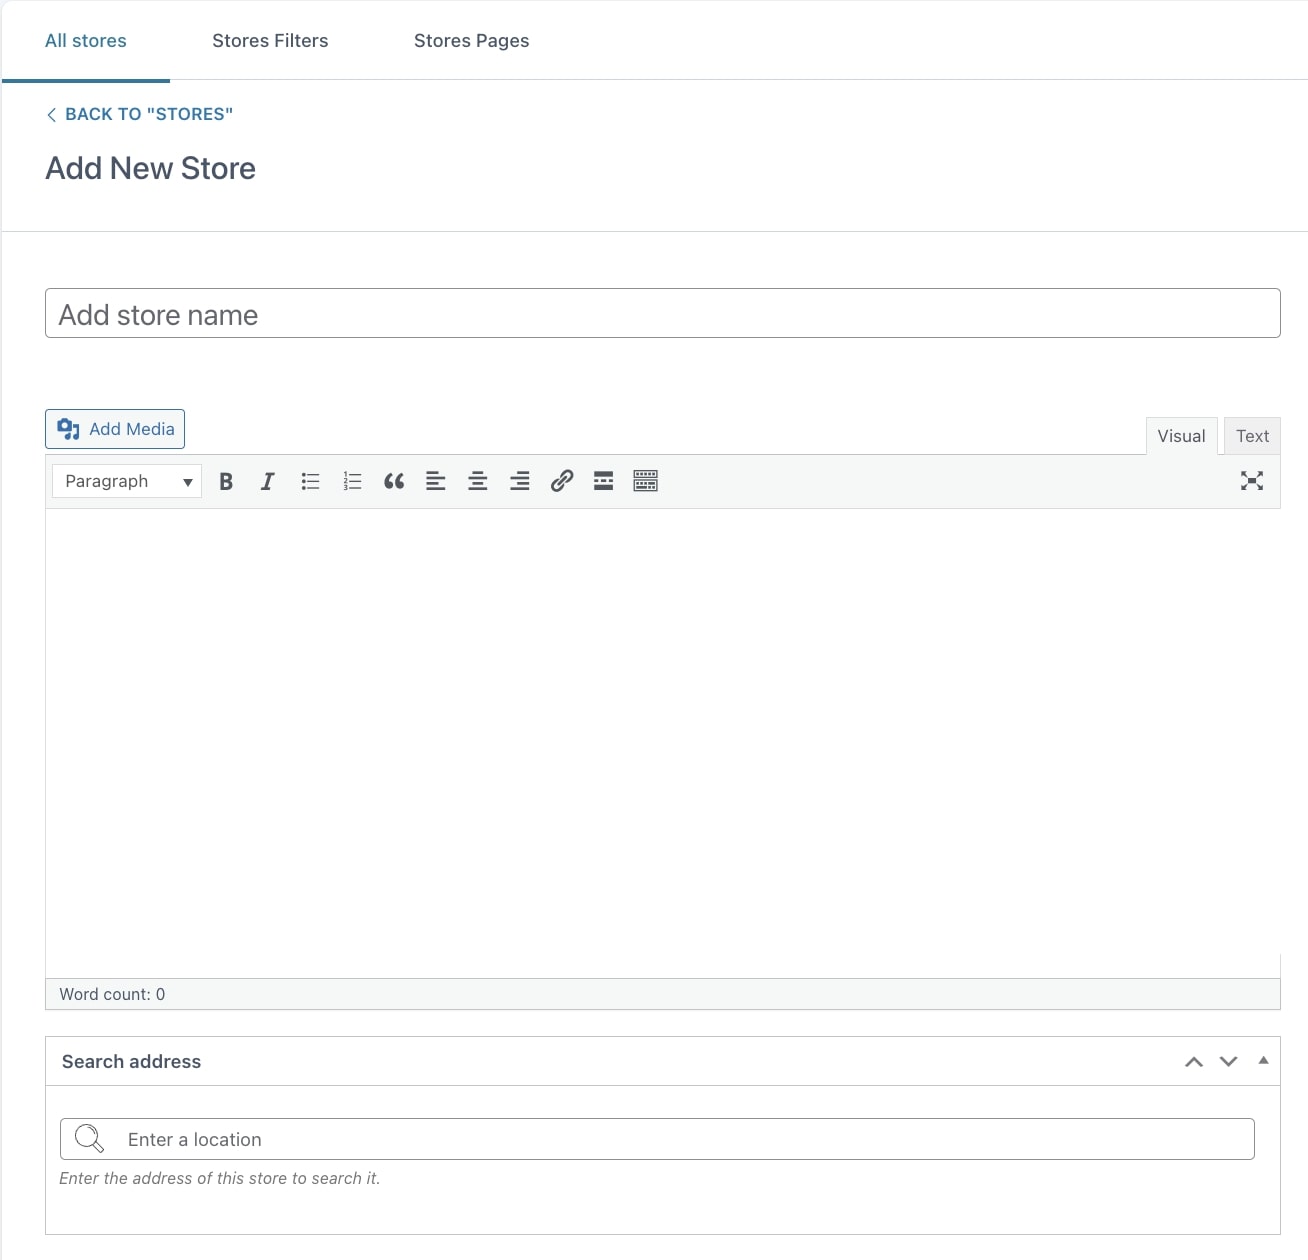
From the store edit page, set a name and, optionally, a description then you can enter the store address in the Search address field. We recommended choosing the address from Google suggestions. To learn how to configure Google Maps, visit this page.
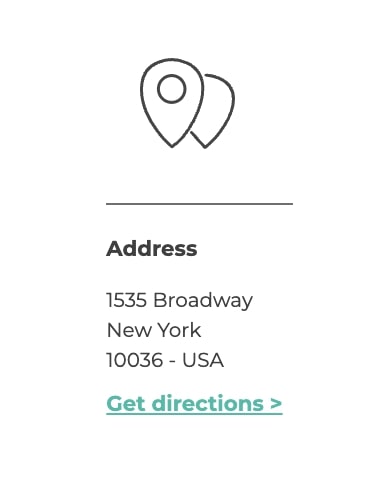
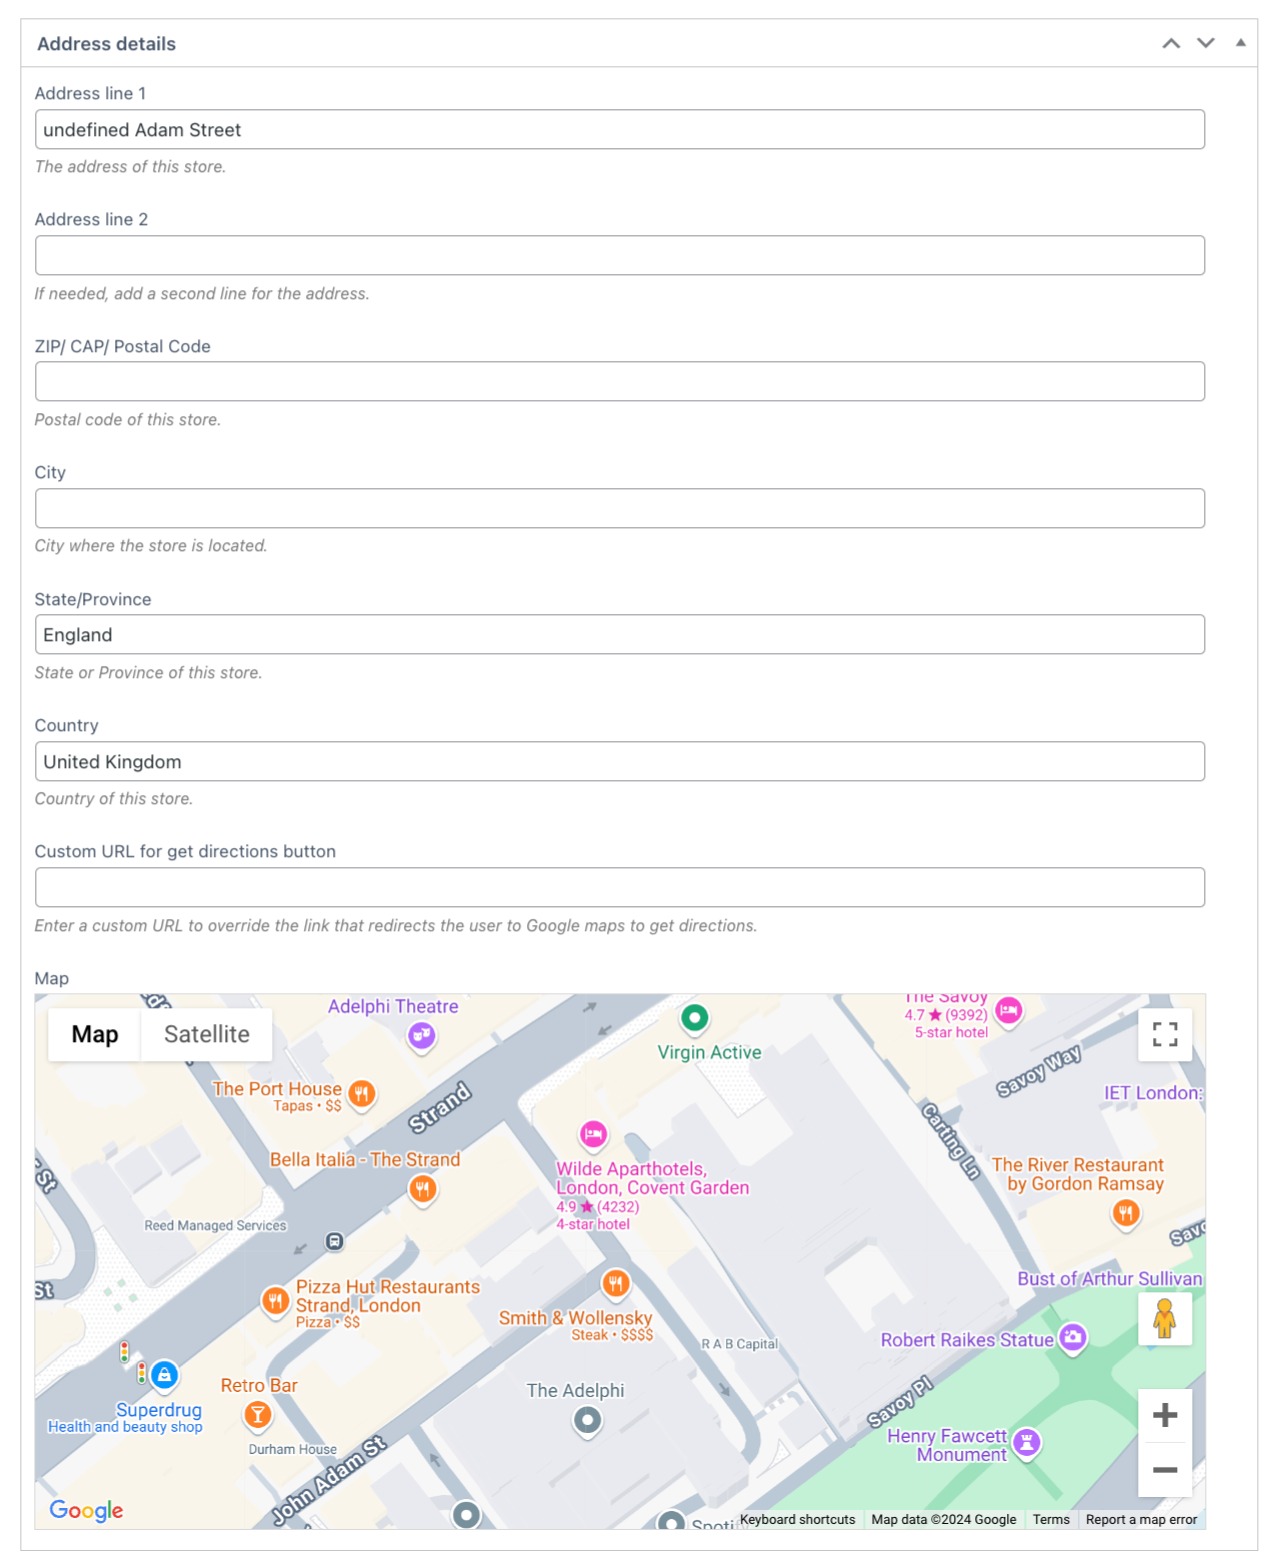
Create store

Address details

In the Address details section, part of the details are automatically retrieved based on the store location previously entered. If needed, you can complete the empty fields. The map will show according to all the completed fields.
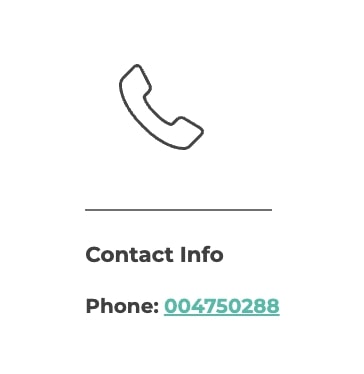
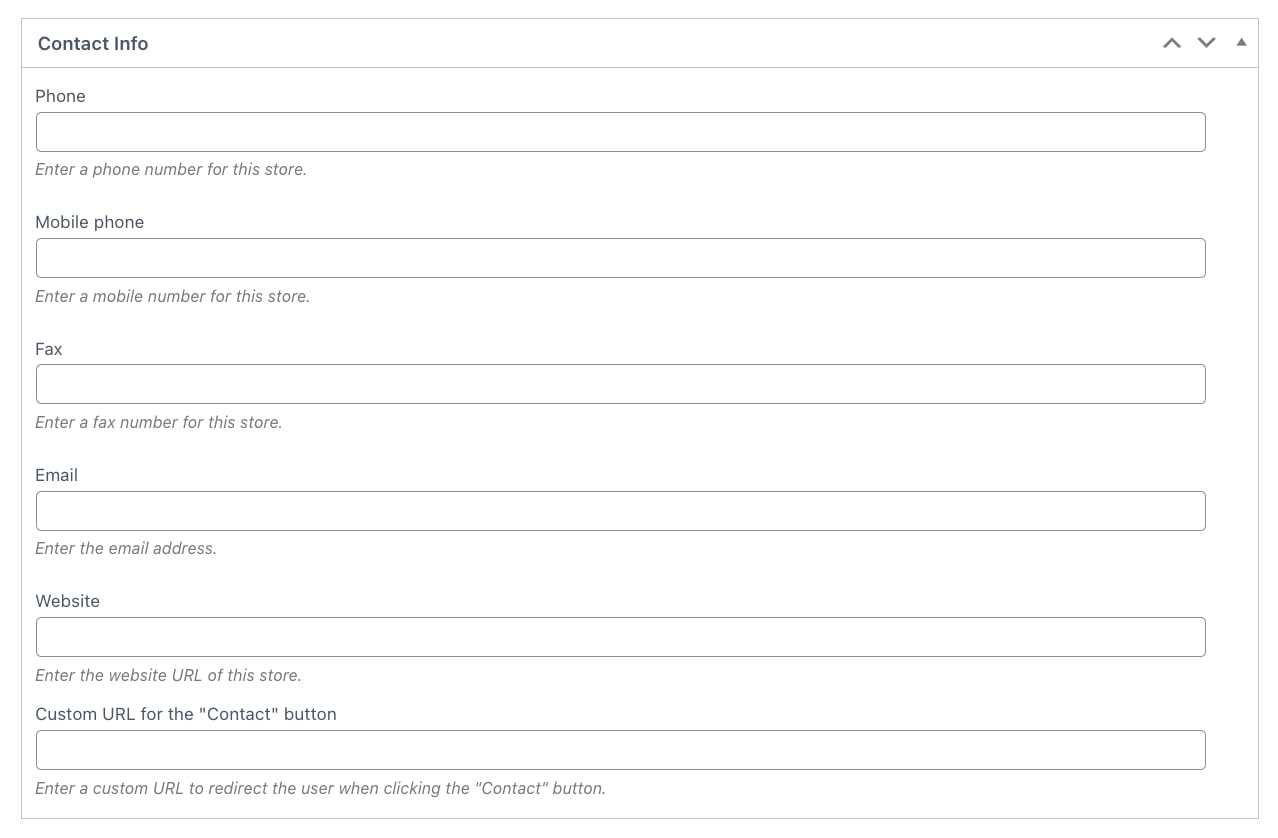
Address details

Contact info

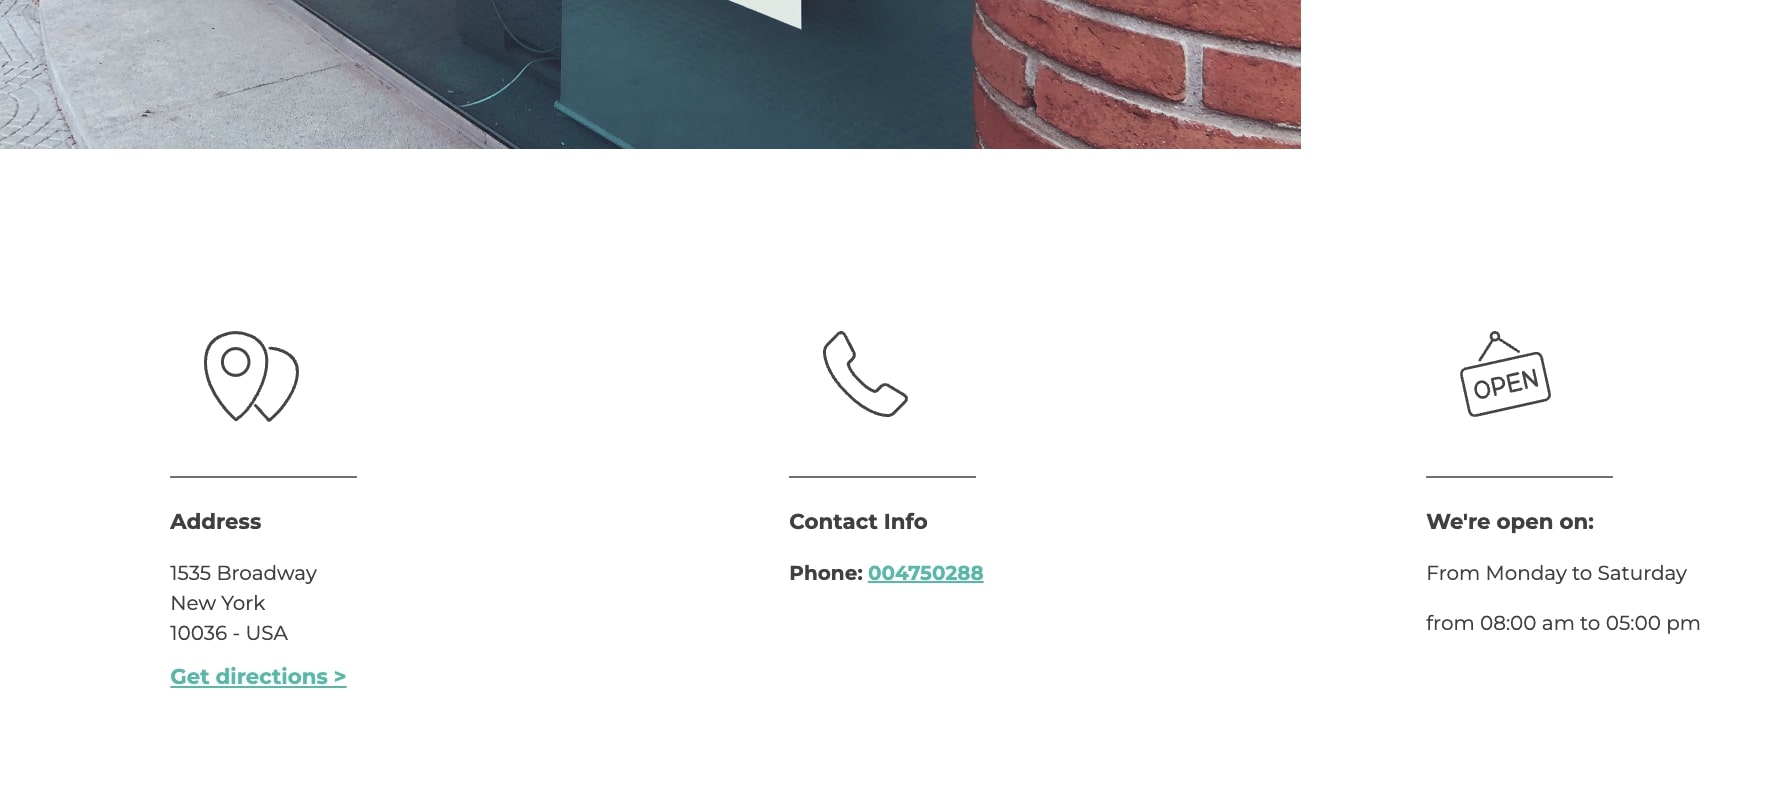
In the Contact info section, you can configure the contact info of the store you are creating, such as phone, mobile and fax number, email address, website URL, and a custom URL for the Contact button.
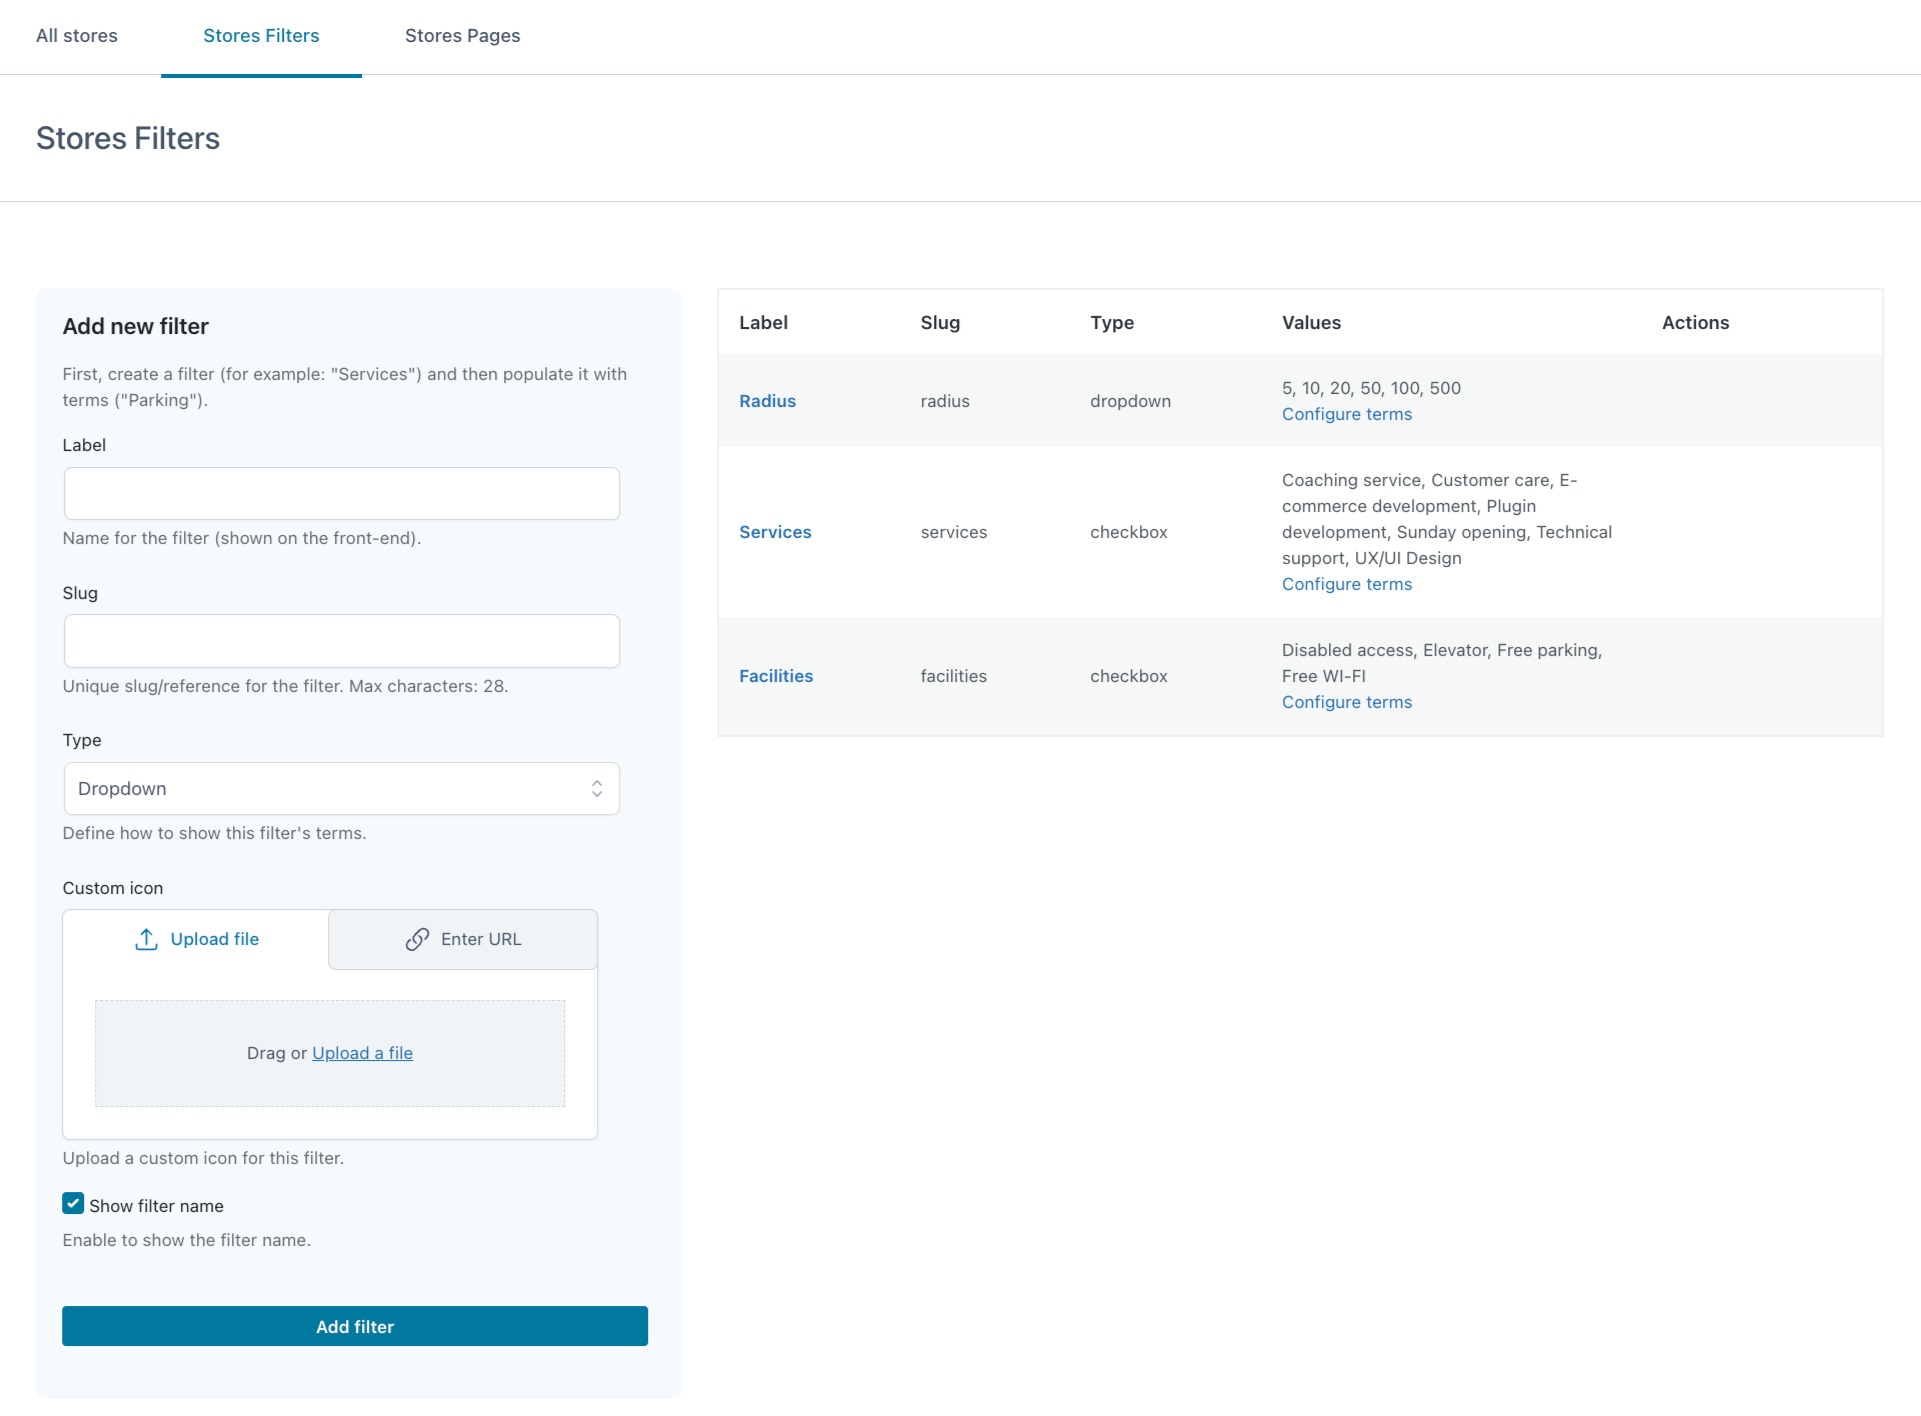
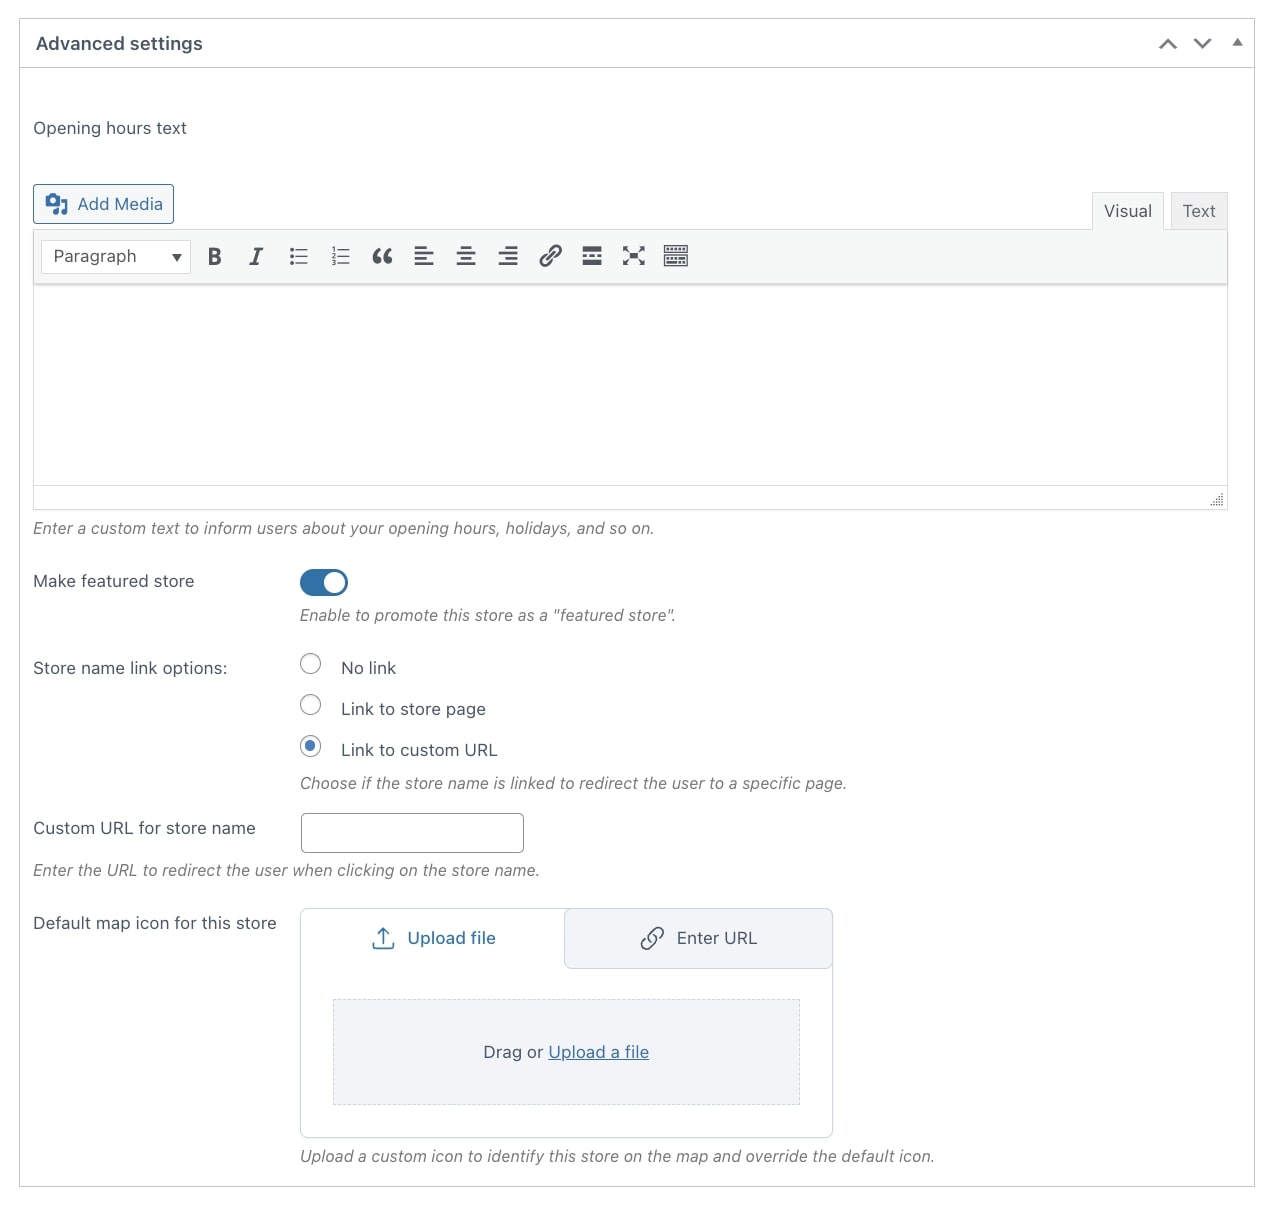
Contact info

Advanced settings

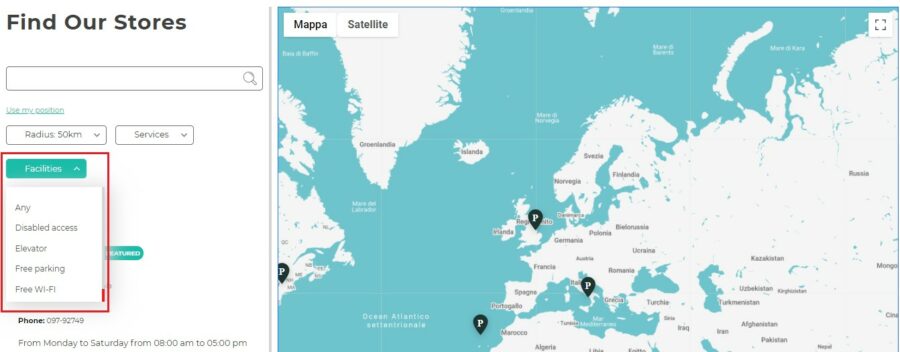
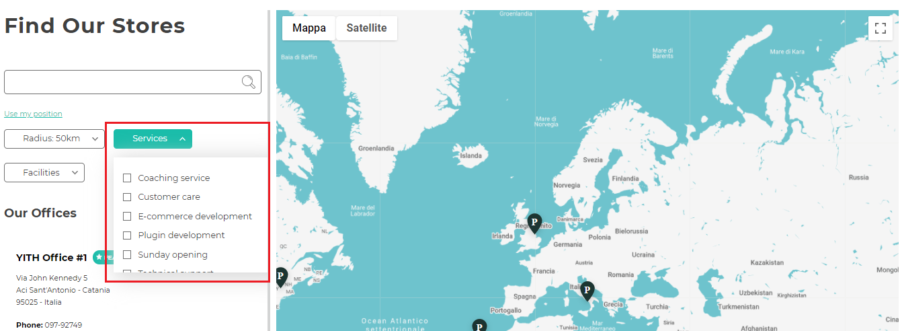
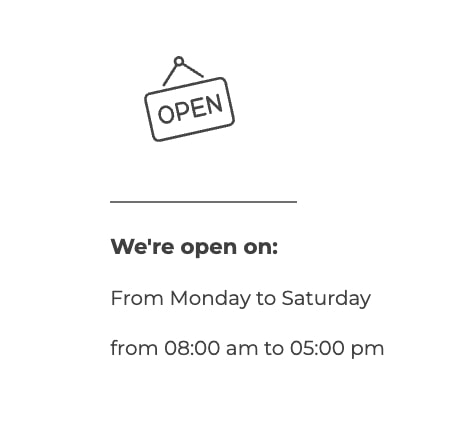
In the last section, you can set up the following advanced settings:

  • Opening hours text: use the editor to provide users with deatiled info about the store opening hours.
  • Make featured store: enable this option to highlight the store and show it at the top of the search results.
  • Store name link options: choose the behavior of the store name when users click on it:
    • No link: clicking on the store name won’t produce any redirect;
    • Link to store page: select this option if you want users to be redirected to the store page;
    • Link to custom URL: select this option if you want users to be redirected to a custom URL;
      • Custom URL for store name: enter the custom URL for the redirect;
  • Default map icon for this store: choose whether to use the default icon or a custom one to identify the store on the map.
Advanced settings

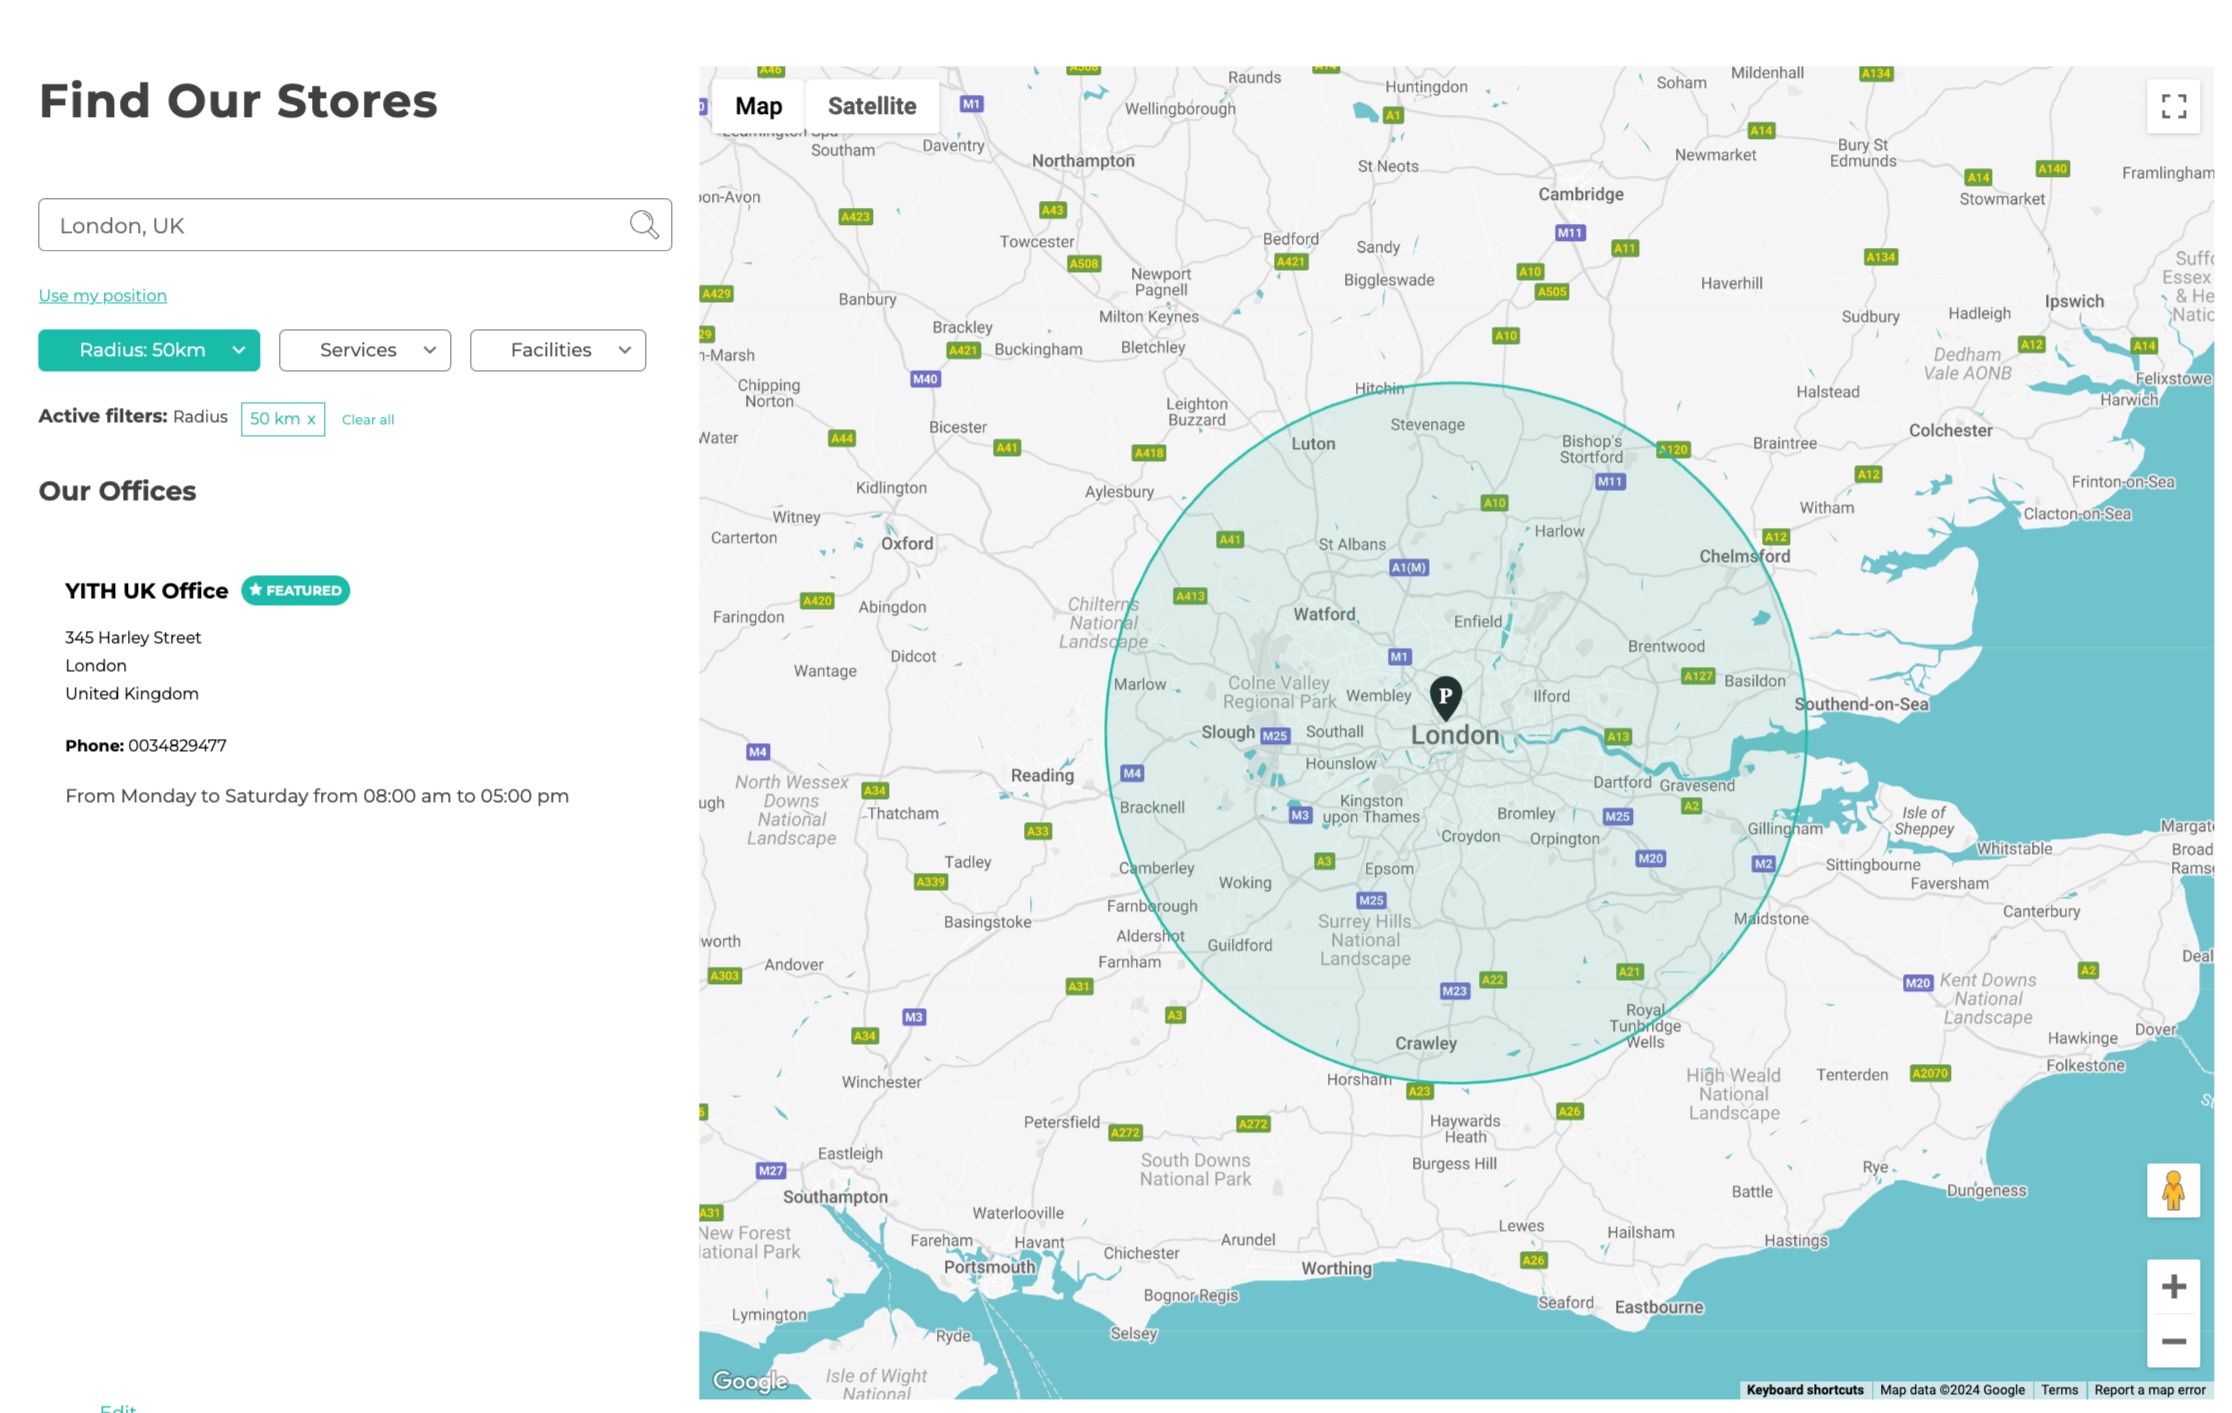
Store on the Store locator page

Store on store locator page

Store filters

From the tab Store filters available in the Stores section, you can create all the filters to show on your Store Locator page. These filters will make the search easier for your users. For each filter you create, add the label, slug, type (choosing from checkbox or dropdown), a custom icon, and decide whether to show the filter name by enabling the option Show filter name.

Store filters

After creating the filters, you can configure their terms and set one as default. The Count column will show the number of stores to which the filters have been added.

Filter terms

This is how filters show on the frontend.

Filters with dropdown
Dropdown
Filters with checkboxes
Checkboxes

Dropdown 

Filters with dropdown

Checkbox 

Filters with checkboxes


Store pages

In the Store pages  tab available in the Stores section, you find all the options for the layout of the store detail page.

  • Store detail page layout: choose the style to apply to the store detail pages from
    • classic layout (with the image on the left)
    • alternative layout (with a big image).

Classic layout

Classic layout

Alternative layout

Alternative layout
  • Title for the “Address” section: enter the title that defines the Address section.
  • Upload an icon for the “Address” section: (optional) set a custom icon for the Address section.
Address section
  • Title for the “Contact Info” section: enter the title that defines the Contact info section.
  • Upload an icon for the “Contact Info” section: (optional) set a custom icon for the Contact info section.
Contact info section
  • Title for the Opening Hours section: enter the title that defines the Opening hours section.
  • Upload an icon for “Opening-Hours” section: (optional) set a custom icon for the Opening hours section.
Opening hours section

Store page example

Store pages example

All stores and how to import/export stores

In theĀ All stores table, you can have an overview of all the stores you have created so far. For each store, you can see the related services, address, contact info, and facilities.

You can use the available actions showing on mouse hover to

  • view the store: clicking on the View icon will redirect you to the store page on the frontend;
  • edit the store: clicking on the Edit icon will redirect you to the store edit page on the backend;
  • delete the store: clicking on the Trash icon will move the store to the trash. This action requires the confirmation;
Delete store
  • reorder the store position: clicking on the Arrows icon allows you to move the store to a different position in the table.

Store editing and deletion can be also applied massively through the bulk actions.

Bulk actions on stores

Export/Import stores

If you have stores you want to show on the Store Locator page or if you need to export those added to the All stores table, you can use the Export/Import option.

Export/Import stores

By clicking on the button, the procedure will start and you will be asked to choose the action to apply.

By selecting Export, stores will be exported into a CSV file without any further action. A message will show at the end of the process as confirmation of the completed import.

Export stores

By selecting Import, you will need to upload a CSV file and define both CSV delimiters (e.g. a comma) and enclosure (e.g. a semicolon) in the dedicated fields. You can then click on Continue.

Upload CSV file

To import the data correctly, it is important to associate the information to retrieve from the CSV file columns by selecting it from the dropdown in the fields.

Map the ID field only if you are sure this won’t overlap IDs. By not assigning any column, the plugin will automatically generate the ID field.

Column mapping

Now click on Run the importerĀ and wait for the message confirming the import is successfully completed.