View Product Page

Search & Filters

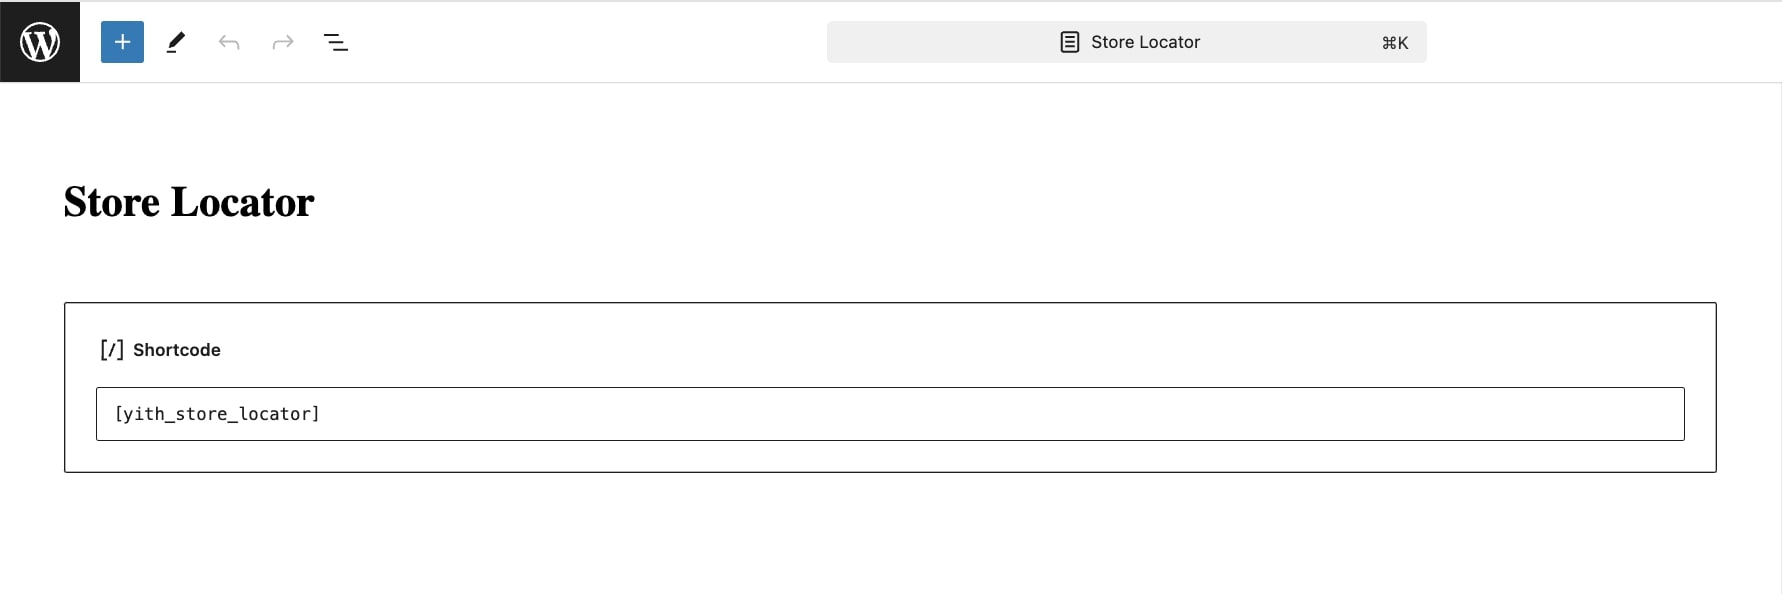
To work correctly, the plugin automatically creates the Store Locator page on your site through the shortcode [yith_store_locator].

Store Locator Page shortcode

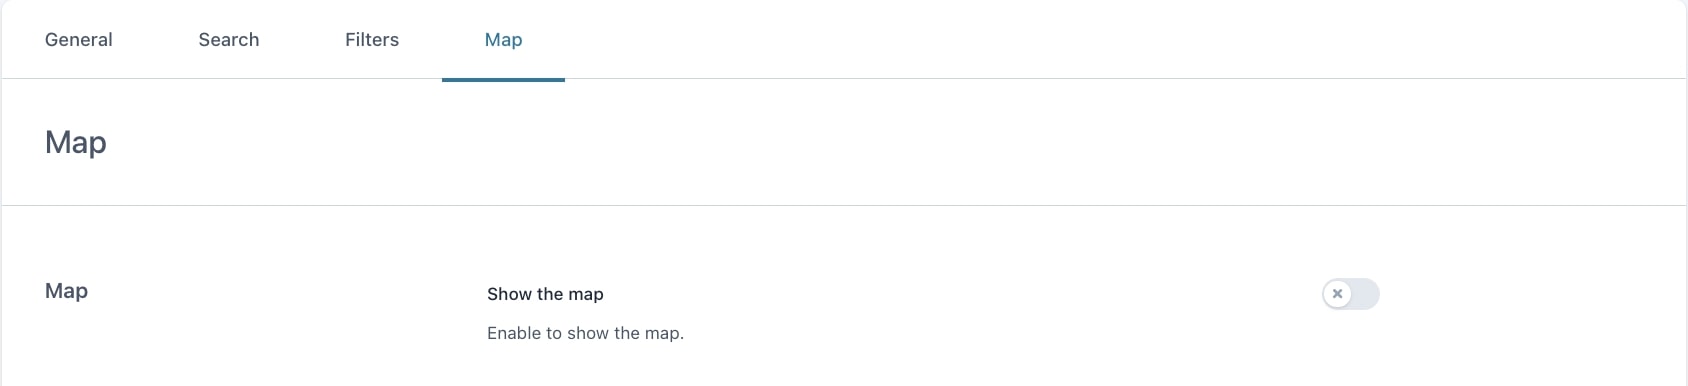
The plugin offers different options to help you configure your store locator page based on your needs. These options are available in the Store locator page section of the plugin panel and are divided into four tabs:

General

In the tab General, you can enable the full-width layout and define the side margins (Top, Right, Bottom, and Left) by entering the values (in px).
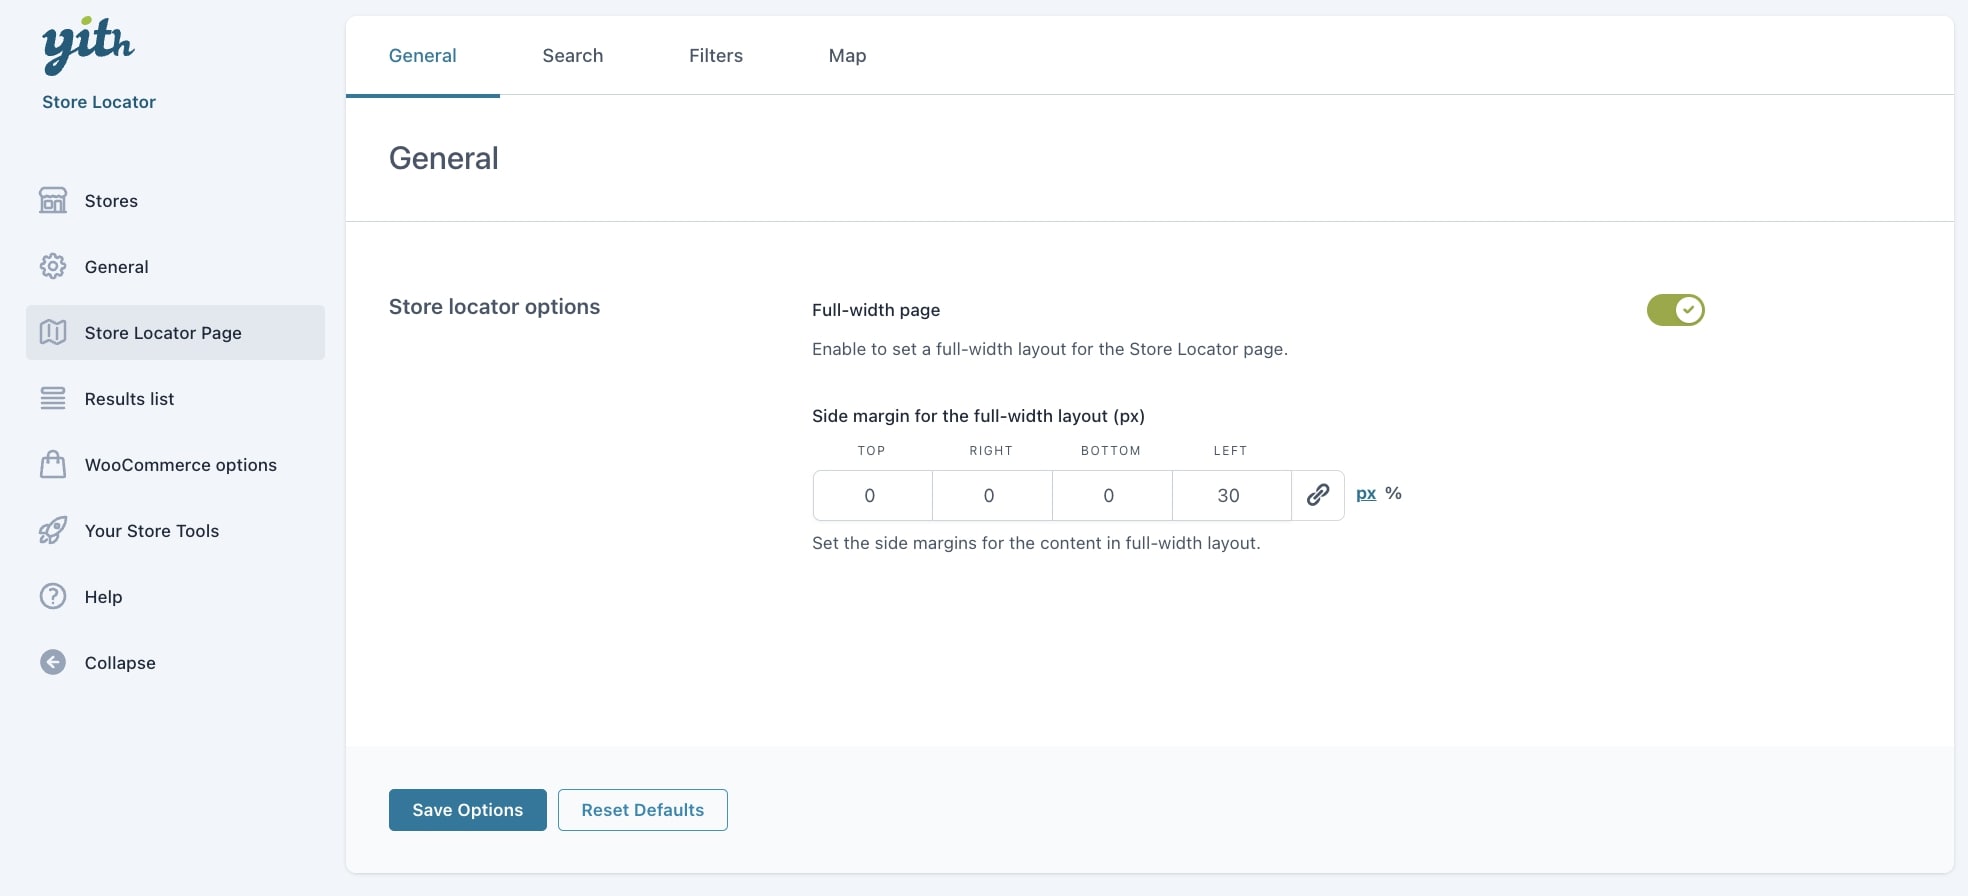
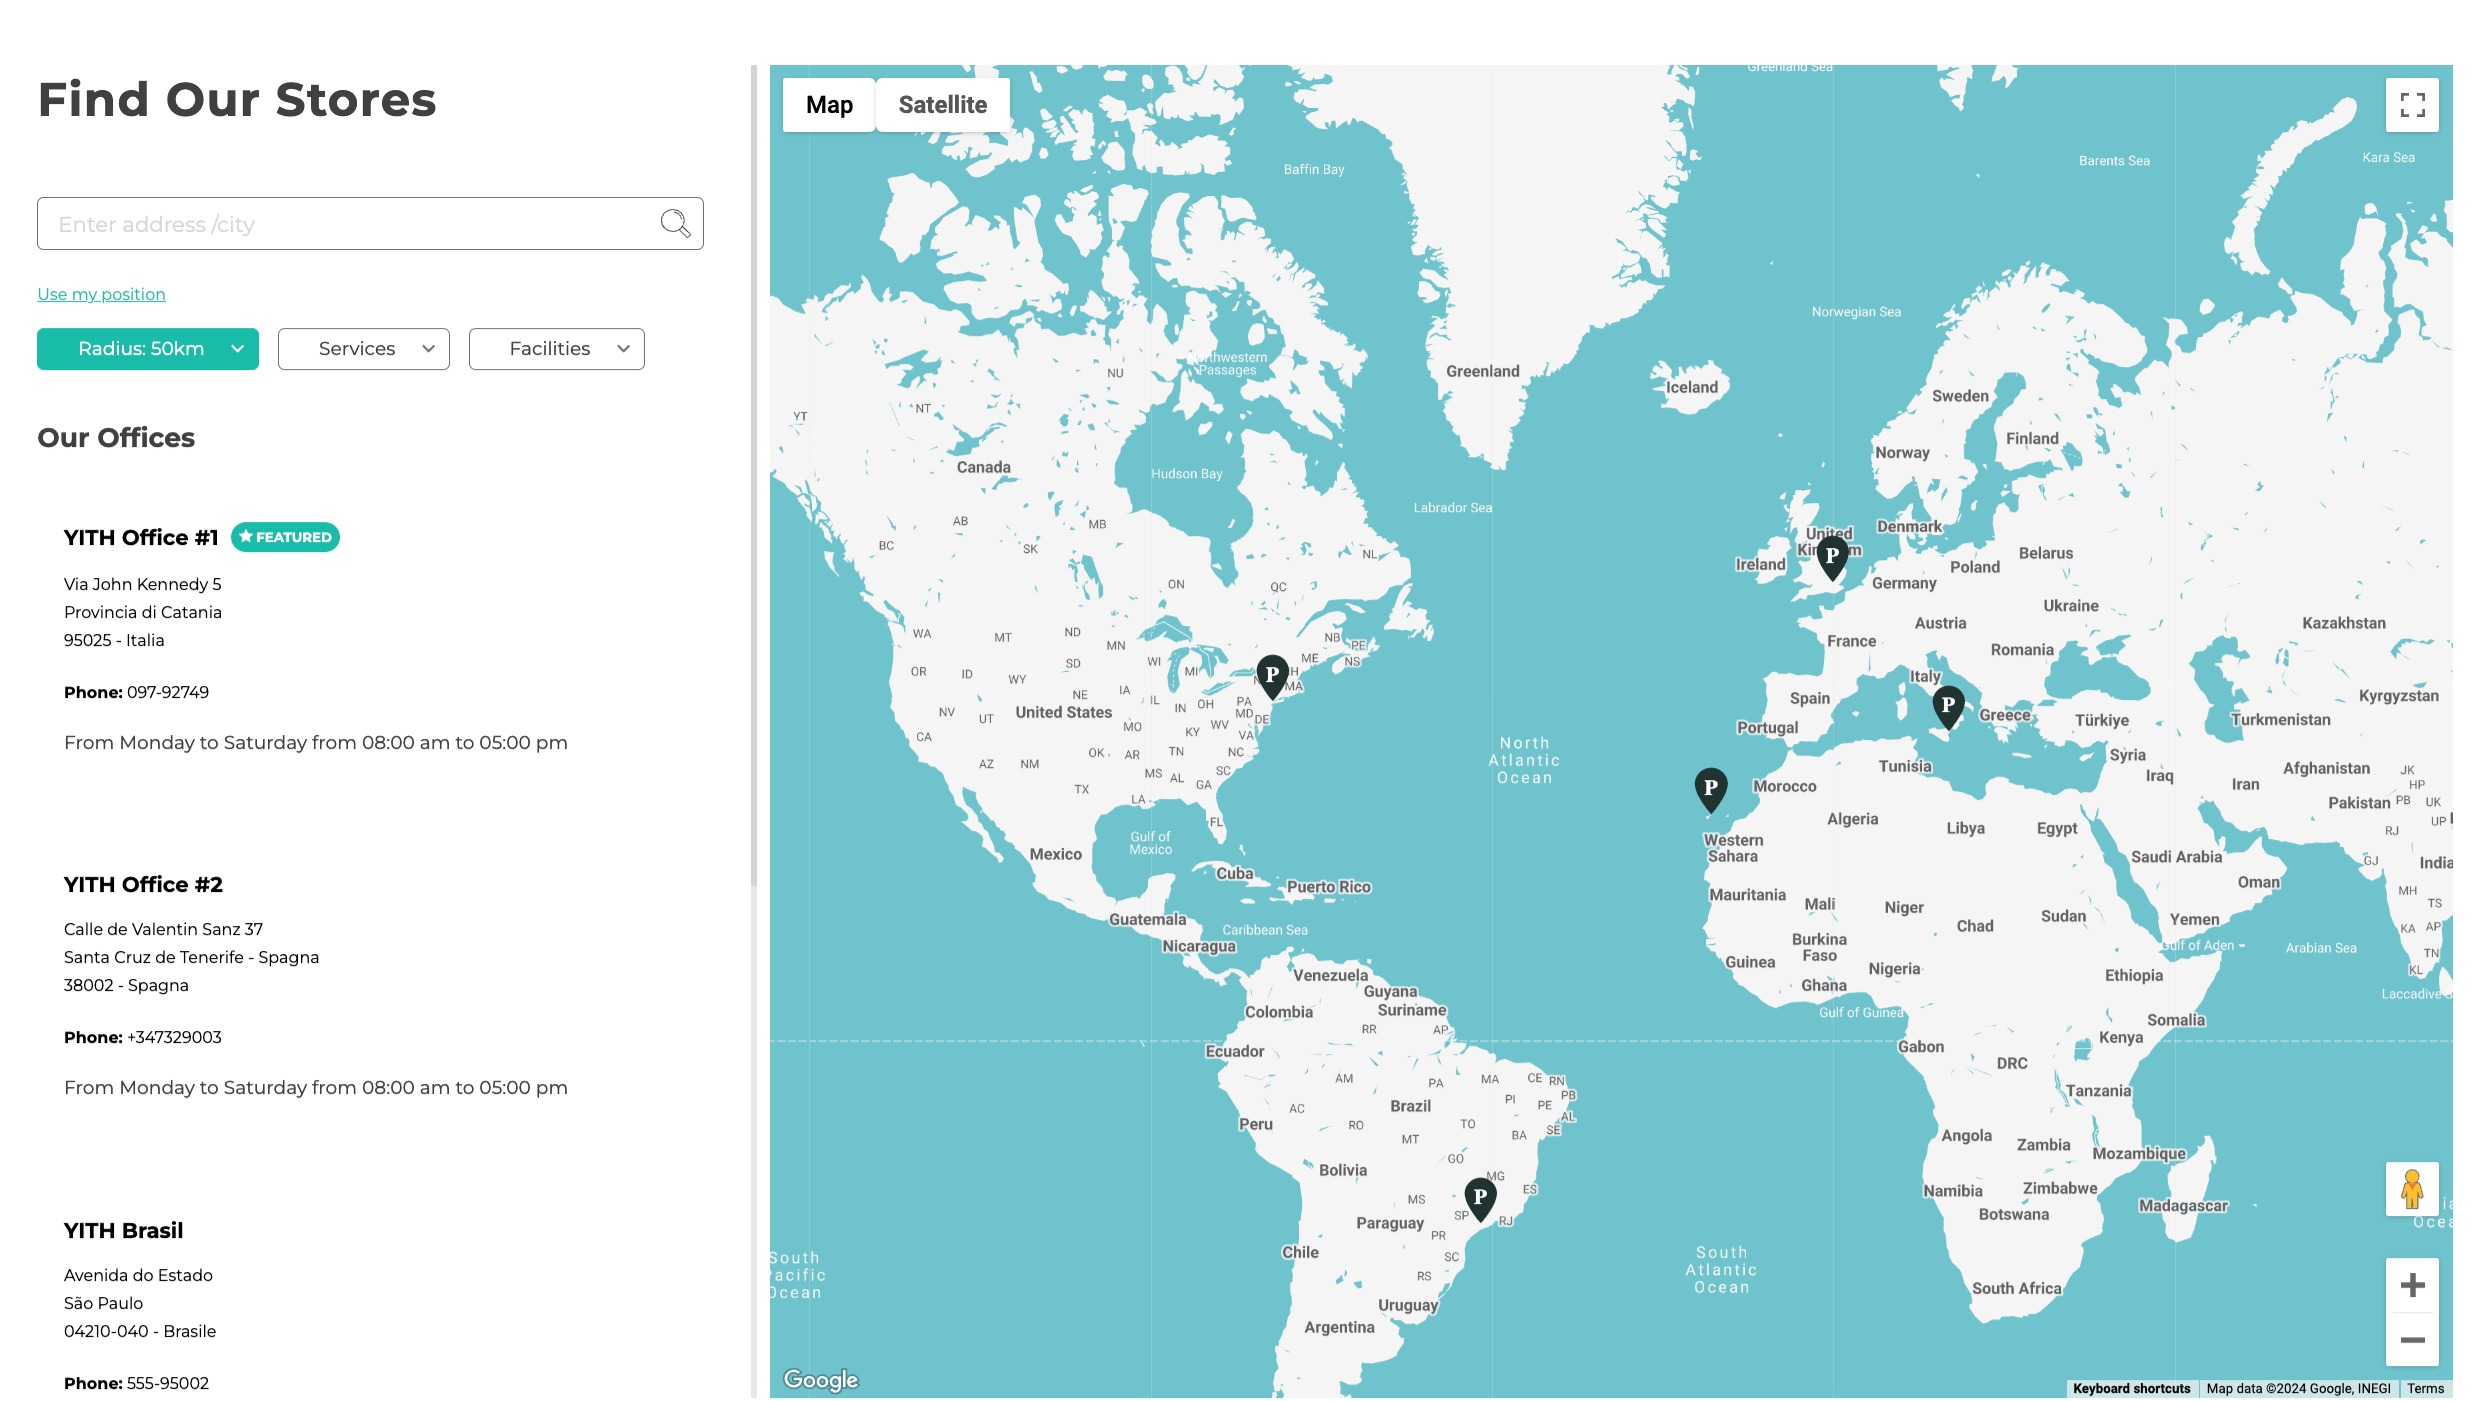
Store Locator page - General options
Full-width layout

In the Search tab, you can configure all the options related to the search box, the geolocation and View all stores button. These are the available options.

Search box options
  • Search bar and filters position: select the default position to show the search bar and filters:
    • Above the map
    • Beside the map
Above the map
Above the map
Beside the map
Beside the map
  • Show the search box: enable to show the search bar on the store locator page.
    • Search form colors: set the background and text colors of the search form.
    • Text to show in the search form: enter the text for the placeholder of the search form.
    • Upload icon for the search bar: upload a custom icon to show in the search bar.
    • Enter a title for “search” feature: enter the text to show as the title of the search bar.
    • Use instant search: enable to show the search result automatically. Leave disabled to show the “Search” button that users must click to get the results.
      • Text for the “Search” button: (available only if Use instant search is disabled) enter the text to show for the button.
      • Search button colors: set the background and text colors of the search button.

Geolocation

The geolocation option allows giving users the possibility to automatically use their position for the search.

Geolocation options
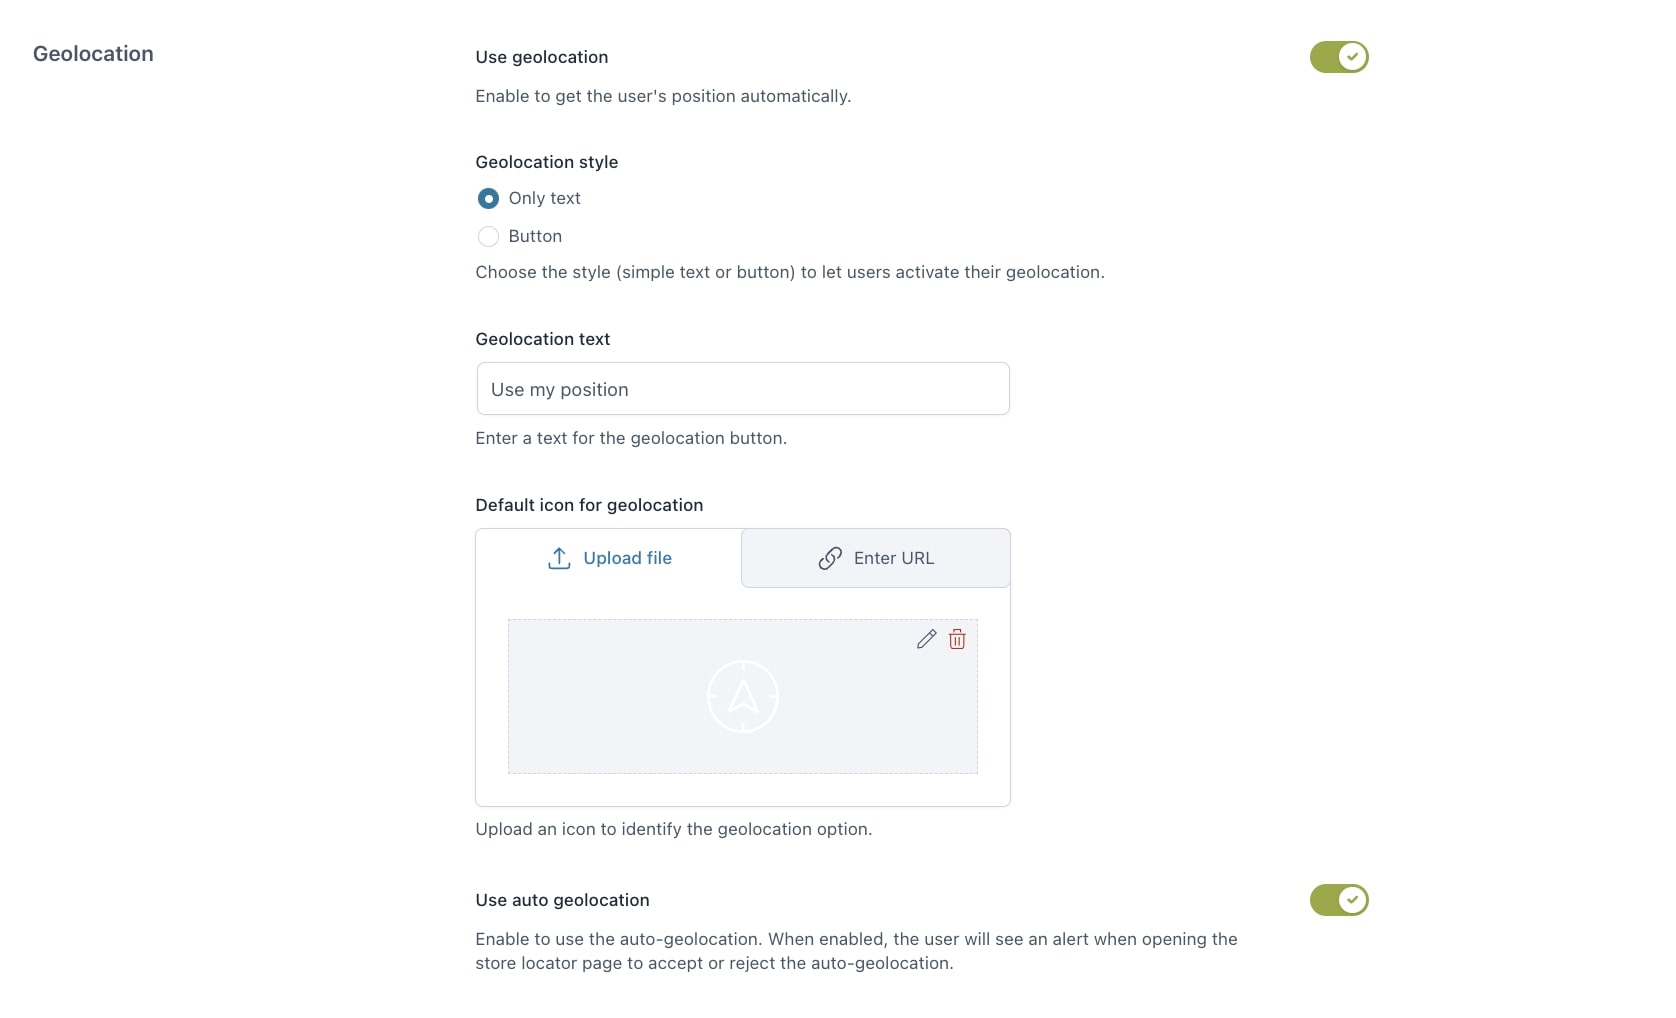
  • Use geolocation: enable to let users use their current position for the search.
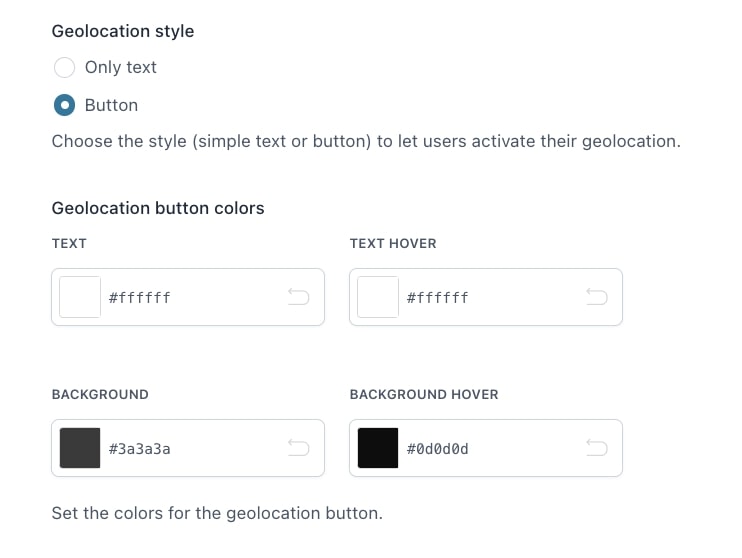
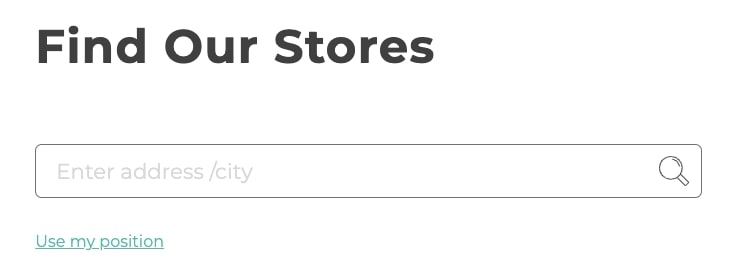
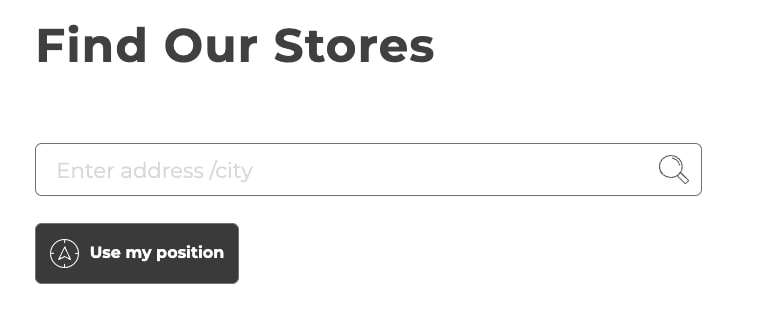
  • Geolocation style: select the style to show to let users apply the search based on their position:
    • Only text
    • Button: when selecting this option, you can set the text and bacground colors.
Geolocation button colors
  • Geolocation text: enter the text to show in the geolocation button.
  • Default icon for geolocation: upload an icon to show for the geolocation option.
  • Use auto geolocation: enable to automatically use user’s position. If enabled, users will be asked to accept or reject the auto-geolocation as soon as they open the Store locator page.
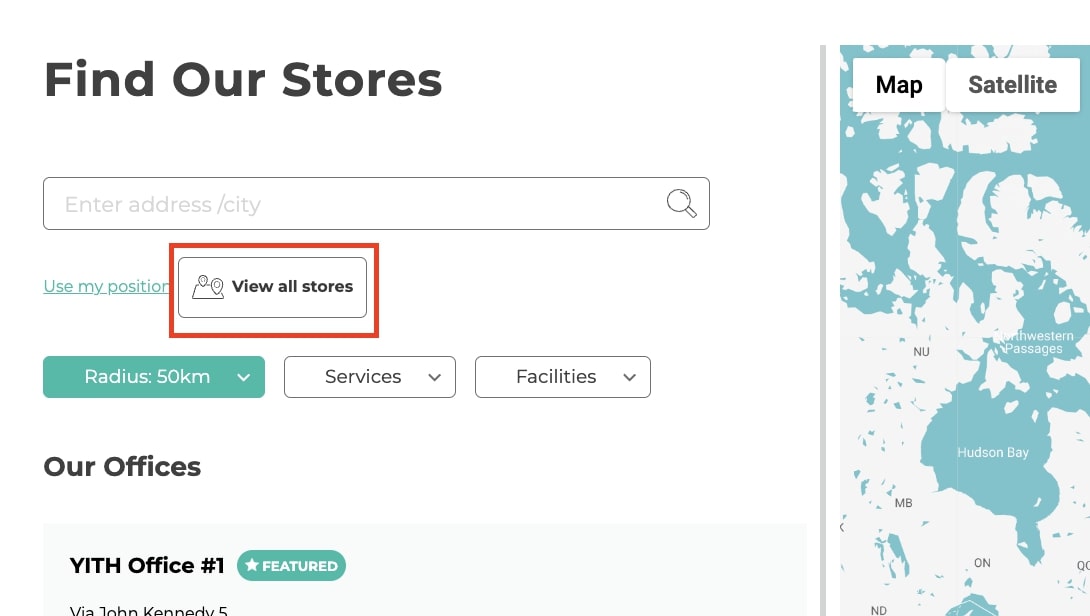
Geolocation style - text
Only text
Geolocation style - button
Button

View all stores

This is the section where you can manage the View all stores button.

View all stores options
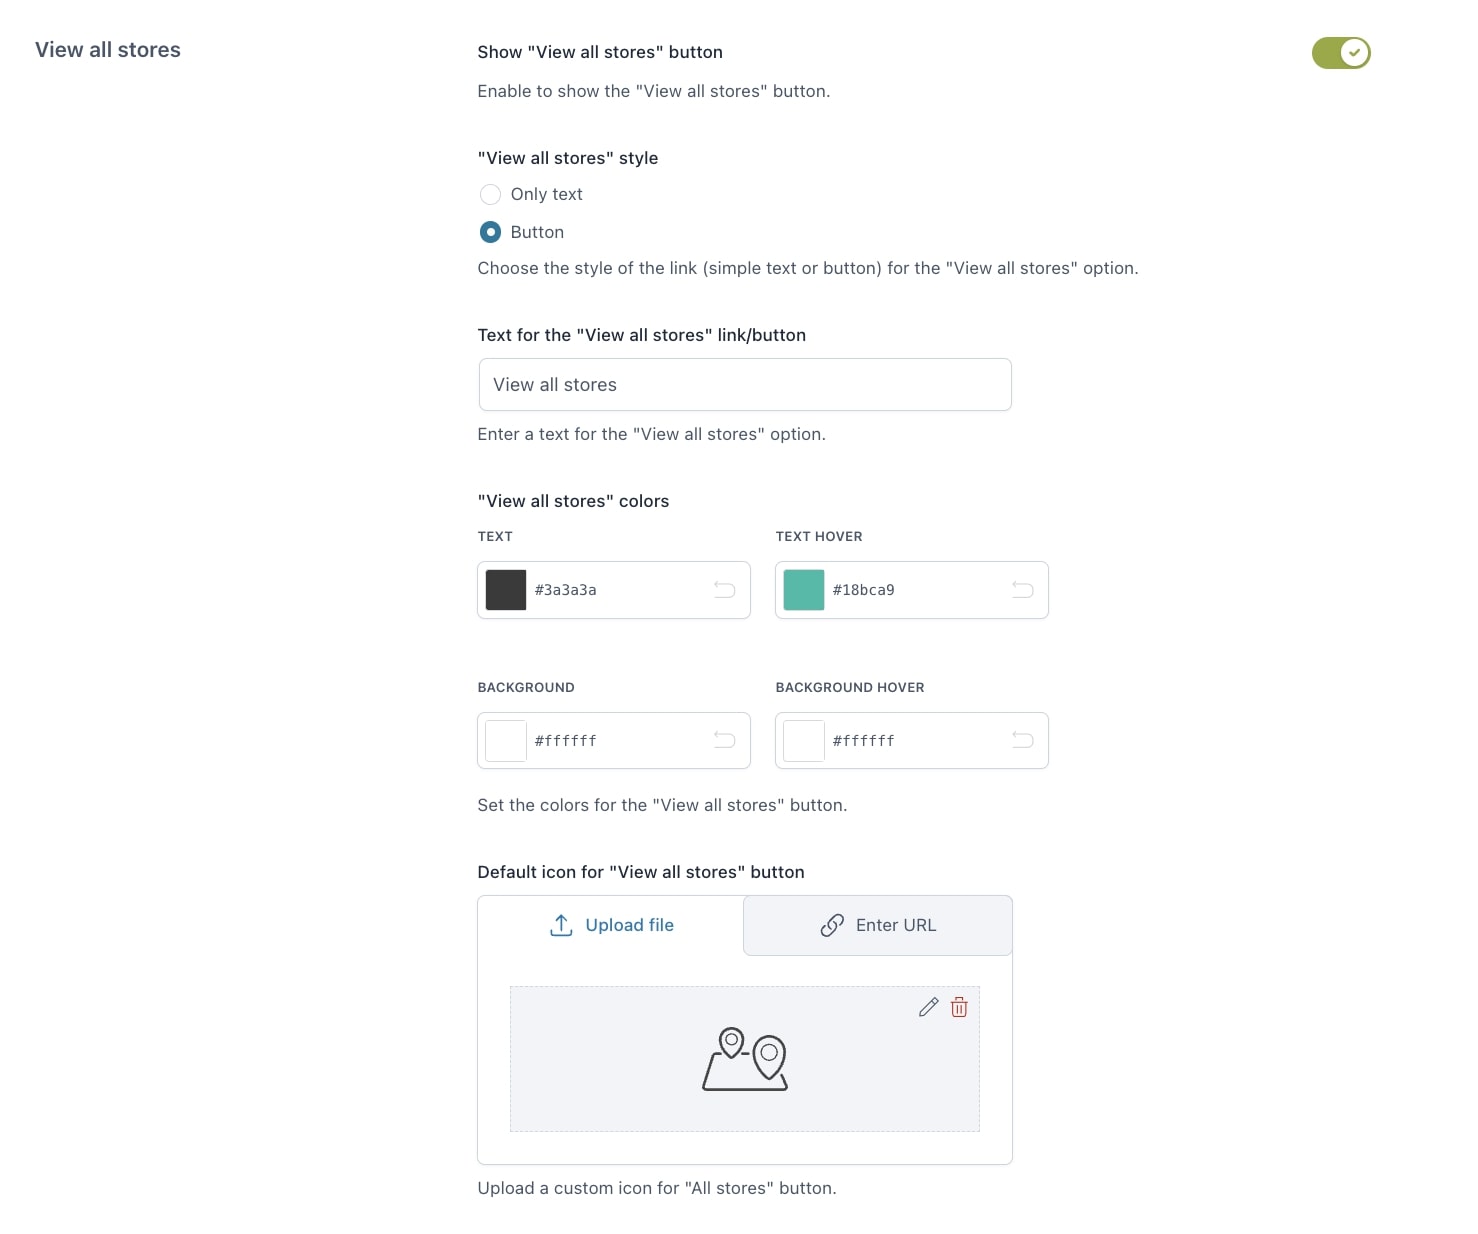
  • Show “View all stores” button: enable to show the button allowing users to view all the available stores.
  • “View all stores” style: select the style to apply to the button:
    • Only text
    • Button
  • Text for the “View all stores” link/button: enter the text to show for the button.
  • “View all stores” colors: (available only if Button is selected) set the text and background colors of the View all stores button.
  • Default icon for “View all stores” button: Upload a custom icon for the button.
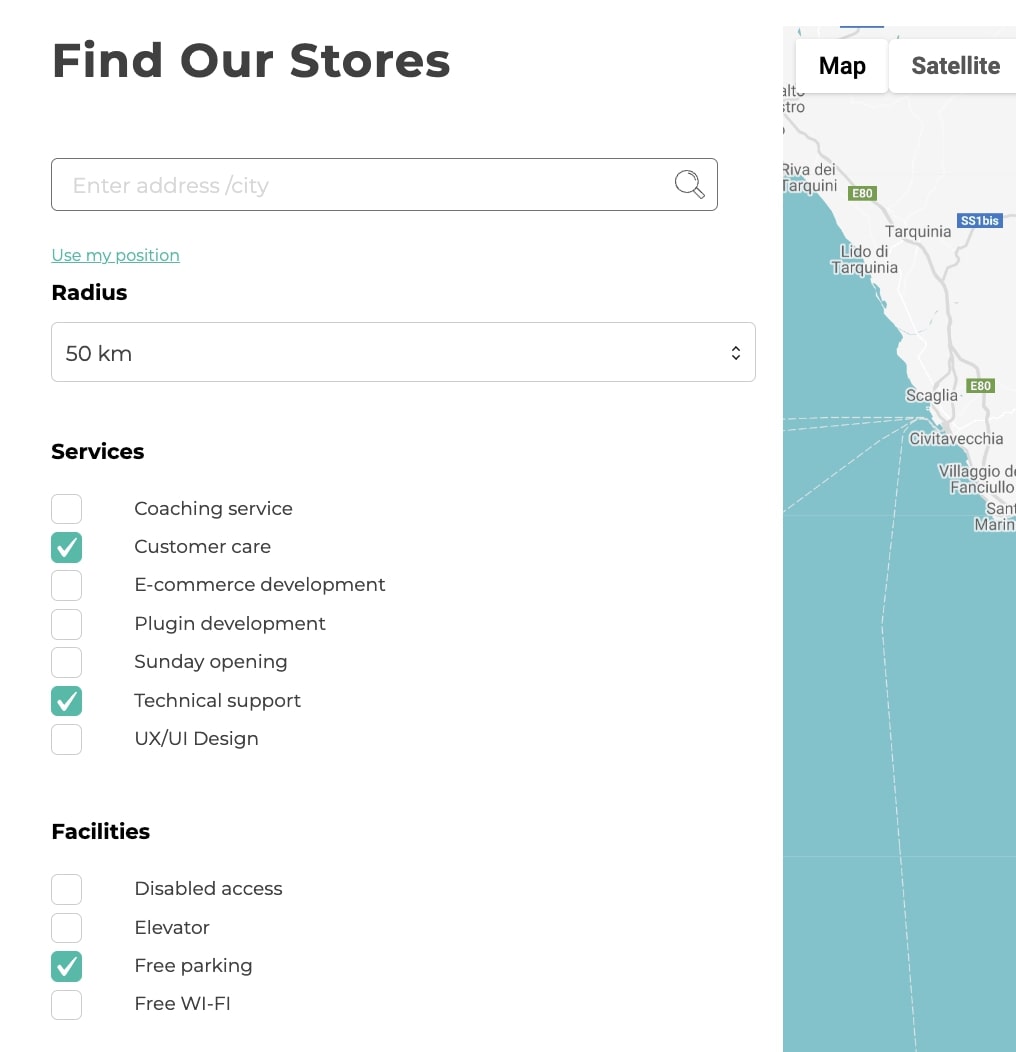
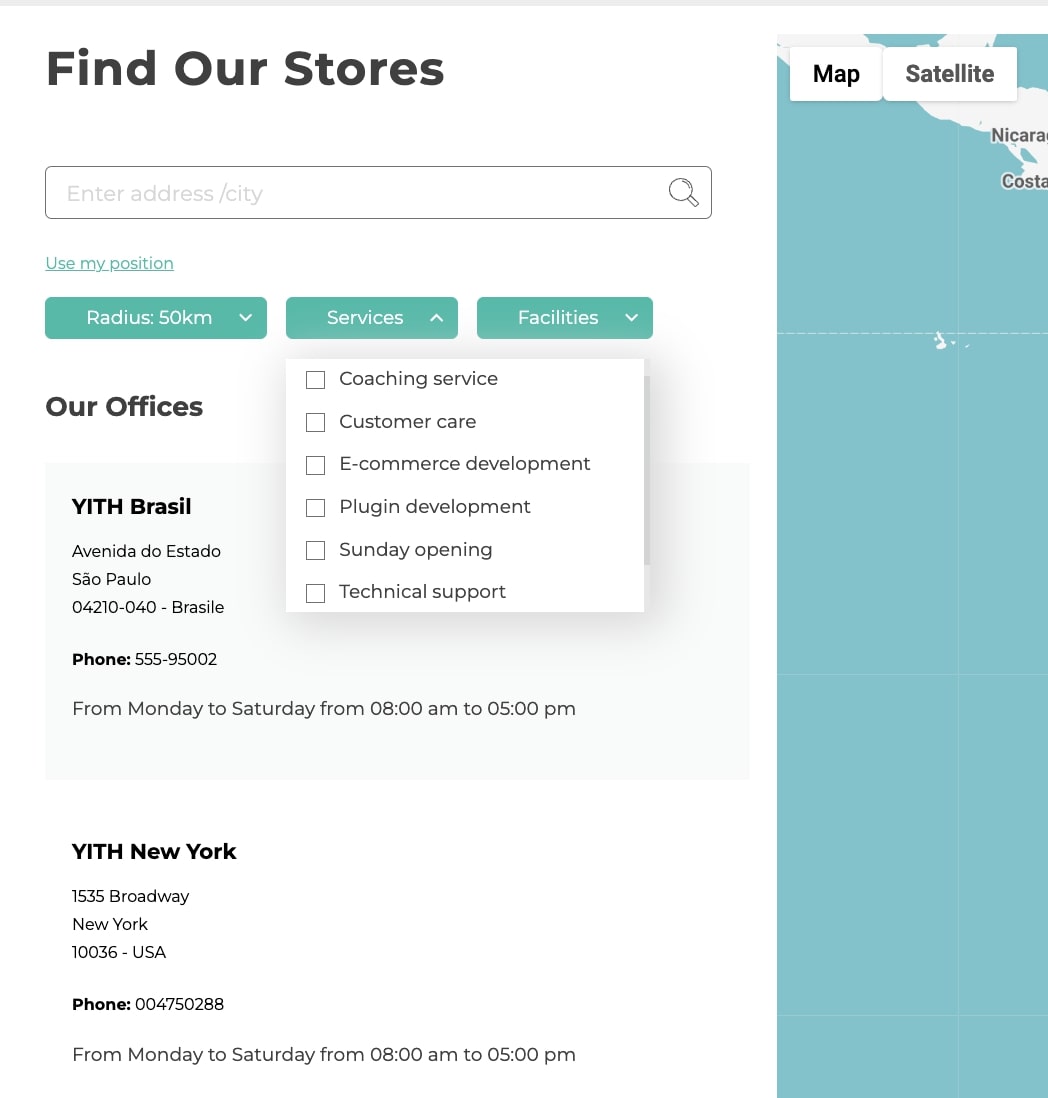
View all stores on frontend

Filters

In the Filters section, you can find all the options for the filters previously create (to learn how to create your filters, go to this page).

Filter options
  • Show filters: enable to show the filters on the Store locator page.
  • Filters display mode: select the style to show the filters:
    • Opened in the page
    • Dropdown style
Filters opened in the page
Opened in the page
Dropdown style
Dropdown style
  • After the search: select the action to execute on filters after showing the searh results:
    • Keep filters opened in the page
    • Hide filters and show a link in order to open them again
  • Show “Active filters” text: enable to show the active filters after the search. If enabled,  you can enter a text in the field Enter a text for “active filters”.
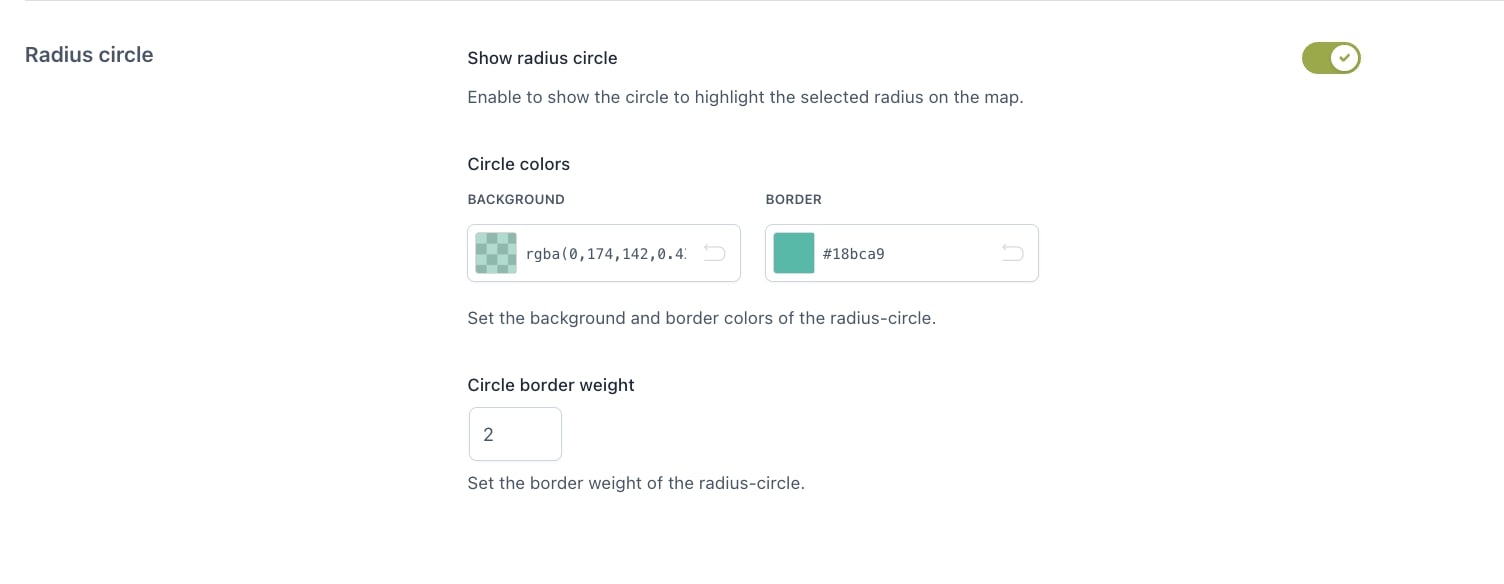
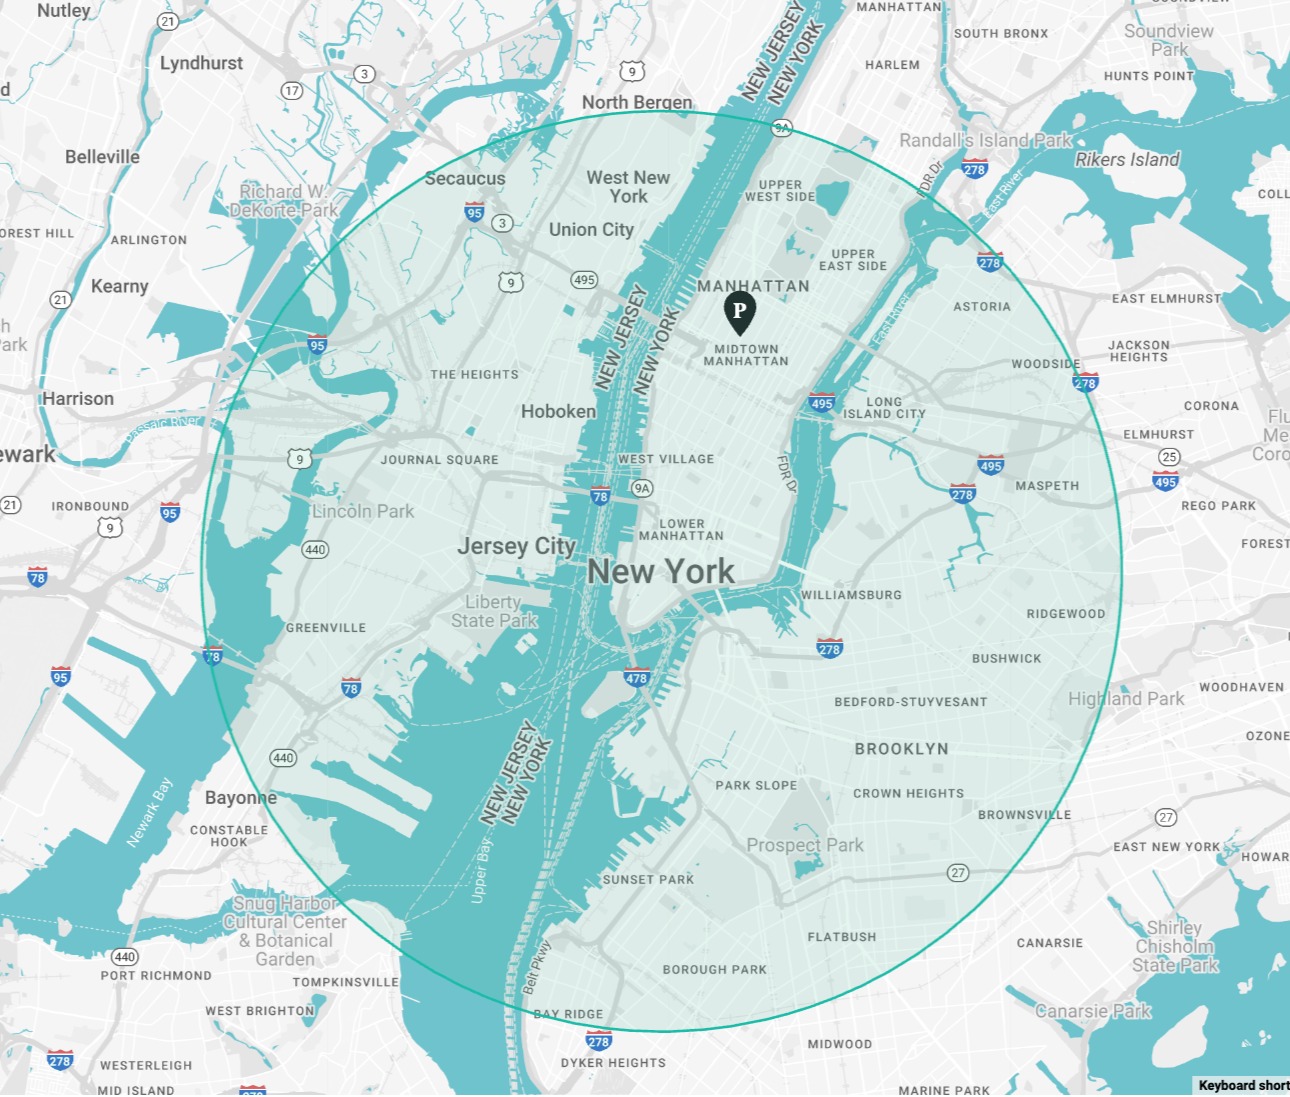
  • Show radius filter: enable to highlight a specific radius for the filter.
    • Distance unit: select the untit to show by choosing from KM or Miles.
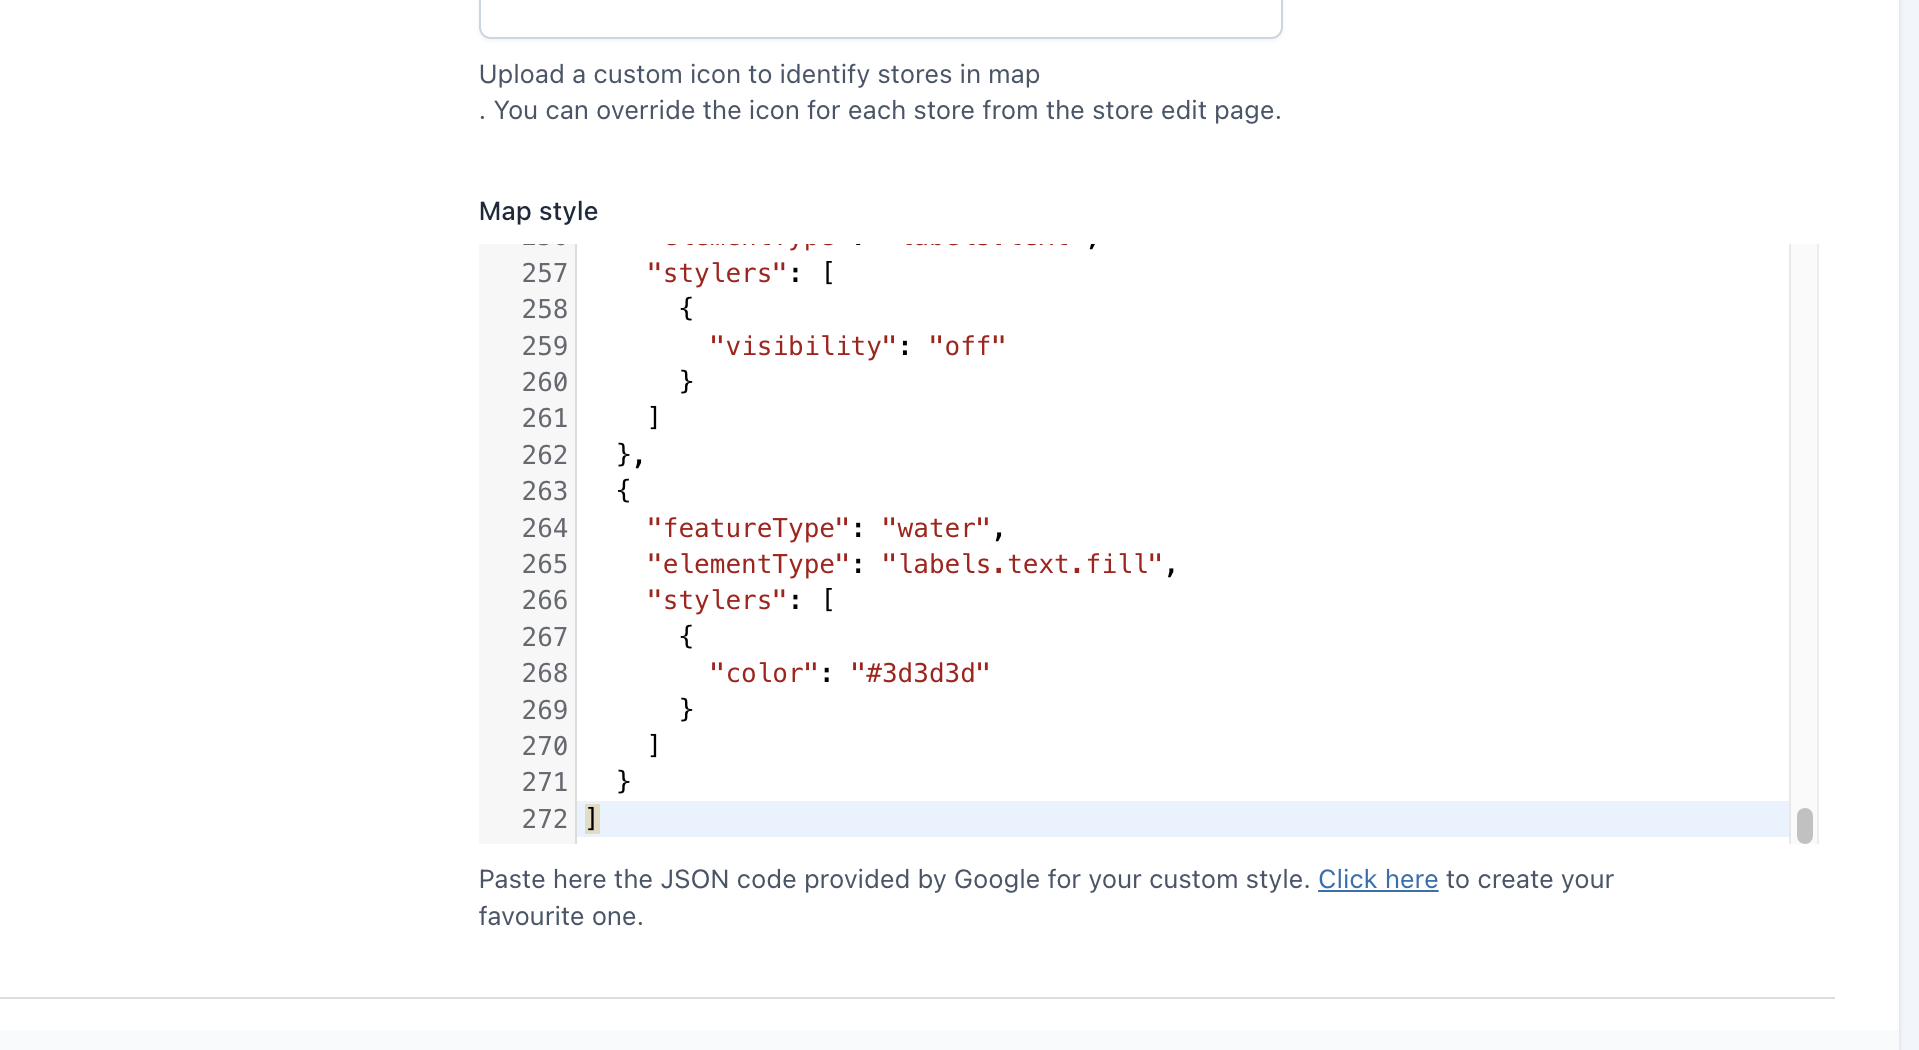
Example

Filters example

Map settings

To configure the map settings, go to Store locator page -> Map. Here, you can find all the options related to:

Map

To start configuring the map options, you must first enable the option Show the map.

Show the map

Now, you can start setting up the following options:

  • Map position: choose whether to show the map and search results on the right or left on the Store locator page.
  • Map width (in %): set the width of the map as a percentage to calculate the list of search results automatically. Default value: 65.
  • Map height (in pixel): set the width of the map.
Map position
  • Default map position: define the default map position by using Google suggestions.
  • Map preview: this is a preview of the map based on the location entered as the default map position.
  • Default map type: choose the map type to show from roadmap and satellite.
Default map options
  • Default map zoom: set the default zoom for the store locator map.
  • Map scroll type: select how to scroll the map of the store locator (with Mouse wheel+ctrl or Mouse wheel).
  • Default icon for user’s position on the map: choose the icon to identify the user position in the map from the default one or by uploading a custom icon.
  • Default icon for store in the map: choose the icon to identify the store position in the map from the default one or by uploading a custom icon. You can override this option from the store edit page if you want to use a different icon for each store.
Map type and zoom
Create map style on Google

Click on Use the legacy JSON styling wizard.

Now choose the theme and click on Finish.

Copy the JSON…

and paste it into Map style option.

Pin info modal settings

To set the store information that you want to show in the modal on the map, go to Store locator page > Map > Pin info modal settings.

To start configuring the info modal options, you must first enable the option Show the info modals.

Show info modal
  • Open the modal at: choose if you want to show the modal when users Click on pin or Mouse hover.
  • Modal width: set the width of the modal (in px). Based on the value you insert, the height will apply dynamically.
  • Modal colors: choose the colors for the background and the text of the pin modal.
  • Border radius: set if you want to show a circle box rather than the rectangular box. For the latter, set to 0.
  • Show store name: enable to show the name of the store.
  • Show store description: enable to show the description of the store.
  • Show store address: enable to show the address of the store.
  • Show store contact info: enable to show the contact info of the store.
  • Show Get directionslink: enable to show the link for the directions.
  • Show contact link: enable to show the contact link of the store.
  • Show “Visit website” link: enable to show the link of the site.
Pin info modal settings

Pin info modal example

Pin info modal on frontend

Radius circle

From the Store locator page -> Map tab in the plugin panel, you can also choose to show or hide the radius on the map and configure its colors and border weight through the options shown below.

Radius circle options
  • Show radius circle: enable to show the circle of the selected radius.
  • Circle colors: set the colors for the background and border of the radius circle.
  • Circle border weight: set the weight for the border of the radius circle.
Radius circle on the map