From the tab Stock Table, you can manage the stock of the products of your stores, choose whether to show or hide the out-of-stock products from the Store Locator, associate a product to one or more stores, and import and export the stock.
To see the table, you must first enable the option Enable stock management available in WooCommerce options -> General > Products & Stores.

The product stock is managed only at the information level and doesn’t reflect in the checkout and orders placed on the site. It has to be updated manually every time it is necessary to change the product quantities.
Through the stock table, you can:
- manage the stock for each product and store by defining the values in the related fields;
- associate the product to one or more stores by clicking on Associate now on hover. You’ll be automatically redirected to the product edit page where you can select the stores that you want to associate;
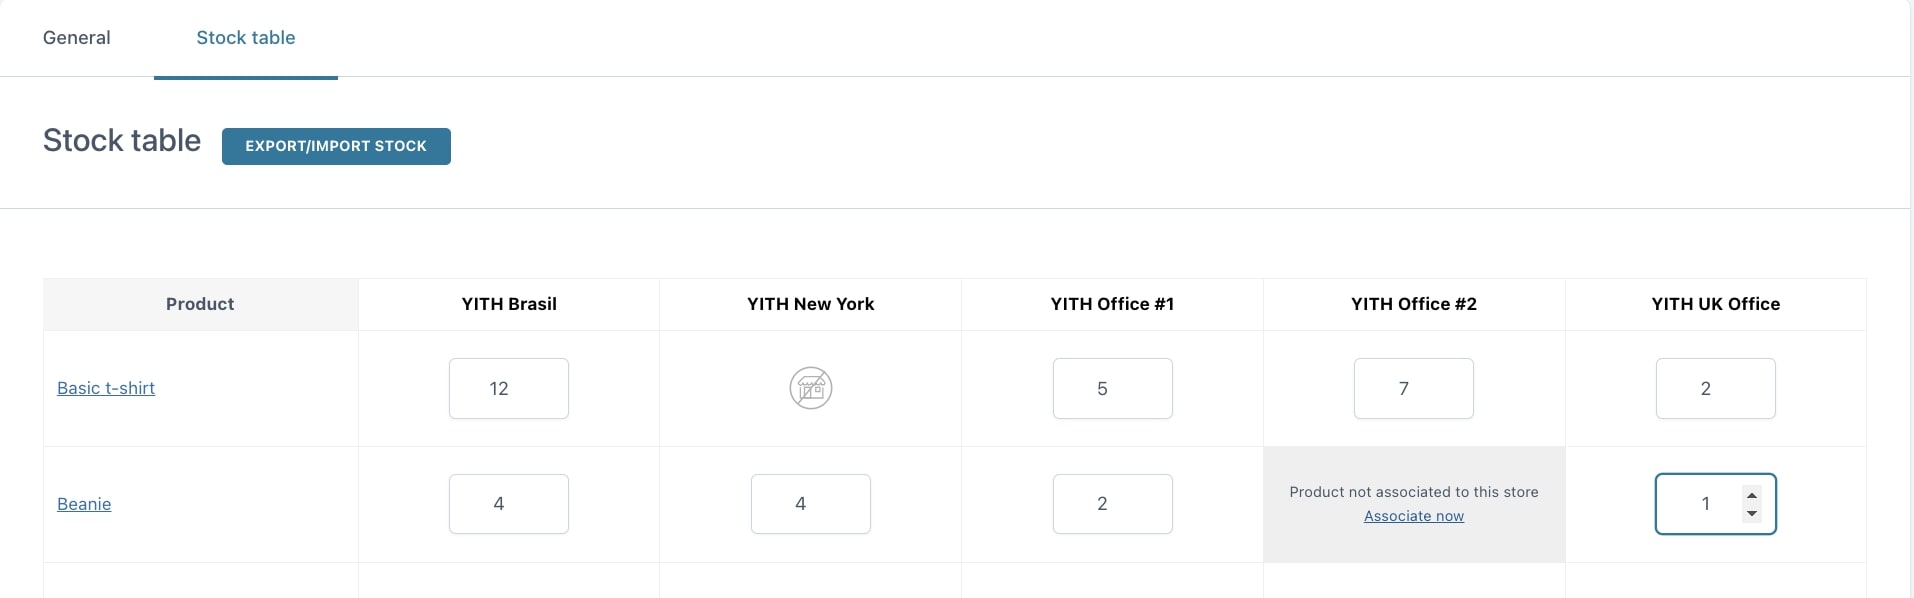
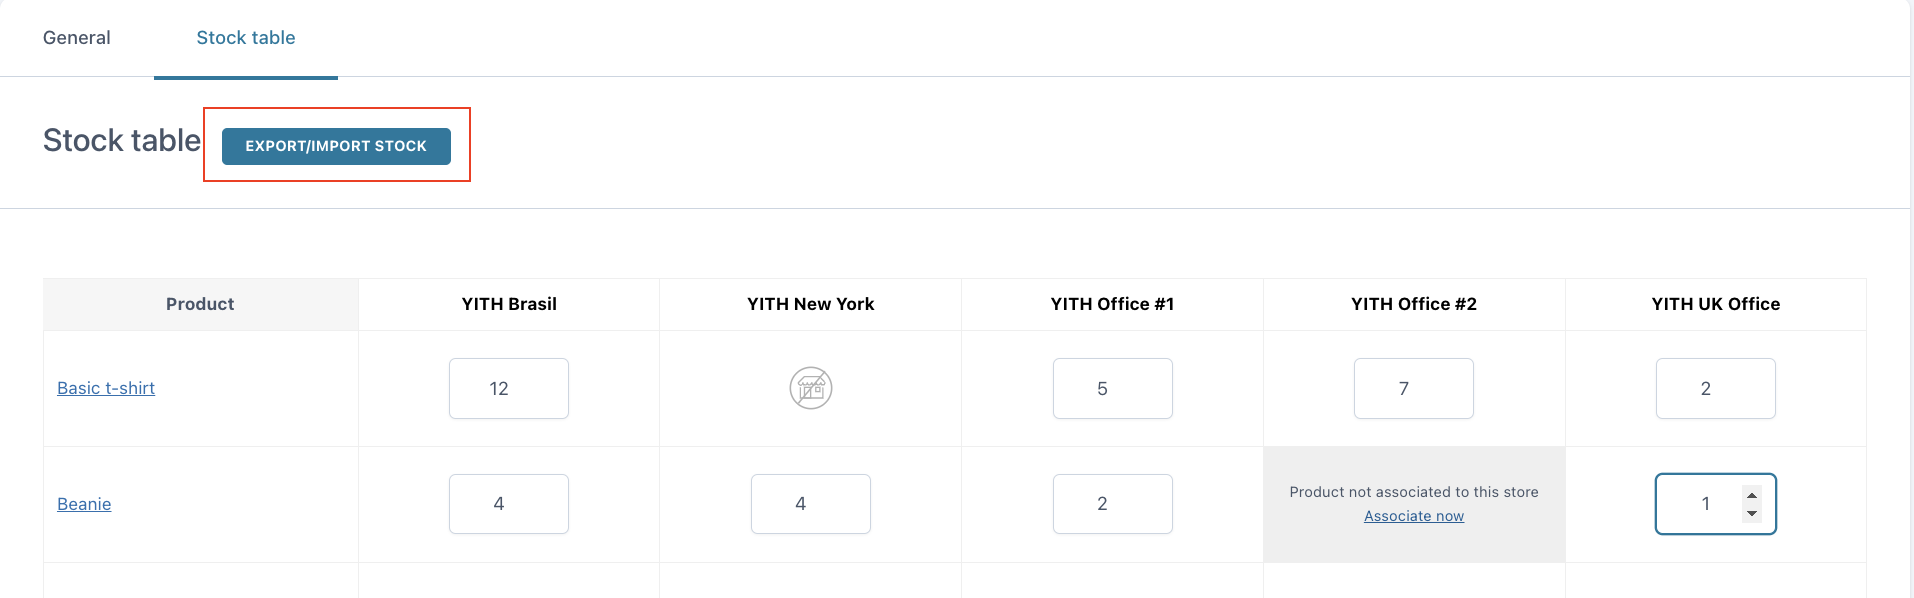
- import/export the stock through a CSV file by clicking on Import stock or Export stock.
Export/Import procedure
To export and import the stock, click on the button and choose the action in the modal.
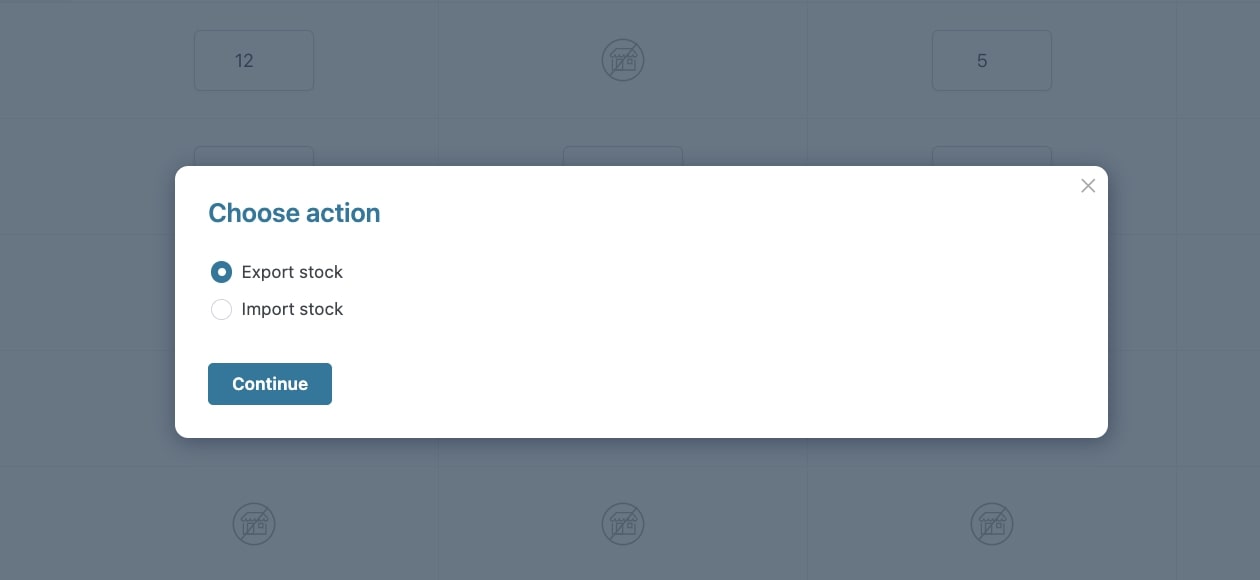
When selecting Export stock, the procedure will be automatically processed after clicking on the Continue button. A message will show to notify you about the completed export.
About the import, the procedure is different. After selecting Import stock and clicking on Continue, you will need to upload the CSV file, and define the CSV delimiter (e.g. a comma) and enclosure (e.g. a semicolon).
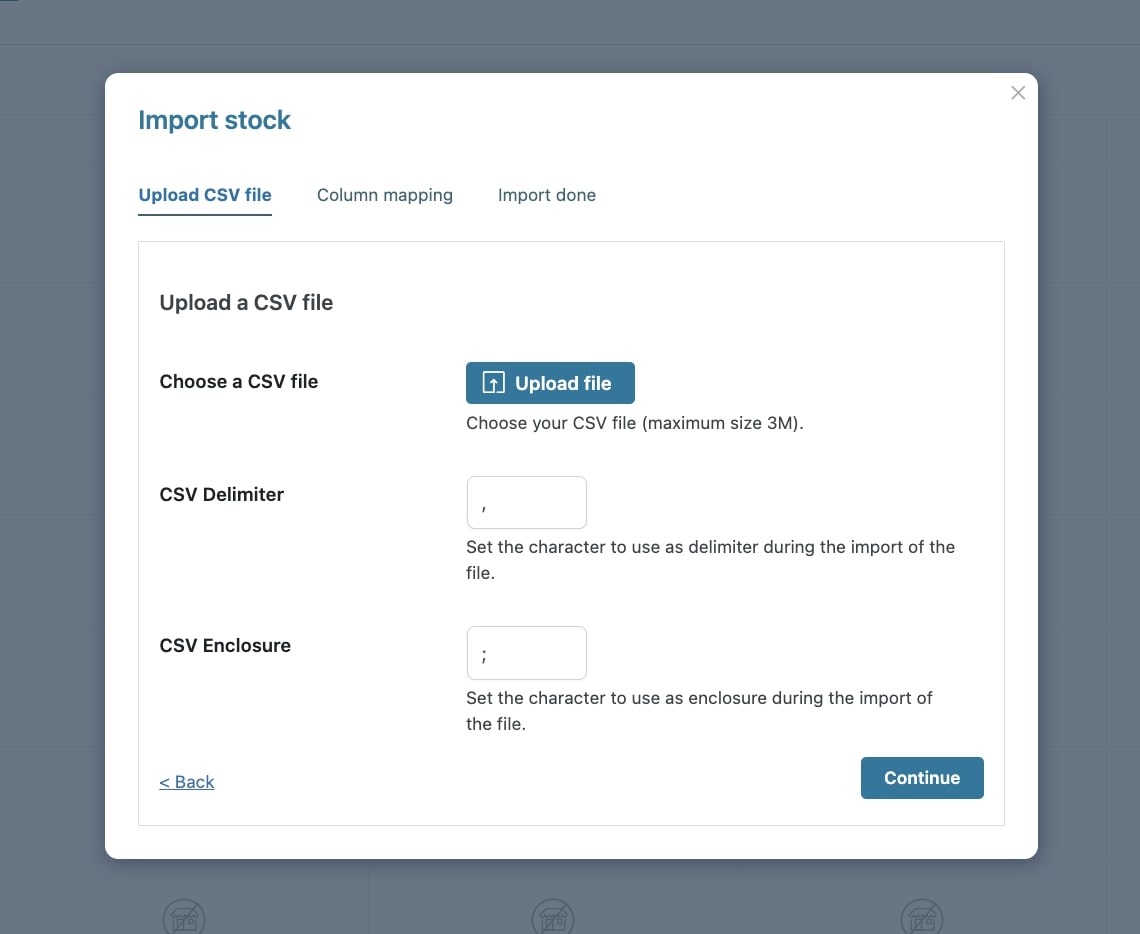
After clicking on Continue, you’ll need to set the Column mapping. To import the data correctly, it is important to associate the information to retrieve from the CSV file columns by selecting it from the field dropdown.
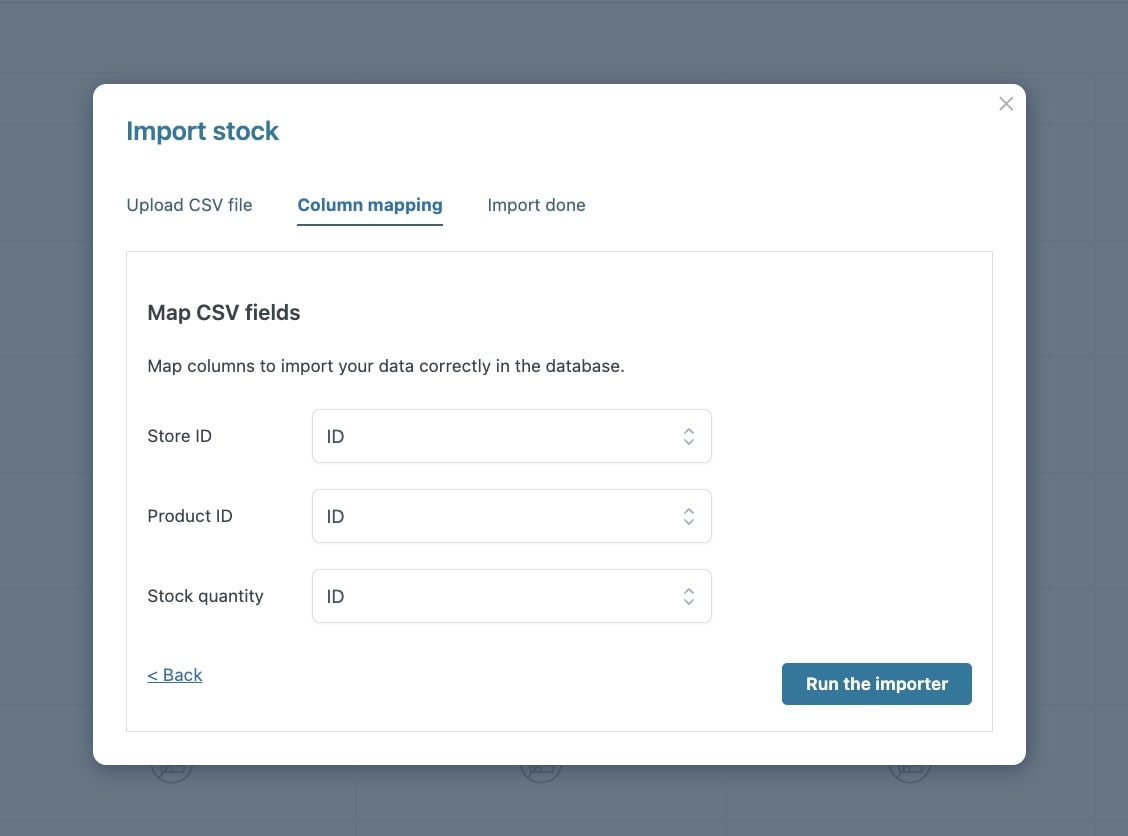
Now, you can click on Run the importer to complete the procedure.