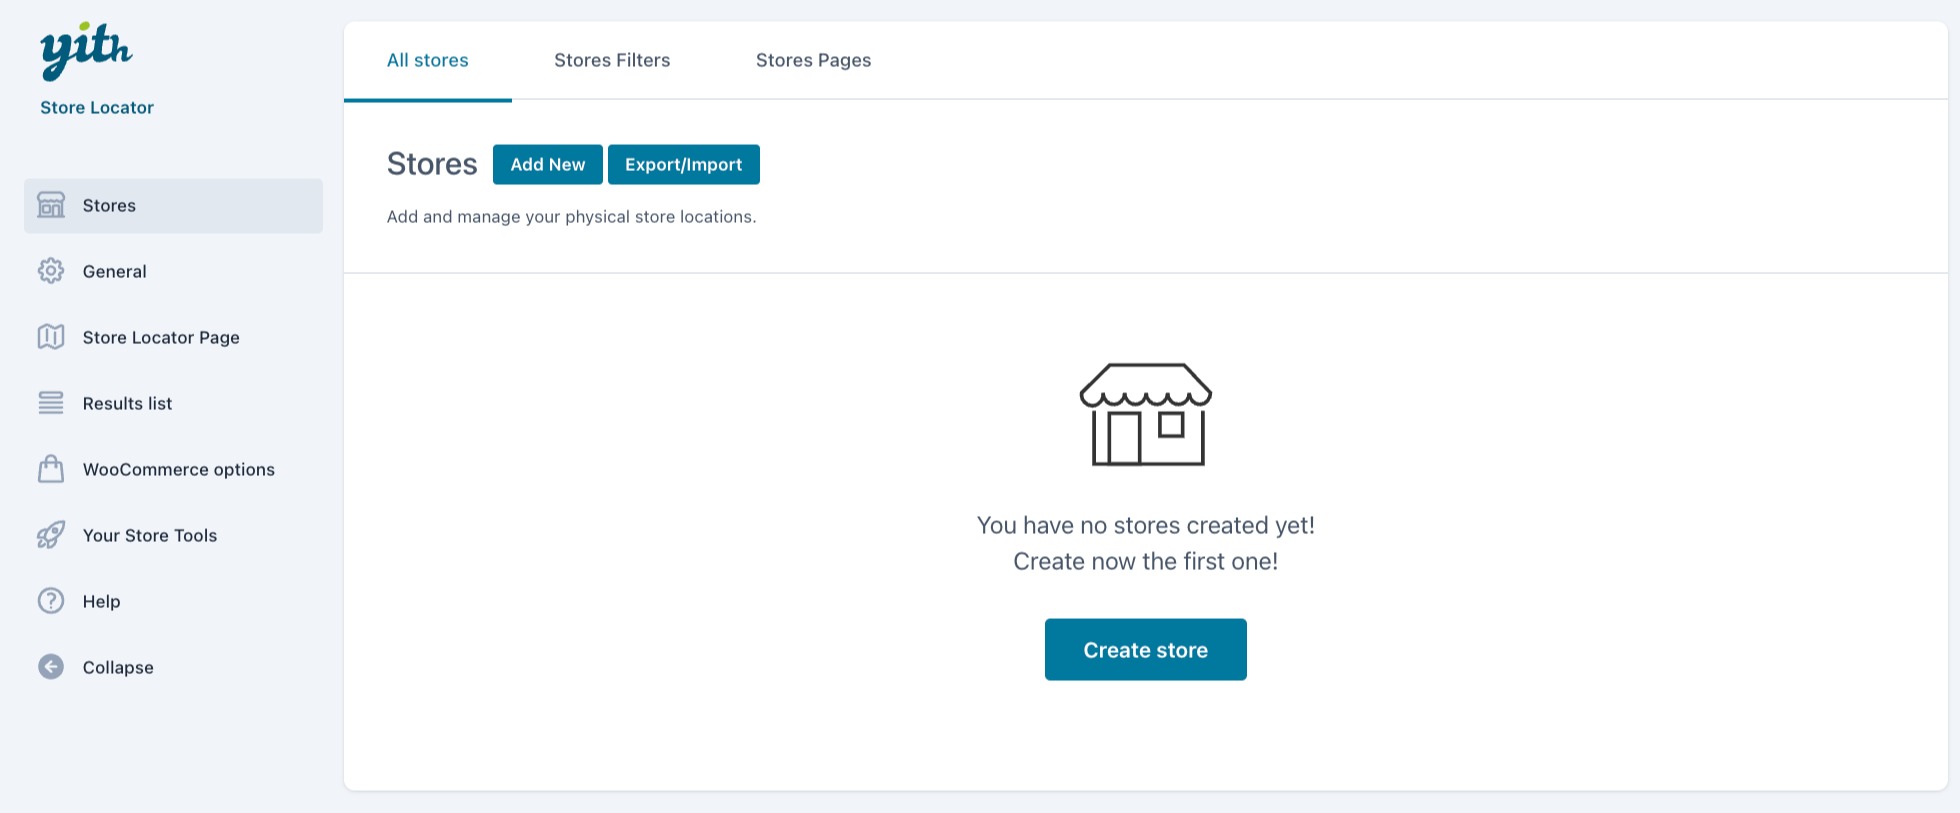
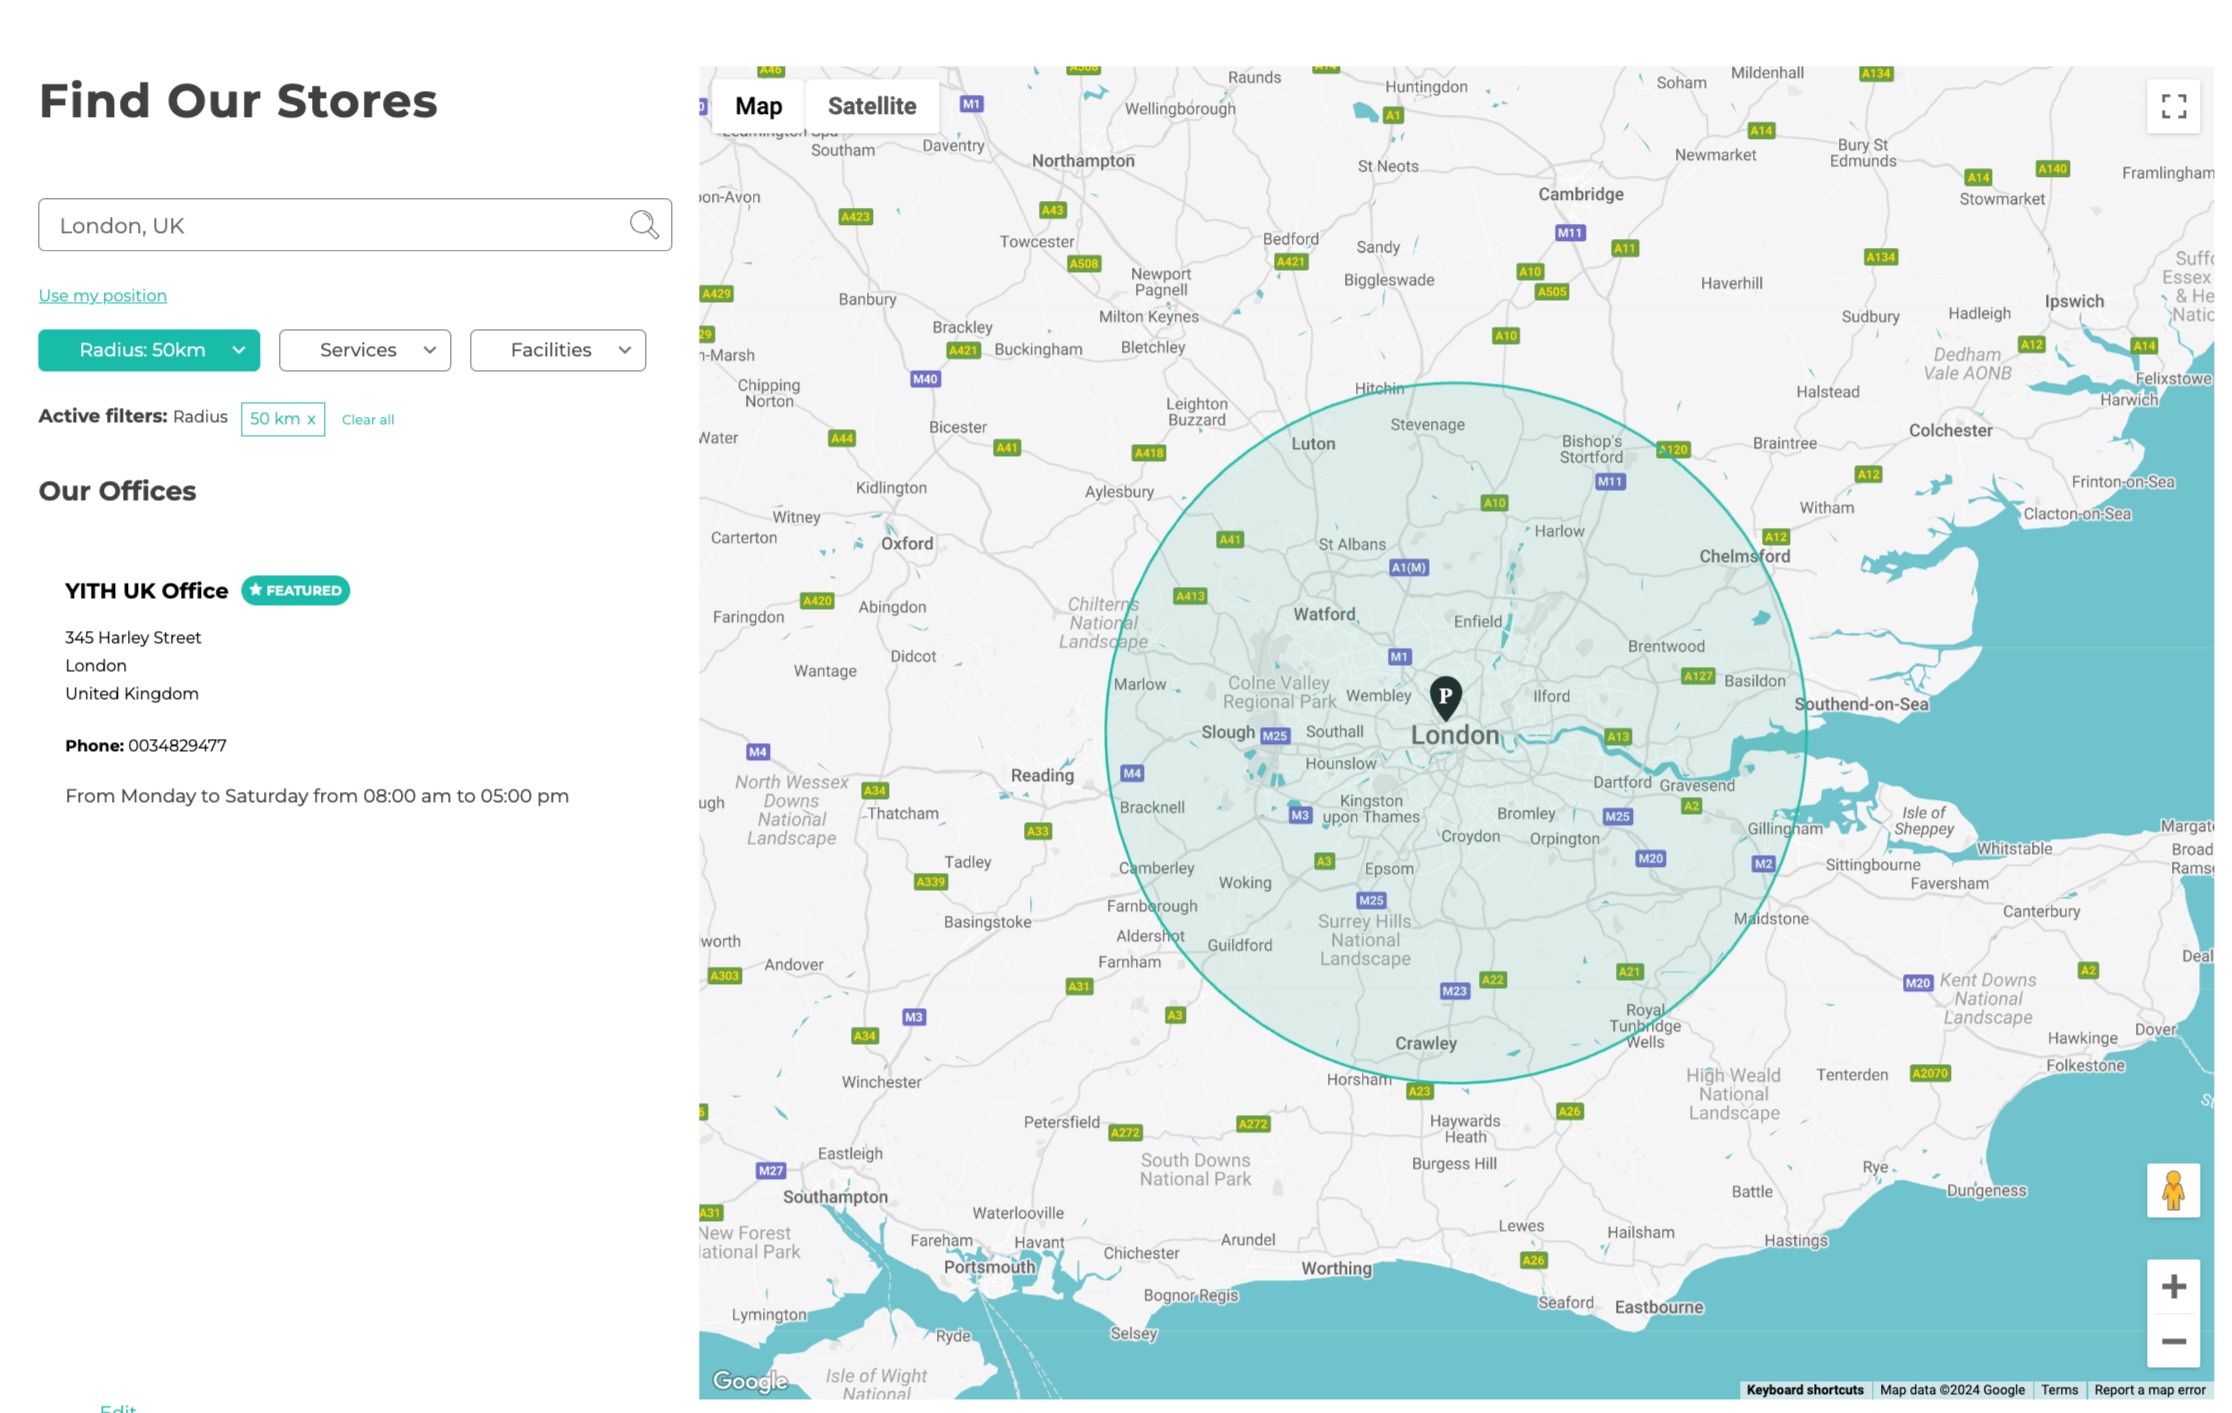
To start creating the stores that will be listed on your store locator page, go to Stores -> All stores in the plugin panel and click on the button Create store or Add new.
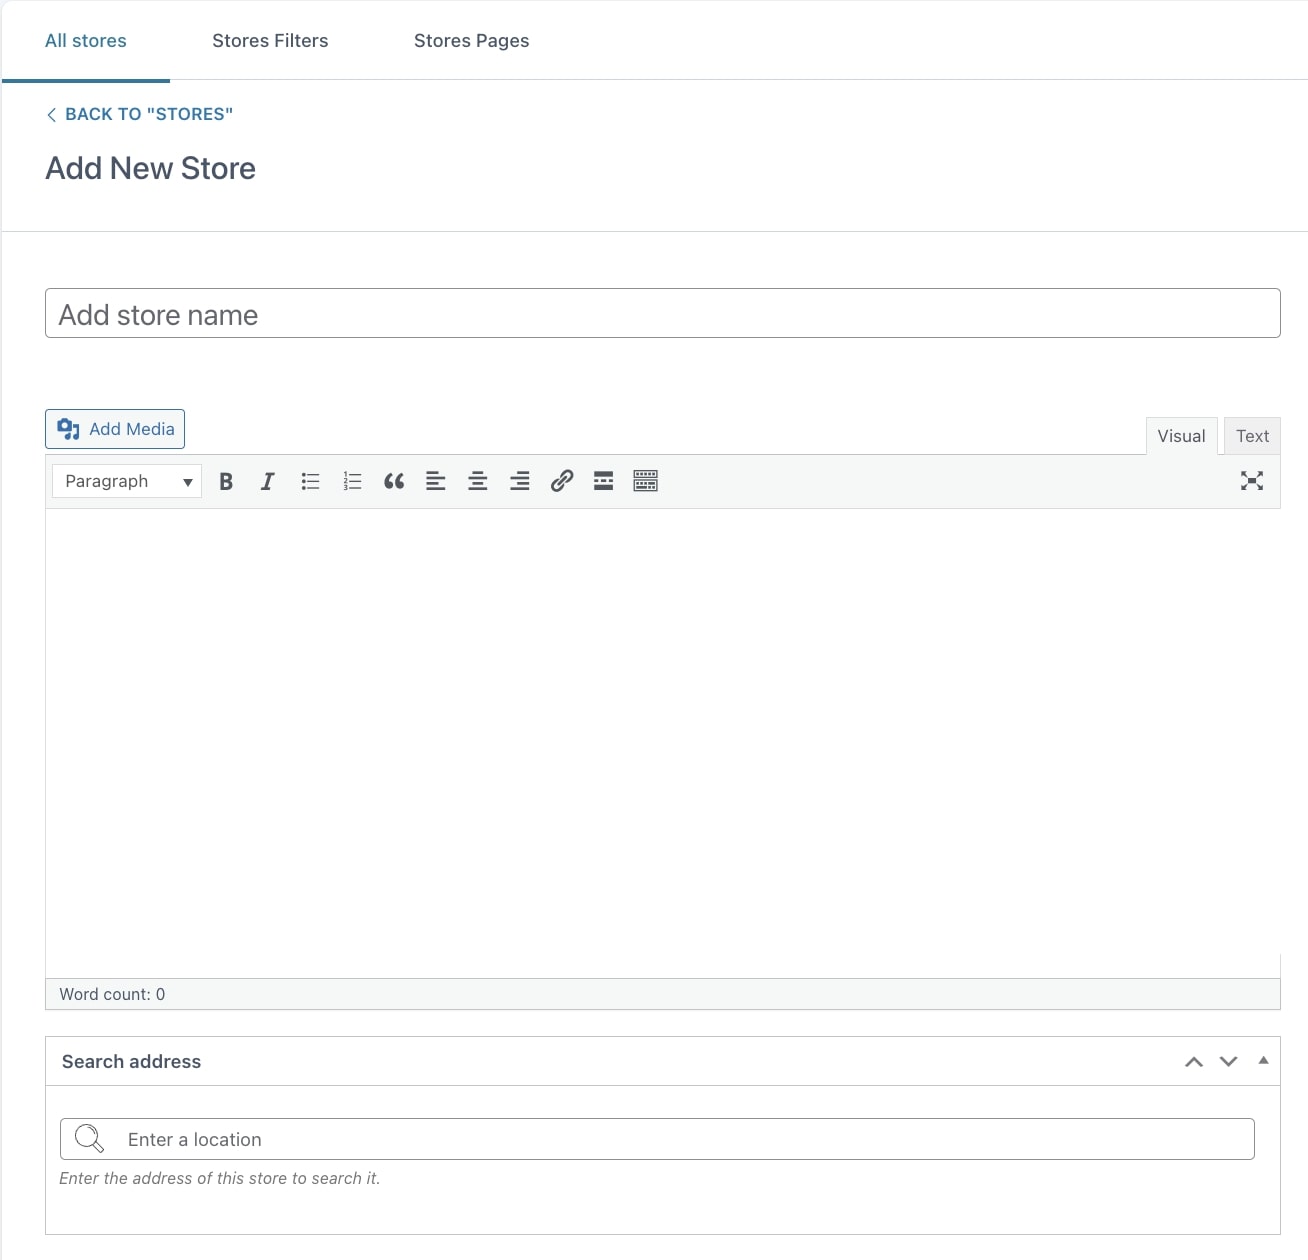
From the store edit page, set a name and, optionally, a description then you can enter the store address in the Search address field. We recommended choosing the address from Google suggestions. To learn how to configure Google Maps, visit this page.
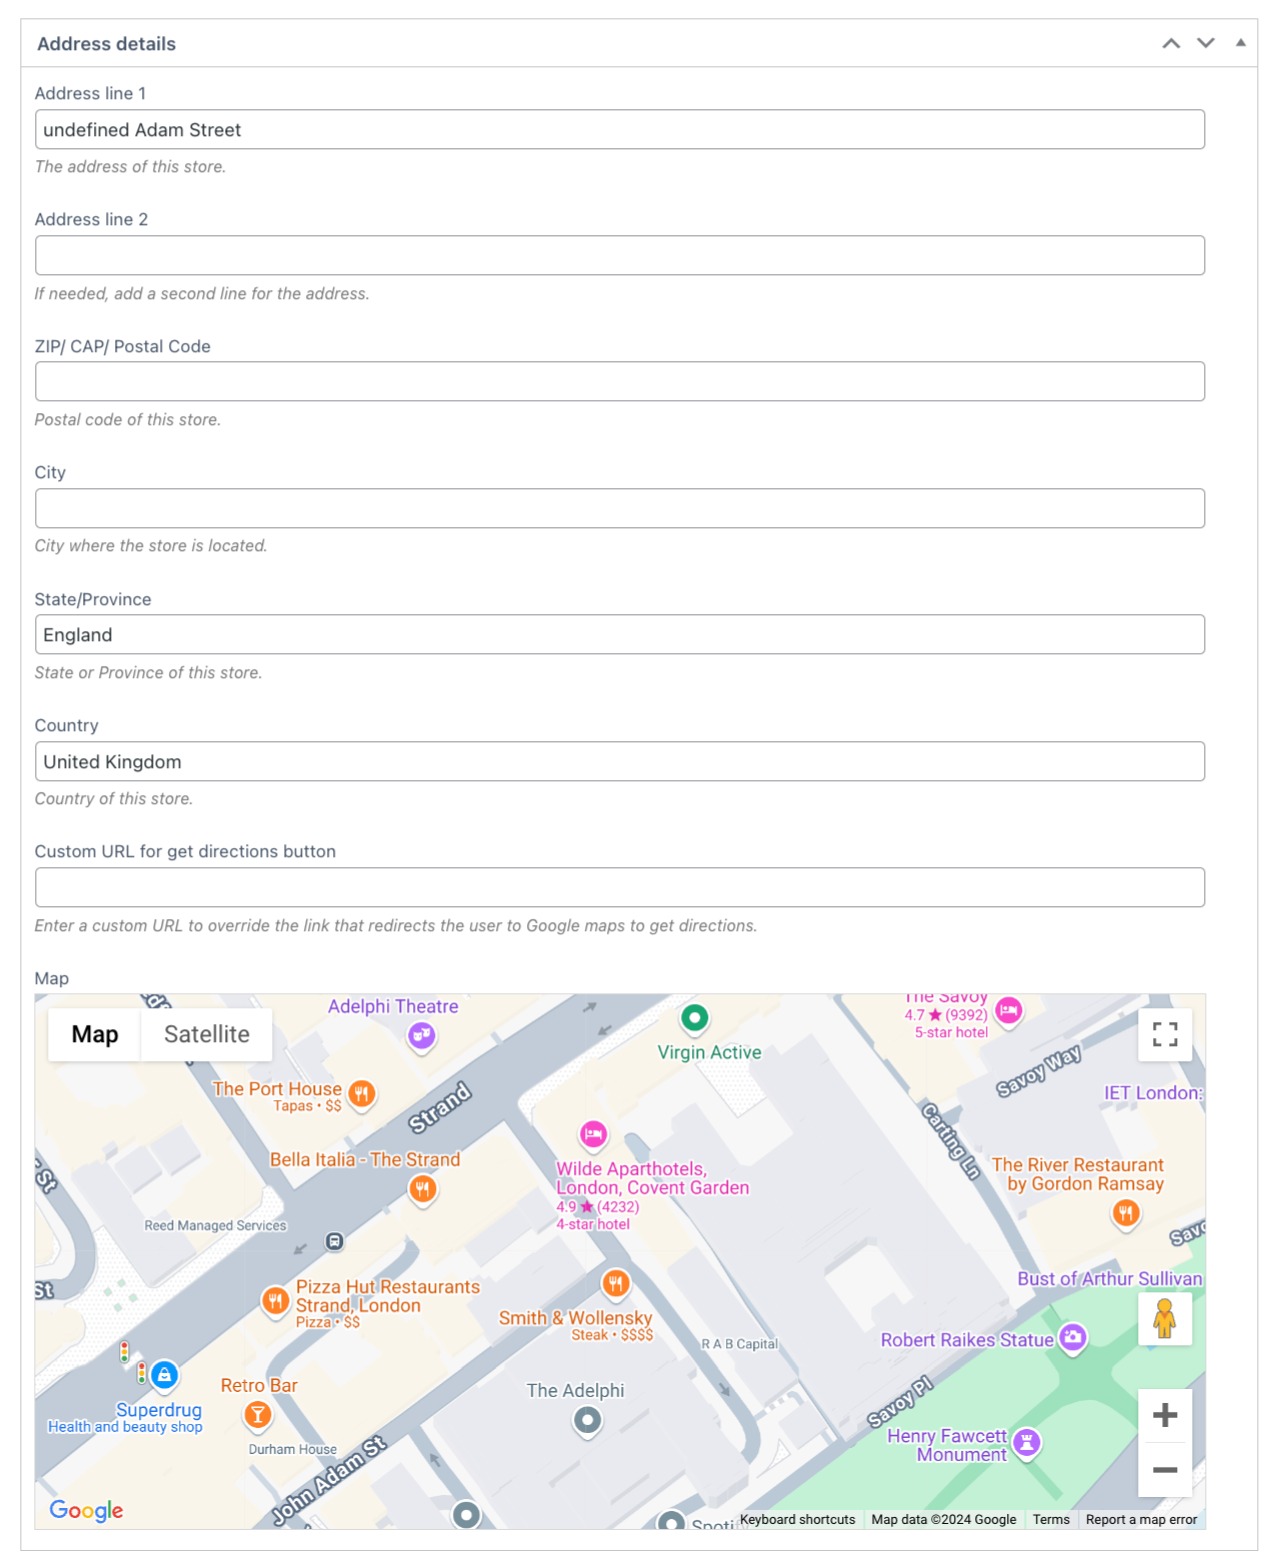
Address details
In the Address details section, part of the details are automatically retrieved based on the store location previously entered. If needed, you can complete the empty fields. The map will show according to all the completed fields.
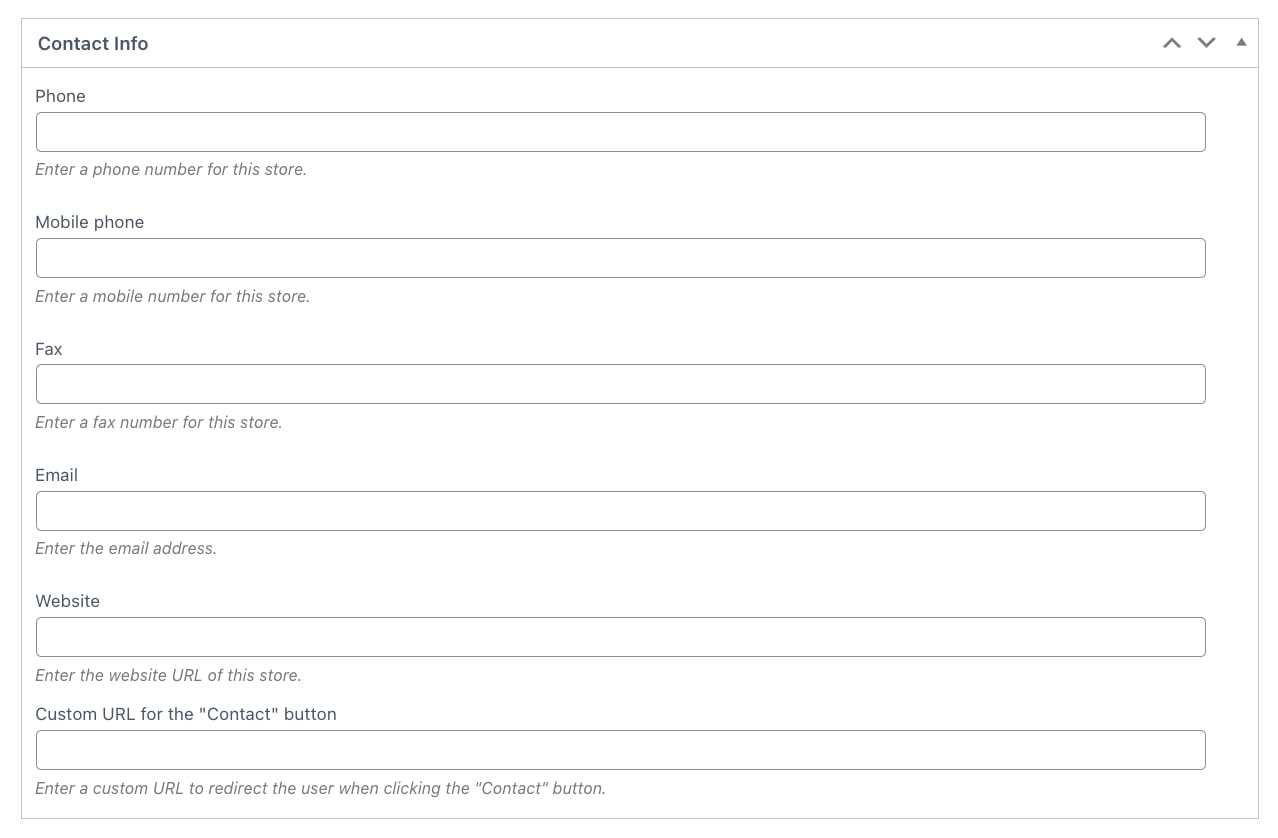
Contact info
In the Contact info section, you can configure the contact info of the store you are creating, such as phone, mobile and fax number, email address, website URL, and a custom URL for the Contact button.
Advanced settings
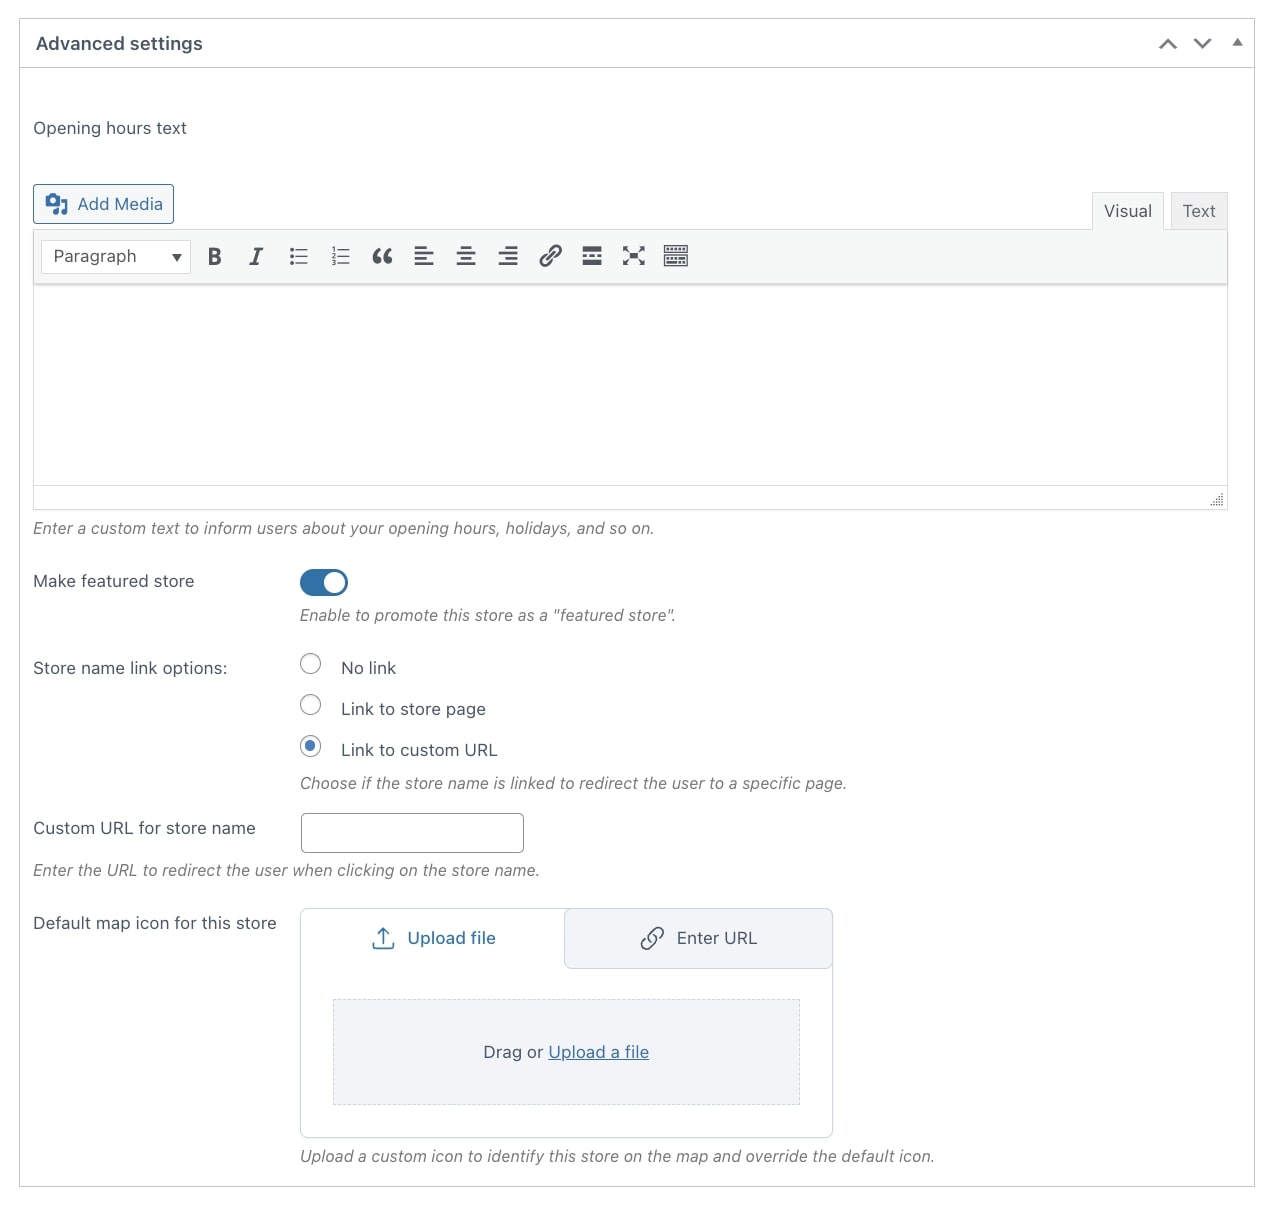
In the last section, you can set up the following advanced settings:
- Opening hours text: use the editor to provide users with deatiled info about the store opening hours.
- Make featured store: enable this option to highlight the store and show it at the top of the search results.
- Store name link options: choose the behavior of the store name when users click on it:
- No link: clicking on the store name won’t produce any redirect;
- Link to store page: select this option if you want users to be redirected to the store page;
- Link to custom URL: select this option if you want users to be redirected to a custom URL;
- Custom URL for store name: enter the custom URL for the redirect;
- Default map icon for this store: choose whether to use the default icon or a custom one to identify the store on the map.
Store on the Store locator page

