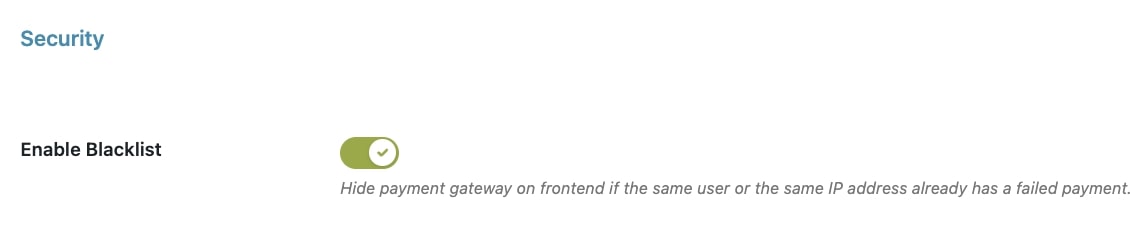
To prevent payments with credit cards for those users who have a payment request previously rejected and hide the payment gateway on frontend, you can enable the option Enable Blacklist.
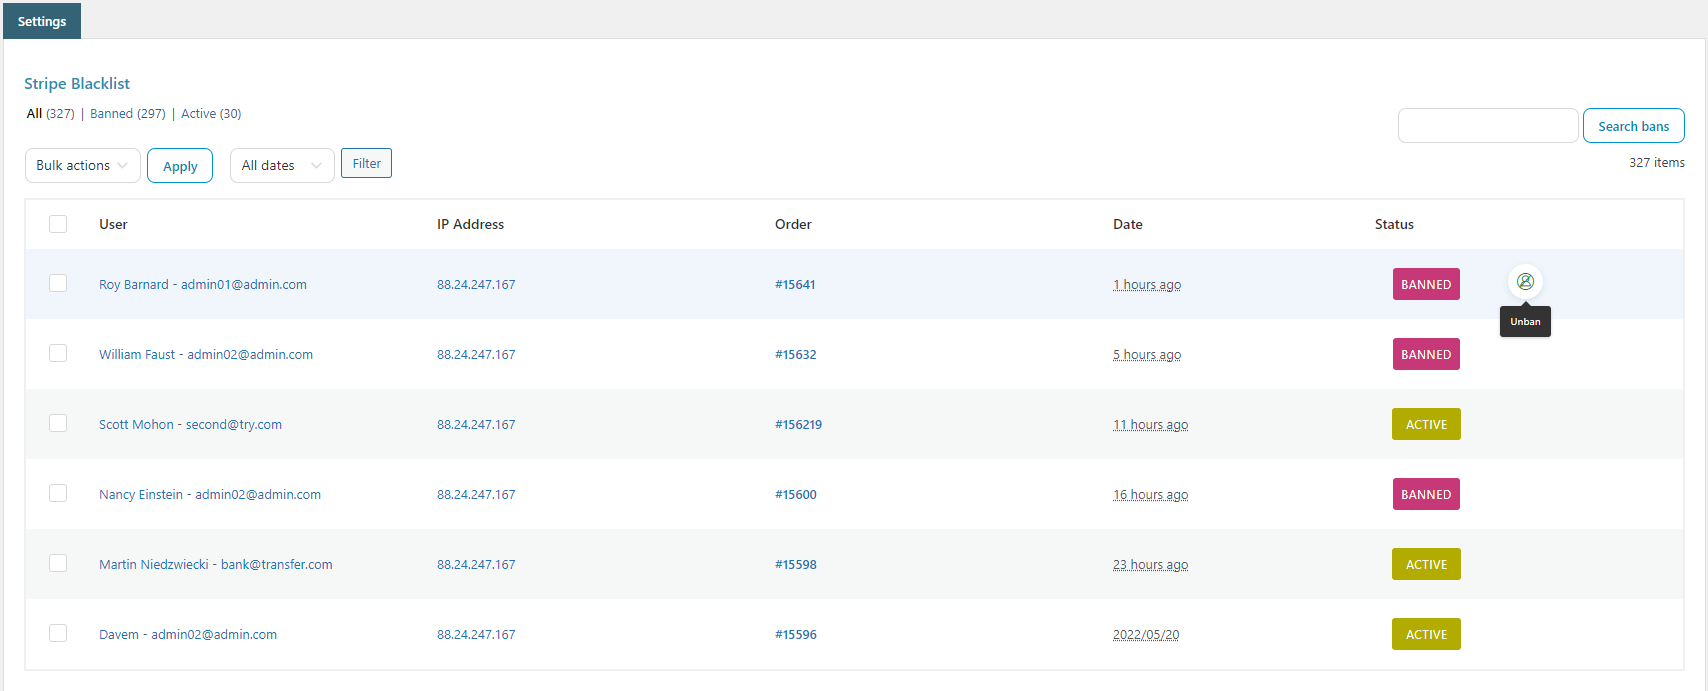
After enabling this option, a new tab (Blacklist) will show in the plugin panel. Here you will find the list of users automatically added after their payment request failed.
To unban users, you can do it both singularly, through the option on the right side, or massively through the bulk actions. After unbanning users, they will still show on the blacklist and their status will change into Active.
To test Stripe gateway and debug the payment system before going into production, enable the option Enable test mode.
You can also activate the log procedure so that all the actions performed by the plugin with test orders are recorded. The path of the log file shows under the Debug Log option. Administrators can consult the recorded logs even from their account, without activating this option.
By normal usage, you should never see a warning, but if you create a staging installation or clone your production site, the Test Mode will be activated and a warning will show. This will protect both you and your customer.
Webhooks configuration lets administrators manage the payment operations directly from the account linked to Stripe. Let us give you an example. We want to make a refund: once logged in to the Stripe account, you have two Refund options, partial or complete. In the first case, in the “Order” section of WooCommerce, the correspondent order will be set as “Completed”; in the second case, if the refund will be “Total”, the order will be set as “Refunded”. In both cases, a line with the refunded amount will be added in the “Refund” section of the order.
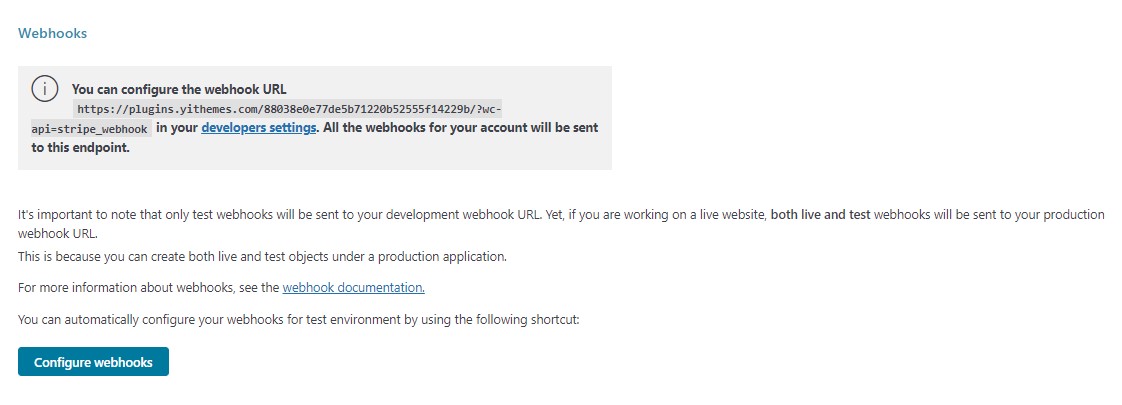
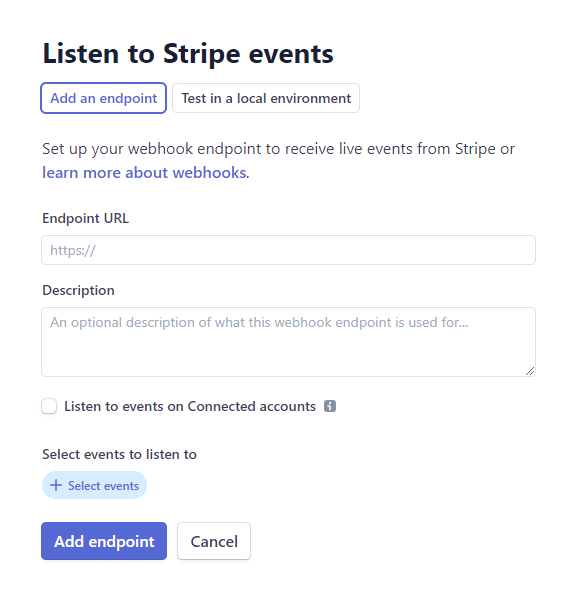
The plugin is already configured for Webhooks, you just have to add the URL you can find in the options panel to your account, as shown below.
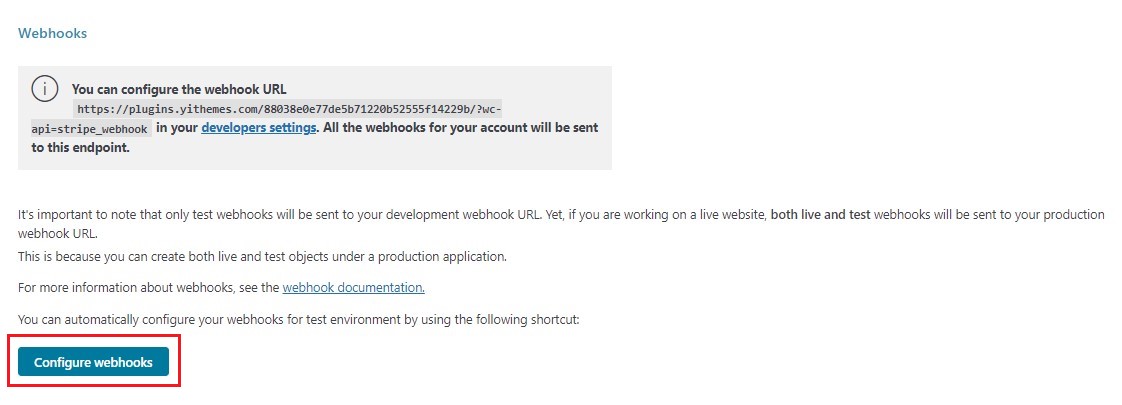
If you have correctly configured the API keys for your account, you can just click on the following button to configure the webhooks automatically.
For further information about webhooks, please read the documentation.
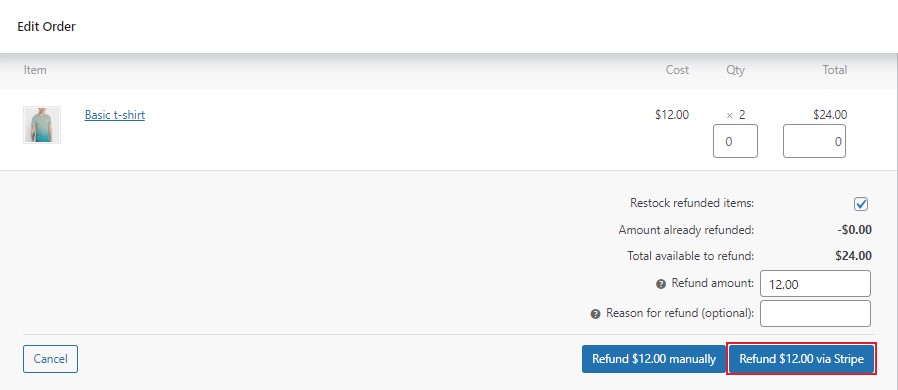
If you need to make a partial or total refund, you can process it directly on the order detail page. After inserting the amount to refund, just click on the button Refund … via Stripe.
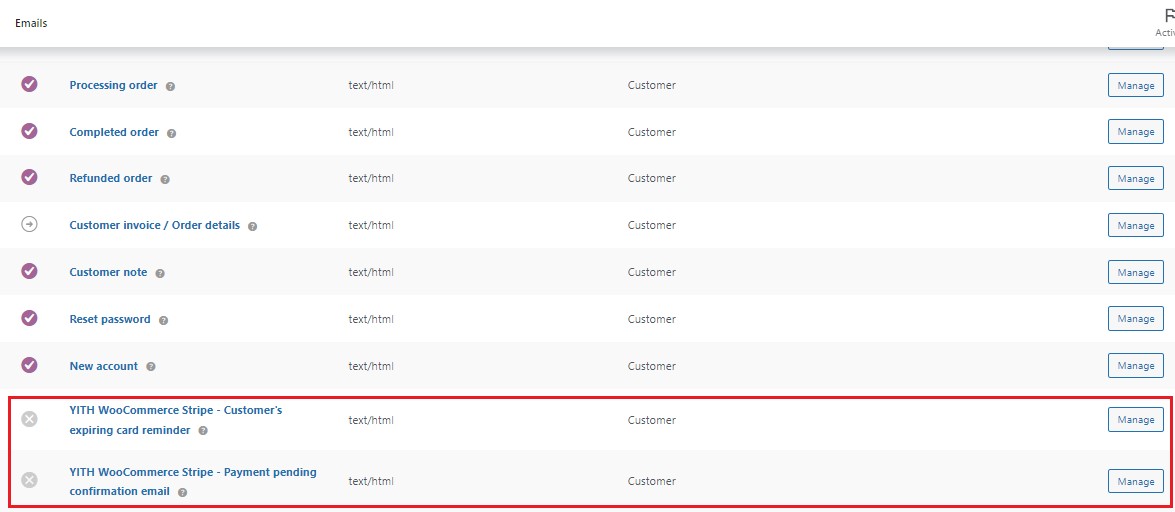
The plugin includes two email notifications available in WooCommerce > Settings > Emails that will be sent to customers under two specific conditions:
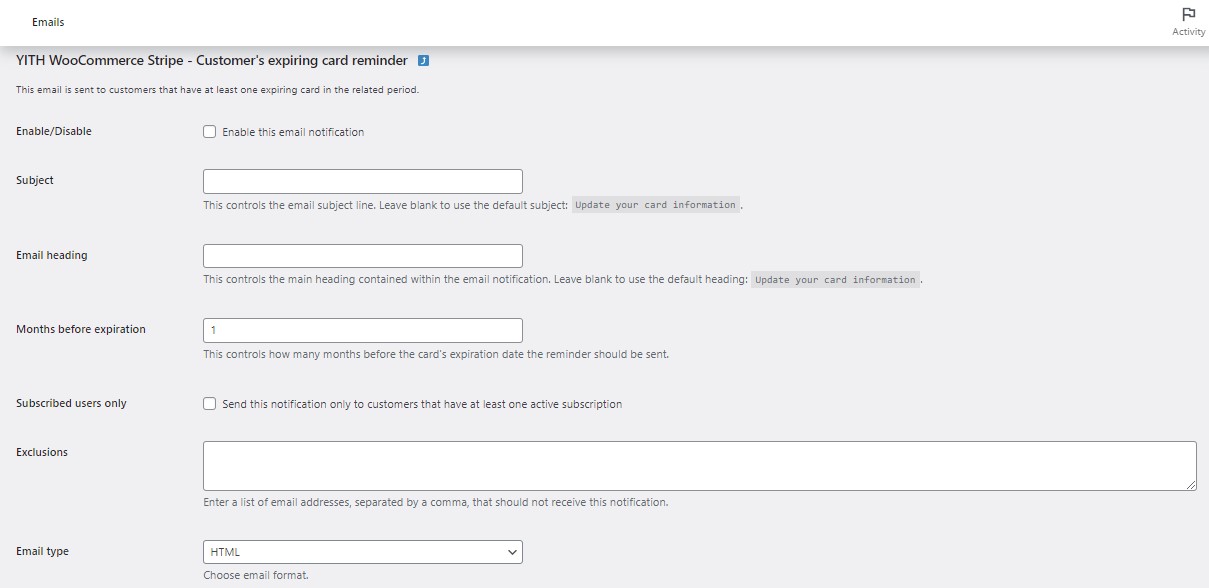
when their credit card is going to expire: this email is sent to remind customers that their card is about to expire. They will be able to edit the card details so they can be charged without issues and avoid any unexpected interruption to their purchased services;
when they have a pending payment awaiting their confirmation: this email is sent to invite customers to authenticate and confirm their pending payment. You can learn more about this email here.
Since version 2.0.0. the plugin is fully compliant with SCA (Strong Customer Authentication), but what changes for the user?
On 14 September 2019, new requirements for authenticating online payments have been introduced in Europe as part of the second Payment Services Directive (PSD2). So, based on specific conditions in the checkout, European customers might be asked to two-factor authenticate their payment with additional control, which will depend on the bank’s preferred system (e.g., a one-time code sent to their phone or fingerprint authentication through their mobile banking app).
This applies to all payments that are customer-initiated but does not apply to payments that are considered merchant-initiated, like recurring direct debits.
Recurring payments with YITH Subscriptions (v. 1.6.1 or greater)
Under this new regulation, specific types of low-risk payments may be exempted from Strong Customer Authentication. Payment providers like Stripe can request these exemptions when processing the payment. The cardholder’s bank will then receive the request, assess the risk level of the transaction, and ultimately decide whether to approve the exemption or whether authentication is still necessary.
The most relevant exemptions for internet businesses are:
Please, refer to this section of Stripe documentation for more information about each of these exemptions.
Two additional exemptions apply regardless of payment amount and frequency:
You saved the card details before September 14, 2019
You explicitly tell Stripe the transaction is off-session (all recurring payments initiated by our YITH Stripe plugin are marked as off-session)
To learn more about SCA grandfathering, please, refer to this page.
Non-authenticated saved cards
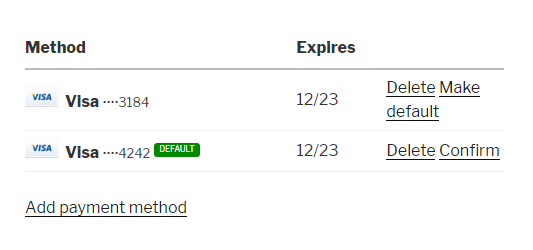
For those customers that have saved their card details on Stripe before, it may happen that the bank will require them to authenticate also renewal orders with the same card, as the payment was not originally authenticated through this system. Our plugin gives users the possibility to authenticate the payment from My Account > Payment Methods, by simply clicking on the Confirm button, as shown below.
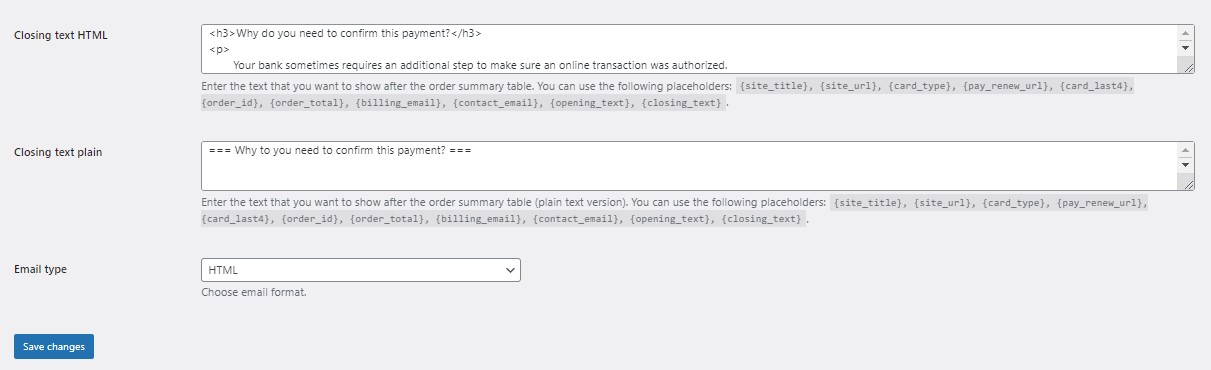
Non-authenticated renewal orders – Email
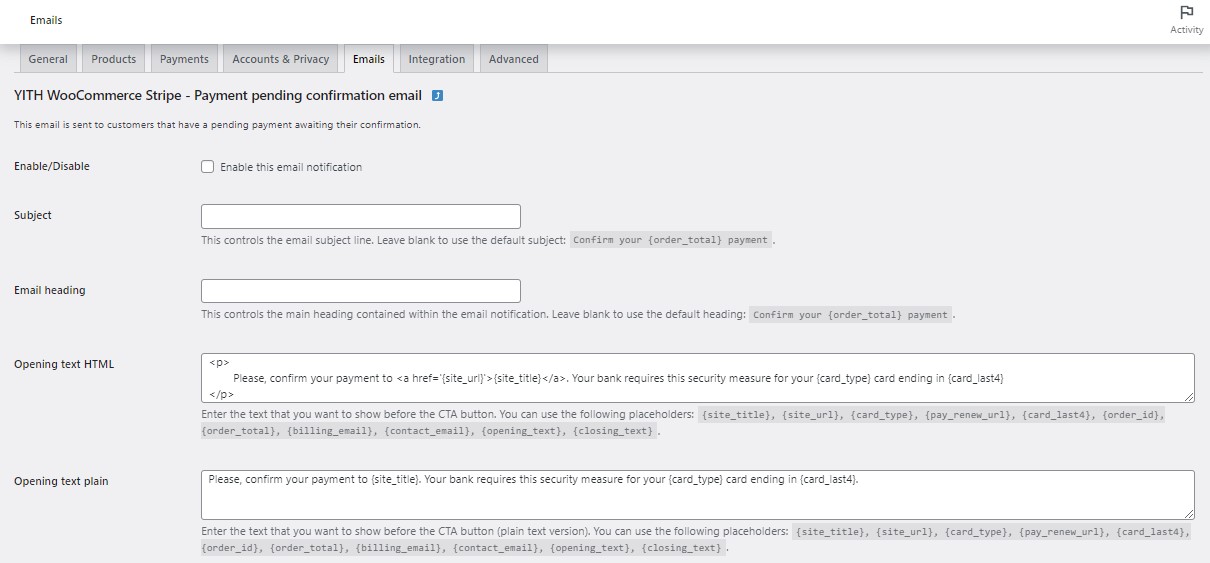
You can set up an email that will be sent whenever a recurring payment is stopped by the bank because it requires strong customer authentication. Thanks to it, you can make sure your customers get the right explanation about why the order requires these additional controls and guidance about how to go on with the authentication and payment.
The email will look like this, but you’ll be able to customize it from WooCommerce > Settings > Emails > YITH WooCommerce Stripe – Payment pending confirmation email and will include a Confirm Payment button that will let your customers authenticate the payment.
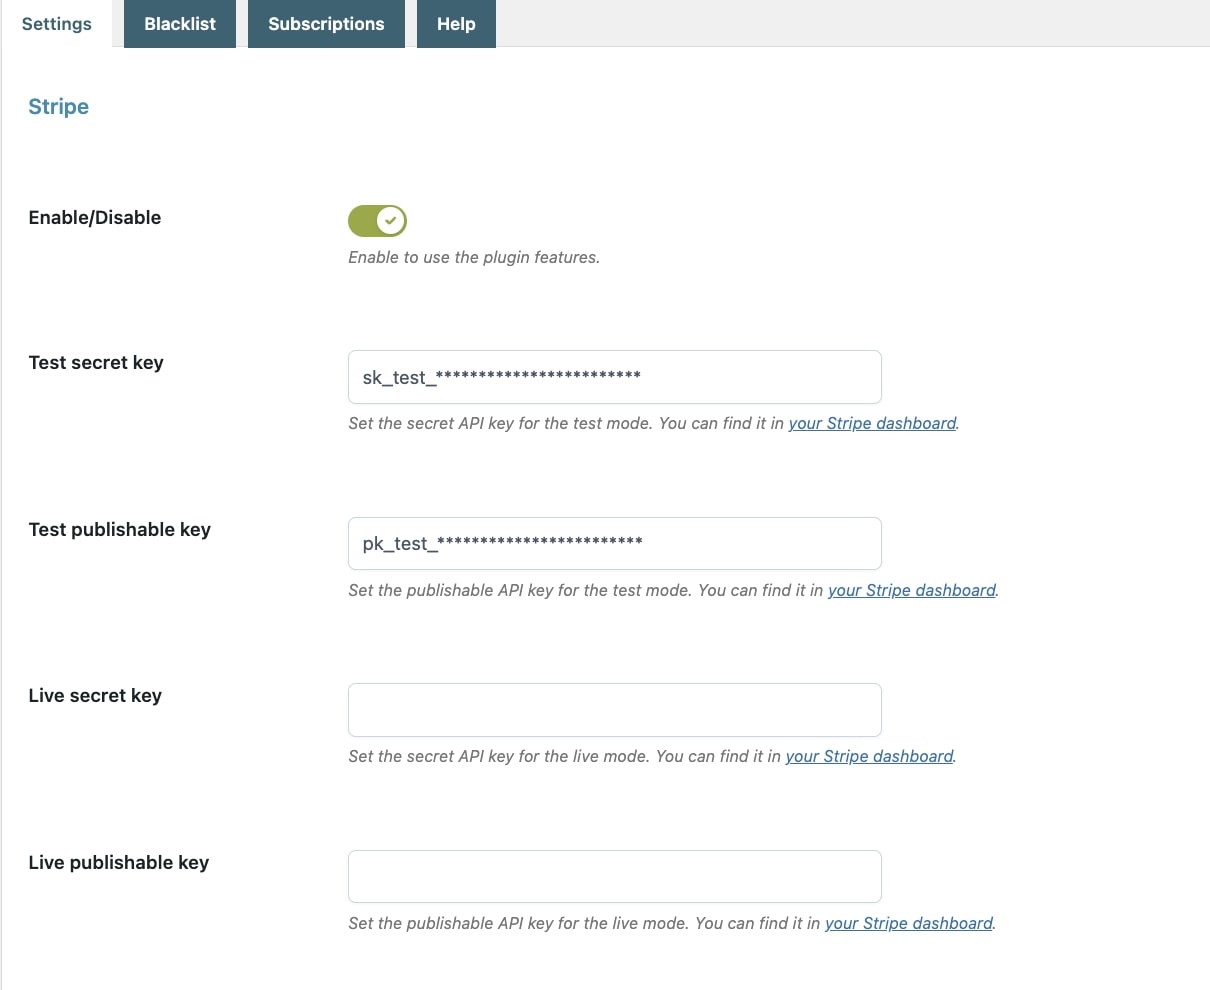
The API keys are necessary for the plugin to process the payment requests with Stripe. You have two different pairs of Secret and Publishable keys, one for the test mode and one for the live mode.
So let’s start configuring them.
Go to the plugin settings panel and enable the option to use the plugin features.
Insert the secret key and publishable keys in the related fields for test and live mode.
If you still don’t have these keys, go to dashboard.stripe.com and register your account. Once done, go to Developers > API Keys.
Here you can find both your Publishable and Secret keys under the Standard keys section: you can copy and paste it into the related field in plugin panel.
Make sure you switch the toggle on the top right between Test or Live mode based on the environment you want to use, as these keys are different.
Restricted keys
Yet, you also have the option to create Restricted keys, and we recommend using this for better control on permissions.
To create one, click on “+ Create restricted key”, then select the “Providing this key to another website” option, and then select the required capabilities.
You can use the default capabilities or customize them. To make sure our plugin works well, you should however select at least the following ones:
The administrator of the shop can decide to collect the payment right after the user’s request or postpone it to when the order will be set as Completed.
Select the capture option you want to apply by choosing from Authorize only & Capture later and Authorize & Capture immediately.
By selecting Authorize only & Capture later, if the order is not set as Completed within seven days, it will be automatically canceled.
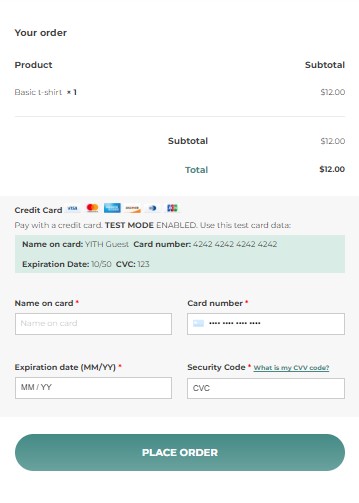
YITH WooCommerce Stripe offers three different payment options:
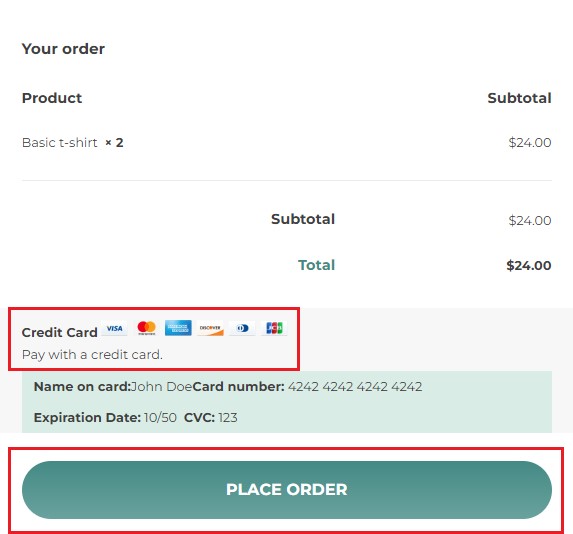
Standard Checkout: the credit card payment form is embedded on the checkout page of your website (SSL procedure requested).
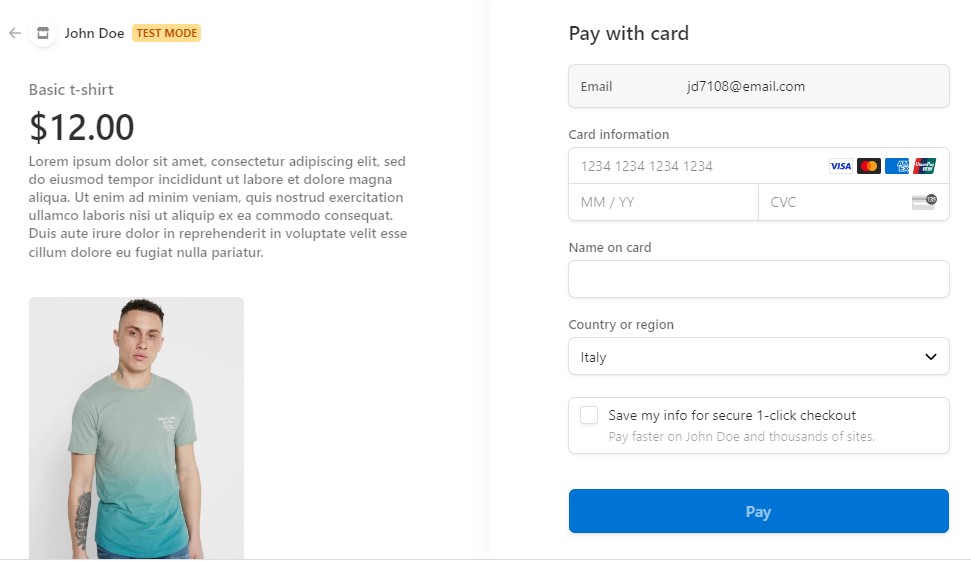
Stripe Checkout: this opens Stripe checkout on a separate page after clicking on the Place order button.
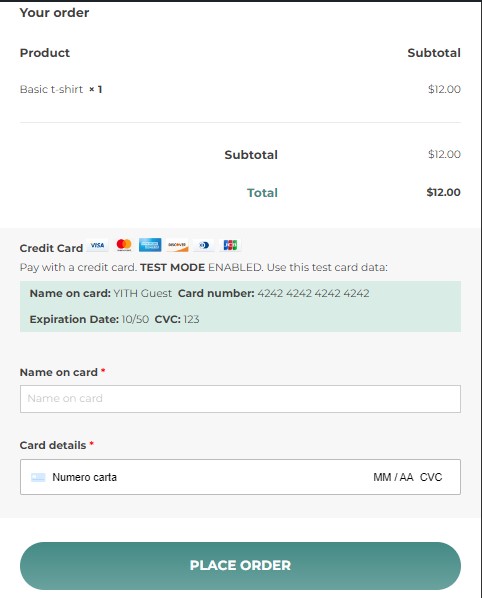
Elements Checkout: shows an embedded form hosted by Stripe and certified.
A quick note about PCI Compliance.
Whatever the form selected, the transaction is always handled by Stripe and never by your own server. Yet, some users require PCI compliance to certify that all the card sensitive data are treated safely, especially when it’s your site that receives (even if it does not store) the card details. In this case, we recommend using Elements Checkout, even if it’s always required that an official institution certifies the site’s PCI compliance.
So, what’s the real difference between Standard Checkout and Elements Checkout?
With Standard checkout, the form is printed out by your server (so, it gives room for collecting data and handling them), whereas with Elements checkout, the form is entirely handled and printed out by Stripe, so there’s no way for the sensitive data to even go through your server.
Please, note: in no way does the plugin stores sensitive data. Nonetheless, if you want to add this to your Terms and Conditions, it’s required that a third institution certifies it, even if you use Elements.