Once the plugin is activated, a “Quick view” button will be automatically added to all the products of your shop page. Let’s explore how to configure the plugin options:
Step 1 — Configure the general options
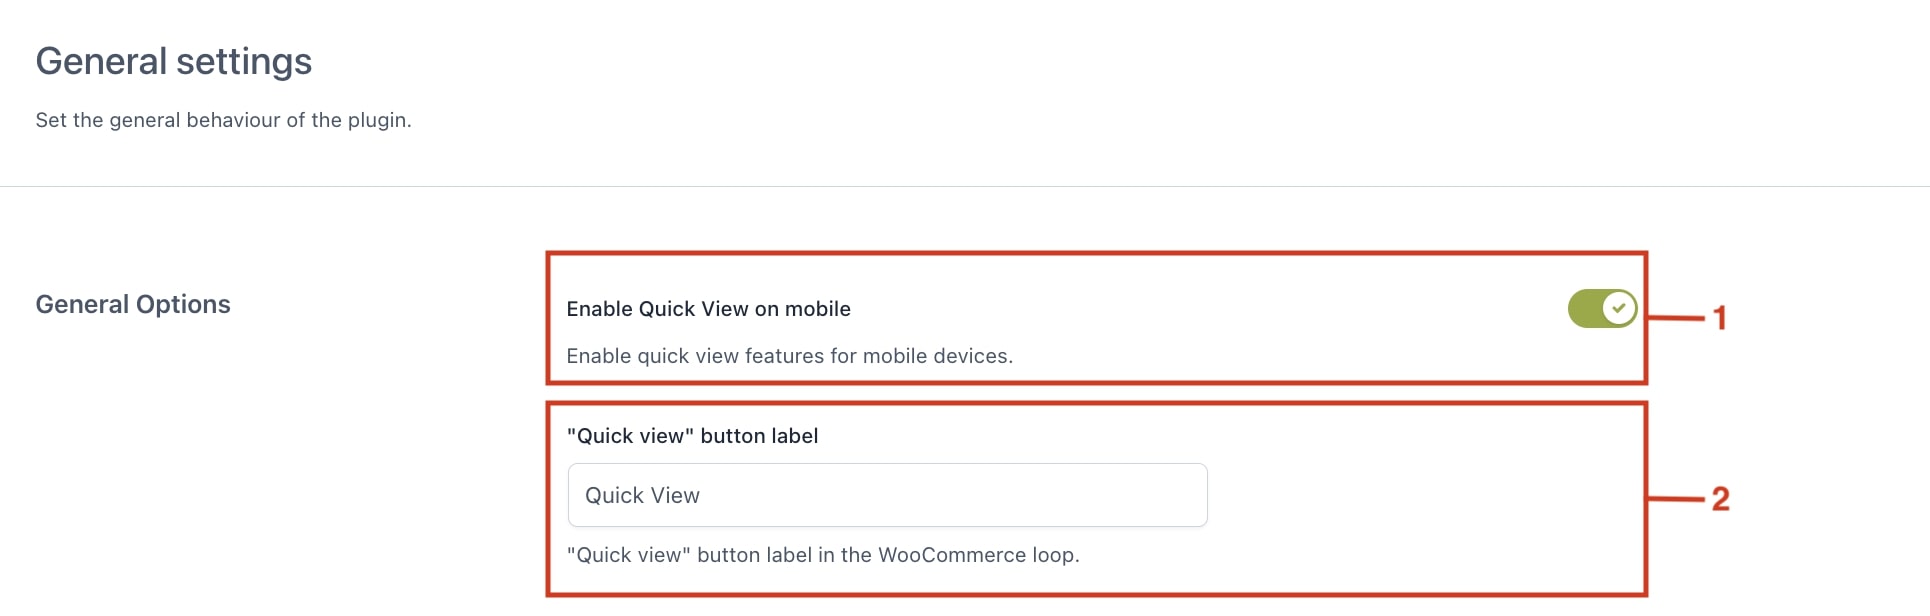
From the General Settings, enable the quick view option also for users navigating through a mobile device (1) and write the label for the Quick view button in the WooCommerce loop (2):

Step 2 — Set up the Quick view content
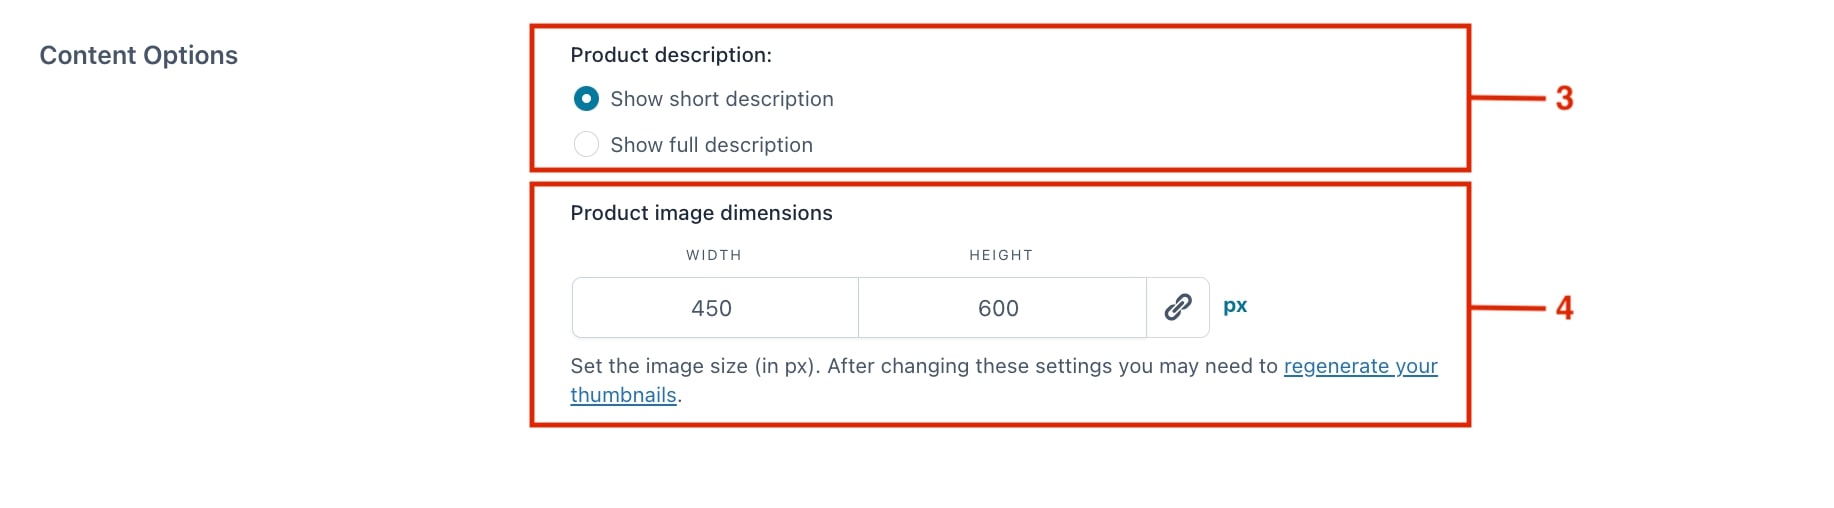
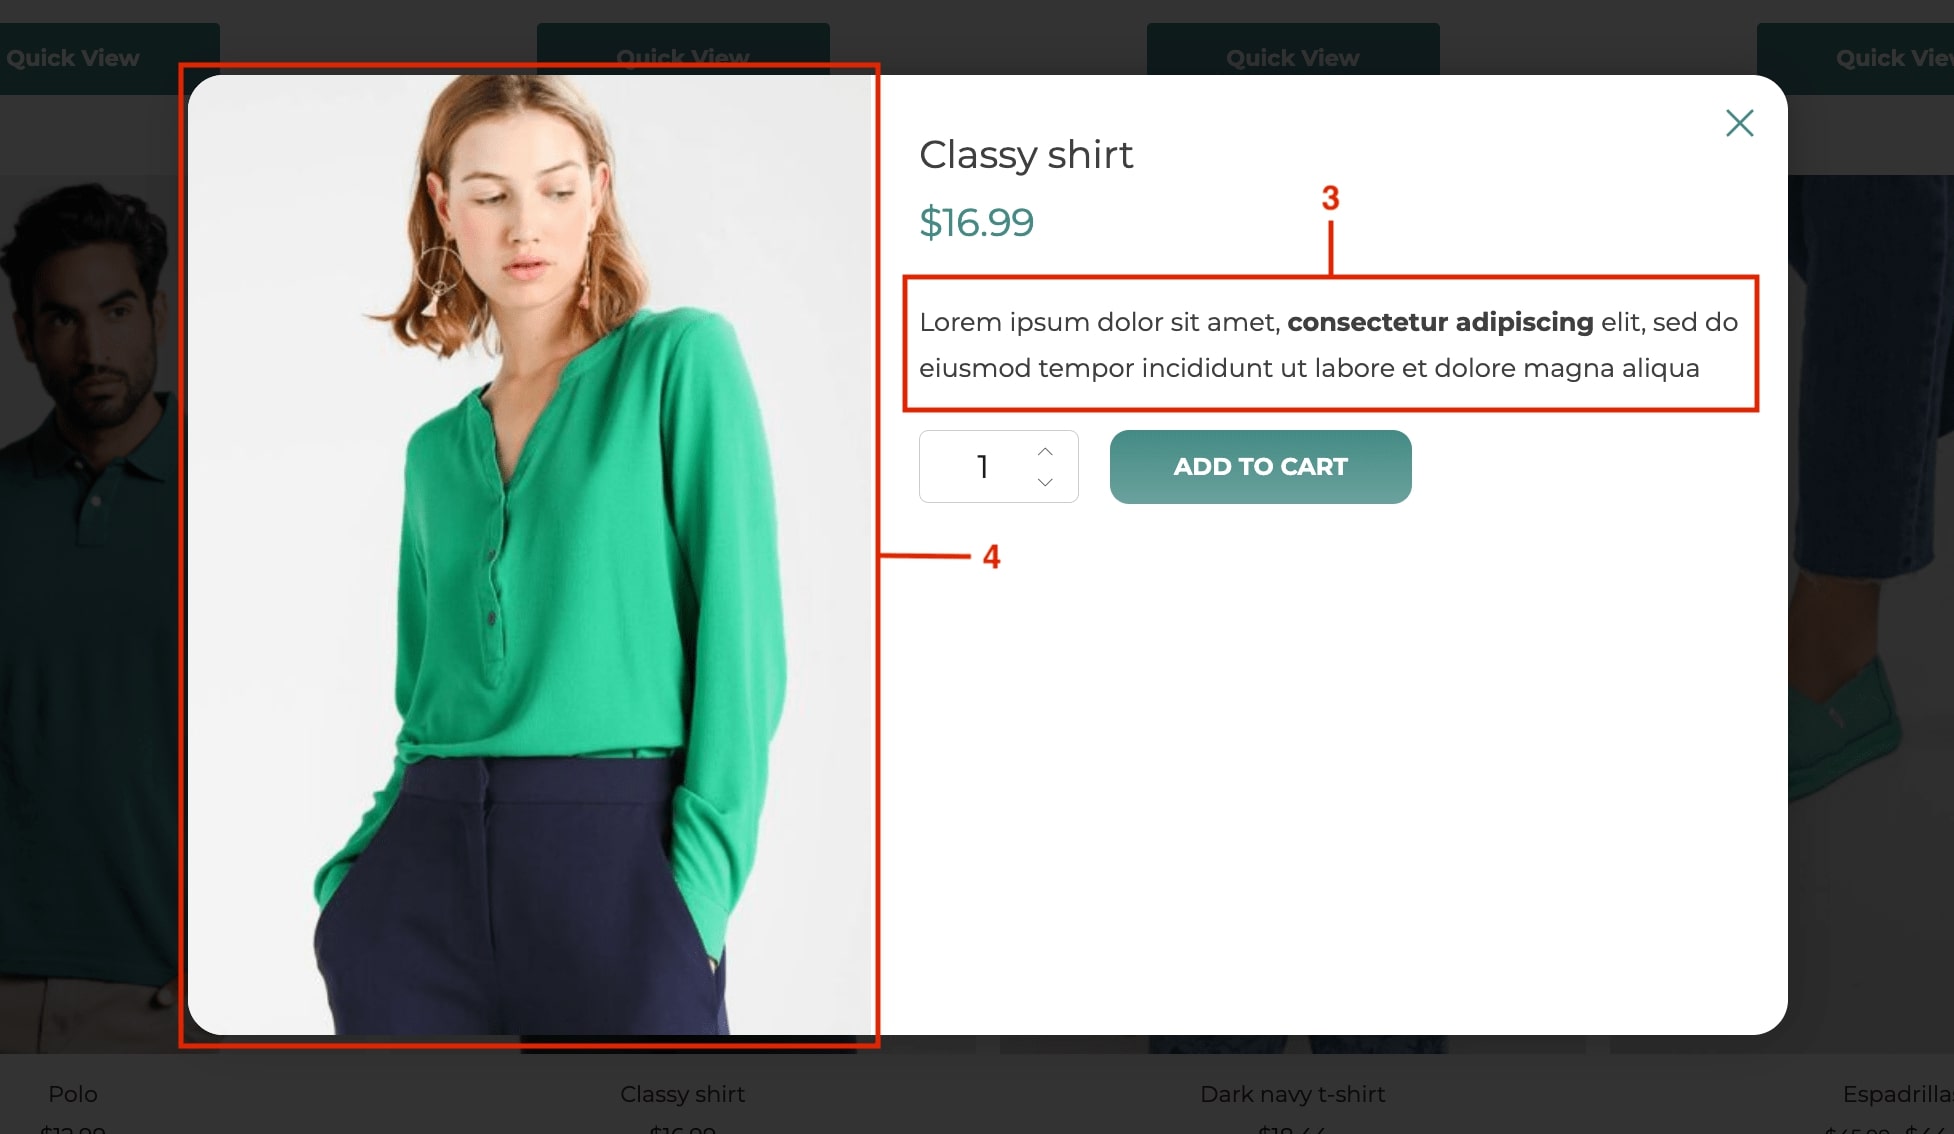
Now we can move to the Content Options shown inside the Quick view. First, we decide whether to show the full product description or the short description (3) and then we can set the product image size inside the popup (4):
Click on Save options before moving to the next step.
Step 3 — Customize the style
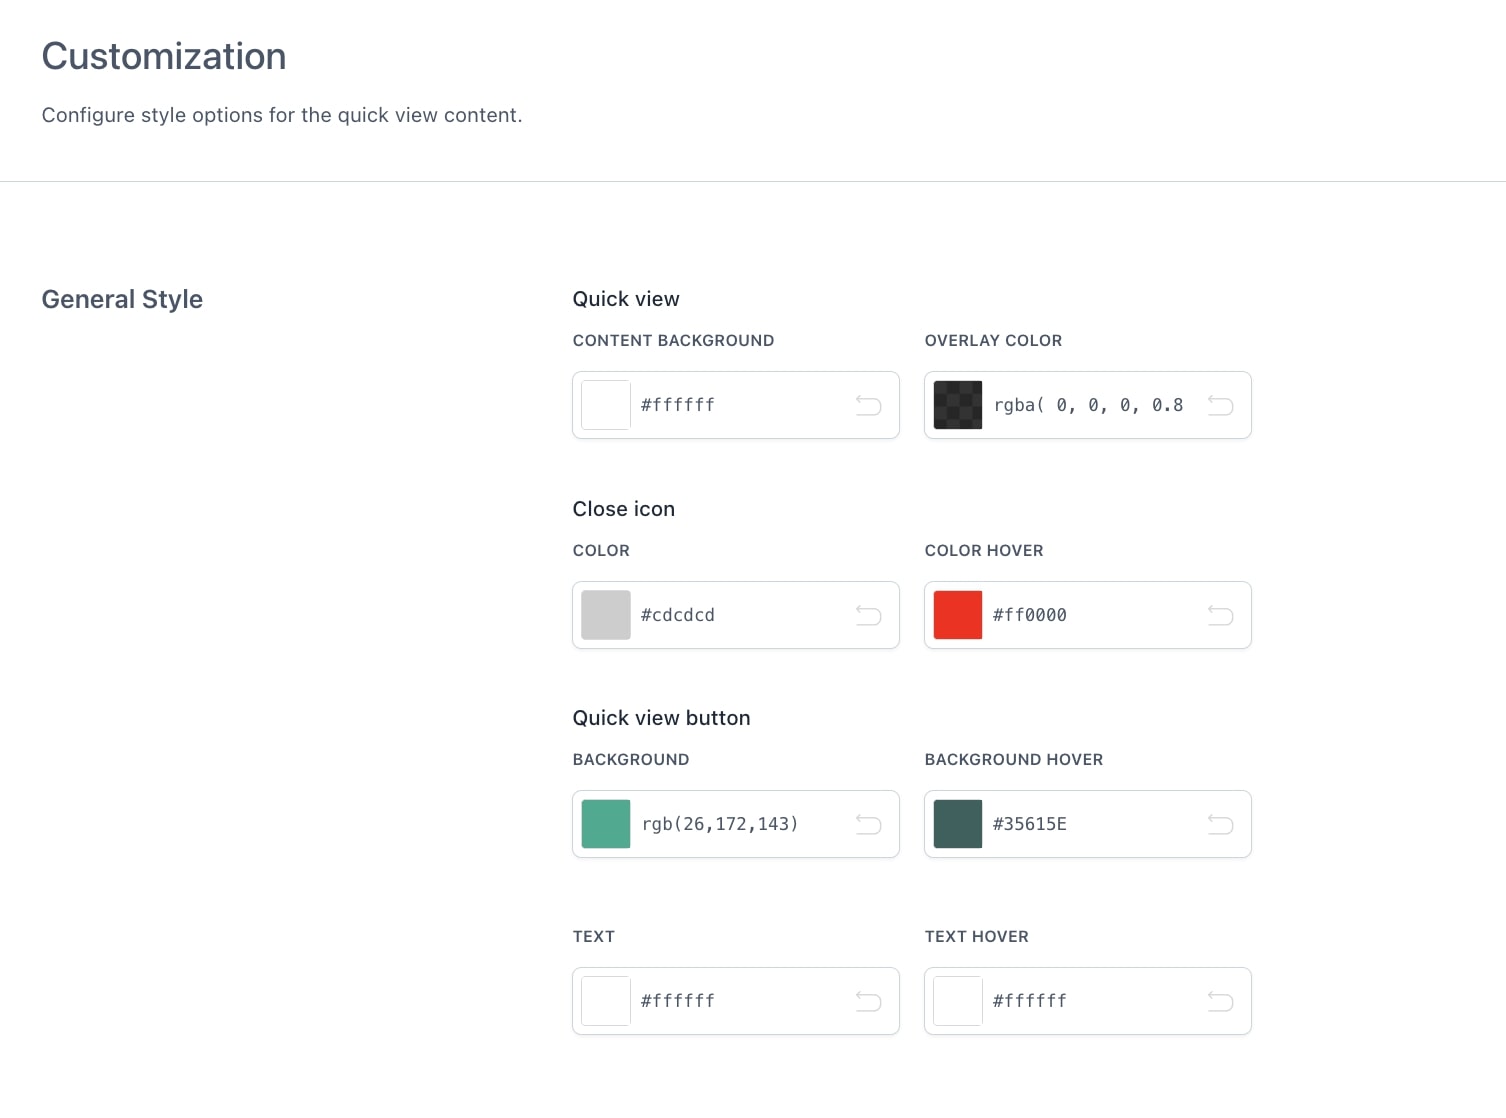
As a last step, configure the general style of the plugin with the available color options from the Customization tab:
Once again, don’t forget to Save Options and you have the Quick view button and popup ready!