General settings
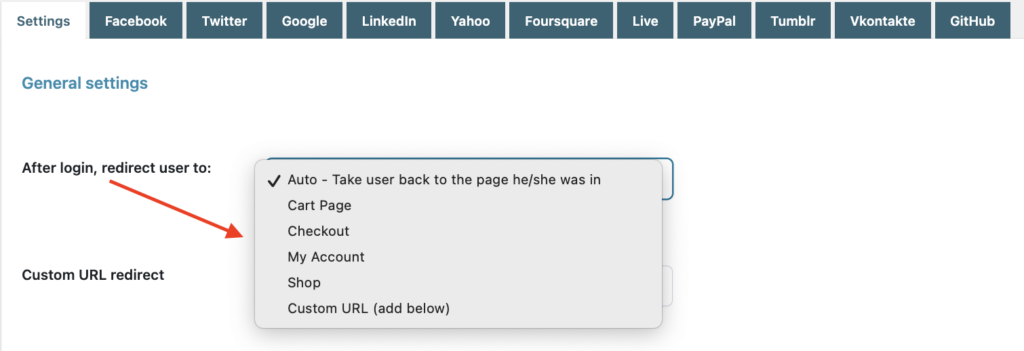
You can choose the page where users will be redirected after they log in. The option is available in the tab Settings > General settings of the plugin panel.

This is where you will find the option After login, redirect users to which allows you to choose from:
- Auto: users will be redirected to the same page where they were when logging in;
- Cart page: users will be redirected to the Cart page;
- Checkout page: users will be redirected to the Checkout page;
- My Account: users will be redirected to their My Account page;
- Shop: users will be redirected to the Shop page;
- Custom URL: users will be redirected to the page that you will specify in the field below.

Now, let’s configure the other options:

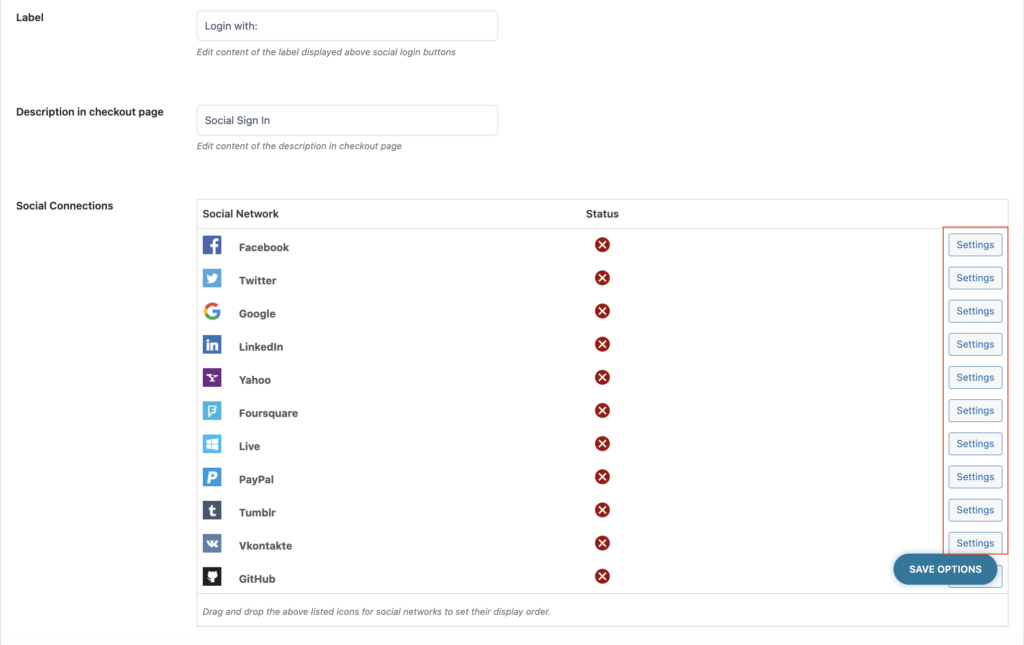
- Label: enter the text to show above the social login buttons;
- Description in checkout page: enter the text to show as a description on the Checkout page;
- Social connections: click on the Settings button to enable and configure the social network you want to show.
Please note: PayPal login has been deprecated and is no longer possible to enable it. It is currently available for backward compatibility purposes only.

- Callback URL: select the callback URL by choosing from the domain root and the library URL. Please note – if you change the callback URL, you will need to change all social callback URLs too.
- Enable log: enable to view the log details.
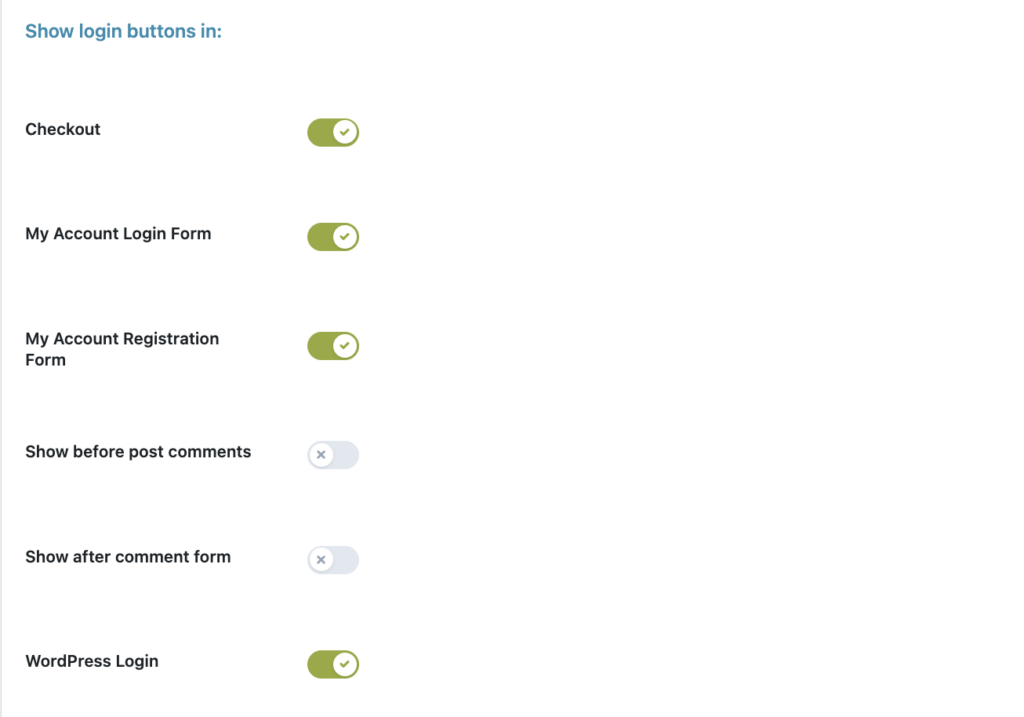
Show login buttons in:
In this section, you can choose where to show the social login buttons from:

- Checkout
- My Account login form
- My Account registration form
- Before post comments
- After comments form
- WordPress login
My Account options

Finally, in the section My Account options, you can decide whether and where to show the social connection list:
- None: select this option if you don’t want to show the social connection list;
- Before recent orders: select this option if you want to show the list before recent orders;
- At the end of page: select this option if you want to show the list at the bottom of My Account page.
