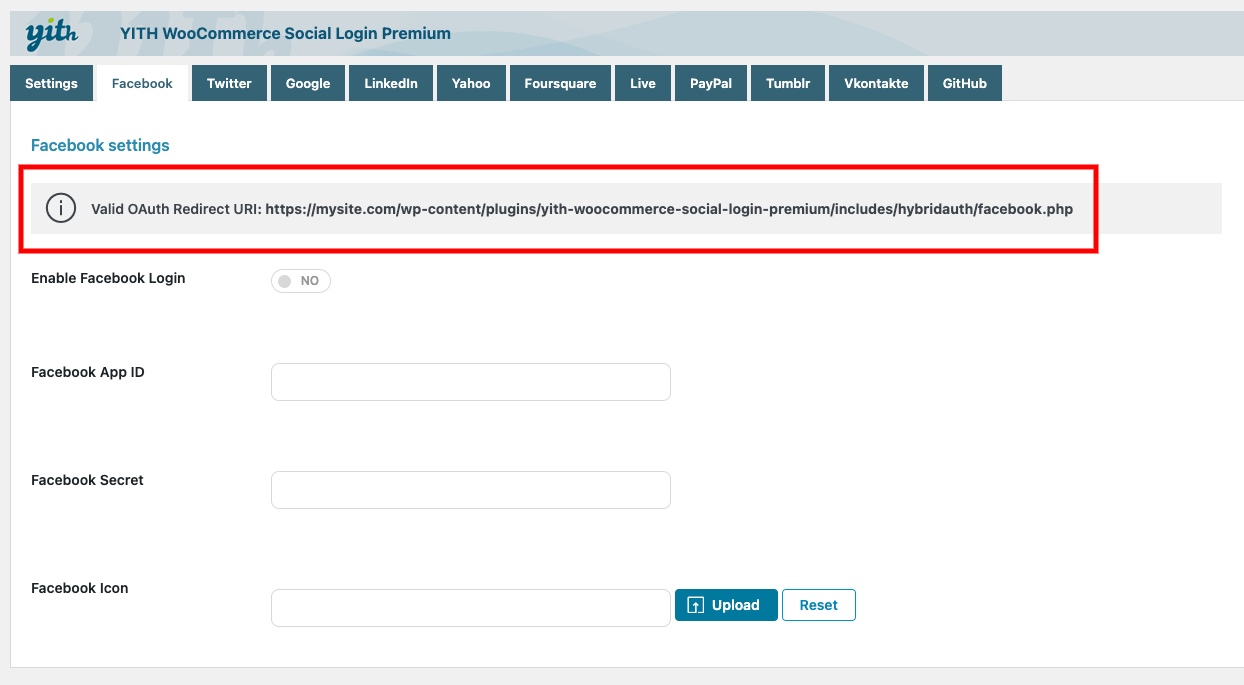
To display the button you must absolutely enable it using the option Enable Facebook Login.
Now, you are asked to enter Facebook App ID and Facebook Secret to allow your users to log in via Facebook.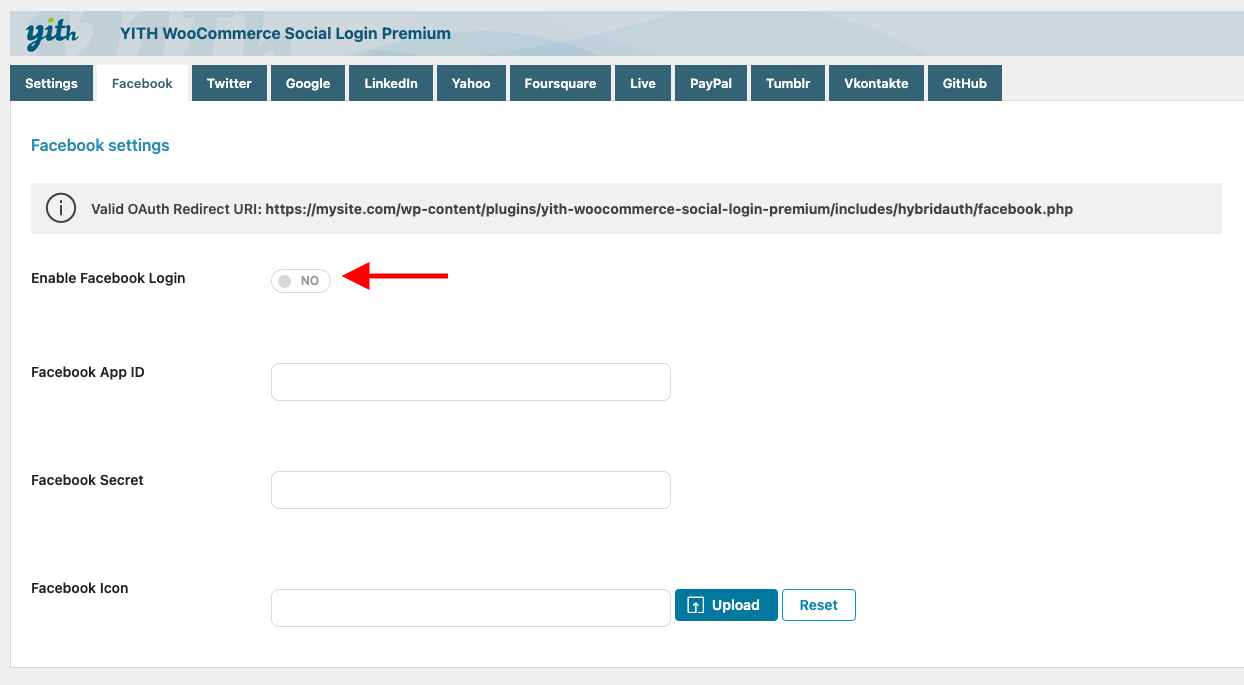
To recover this information, you have to create a new application on the page https://developers.facebook.com/apps.
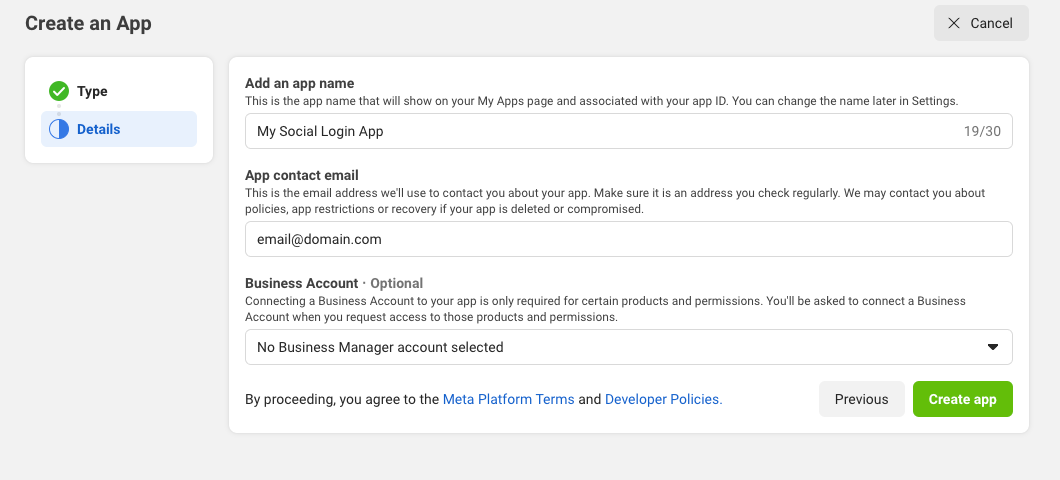
Create a new application by clicking on Create App.
Choose Consumer as app type.
Now, you’ll see a screen like the following. Set the app name and contact email to associate to the app.
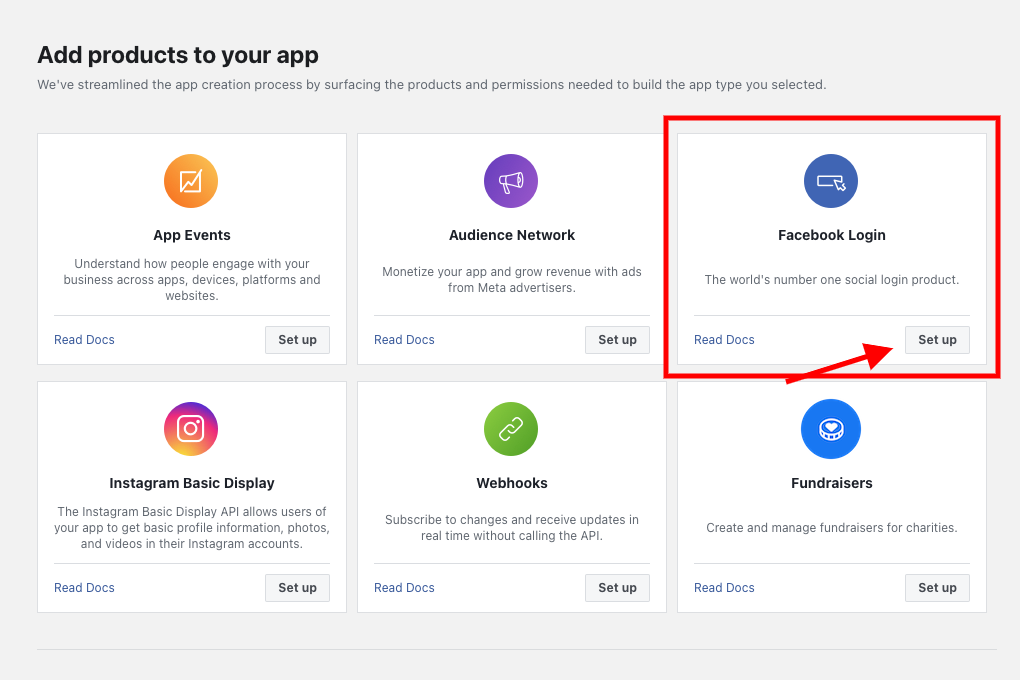
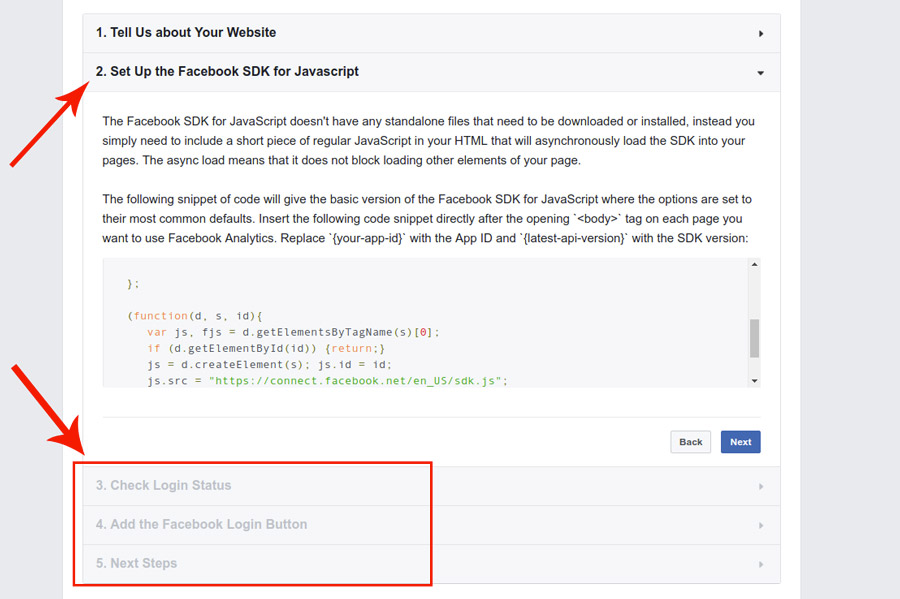
Select Set Up in Facebook Login.
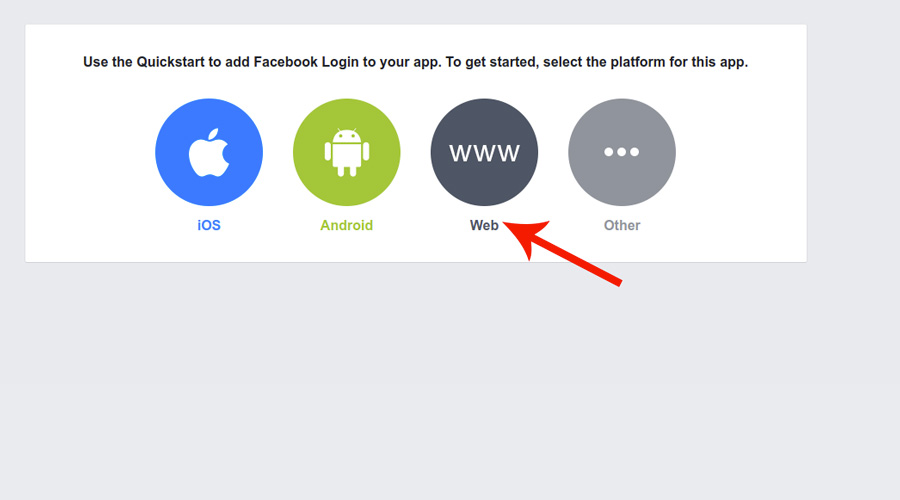
Select Web option.
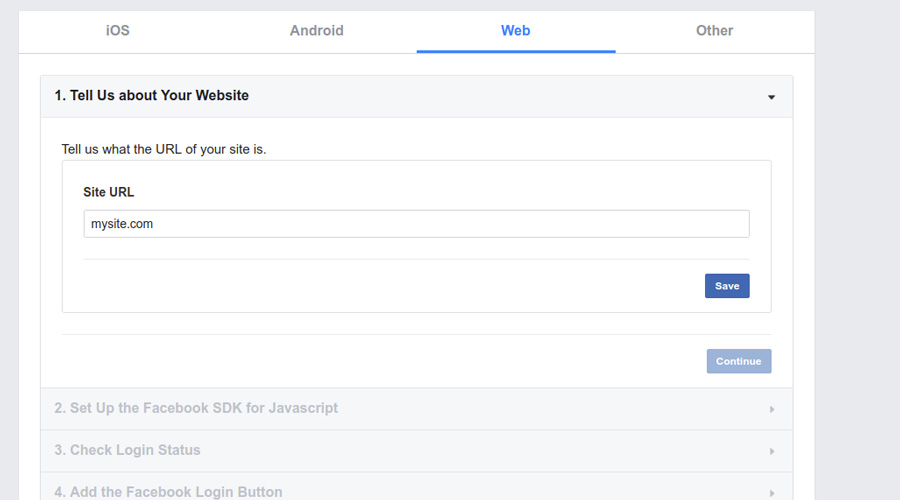
Set your Site URL.
Skip all other steps of the process.
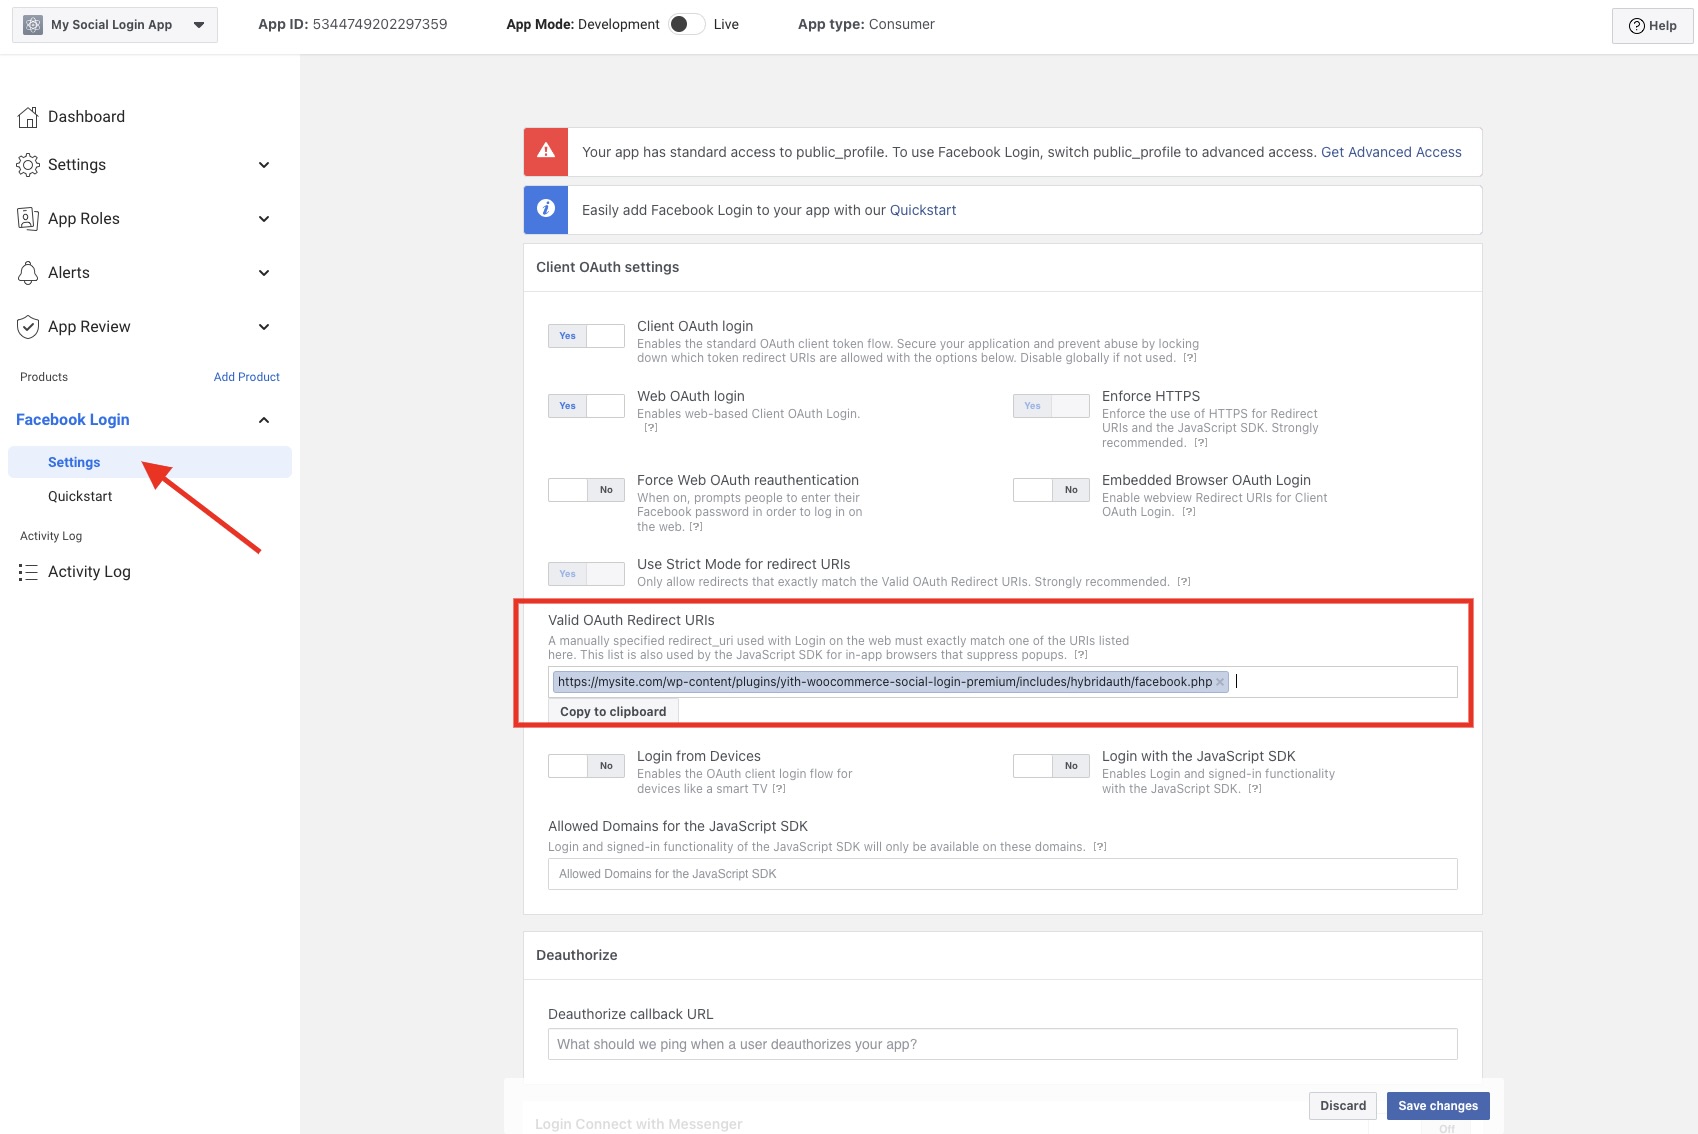
Open Settings and set in the option Valid OAuth redirect URIs the URL that you will find in the Facebook tab of the plugin settings then click on Save changes.
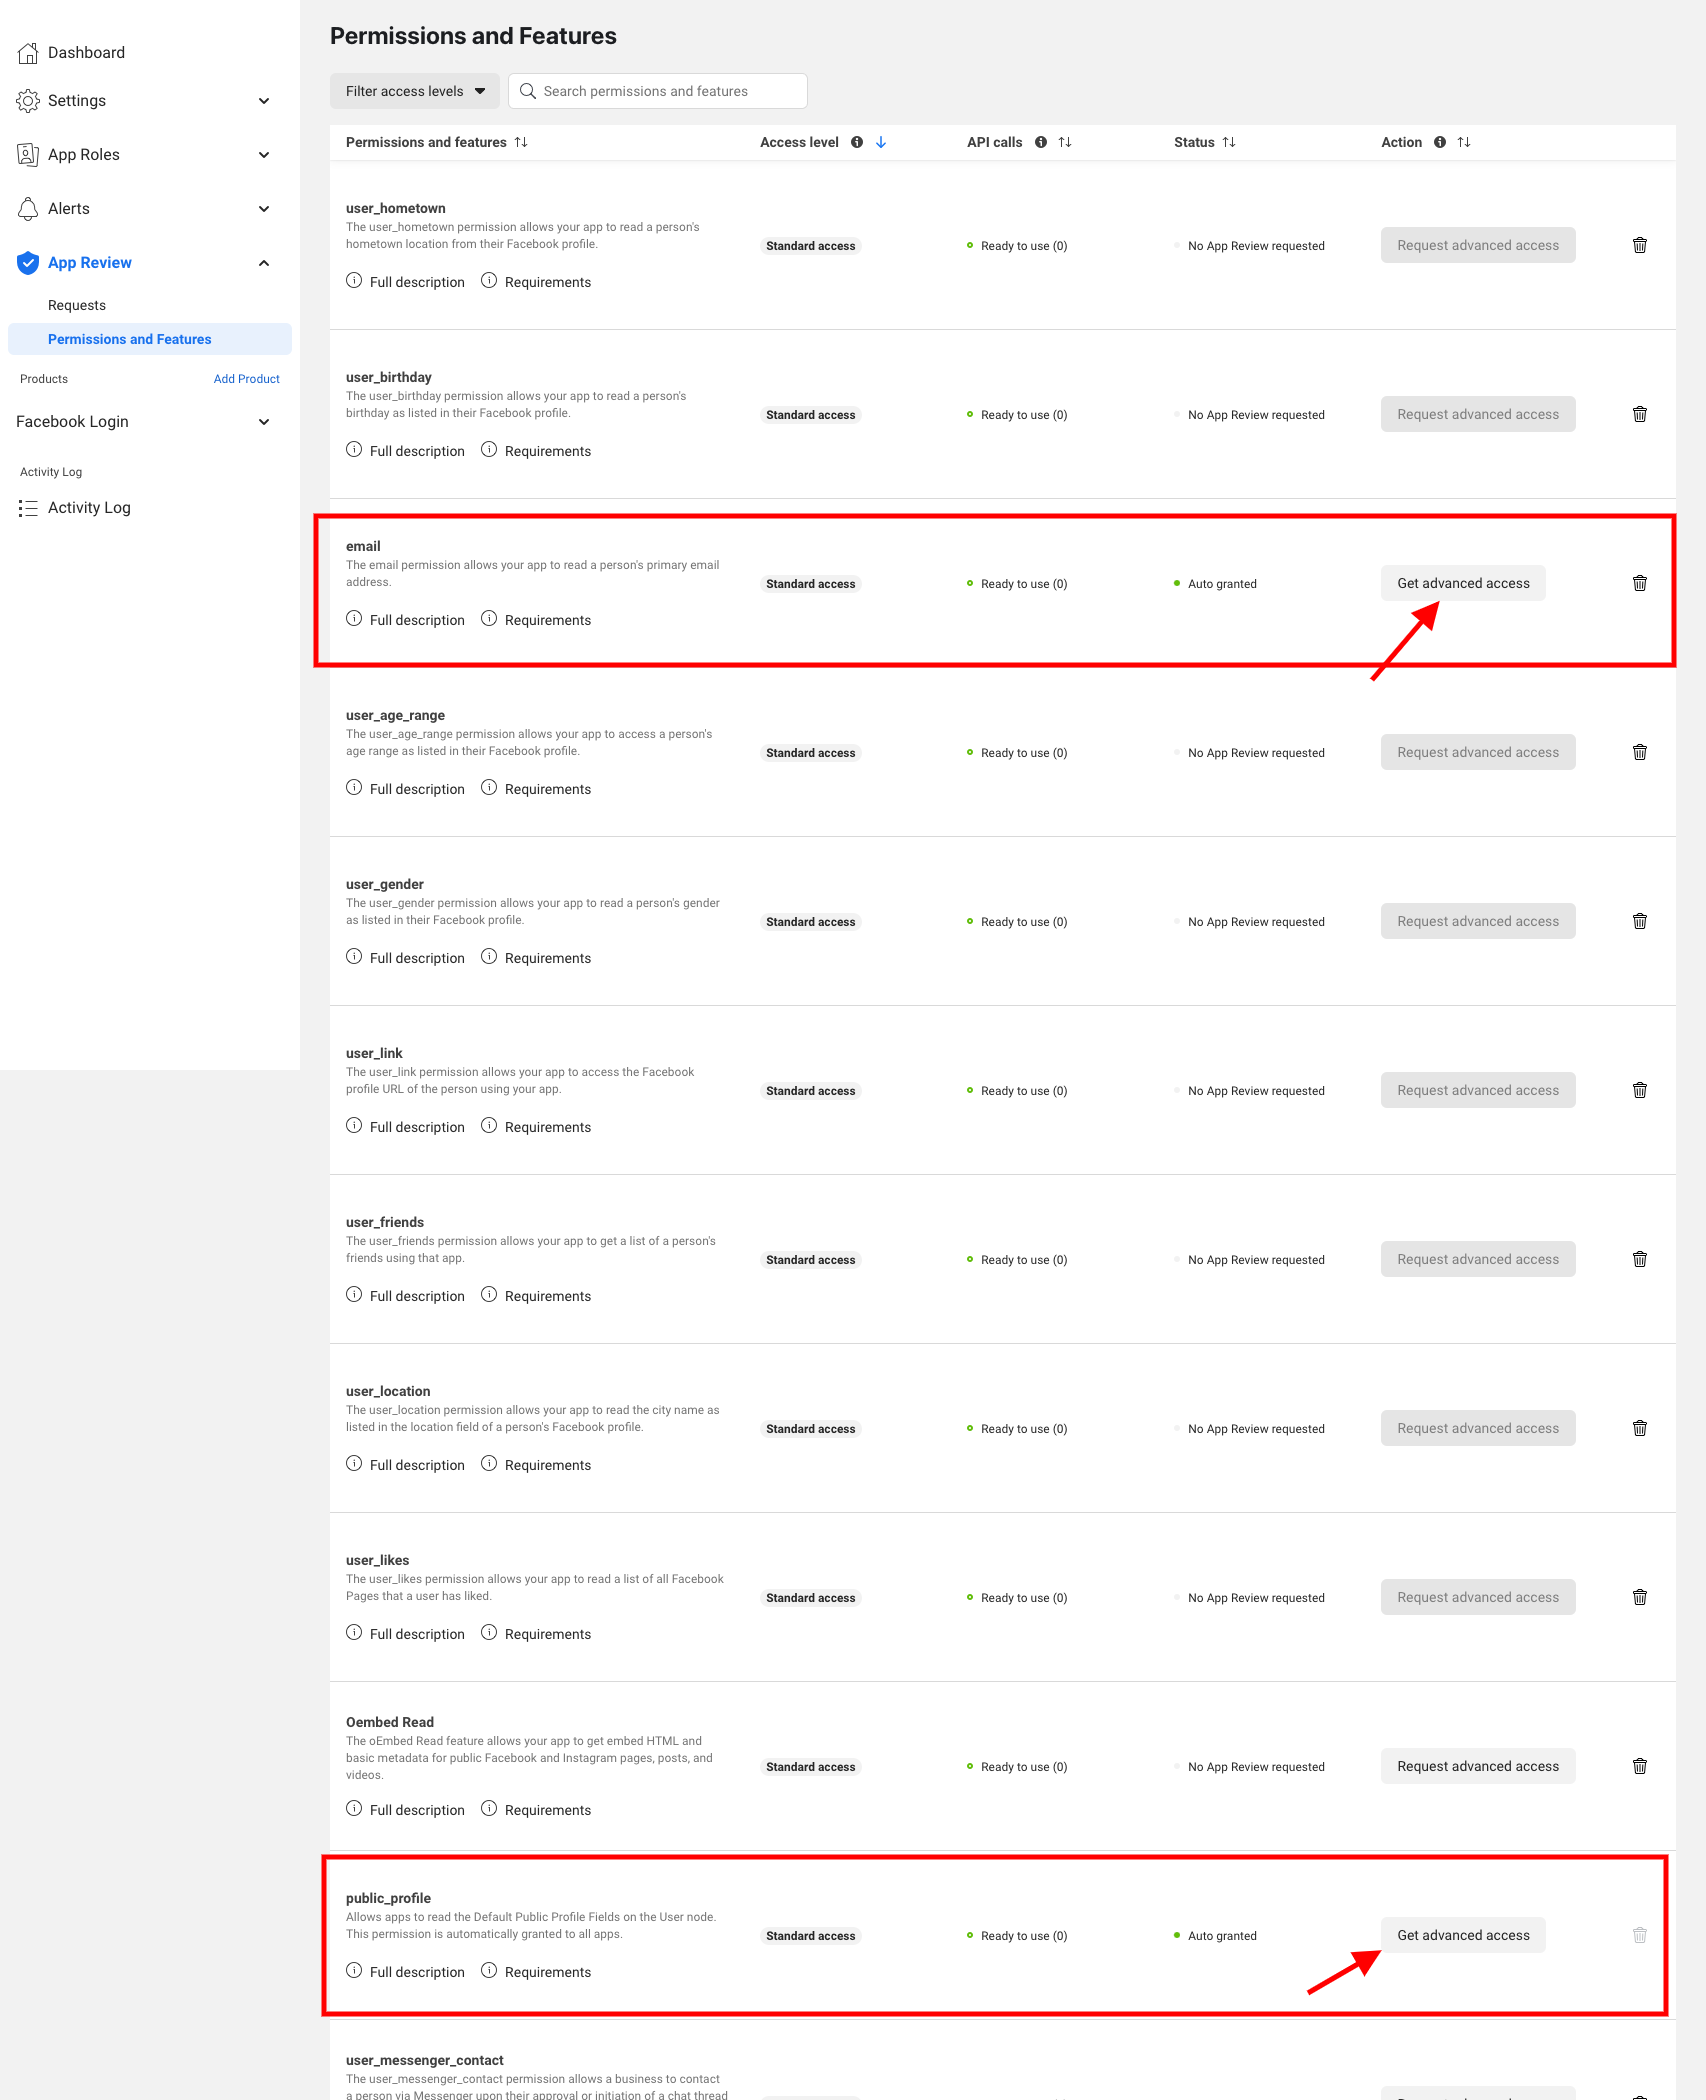
If you see this banner, click on the link Get Advanced Access.
 On the page that will open, search for email and public_profile then click on the Get advanced access button.
You might be prompted to Update Privacy Policy URL or Data Deletion Information: proceed as requested.
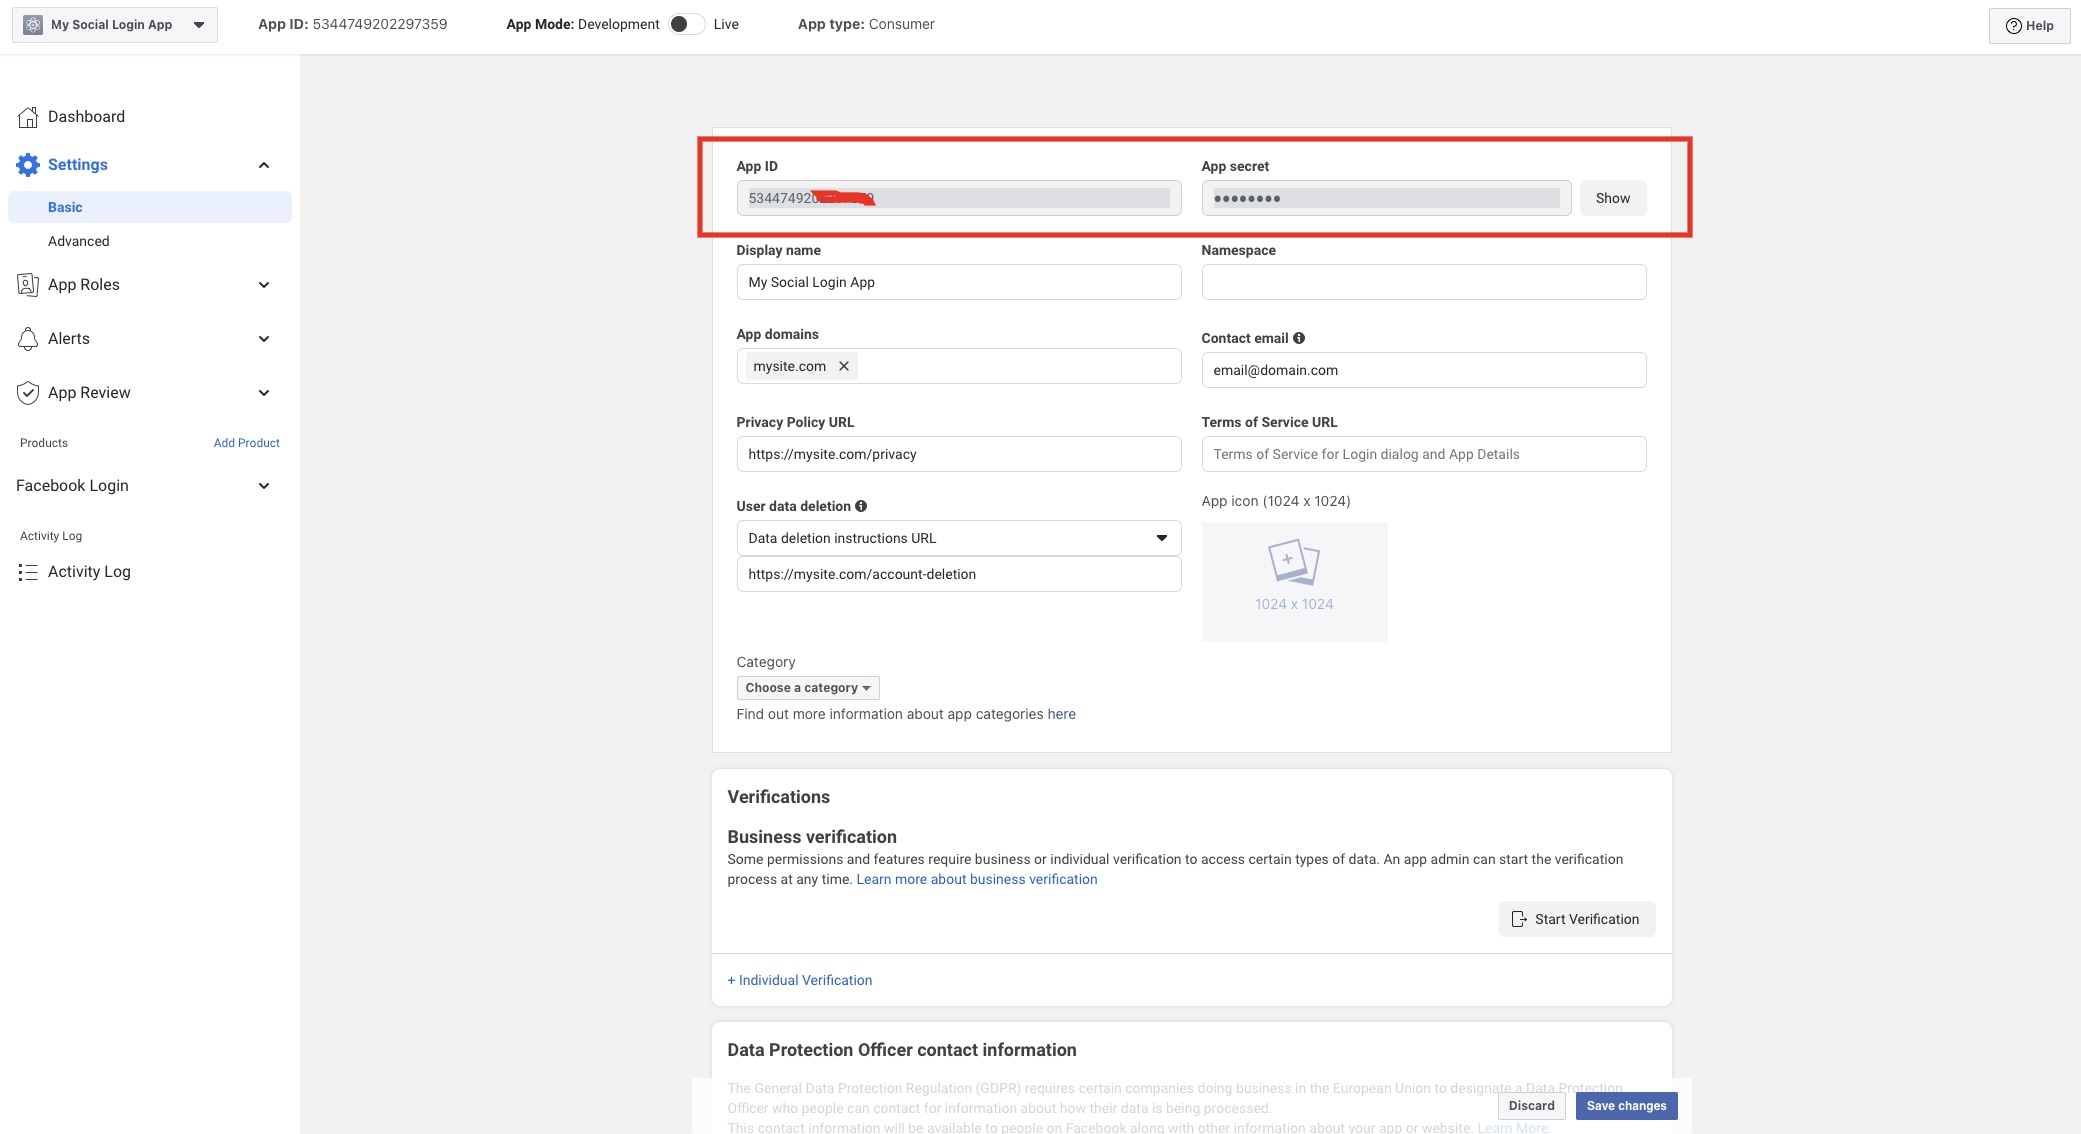
Now, skip to Settings > Basic to get App ID and App Secret.
If you have followed the procedure step by step and you have inserted App ID and App Secret in the plugin settings, you have completed the configuration for the login through Facebook.
You are now ready to use it.
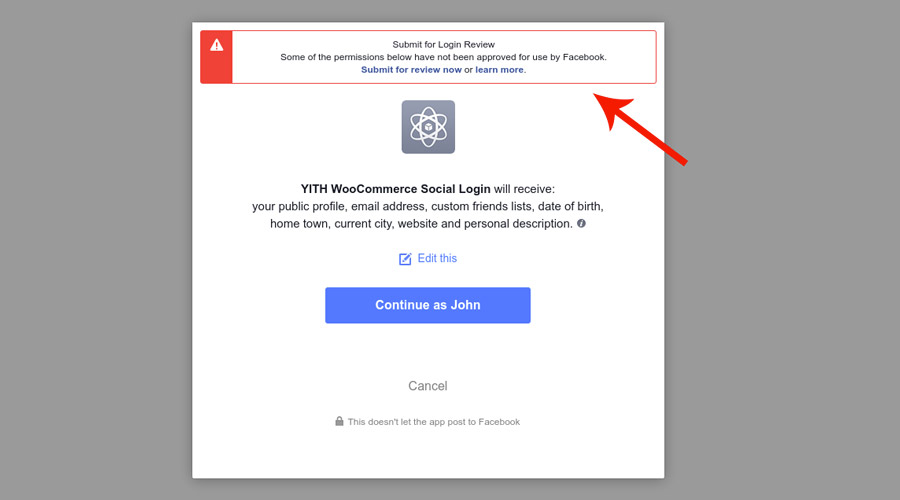
This message shows only when logging in with the same email address used to create the Facebook app.
On WPEngine hosted sites you should also ask WPEngine to exclude from caching the path wp-content/plugins/yith-woocommerce-social-login-premium/includes/hybridauth/ and the cookie ywsl_wp_session and add the following line in the wp-config.php file:
define( ‘YWSL_FINAL_SLASH’, true );


