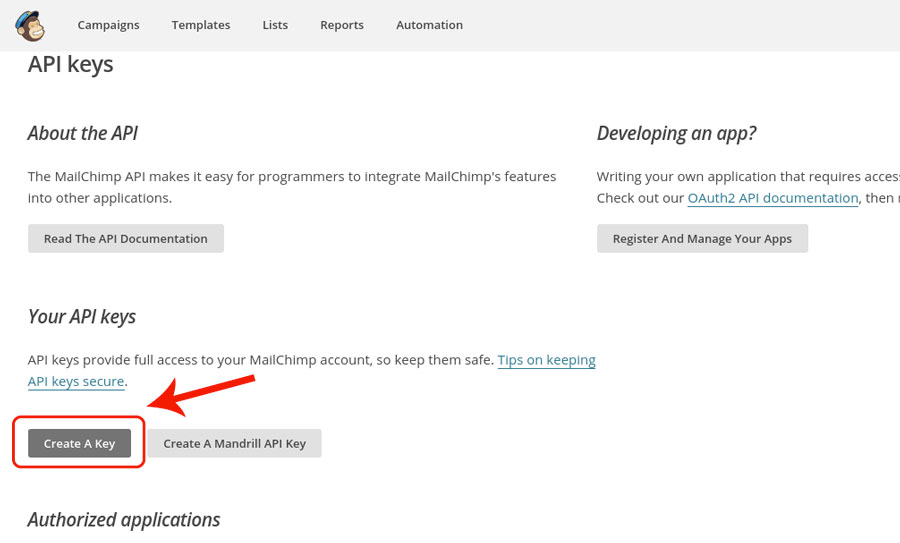
First of all, if you don’t have an account, register one on MailChimp. Now go to http://admin.mailchimp.com/account/api/ and create a new API key with the related button, as you can see below.
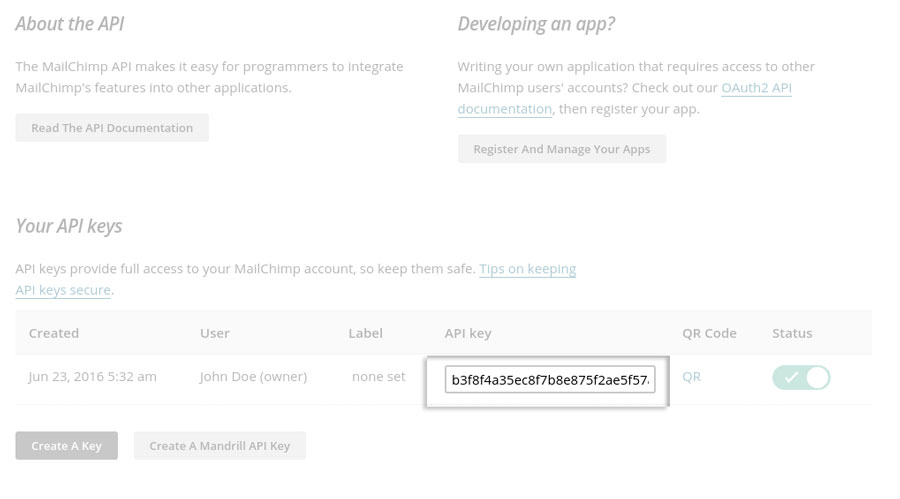
After creating it, copy and paste the key in the “MailChimp API Key” field that you find in the plugin settings dashboard.
If no mistakes were made, validation will be correctly done and you will see the information about the linked MailChimp account.
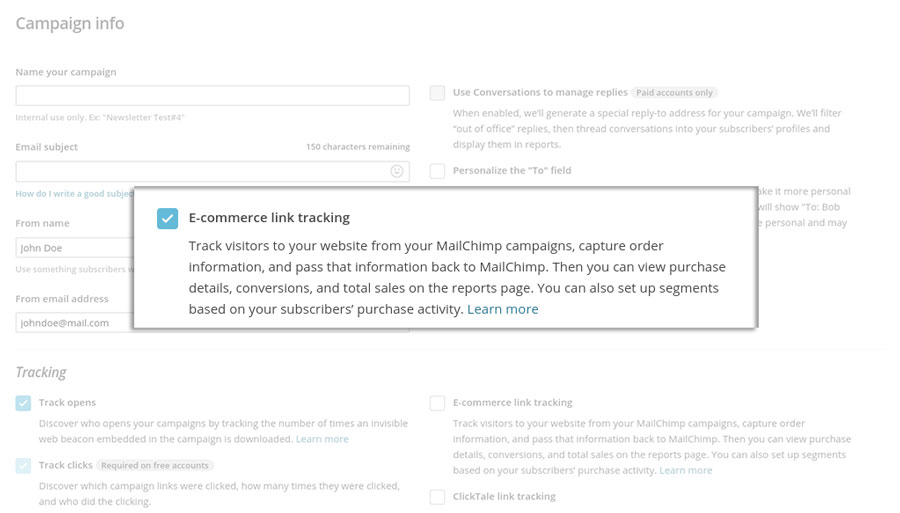
This option, available in the tab Integration, allows you to enable a specific type of system to track purchases deriving from a campaign (Discover MailChimp campaigns). It is essential that during the campaign creation, the option eCommerce 360 link tracking is enabled.
If these settings have been enabled, both in the plugin and in MailChimp, MailChimp will “append” the data “mc_cid” and “mc_eid” to the email that will be generated. As soon as the user clicks on the link in the email, the shop will store data in a cookie and keep them until checkout, for a maximum time-lapse set in the specific plugin option called “eCommerce 360 cookie lifetime”.
If the user goes to checkout, the order will be tracked for the user that received that specific information.
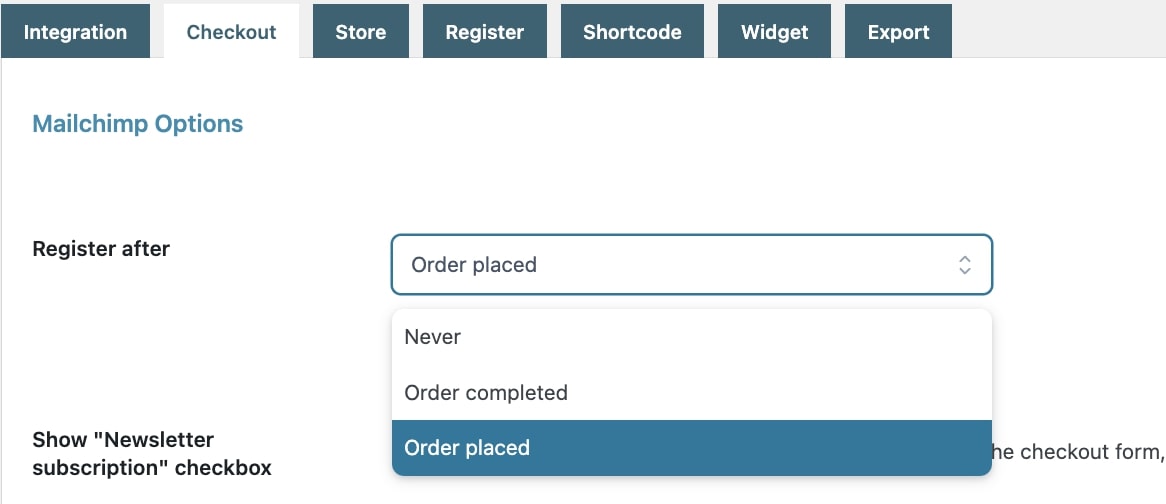
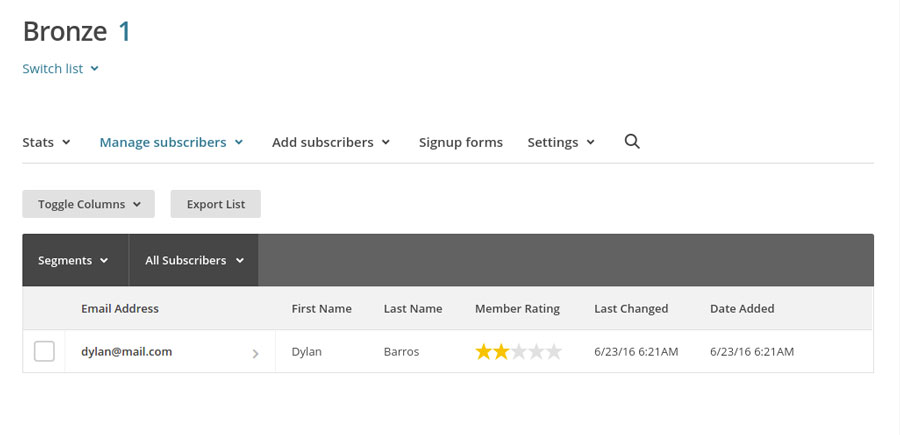
Now your MailChimp page should be populated as you can see above, depending on the orders made by users coming from that campaign. N.B. Order registration will be done as soon as it is placed or completed according to what you have specified in the option “Register after” available in the tab “Checkout”.
The advanced integration mode allows registering users to lists and interest groups based only on specific conditions during the purchase. Furthermore, the advanced integration mode also allows you to connect your site checkout fields to MailChimp. In this way, the information will be saved in the user’s profile and can be reused within the newsletter service.
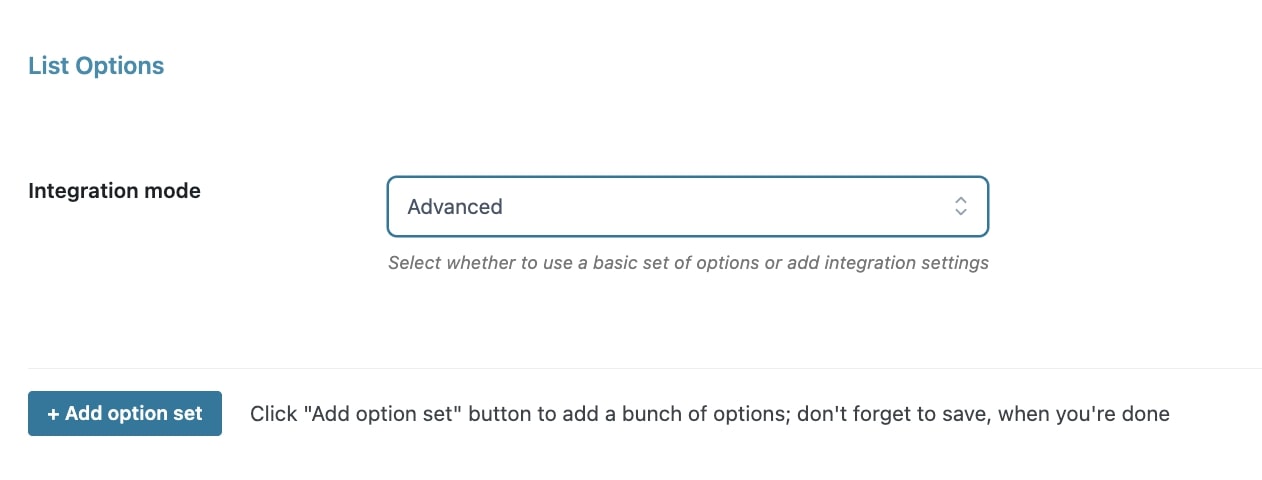
The advanced integration mode allows you to create a specific set of options: as anadministrator, you can register users to different lists and possible interest groups based on specific conditions.
To do it, go to YITH > Mailchimp > Checkout > List options, select Advanced mode and click on Add option set.
Now we can analyze how to configure the set of options.
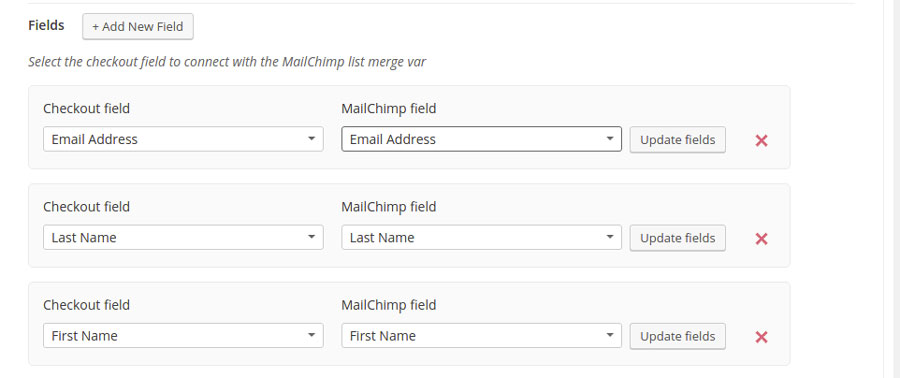
As previously mentioned, the plugin allows you to connect the checkout fields to MailChimp: in this way, for each registration, you can save additional information, besides the standard “Name”, “Last name” and “Email”, and reuse them later also for the creation of new forms through Mailchimp.
By default, the plugin is already suitable to associate three fields: “First name”, “Last Name” and “Email”.
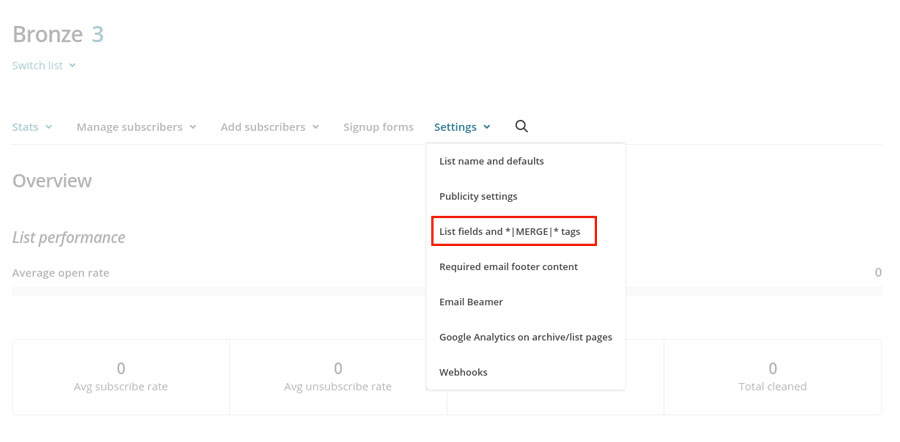
Let’s see how to associate a new field. In this case, we will consider the “phone” field. First, we need to create a new field on MailChimp. Select the list and go to “Settings -> List fields and *|MERGE|* tags”.
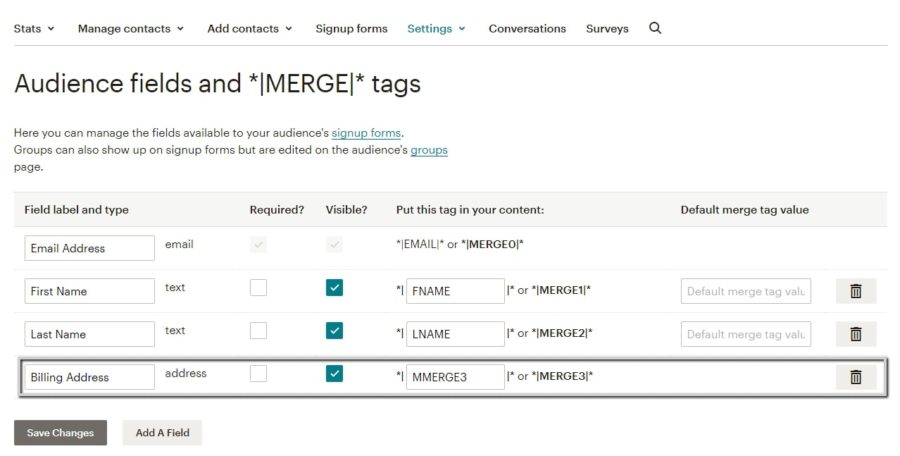
Now you can insert the new “Phone” field.
Open again the plugin and update the fields list through the “Update Fields” button. The new field will be shown within the list. PLEASE NOTE: check the list you have selected is the same as in the plugin and in MailChimp.
After selecting it, save the options set. Now the association is done.
You can follow the same procedure described above to add the Address field. The only difference with Phone is the type of field in Mailchimp: text for the Phone field and address for the address field.
The plugin allows associating all the checkout fields, both the billing and shipping ones. You can also manage all the custom fields created with the plugin. YITH WooCommerce Checkout Manager.
To have a smart registration to your MailChimp lists, you have the possibility to insert an unlimited number of conditions that will be checked during the purchase. Users will be registered to the lists and/or interest groups only if all the conditions will be satisfied.
As shown in the image above, the user will be registered only if:
the order includes at least one “YITH Cushion”
the order includes at least one of the products in “Shoes” category
the order amount is lower than 50$
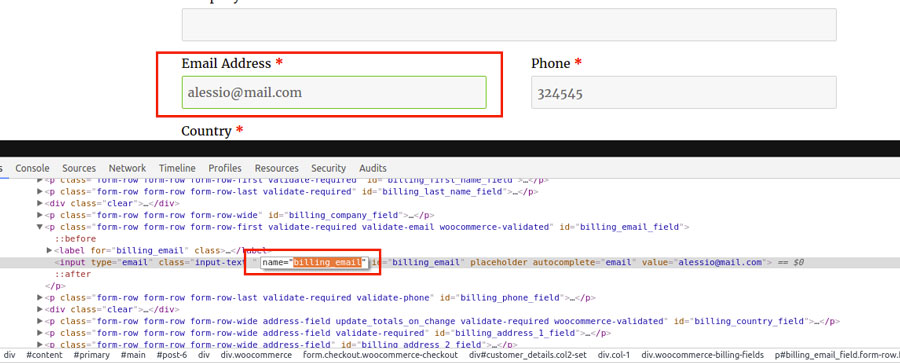
You can also check the value of a specific checkout field. To spot the field, you need to specify the value of “name” attribute (the value that will be sent to the $_POST variable at the checkout). The data can be easily recovered by opening the browser console and selecting a specific field.
Here is an example: we would like to check that the email field doesn’t include the word “yopmail”. We recover the value of “name” attribute in the email field.
Now we insert our condition and save the options set.
Before detailed explanations of the actions you can make with YITH Woocommerce MailChimp, we want to make a brief introduction. The plugin allows you to automatically or manually subscribe all the users who purchase on your shop to one of your Mailchimp lists and to possible interest groups. For this reason, make sure of the creation of the list to which users will be subscribed on your MailChimp account.
There are two different ways to integrate users into your MailChimp lists. On this page, we will analyze the simple integration.
To discover all the information about the advanced integration please follow the instructions that you find on this page.
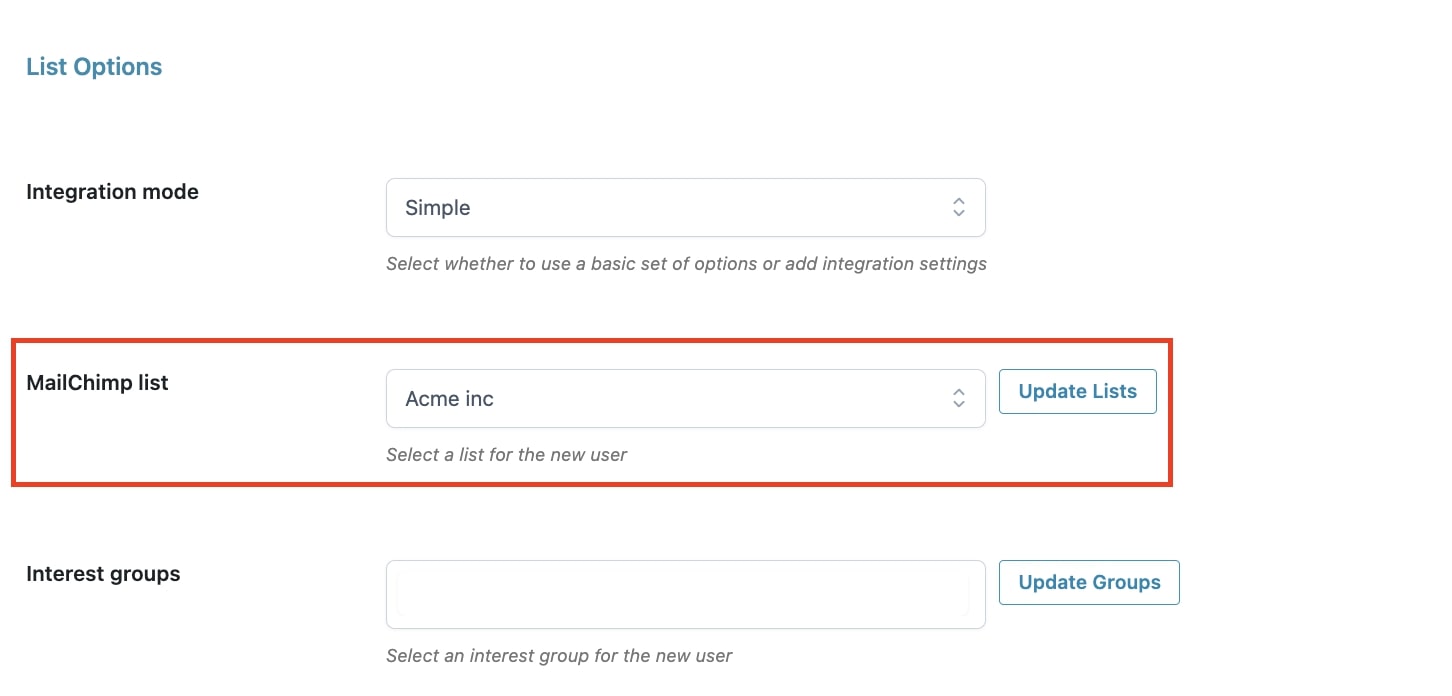
Go to the plugin settings dashboard and select, in “MailChimp list”, the list to which you want to subscribe your users. All the lists available in your account will be shown: if you have just created a new list and it is not shown among the available ones, click on the “Update Lists” button to update the list.
Now you can decide the moment for the user to be subscribed to the selected list, by choosing from two options:
user has completed the checkout
the order has the “Completed” status
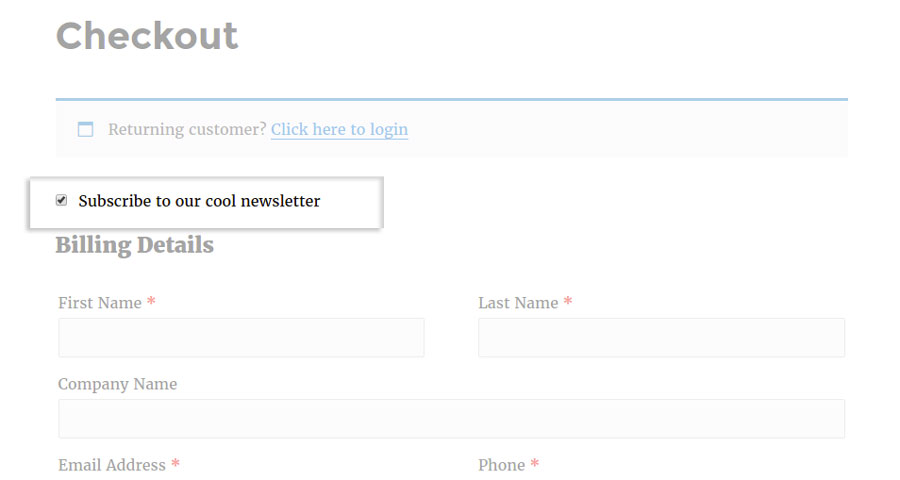
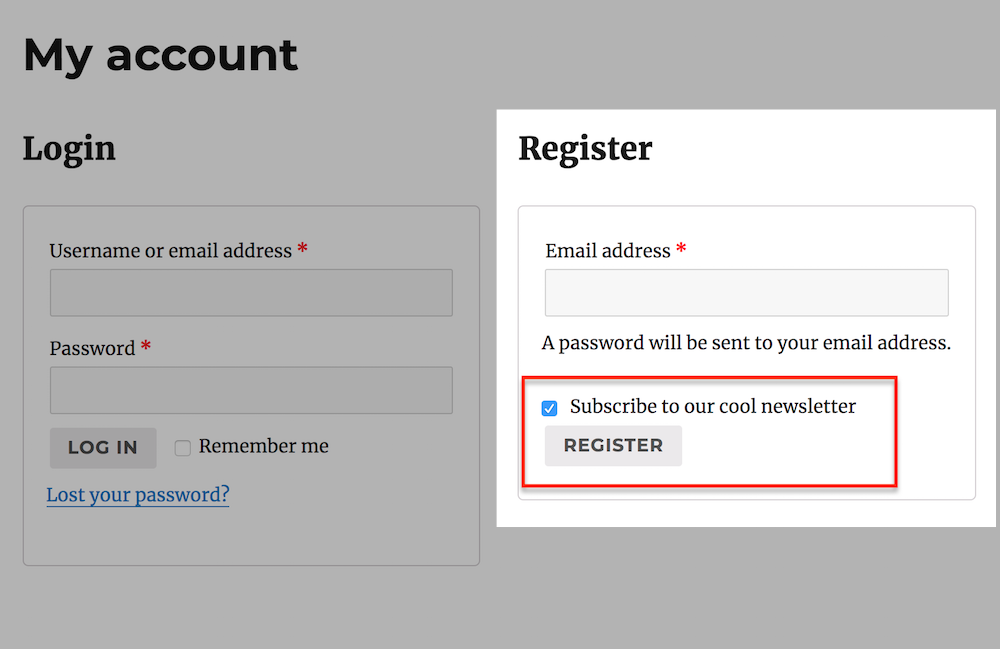
The subscription to the list can occur in an implied way or only upon the user’s request. In the second case, it is essential to enable, through the specific option, the approval checkbox available on the “Checkout” page.
Unless the Double Optin option hasn’t been enabled, the user will be added to the selected MailChimp list.
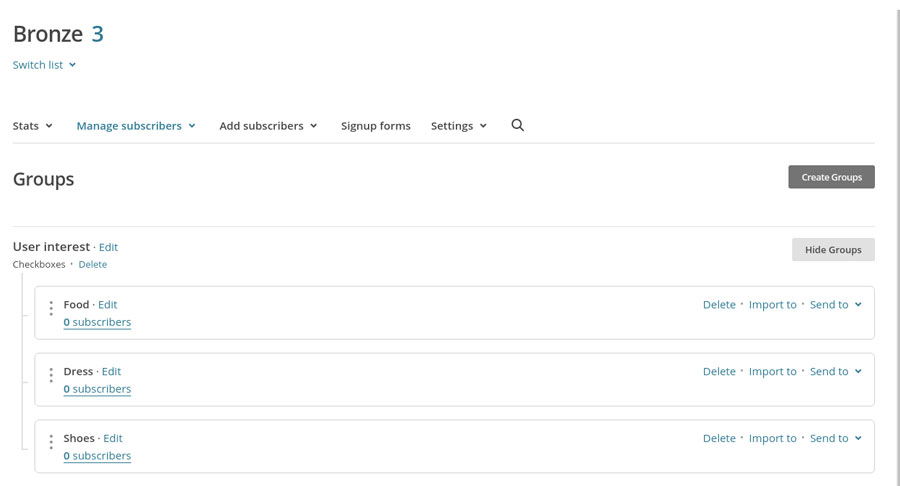
The plugin offers the possibility to subscribe the user to one or more interest groups available on the selected list. After selecting the list, the system will automatically upload the updated list of the associated interest groups (if available). (As you can see in the images below, the list of groups provided by the plugin matches the one available on MailChimp)
If you have created a new group on MailChimp and want to select it within the plugin, you won’t need to refresh the page. Click on the “Update groups” button and the list will be updated automatically.
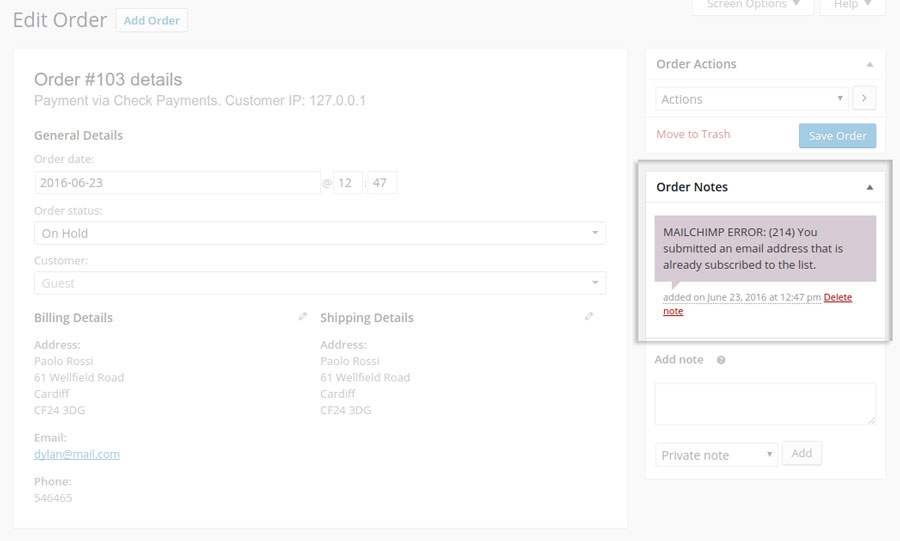
When an already subscribed user comes back to purchase on your shop, no action will take place on the MailChimp list and you will get an error within the order which notifies you that the user has been previously subscribed. The control will be applied in the email field.
The error doesn’t happen if the subscription list has changed compared with the previous purchase. However, to avoid the above-mentioned MailChimp error, you can enable the “Update existing” option available in the Register tab.
In this way, the subscribed user’s profile will also be updated automatically in case they entered a different name/last name, compared to the last purchase.