Translate through our easy-to-use platform!
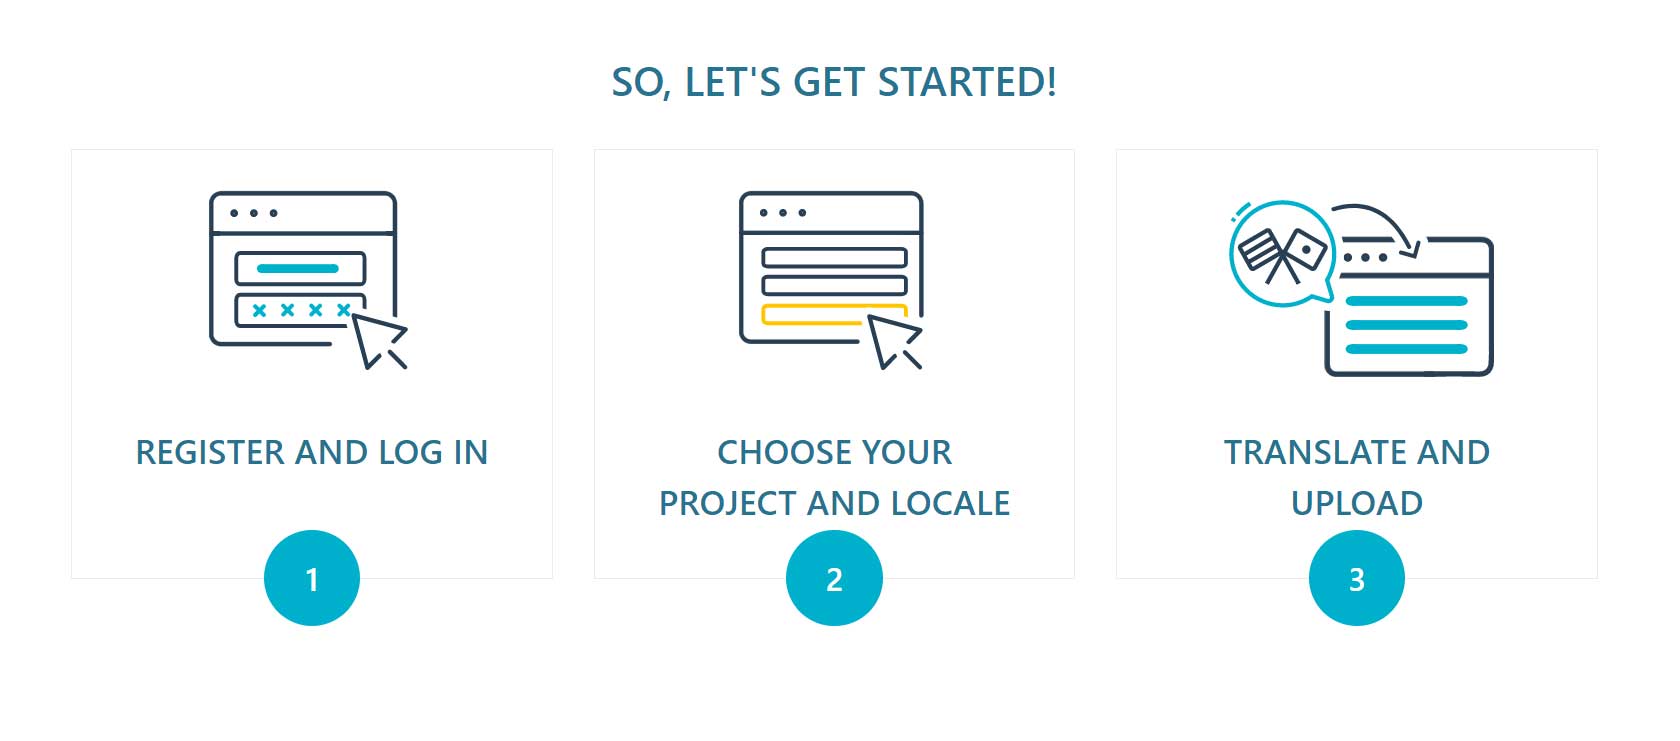
If your language is not included in the plugin package, no worries, you can translate it on your own thanks to our platform. Go to translate.yithemes.com and just follow three simple steps:
Once you’re done with translating, you will be able to export your translation as a file that is ready to be uploaded into the languages folder of your plugin package and start using it immediately.
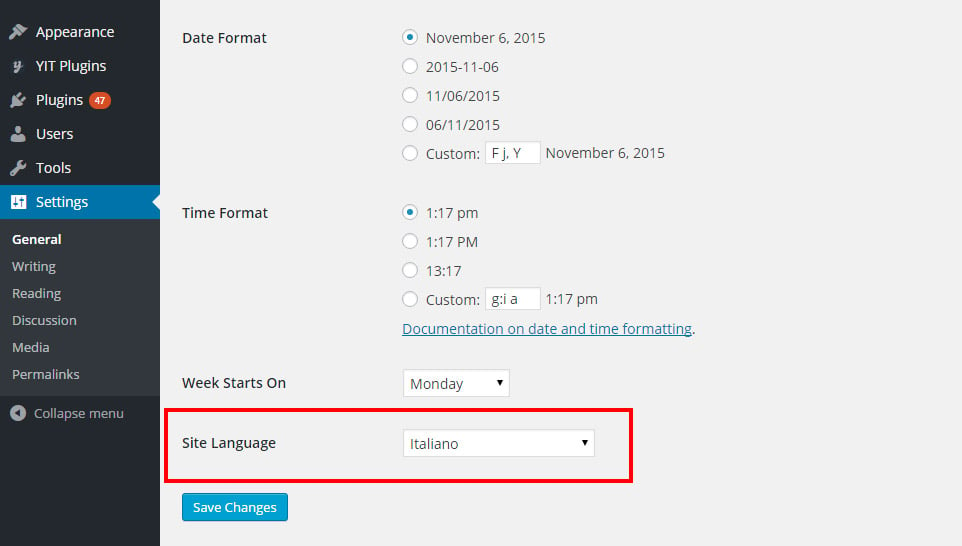
Don’t forget to change the language of your WordPress site from Settings > General > Language to make sure the translation shows up.
In the meantime, our Translation team will review your translation and once approved, it will be made available in the plugin package, so you will be able to always find it whenever you update the plugin!
So, let’s start from here: translate.yithemes.com and for a detailed guide on how to use our Translate platform, please, refer to this page.
Translate with Poedit
If you prefer translating using Poedit, a free translation editor software, you can consider this as an alternative option.
The original language file of the plugin is yith-woocommerce-frequently-bought-together.pot and it is included in the "languages" folder of the plugin. If it does not include your own language you have to translate following these steps.
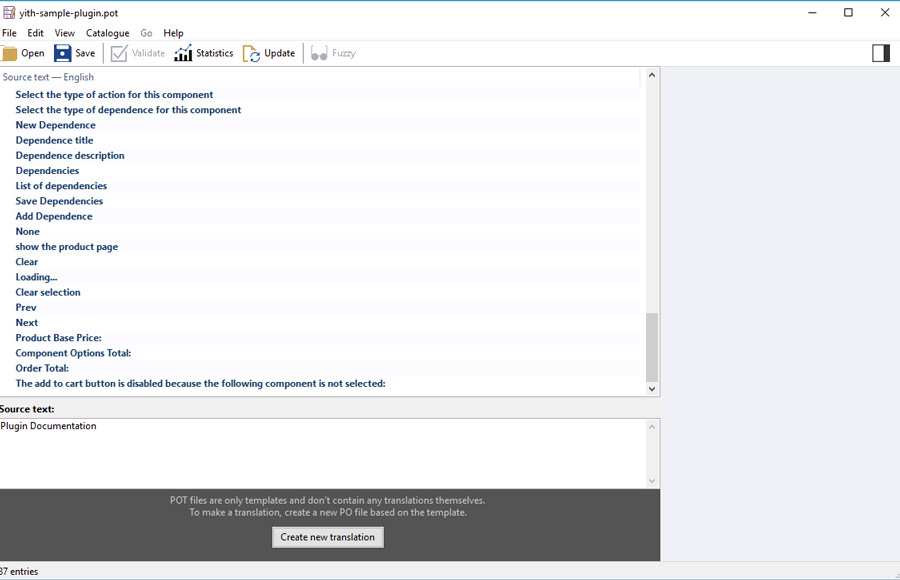
Download Poedit, the software through which you can translate the plugin text strings. Now open the file yith-woocommerce-frequently-bought-together.pot and click on the "Create new translation" button.
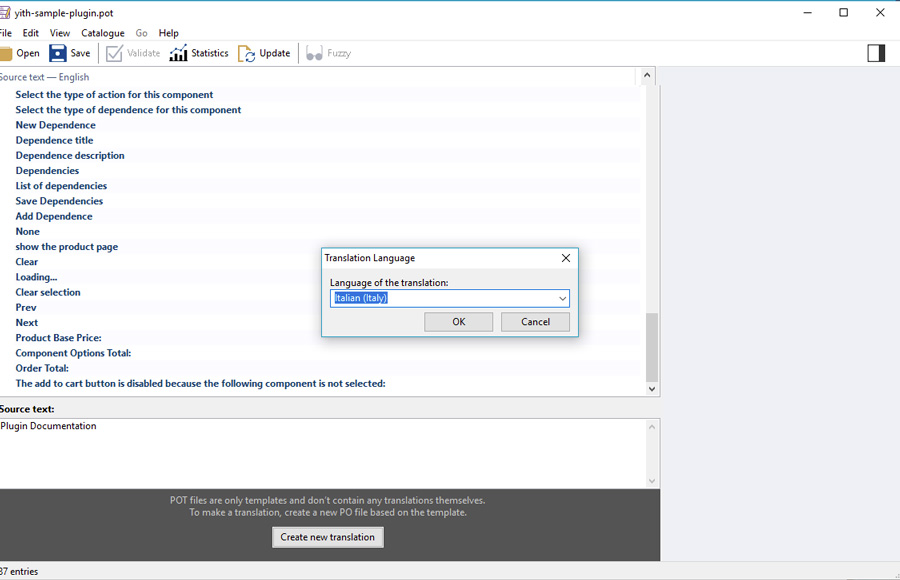
Select the language in which you want to translate the plugin.
Now translate the strings one by one. Once finished, click on the "Save" button and rename the file adding the slug of the plugin to the suggested file name (e.g., yith-woocommerce-frequently-bought-together-it_IT).
If everything worked fine, the .po and .mo files will be created automatically in the "languages" folder of the plugin.
Don’t forget to change the language of your WordPress site from Settings > General > Language to make sure the translation shows up.
Edit an existing translation
If you want to edit an existing translation, copy the .po file that you find in the plugin "Languages" file (plugin name > languages) and paste it into WordPress languages folder (wp-content > languages > plugins).
Edit the .po file and save the changes. This will generate the .mo file and you will be able to see your updated translation in your site.
If you worked on the .po file outside of the plugin folder, make sure you copy and paste also the .mo file that has been generated automatically after saving the changes in the .po file.