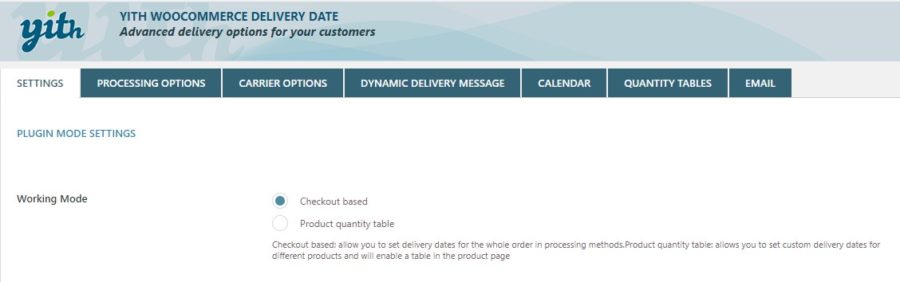
Plugin mode settings
First of all, choose the working mode you want to use from Checkout based and Product quantity table.
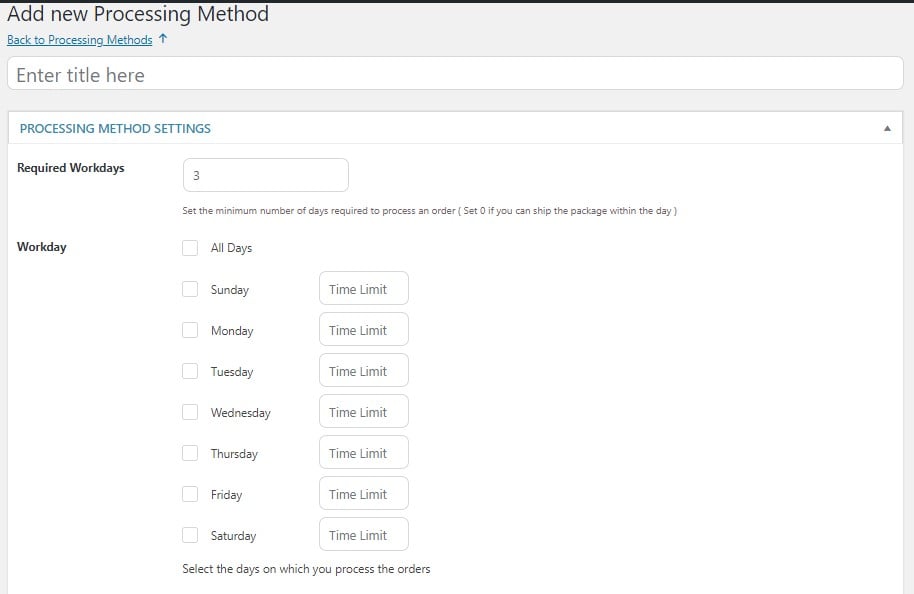
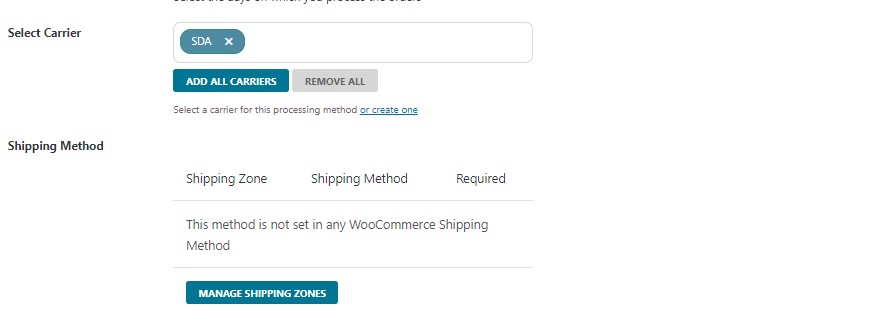
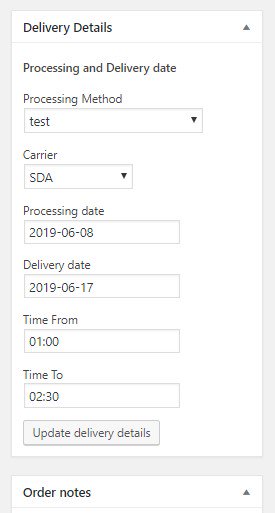
Checkout based mode allows you to set delivery dates for the whole order in processing methods.
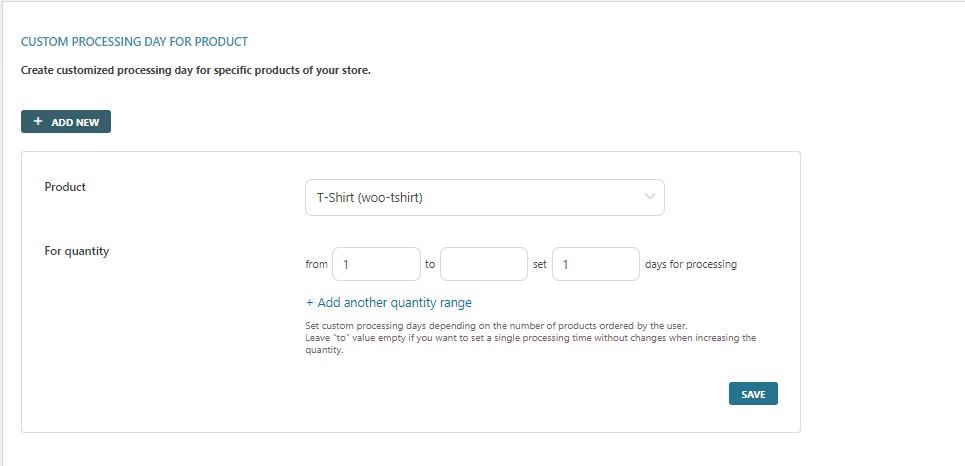
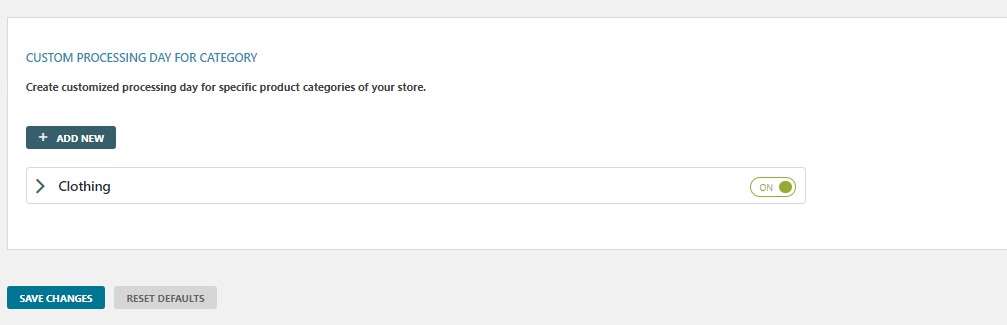
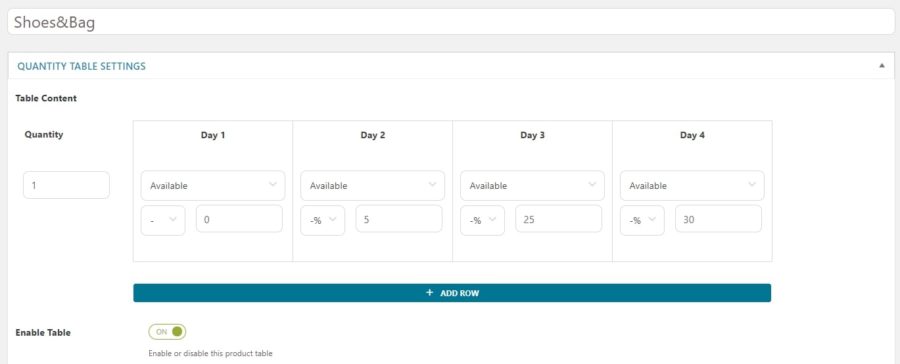
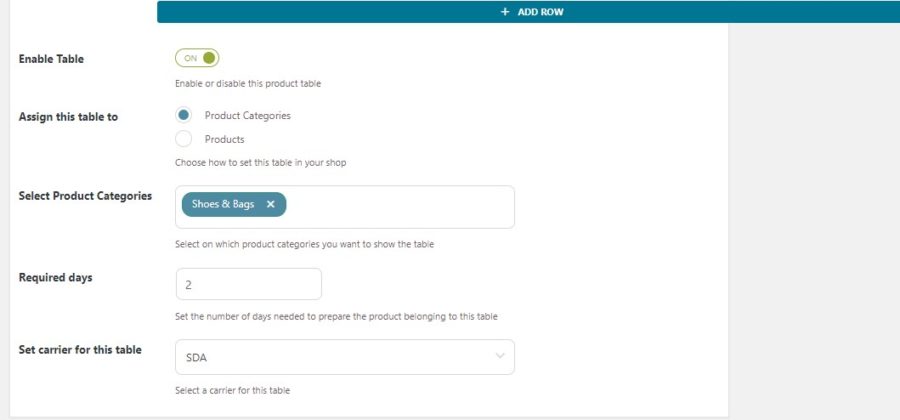
Product quantity table mode allows you to set custom delivery dates for different products and will enable a table on the product page.
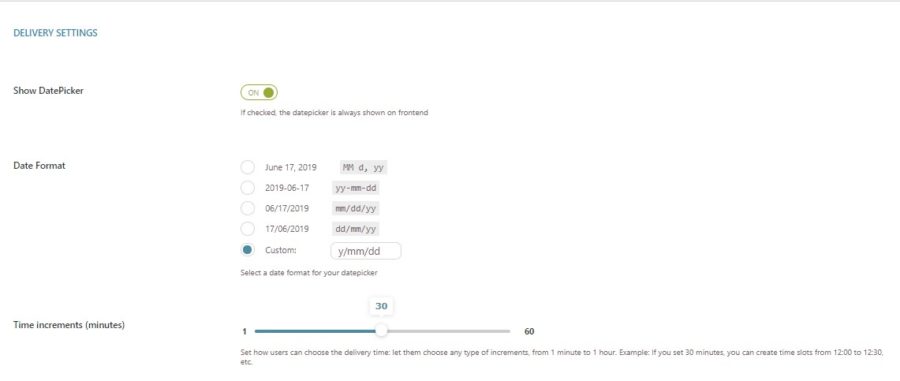
Delivery settings
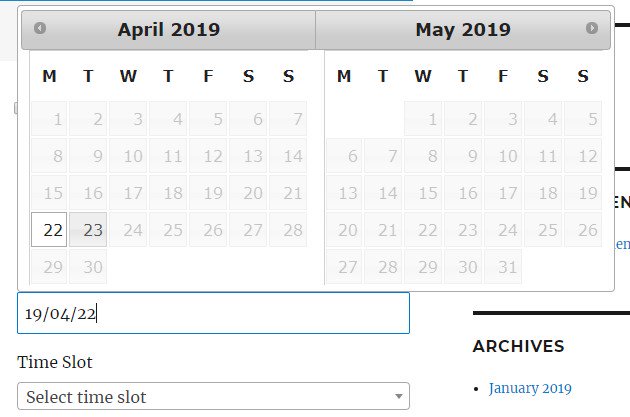
The plugin has the option Show DatePicker available in the Settings section to show or hide the datepicker on the frontend. You can choose the date format from the many made available by the plugin or set a custom one.
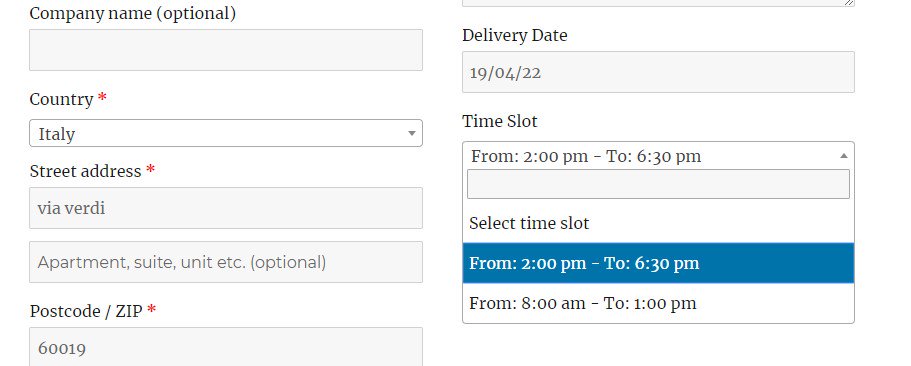
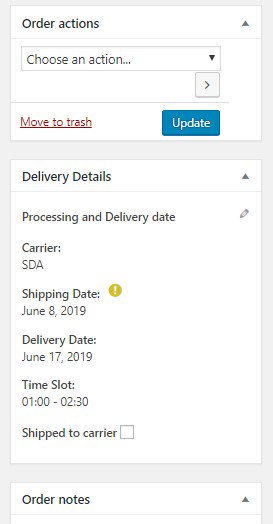
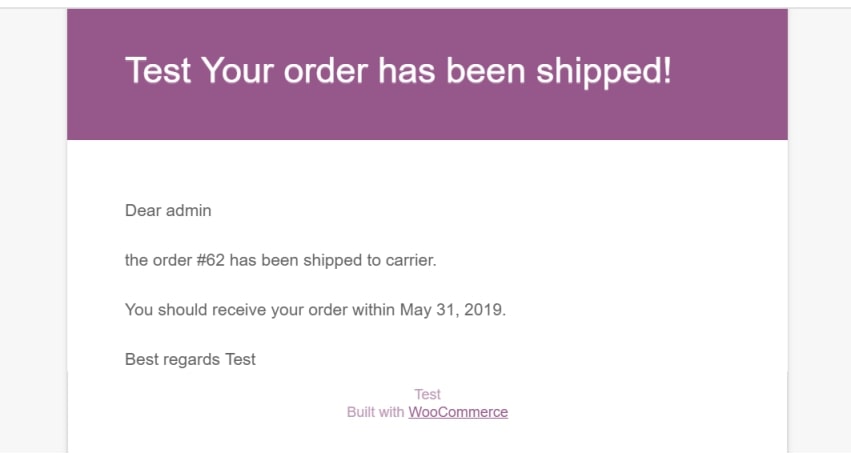
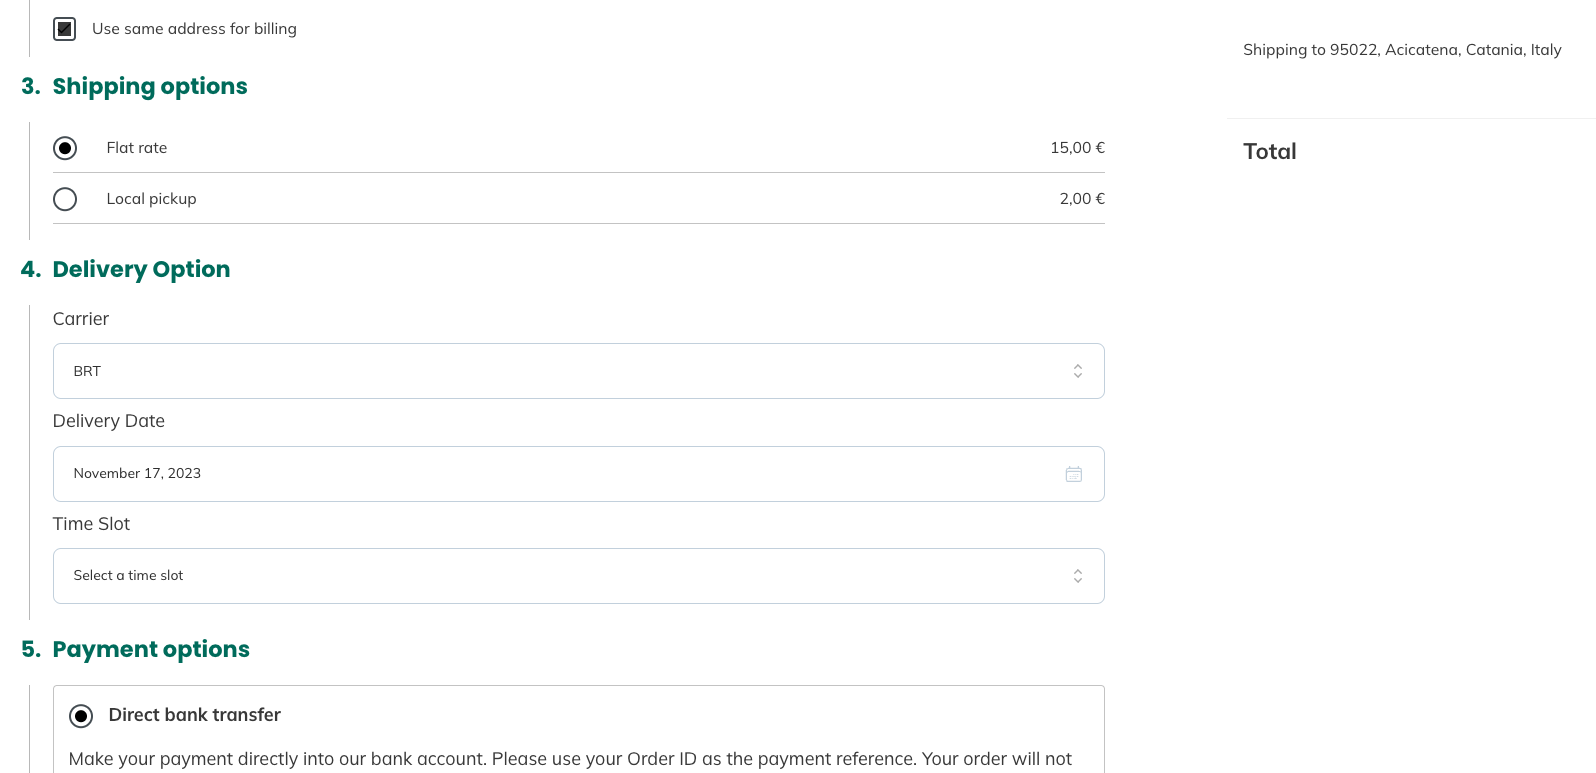
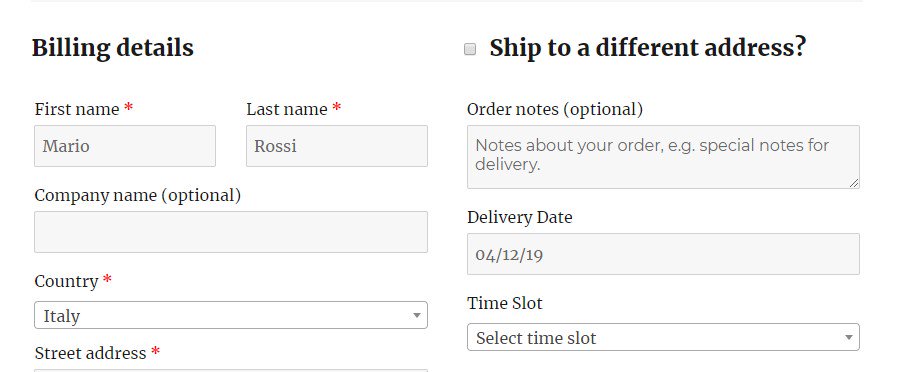
The delivery date will show with the selected format on the Checkout page.
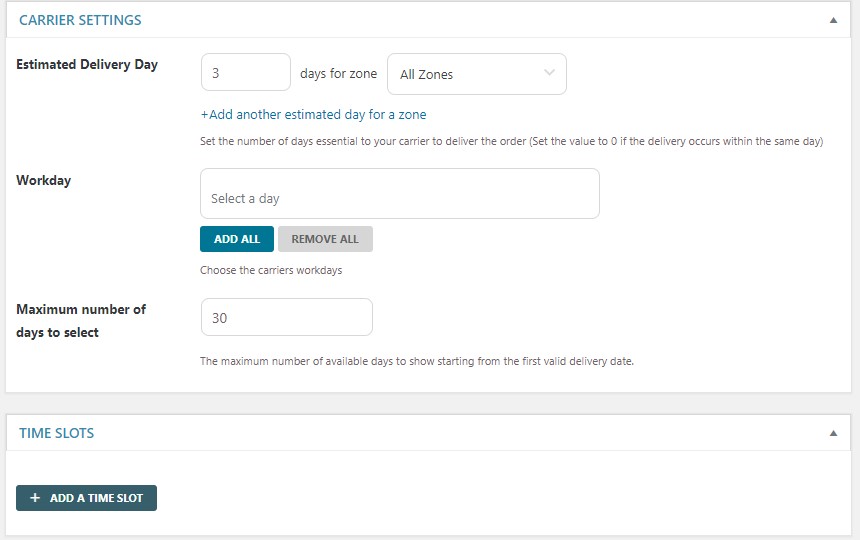
Through the option Time increments, you can let users choose the delivery time from 1 minute to 1 hour. The value is expressed in minutes.
Time Slot Fee Settings
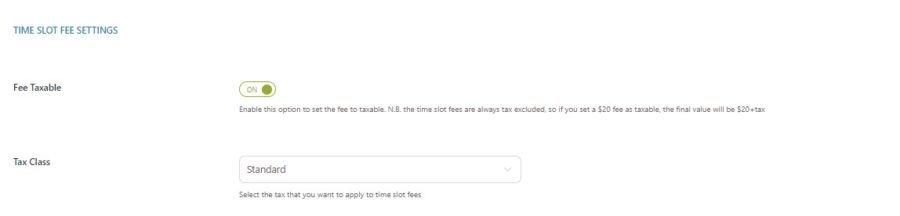
By enabling the option Fee taxable, you will be able to add taxes to the time slot fees (excluded by default). After enabling it, you will need to select the tax class to apply to your time slot fees.
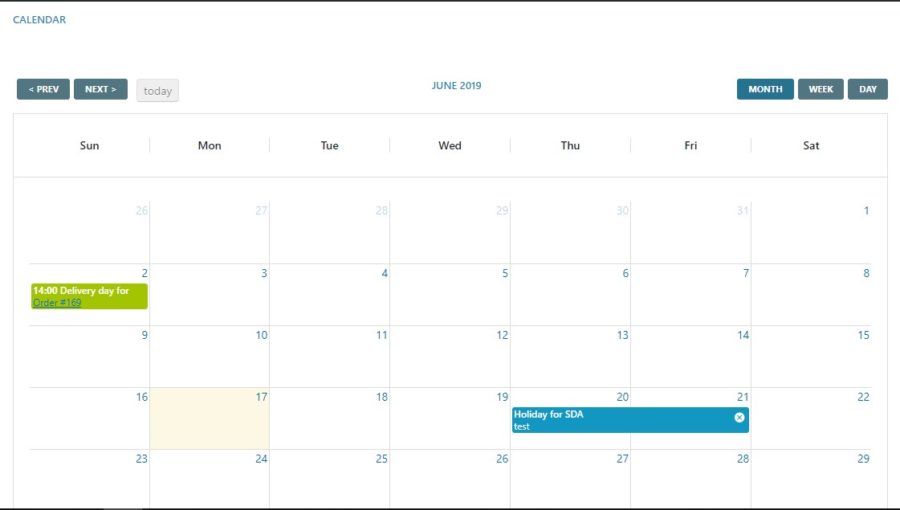
Event calendar settings

To add the expected shipping and deliveries to the calendar, you need to specify through the option Order status all order statuses that will trigger this action.