After creating your attributes, you will need to add their terms which can be done by clicking on Configure terms.

Based on the attribute type (Colorpicker, Image, or Label), you will find a different set of options to add the terms for your product variations.
Colorpicker
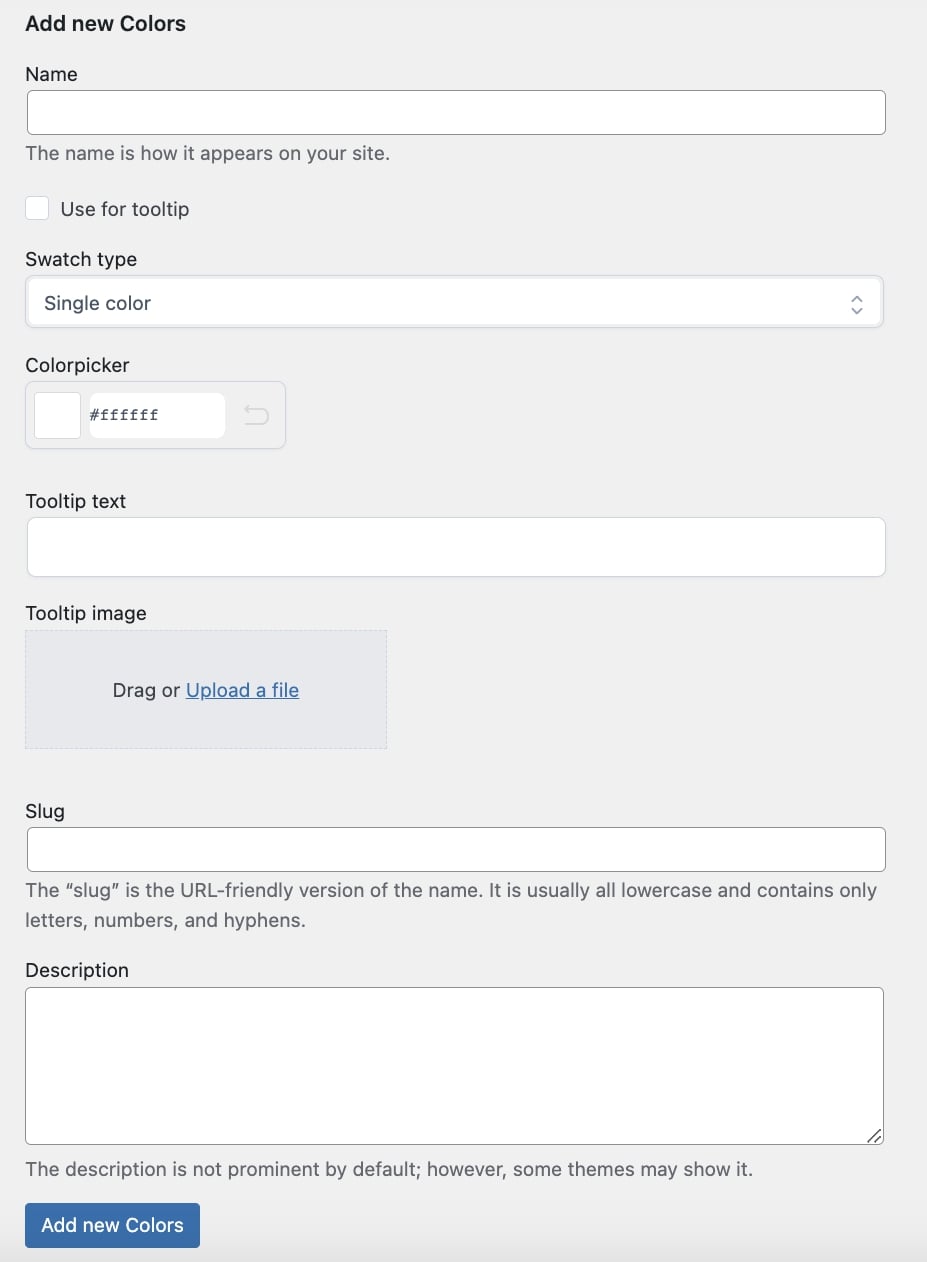
- Name: enter the name that defines the color and will show on the frontend;
- Use for tooltip: enable this option to use the term name for the tooltip;
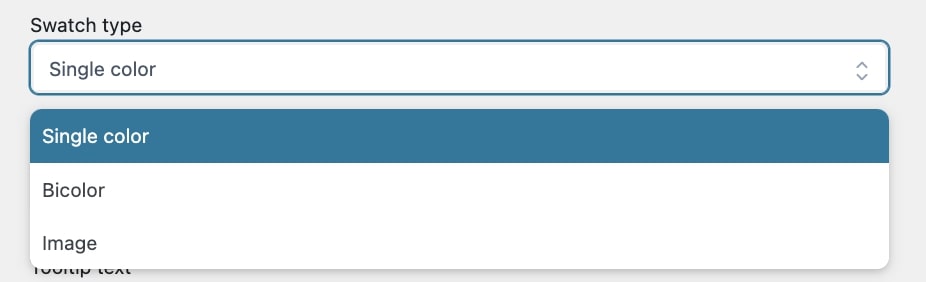
- Swatch type: choose the swatch type from
- Single color: select if you want to show a single color for the swatch, then choose the color in the Colorpicker option;
- Bicolor: select if you want to show a two-tone swatch, then choose the colors in the Colorpicker options;
- Image: select if you want to show an image for the color swatch, then drag or upload the file in the related option;
- Tooltip text: enter the text for the tooltip that defines the attribute variation and will show on the product page;
- Tooltip image: drag or upload the image for the tooltip that defines the attribute variation and will show on the product page;
- Slug: enter the slug for the attribute variation;
- Description: enter a description that defines the attribute variation, shown in the front end.
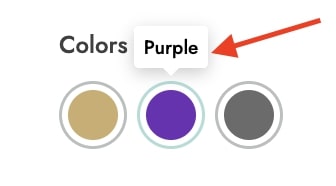
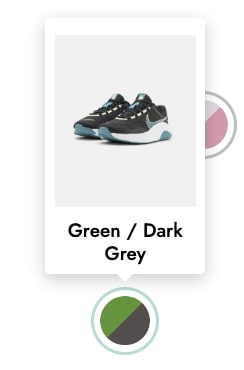
After configuring and adding the terms, you’ll get a view like in the image below.
Image
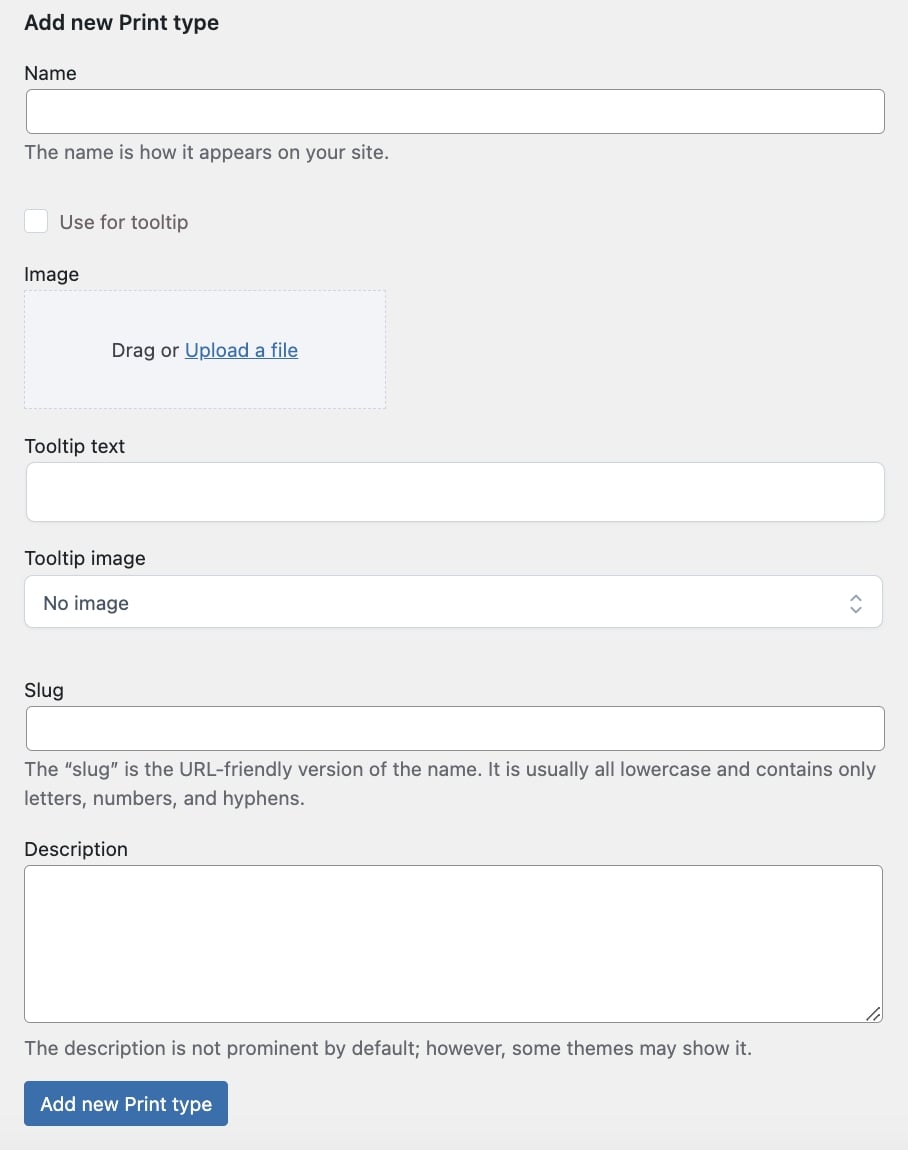
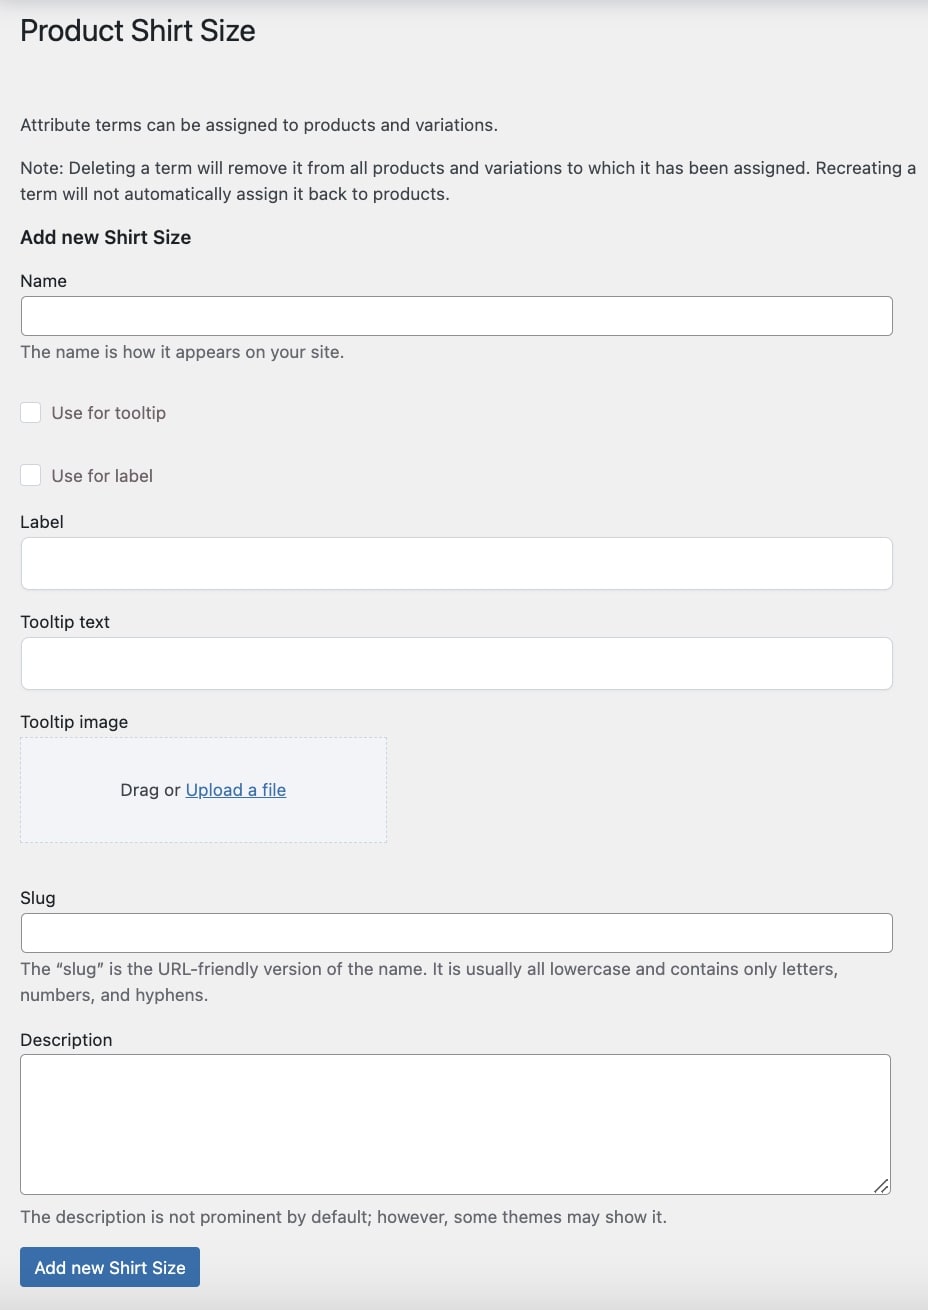
- Name: enter the name that defines the image and will show on the frontend;
- Use for tooltip: enable this option to use the term name for the tooltip;
- Image: drag or upload the image that you want to use for the attribute variation;
- Tooltip text: enter the text for the tooltip that defines the attribute variation and will show on the product page;
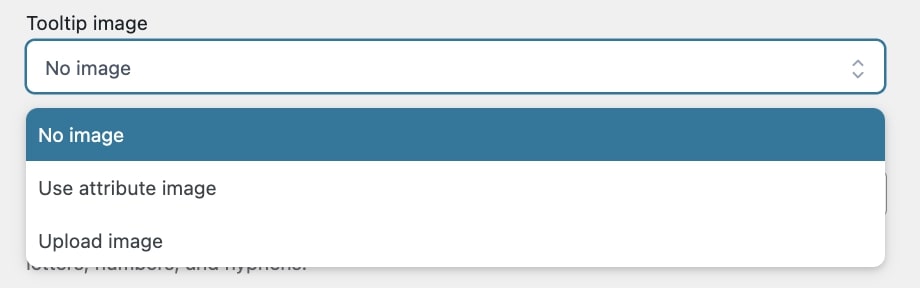
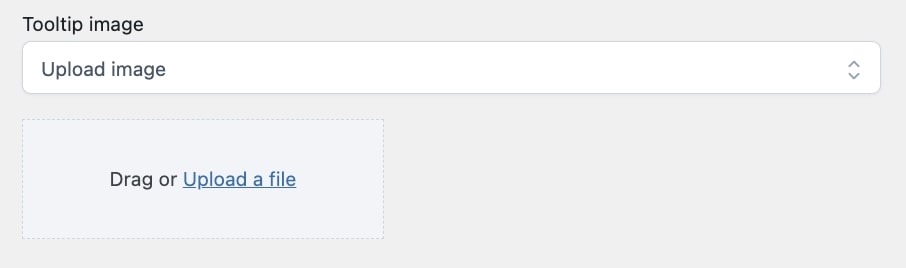
- Tooltip image: choose the image for the tooltip by selecting one of the following options:
-
- No image
- Use attribute image
- Upload image: by selecting this option, you will be able to drag or upload a different image through the dedicated uploader;
- Slug: enter the slug for the attribute variation;
- Description: enter a description that defines the attribute variation, shown in the front end.
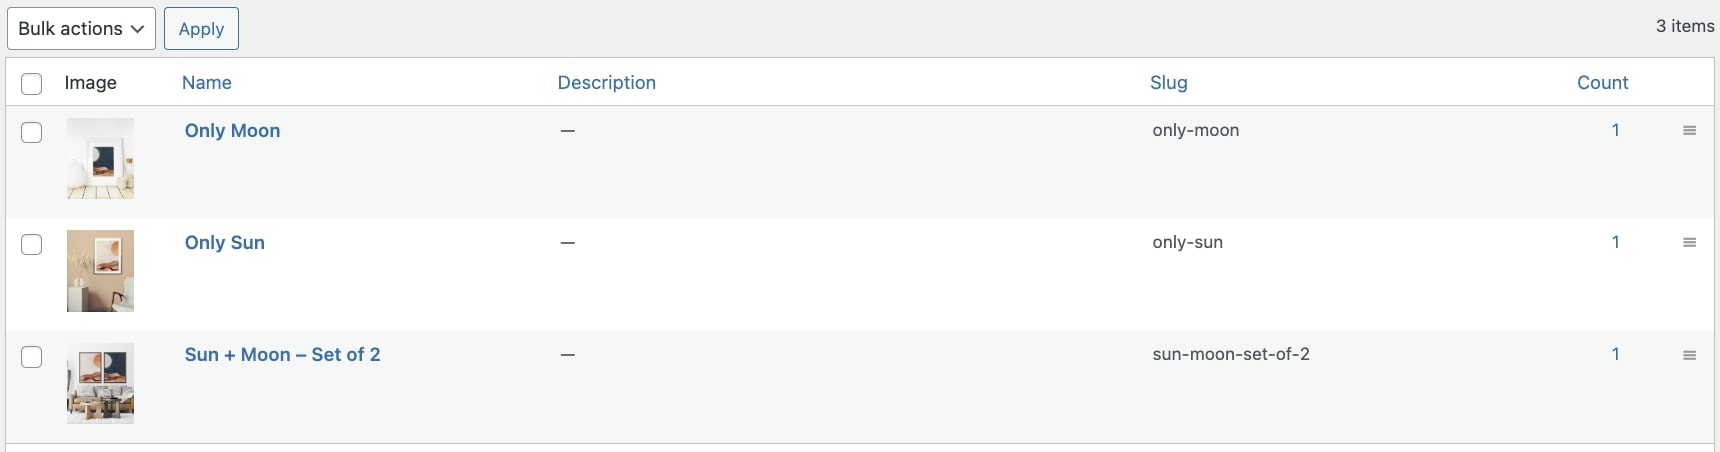
After configuring and adding the terms, you’ll get a view like in the image below.
Label
- Name: enter the name that defines the label and will show on the frontend;
- Use for tooltip: enable this option to use the term name for the tooltip;
- Use for label: enable this option to use the term name for the label;

- Label: enter the label that defines the attribute variation;
- Tooltip text: enter the text for the tooltip that defines the attribute variation and will show on the product page;
- Tooltip image: choose the image for the tooltip that defines the attribute variation and will show on the product page;
- Slug: enter the slug for the attribute variation;
- Description: enter a description that defines the attribute variation, shown in the front end.
After configuring and adding the terms, you’ll get a view like in the image below.

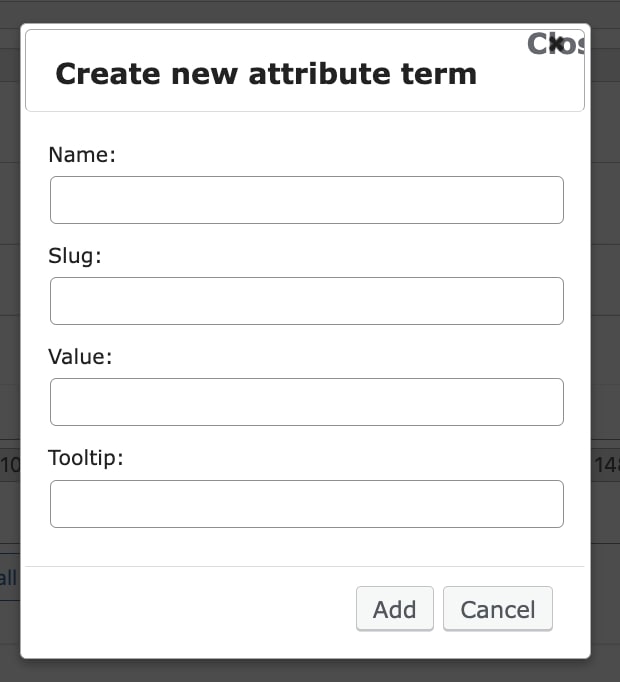
How to add attribute terms from products
You can create new product variations directly from the Attributes section of the product detail page. After selecting the attribute, click on Add new to add a new term.
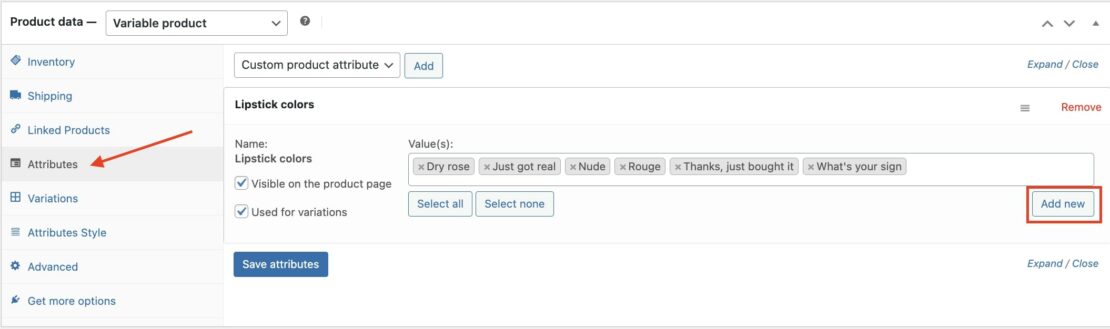
The modal window will include the available options that you can use to configure the new attribute term.