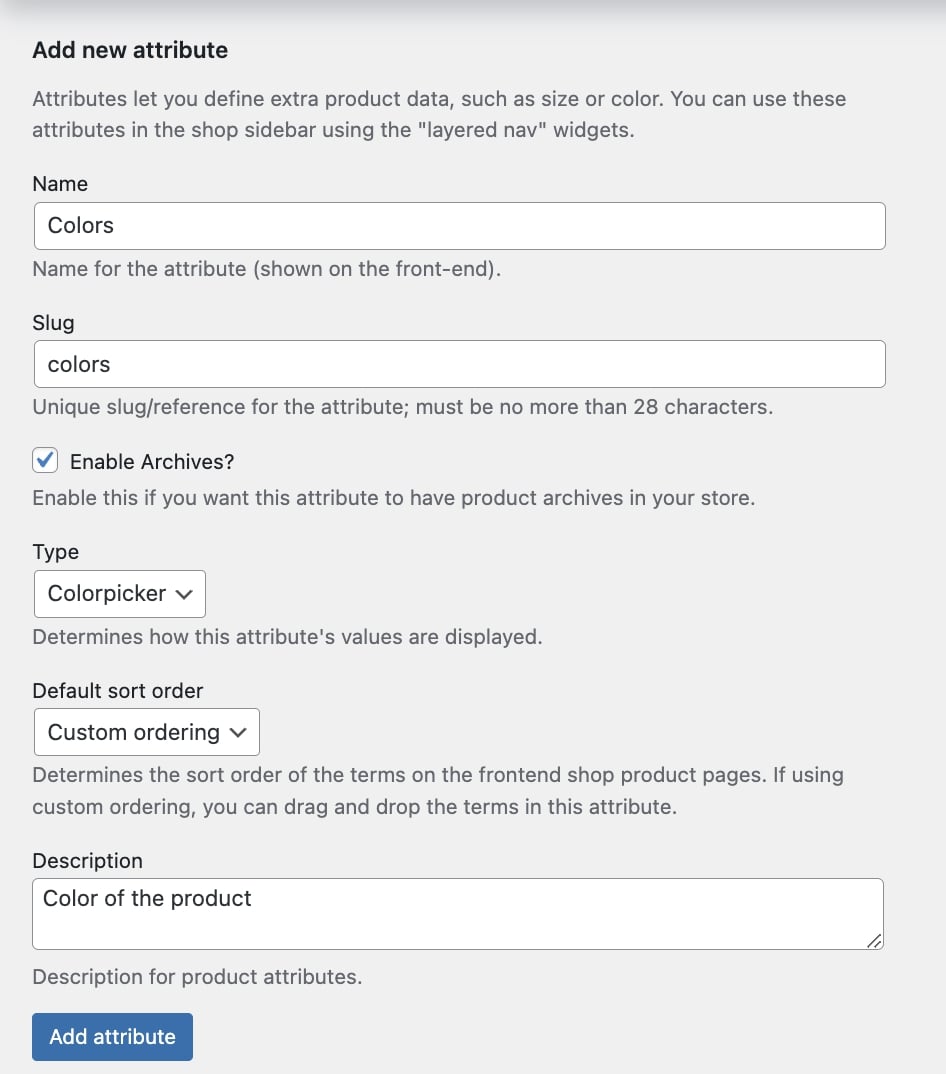
After creating your attributes, you will need to add their terms which can be done by clicking on Configure terms.
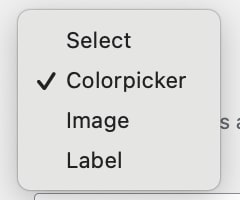
Based on the attribute type (Colorpicker, Image, or Label), you will find a different set of options to add the terms for your product variations.
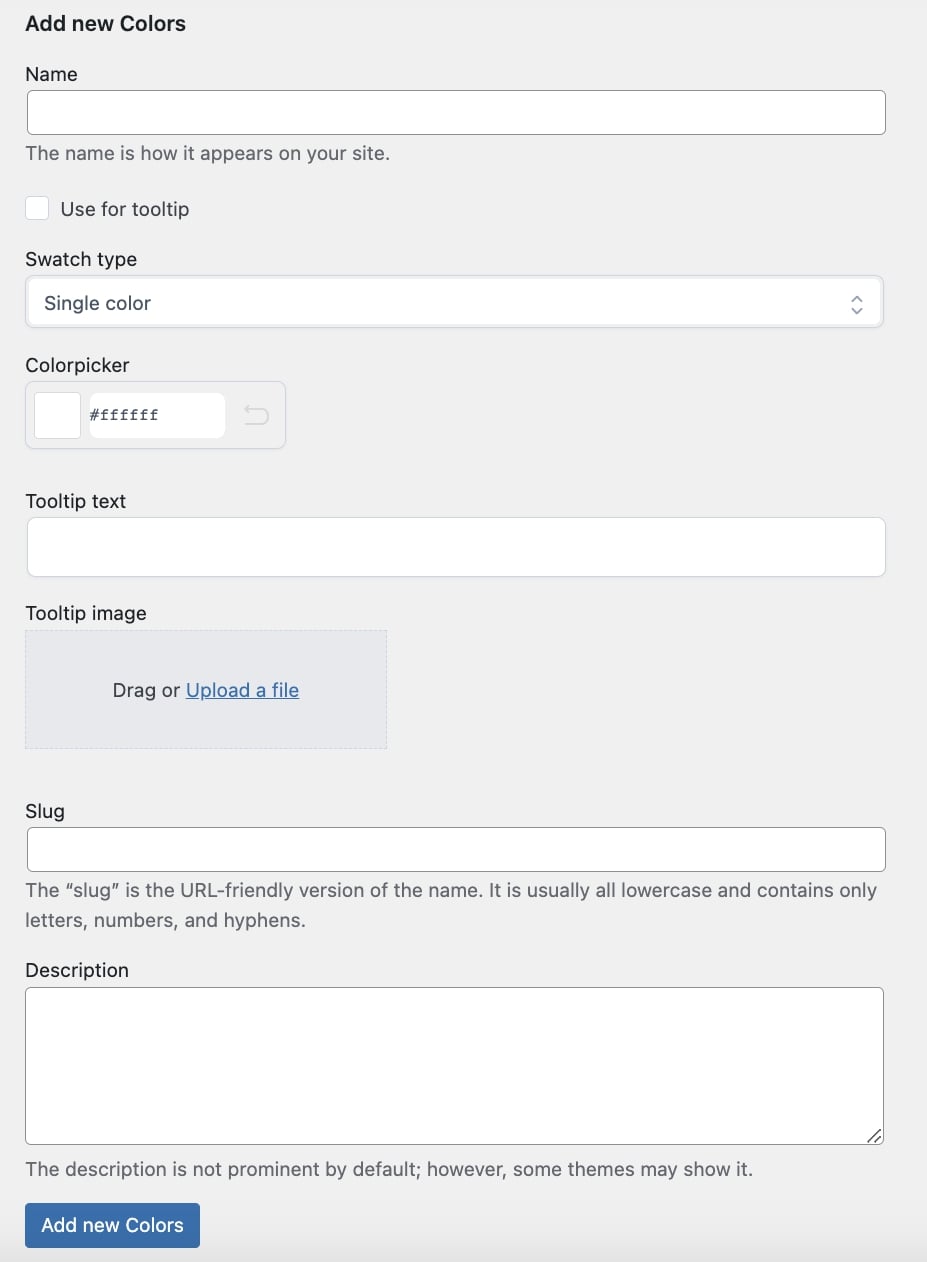
Colorpicker
Name: enter the name that defines the color and will show on the frontend;
Use for tooltip: enable this option to use the term name for the tooltip;
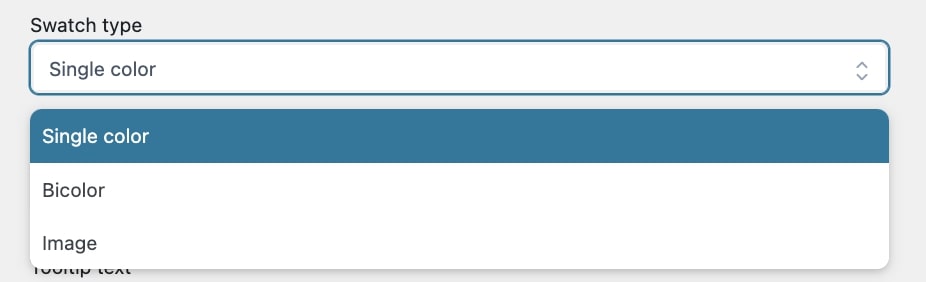
Swatch type: choose the swatch type from
Single color: select if you want to show a single color for the swatch, then choose the color in the Colorpicker option;
Bicolor: select if you want to show a two-tone swatch, then choose the colors in the Colorpicker options;
Image: select if you want to show an image for the color swatch, then drag or upload the file in the related option;
Tooltip text: enter the text for the tooltip that defines the attribute variation and will show on the product page;
Tooltip image: drag or upload the image for the tooltip that defines the attribute variation and will show on the product page;
Slug: enter the slug for the attribute variation;
Description: enter a description that defines the attribute variation, shown in the front end.
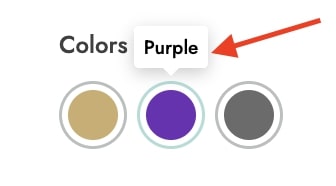
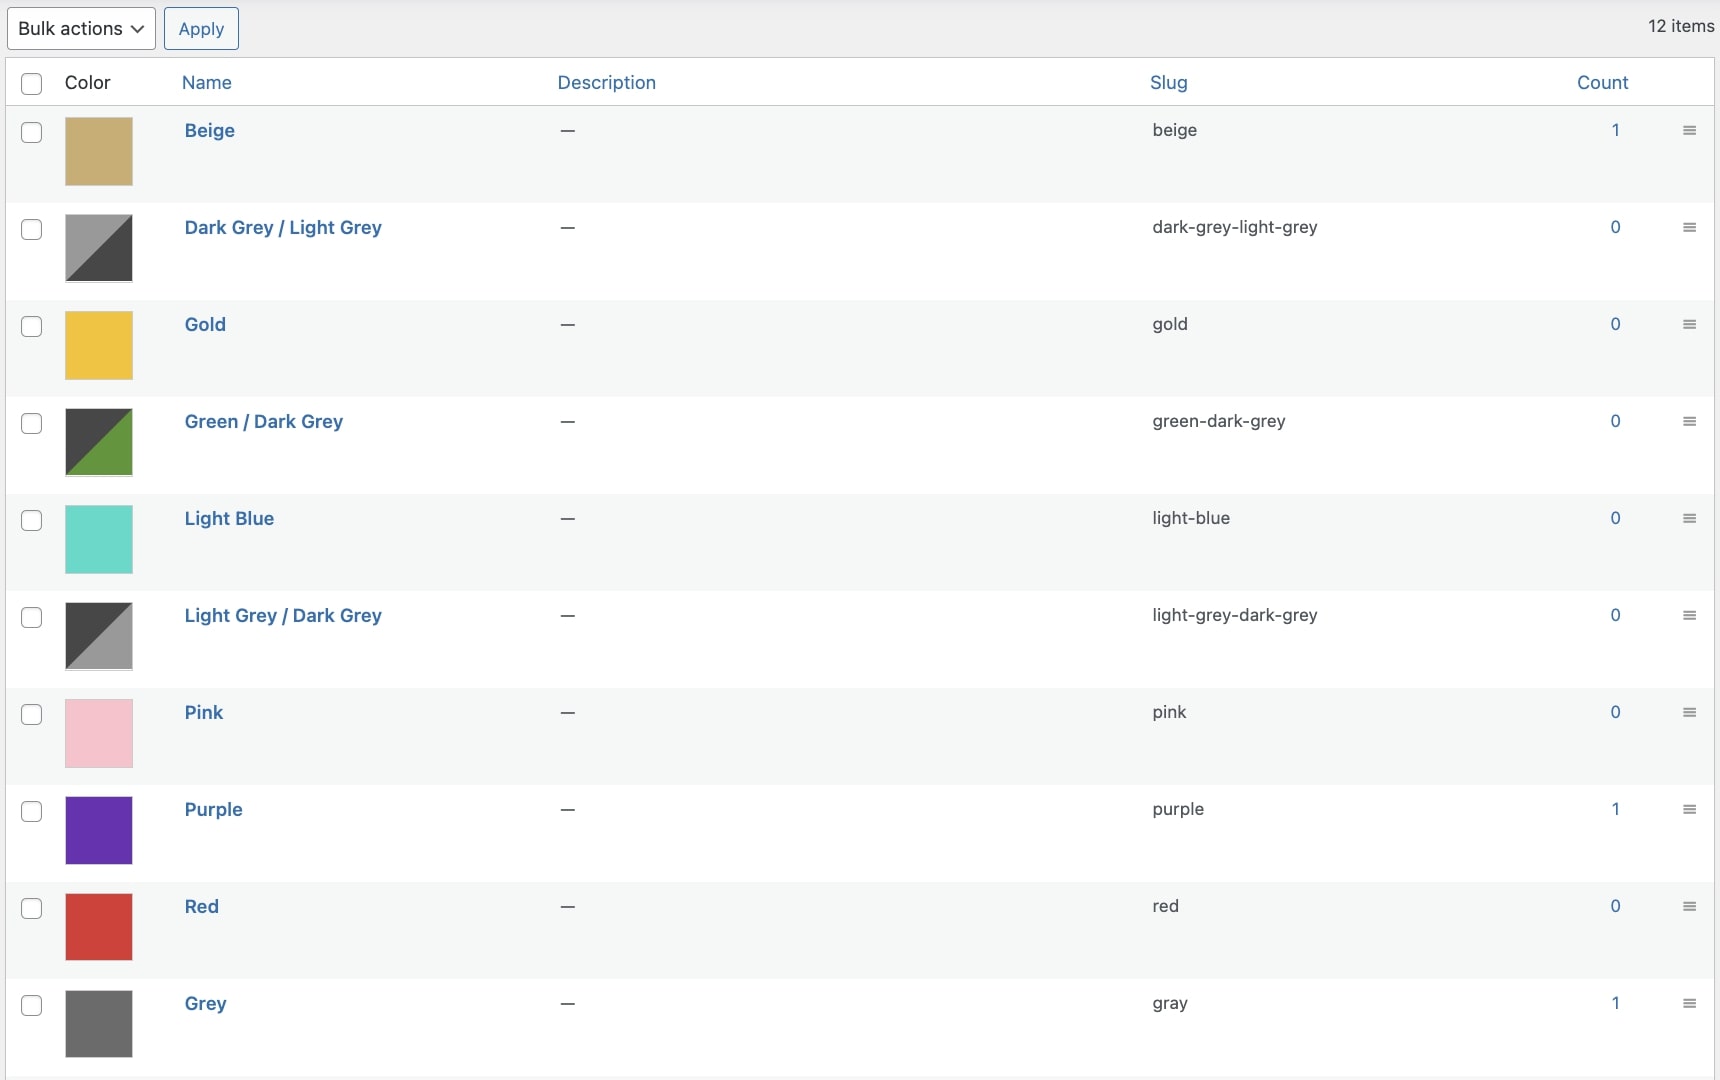
After configuring and adding the terms, you’ll get a view like in the image below.
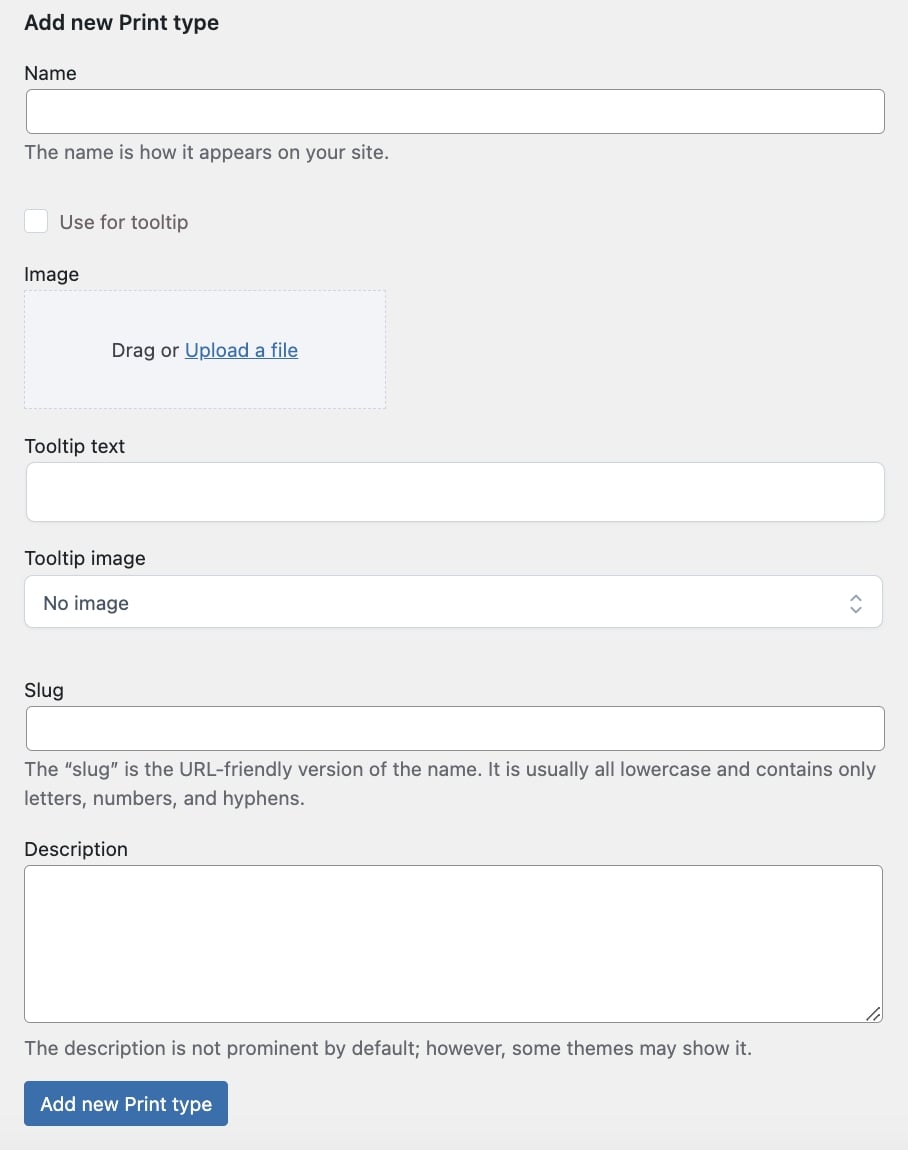
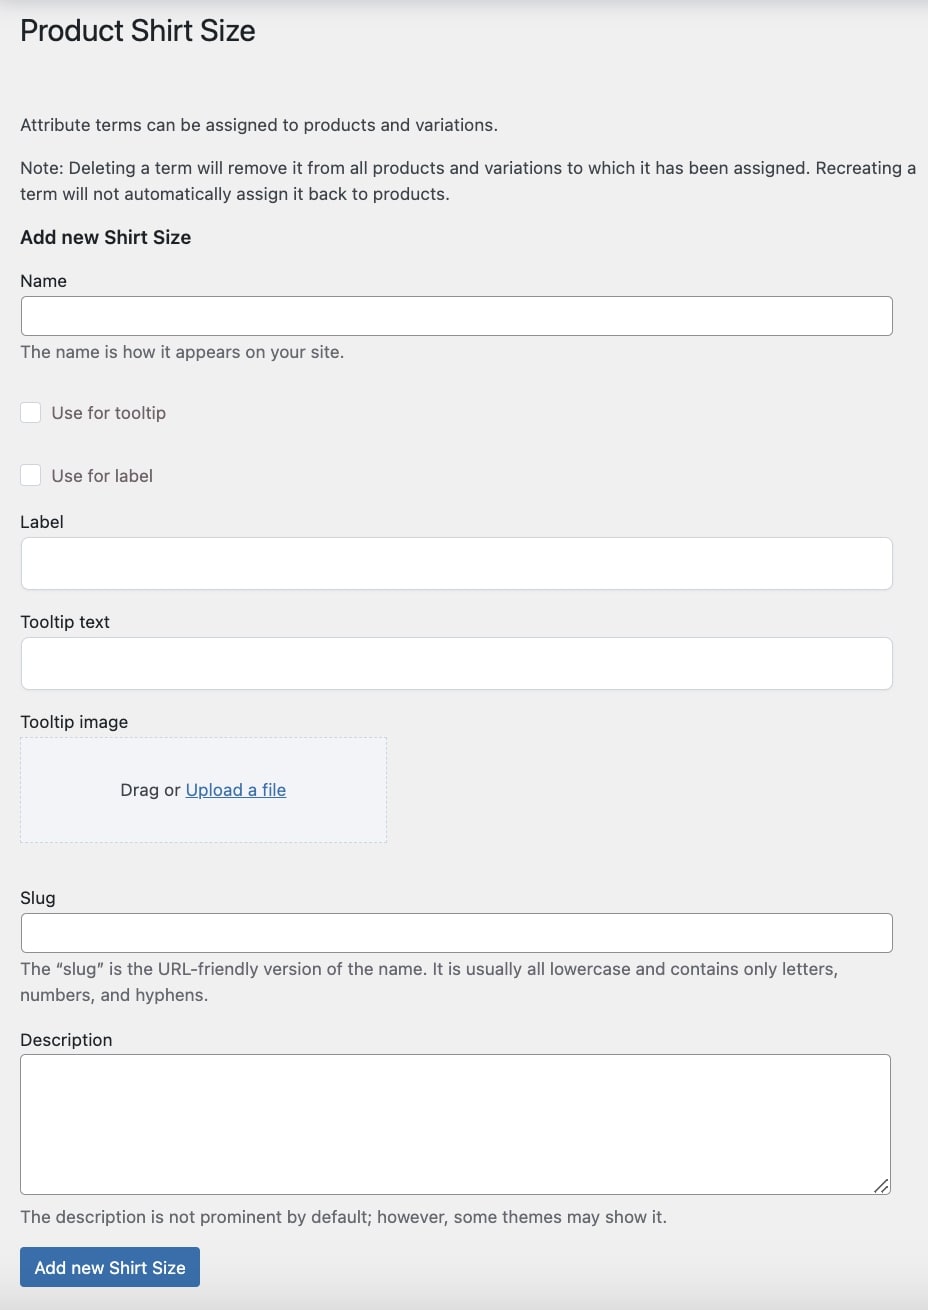
Image
Name: enter the name that defines the image and will show on the frontend;
Use for tooltip: enable this option to use the term name for the tooltip;
Image: drag or upload the image that you want to use for the attribute variation;
Tooltip text: enter the text for the tooltip that defines the attribute variation and will show on the product page;
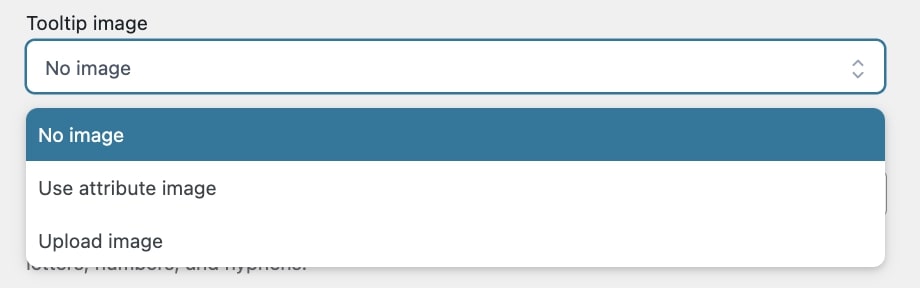
Tooltip image: choose the image for the tooltip by selecting one of the following options:
No image
Use attribute image
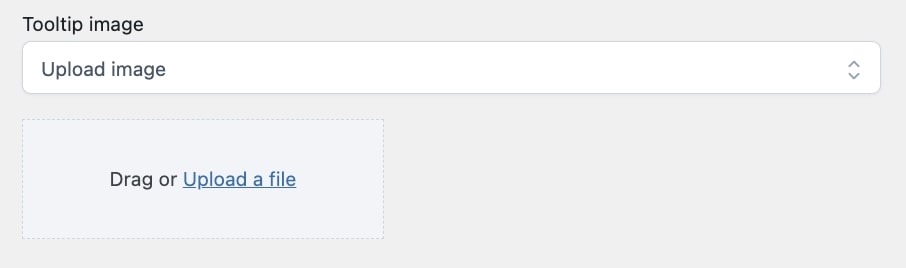
Upload image: by selecting this option, you will be able to drag or upload a different image through the dedicated uploader;
Slug: enter the slug for the attribute variation;
Description: enter a description that defines the attribute variation, shown in the front end.
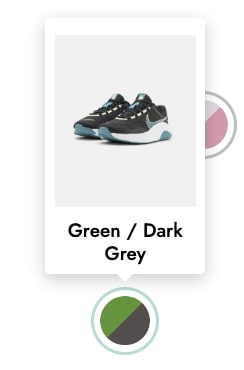
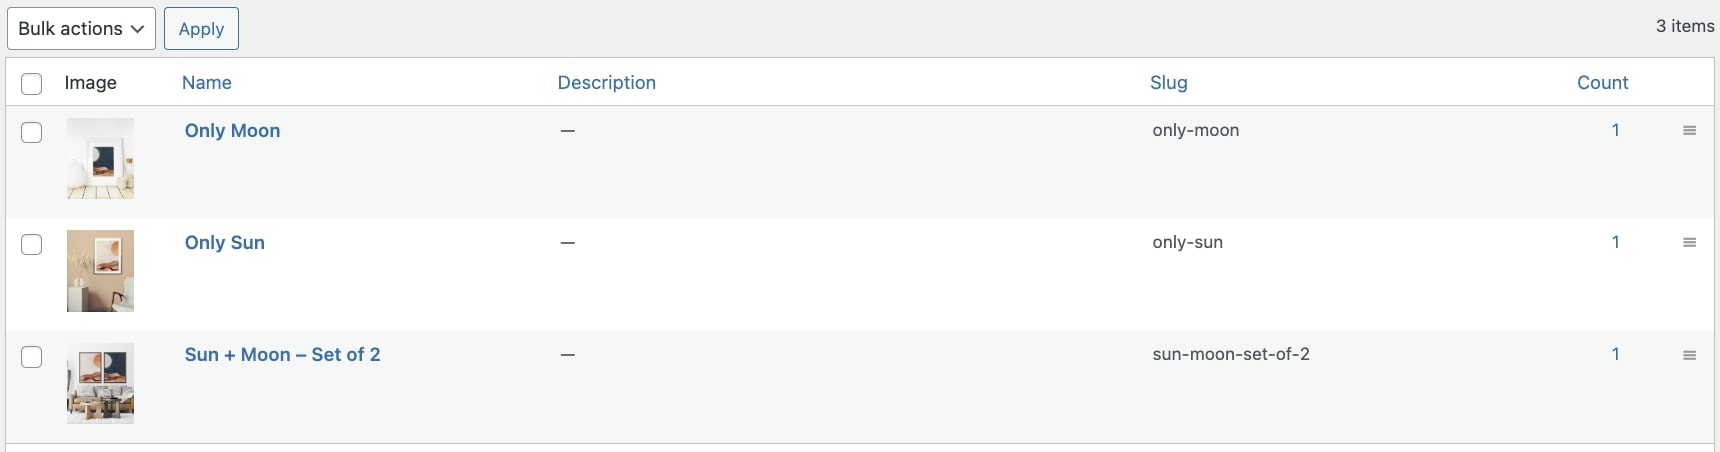
After configuring and adding the terms, you’ll get a view like in the image below.
Label
Name: enter the name that defines the label and will show on the frontend;
Use for tooltip: enable this option to use the term name for the tooltip;
Use for label: enable this option to use the term name for the label;
Label: enter the label that defines the attribute variation;
Tooltip text: enter the text for the tooltip that defines the attribute variation and will show on the product page;
Tooltip image: choose the image for the tooltip that defines the attribute variation and will show on the product page;
Slug: enter the slug for the attribute variation;
Description: enter a description that defines the attribute variation, shown in the front end.
After configuring and adding the terms, you’ll get a view like in the image below.
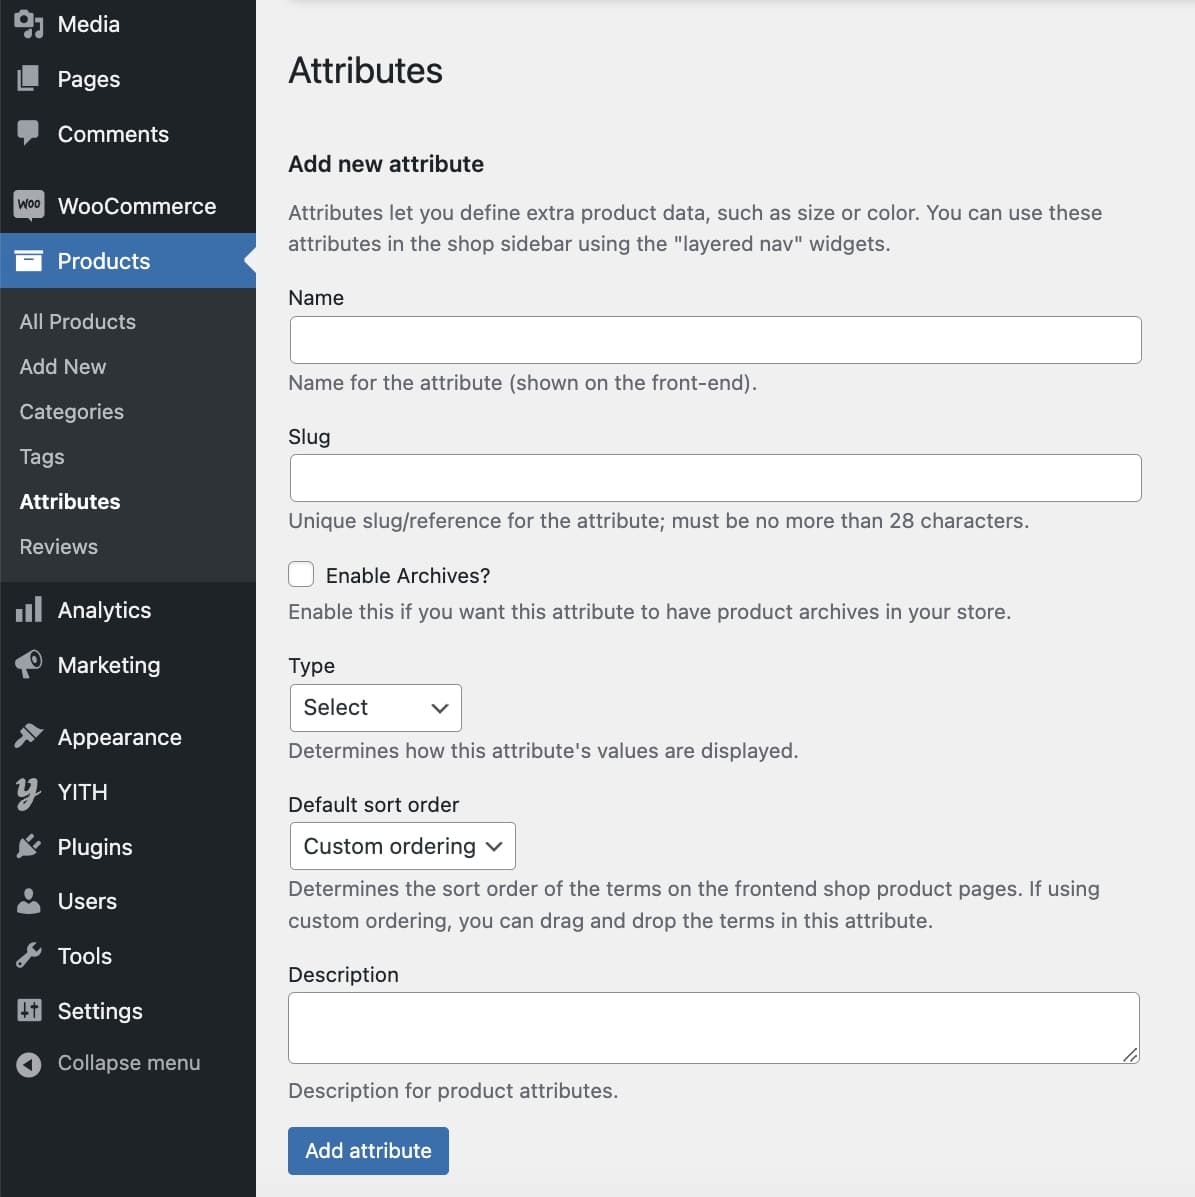
How to add attribute terms from products
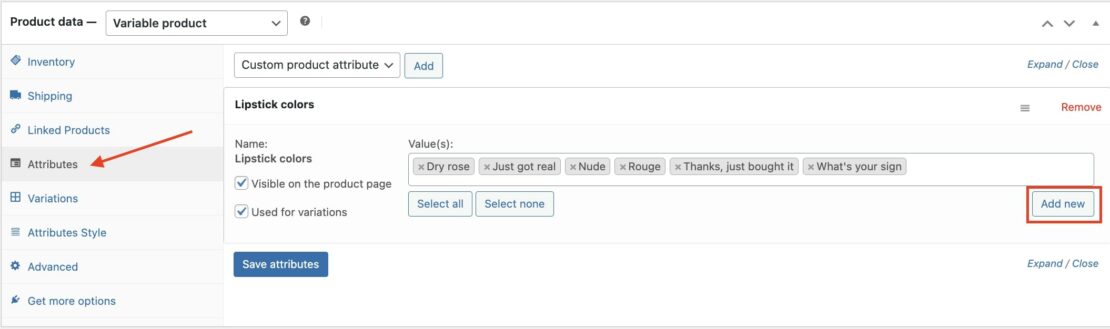
You can create new product variations directly from the Attributes section of the product detail page. After selecting the attribute, click on Add new to add a new term.
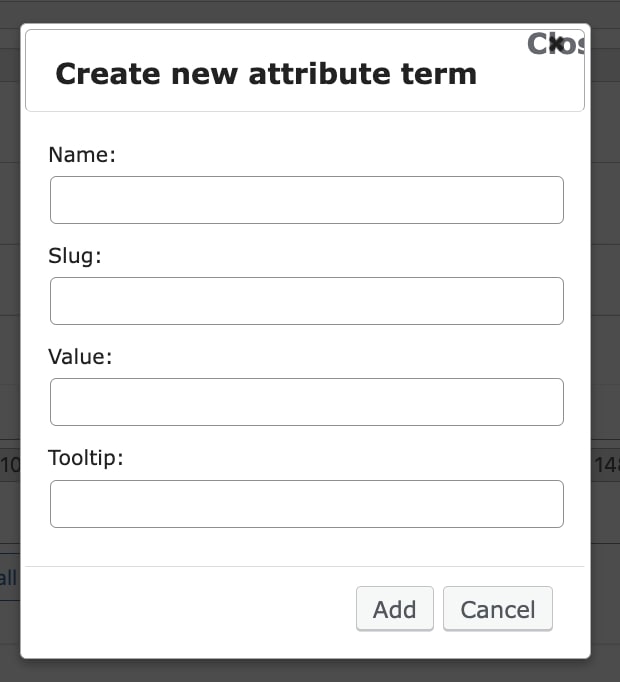
The modal window will include the available options that you can use to configure the new attribute term.
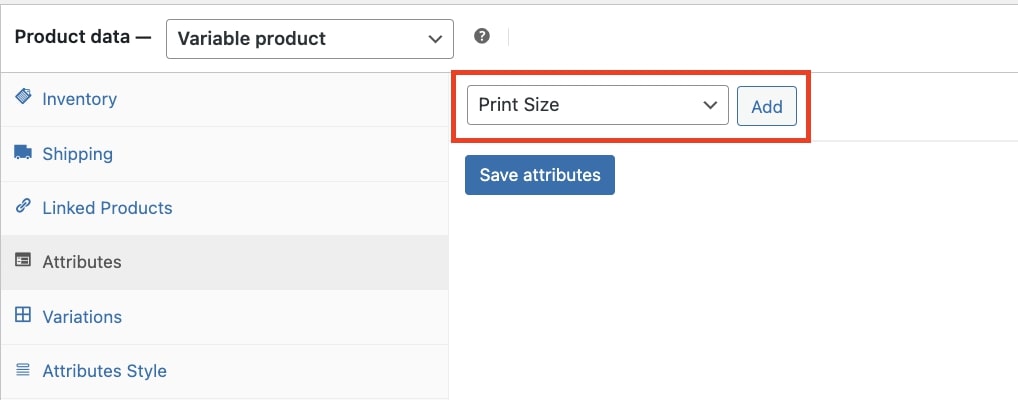
You can add attributes to the product just like for any other attribute belonging to WooCommerce types. Select the attribute and click on Add.
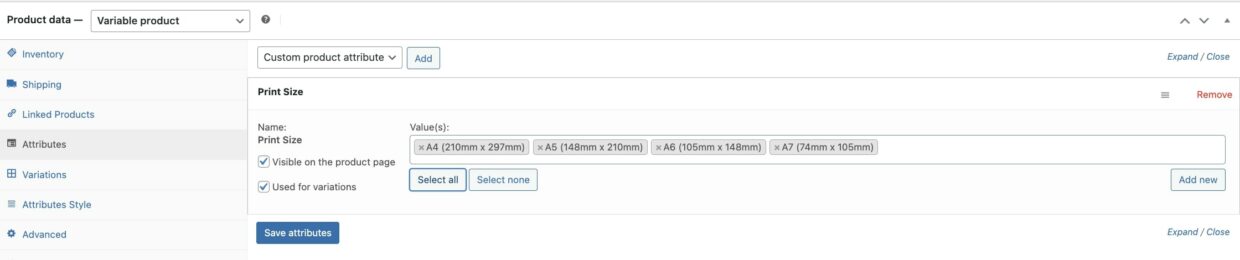
Now select the terms you want to use for the product variations, enable the option Used for variations and click on Save attributes.
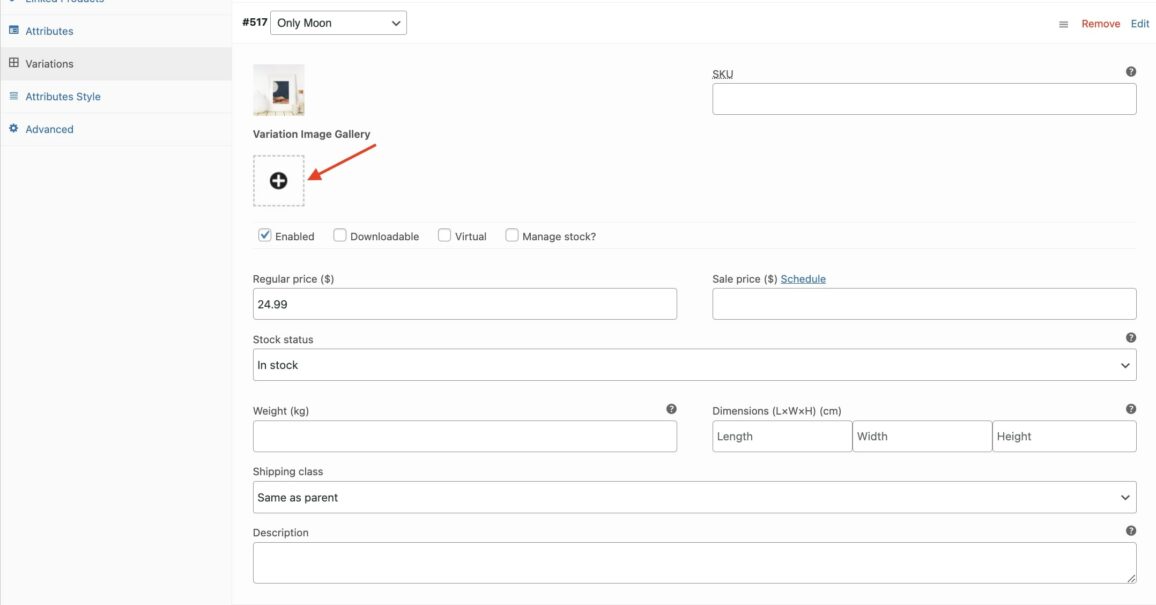
You can now configure the variation settings through the created attribute. Here, you can also find the option to add a different image gallery for each of the product variations.
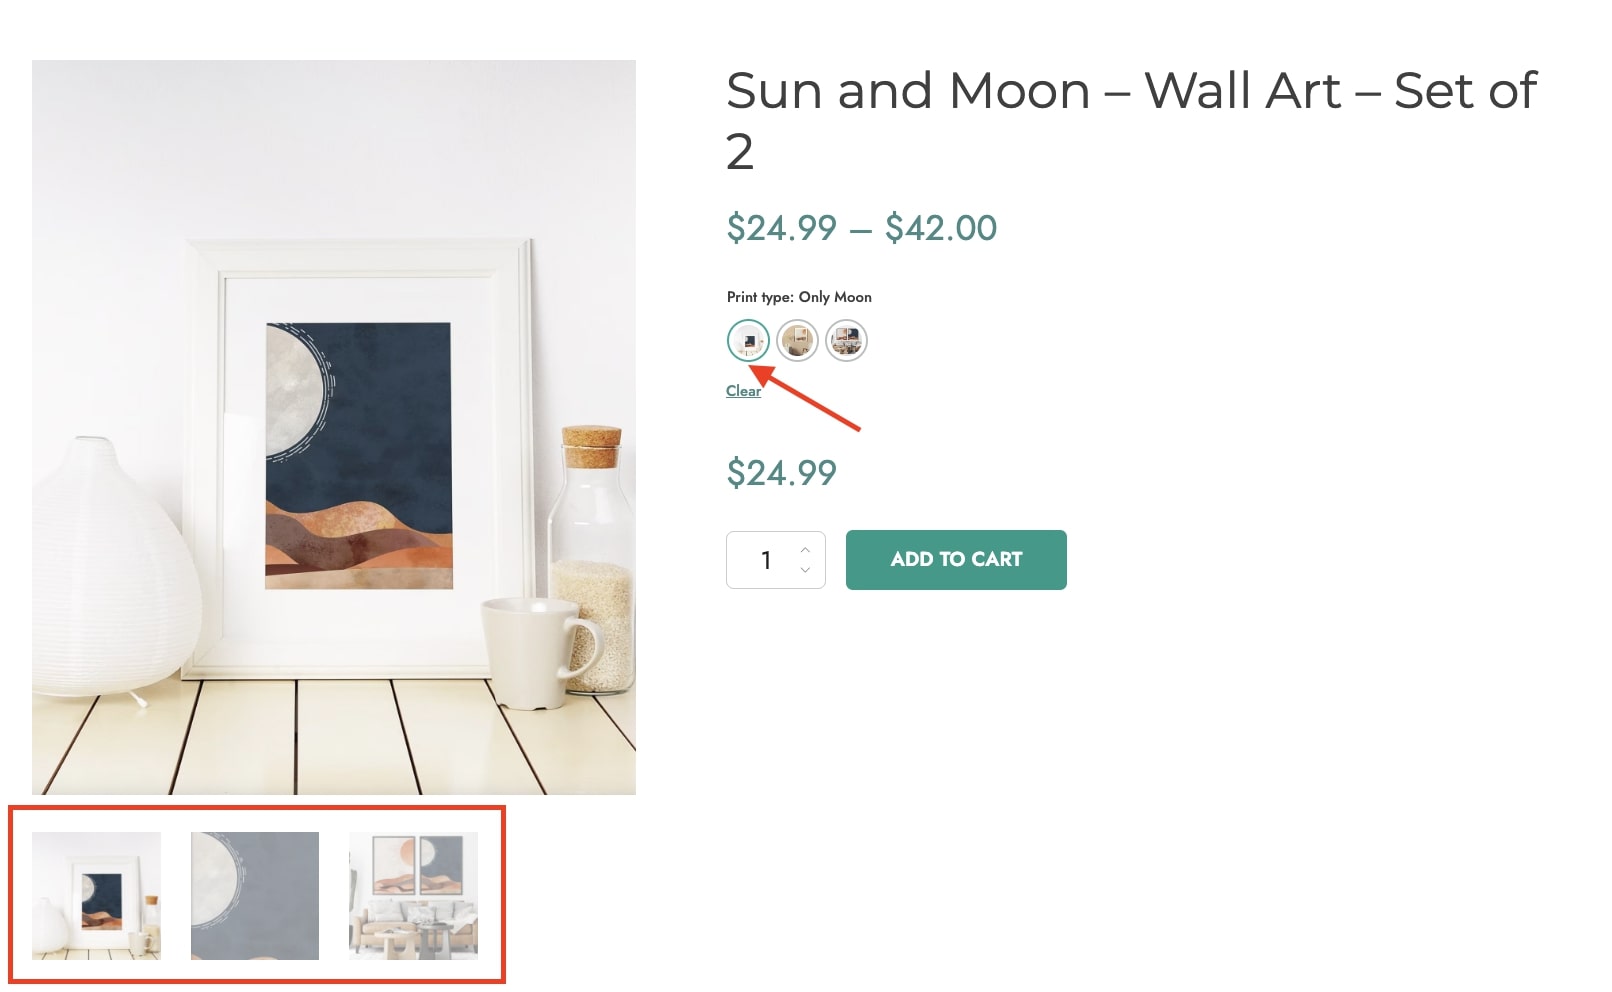
The customers will see a different image gallery for every variation they select.
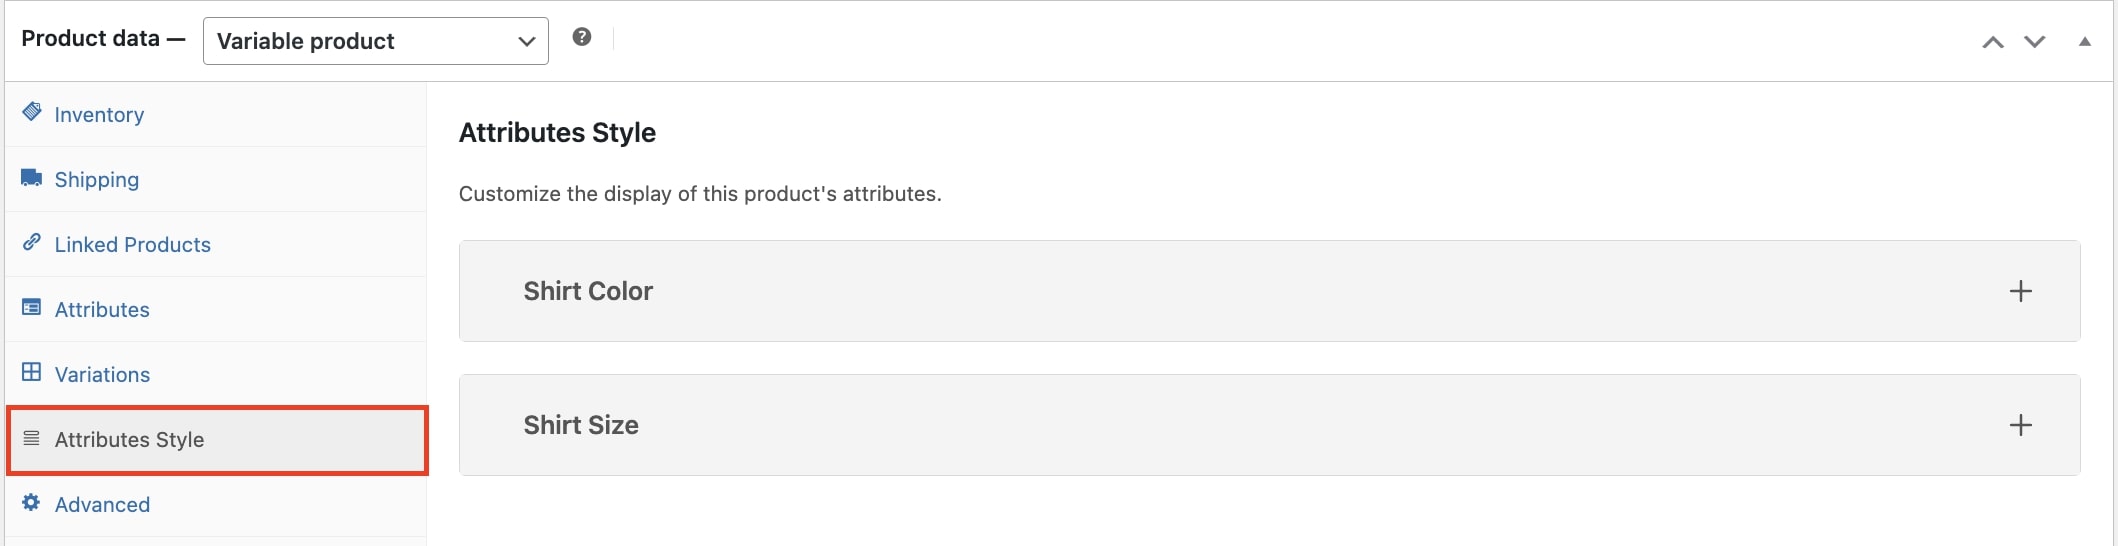
How to customize attribute style at the product level
If you need to set a different style for the attributes of a specific product, you can do it through the section Attributes style on the product edit page.
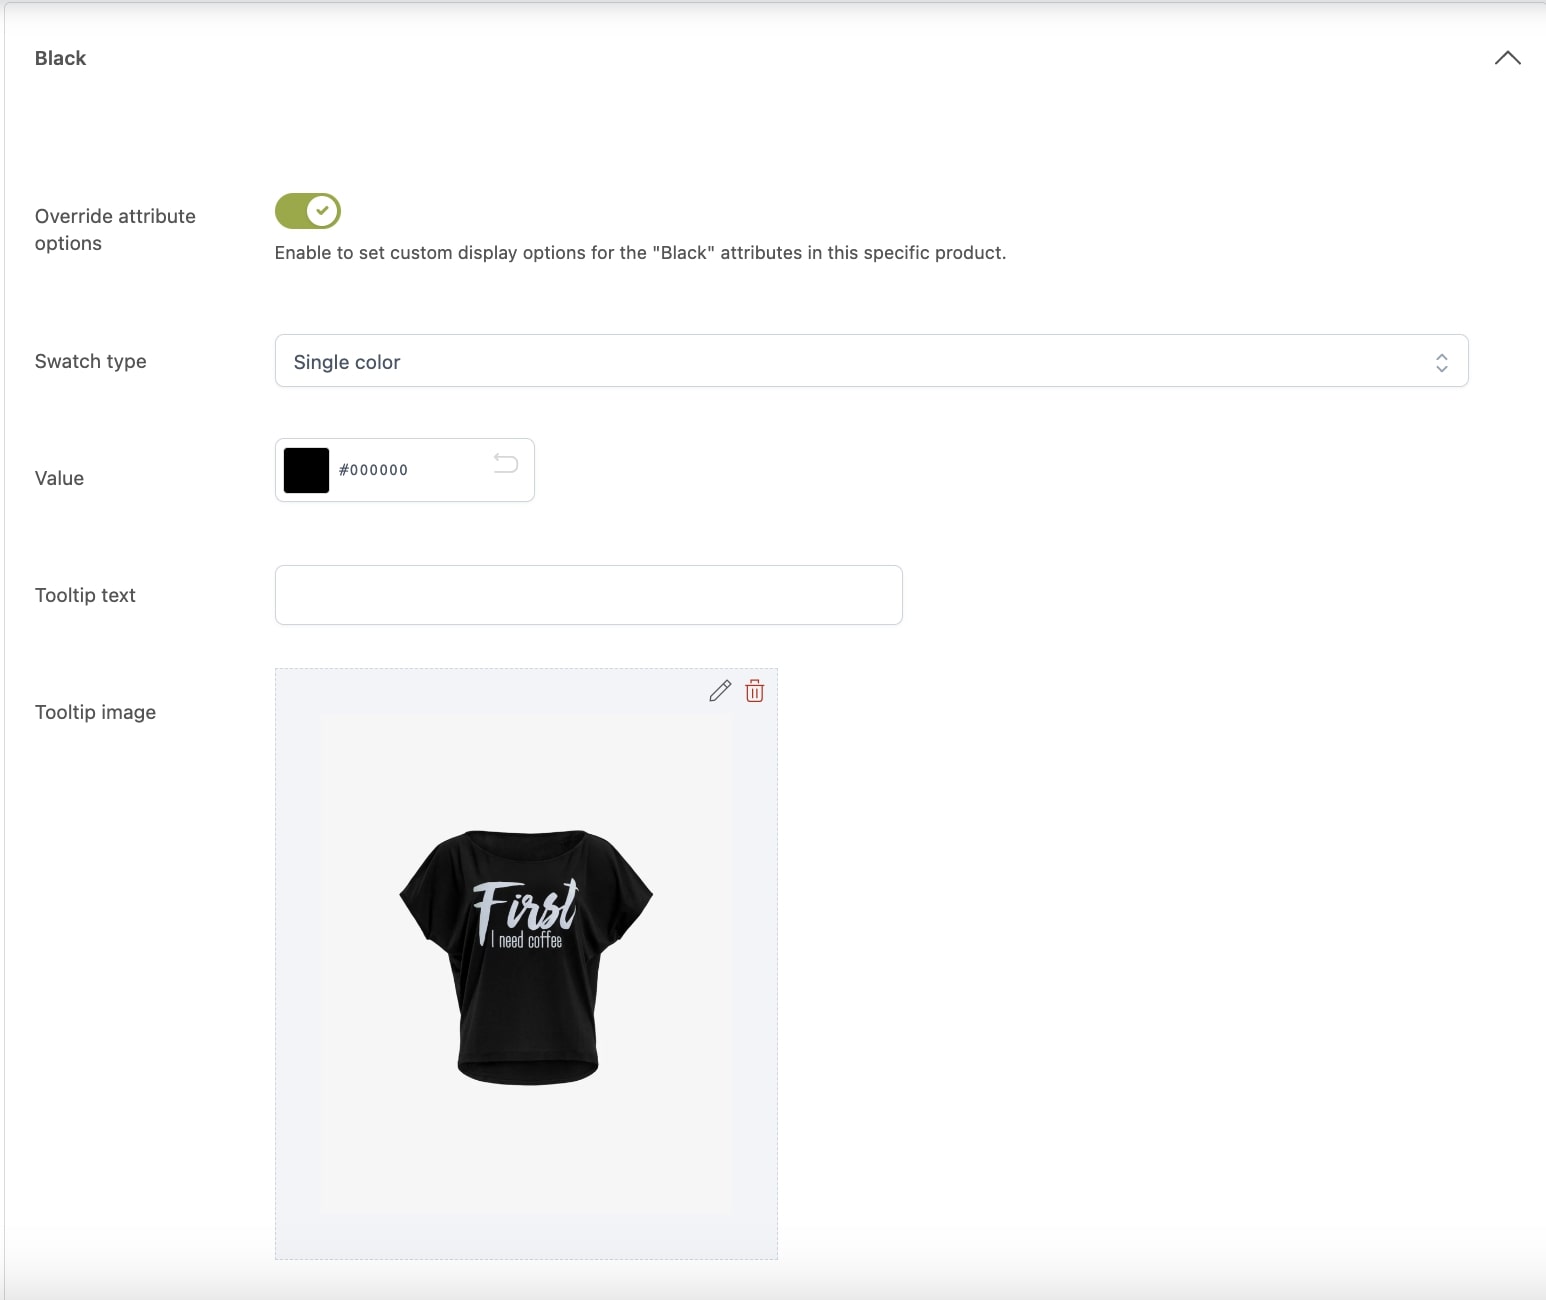
Here, you will find the attributes previously added to the product. By clicking on each of them, the list of terms will show. You can now override their style by enabling the option Override attribute options.
The term options available to be overridden depend on the attribute type.
Colorpicker term options
Swatch type: select the color swatch type (Single color, Bicolor or Image);
Value: select the color/s or set the image;
Tooltip text: enter the text for the tooltip;
Tooltip image: drag or upload the image for the tooltip.
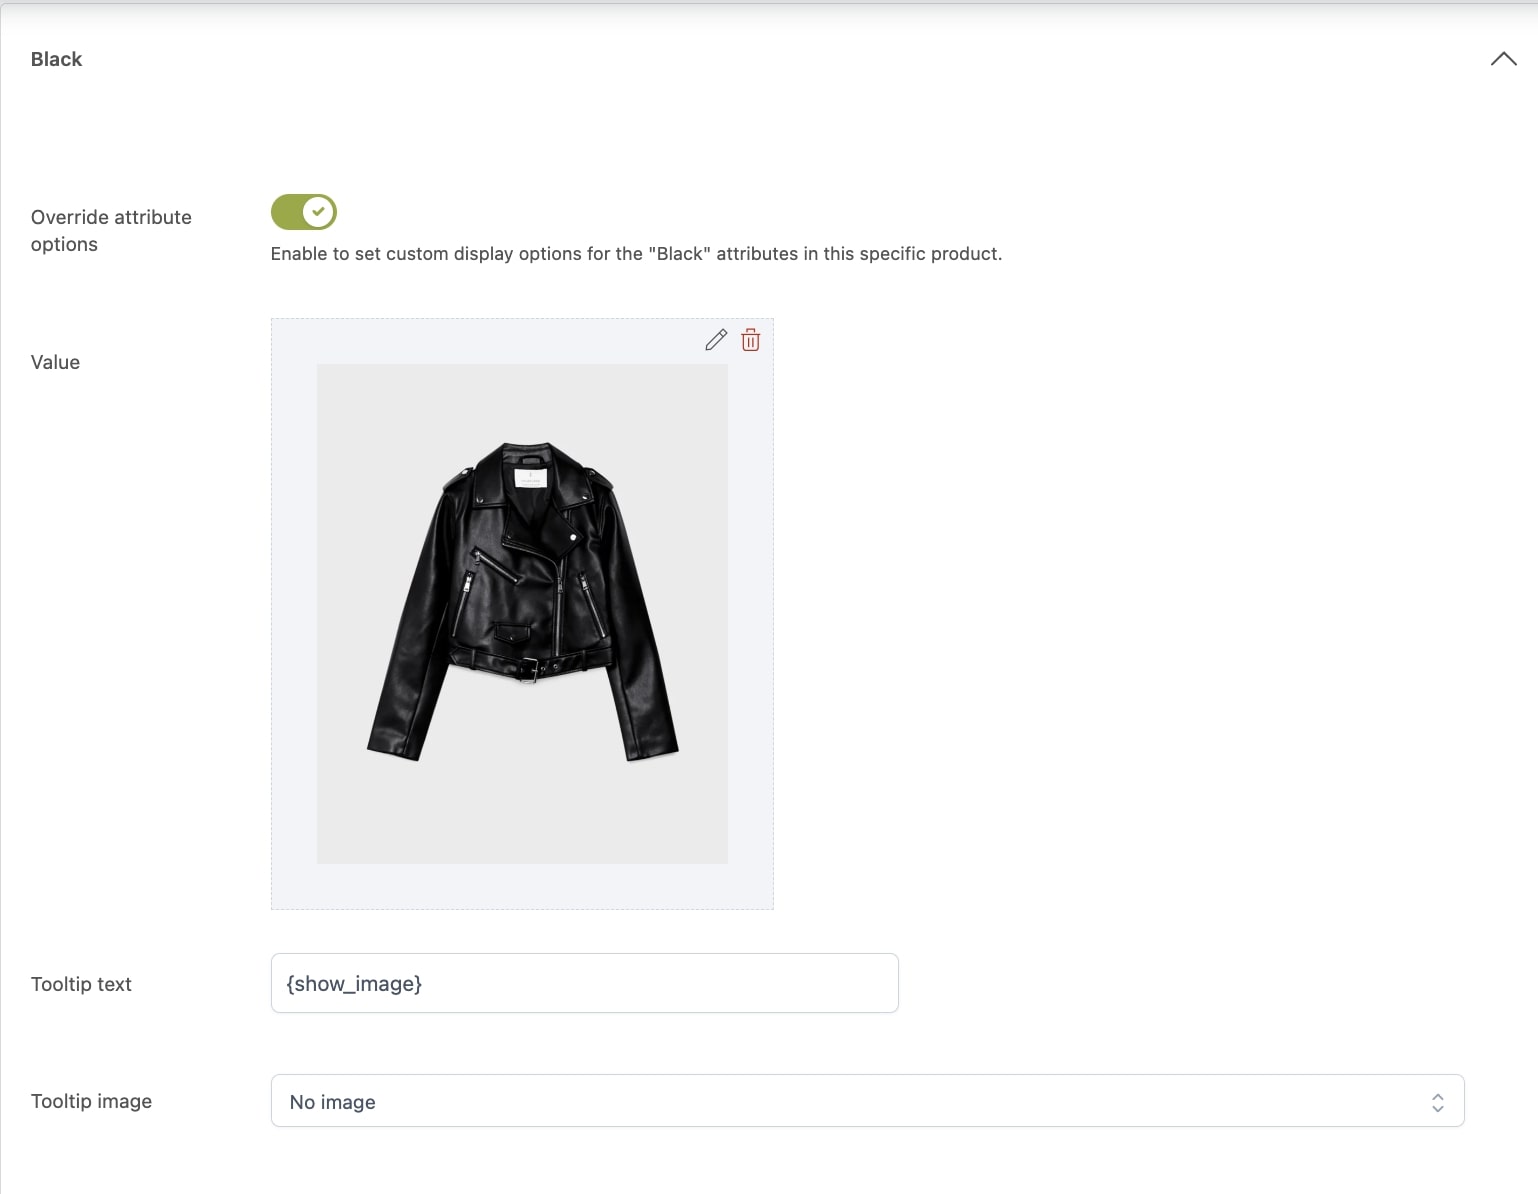
Image term options
Value: drag or upload the image;
Tooltip text: enter the text for the tooltip;
Tooltip image: choose the image to use as tooltip from:
No image: no image will show;
Use attribute image: use the same image assigned to the attribute;
Upload image: upload a different image.
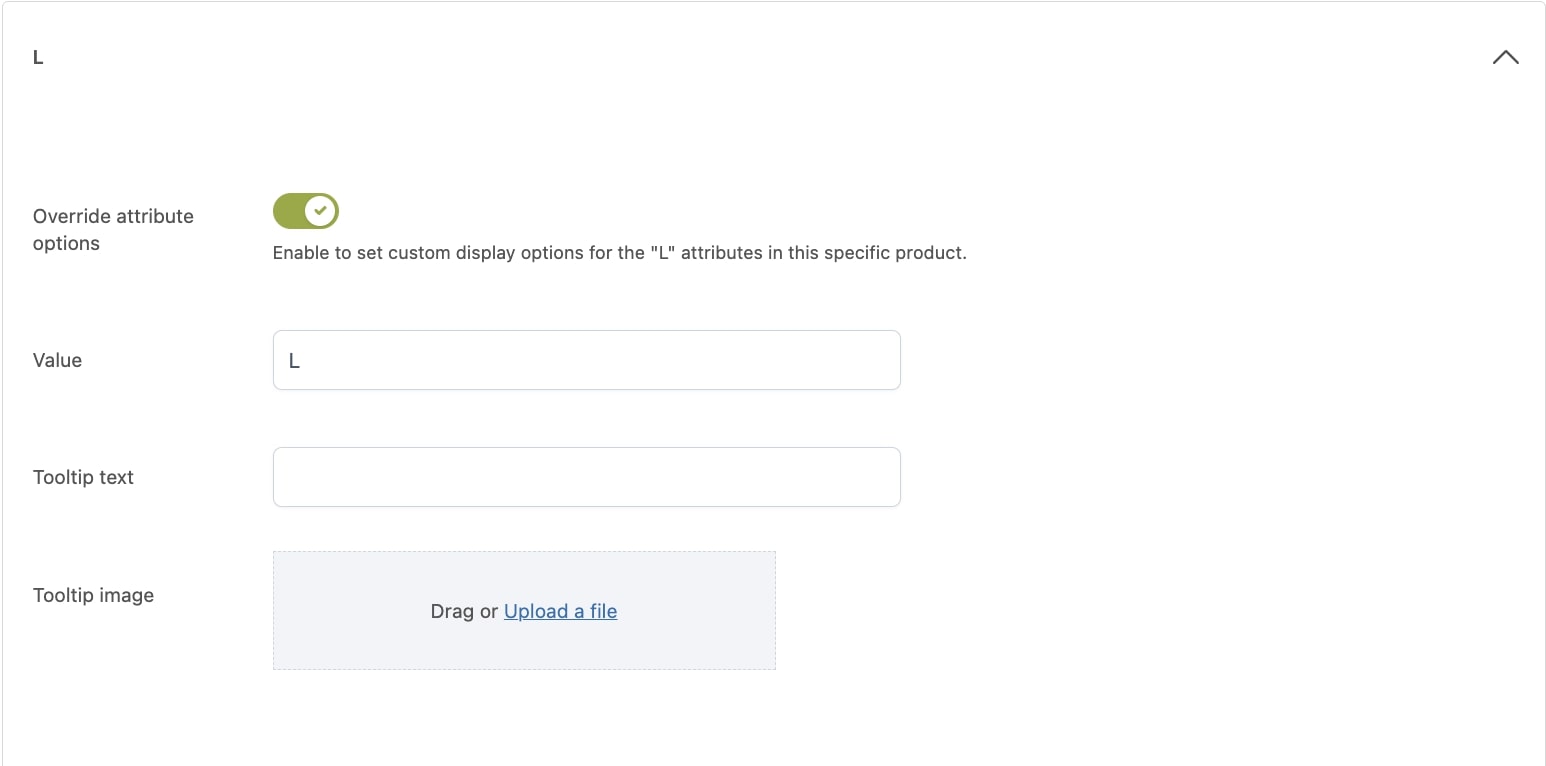
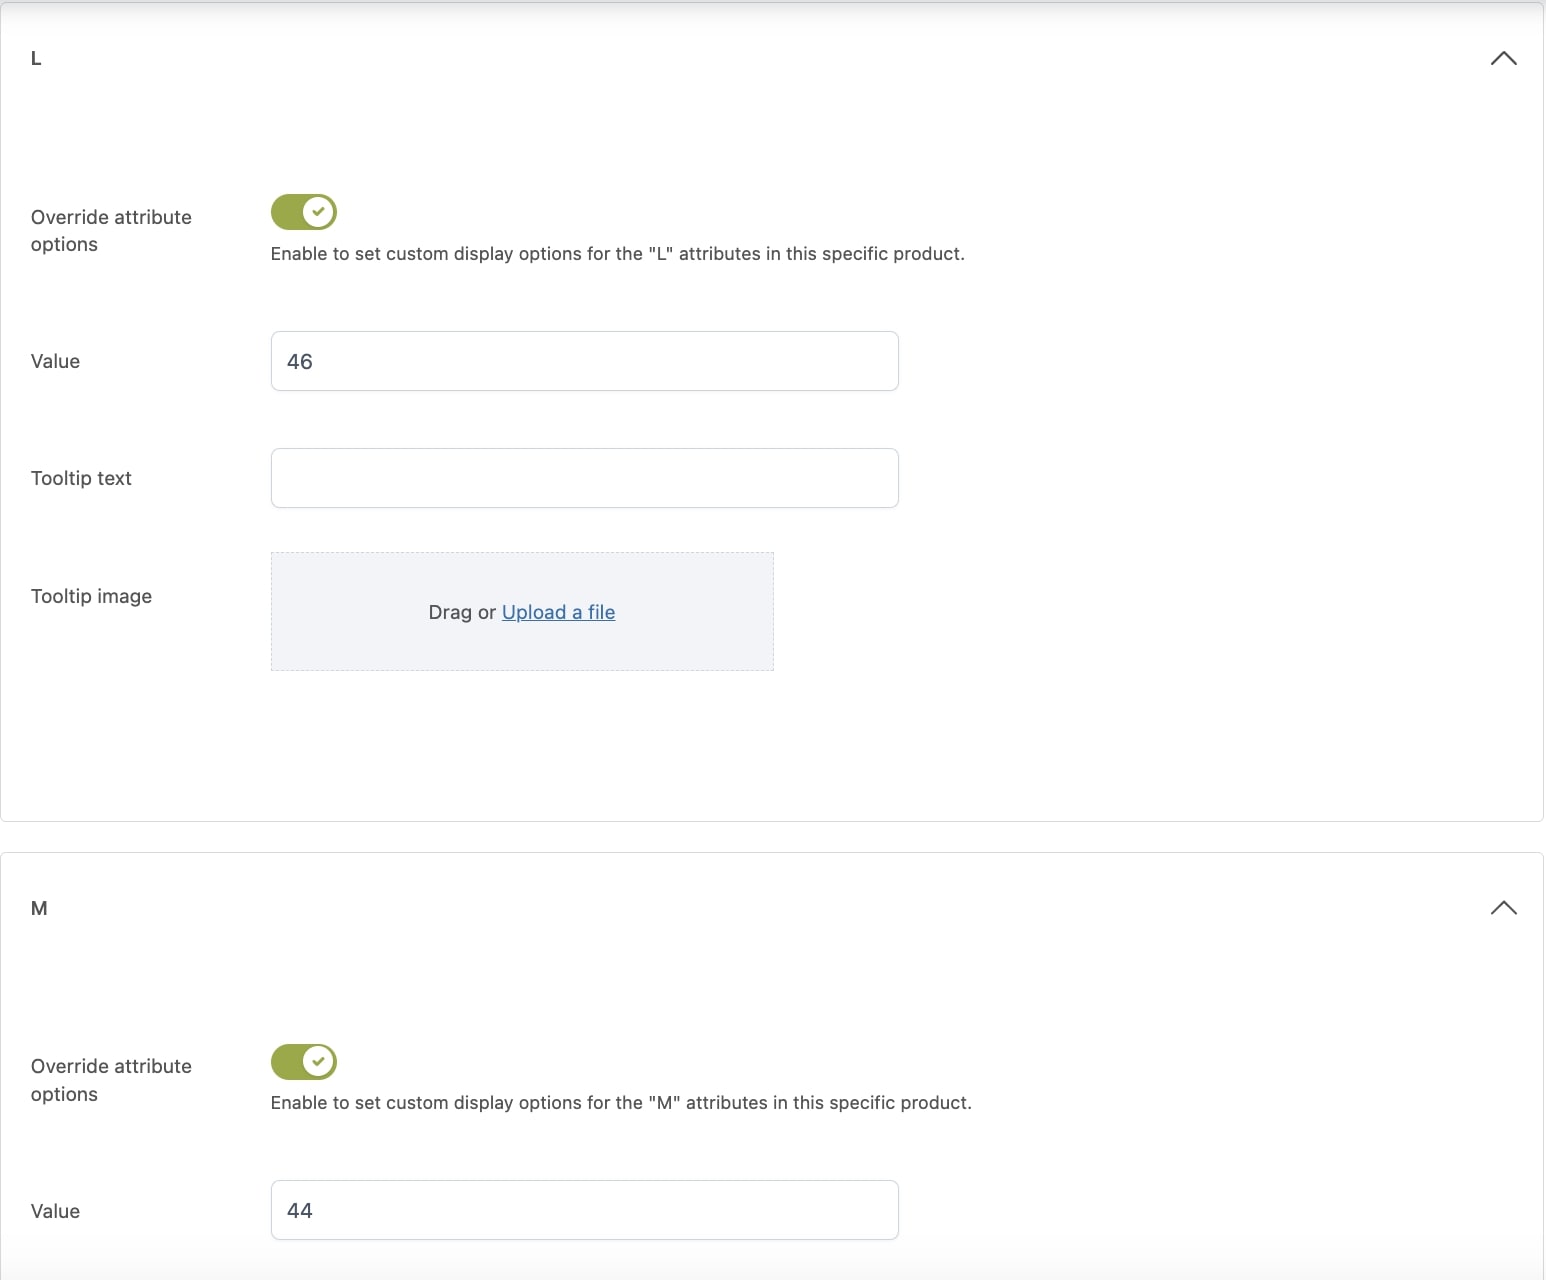
Label term options
Value: enter the label;
Tooltip text: enter the text for the tooltip;
Tooltip image: drag or upload the image for the tooltip.
Example
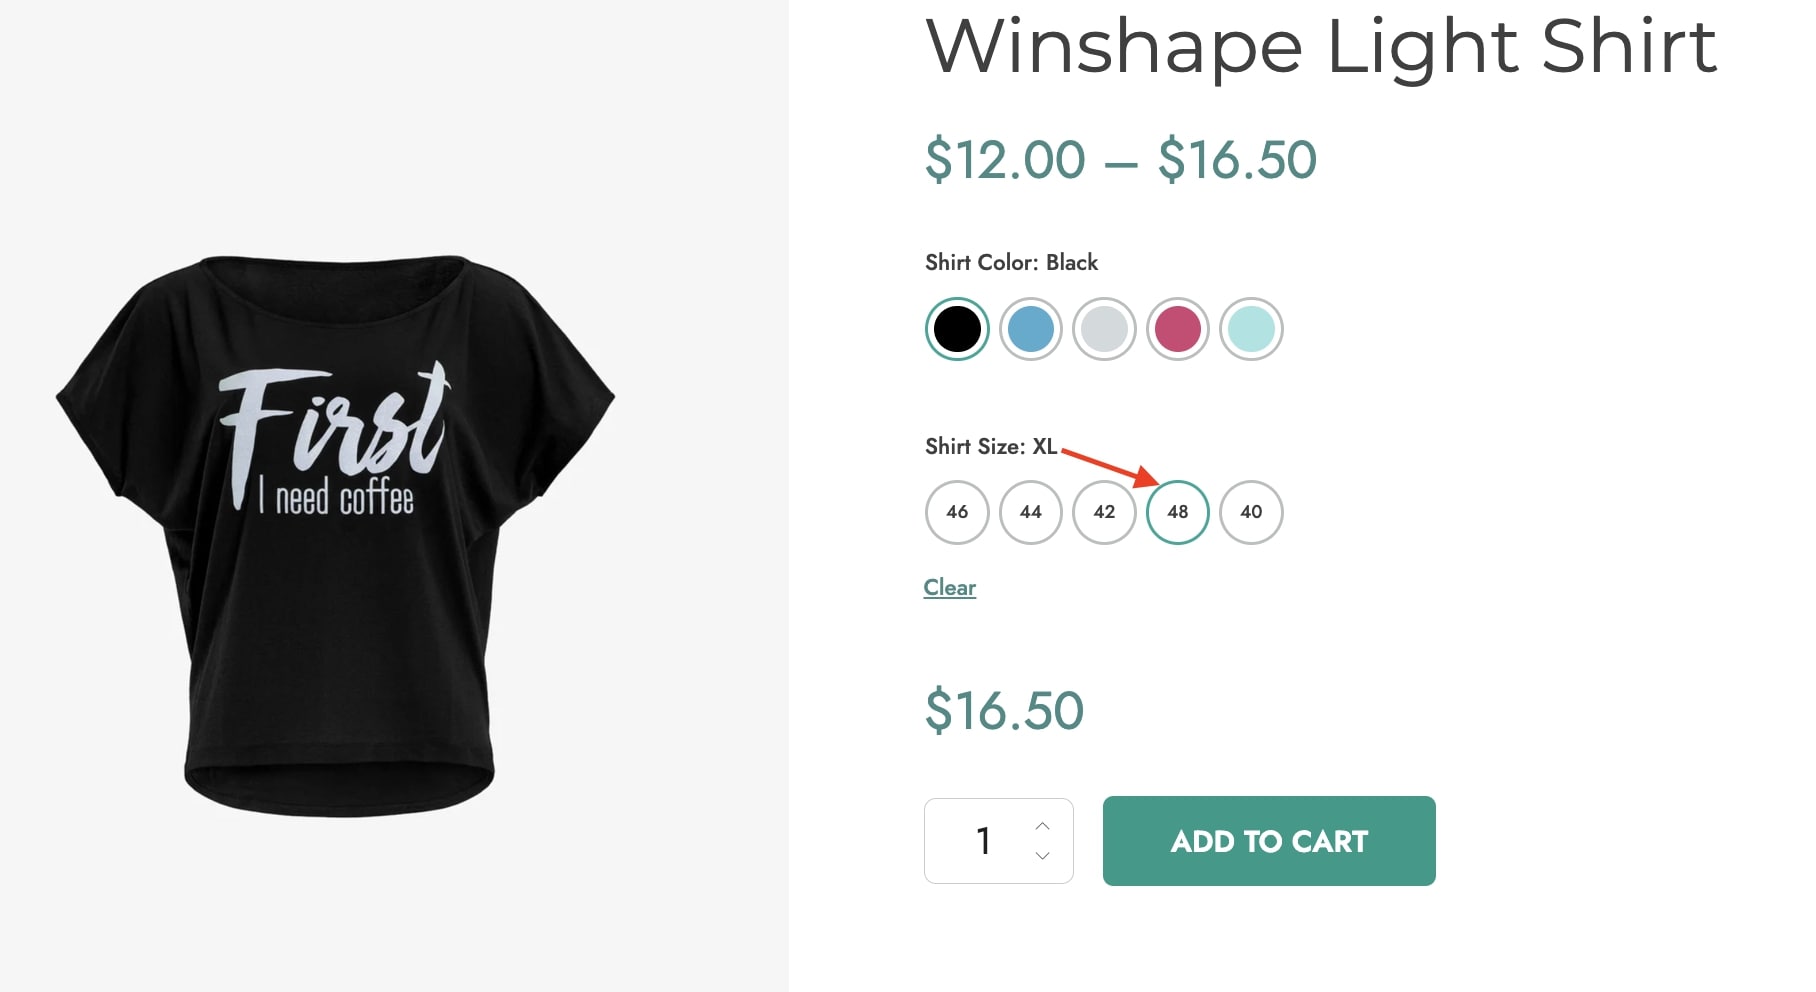
Imagine you are selling clothes in your online store and you want to show the size match for a specific T-shirt model in the following way: S=42, M=44, L=46, etc.
By overriding the label term options in that product, you will get a result as in the image below.
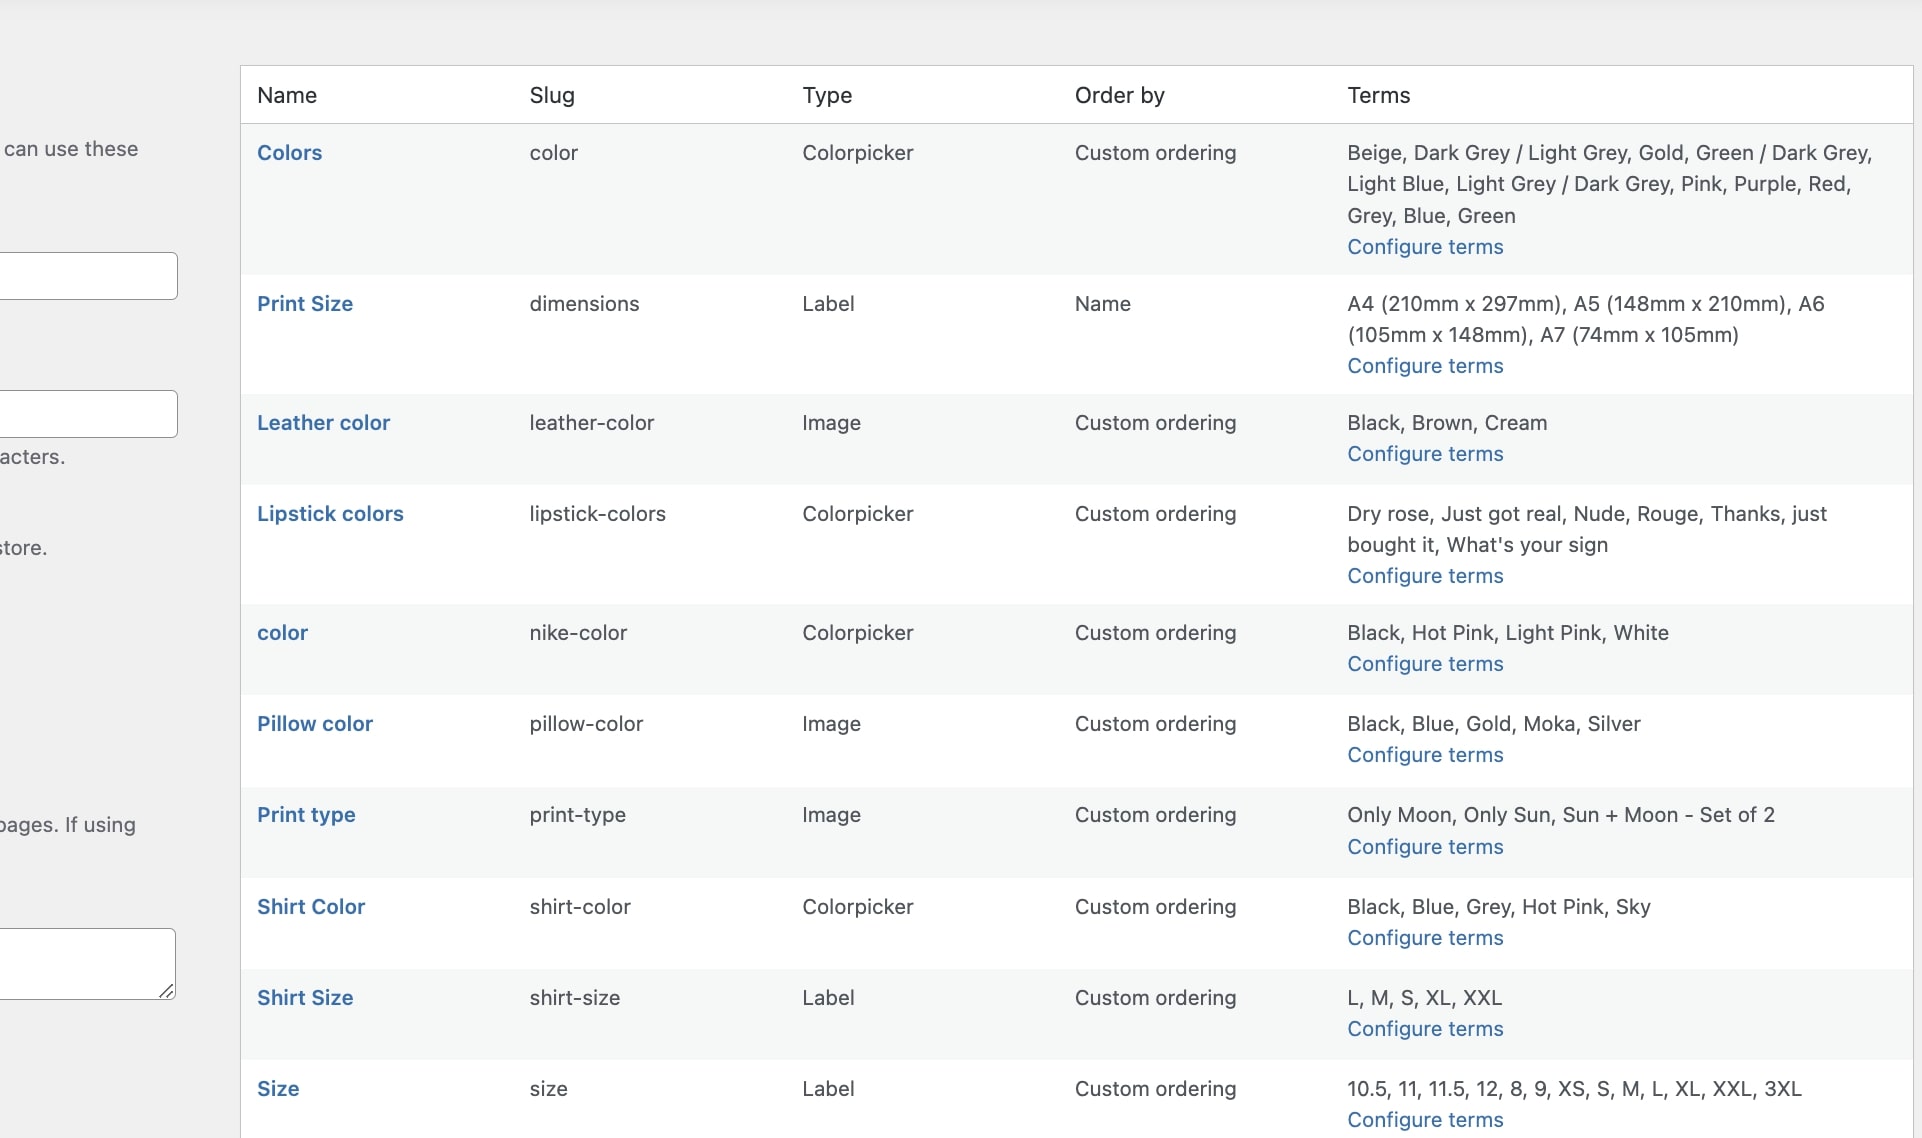
New attribute types that the plugin allows to use, in addition to WooCommerce standard ones, are colorpicker, image and label. Showing these types of attributes on your products will offer users the possibility to have a nice view of the options available and will help them make the right choice for their needs.Let’s see some examples for each type.
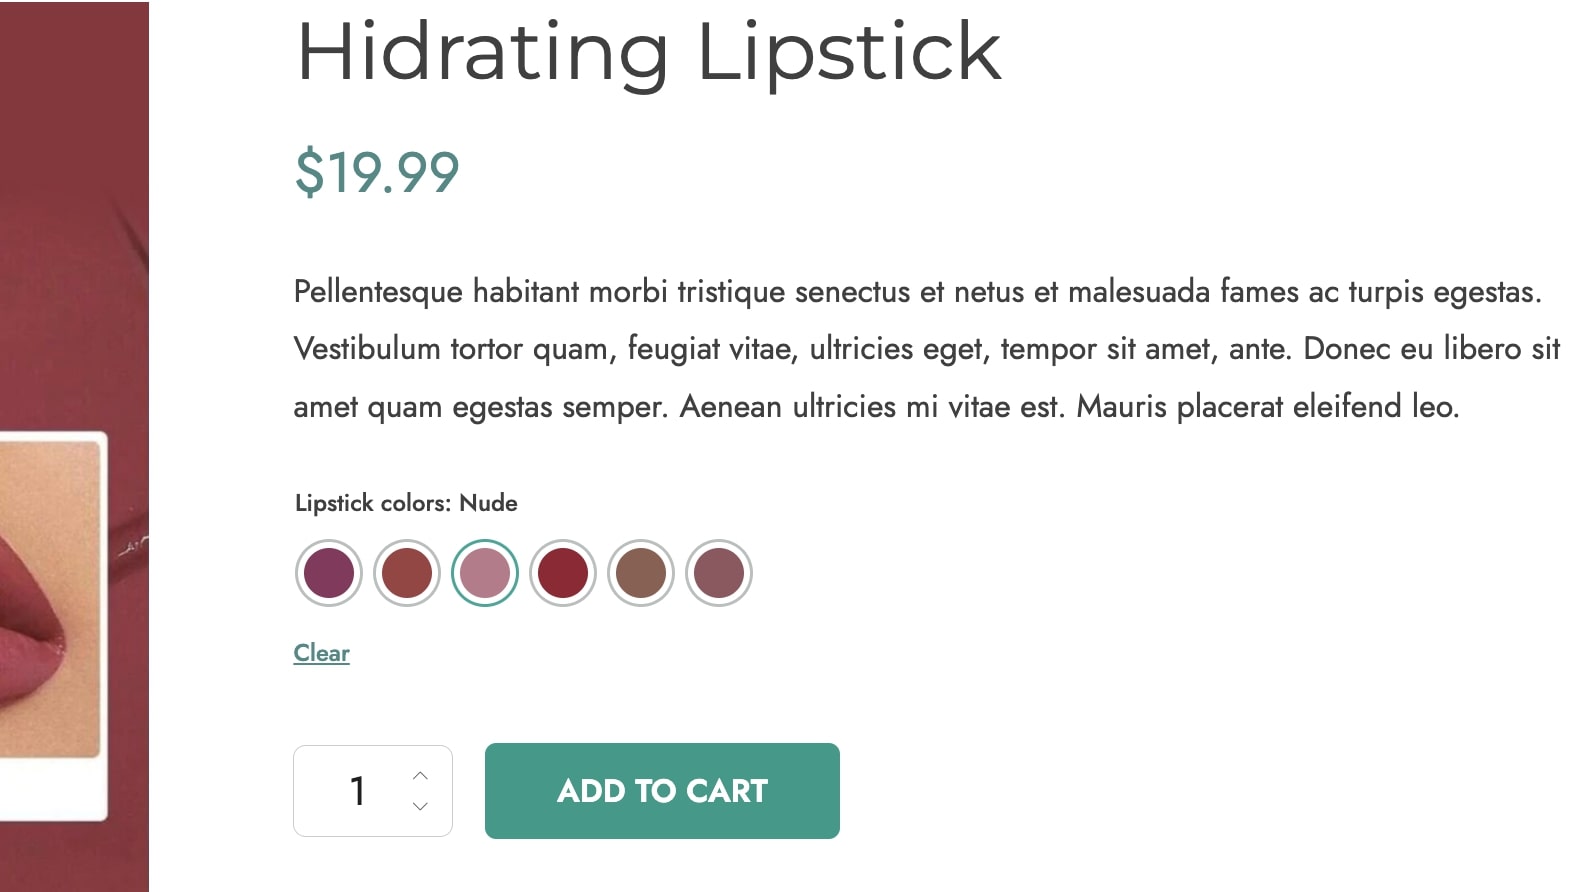
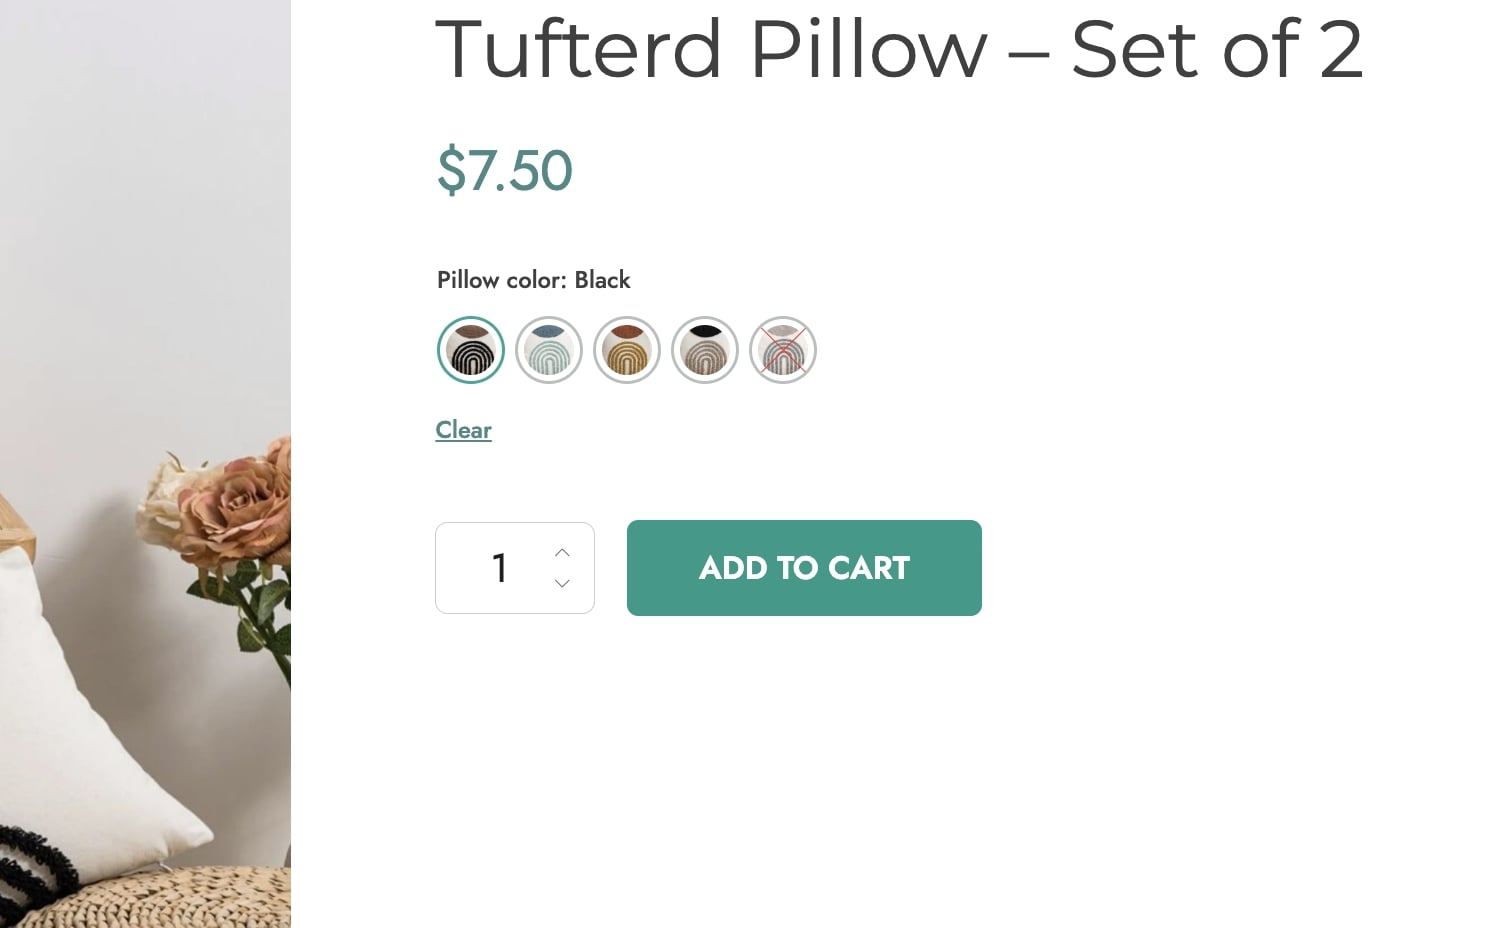
Colorpicker
This attribute type allows creating color swatch variations for your products.
You can choose to create variations by
single color
bicolor
or image.
To set up color attribute terms for your product variations, please refer to this page.
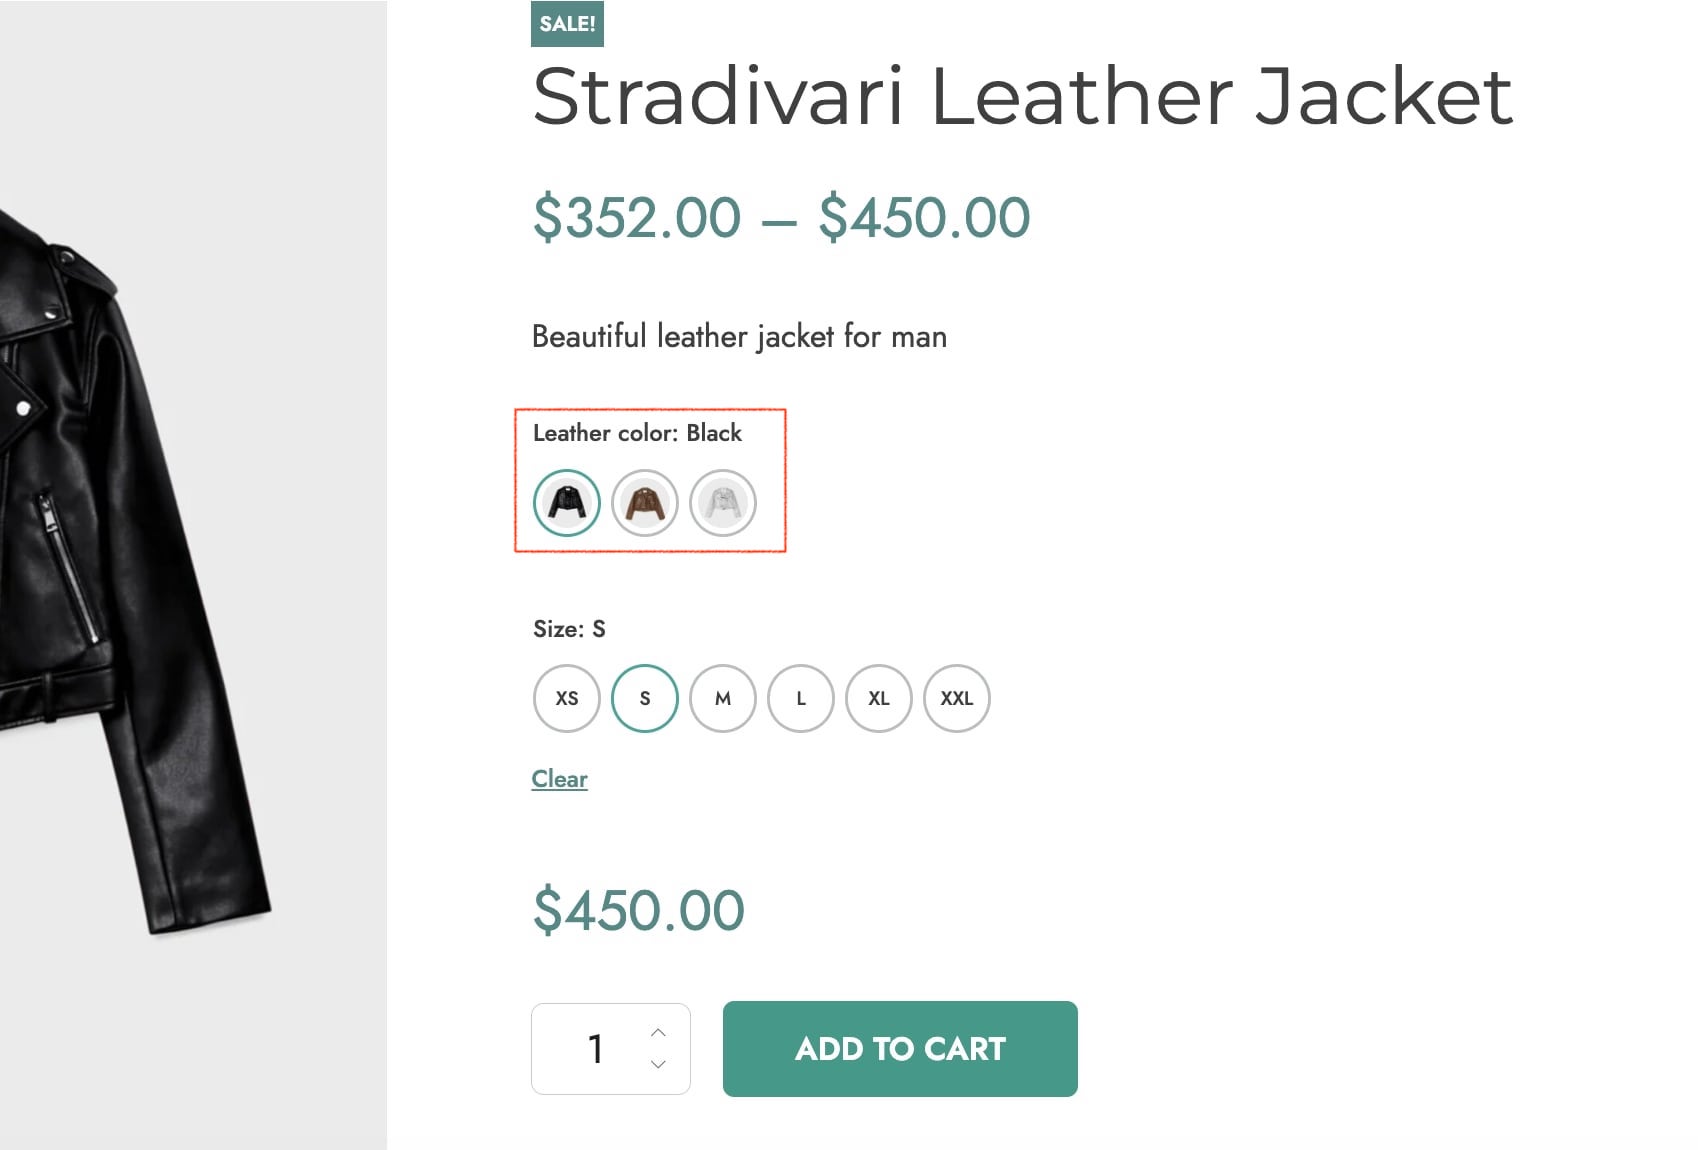
Label
The Label attribute allows showing a text label for your product variations.
To set up label attribute terms for your product variations, please refer to this page.
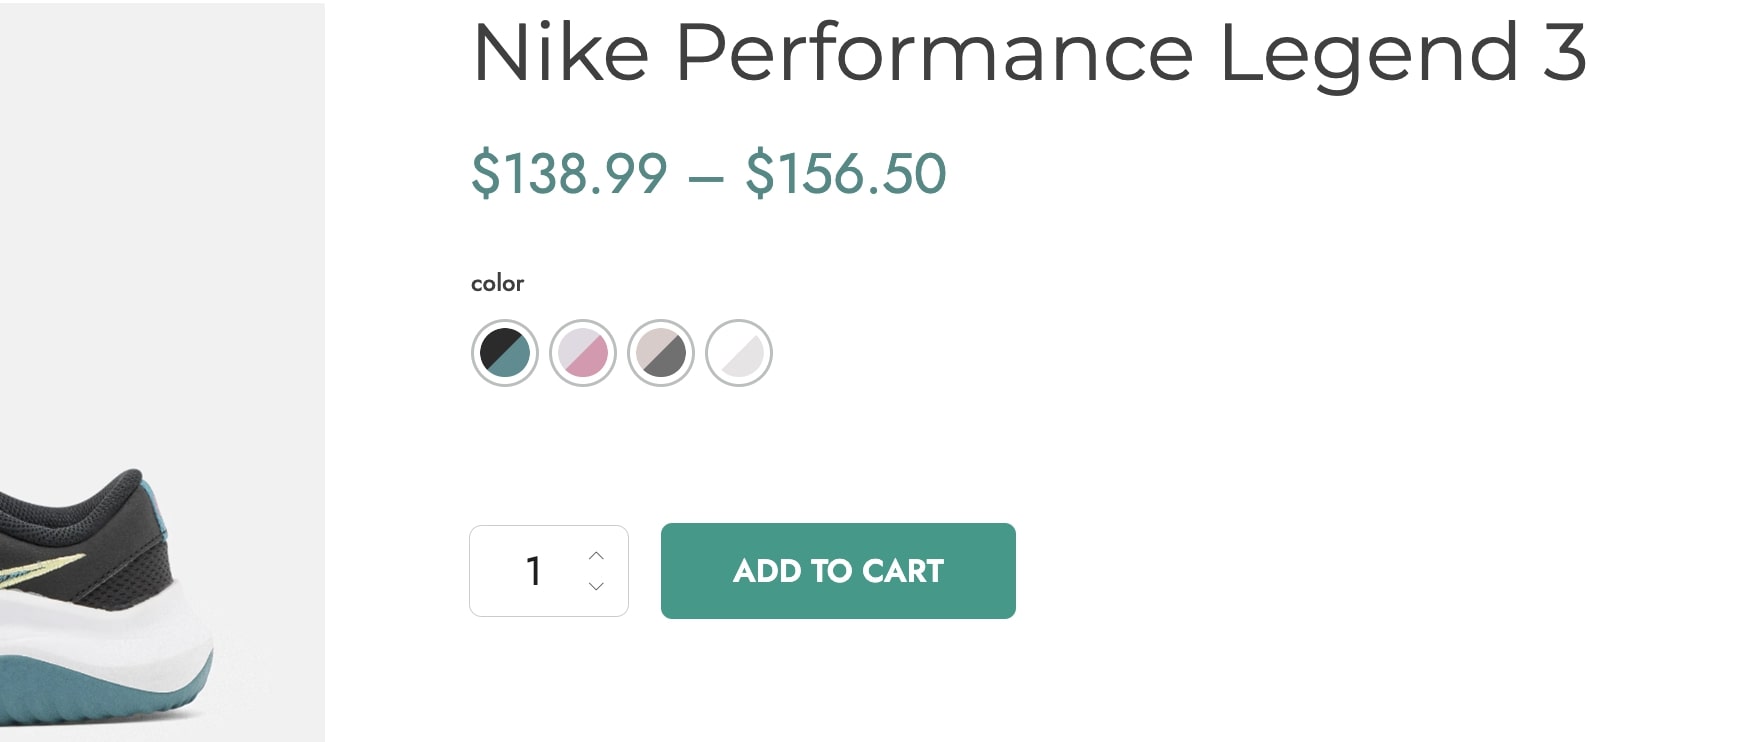
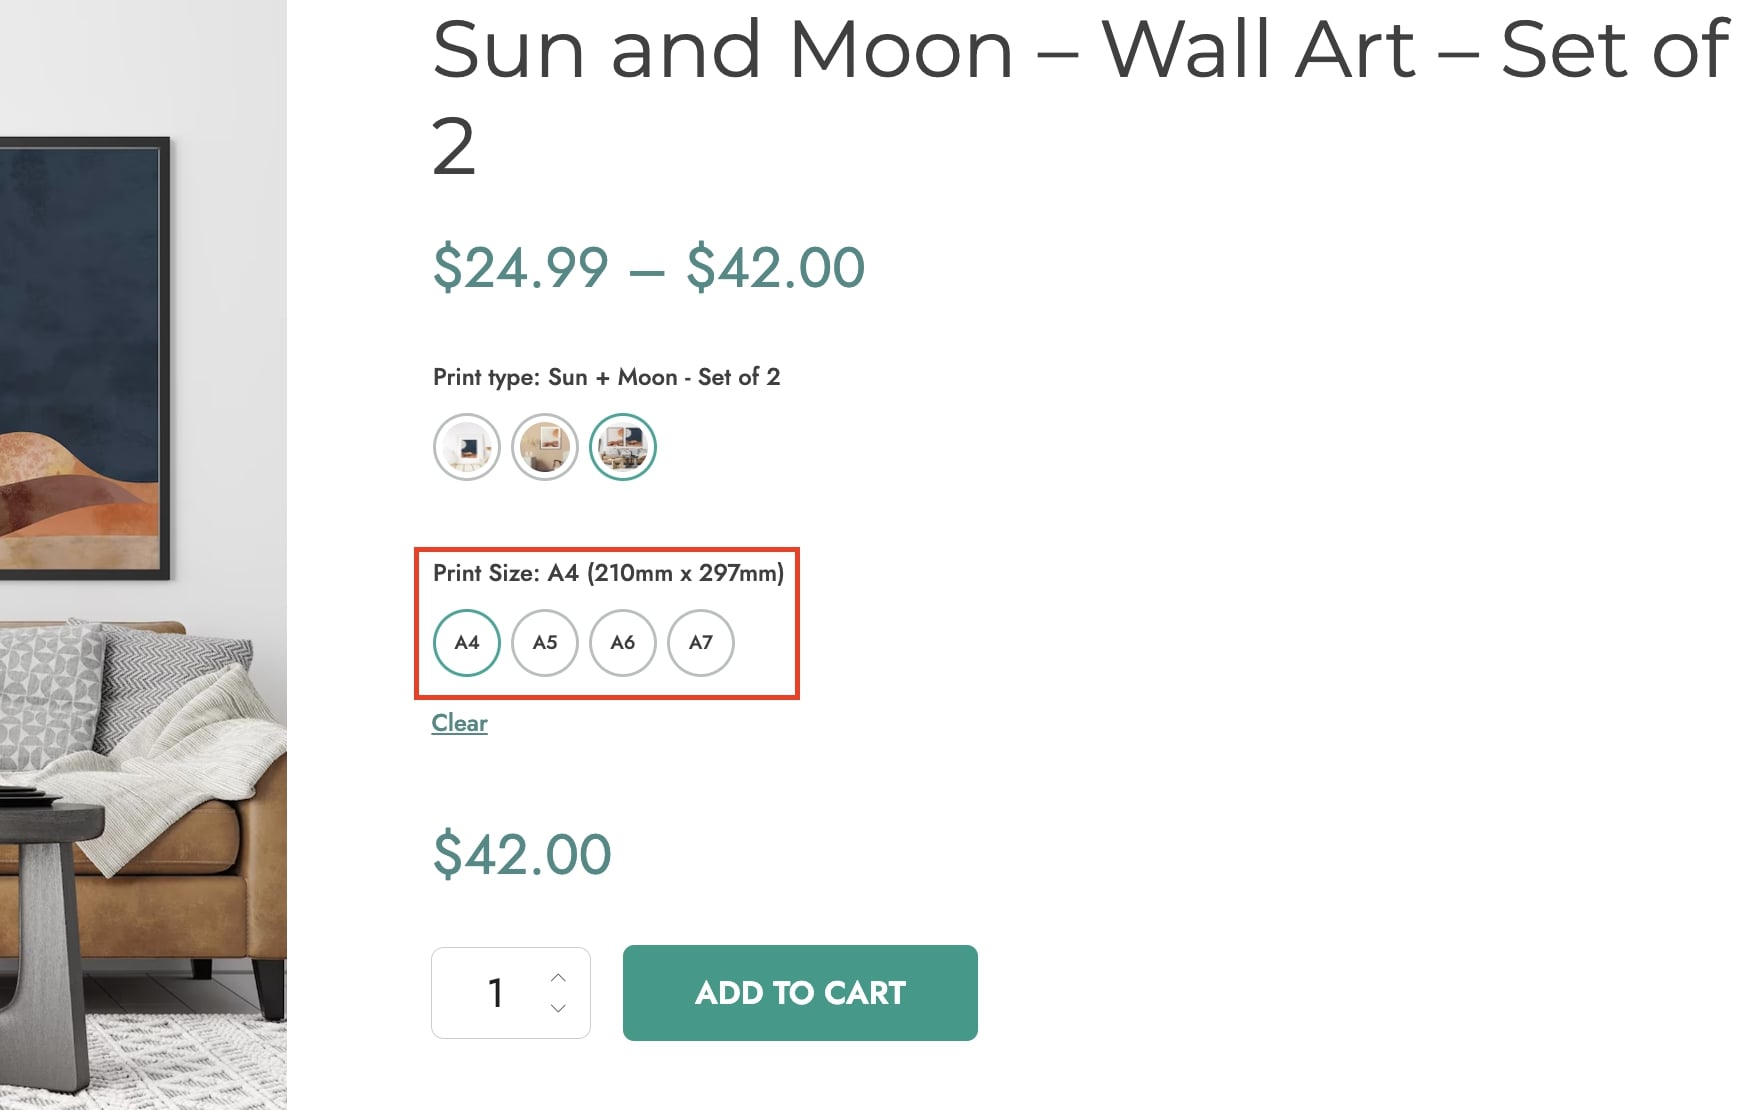
Image
Image attributes allow showing an image to better represent your product variations.
To set up image attribute terms for your product variations, please refer to this page.