After creating your attributes, you will need to add their terms which can be done by clicking on Configure terms.

Based on the attribute type (Colorpicker, Image, or Label), you will find a different set of options to add the terms for your product variations.
Colorpicker
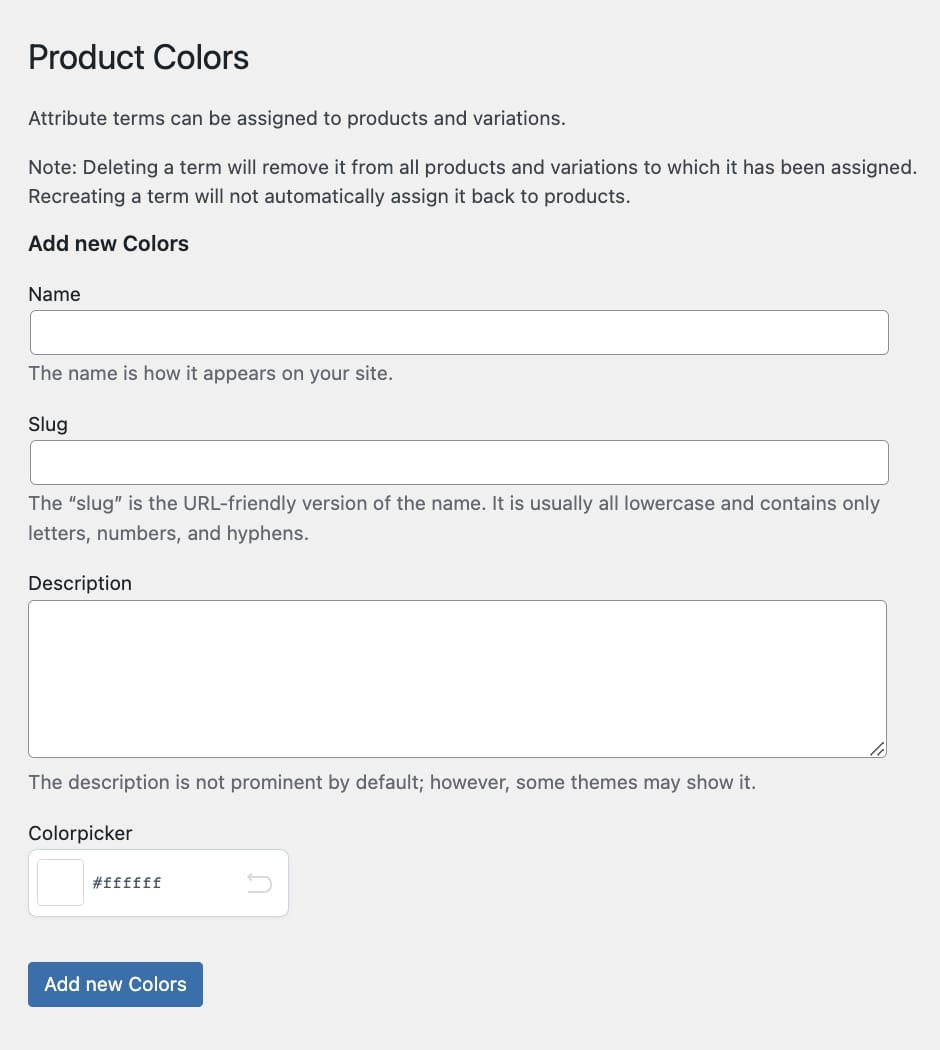
- Name: enter the name that defines the color and will show on the frontend;
- Slug: enter the slug for the attribute variation;
- Description: enter a description that defines the attribute variation, shown in the front end;
- Colorpicker: choose the color of the attribute variation.
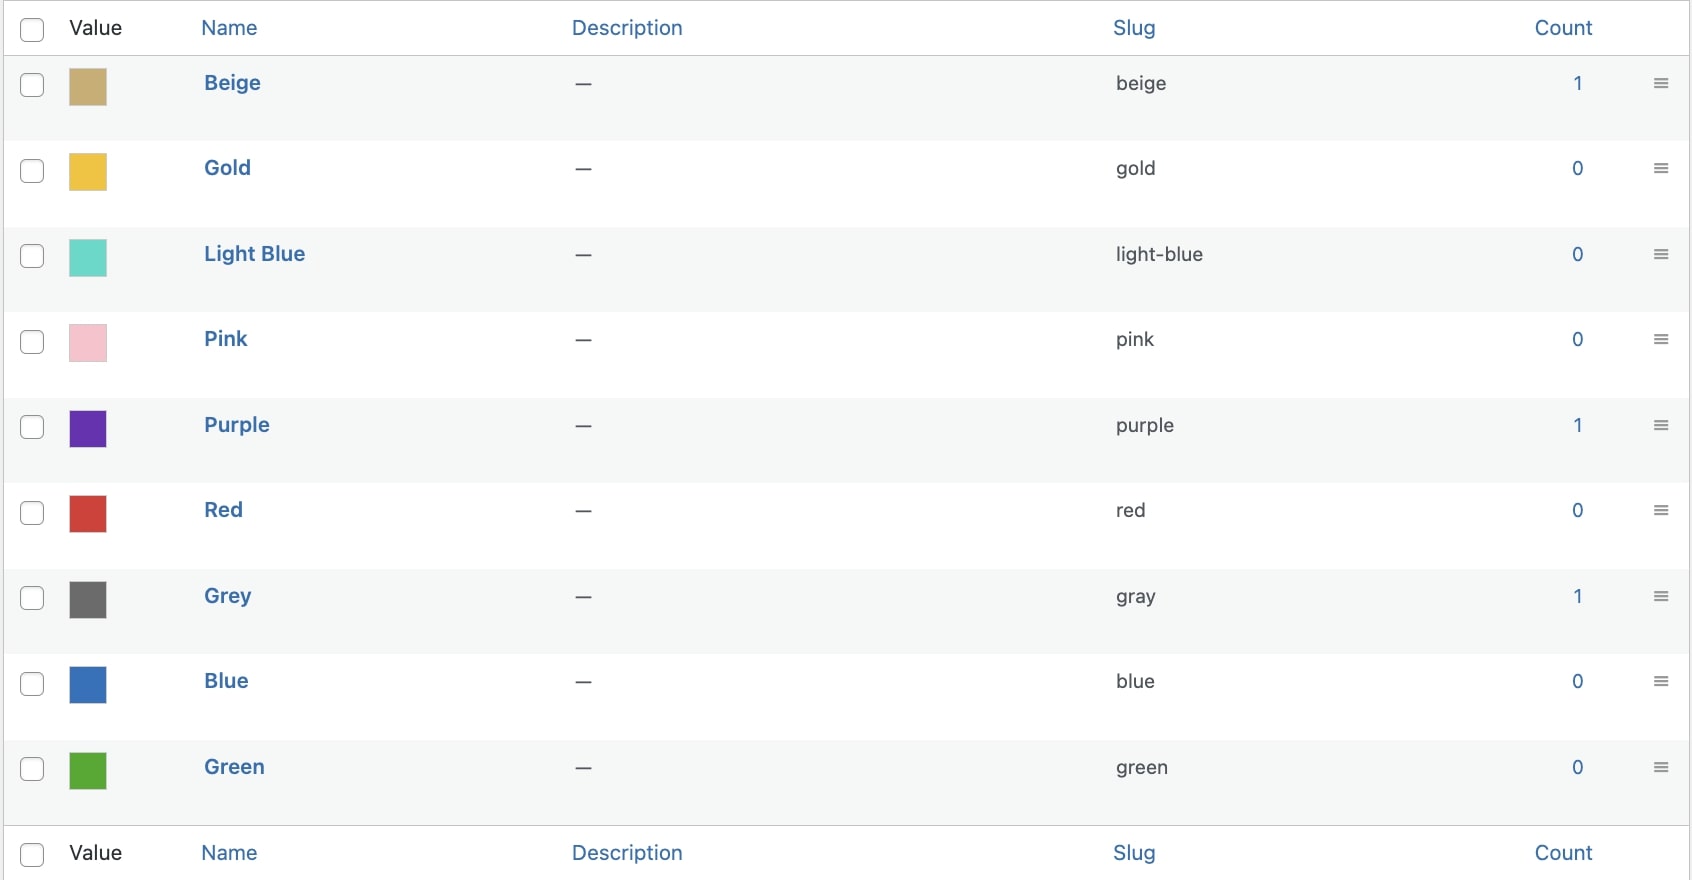
After configuring and adding the terms, you’ll get a view like in the image below.
Image
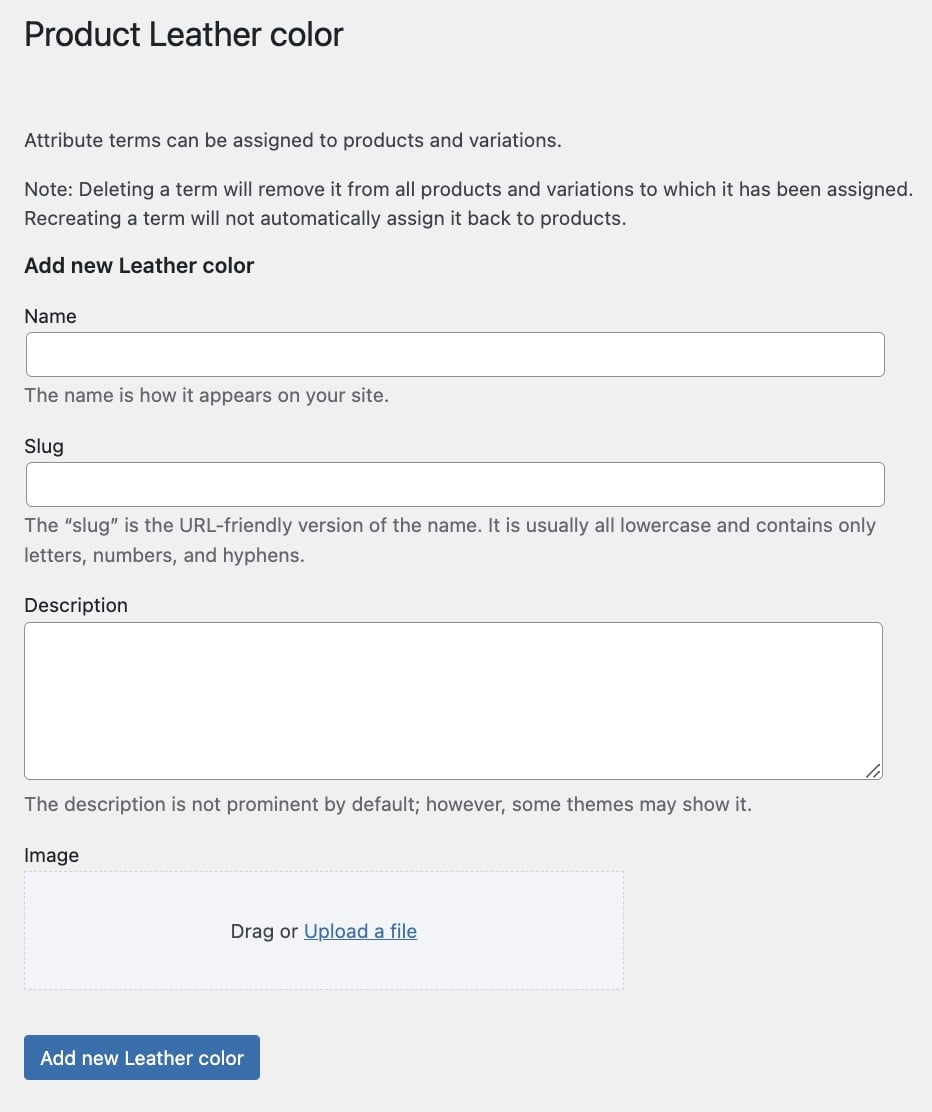
- Name: enter the name that defines the image and will show on the frontend;
- Slug: enter the slug for the attribute variation;
- Description: enter a description that defines the attribute variation, shown in the front end;
- Image: drag or upload the image that you want to use for the attribute variation.
After configuring and adding the terms, you’ll get a view like in the image below.

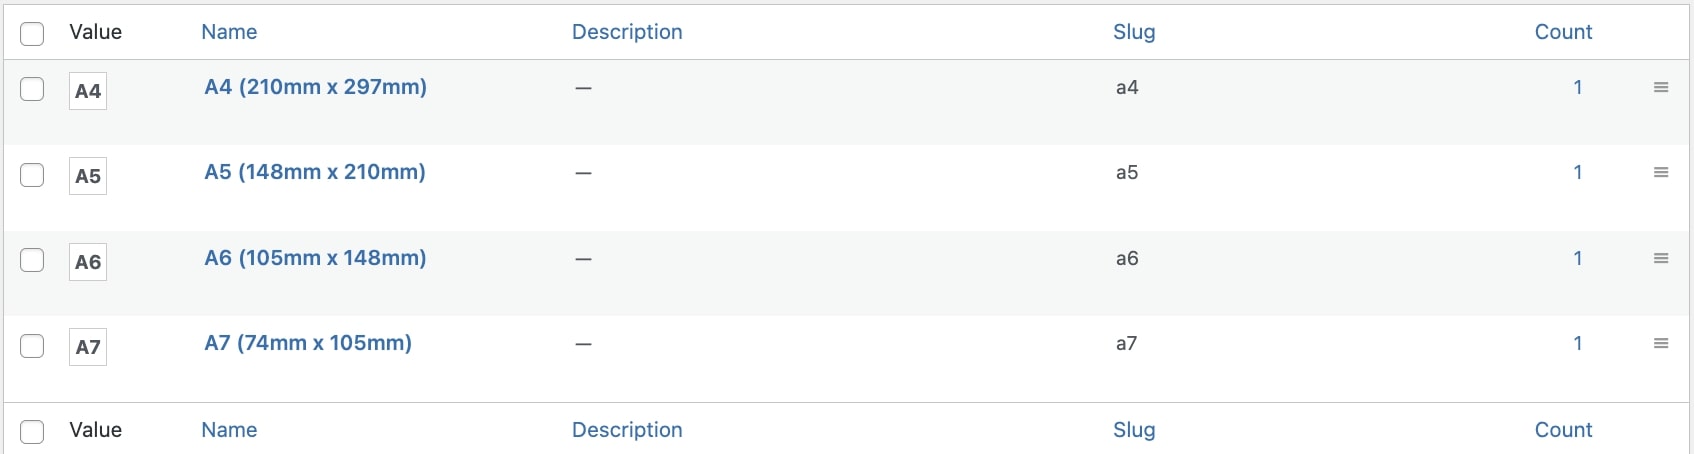
Label
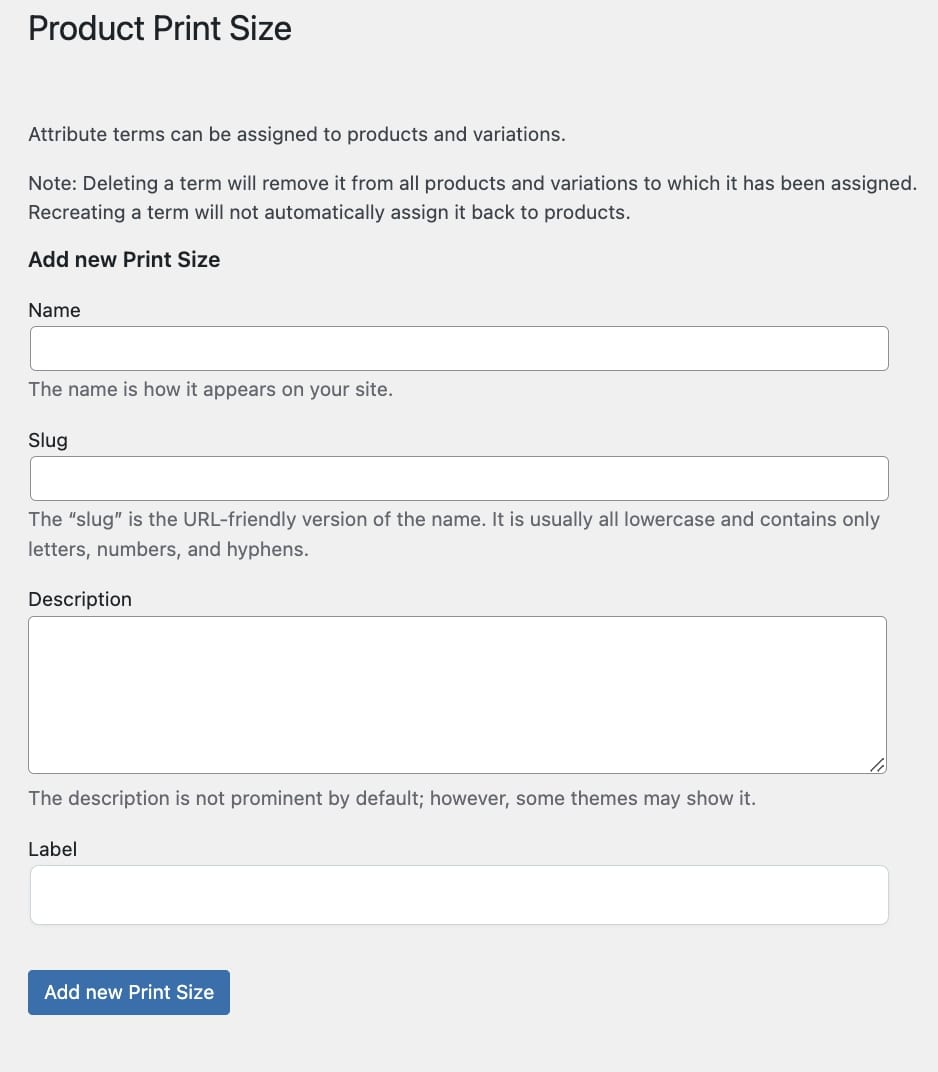
- Name: enter the name that defines the image and will show on the frontend;
- Slug: enter the slug for the attribute variation;
- Description: enter a description that defines the attribute variation, shown in the front end;
- Label: enter the label that defines the attribute variation.
After configuring and adding the terms, you’ll get a view like in the image below.